Beginner Gardening Tips, Creative Garden Ideas
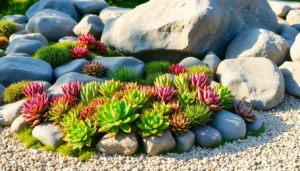
7 Quick Creating A Rock Garden
Creating a rock garden is like sculpting a piece of living art in your own backyard. Whether you’re a budding …


Uncategorized
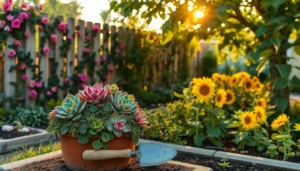
Best Plants for a Low-Maintenance Garden

Budget Herb Gardens
How to Grow Herbs in a Windowsill Garden

Uncategorized
How to Start a Greenhouse Gardening Project

Uncategorized
How to Make Your Garden More Eco-Friendly

Uncategorized
Best Outdoor Plants for Shade

Aesthetic Garden Design
How to Make a Flower Arrangement for Your Home
Common Gardening Mistakes to Avoid
John
Gardening is a journey filled with discovery, growth, and the occasional unexpected twist, much like …

How to Make Natural Pesticides
John
In the serene world of gardening, every plant tells a story, but sometimes unwanted characters—pests—can …
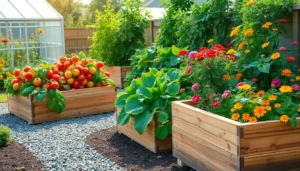
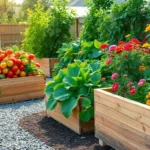
Benefits of Raised Bed Gardening
John
Imagine stepping into your garden and finding a sanctuary of thriving plants, all meticulously organized …
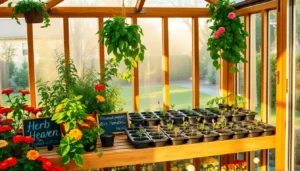
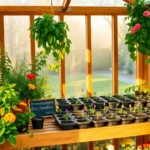
How to Start a Greenhouse Garden
John
Imagine a space where the constraints of seasons fade away, and the joy of nurturing …
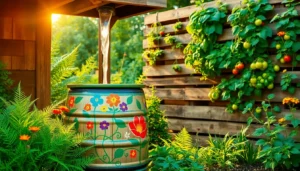
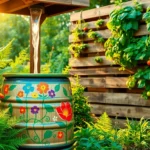
Rainwater Harvesting for Garden
John
Imagine having a self-sufficient garden that not only flourishes with life but also contributes to …
7 Quick Organic Gardening Hacks
Imagine stepping into your garden, where the air is rich with the scent of blooming …
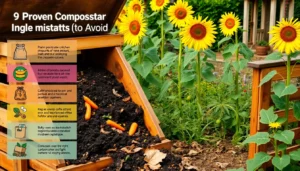
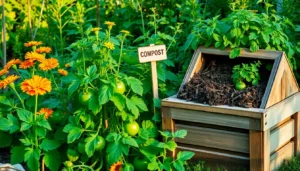
9 Proven Composting Mistakes To Avoid
Composting is one of nature’s most remarkable recycling processes, transforming kitchen scraps and garden waste …