
As the vibrant hues of summer gracefully give way to the crisp air of fall, the gardening season is far from over—it’s just getting started! Whether you’re a budding gardener just dipping your hands into the soil or a seasoned pro with calloused thumbs, “10 Easy Fall Gardening Tips” is your ticket to a flourishing autumn garden. This guide is your go-to resource for transforming your outdoor space into a sanctuary of color and life, even as the days grow shorter.
Fall gardening offers an opportunity to rejuvenate your landscape, preparing it for a spectacular show next spring. By following our carefully curated tips, you’ll not only enjoy the immediate rewards of a bountiful autumn but also set the stage for a thriving garden year-round. With each insightful tip, you’ll gain practical knowledge that empowers you to nurture your plants with confidence and joy. Let’s embark on this seasonal journey together, and turn your garden into a masterpiece that delights the senses and warms the heart.
Plant Spring-Flowering Bulbs Now

Fall is the ideal time to plant spring-flowering bulbs, ensuring a vibrant garden when the weather warms up. The cooling soil provides the perfect conditions for bulbs like tulips, daffodils, and hyacinths to root deeply before winter.
Choose a location with well-draining soil and full sun exposure for the best results. If your soil is heavy clay or poorly draining, consider improving it with organic matter such as compost or peat moss.
Plant bulbs at a depth that is two to three times their height, with the pointed end facing up. For a more natural look, plant bulbs in groups of odd numbers, such as clusters of seven or nine.
Water the bulbs thoroughly after planting to help them settle and close any air pockets in the soil. Avoid overwatering, as bulbs are susceptible to rot if they sit in waterlogged soil.
- Advanced tip: Consider adding a bulb fertilizer to the planting hole for an extra boost of nutrients.
- Cover the planted area with a layer of mulch to retain moisture and protect the bulbs from temperature fluctuations.
Those in colder regions might consider planting bulbs a little deeper for added protection against harsh winter temperatures. By following these steps, you’ll set the stage for a breathtaking display of color in your spring garden.
Prune Dead or Diseased Branches

As fall sets in, it’s the perfect time to prune dead or diseased branches from your plants. Removing these branches not only improves the plant’s appearance but also prevents disease from spreading to healthy parts.
Start by carefully inspecting your plants for any signs of disease, such as discolored leaves or unusual growths. Use clean, sharp pruning shears to make cuts at a slight angle, just above a healthy node or bud.
For beginners, it’s important to know that most pruning should be done during a plant’s dormant season, which is typically in late fall or winter. However, removing dead or diseased wood can be done at any time, as it helps maintain plant health and vitality.
Experienced gardeners often follow the rule of cutting back to healthy tissue, ensuring the removal of all affected areas. Consider sterilizing your pruning tools between cuts with a solution of one part bleach to ten parts water to prevent disease from spreading.
Remember, proper pruning not only enhances the plant’s shape but also encourages new growth in the spring. By tending to these tasks in the fall, you set the stage for a flourishing garden come springtime.
Add Mulch to Protect Roots

As the fall season sets in, adding mulch is a simple yet effective way to protect the roots of your plants. Mulch acts as a natural insulator, helping to regulate soil temperature and retain moisture during colder months.
Choose a mulch type that suits your garden’s needs, such as shredded leaves, wood chips, or straw. Spread a layer of mulch 2 to 4 inches deep around the base of your plants, ensuring it doesn’t touch the stems to prevent rot.
For those new to gardening, begin with organic mulch options that break down over time, enriching the soil as they decompose. Experienced gardeners might explore using pine needles or bark mulch for their specific benefits, like acidity adjustment or enhanced aesthetics.
Additionally, mulch helps suppress weeds, reducing competition for nutrients and water, which is particularly beneficial in fall when plants are preparing for winter dormancy. Replenish mulch as needed to maintain its protective layer, especially after heavy rains or winds.
Collect and Compost Fallen Leaves

Fallen leaves are a valuable resource for your garden, providing essential nutrients when composted. Instead of letting these leaves smother your lawn, gather them up and add them to your compost pile.
A simple technique involves shredding the leaves before composting, which speeds up decomposition. Shredding can be done using a lawn mower with a bag attachment or a specialized leaf shredder.
Mix the shredded leaves with other compost materials like grass clippings and vegetable scraps for a balanced mix. This combination helps create a nutrient-rich compost that benefits your plants.
For beginners, aim for a compost mix that is approximately equal parts “browns” (leaves) and “greens” (grass and food scraps). More experienced gardeners may experiment with adjusting this ratio to optimize decomposition and nutrient content.
Divide and Transplant Perennials
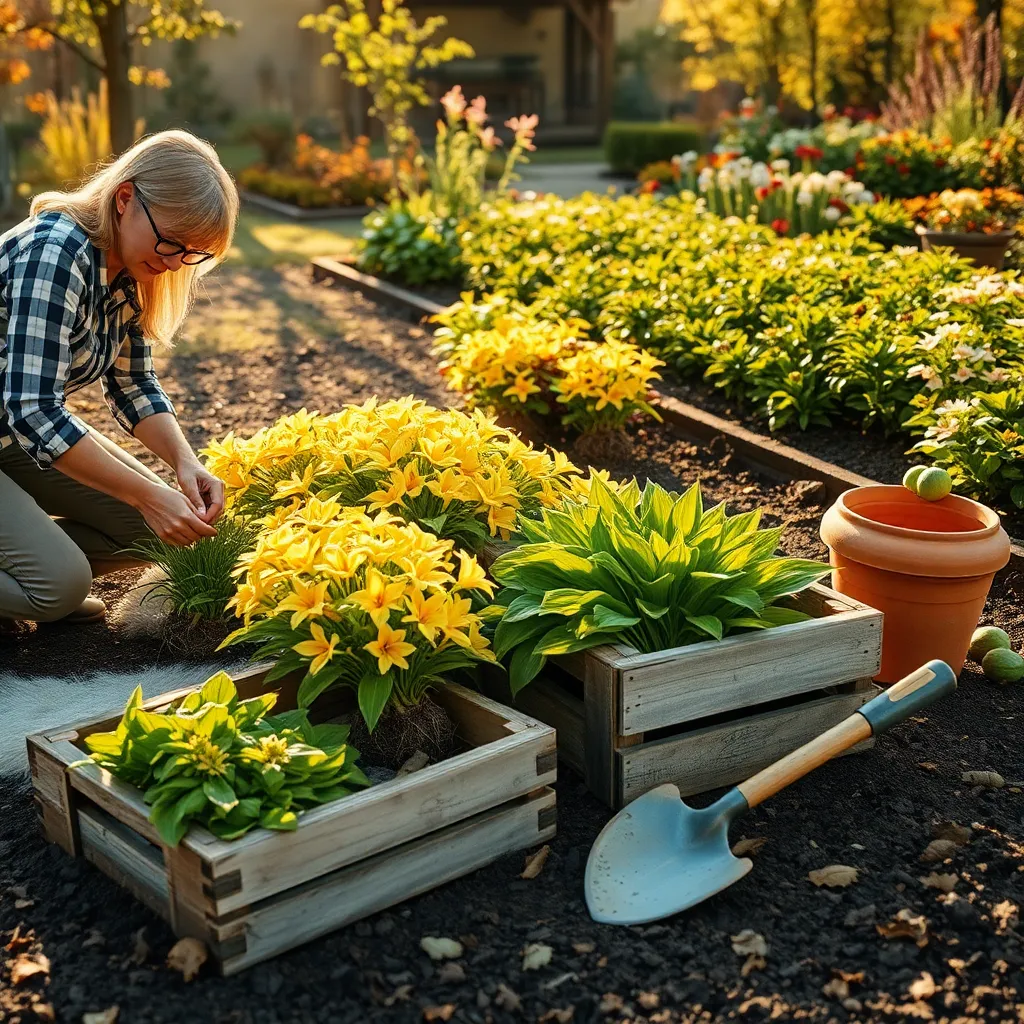
Fall is the perfect time to divide and transplant perennials as the cooler temperatures reduce stress on the plants. This process helps rejuvenate overgrown perennials, encouraging healthier blooms and growth in the coming seasons.
Start by thoroughly watering the perennials a day before you plan to divide them, ensuring the roots are well-hydrated. This makes it easier to dig them up and reduces root damage during the process.
Use a sharp spade or knife to divide the root clumps into smaller sections, each with several healthy shoots and roots. Aim for sections that are at least four to six inches in diameter to ensure robust growth after transplanting.
Replant the divided sections in a prepared bed with well-draining soil, enriched with compost to provide nutrients. Make sure to space them adequately to allow for air circulation and prevent overcrowding as they mature.
Water the transplanted perennials deeply to settle them into their new homes and reduce transplant shock. Adding a layer of mulch will help retain moisture and insulate the roots against temperature fluctuations.
For best results, choose a cloudy day for transplanting to minimize stress, and avoid disturbing the roots more than necessary. By dividing perennials in the fall, you’ll set your garden up for vibrant growth and blooms next spring.
Sow Cold-Tolerant Vegetables
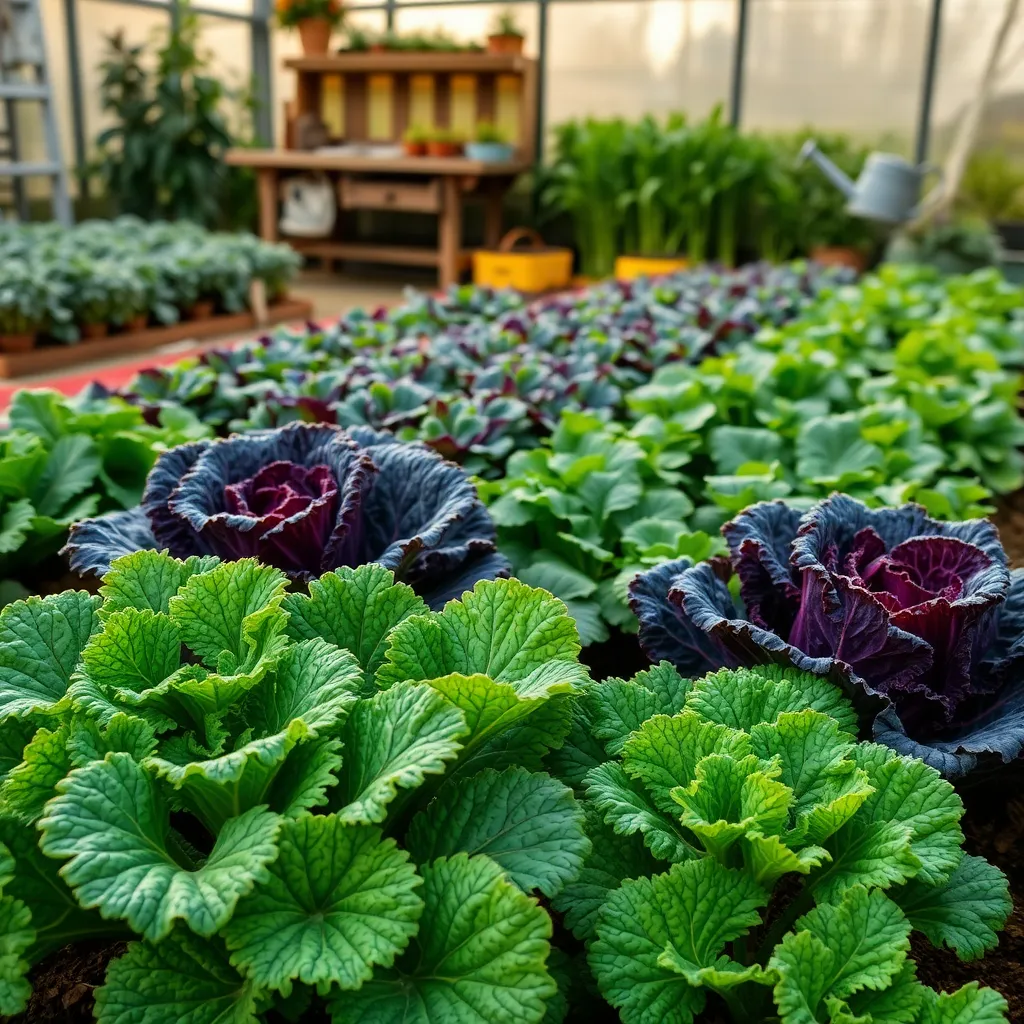
As the temperatures begin to drop, consider sowing cold-tolerant vegetables to extend your gardening season. Crops like kale, spinach, and radishes thrive in cooler weather, making them ideal choices for fall planting.
Starting these vegetables from seed is both economical and rewarding. Ensure your soil is well-drained and rich in organic matter to promote healthy growth and robust yields.
For best results, space seeds according to the instructions on the packet and cover them lightly with soil. Keep the soil consistently moist but not waterlogged, as too much water can lead to root rot.
More experienced gardeners may want to try succession planting. This technique involves sowing seeds at two-week intervals to ensure a continuous harvest throughout the fall.
Remember to mulch around young plants to insulate roots and conserve moisture. As temperatures begin to dip further, consider using row covers to protect your crops from unexpected frosts.
Clean and Store Gardening Tools
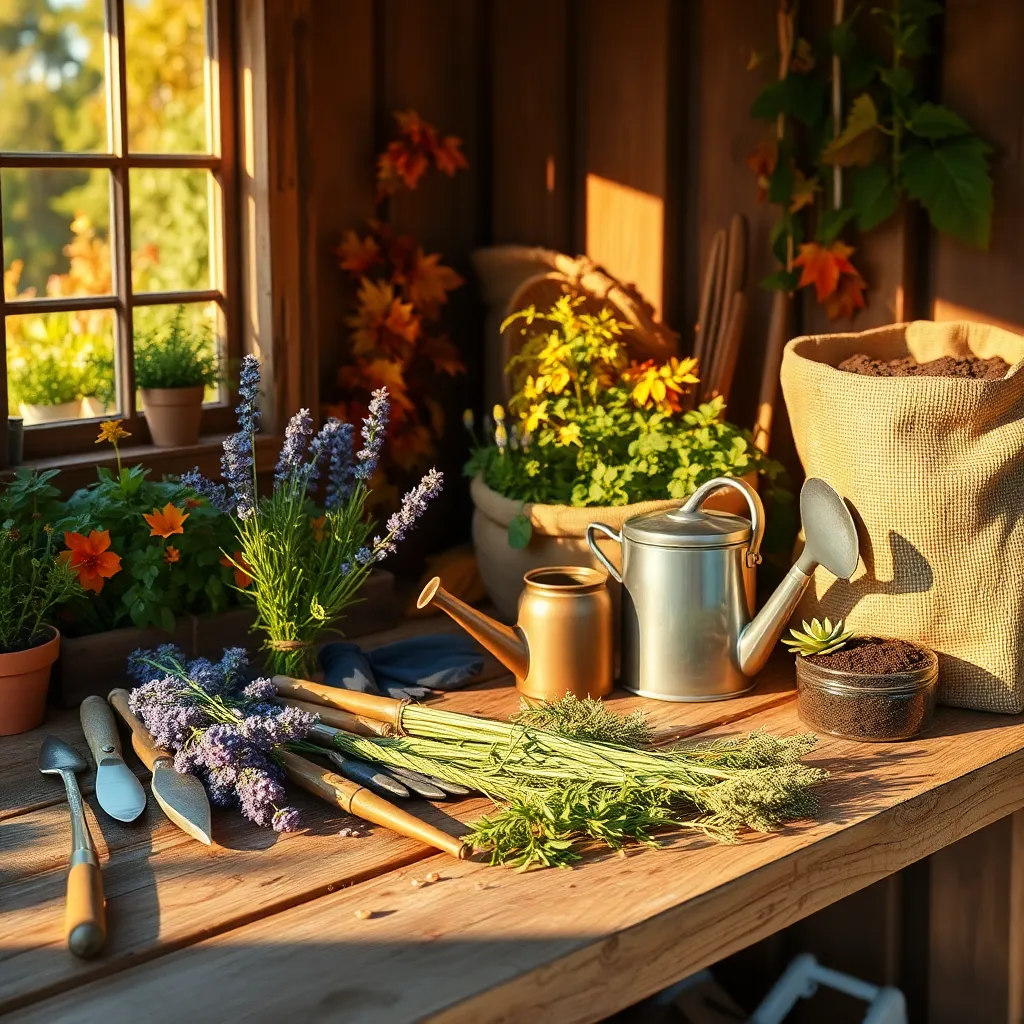
As the growing season winds down, it’s essential to clean and store your gardening tools properly to ensure they last for years to come. Start by removing any soil and debris using a stiff brush or a blast of water, which helps prevent rust and prolongs the life of your tools.
Next, disinfect your tools by wiping them down with a solution of one part bleach to nine parts water. This step is crucial for preventing the spread of diseases that could harm your plants next season.
Once clean, dry your tools thoroughly to avoid moisture damage. Consider applying a light coat of oil, such as linseed or motor oil, to metal parts and wooden handles to protect them from rust and cracking during storage.
Store your tools in a dry, sheltered location, such as a shed or garage, to keep them safe from the elements. Hanging tools on a wall-mounted rack is a great way to keep them organized and easily accessible for when you’re ready to use them again.
Protect Tender Plants with Covers

As temperatures dip, it’s crucial to protect tender plants from frost damage. Covering plants with lightweight fabric like burlap or frost cloth can shield them from cold snaps, preserving their health.
Choose breathable materials that allow moisture and light to penetrate while offering thermal insulation. Avoid using plastic, as it can trap moisture and cause more harm than good when temperatures fluctuate.
For maximum effectiveness, secure covers tightly but gently around the base of plants. This ensures that warm air rising from the soil is trapped beneath the cover, creating a microclimate that can keep your plants safe from frost.
When setting up plant covers, it’s essential to leave some space between the cover and the plant foliage. This prevents any weight from damaging the plant and maintains airflow, which is vital for plant health.
Advanced gardeners might consider using a combination of mulch and covers for additional protection. Layering mulch around the base of plants can further insulate roots and prevent soil temperature from dropping too low.
Aerate and Reseed Lawns

Fall is the ideal time to aerate and reseed your lawn, setting the stage for lush growth in the spring. Aerating helps relieve soil compaction, allowing essential nutrients, water, and air to penetrate the grass roots effectively.
For beginners, a simple garden fork can be used to manually aerate small areas, while those with larger lawns might consider renting a core aerator for efficiency. Ensure the soil is moist before aerating, as dry soil can be hard to penetrate and may not yield the desired results.
Once aeration is complete, it’s time to reseed. Choose a grass seed mix suitable for your climate and existing lawn conditions, such as shade tolerance or drought resistance. Spread the seed evenly using a broadcast spreader, ensuring good seed-to-soil contact to promote optimal germination.
Water the newly seeded lawn lightly but frequently, keeping the topsoil consistently moist until the seeds germinate. Generally, this means watering once or twice daily, depending on your local climate conditions and soil type.
For advanced gardeners, consider adding a thin layer of topsoil or compost after reseeding to improve soil quality and provide additional nutrients. This extra step can significantly enhance seed growth and root development, leading to a more robust lawn.
Check and Repair Garden Structures
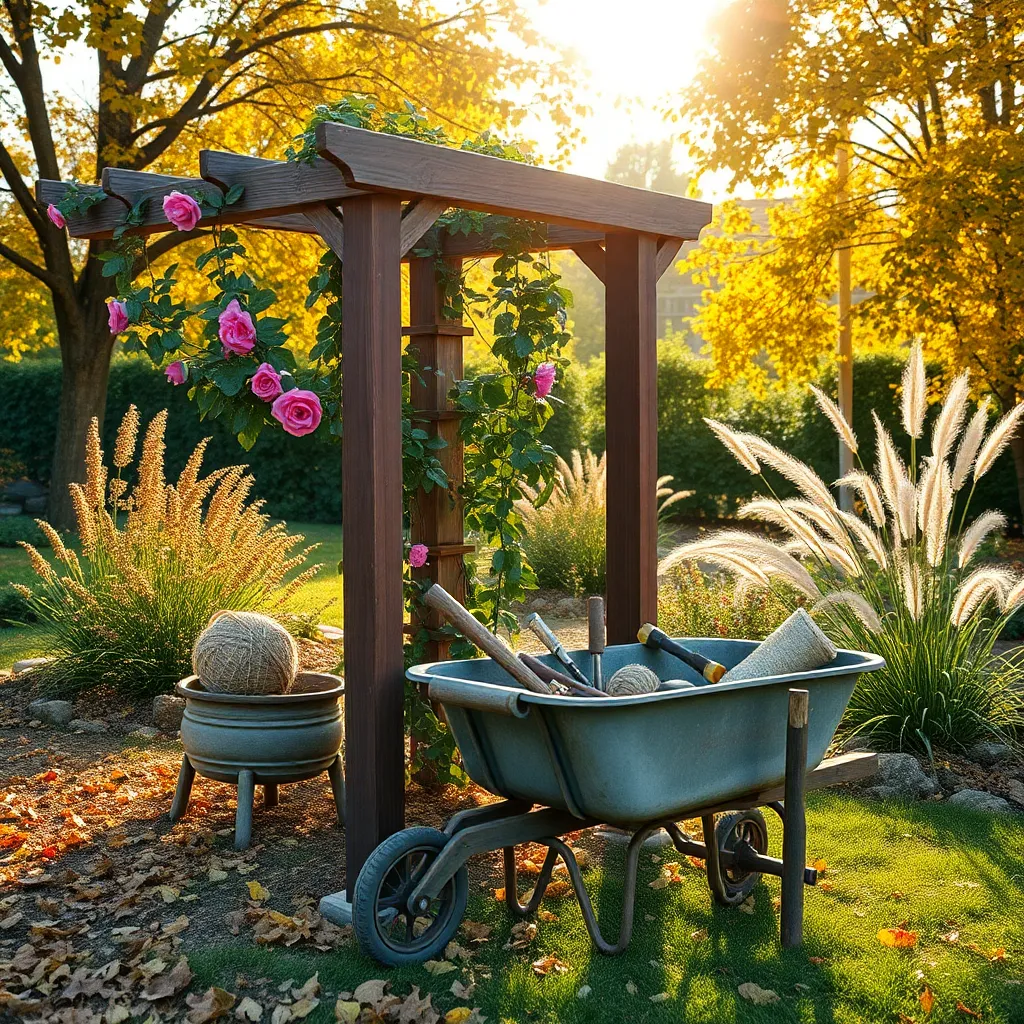
As fall sets in, it’s crucial to inspect and repair garden structures to ensure they withstand the coming winter months. Begin by examining your fences, trellises, and garden beds for signs of damage like rot or loose parts.
Repairing these structures now can prevent more extensive damage and costly repairs later. Use weather-resistant materials like treated wood or galvanized metal to replace any broken parts, ensuring longevity and durability.
Check garden paths and patios for cracks or uneven surfaces that can pose safety hazards. Consider resealing or leveling these areas to provide a solid foundation and enhance the overall appearance of your garden.
For wooden structures, applying a fresh coat of sealant or paint can protect against moisture and pests. This simple maintenance step not only extends the life of your structures but also refreshes your garden’s look for the next growing season.
Conclusion: Growing Success with These Plants
As you embrace the transformative season of fall, these 10 gardening tips can also cultivate growth in your relationships. From nurturing open communication like you would nourish the soil, to setting shared goals akin to planning your garden layout, each tip serves as a reminder of the care and attention relationships need. Just as you prune plants to encourage healthy growth, addressing issues head-on fosters a stronger bond. Embrace change together, much like adapting to the changing seasons, and celebrate each other’s growth.
To put these insights into action, choose one tip to implement this week. Perhaps start with dedicating uninterrupted time for meaningful conversations, just as you would allocate time for garden care. This single step can spark profound changes.
Remember, the journey to a flourishing relationship is ongoing. Save or bookmark this article to revisit these tips as you navigate the seasons of your relationship. By integrating these practices, you’re not just nurturing love today, but planting seeds for a thriving partnership tomorrow. Embrace these moments of growth, knowing they lead to lasting success and deeper connections.


