Planting a garden from seeds is like embarking on a delightful journey where each tiny seed holds the promise of life and color. Whether you’re a seasoned gardener with years of experience or a budding enthusiast just getting your hands dirty, starting from seeds offers a creative and rewarding way to breathe life into your garden.
The beauty of seed gardening lies in its simplicity, yet it challenges us to nurture and patiently await the magic of growth. In this article, we will explore five creative methods to start a garden from seeds, offering insights that will enrich your gardening practice, no matter your level of expertise.
From selecting the right seeds to understanding the nuances of soil and light, you’ll discover practical tips that transform the seed-starting process into a fulfilling adventure. By the end, you’ll be equipped with innovative techniques and the confidence to cultivate a thriving garden from the ground up, one seed at a time.
Choosing Your Seed Varieties
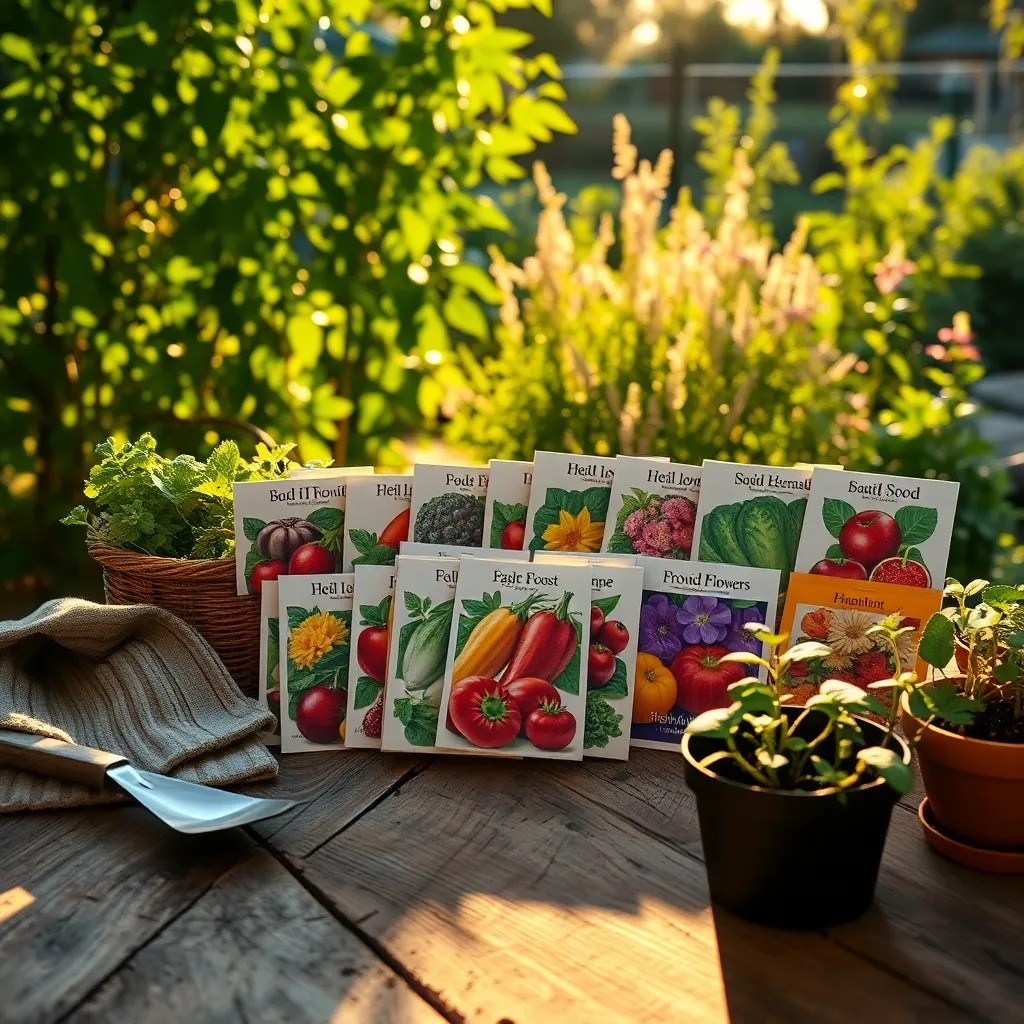
When choosing seed varieties, consider your local climate and growing conditions to ensure success. Research which plants thrive in your specific USDA hardiness zone, as this will guide you in selecting seeds that are well-suited to your environment.
Begin by deciding whether you want to grow heirloom, hybrid, or organic seeds. Heirloom seeds are prized for their traditional, unaltered genetics and often produce more flavorful fruits, while hybrids can offer disease resistance and higher yields.
It’s also essential to think about your garden’s sun exposure and soil type. Plants like tomatoes and peppers require full sun, whereas leafy greens such as spinach and lettuce can thrive in partial shade, making them suitable for different garden spots.
For those with limited space, consider planting compact or dwarf varieties that are perfect for containers or small plots. Many seed companies provide detailed descriptions of each variety’s growth habits and space requirements, which can help you make informed decisions about your garden layout.
Advanced gardeners might experiment with companion planting, where selecting seeds that benefit each other can enhance growth and deter pests. For instance, planting marigolds alongside tomatoes can help repel nematodes and other pests, promoting healthier plant development.
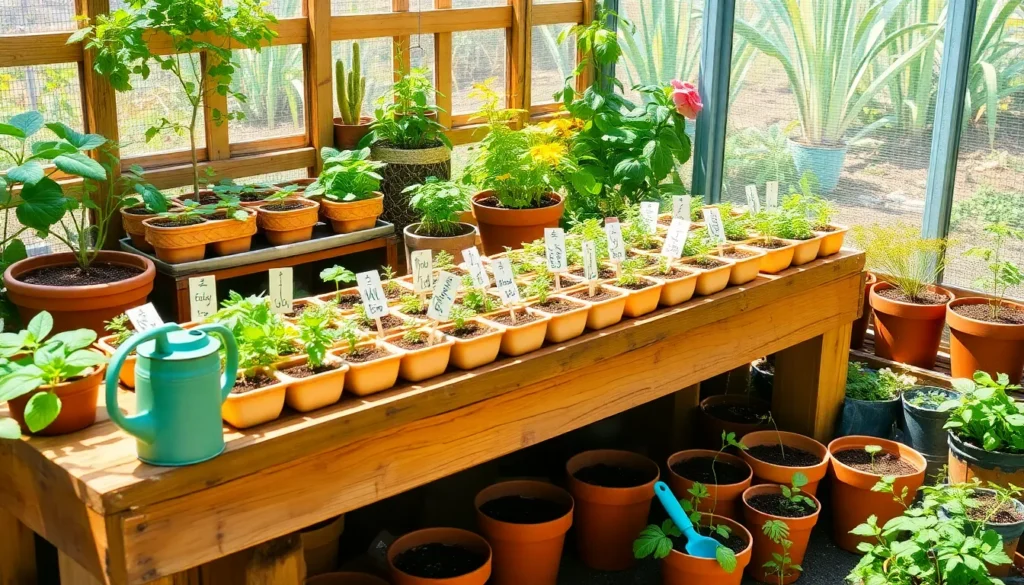
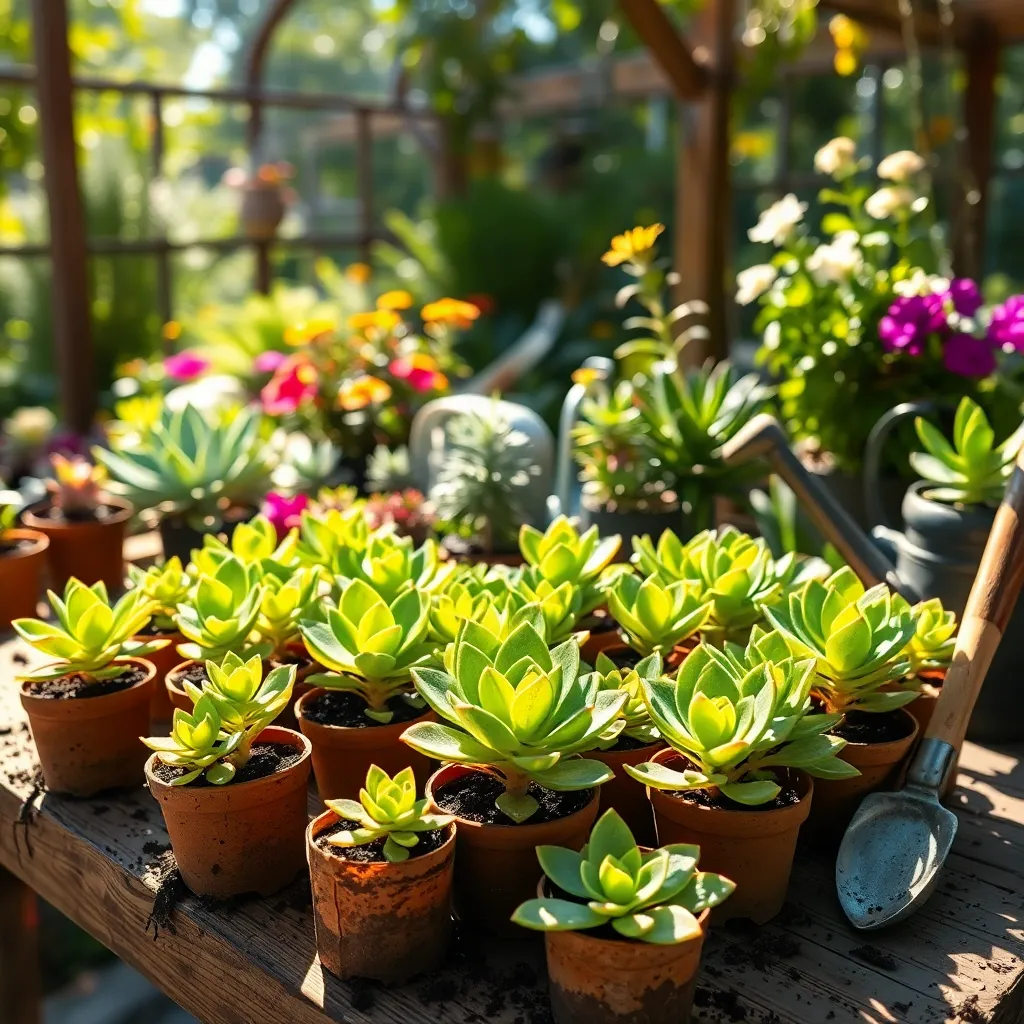
Preparing Seed-Starting Supplies
Before sowing your seeds, it’s crucial to gather all necessary supplies for a smooth start. You’ll need clean containers, quality potting mix, labels, and a watering can with a fine rose attachment.
Containers can range from recycled yogurt cups to purpose-made seed trays. Ensure they have drainage holes, as proper drainage is essential to prevent overwatering and root rot.
Opt for a lightweight, sterile seed-starting mix to provide the ideal environment for seed germination. Avoid using garden soil, as it may contain pests or diseases that could hinder your seedlings’ growth.
Labeling is a small step that makes a big difference, especially when starting multiple seed varieties. Use waterproof markers or tags to keep track of your plants, preventing any confusion later on.
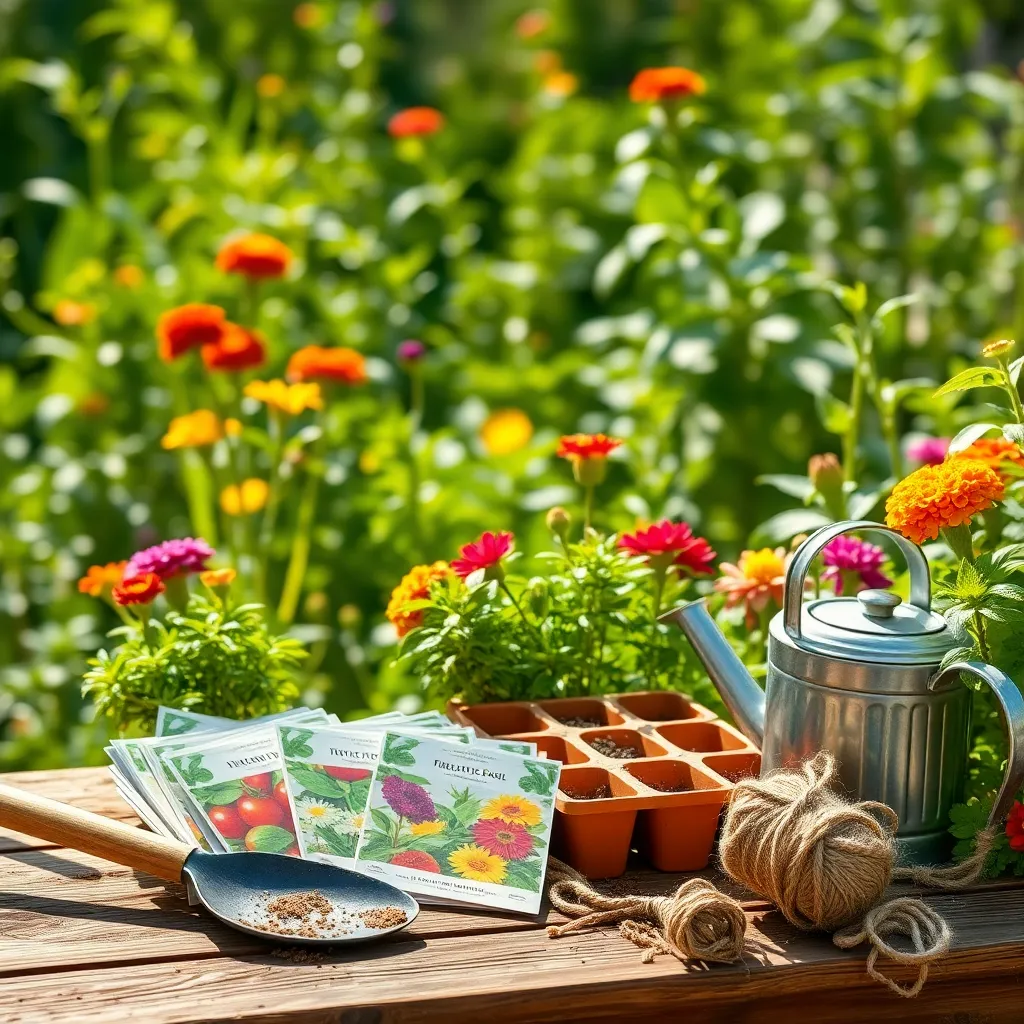
Mastering the Sowing Process
Mastering the sowing process begins with selecting the right seeds for your garden’s conditions. Consider factors such as sunlight, climate, and soil type to choose seeds that will thrive in your specific environment.
Before sowing, it is crucial to prepare the soil properly to ensure healthy seed growth. Use a light, well-draining seed-starting mix to provide the best conditions for germination.
For precise sowing, consider using a seed tray or small pots, especially if you’re dealing with tiny seeds. This approach allows for better control over spacing and depth, which are crucial for successful germination.
Moisture management is key to successful seed germination. Keep the soil consistently moist but not waterlogged, using a spray bottle to gently mist the soil surface.
Once the seeds are sown, covering them with a clear plastic cover or a sheet of glass can help retain humidity and warmth. Remove the cover once the seedlings emerge to prevent fungal diseases.
Nurturing Seedlings to Success
After mastering the sowing process, the next crucial step is nurturing your seedlings to success. Begin by ensuring your seedlings receive adequate light; place them in a sunny windowsill or under grow lights for 12-16 hours a day.
Proper watering is essential for healthy seedling development. Water the seedlings when the top inch of soil feels dry, being careful not to overwater, which can lead to root rot.
Temperature plays a significant role in seedling growth, with most varieties thriving in temperatures between 65°F and 75°F. Ensure your seedlings are in a stable environment; avoid drafts from windows or doors that could stress the plants.
To strengthen your seedlings, gently run your hand over them or use a fan to simulate a breeze. This encourages the plants to develop stronger stems, preparing them for the outdoors.
Once the seedlings have developed their first set of true leaves, it’s time to begin a light feeding regimen. Use a diluted liquid fertilizer every two weeks to provide necessary nutrients without overwhelming the young plants.
As your seedlings grow, consider the size of their containers. If you notice roots protruding from the drainage holes, it’s time to transplant them into larger pots to allow for continued development.
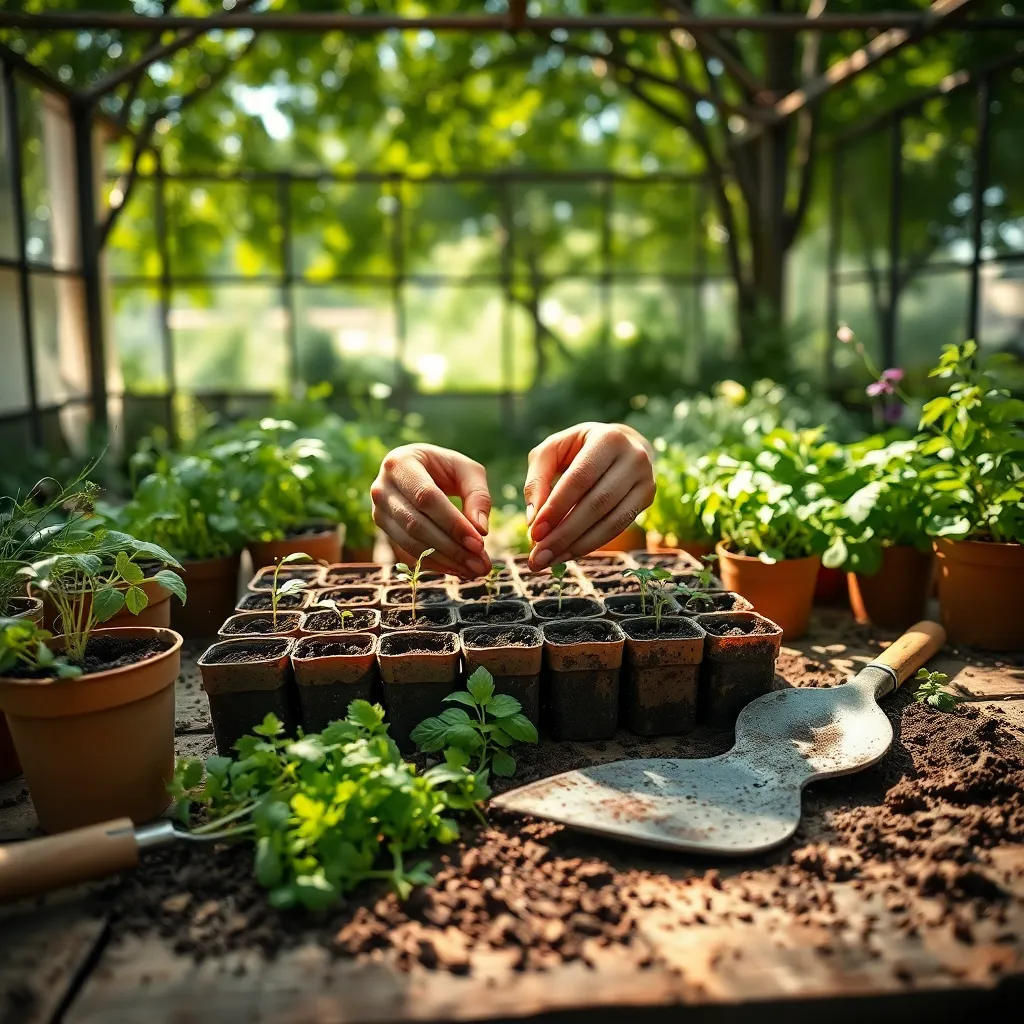
Transplanting Tips for Thriving Plants
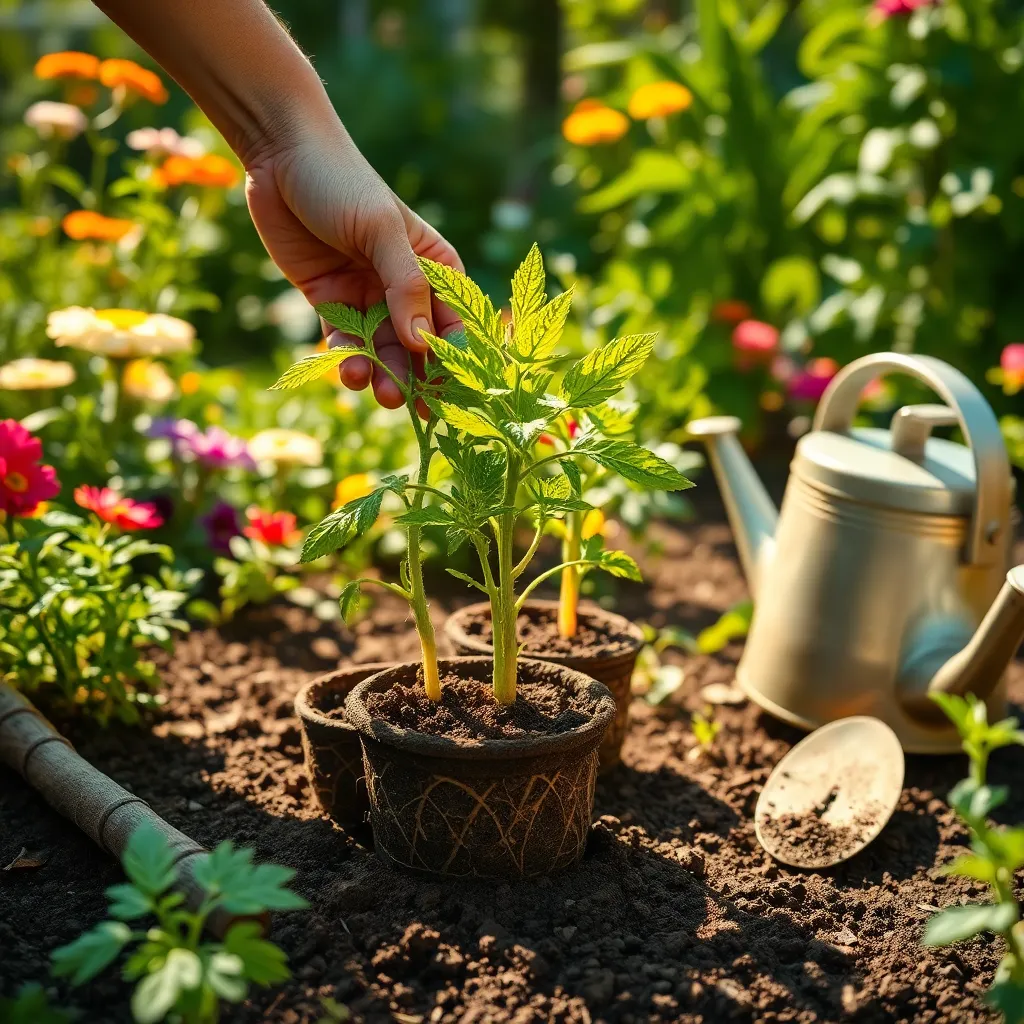
Transplanting seedlings is a critical step in ensuring your garden thrives. Timing is key—wait until seedlings have at least two sets of true leaves before moving them to their new home.
When preparing to transplant, gently handle the seedlings by their leaves rather than the stems to avoid damage. Use a small trowel or spoon to lift the entire root ball, preserving as much of the root structure as possible.
Choose a cloudy day or transplant in the late afternoon to minimize stress on the plants, as harsh sunlight can quickly dry out seedlings. Water the seedlings thoroughly the day before transplanting to ensure they are adequately hydrated.
After transplanting, water the plants again to settle the soil around the roots and eliminate air pockets. To keep the soil consistently moist but not waterlogged, consider adding a layer of mulch around your plants.
For advanced gardeners, consider using a diluted solution of seaweed extract or a mild liquid fertilizer to boost plant resilience after transplanting. Monitor the plants for the first week, watching for signs of shock such as wilting, and adjust care as needed.
Conclusion: Growing Success with These Plants
In exploring the art of starting a garden from seeds, we discovered five enriching relationship concepts: nurturing growth through patience, the importance of creating a fertile environment, the power of consistent care, learning through trial and error, and celebrating small victories. These principles not only cultivate thriving gardens but also nurture flourishing relationships. By applying these insights, you can foster deeper connections and mutual growth with your partner.
As a practical next step, choose one relationship area you’d like to nurture and commit to taking a small, consistent action each day that aligns with the nurturing concept. Whether it’s dedicating time for meaningful conversations or expressing appreciation, small, consistent efforts will yield blossoming results.
Remember, relationships, much like gardens, are ongoing projects that require continuous attention and love. Bookmark this article as your go-to guide for strengthening your relationship’s foundation, and revisit it whenever you need a reminder or inspiration.
Looking ahead, envision your relationships as vibrant, flourishing gardens. With dedication and care, the seeds you plant today will grow into lasting bonds. Embrace this journey with optimism, knowing that each step you take brings you closer to relationship success.


