Imagine savoring the taste of freshly harvested potatoes, knowing they came from your very own garden. Growing potatoes in a bag is not only a space-saving solution but also a rewarding endeavor that both novice and seasoned gardeners can enjoy. This approach brings the joy of gardening to urban balconies and small backyards, transforming even the tiniest of spaces into a productive oasis. Whether you’re a beginner looking to start your first crop or an experienced gardener seeking a new challenge, this method offers a delightful way to engage with your plants.
Potatoes, with their versatility and rich nutritional profile, are a staple in kitchens worldwide, making them an invaluable addition to your home garden. Growing them in bags not only simplifies the process but also helps in managing soil quality and pests more effectively. In this article, we will guide you through selecting the right materials and setting up your potato-growing bag, ensuring a bountiful harvest. You’ll also learn essential tips on watering, fertilization, and harvesting techniques, all while maintaining a sustainable approach to gardening.
By the end of this guide, you’ll have the confidence to cultivate your own potatoes, regardless of your gardening experience. Embrace the satisfaction of nurturing your food from seed to table, and discover the joys of a productive, small-space garden. So, let’s dive into the world of potato bag gardening, where practicality meets the pleasure of homegrown produce. Your journey to delicious, home-harvested potatoes begins here, promising not just a harvest, but a fulfilling gardening adventure.
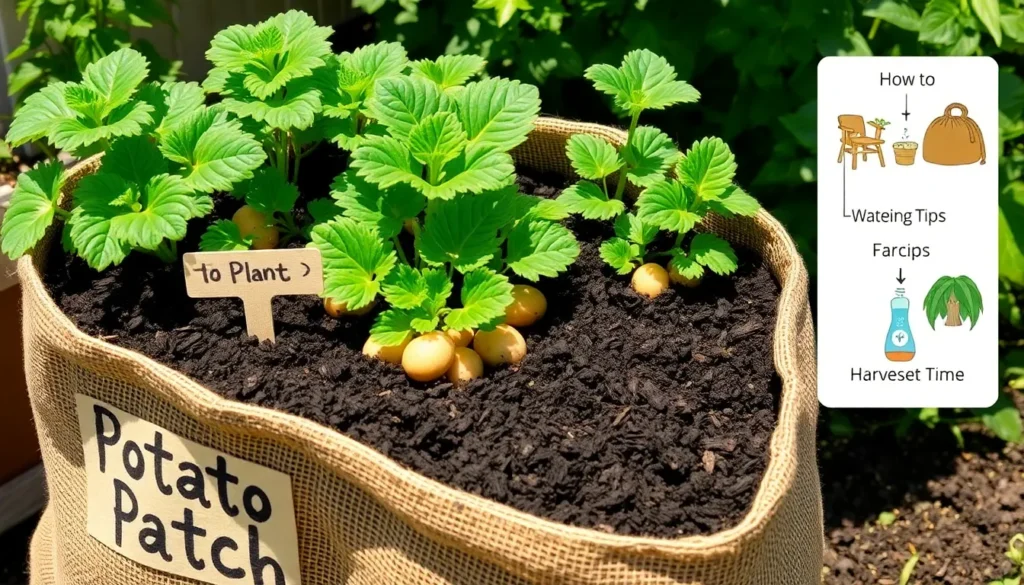
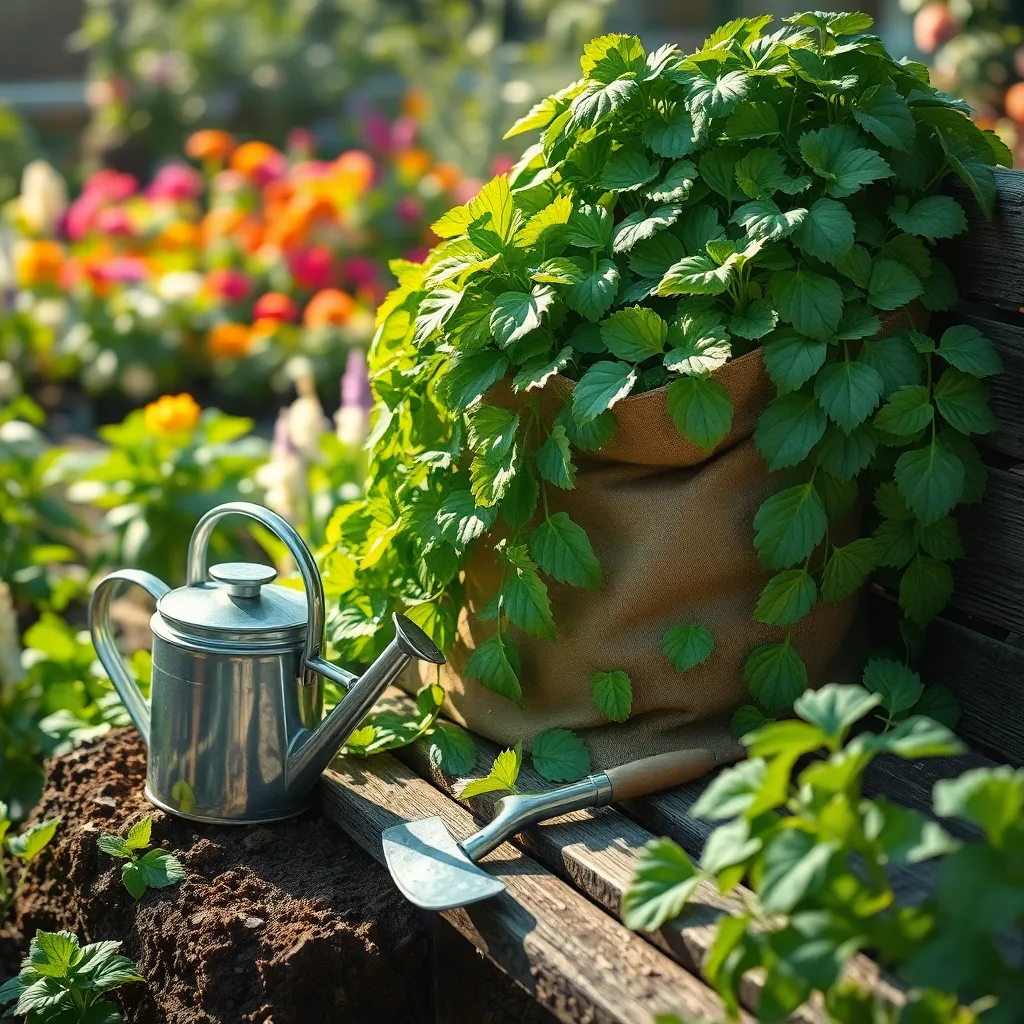
Select a Suitable Bag
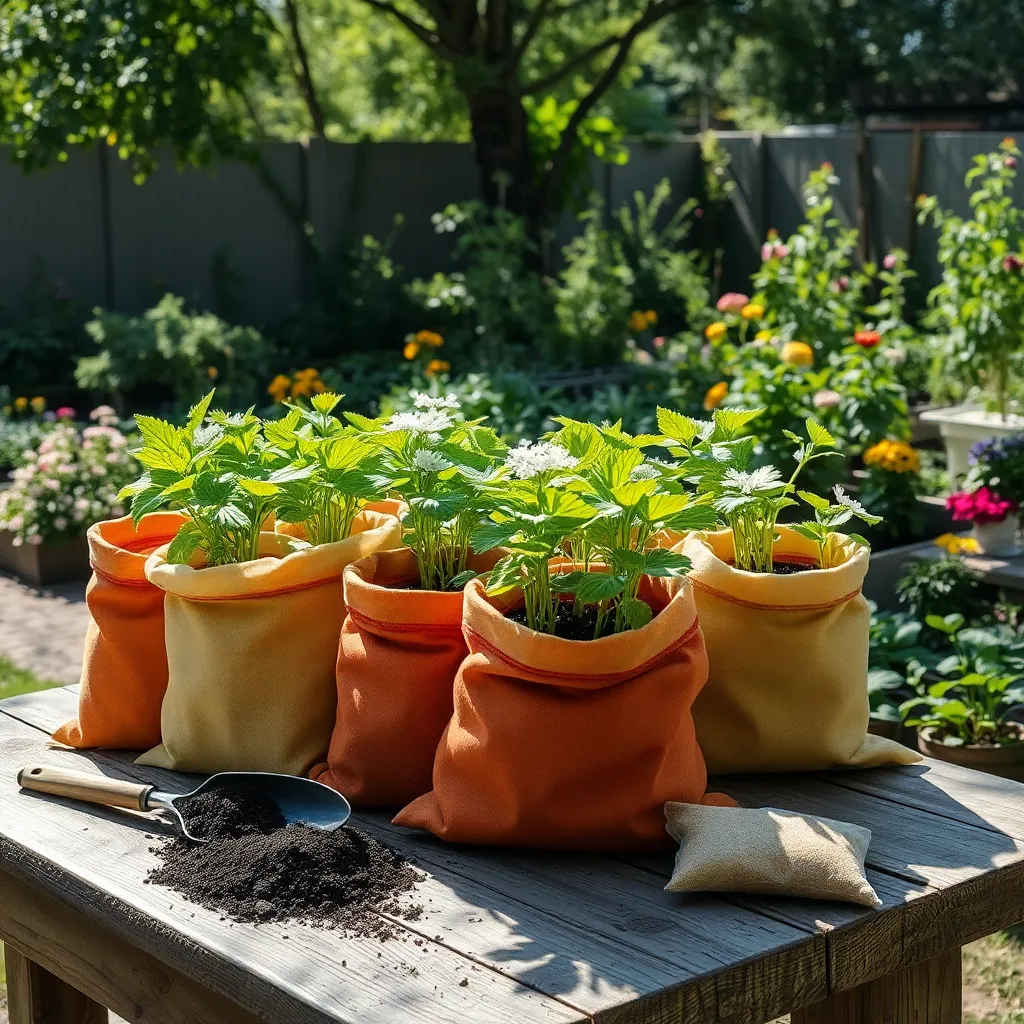
When selecting a bag for growing potatoes, consider its size and material for the best results. A bag with a capacity of at least 10 gallons is ideal, as it provides sufficient space for the potato tubers to develop and grow.
Look for breathable materials such as fabric or burlap, which allow for better air circulation and drainage. Proper drainage is crucial to prevent waterlogging, which can lead to rot and diseases in your potato plants.
Ensure the bag has sturdy handles, as this will make it easier to move your potato plants if necessary. This can be especially useful if you need to relocate them for better sunlight exposure or to protect them from harsh weather conditions.
For advanced gardeners looking to optimize yield, consider using a bag with a flap or window to easily access the potatoes. This feature allows you to harvest mature potatoes without disturbing the rest of the plant, promoting continuous growth.
Prepare Soil Mixture
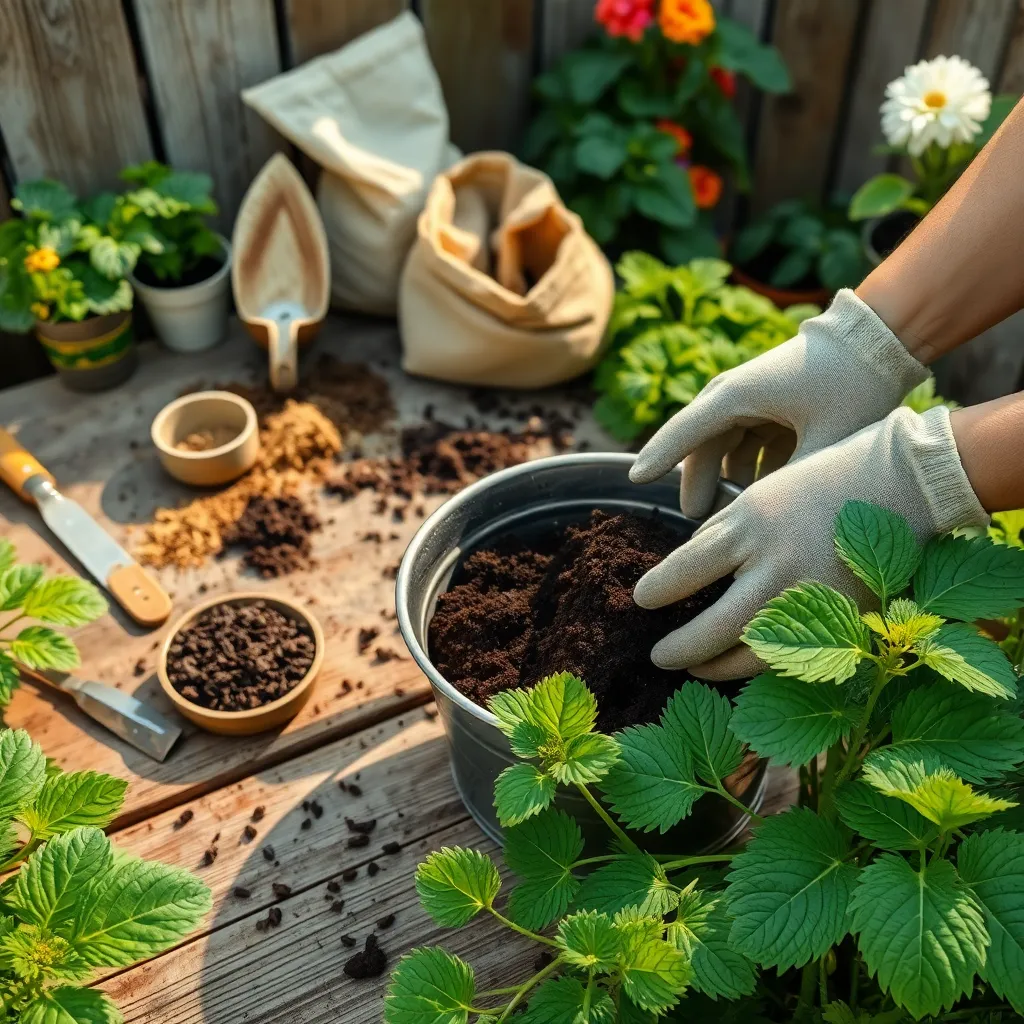
To start growing potatoes in a bag, a well-prepared soil mixture is crucial for success. Use a combination of high-quality potting soil and compost to create a nutrient-rich environment for your potatoes.
Begin by filling your bag with a layer of soil mixture about 4 inches deep. This initial layer will provide essential nutrients and support for the seed potatoes as they begin to sprout.
Mix together equal parts of potting soil and compost to ensure a balanced blend that retains moisture while providing good drainage. This will help prevent waterlogging, which can lead to rot and other issues.
Incorporate a handful of organic fertilizer into the soil mix to give your potatoes a strong start. Choose a balanced fertilizer, such as a 10-10-10 NPK ratio, to promote healthy growth throughout the season.
For additional aeration, consider adding a small amount of perlite or sand to the mixture. This will improve drainage and help keep the soil loose, which is ideal for potato tubers to expand freely.
Once the soil mixture is ready, place your seed potatoes on top, spacing them evenly. Cover them with another 4 inches of the prepared soil mix, ensuring they are well-protected and positioned for optimal growth.
Plant Seed Potatoes
After preparing your soil mixture, it’s time to focus on planting your seed potatoes. Choose certified seed potatoes as they are disease-free and offer the best chance for a healthy crop.
Begin by cutting larger seed potatoes into chunks, ensuring each piece has at least one or two eyes. Allow these pieces to dry for a day or two, which helps prevent rot when planted.
Fill your grow bag with about 4 inches of the prepared soil mixture. Place the seed potato pieces on the soil surface, spacing them evenly to allow for growth.
Cover the potatoes with an additional 3-4 inches of soil, ensuring they are completely buried. Water the soil lightly to encourage the potatoes to start sprouting, but avoid overwatering, which can lead to rot.
- Ensure the grow bag is placed in a sunny location, receiving at least 6 hours of sunlight daily.
- As the plants grow, continue to add soil until the bag is full.
- Monitor moisture levels; the soil should remain consistently moist but not soggy.
For enthusiastic gardeners looking to maximize their harvest, consider using a balanced, slow-release fertilizer. This added nutrient boost can promote vigorous growth and higher yields.
Water Consistently and Correctly
Maintaining a consistent watering schedule is crucial for growing healthy potatoes in a bag. Begin by watering the bag thoroughly after planting, ensuring the soil is evenly moist but not waterlogged.
Check the soil moisture regularly by feeling the top inch of soil with your fingers. If it feels dry, it’s time to water again; aim to keep the soil consistently moist without allowing it to dry out completely.
For consistent results, consider using a drip irrigation system or soaker hose to deliver water evenly to the roots. This approach helps prevent common issues like overwatering or uneven moisture distribution, which can lead to rot or stunted growth.
As the plants grow, their water needs will increase, especially during hot and dry weather. Be prepared to adjust your watering frequency accordingly, ensuring plants remain hydrated without standing in water, which can suffocate roots.
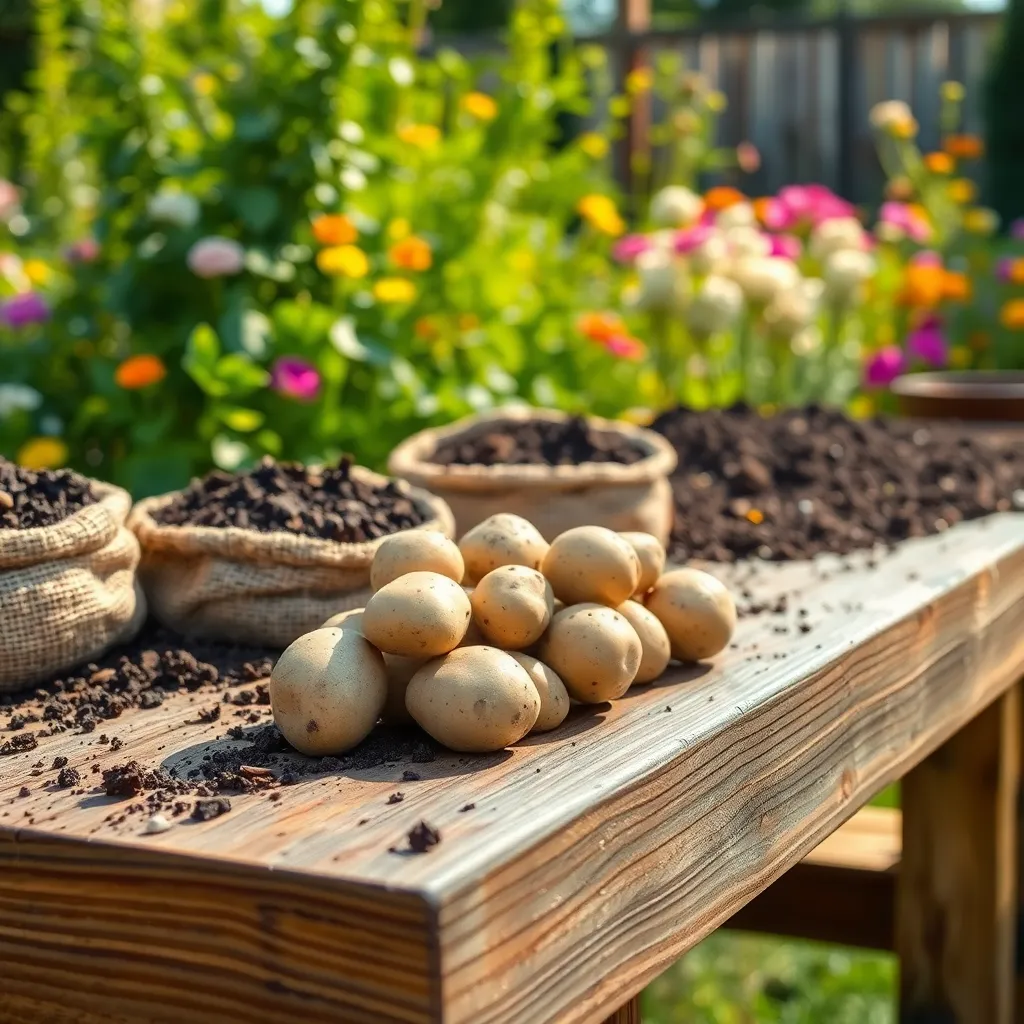
Harvest When Ready
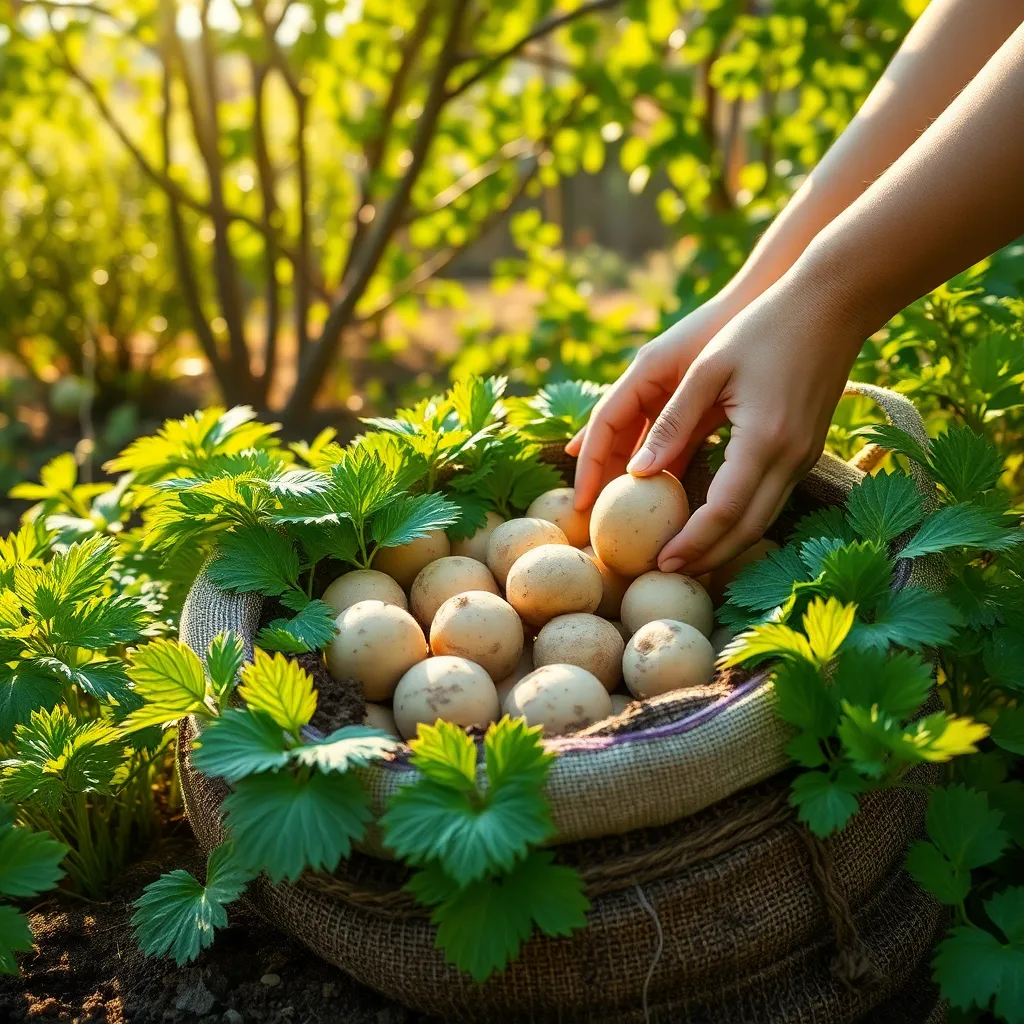
Once your potato plants have flowered and the foliage begins to yellow, it’s a sign that they are nearly ready to harvest. Generally, this happens around 10 to 12 weeks after planting, but it might vary slightly depending on the potato variety and growing conditions.
Before you start harvesting, stop watering the plants for about a week to help the skins toughen up. This will make the potatoes easier to handle and help them store better.
To harvest, gently dump the bag onto a tarp or another clean surface and sift through the soil to find your potatoes. Be sure to handle them carefully to avoid bruising, as damaged potatoes will not store well.
For a more extended storage period, cure the potatoes by laying them out in a single layer in a well-ventilated, dark area. Allow them to sit for about two weeks to let the skins harden and any small cuts to heal.
If you’re aiming for immediate use, simply wash the potatoes after harvesting and enjoy your fresh produce. For longer storage, keep them in a cool, dark, and dry place, ideally between 45 to 50 degrees Fahrenheit. Remember, proper storage can extend the shelf life of your potatoes significantly.
Conclusion: Growing Success with These Plants
In ‘How to Grow Potatoes in a Bag’, we’ve explored five key relationship concepts that are as nurturing as they are practical. First, we delved into the importance of a solid foundation, akin to selecting the right soil, ensuring your relationship has what it needs to thrive. Second, we discussed the necessity of regular communication, much like watering, to maintain vitality. Third, we highlighted the need to address issues early, similar to removing weeds, to prevent deeper problems. Fourth, we emphasized consistent nurturing, just as sunlight fosters growth, to strengthen bonds over time. Finally, we touched on celebrating small wins, like harvesting, to enjoy the fruits of your labor together.
Now, take a moment to reflect on one area where you can introduce these nurturing practices into your relationship today. Whether it’s planning a heartfelt conversation or simply expressing gratitude, these small steps can lead to significant growth.
Don’t forget to bookmark this article as your go-to guide for cultivating a flourishing relationship. By applying these principles, you’re on the path to a loving and resilient partnership that stands the test of time. Together, let’s sow the seeds of success in your relationship journey!


