Gardening is more than a hobby; it’s a journey filled with creativity and satisfaction, and what better way to express this than by crafting your own planters? Whether you’re sowing your first seeds or have a seasoned green thumb, “15 DIY Planter Ideas for Your Garden” is designed to inspire and empower you to transform everyday objects into vibrant homes for your plants. These unique planter ideas not only add a personal touch to your garden but also enhance its beauty, making your outdoor space a reflection of your style and ingenuity.
For beginners, this guide offers step-by-step instructions that simplify the art of planter creation, ensuring your projects flourish alongside your confidence. Experienced gardeners will discover fresh, innovative ideas to refresh their garden’s aesthetic and functionality. Embrace the joy and rewards of successful gardening as you explore these projects—each promising practical benefits, from improving plant health to maximizing garden space. With this guide, you’ll feel equipped and excited to venture into the world of DIY gardening, knowing that every planter you create will be a testament to your growing expertise and passion.
Repurpose Wooden Pallets Creatively

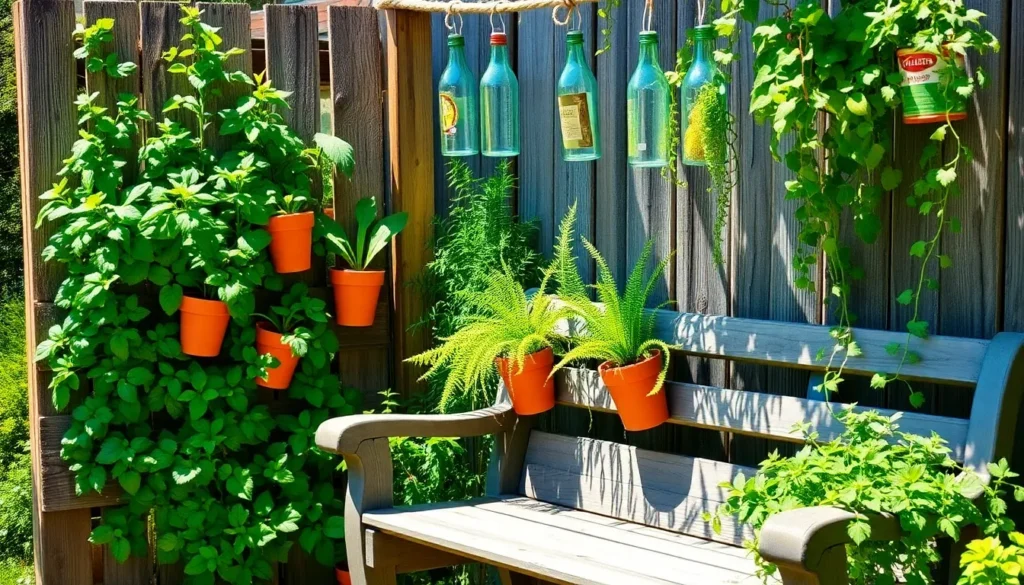
Transforming wooden pallets into planters is a sustainable way to add charm to your garden. Begin by selecting pallets that are in good condition and free from harmful chemicals, which can be ensured by looking for those marked with “HT” for heat-treated.
To create a vertical planter, secure the pallet upright and fill the spaces with a mix of potting soil and compost for nutrient-rich planting. Choose plants that thrive in vertical arrangements, such as strawberries or herbs, which have shallow root systems.
For a more advanced project, you can deconstruct pallets and use the wood to build custom planter boxes. Make sure to sand the wood to prevent splinters and coat it with a weather-resistant sealant to extend its lifespan outdoors.
Once assembled, line the planter boxes with landscape fabric to improve drainage and prevent soil from escaping. Water the plants consistently, allowing the top inch of soil to dry between waterings for optimal growth.
Transform Old Tires into Planters
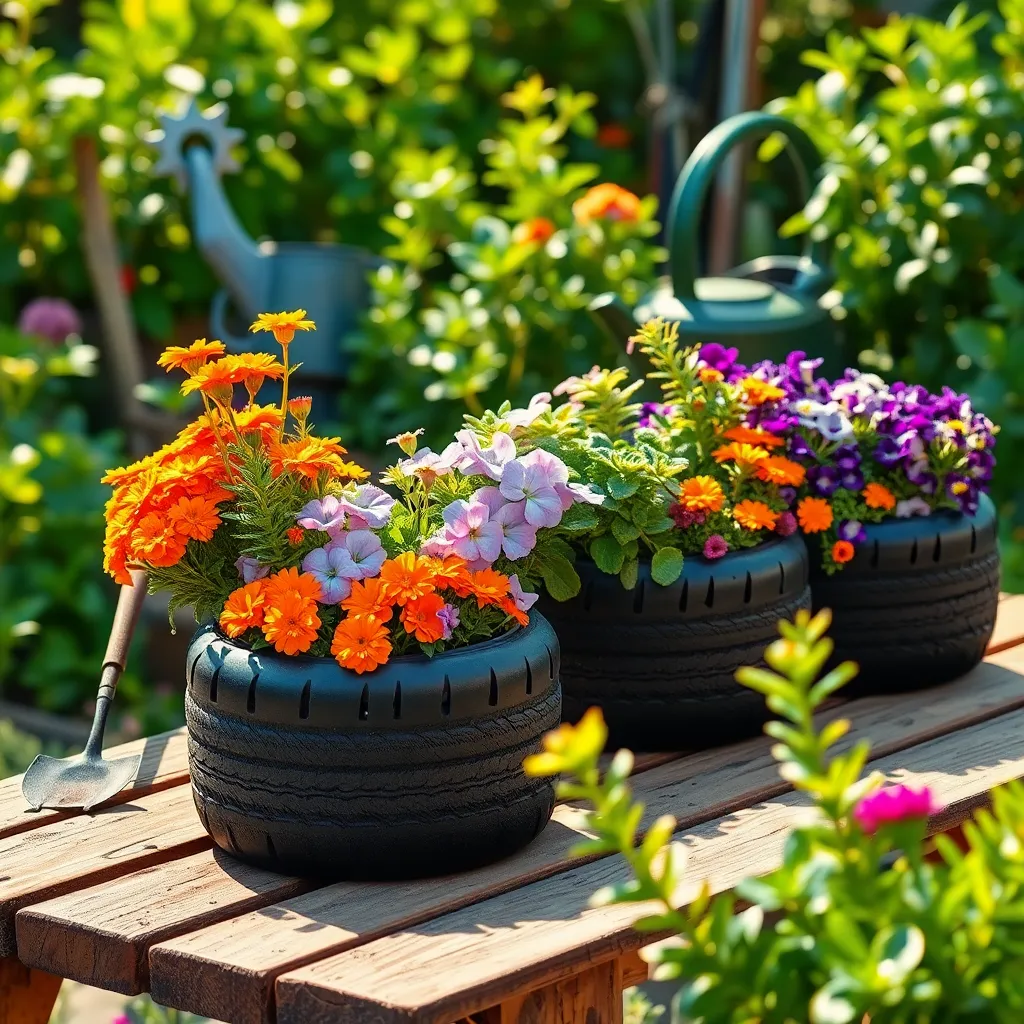
Turning old tires into planters is a fantastic way to recycle and add a unique touch to your garden. Start by cleaning the tires thoroughly with soap and water to remove any debris and ensure a safe environment for your plants.
Drill several drainage holes at the bottom of the tire to prevent waterlogging, which can harm plant roots. Then, fill the tire with a rich, well-draining potting mix, such as a blend of equal parts compost, peat moss, and perlite.
Consider planting hardy, low-maintenance plants like succulents or herbs, which thrive with minimal care. For a burst of color, annual flowers like marigolds or petunias are excellent choices, as they adapt well to various conditions.
To elevate your tire planter, stack multiple tires and secure them with metal stakes or garden adhesive, creating a tiered effect. This technique not only adds visual interest but also allows for a mix of plant varieties, offering a diverse and vibrant display.
Use Tin Cans as Herb Pots
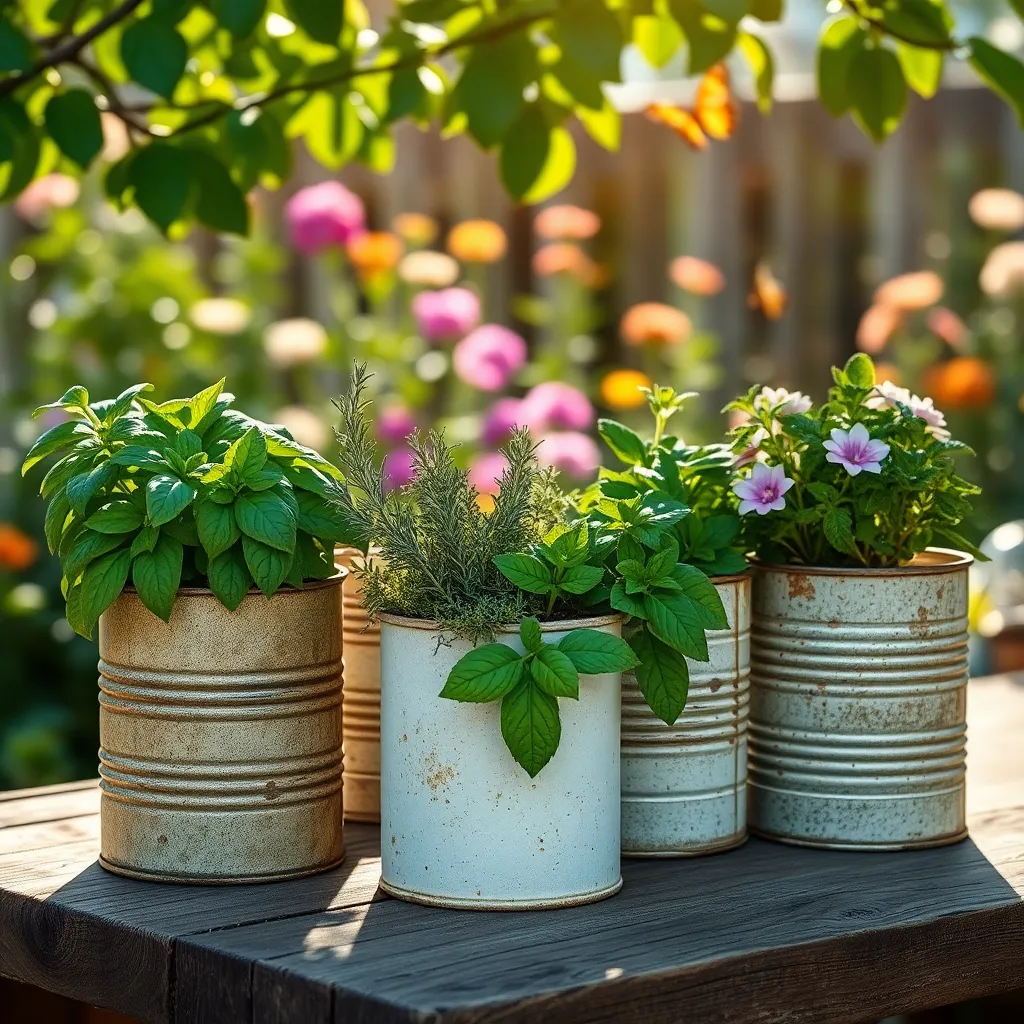
Repurpose tin cans into charming herb pots to add a touch of creativity and sustainability to your garden. Begin by thoroughly cleaning the cans and removing any labels to ensure a neat appearance.
Drill a few small drainage holes at the bottom of each can to prevent waterlogging, which can be detrimental to herbs. Fill the cans with a quality potting mix that is rich in organic matter, ensuring the herbs have the nutrients they need to thrive.
Herbs like basil, mint, and parsley are excellent choices for tin can pots due to their compact size and adaptability. Place the cans in a sunny spot as most herbs require at least six hours of sunlight daily to flourish.
Water the herbs when the top inch of soil feels dry to the touch, being careful not to overwater as tin cans can retain moisture. For a more advanced approach, consider painting or decorating the cans to personalize your garden space further.
Craft Vertical Gardens with Gutters
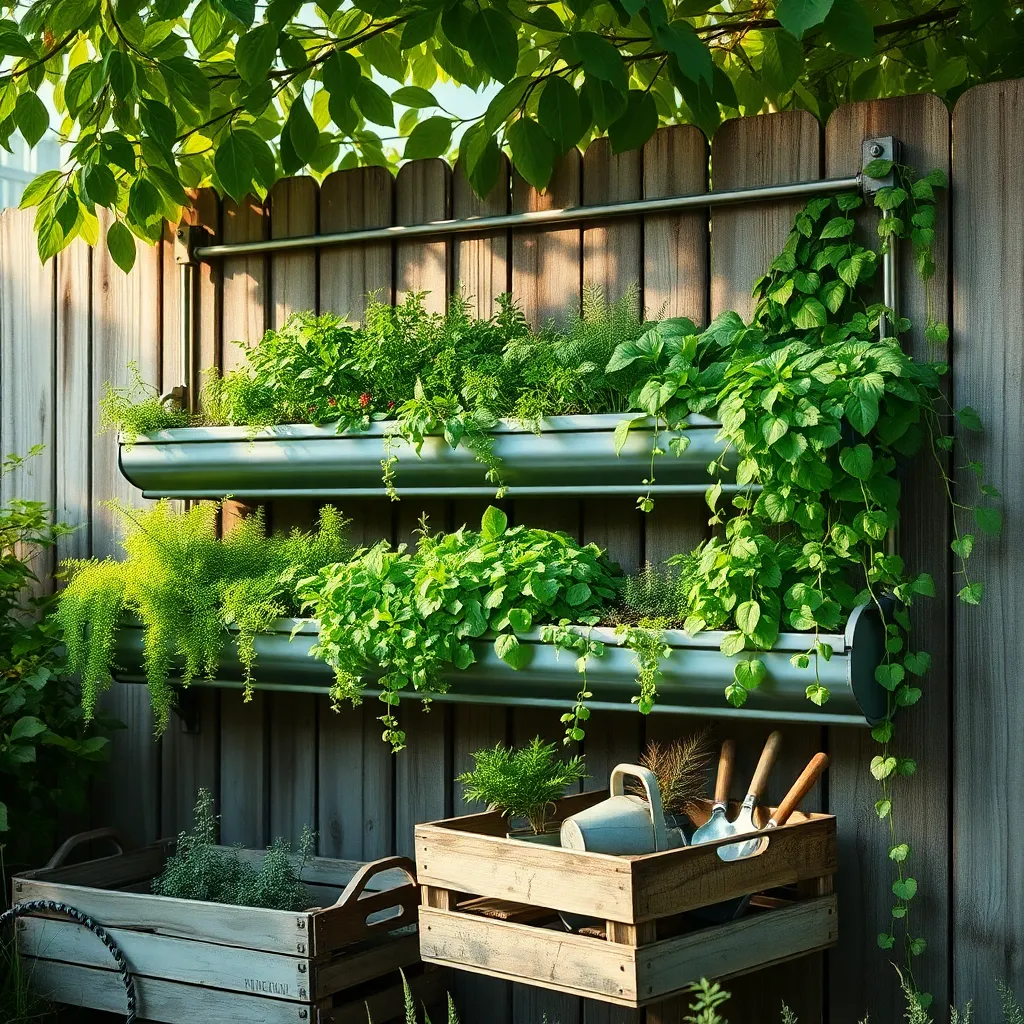
Transforming old gutters into vertical gardens is a clever way to maximize growing space, especially in small gardens. Start by cleaning and cutting the gutters into manageable sections, typically three to four feet long, to ensure ease of handling and installation.
Next, drill drainage holes every six inches along the bottom of each gutter section to prevent waterlogging. This step is crucial because adequate drainage is essential for healthy plant growth, particularly in confined spaces.
Securely mount the gutter sections on a sturdy wall or fence using brackets, ensuring each section is slightly tilted for proper water drainage. For optimal results, position the gutters in a location that receives at least six hours of sunlight daily, as most plants thrive with ample light.
When choosing plants, consider varieties that suit vertical growing conditions, such as herbs, strawberries, or small flowering plants. Use a high-quality, lightweight potting mix that retains moisture but drains well, ensuring your plants receive the right balance of nutrients and hydration.
Watering is necessary but should be done carefully to avoid oversaturation. Depending on the climate and plant choice, a general guideline is to water every two to three days, but always check the soil moisture level to guide your watering schedule.
Make Planters from Concrete Blocks
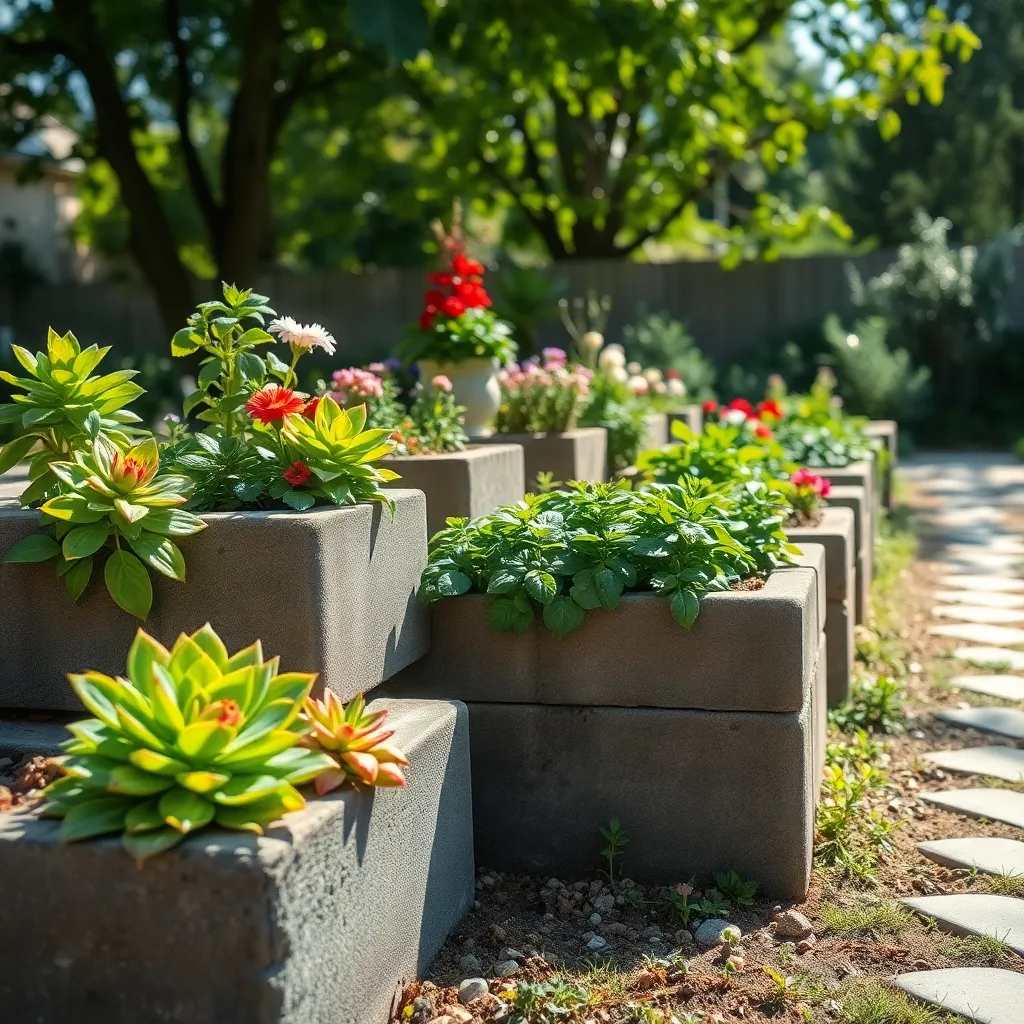
Transforming concrete blocks into planters is an imaginative way to add structure to your garden space. These versatile blocks are not only affordable but also durable, making them perfect for outdoor use.
Start by selecting the right spot for your concrete block planters, ensuring it receives the proper amount of sunlight for your chosen plants. Arrange the blocks in a pattern that suits your garden’s layout, whether you prefer a simple stack or a more intricate design.
When it comes to filling your planters, use a well-draining potting mix to ensure your plants thrive. Adding a layer of gravel at the bottom of each block can enhance drainage, preventing root rot and promoting healthy growth.
For plant selection, consider using succulents or herbs, which do well in the limited soil space of a concrete block. Succulents are particularly resilient and can withstand dry conditions, making them a low-maintenance option for beginners.
Water your concrete block planters regularly, but be cautious of overwatering, especially in shaded areas. As a tip for advanced gardeners, try experimenting with a mix of annuals and perennials for a dynamic display throughout the year.
Convert Wine Barrels for Large Plants
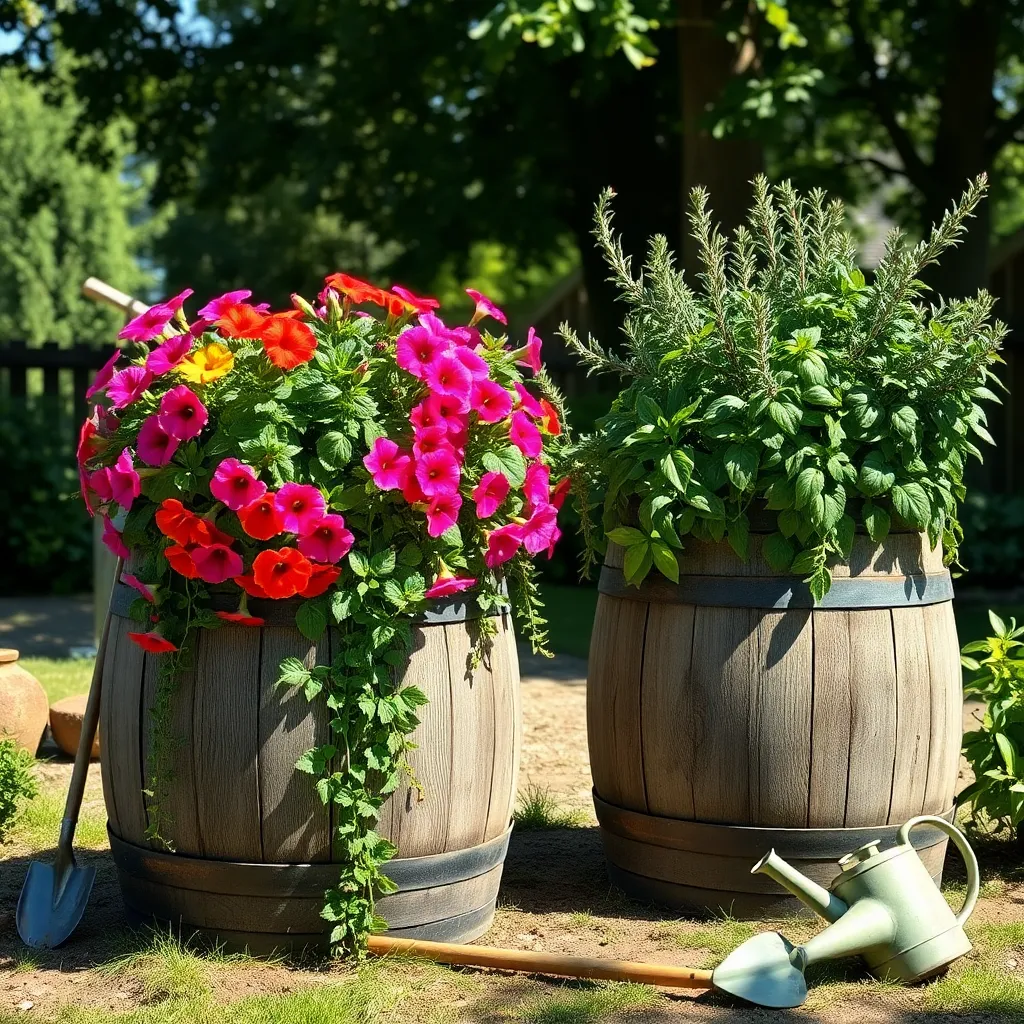
Repurposing wine barrels into planters is an excellent way to add a rustic charm to your garden while providing ample space for large plants to thrive. To start, you’ll need to cut the barrel in half, creating two spacious planters that are perfect for deep-rooted plants like tomatoes or small trees.
Before planting, ensure the barrels have adequate drainage by drilling several holes in the bottom. Line the bottom with a layer of gravel to further improve drainage and prevent root rot, which is essential for maintaining healthy plants.
Fill the barrels with a high-quality potting mix that retains moisture yet drains well, such as a mix containing peat, perlite, and aged compost. This provides a nutrient-rich environment that supports robust plant growth, helping vegetables and flowers alike to flourish.
For optimal results, position your wine barrel planters in a spot that receives at least six to eight hours of sunlight per day. Water regularly but be cautious not to overwater; allow the top inch of soil to dry out between watering sessions, which will help prevent waterlogging and promote healthy root development.
Design Hanging Planters with Macramé
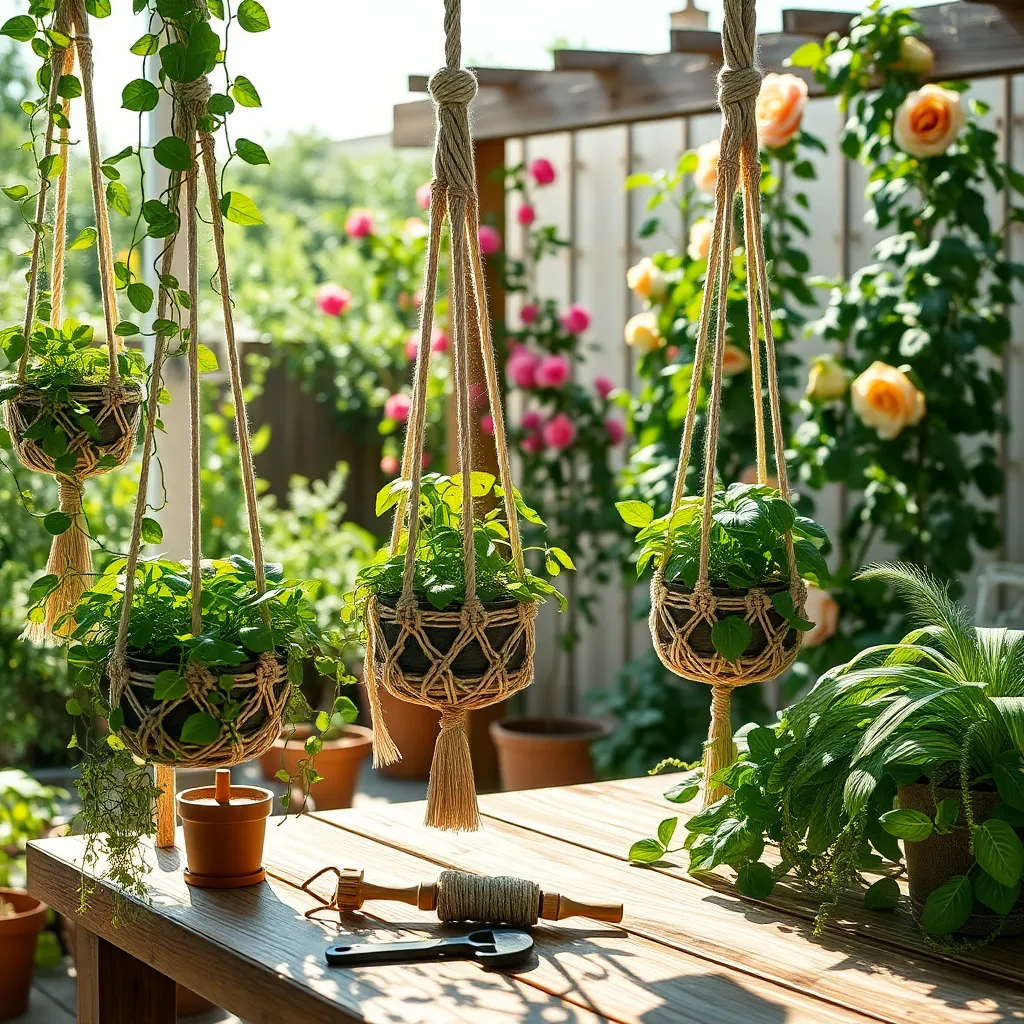
Adding a touch of bohemian flair to your garden with macramé hanging planters is both stylish and functional. To get started, you’ll need some basic macramé supplies like cord, a pair of scissors, and a few metal or wooden rings.
Begin by selecting a sturdy cord that can support the weight of your chosen plant. Cotton cords are popular for their strength and ease of use, making them ideal for beginners. For more advanced gardeners, experimenting with different knotting techniques can create intricate designs that enhance your garden’s aesthetic.
When choosing plants for your macramé hangers, consider species that thrive in hanging conditions. Trailing plants like pothos or string of pearls are excellent choices, as they naturally drape over the sides of the planter. Ensure these plants receive adequate light, which is usually best achieved by hanging them near a bright window or in a well-lit outdoor area.
To ensure your plants remain healthy, use a lightweight potting mix that provides good drainage. Overwatering can be a common issue with hanging planters, so check the soil moisture regularly and water only when the top inch feels dry. By maintaining a consistent watering schedule, you can prevent root rot and promote lush, vibrant growth.
Upcycle Vintage Teapots for Flowers
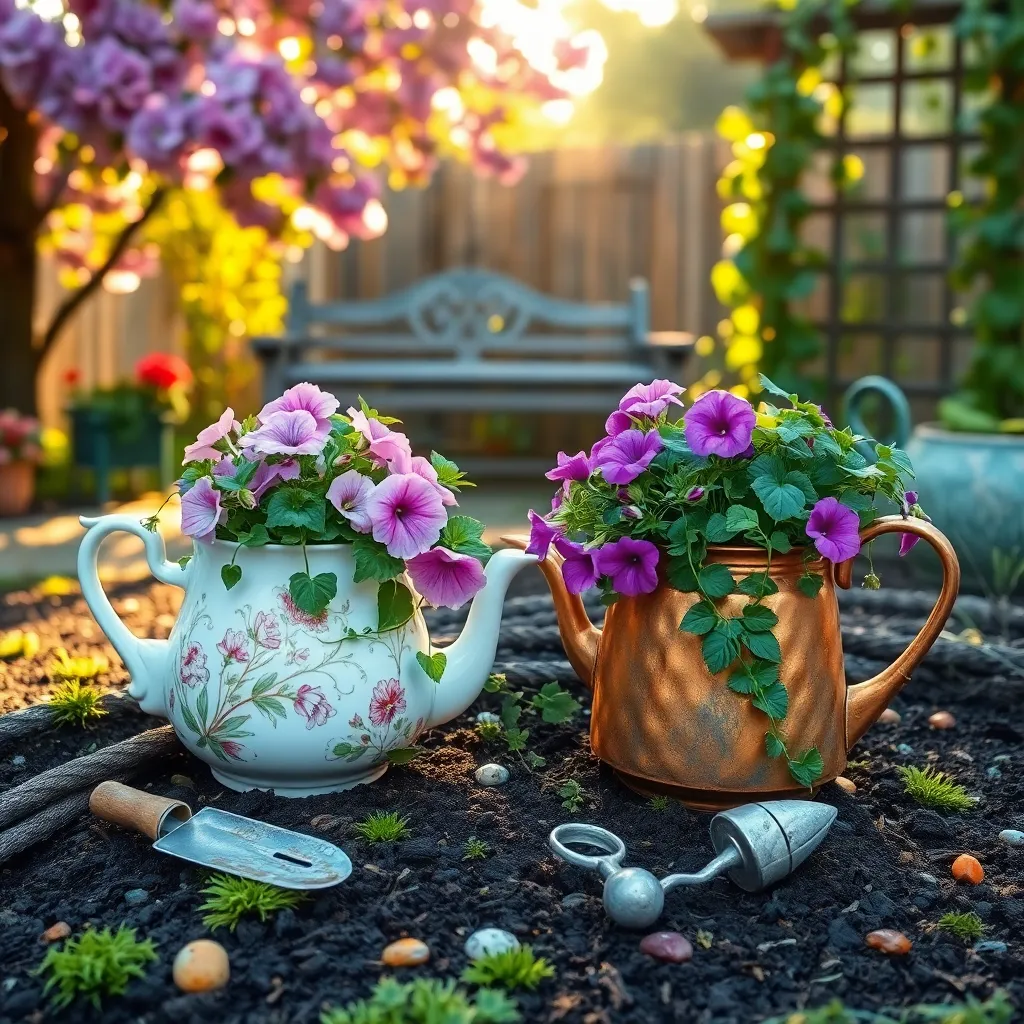
Transforming vintage teapots into planters adds a whimsical touch to any garden. Begin by selecting teapots with drainage holes or consider drilling small holes at the bottom to prevent waterlogging.
Choose plants that thrive in smaller spaces, such as succulents or herbs. Succulents are particularly suitable because they require less water, making them ideal for teapots that may not have perfect drainage.
Fill your teapot with a well-draining potting mix to support plant health. A mixture of potting soil, sand, and perlite can help mimic the native habitat of succulents, providing them with optimal growing conditions.
Position your teapot planters in a spot where they can receive adequate light. Most succulents prefer bright, indirect sunlight, so a windowsill or a partial sun garden bed works well.
Water your teapot planters sparingly, allowing the soil to dry out completely between waterings. This reduces the risk of root rot, a common issue when growing plants in containers without proper drainage.
For an advanced touch, combine different succulent varieties to create a visually appealing arrangement. Mixing textures and colors can enhance the aesthetic appeal of your vintage teapot planters, making them a delightful focal point in your garden.
Fashion Planters from Woven Baskets
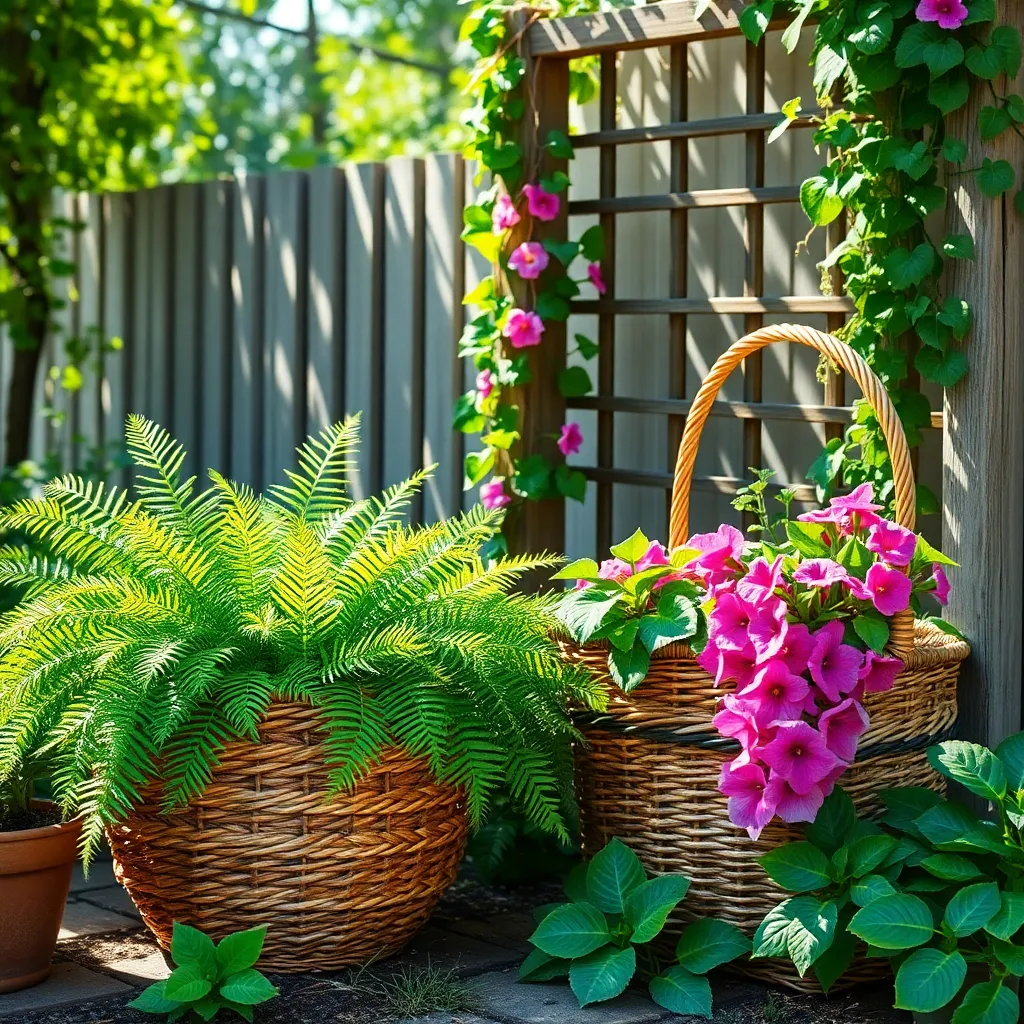
Woven baskets make charming and unique planters that add a touch of rustic elegance to any garden. To begin, ensure your basket is lined with a plastic liner or heavy-duty garbage bag to prevent soil and water from seeping out.
Start by selecting a basket that complements your garden’s aesthetic and is large enough to accommodate your chosen plants. Drill small holes in the liner for drainage, and then fill the basket with a high-quality potting mix suitable for your plants.
Consider using plants that thrive in containers, such as herbs, succulents, or even small flowering annuals. Water these plants regularly, but make sure to check the soil moisture frequently to avoid overwatering, which can lead to root rot.
To maintain the basket’s appearance, periodically check for signs of wear or damage, especially if it’s exposed to the elements. Reinforce the basket with outdoor sealant or a fresh coat of paint if needed, ensuring it remains a delightful feature in your garden.
Build Tiered Planters with Wood Slats
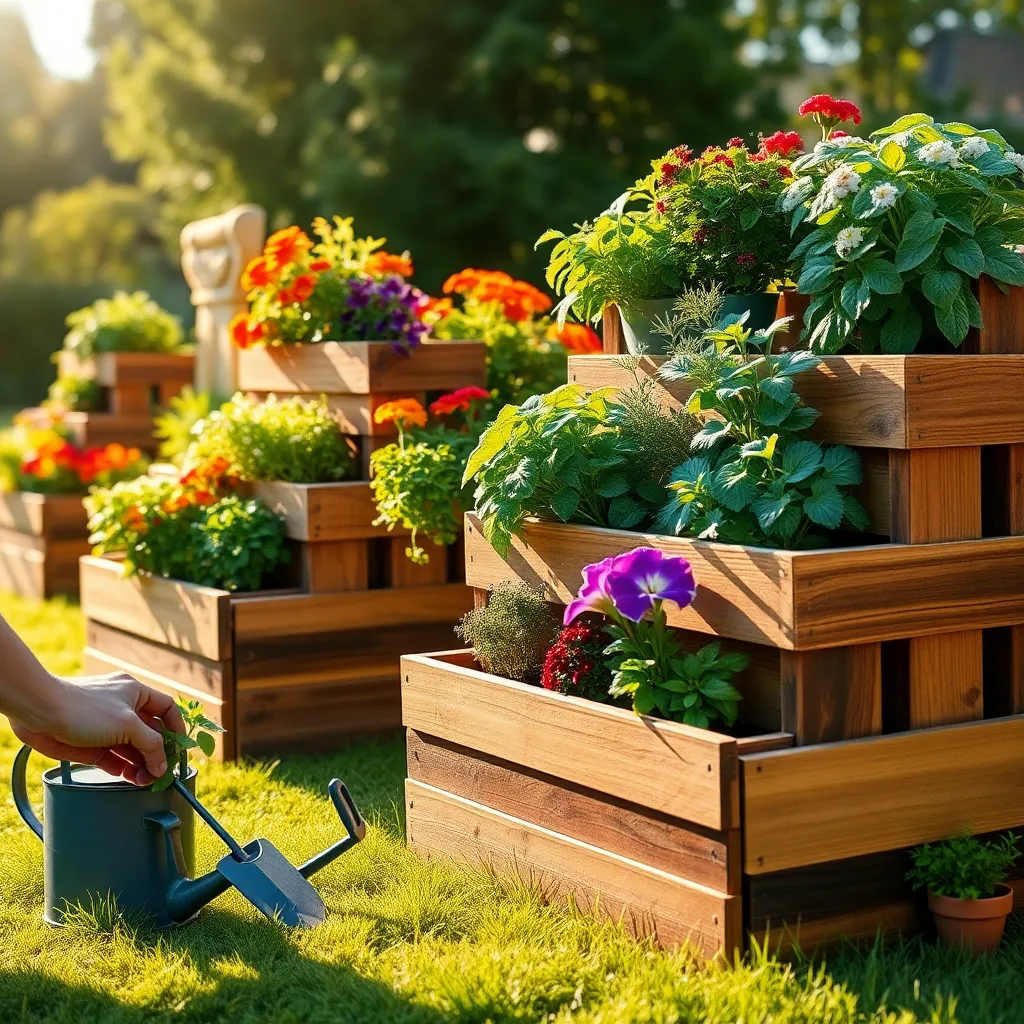
Building tiered planters with wood slats is an excellent way to maximize space and add dimension to your garden. This project is perfect for both small patios and expansive gardens, providing a striking visual display while being practical for growing multiple plant varieties.
Start by selecting durable wood, like cedar or redwood, as these materials resist rot and weathering. Cut the wood slats to your desired lengths, ensuring that they form a stable base and gradually smaller tiers as you move upwards.
Assemble the tiers by fastening the wood slats together with weather-resistant screws, ensuring each layer is secure. For added stability, consider anchoring the bottom tier to the ground with stakes, particularly if you live in a windy area.
When choosing plants for your tiered planter, consider those that thrive in similar conditions to make maintenance easier. Herbs, small vegetables, and flowering plants like petunias and marigolds are great choices, as they offer a variety of colors and scents.
To keep your plants healthy, fill each tier with a high-quality potting mix that provides good drainage and nutrients. Watering should be done consistently, but ensure each level has proper drainage to prevent root rot, especially if your plants require different moisture levels.
Create Planters with Old Drawers
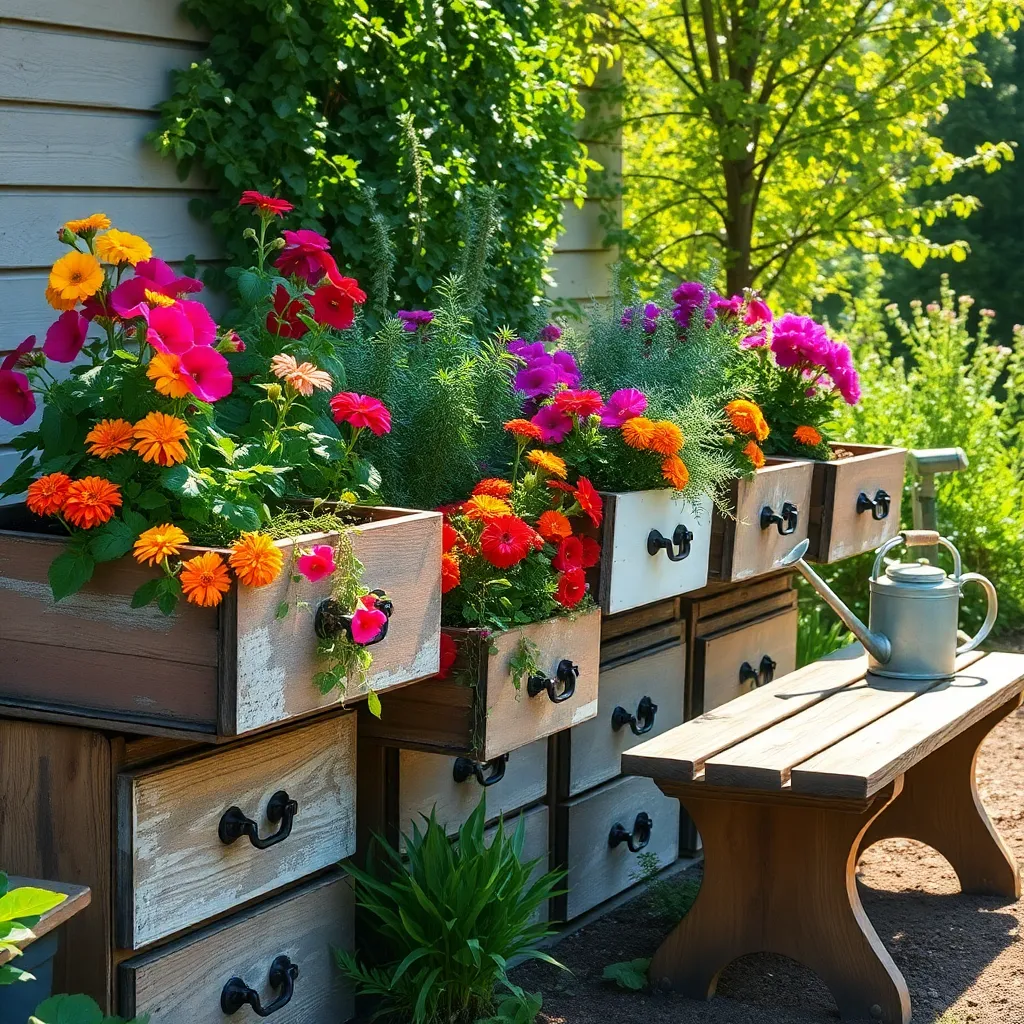
Repurposing old drawers as planters is an excellent way to add character to your garden while recycling materials. Before planting, ensure that the drawer has adequate drainage by drilling several holes in the bottom to prevent waterlogging.
Line the bottom of the drawer with landscape fabric or a plastic liner to protect the wood from rot. Fill the drawer with a high-quality potting mix that includes organic matter, which will provide essential nutrients and improve drainage.
Choose plants that suit the size and depth of your drawer; shallow-rooted plants like herbs, succulents, or annual flowers work well. Consider companion planting by mixing different varieties, such as marigolds with basil, to create a thriving mini-ecosystem.
Position your drawer planter in a location that meets the sunlight requirements of your chosen plants—most herbs and flowers prefer at least six hours of sunlight each day. Water regularly but be cautious not to overwater; the soil should be moist but not soggy.
Paint Cinder Blocks for Colorful Displays
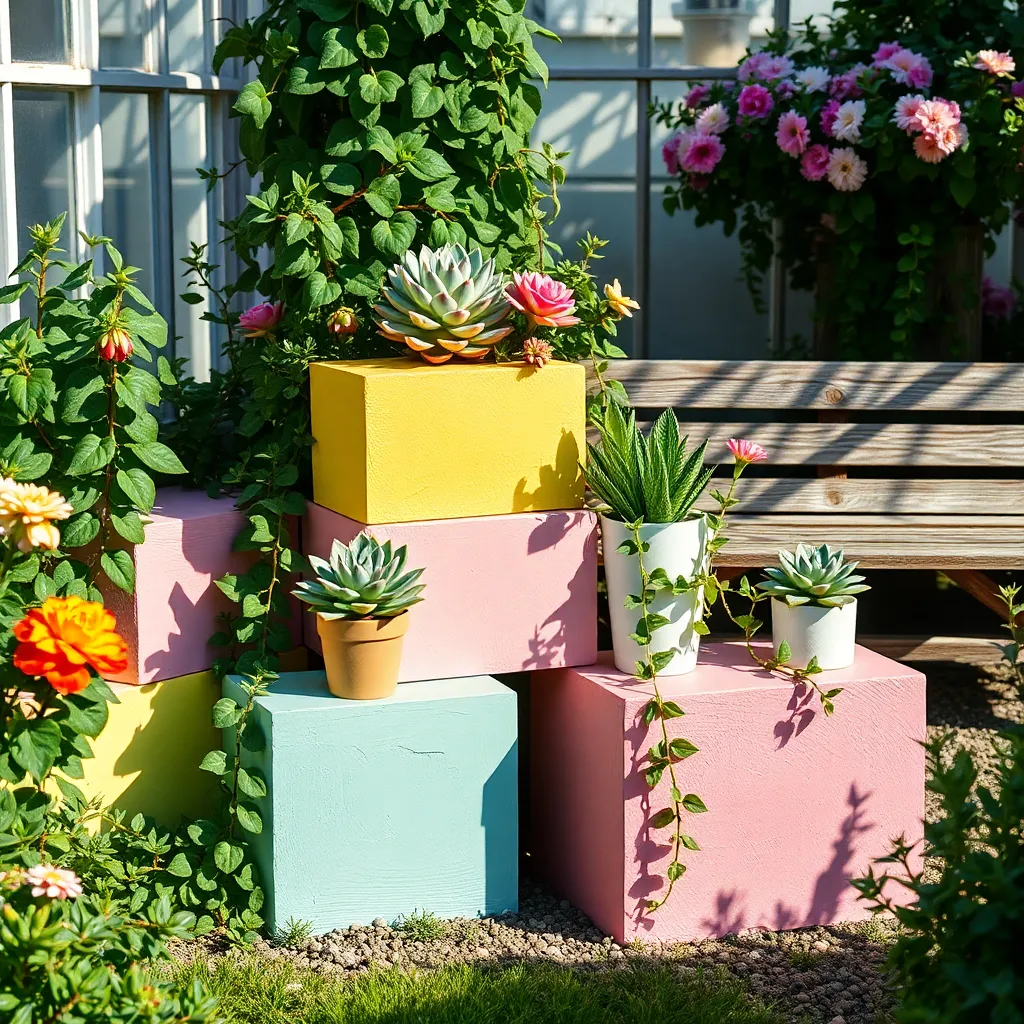
Transforming cinder blocks into colorful planters is an easy and creative way to add vibrancy to your garden. Begin by selecting high-quality, weather-resistant paint to ensure long-lasting color in outdoor conditions.
Before painting, clean the cinder blocks thoroughly to remove dust and debris for better paint adhesion. Once cleaned, apply a primer designed for masonry surfaces to help the paint adhere well and prevent peeling.
Choose bold colors that complement your garden’s theme or contrast to create a striking visual effect. Opt for acrylic or spray paint specifically formulated for outdoor use to withstand the elements.
After painting, allow the blocks to dry completely before arranging them in your desired configuration. Fill the cinder block cavities with a mix of quality potting soil and compost for optimal plant growth.
Plant a variety of low-maintenance plants such as succulents or herbs, which thrive in well-drained environments. Water the plants regularly, but ensure the soil is allowed to dry out between waterings to prevent root rot.
For a more advanced project, consider installing a simple irrigation system to keep your plants hydrated efficiently. This setup can be particularly useful in warmer climates where frequent watering is necessary.
Assemble Rustic Planters from Logs
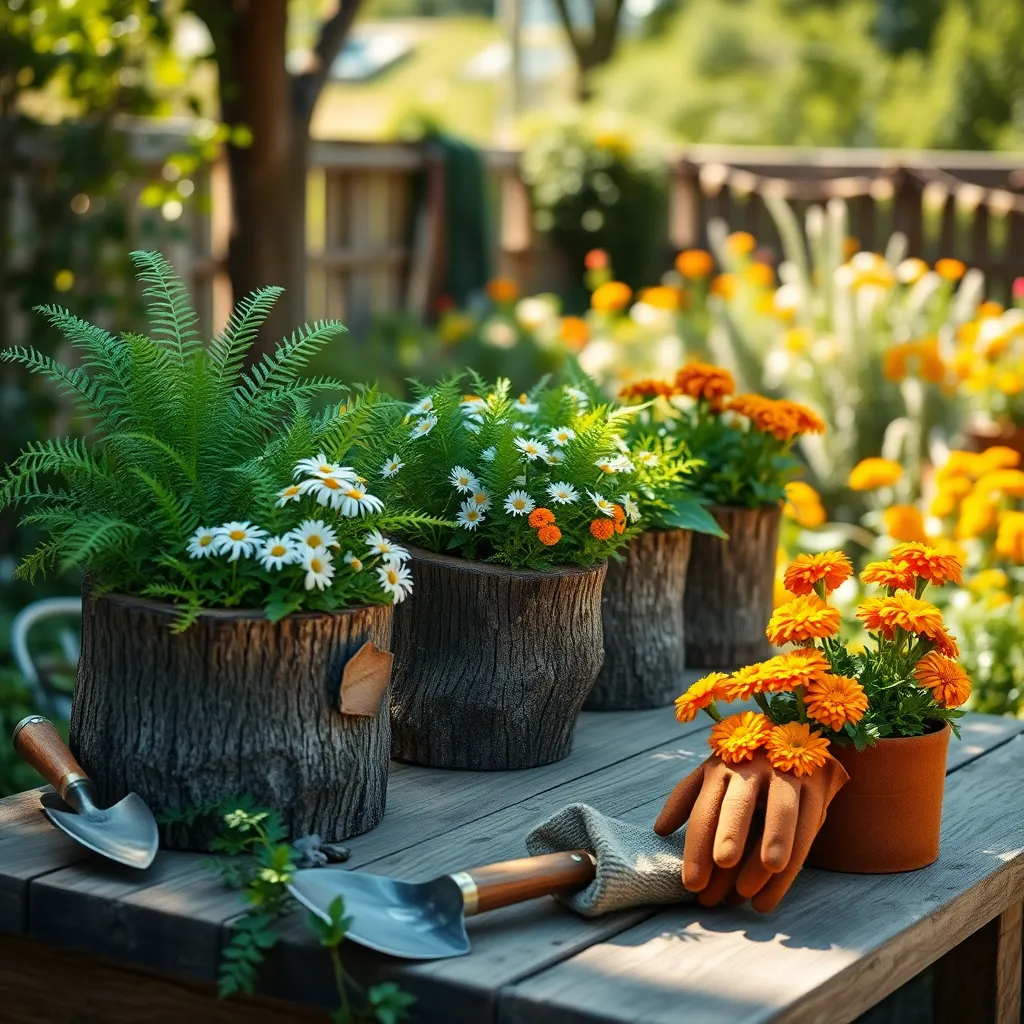
Creating rustic planters from logs is a wonderful way to bring a touch of natural charm to your garden. Begin by selecting a log with a diameter of at least 10-12 inches to ensure ample space for planting.
After choosing your log, hollow out the center using a chisel or a drill with a spade bit, leaving about two inches of wall thickness. It’s crucial to drill several small holes at the bottom for drainage, as this prevents water from pooling and causing rot.
Once hollowed, fill the log with a mixture of potting soil and compost to provide rich nutrients for your plants. This combination ensures that your plants have a well-draining yet moisture-retentive environment, perfect for their growth.
Select plants that thrive in your local climate and require similar conditions, such as herbs like thyme and rosemary or succulents for a low-maintenance option. Remember to water your log planter regularly, checking the soil moisture by inserting your finger about an inch deep to gauge if it’s time for a drink.
Turn Colanders into Unique Planters
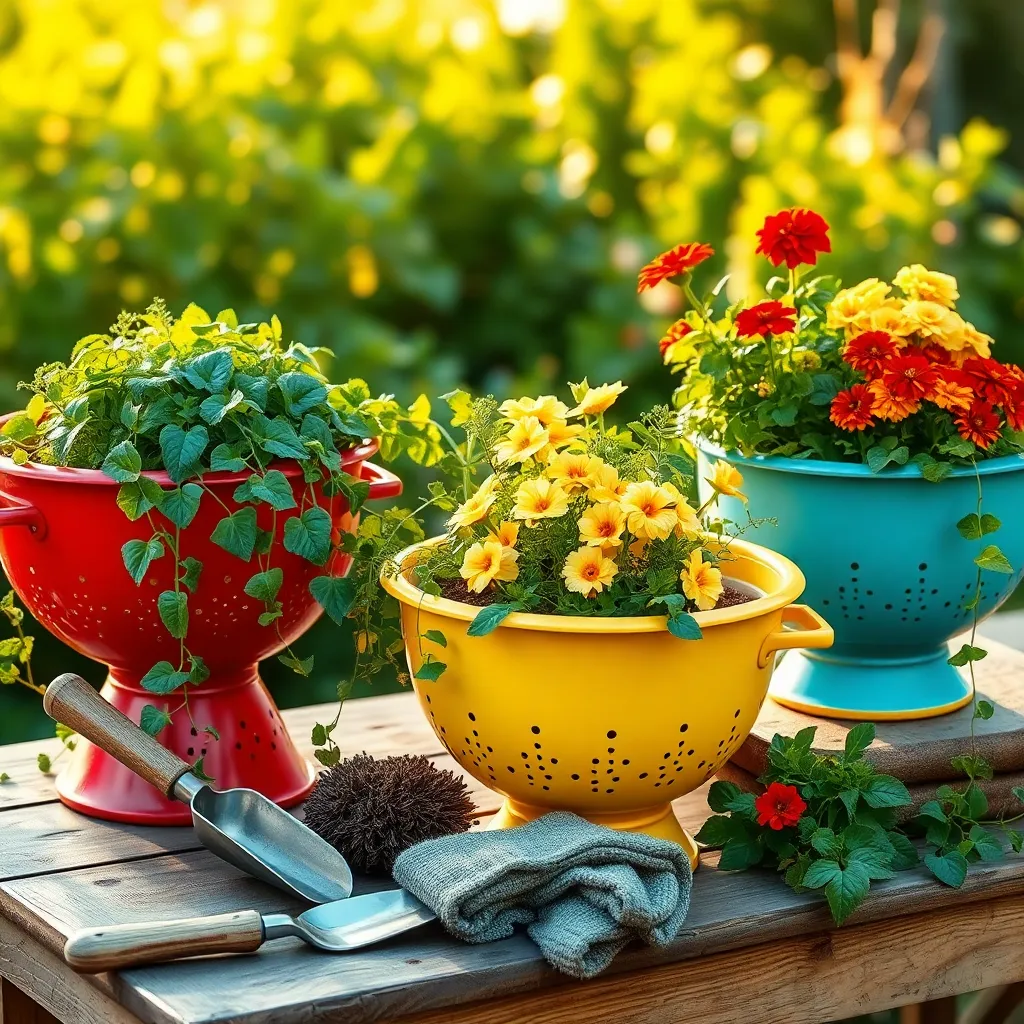
Transforming colanders into planters is both a creative and functional way to add charm to your garden. Colanders are naturally equipped with drainage holes, making them ideal for preventing overwatering issues.
To start, choose a colander that fits the size of the plant you wish to grow. Small herbs like basil or thyme thrive well in these planters, as they do not require deep soil.
For best results, line the inside of the colander with a layer of burlap or coconut coir to retain soil while allowing water to drain. Fill the colander with a mixture of potting soil and compost, ensuring it’s nutrient-rich to support plant growth.
Watering should be done carefully; aim for consistency without soaking the soil. Consider placing your colander planters in a sunny spot, as most herbs and small flowers require ample sunlight to flourish.
For an advanced touch, try adding a slow-release fertilizer to the soil mix to provide steady nutrients over time. This will enhance growth and ensure your plants remain healthy and vibrant throughout the growing season.
Use PVC Pipes for Vertical Herbs
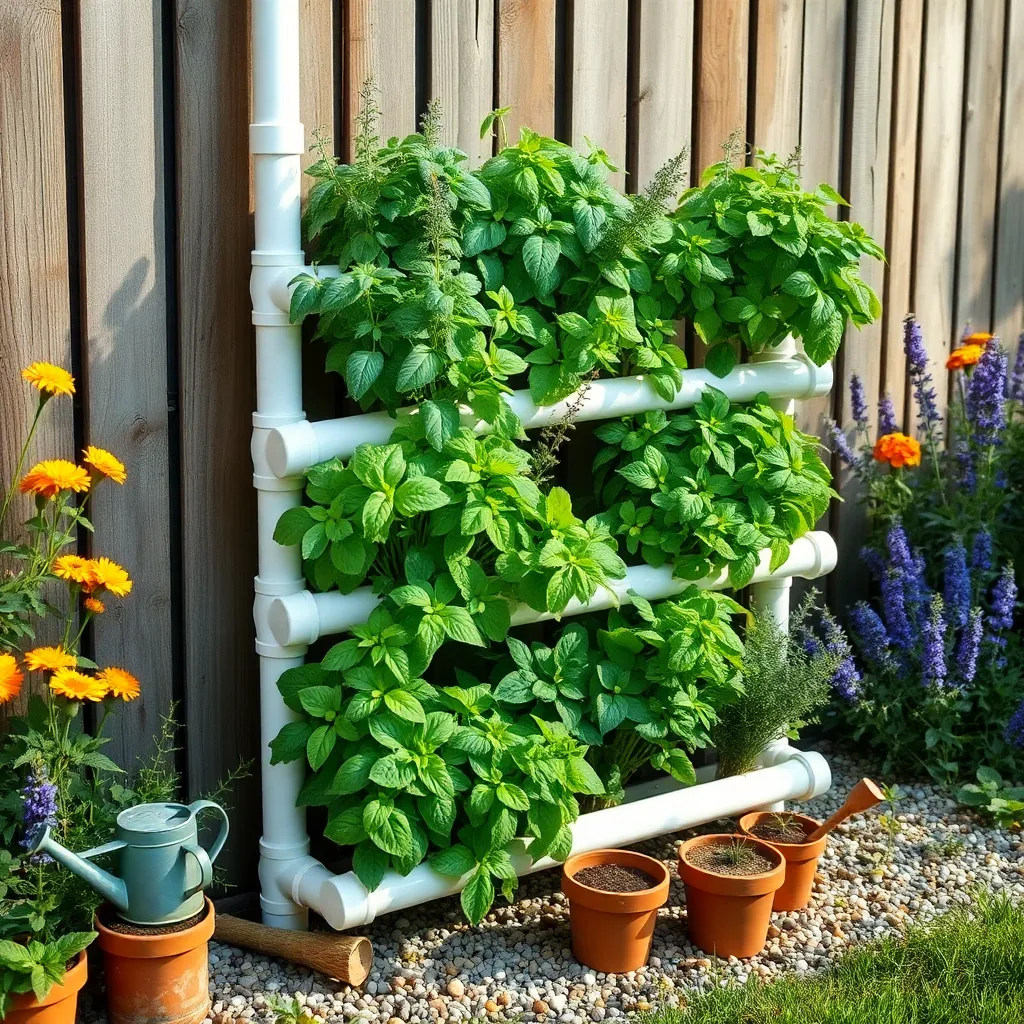
Vertical gardening with PVC pipes is an excellent way to save space and cultivate a variety of herbs. To start, you’ll need PVC pipes with a diameter of at least 4 inches, which can be easily found at hardware stores.
Begin by marking and cutting holes along the length of the pipe, ensuring they are evenly spaced. These holes should be large enough to accommodate the herbs you intend to plant, such as basil, parsley, or cilantro.
When filling the pipes, use a well-draining potting mix to provide the best environment for your herbs. Consider adding a slow-release fertilizer to ensure a consistent nutrient supply.
Watering is critical for vertical planters, as the soil can dry out quickly. It is advisable to water your herbs every few days, adjusting based on weather conditions, ensuring the soil remains moist but not waterlogged.
Conclusion: Growing Success with These Plants
In exploring the ’15 DIY Planter Ideas for Your Garden,’ we’ve uncovered a treasure trove of relationship-building concepts that go beyond mere gardening. Each planter idea highlights creativity, collaboration, patience, adaptability, and nurturing—key ingredients for any thriving relationship. Whether it’s the rustic charm of a repurposed wooden crate or the vibrant energy of a colorful tire planter, every project symbolizes the beauty of working together, finding joy in the process, and cherishing shared achievements.
Now, take immediate action: pick one planter idea and create it with your partner or loved ones this weekend. This shared activity is not just about enhancing your garden but also about planting seeds of connection and understanding in your relationships.
Remember to bookmark this article for quick access to these creative ideas and insights whenever you need a dose of inspiration. As you nurture your garden, let it remind you that with the right care and attention, your relationships can bloom beautifully. Embrace the journey of growing together and watch as your connections flourish, proving that with love and effort, any relationship can thrive. 🌱🌻


