Gardening is much more than nurturing your plants; it’s about creating a vibrant ecosystem right in your backyard, and what better way to invite lively visitors than with a homemade bird feeder? Whether you’re a seasoned gardener with calloused hands or a budding enthusiast just dipping your toes into the soil, crafting a DIY bird feeder offers a delightful opportunity to enhance your garden’s charm while providing essential nourishment for our feathered friends. Not only does this project add a touch of whimsy and life to your outdoor space, but it also plays a crucial role in supporting local wildlife, making your garden a haven for birds seeking refuge and sustenance.
In this article, we’ll guide you through the satisfying process of building your very own bird feeder, ensuring it’s both practical and a joy to create. You’ll learn about the best materials to use, how to creatively incorporate recycled items, and what kind of feed will attract a chorus of chirping guests to your garden. By the end of our journey together, you’ll not only have a beautiful bird feeder to hang proudly but also a deeper understanding of how small actions can significantly impact the biodiversity in your garden. Let’s get started on this rewarding project, where your efforts will be repaid with the delightful sight and sound of birds enjoying your handiwork.
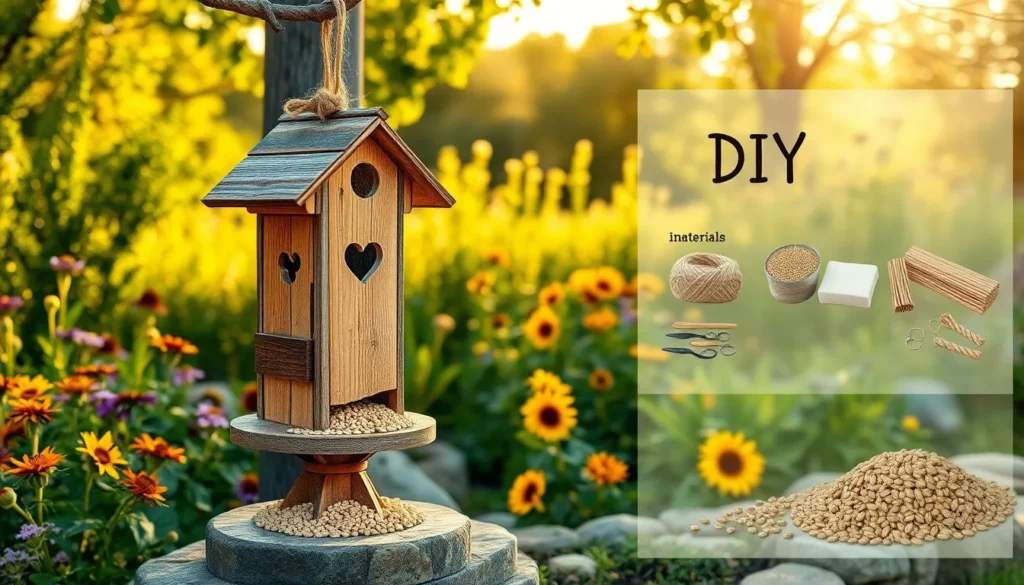
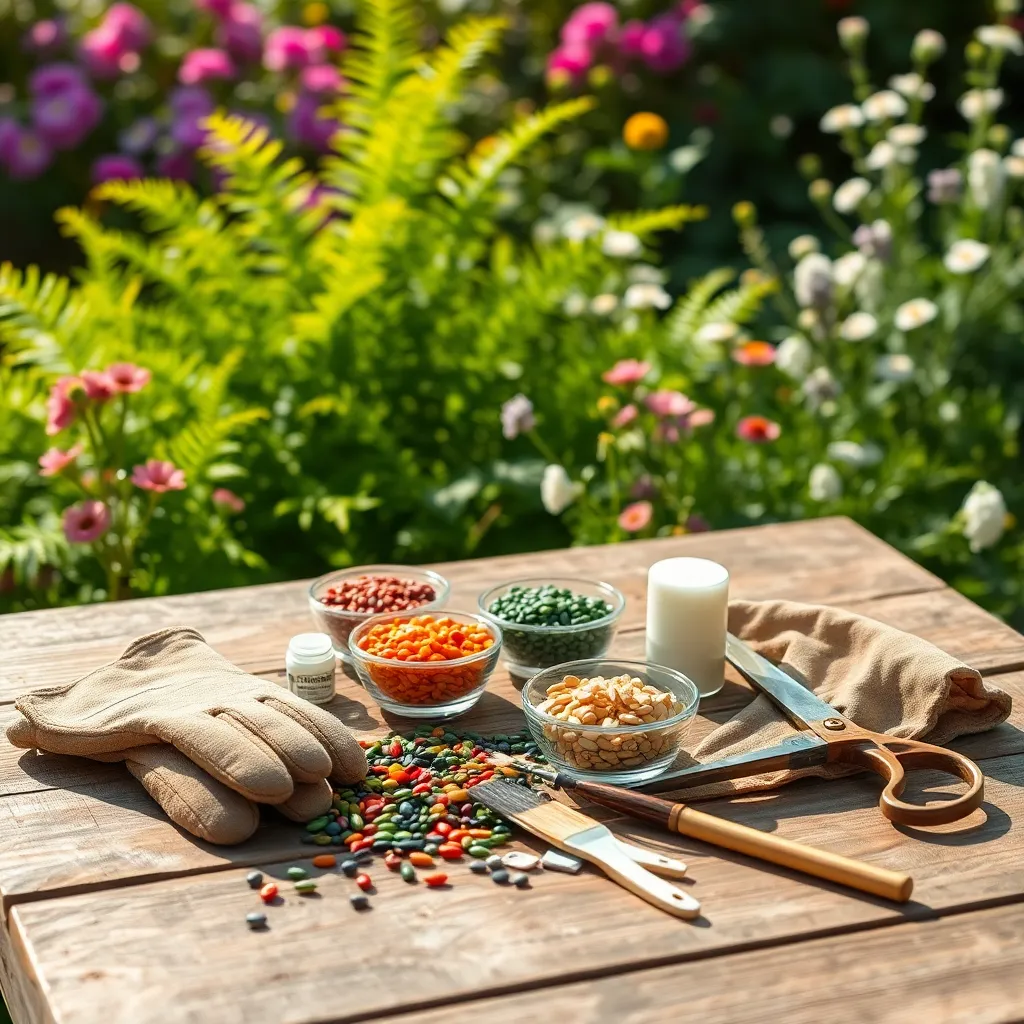
Gather Necessary Materials
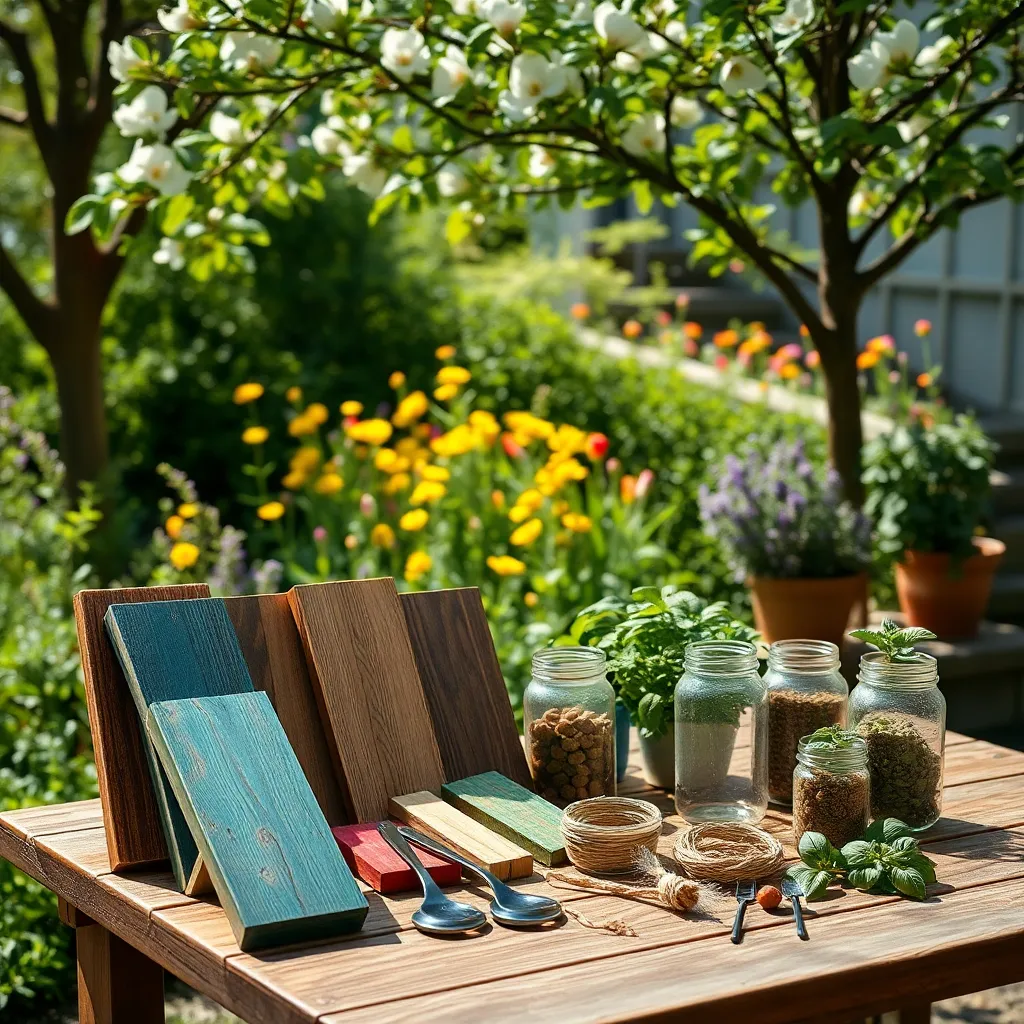
To begin crafting your DIY bird feeder, you’ll need to gather several key materials. Start with a suitable container such as a plastic bottle, a milk carton, or even a small wooden box. These containers will form the base of your feeder and should be sturdy to withstand weather conditions.
Next, consider the hanging materials, which could be string, wire, or strong twine. It’s important to select a material that can hold the weight of the feeder when filled with birdseed. Make sure the material is weather-resistant to prevent breakage or deterioration over time.
You’ll also need tools for creating openings and assembling parts, such as scissors, a utility knife, and a drill. Be sure to have these tools on hand, and take appropriate safety precautions when using them. For beginners, practice cutting on scrap material first to get a feel for the process.
Additionally, gather birdseed suitable for attracting local bird species. Different seeds will attract different birds, so choose a mix if you want to invite a variety of feathered friends. It’s a good idea to research which birds are native to your area and select seed types accordingly.
Cut and Shape the Feeder
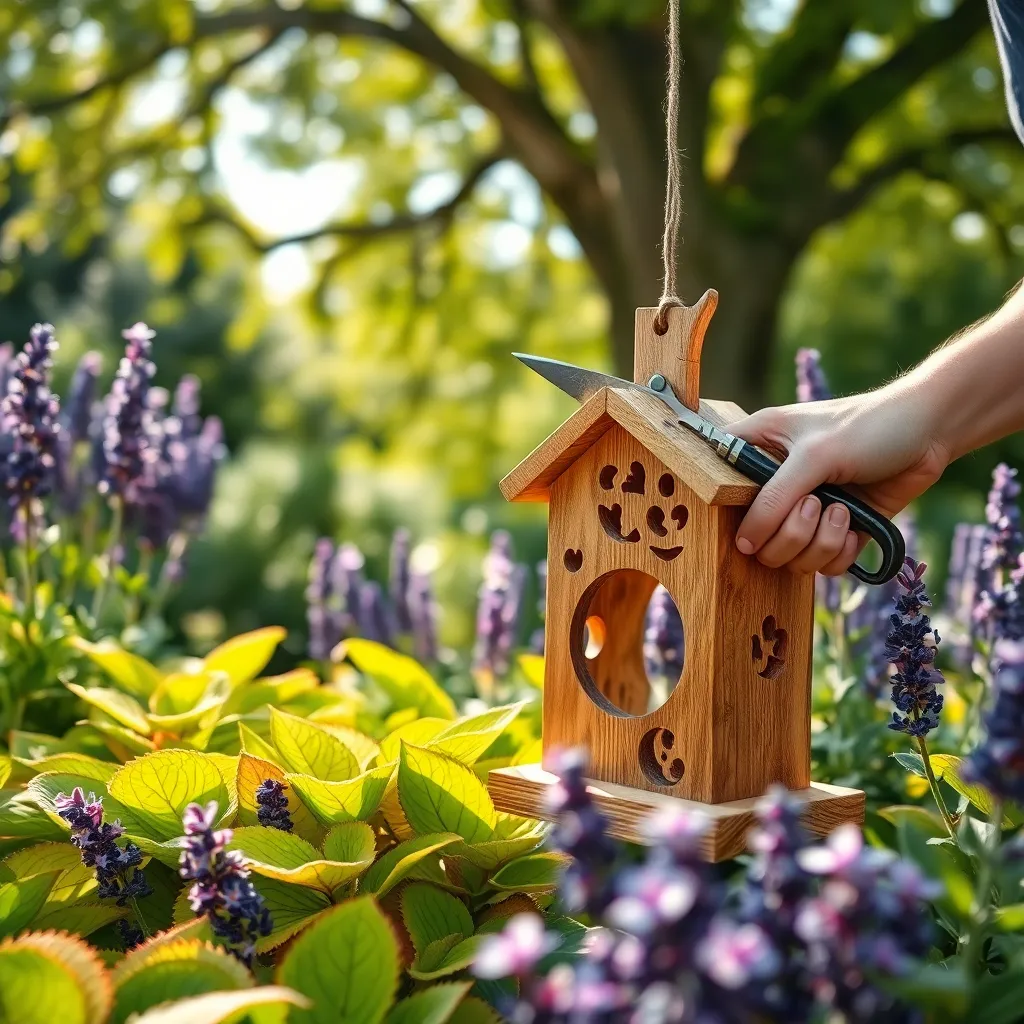
Once you’ve gathered your materials, the next step is to cut and shape your bird feeder to meet your design needs. Begin by deciding on the size and shape of your feeder, keeping in mind the types of birds you wish to attract, as different birds prefer different feeder designs.
Use a sharp utility knife or scissors to carefully cut the material, ensuring clean and precise edges. For beginners, a simple cylindrical or box shape is easiest to manage, while more experienced DIY enthusiasts might experiment with more intricate shapes.
During the cutting process, ensure that any openings for bird access are smooth and free of sharp edges that could harm the birds. Sandpaper or a file can be used to smooth out rough edges, providing a safe environment for your feathered visitors.
Consider using a drill to create drainage holes at the base of the feeder to prevent water from accumulating, which can spoil the birdseed. If your feeder design includes a perch, make sure it is sturdy and positioned in a way that offers easy access for birds to rest and feed.
For those aiming to attract specific species, research the preferred feeder dimensions and entry sizes of those birds. Larger birds, such as cardinals, require bigger openings and stronger perches, while smaller birds like finches prefer smaller, more enclosed spaces.
Assemble Feeder Components
Now that you’ve cut and shaped the components of your bird feeder, it’s time to assemble them. Begin by gathering all the parts you’ve prepared, ensuring you have everything within reach.
Next, secure the base of the feeder first, as it acts as the foundation for the rest of the structure. Use a strong adhesive or small screws, depending on the materials, to ensure the base is stable and can support the weight of bird seed.
Then, attach the sides and back of the feeder to the base. Ensure they are aligned properly for a snug fit, which will help prevent any gaps that could lead to seed spillage.
Once the sides are in place, add the roof to protect the seed from rain and harsh weather. It’s important to angle the roof slightly so that water drains off easily, keeping the seed dry.
Finally, install perches or ledges where birds can comfortably land and feed. You can use small dowels or branches, attaching them firmly to support the weight of visiting birds.
Advanced Tip: Consider incorporating a drainage system, such as small holes in the base, to prevent water pooling. This will help maintain the freshness of the bird seed and attract more birds to your garden.
Add Feeding Accessories
To enhance your DIY bird feeder, consider adding feeding accessories that will attract more birds. Suet cages and seed trays can extend the feeder’s functionality by accommodating different types of bird food.
Using a variety of feeders ensures you cater to diverse bird species, each with its own dietary preferences. Attach a small dish or platform to the feeder to offer fruits or mealworms, which are loved by insectivorous birds.
For those looking to attract specific types of birds, try using specialized seeds like nyjer or sunflower seeds. These seeds are particularly appealing to finches and cardinals, providing them with the necessary nutrients and energy.
Advanced bird enthusiasts might consider installing a water source nearby, such as a bird bath or a small water dripper. This not only provides birds with drinking water but also encourages them to visit your feeder more frequently, creating a thriving bird-friendly garden environment.
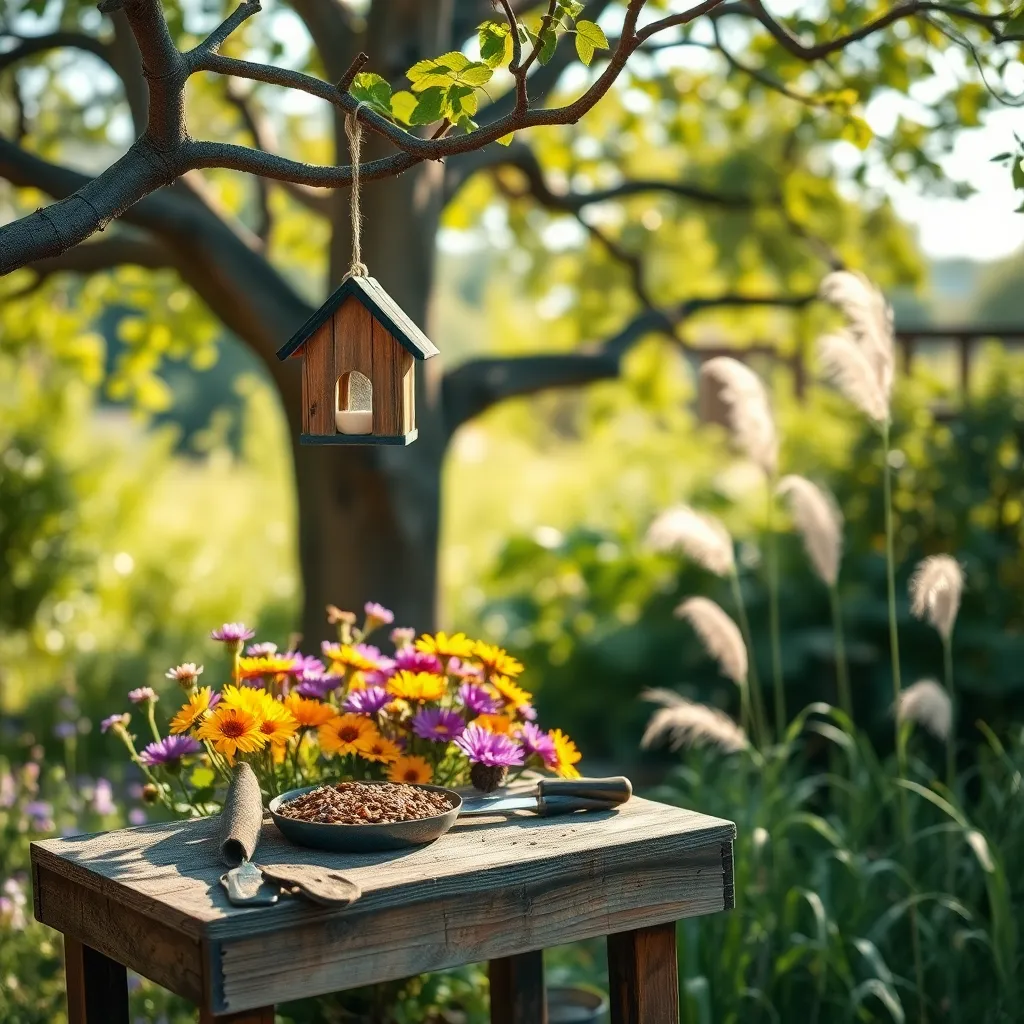
Secure Feeder in Garden
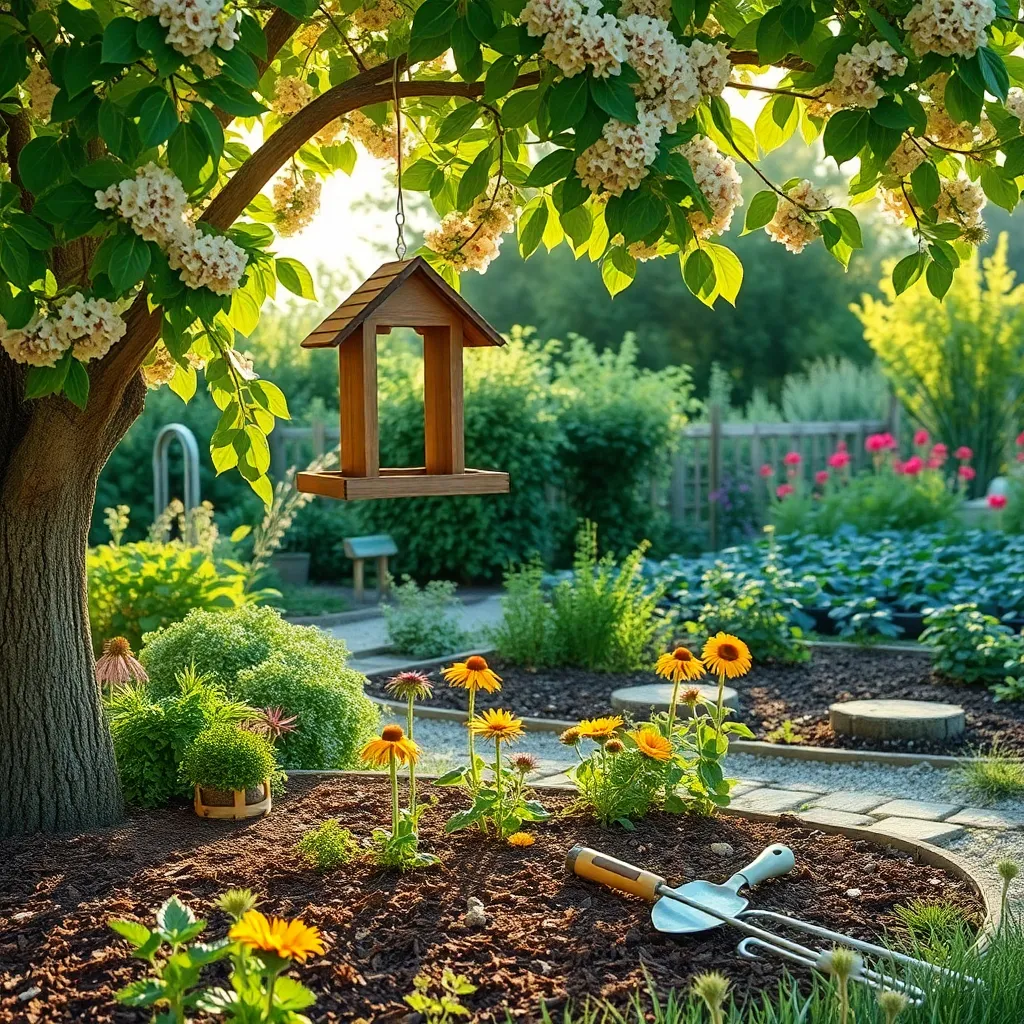
Securing your DIY bird feeder in the garden is as important as its construction, ensuring it remains a stable food source for avian visitors. Begin by selecting a sturdy location, such as a strong tree branch or a dedicated pole, which can withstand wind and other weather conditions.
Use durable materials such as weather-resistant rope or metal chains to hang the feeder, as these will provide longevity and prevent early wear. Ensure that the attachment method allows for easy detachment, enabling you to clean and refill the feeder without hassle.
Consider the height at which your bird feeder is placed to attract a variety of bird species. A typical recommendation is to position feeders about five feet off the ground, keeping them out of reach of most ground predators while still easily accessible for maintenance.
For those with squirrel problems, installing a squirrel baffle can be an effective deterrent, ensuring that the feed is reserved for birds. A baffle is typically a dome or cone-shaped device that prevents squirrels from climbing to the feeder.
If your garden is prone to strong winds, anchor the feeder with extra support, such as guy lines or stabilizing stakes. This added stability helps prevent the feeder from swaying excessively, which could deter birds from visiting.
Conclusion: Growing Success with These Plants
In crafting your own DIY bird feeder, you’ve tapped into five key relationship concepts: creativity, communication, patience, collaboration, and nurturing. By engaging in this project, you’ve exercised creativity, essential for keeping relationships vibrant. You’ve enhanced communication, as discussing plans and sharing ideas can translate to better understanding in any partnership. Patience has been your ally, reminding you that good things take time, just like a flourishing relationship. Collaboration was your guide, showing that teamwork can lead to rewarding outcomes. Finally, nurturing, both in caring for your feathered visitors and your connections, reinforces the importance of tending with love and attention.
Now, take this newfound understanding and apply it to a small gesture of kindness towards someone you care about today. Whether it’s a thoughtful note or a simple phone call, let them know they are cherished.
Be sure to bookmark this article as a valuable resource for relationship growth and DIY inspiration. As you continue to nurture your connections, remember that just like your garden, relationships thrive with care and consistency. Embrace this journey, and watch your bonds grow stronger and more fulfilling with each thoughtful action.


