Welcome to a world where your garden becomes a canvas, and each step you take is a brushstroke in the masterpiece of your outdoor sanctuary. Whether you’re a newcomer just setting down roots or a seasoned gardener with soil-caked hands, “DIY Garden Path Ideas” is your ticket to transforming drab pathways into delightful journeys. This guide will be your companion, offering practical and creative ideas to help you carve out inviting trails that reflect your unique style and vision.
Imagine the satisfaction of walking through your garden on a path you designed and crafted with your own hands. These DIY garden path ideas are not just about aesthetics; they are about enhancing the functionality and beauty of your space. By the end of this guide, you’ll not only have the knowledge to create stunning garden paths but also the confidence to make your garden a truly personal retreat. Let’s dive in and start planning the pathways that will lead you to a more joyful, rewarding gardening experience.
Choose Durable, Natural Materials
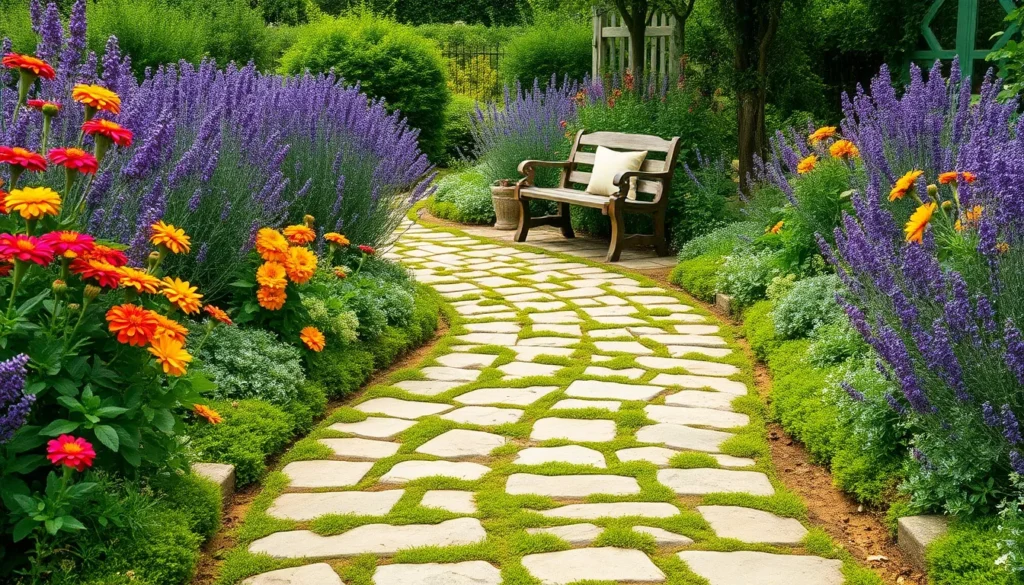
When designing a garden path, choosing durable, natural materials ensures longevity and blends seamlessly with the garden environment. Materials like stone, brick, and gravel not only withstand weather changes but also require minimal maintenance, making them ideal for gardeners of all levels.
Stone paths are highly durable and add a timeless charm to any garden. Opt for stones like slate or flagstone, which are not only aesthetically pleasing but also provide a stable surface for foot traffic.
For those seeking a more rustic look, gravel is a versatile choice that offers excellent drainage and is easy to install. Make sure to lay down a weed barrier fabric underneath the gravel to prevent unwanted plant growth and reduce maintenance efforts.
Brick paths provide a classic look and can be laid in various patterns to suit your garden’s style. Ensure you level the ground properly and use sand to fill the gaps between bricks to prevent movement and ensure a stable walking surface.
Lay Paths with Gravel and Sand
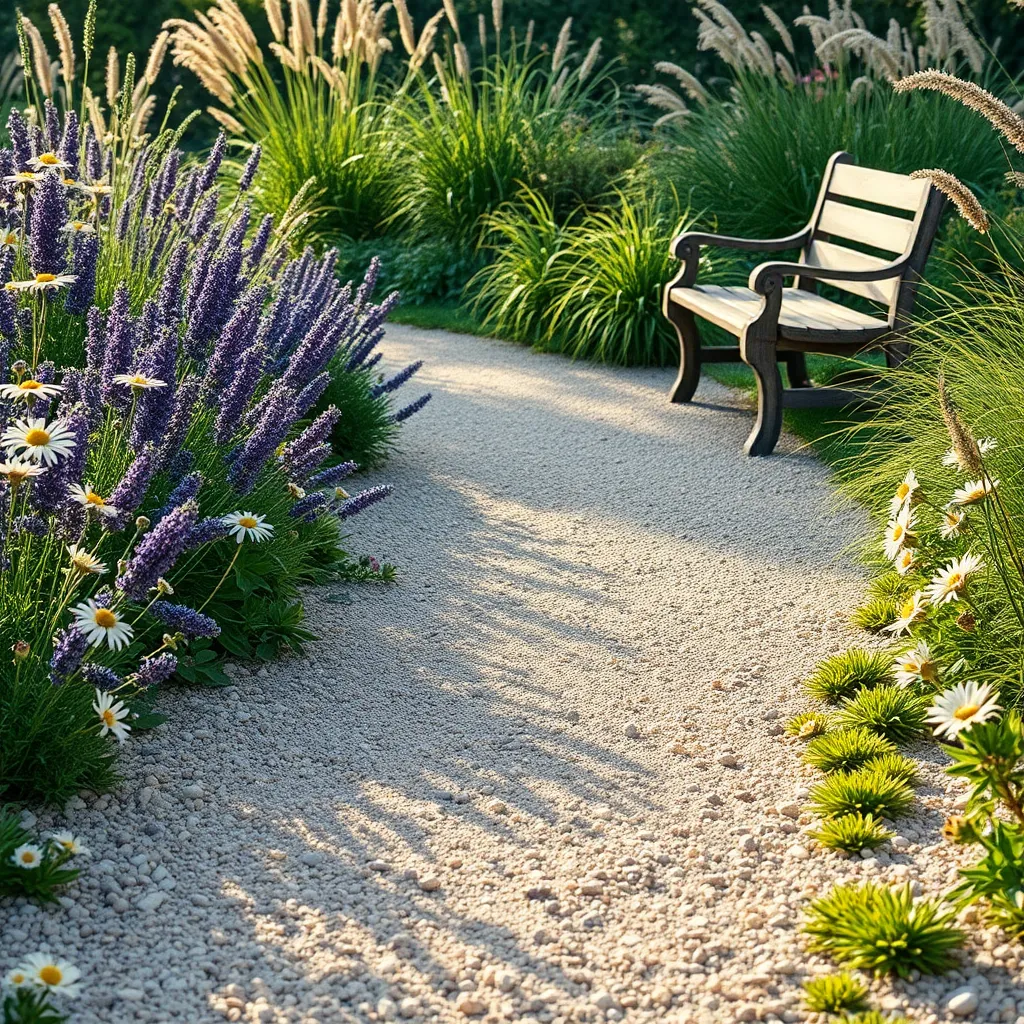
To create a sturdy and attractive path using gravel and sand, start by outlining your desired path with stakes and string. This step ensures that your path is well-defined and follows the route you envision, making the construction process smoother.
Dig out the path area to a depth of about four inches, removing any grass, roots, or debris. This depth provides enough space for both the sand and gravel layers, ensuring durability and longevity.
Next, lay a landscape fabric along the bottom of the trench to prevent weeds from growing through your path. This fabric acts as a barrier, reducing the need for frequent maintenance and keeping your path looking pristine.
Spread a layer of coarse sand about an inch thick over the landscape fabric, and compact it using a tamper. This sandy base helps with drainage and provides a stable surface for the gravel layer above.
Finally, add two to three inches of gravel on top of the sand, spreading it evenly with a rake. Choose a gravel size that complements your garden’s aesthetic, such as pea gravel for a softer look or crushed stone for a more rugged appearance.
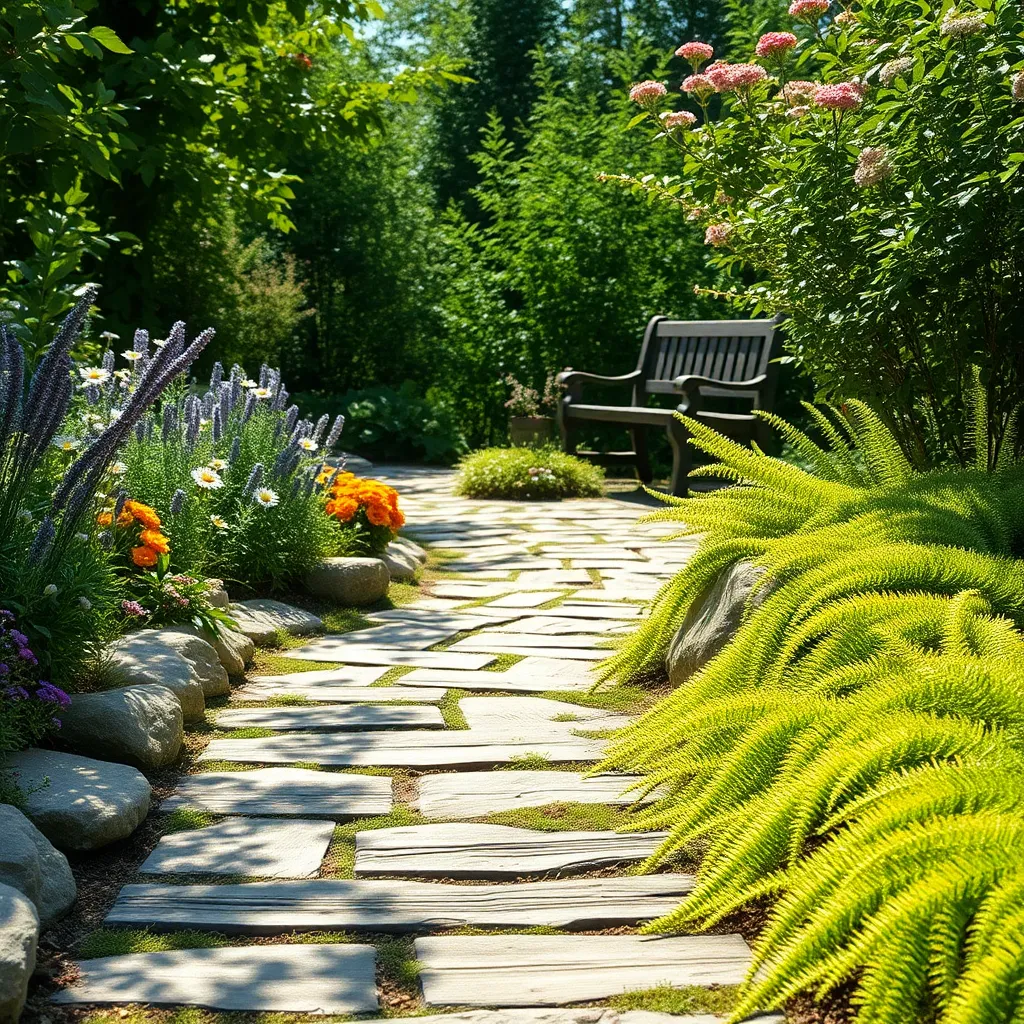
Incorporate Stepping Stones Creatively
Stepping stones can transform your garden path into a charming and functional feature. Start by selecting stones that complement your garden’s aesthetic, whether you prefer natural stone, concrete, or mosaic designs.
Aim to space the stones about 16 to 24 inches apart, allowing for a comfortable stride. This thoughtful spacing ensures that the path is both visually appealing and easy to navigate, making it suitable for all ages.
For a creative touch, consider planting low-growing ground covers like creeping thyme or Irish moss between the stones. These hardy plants not only soften the look of the path but also release a pleasant fragrance when stepped on.
When installing the stones, dig into the soil to set each one flush with the ground, which helps prevent trips and allows for easy mowing. Use a mixture of sand and soil to secure the stones in place, which provides stability and aids drainage.
Use Recycled Bricks for Edging
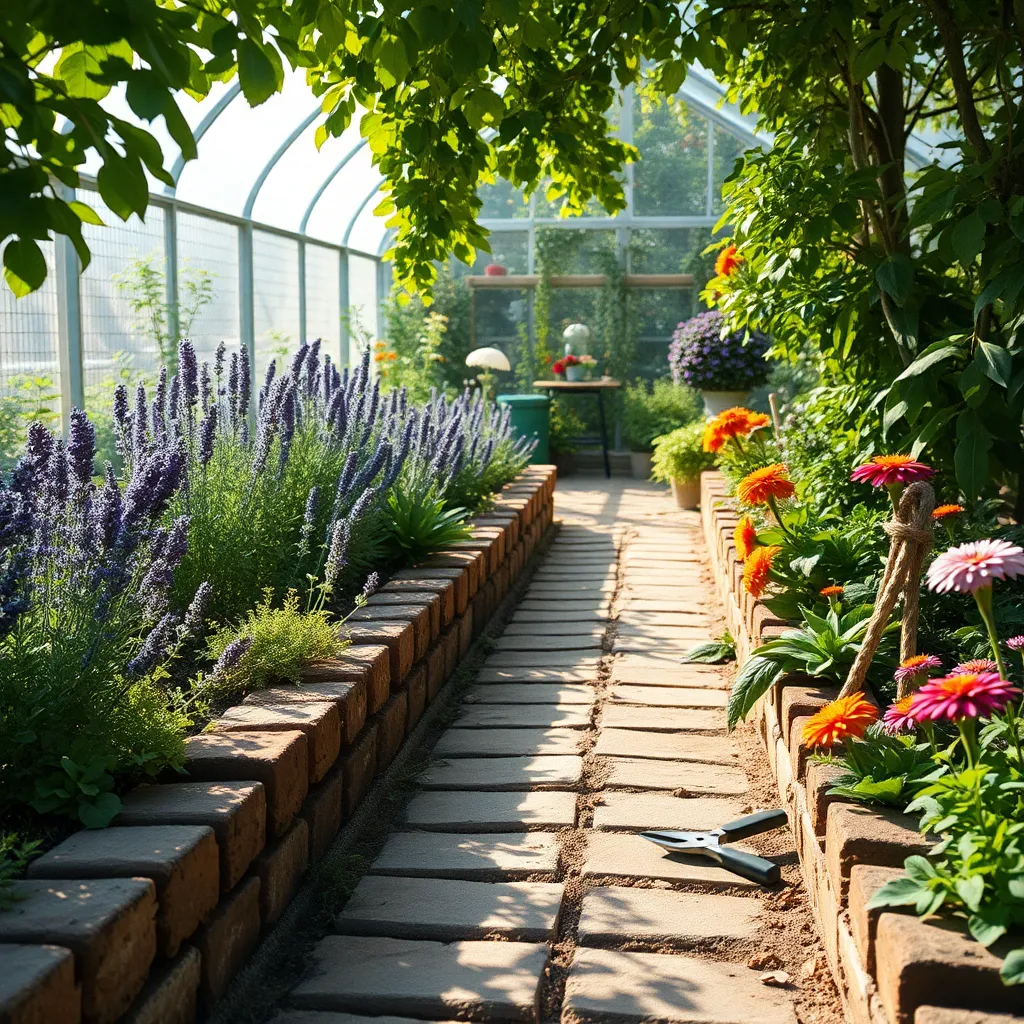
Using recycled bricks for garden edging not only adds a rustic charm but also helps in sustainable gardening. These bricks can be sourced from demolished buildings or surplus from construction sites, making them an eco-friendly choice.
Before you begin, ensure the bricks are clean and free of any mortar or debris. This can be achieved by soaking them in water and scrubbing with a stiff brush, preparing them for easy placement in your garden.
Lay the bricks in a trench about two inches deep, ensuring they are level and stable. Fill the gaps between the bricks with soil or sand to hold them firmly in place and create a neat finish.
For advanced gardeners, consider planting low-growing herbs like thyme or creeping phlox along the brick edges. These plants not only enhance the aesthetic appeal but also thrive in the well-drained conditions provided by the bricks.
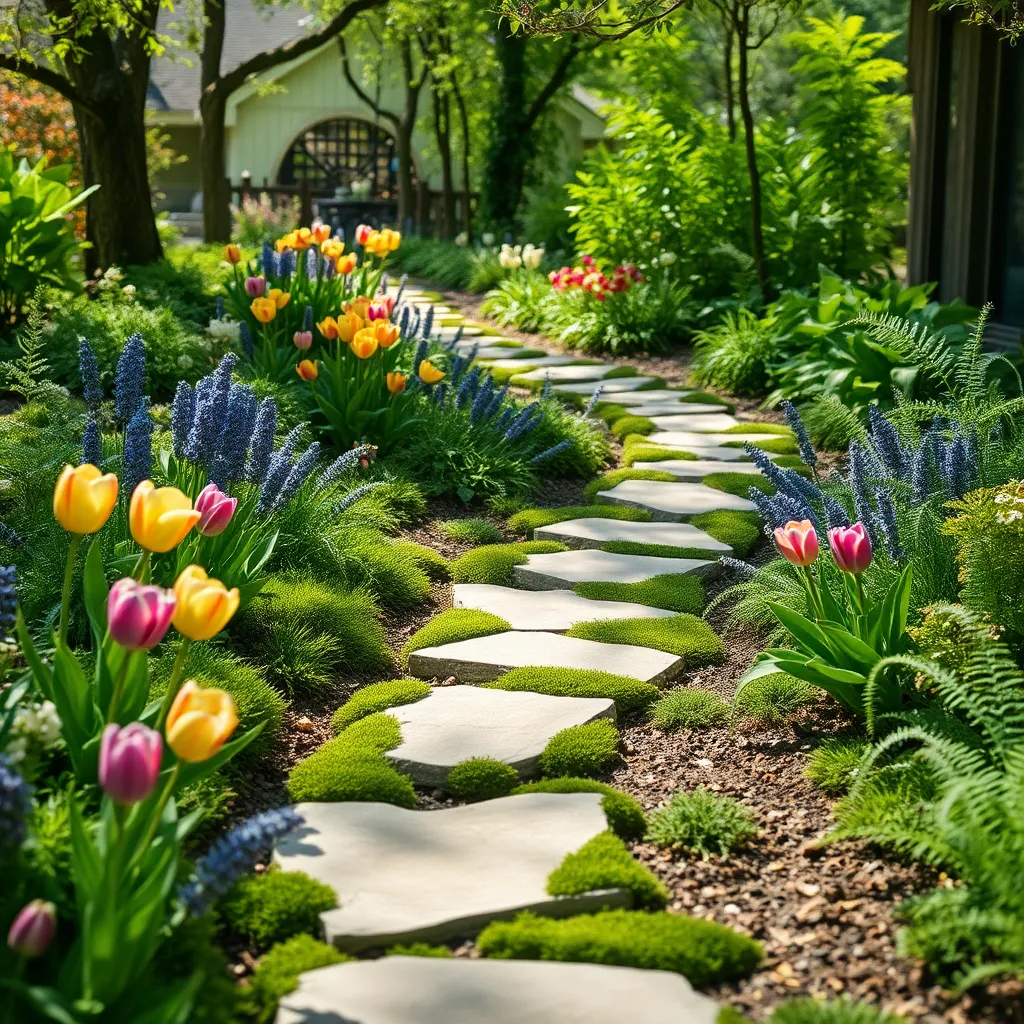
Add Low-Growing Ground Covers
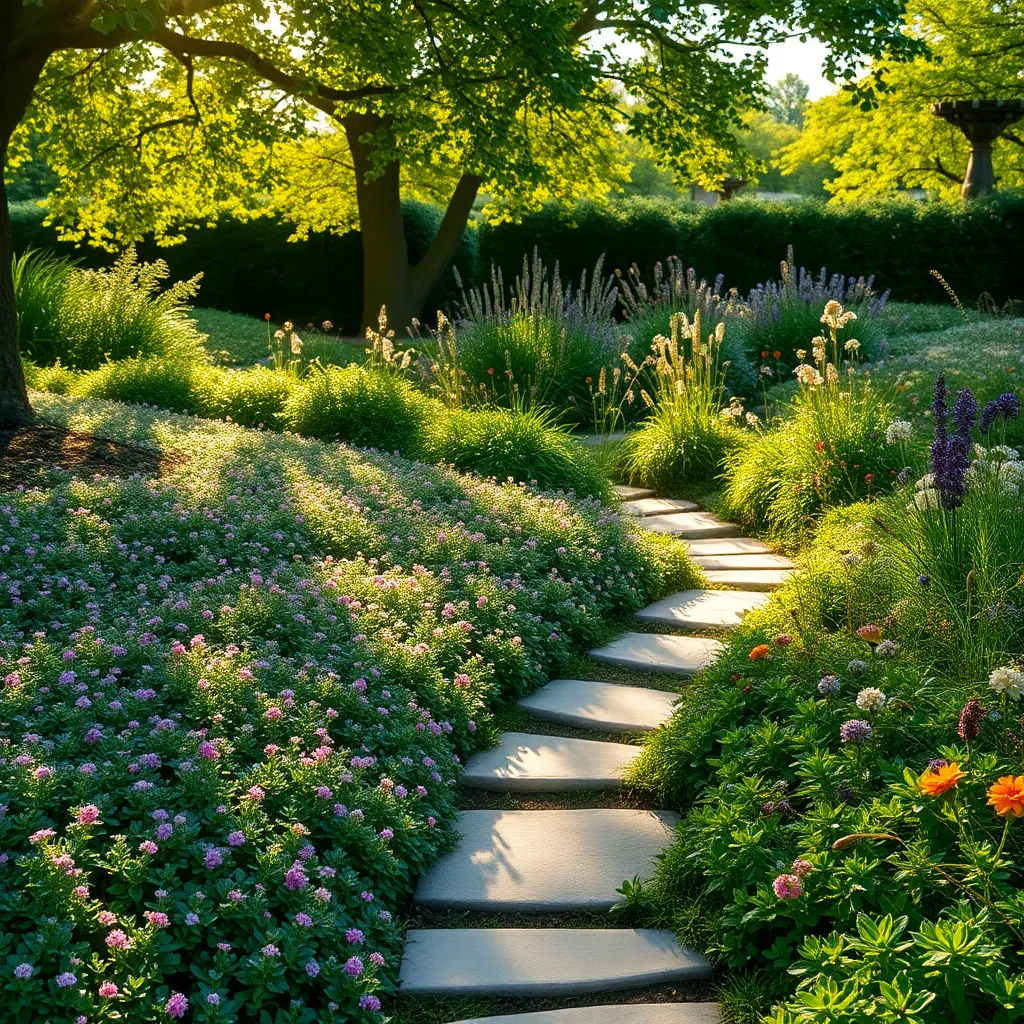
Enhancing your garden path with low-growing ground covers is a practical way to add beauty and functionality. These plants can soften the edges of your path while preventing weed growth, creating a lush, seamless appearance.
Consider using plants like creeping thyme or Irish moss, which are both hardy and visually appealing. These species thrive in full sun and well-drained soil, making them ideal for path borders where conditions are often challenging.
For those in shadier areas, try planting sweet woodruff or Ajuga reptans, which perform well in less sunny spots. Ensure the soil is consistently moist but not waterlogged, as these plants prefer a bit more moisture compared to sun-loving varieties.
Begin by preparing the area with a layer of good-quality compost to enrich the soil. Plant the ground covers about 12 inches apart to allow them to spread and fill in over time, creating a dense carpet of greenery.
Water new plants regularly until established, usually for about the first month after planting. Once established, most ground covers require minimal maintenance, needing only occasional watering during dry spells and a light pruning to maintain their shape.
For a more advanced approach, consider mixing different varieties of ground covers for a textured look. This technique can add visual interest and ensure a resilient spread that reacts well to varying light conditions and soil types.
Conclusion: Growing Success with These Plants
As we journey through the transformative world of DIY garden paths, we uncover key relationship concepts that mirror our personal connections. First, the importance of a solid foundation reminds us that relationships thrive on trust and understanding. Second, embracing creativity encourages us to think outside the box, keeping love fresh and exciting. Third, adapting to change, much like adjusting a garden path to suit the landscape, highlights the necessity of flexibility in relationships. Fourth, the beauty of simplicity teaches us that sometimes the most profound moments are the simplest. Lastly, the power of collaboration illustrates how working together strengthens bonds.
To turn these insights into action, pick one concept and apply it to a relationship today—maybe start by being more flexible in a conversation or planning a creative date night. And remember, this article is a treasure trove of guidance. Save or bookmark it now for whenever you need a relationship boost.
By integrating these concepts into your daily life, you’re paving the way for a future filled with love and understanding. Embrace this journey with confidence, knowing that every step you take is a step toward deeper, more meaningful connections.


