John
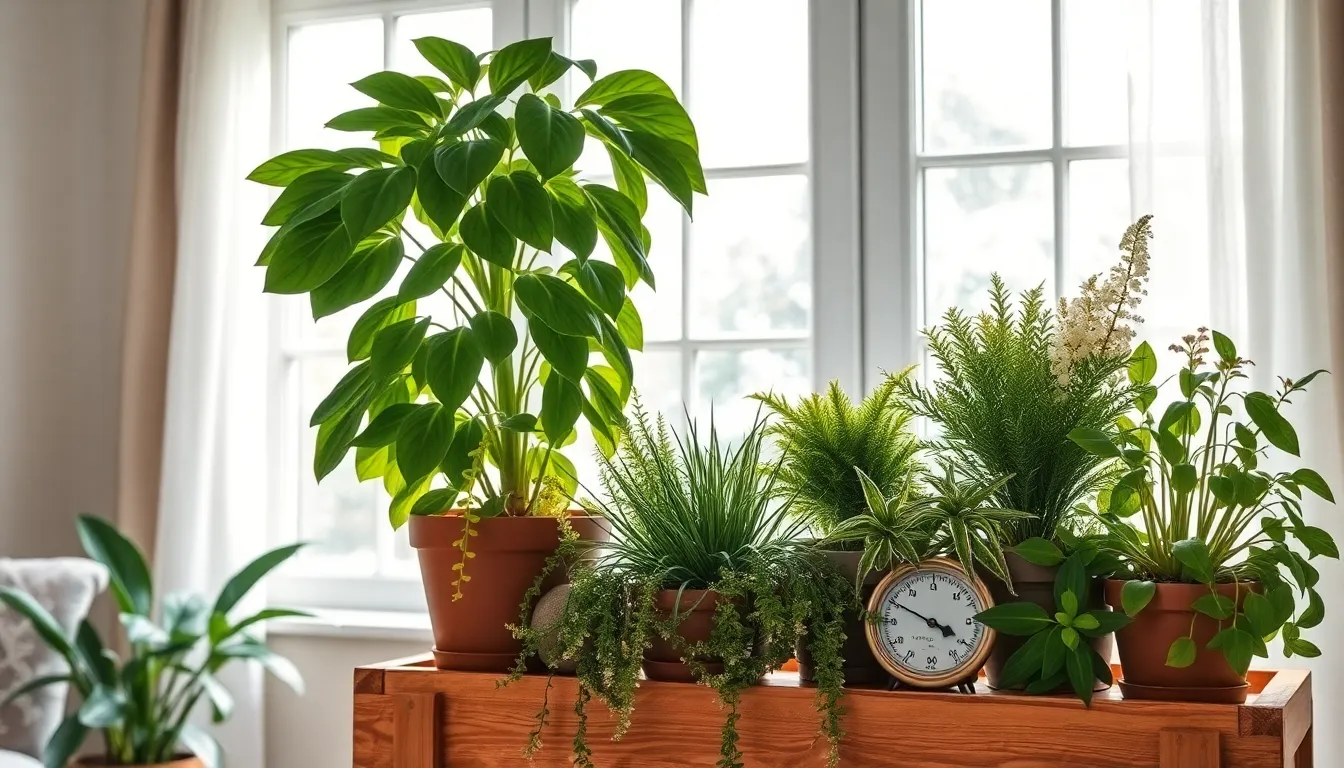
How to Care for Houseplants in Winter
As winter’s chill settles in, our indoor greenery becomes a vital source of warmth and life, bridging the gap to ...
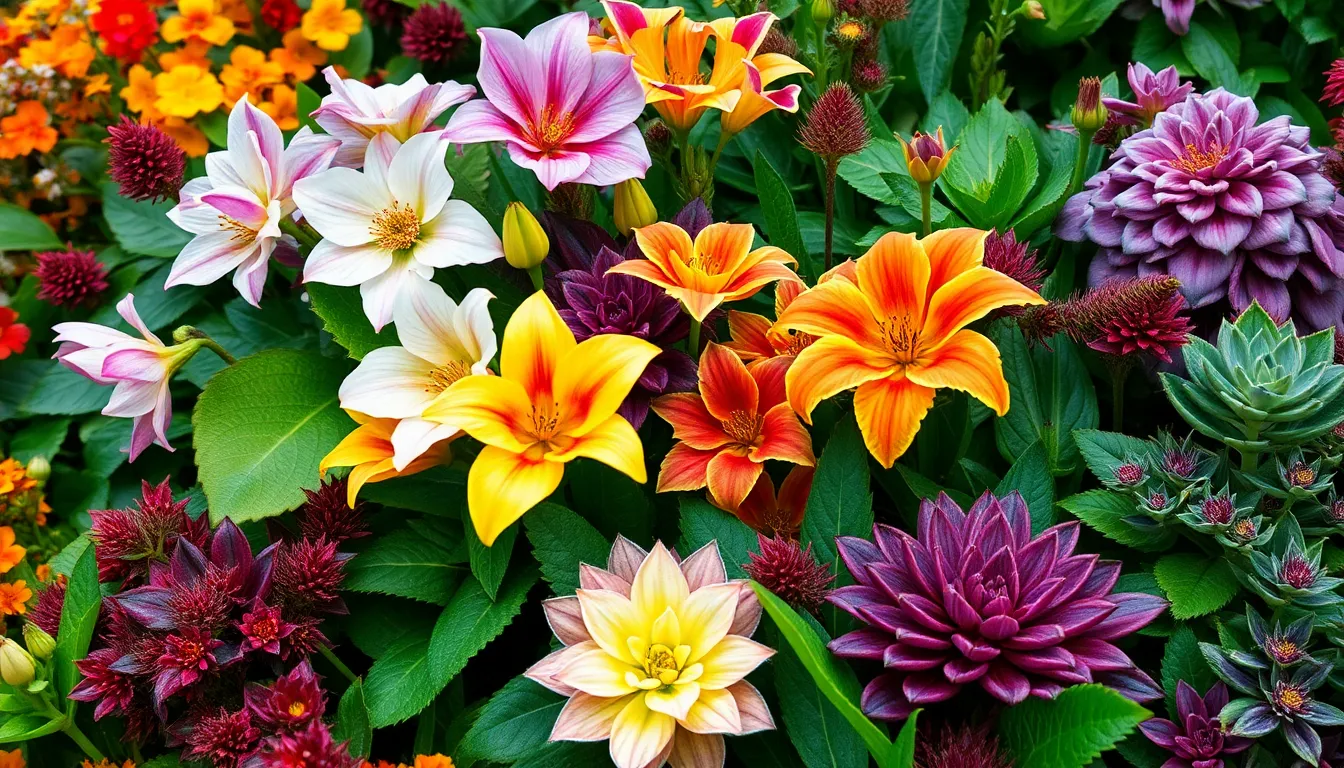
Perennials That Bloom All Year Long
In the realm of gardening, few pursuits are more rewarding than cultivating a garden that bursts with color and life ...
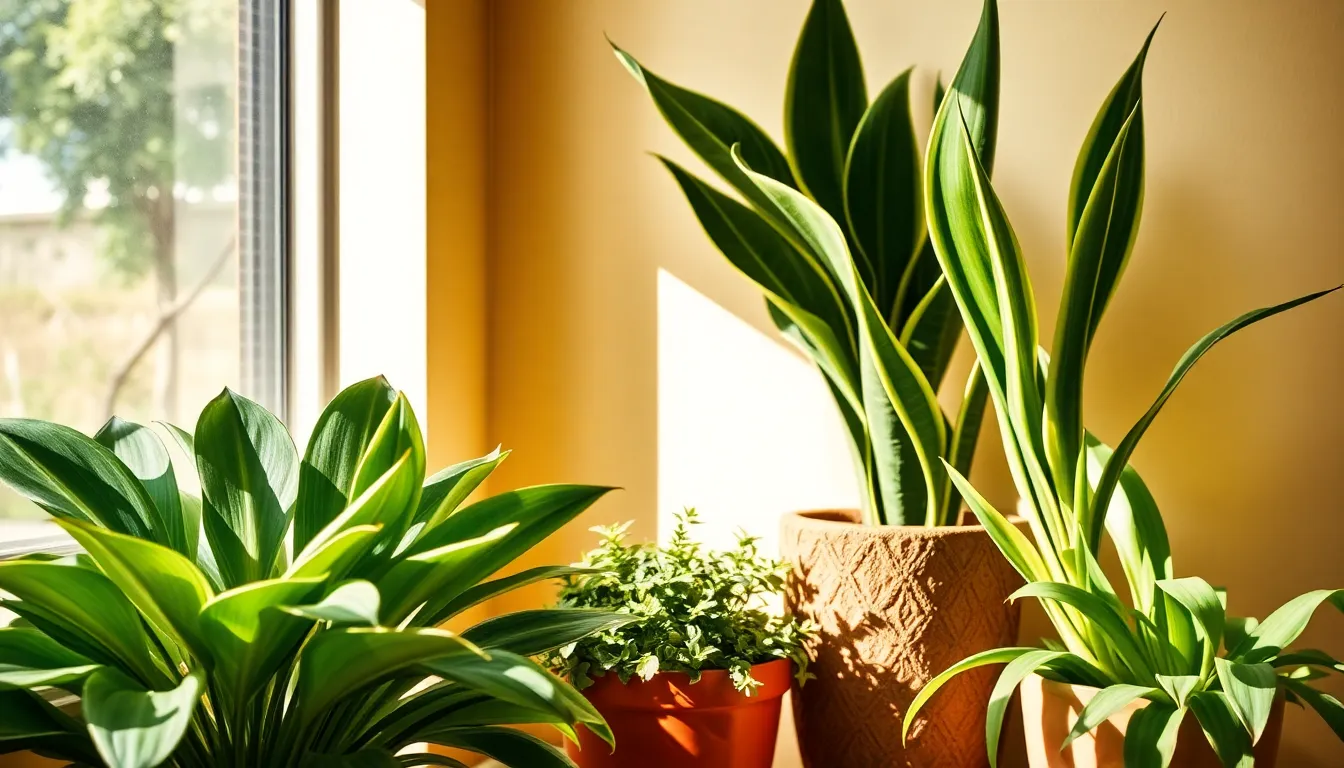
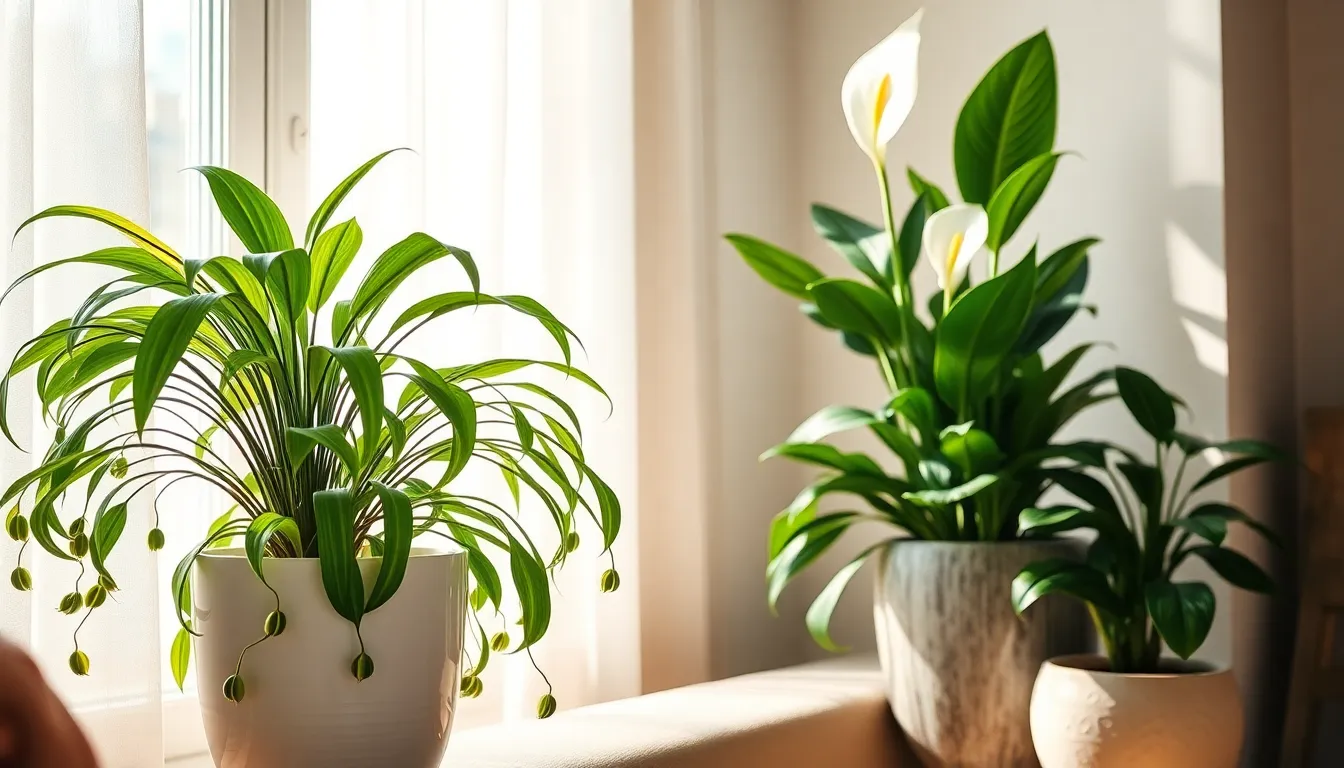
Low Light Plants for Small Apartments
In the cozy nooks of small apartments, where sunlight can be as elusive as a rare treasure, the desire to ...
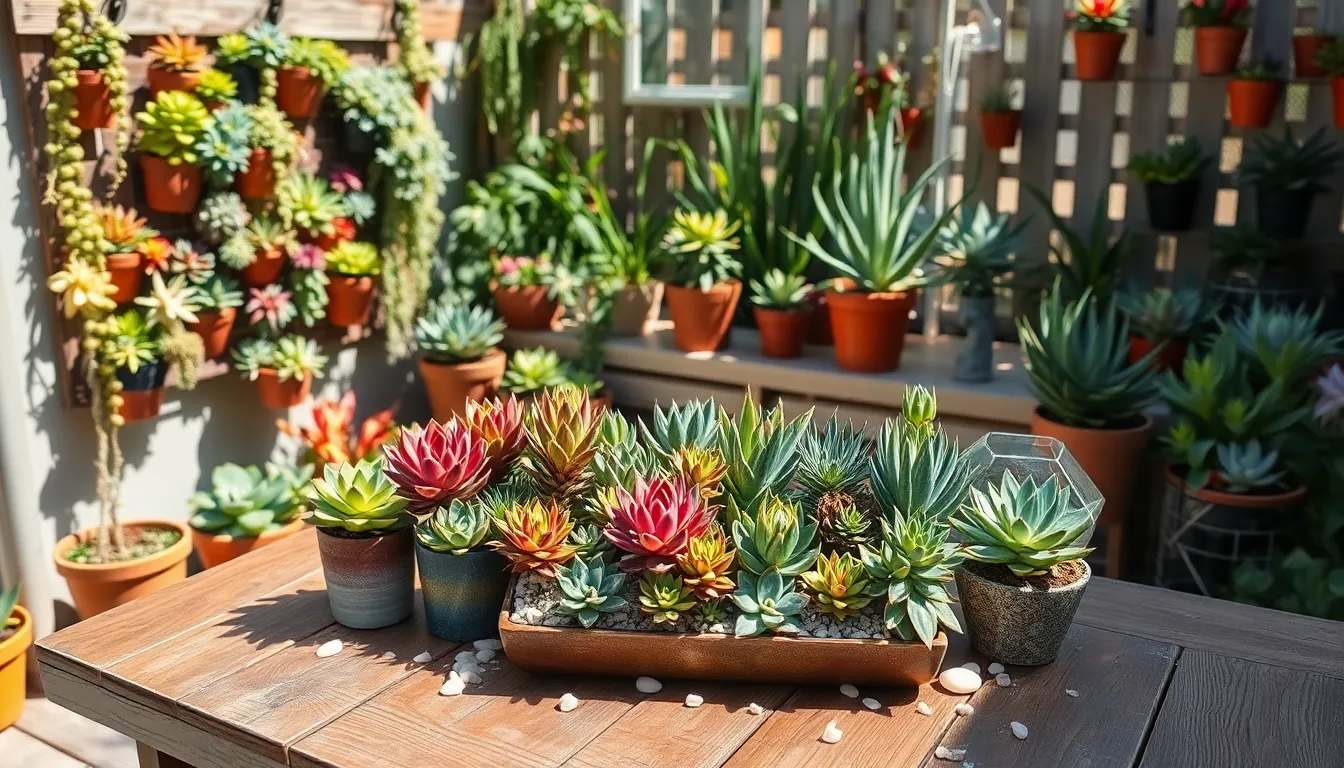
How to Grow Succulents in Containers
Welcome to the enchanting world of succulents, where simplicity meets beauty in the most delightful way. Whether you’re just beginning ...
Best Indoor Plants for Air Quality
Welcome to the flourishing world of indoor gardening, where the benefits extend far beyond mere aesthetics, and into the very ...
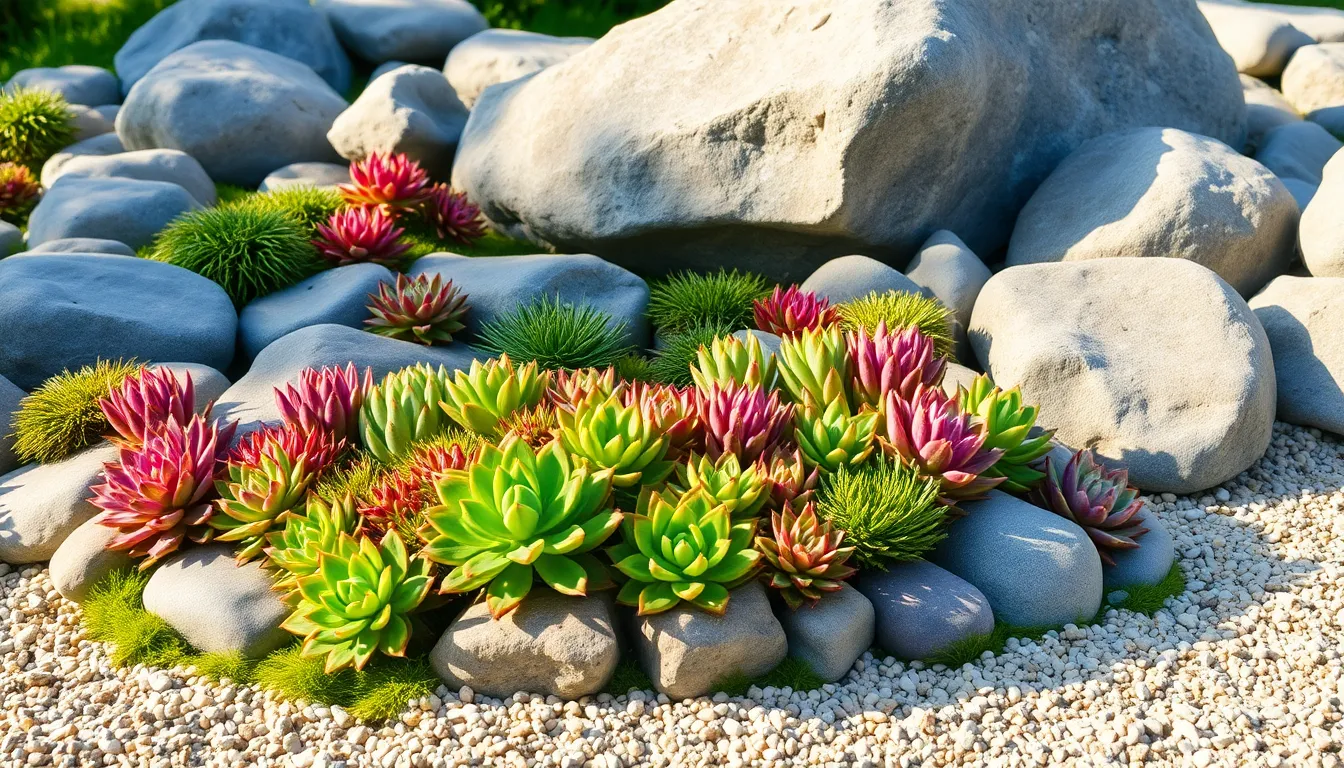
7 Quick Creating A Rock Garden
Creating a rock garden is like sculpting a piece of living art in your own backyard. Whether you’re a budding ...
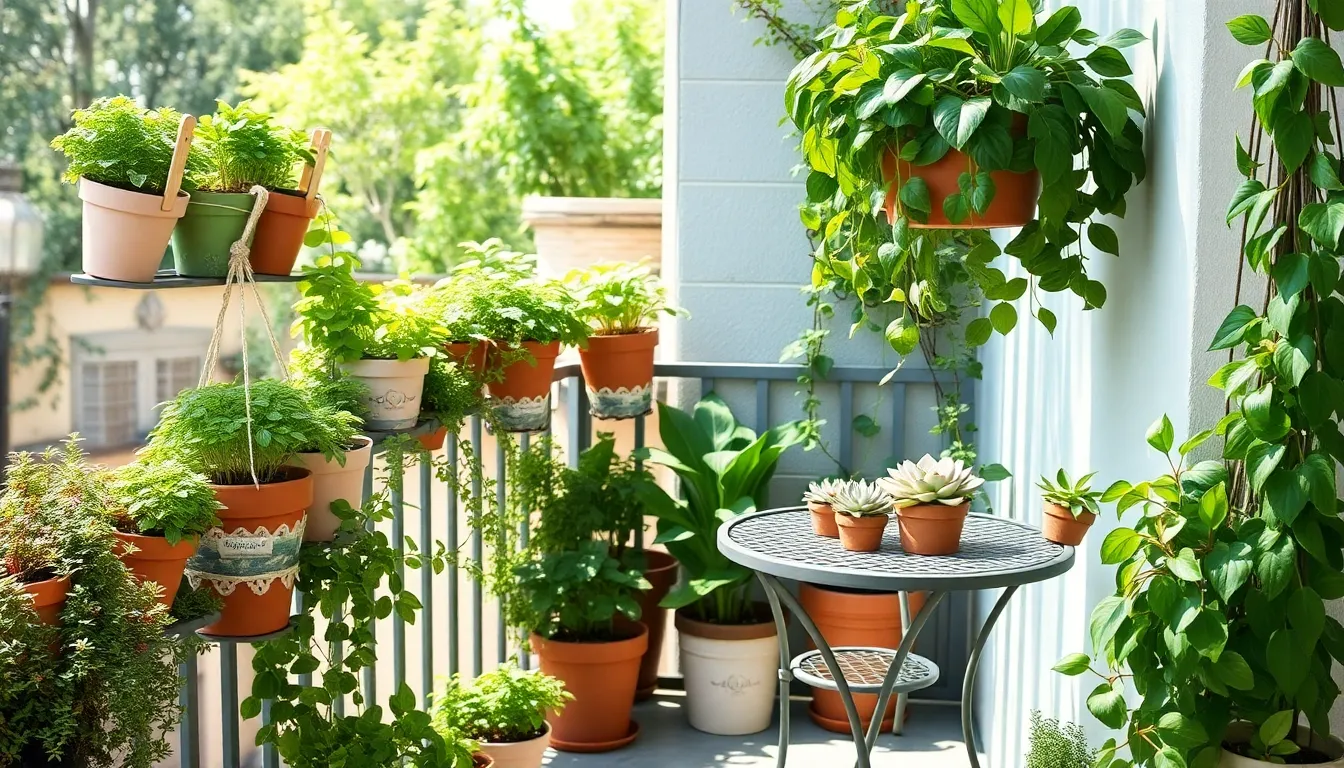
Top 10 Small Balcony Gardening Tips
Imagine stepping out onto your small balcony, surrounded by the vibrant colors and soothing scents of your very own garden ...
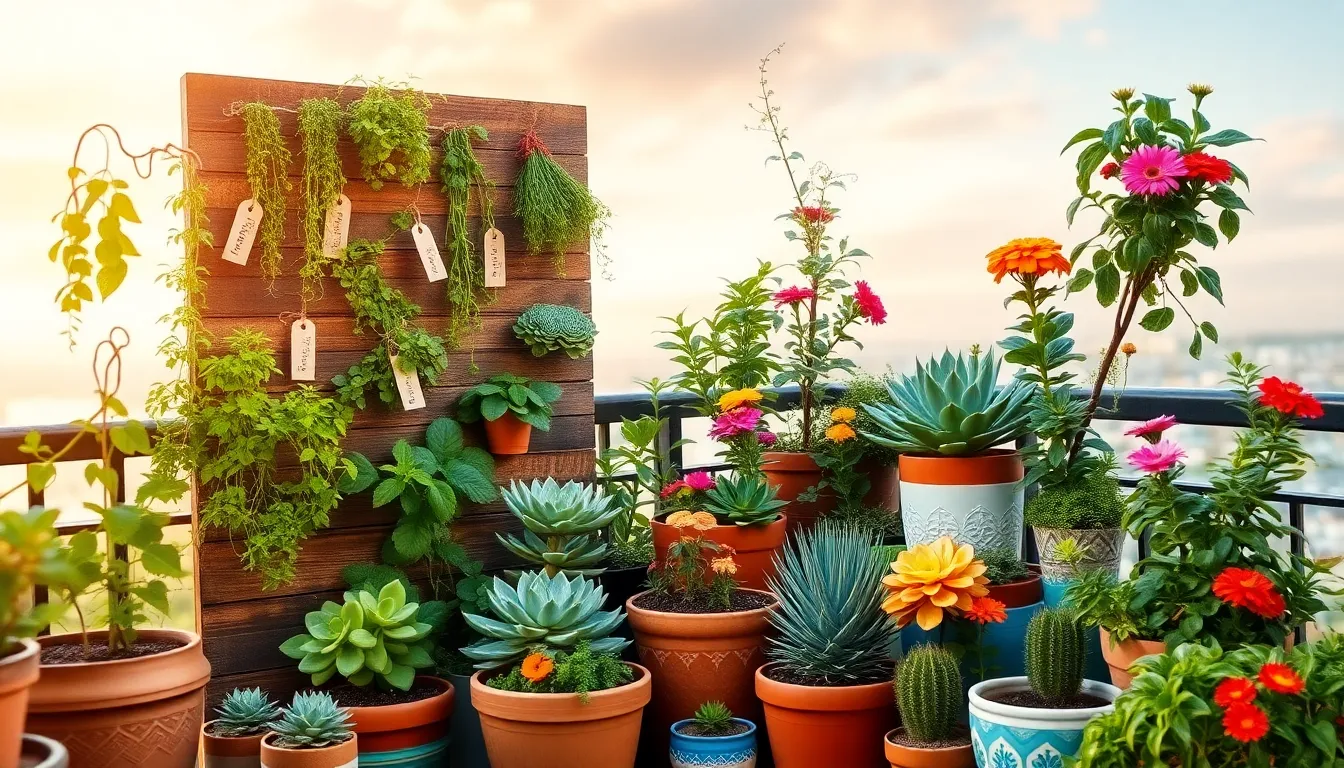
10 Easy Small Balcony Gardening Tips
Whether you’re just starting your gardening adventure or have already cultivated a green thumb, transforming a small balcony into a ...
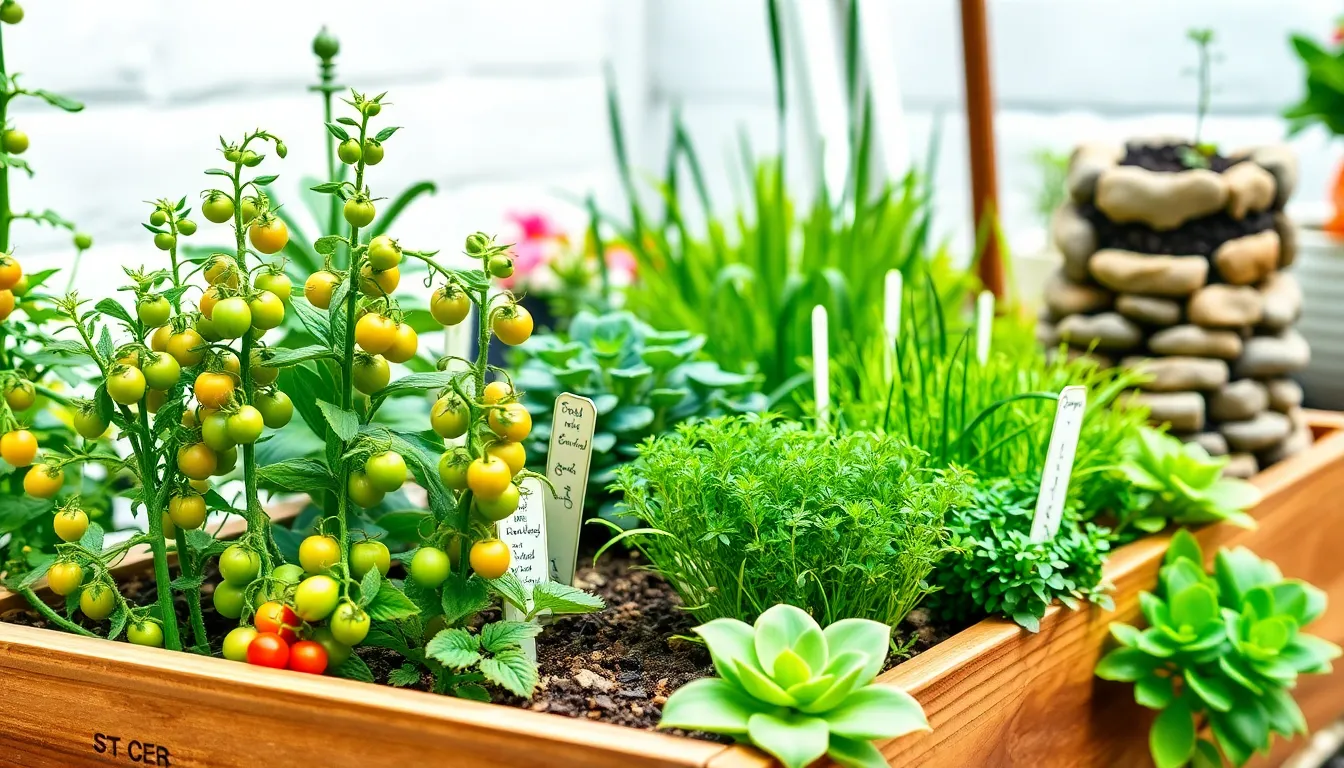
7 Quick Best Plants For Small Gardens
Welcome to the vibrant world of small space gardening, where even the tiniest plot can become a lush oasis of ...
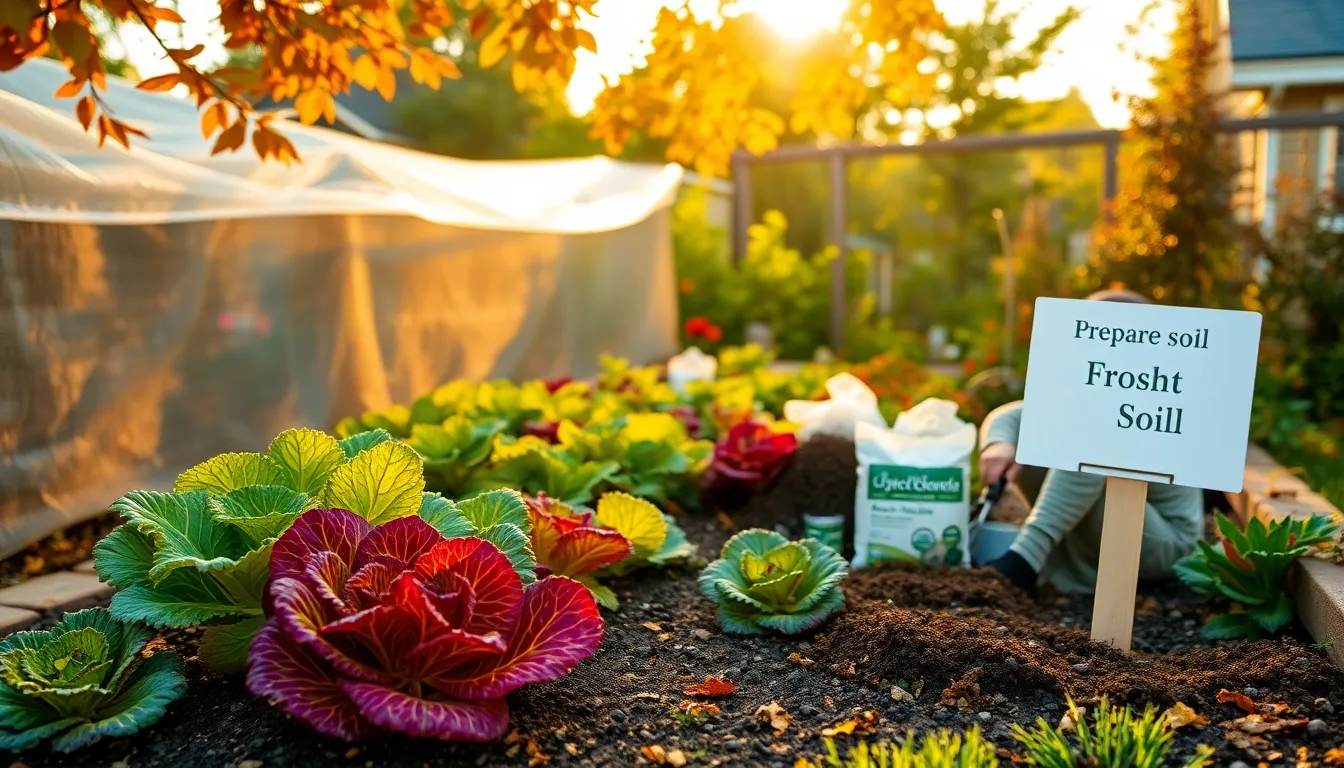
10 Easy Fall Gardening Tips
As the vibrant greens of summer give way to the warm hues of autumn, it’s time to embrace the unique ...


