John
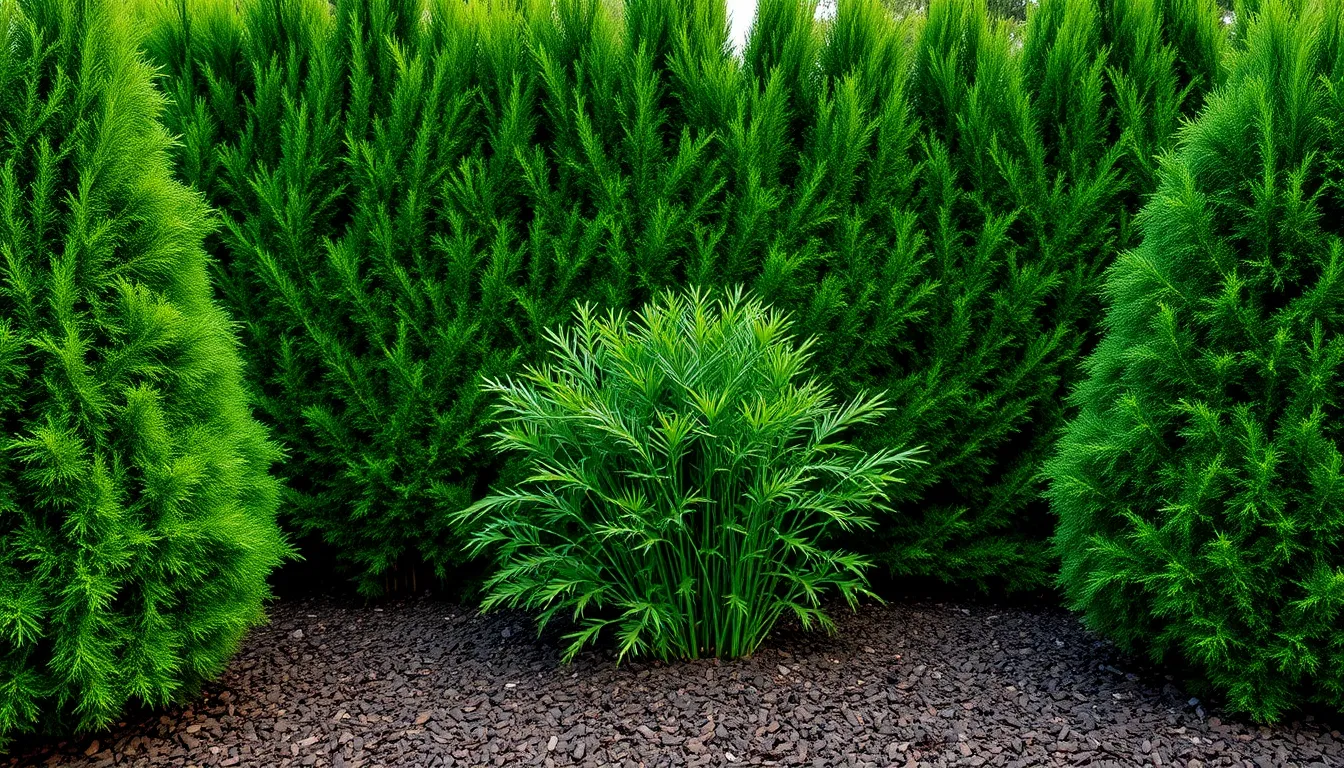
Best Plants for Privacy in Your Backyard
Imagine transforming your backyard into a serene oasis, a private retreat shielded from the outside world by a lush, green ...
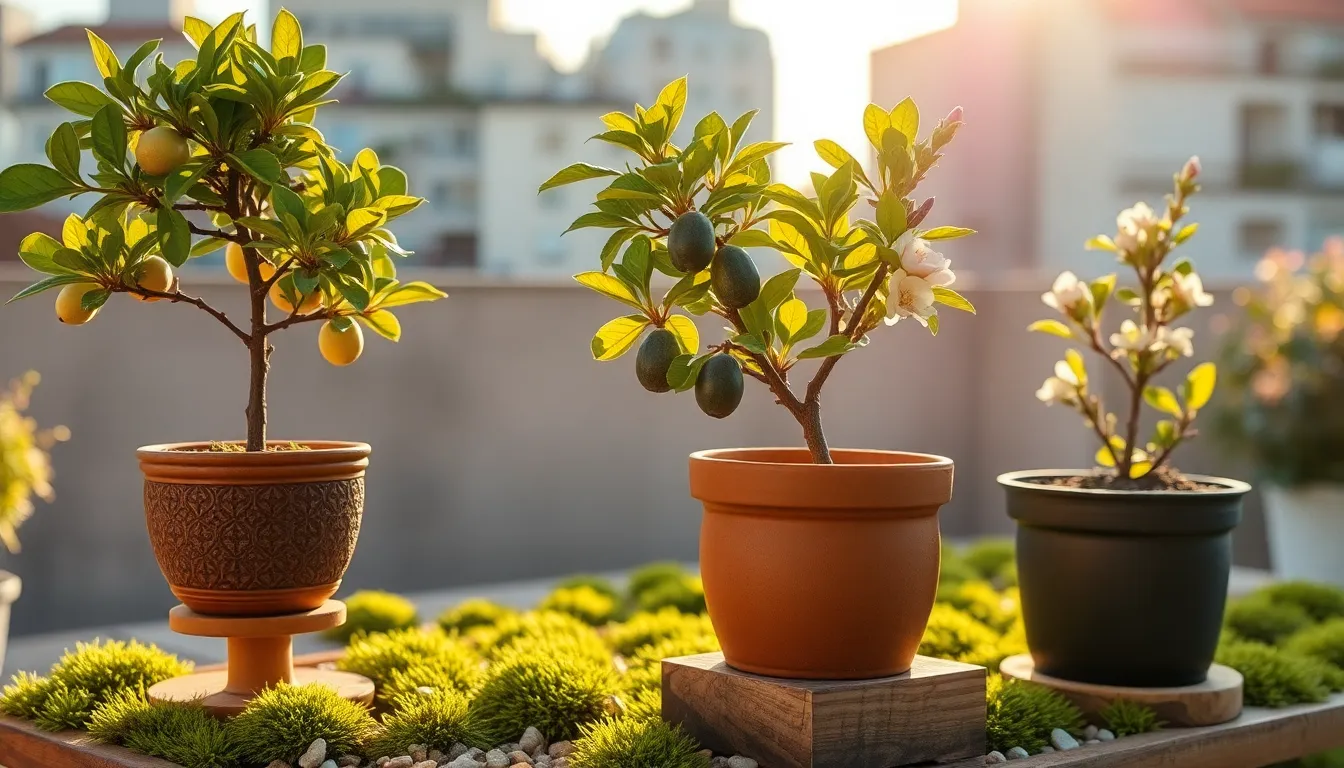
How to Grow Fruit Trees in Small Spaces
For those who have long dreamt of plucking ripe, juicy fruit straight from their own trees but thought their limited ...
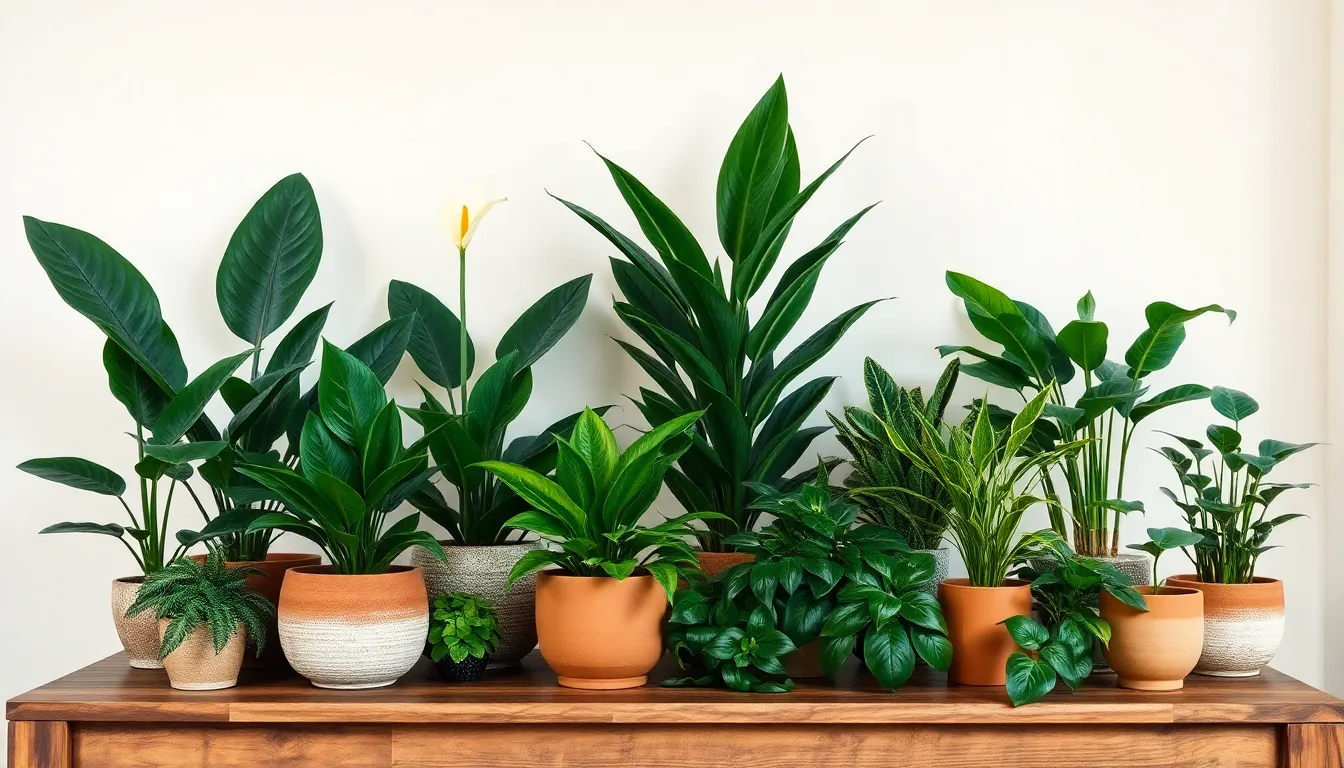
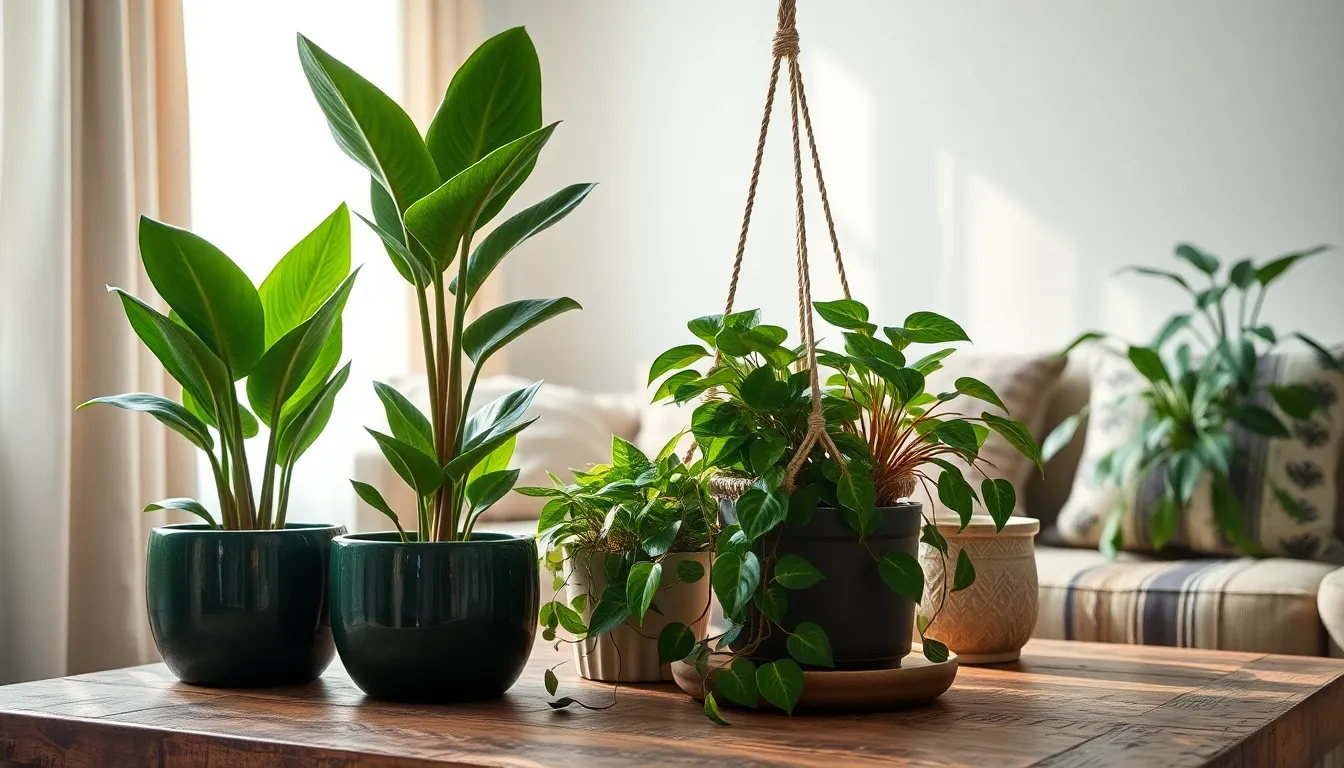
10 Indoor Plants for Better Air Quality
In a world where we often find ourselves surrounded by hustle and bustle, creating a serene indoor sanctuary can provide ...
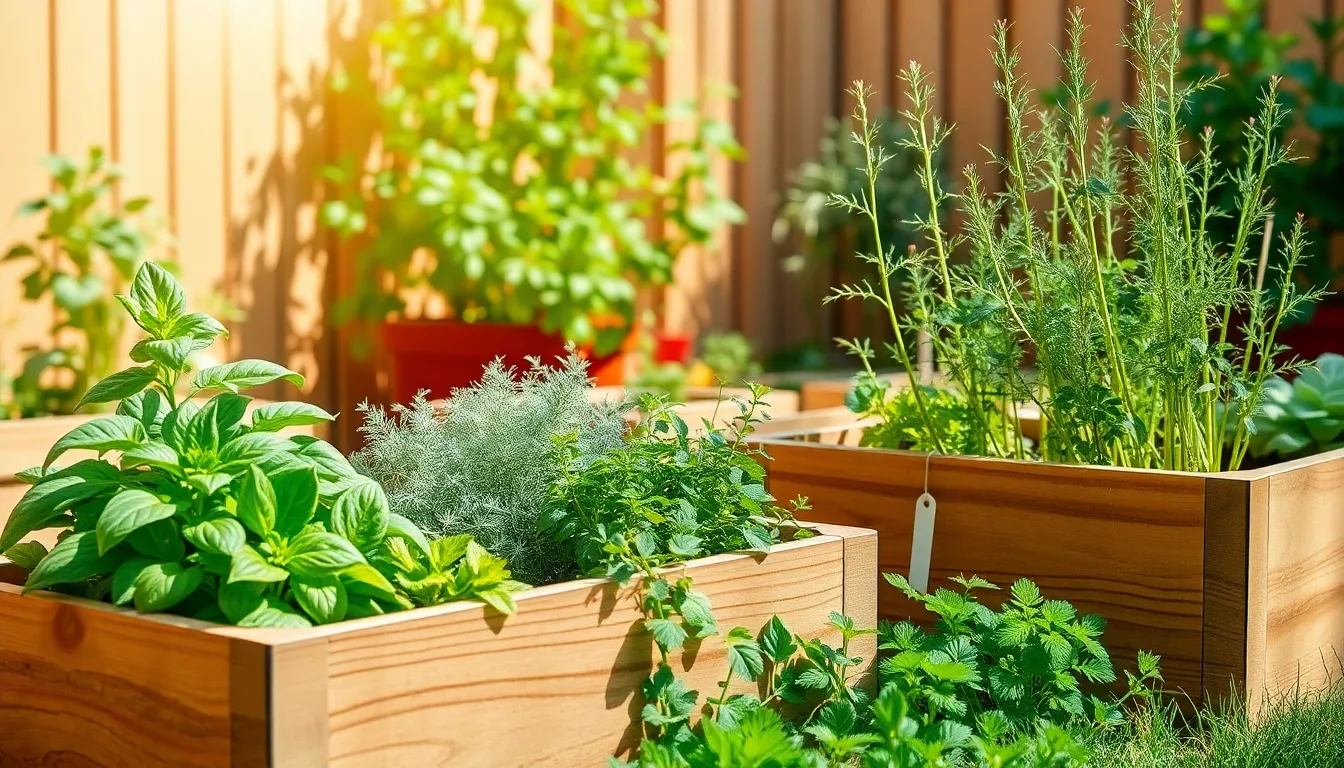
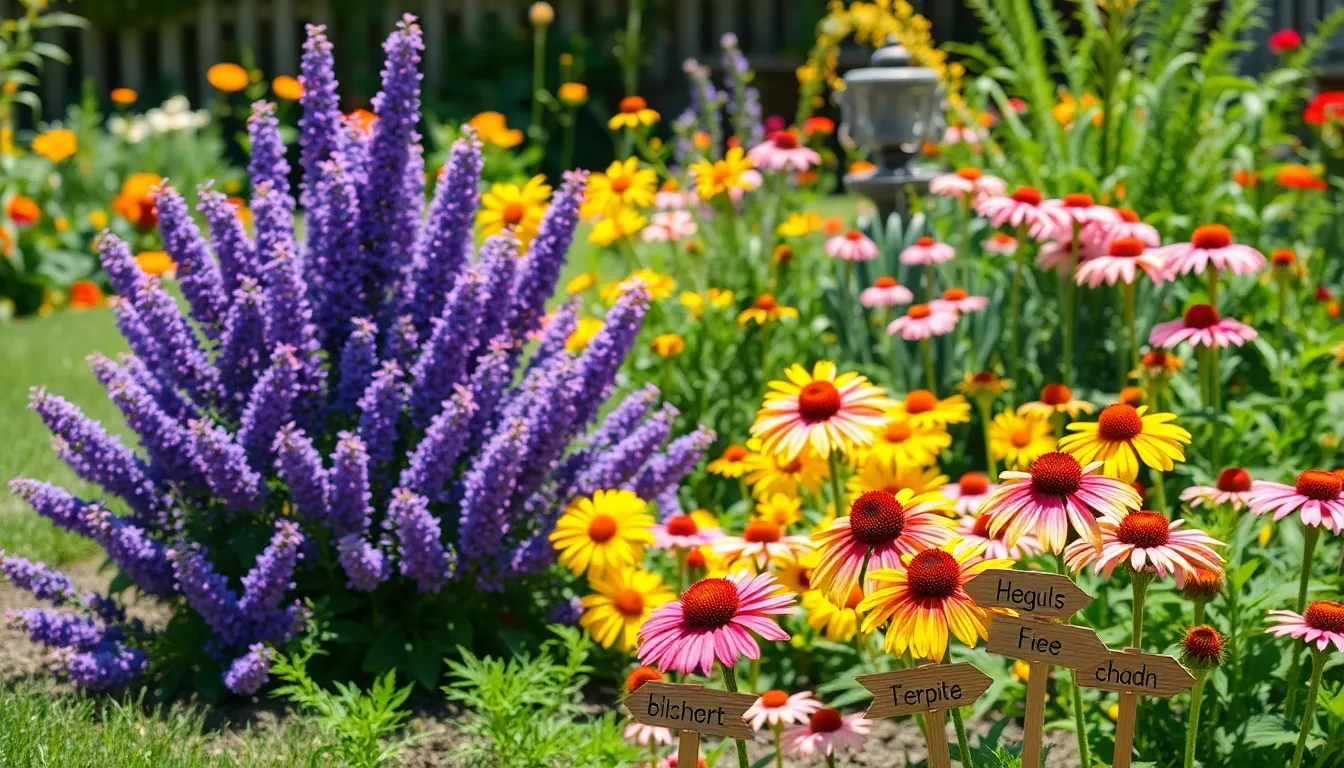
How to Build a Simple Herb Garden
Imagine stepping outside your door and being greeted by the fragrant embrace of basil, rosemary, and mint. Building a simple ...
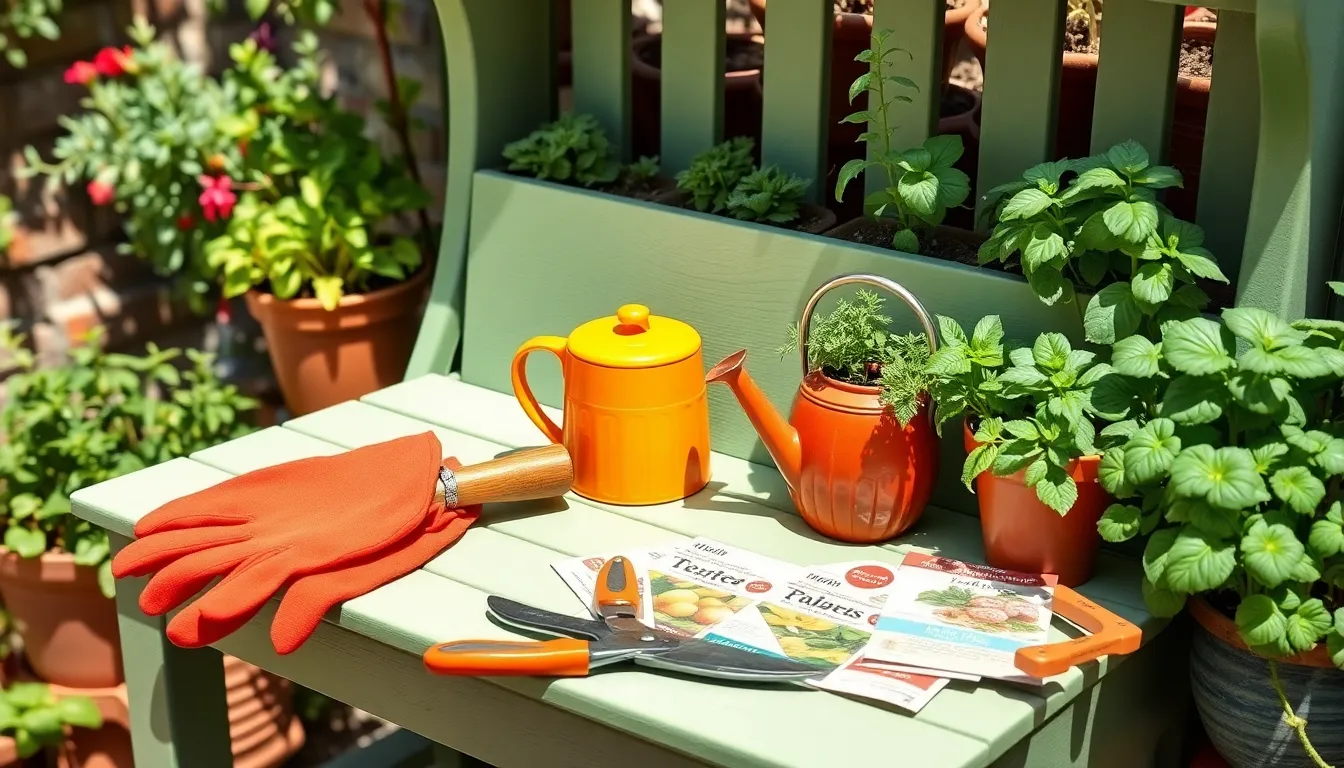
Must-Have Outdoor Gardening Tools for Beginners
Gardening is a delightful journey, whether you’re just starting out with your first plant or have hands seasoned by years ...
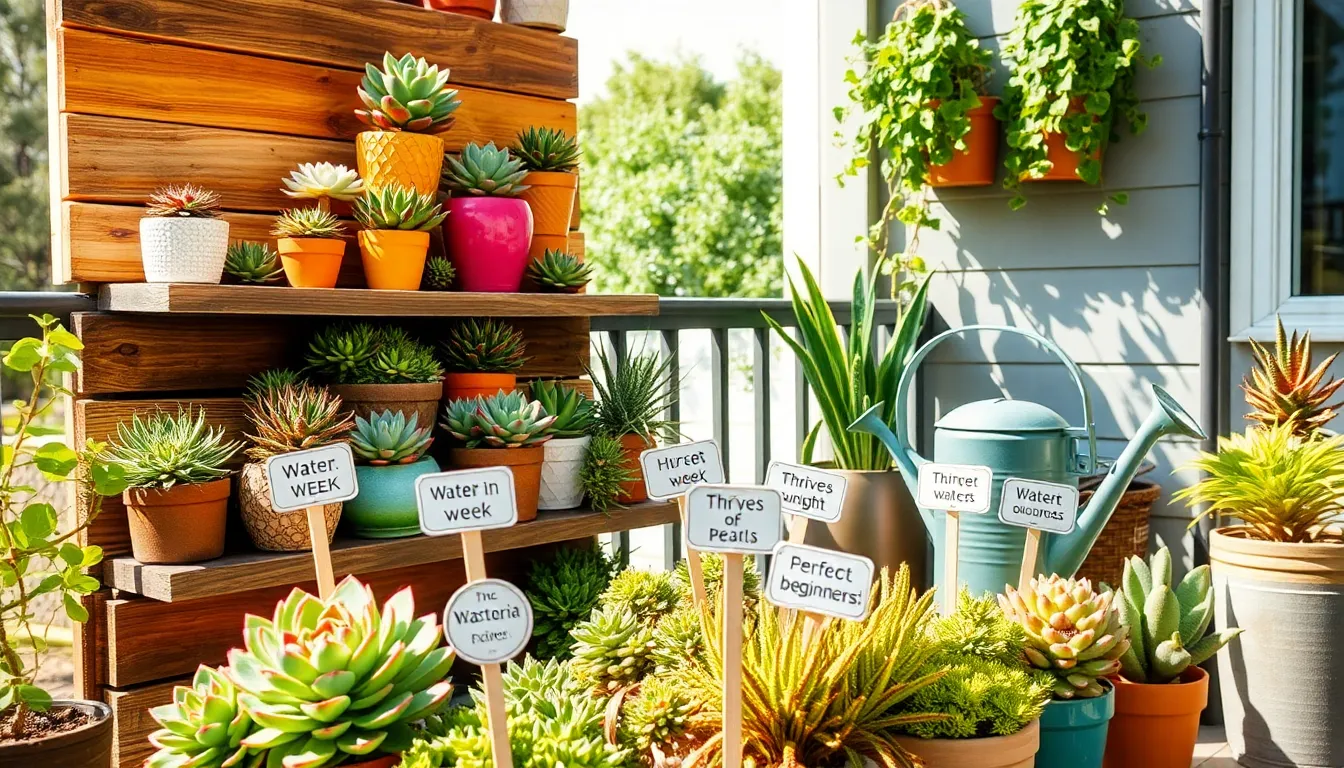
Gardening Tips for Busy People
Welcome to “Gardening Tips for Busy People,” where the art of cultivating a thriving garden meets the realities of a ...
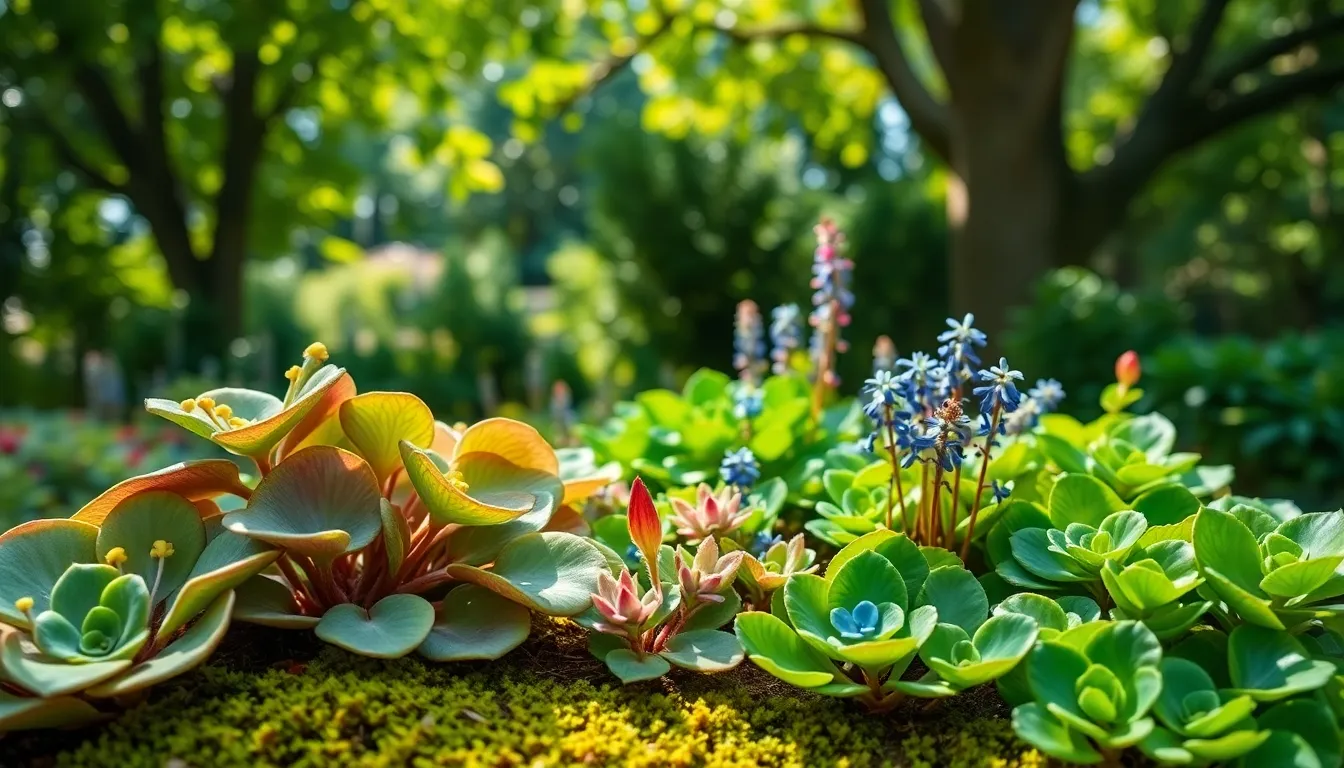
10 Best Flowering Plants for Shady Areas
Stepping into the world of gardening is like opening the door to a vibrant, living art gallery, where every shade, ...
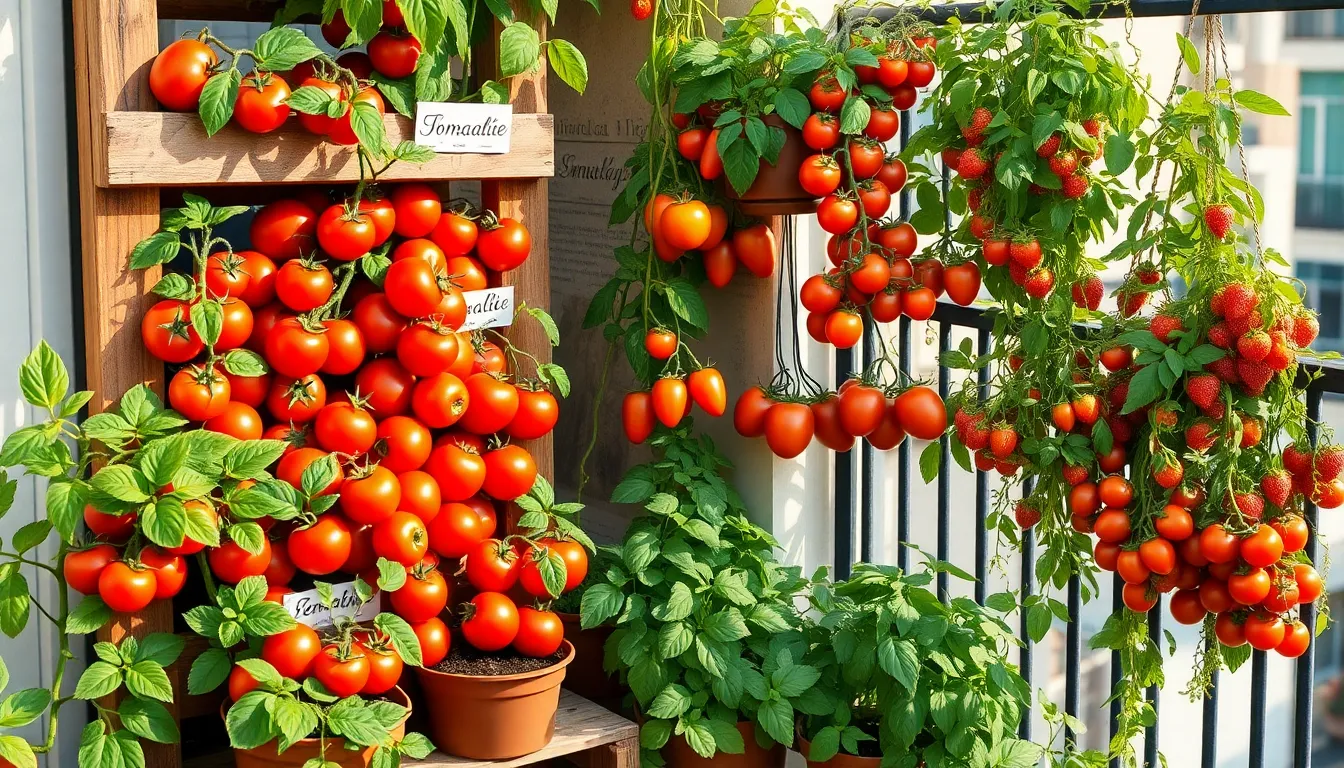
How to Grow Tomatoes in Small Spaces
Whether you’re a seasoned gardener with a love for homegrown flavors or a beginner looking to transform a cozy balcony ...
How to Create a Butterfly Garden in Your Backyard
Imagine stepping into your backyard and being greeted by a flutter of vibrant butterflies, each one adding a splash of ...
Best Low-Light Houseplants for Your Home
Welcome to the verdant world of indoor gardening, where even the shadiest corners of your home can blossom with life! ...


