John
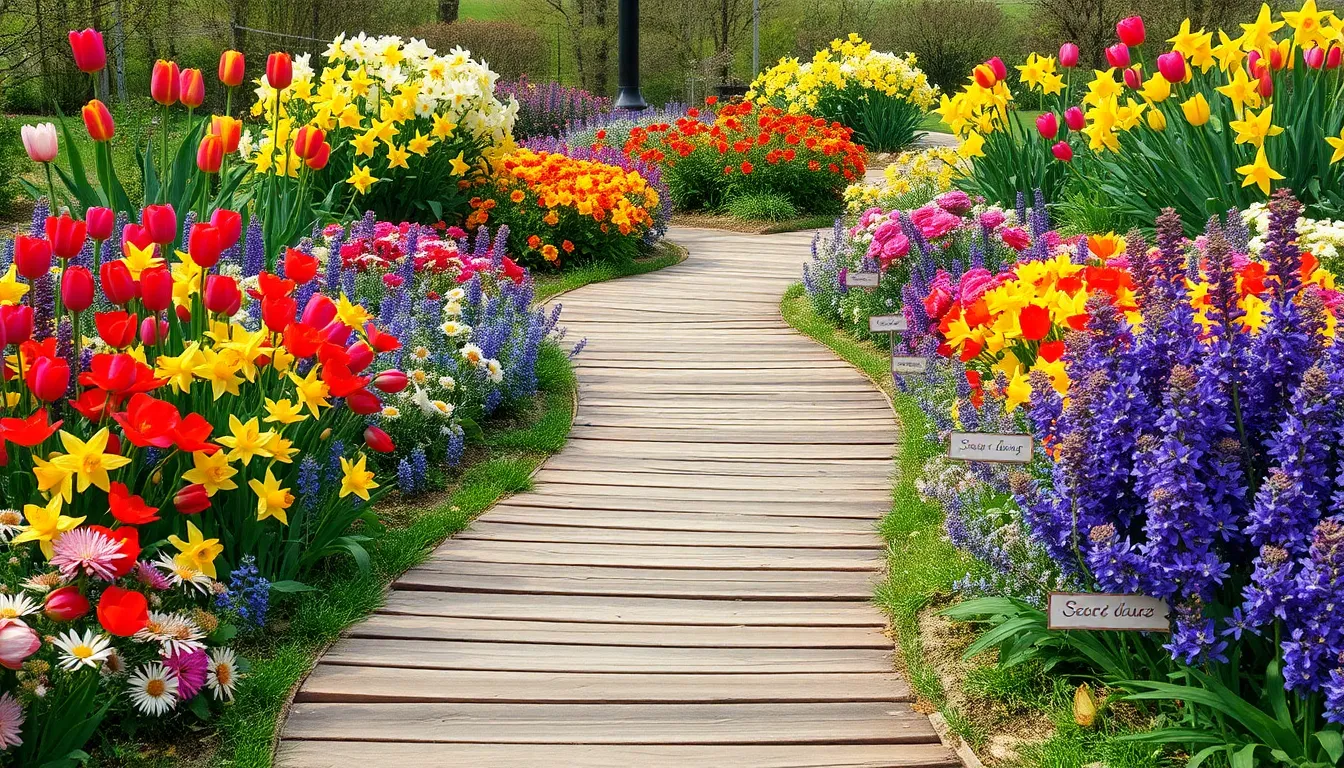
12 Gorgeous Flowers to Plant in Spring
As the chill of winter fades and the earth begins to stir with life, the arrival of spring beckons gardeners ...
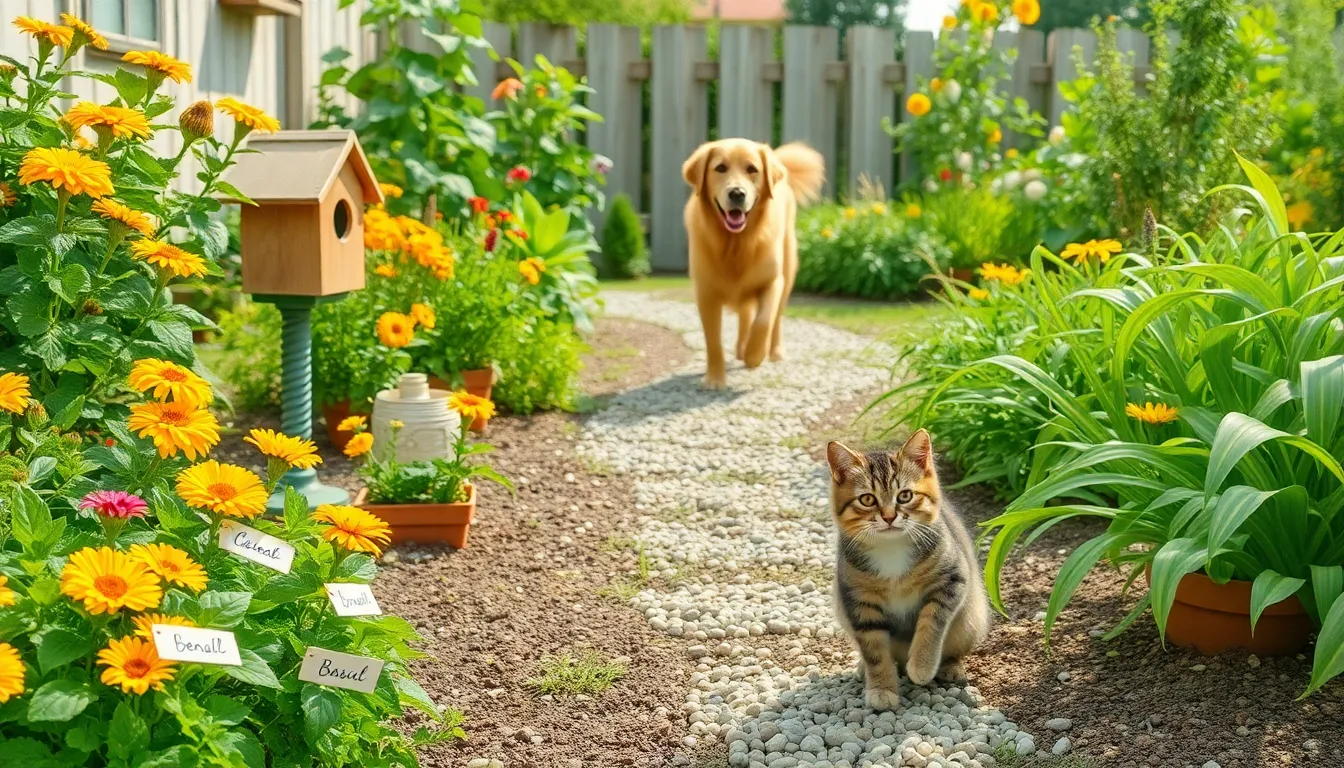
How to Make Your Garden More Pet-Friendly
Gardening is a cherished pastime that brings joy and tranquility to many, but for those of us with furry companions, ...
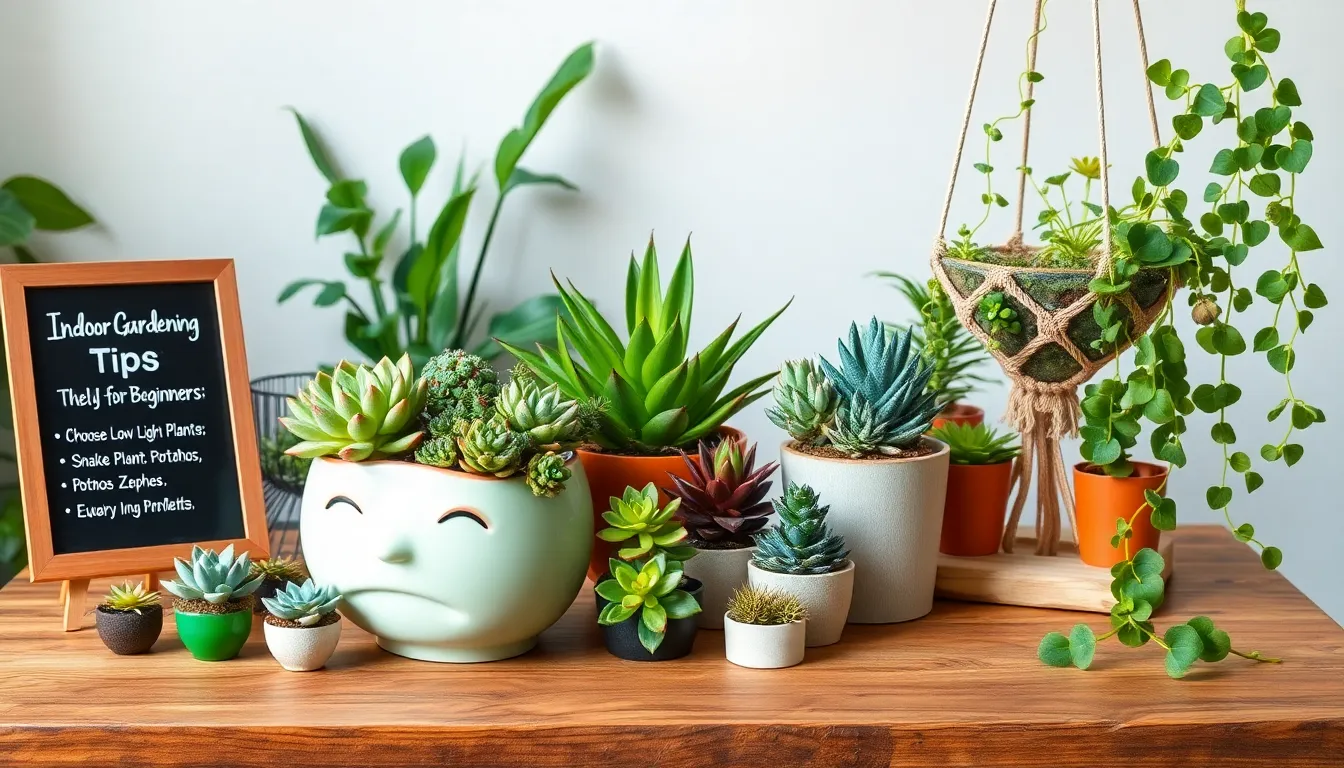
Indoor Gardening Tips for Beginners
Welcome to the vibrant world of indoor gardening, where the joy of nurturing plants transforms any space into a lush ...
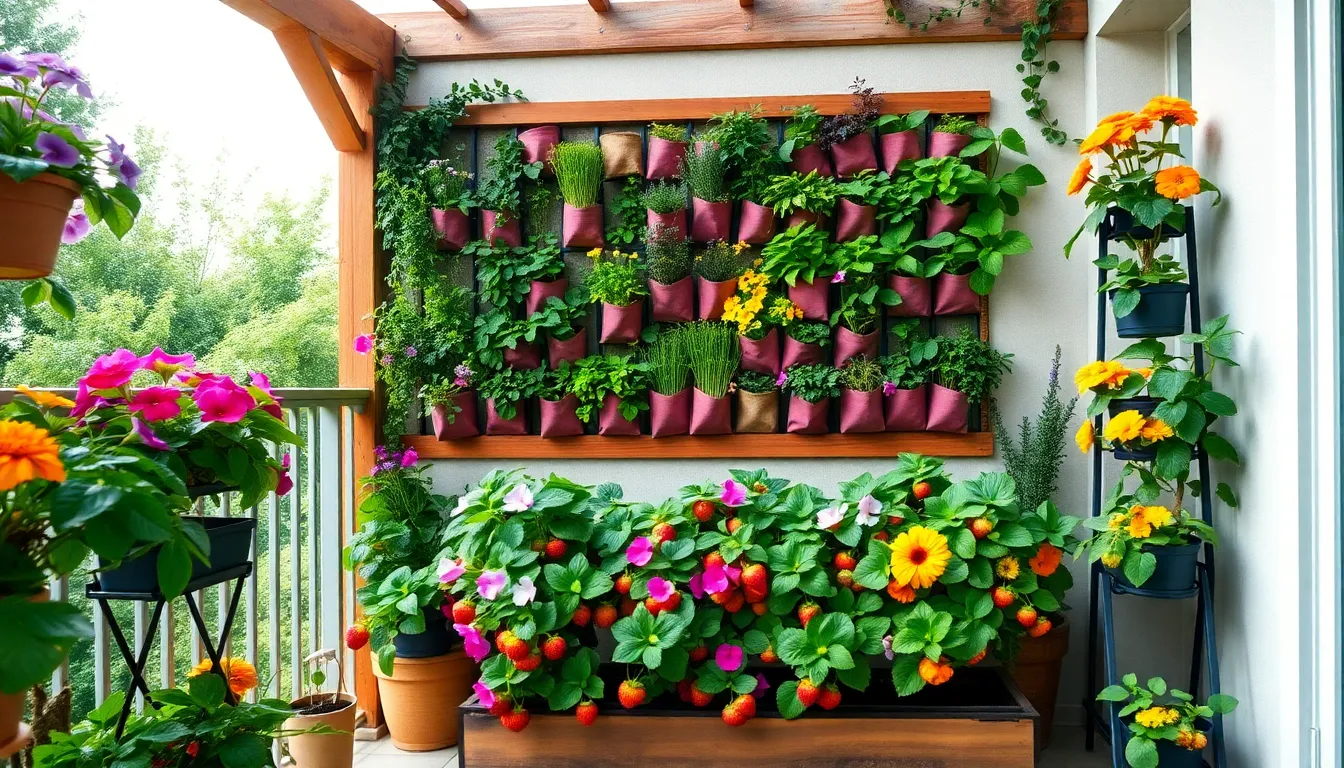
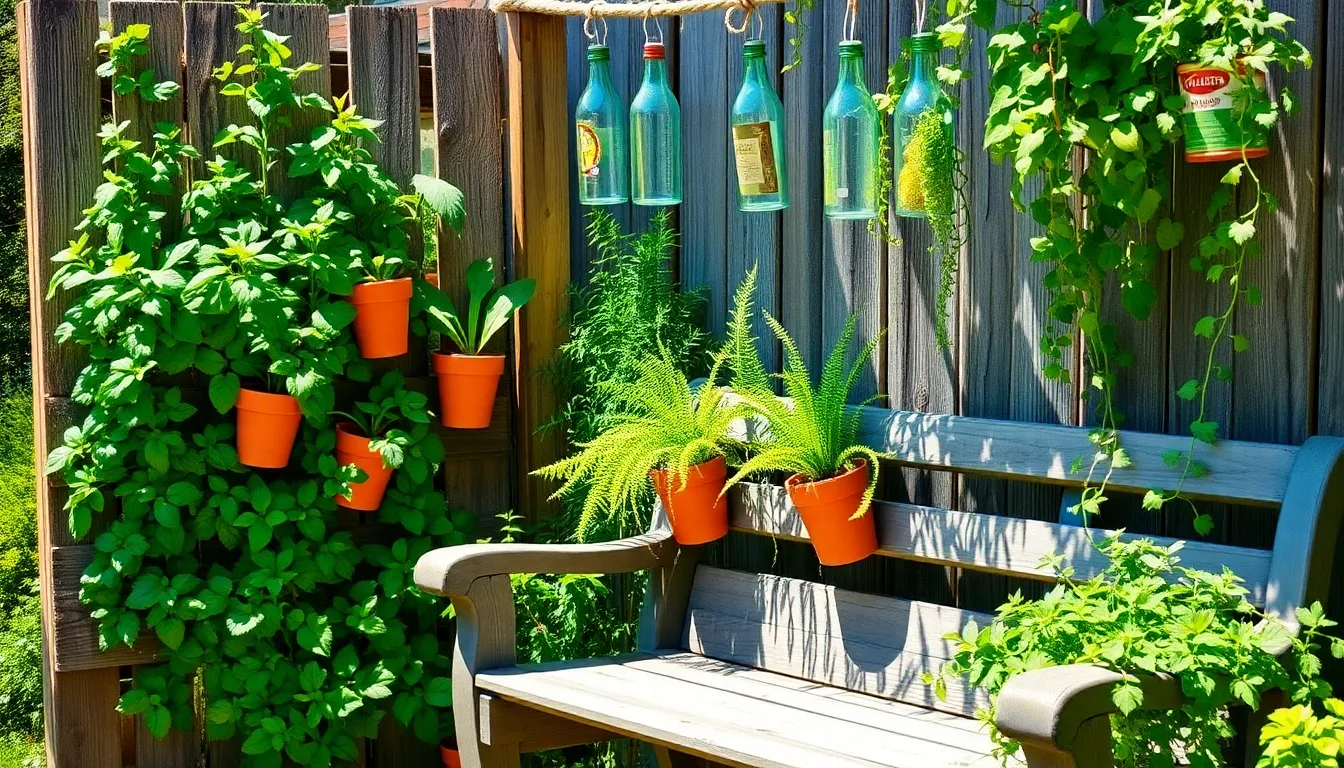
10 Best Plants for Apartment Balconies
Welcome to the enchanting world of balcony gardening, where even the smallest outdoor space can become a lush, vibrant oasis. ...
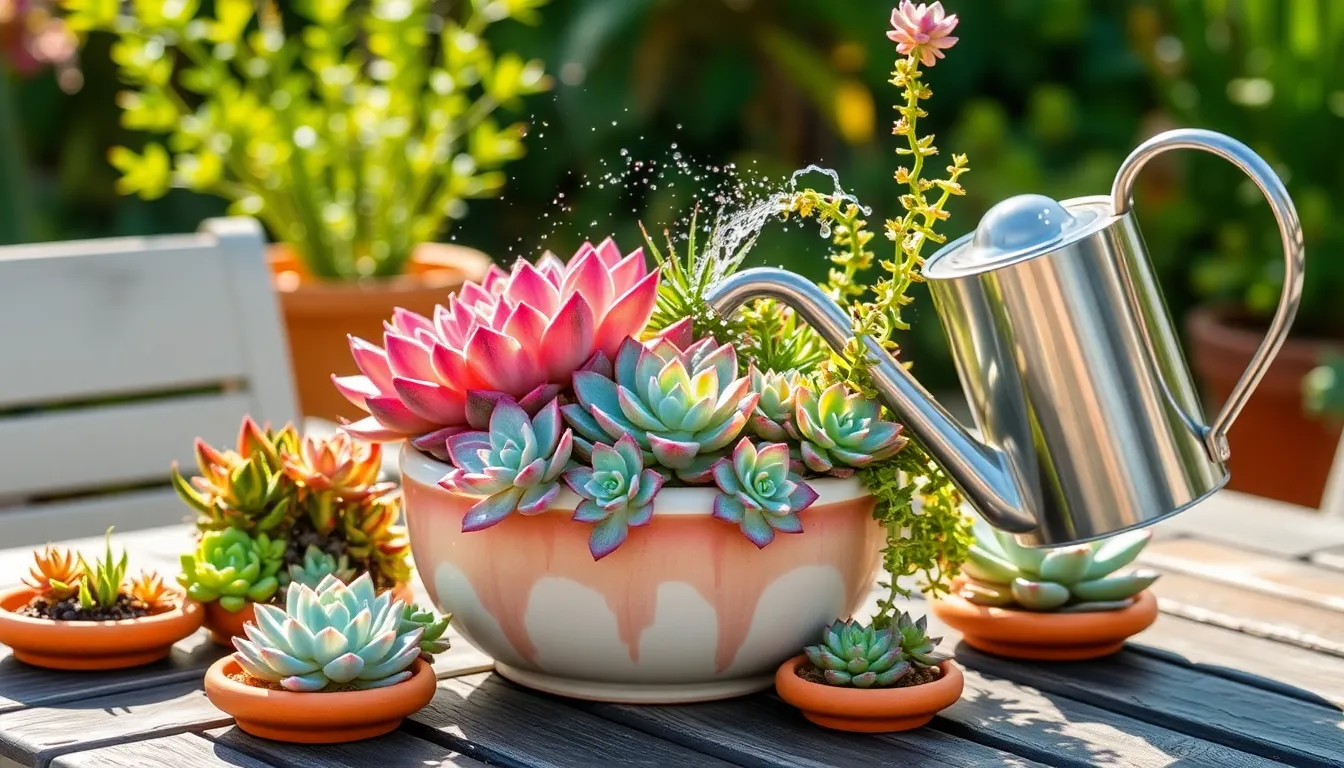
How to Water Succulents the Right Way
Gardening is a delightful journey, and whether you’re just beginning or have nurtured countless plants, succulents have likely caught your ...
15 DIY Planter Ideas for Your Garden
Gardening is more than a hobby; it’s a journey filled with creativity and satisfaction, and what better way to express ...
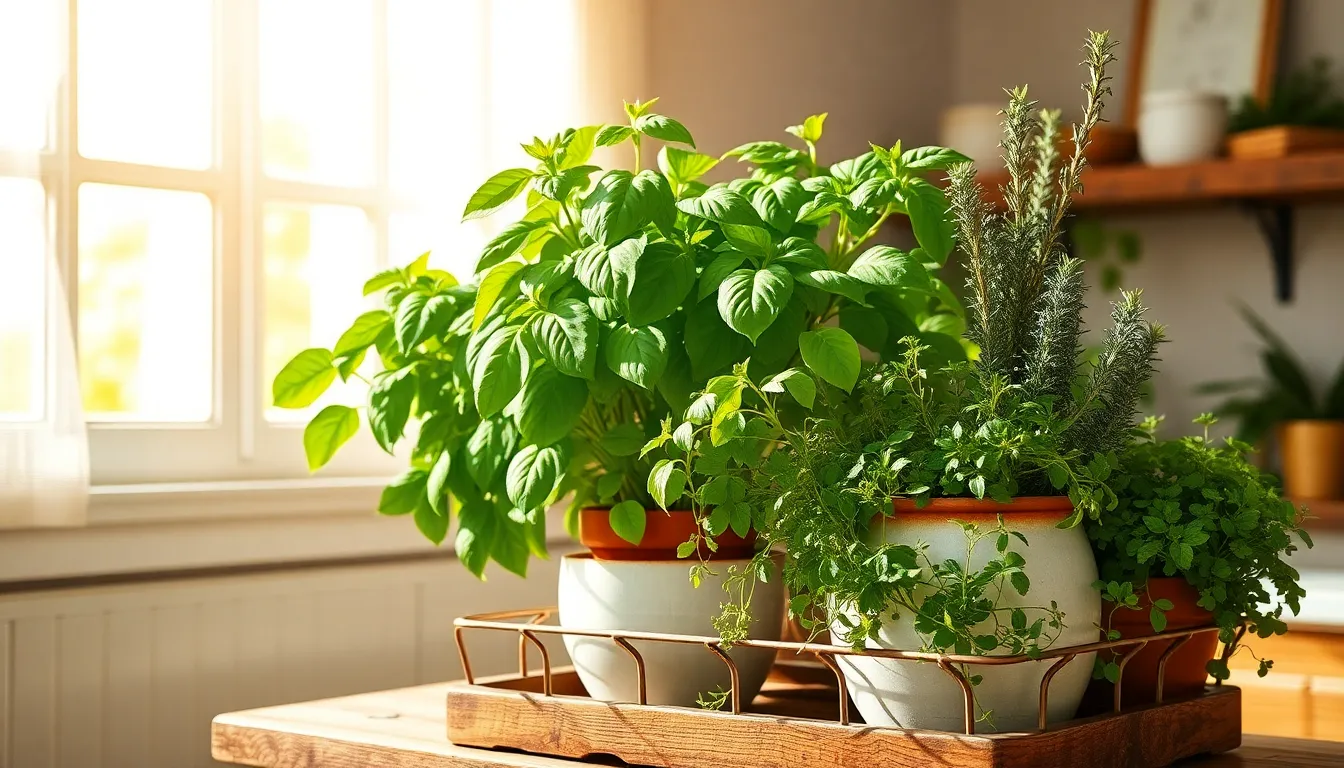
How to Grow an Herb Garden in Your Kitchen
The delight of plucking fresh basil from a pot on your windowsill and the invigorating scent of rosemary as you ...
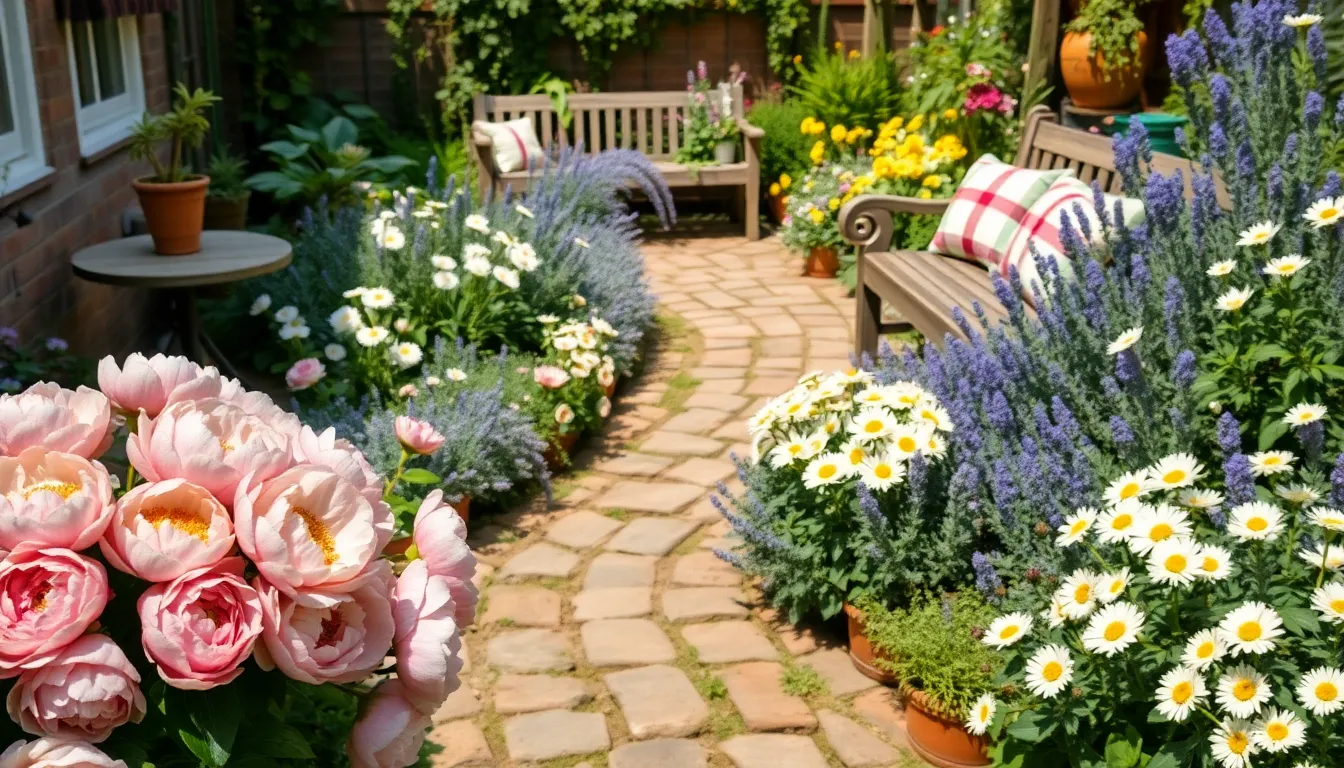
Beautiful Flower Garden Layout Ideas
Imagine stepping into your garden and being greeted by a symphony of colors, textures, and scents that lift your spirits ...
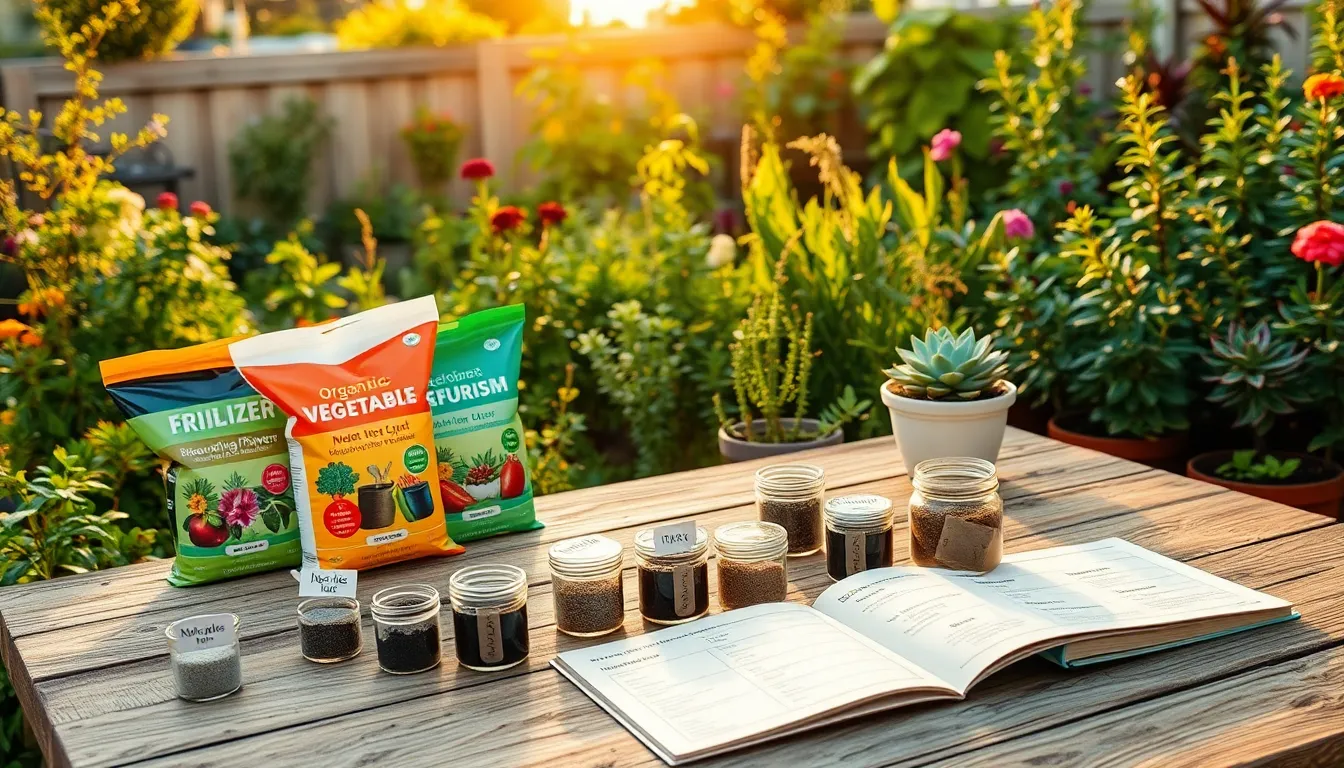
How to Choose the Best Fertilizer for Your Garden
Gardening is a joyful journey, a dance between nature and nurture, where each decision blooms into a vibrant reward. Whether ...
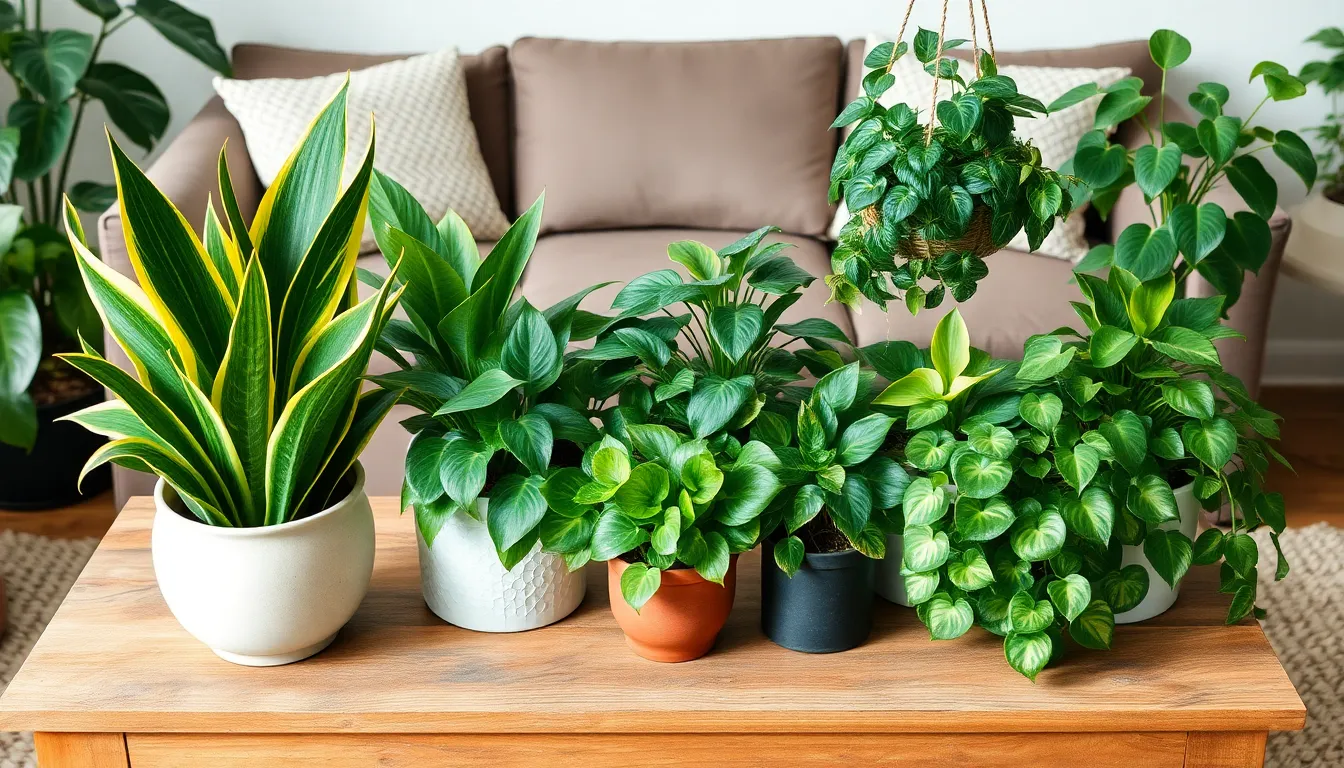
Houseplants for Beginner Gardeners
Welcoming a houseplant into your home is like inviting a new friend to stay, one that brings a breath of ...


