John
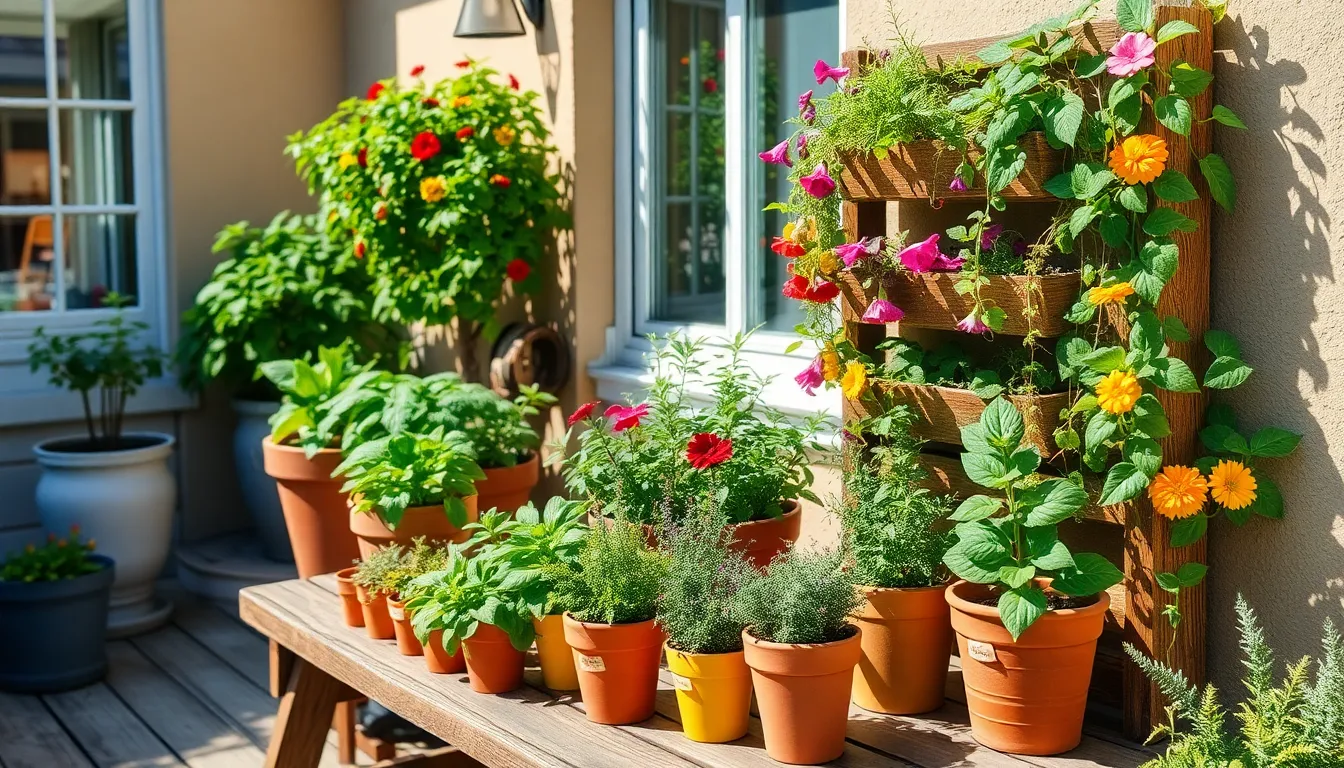
Container Gardening Tips for Small Yards
Imagine stepping into your small yard and being greeted by a vibrant oasis of colors, textures, and scents, all thriving ...
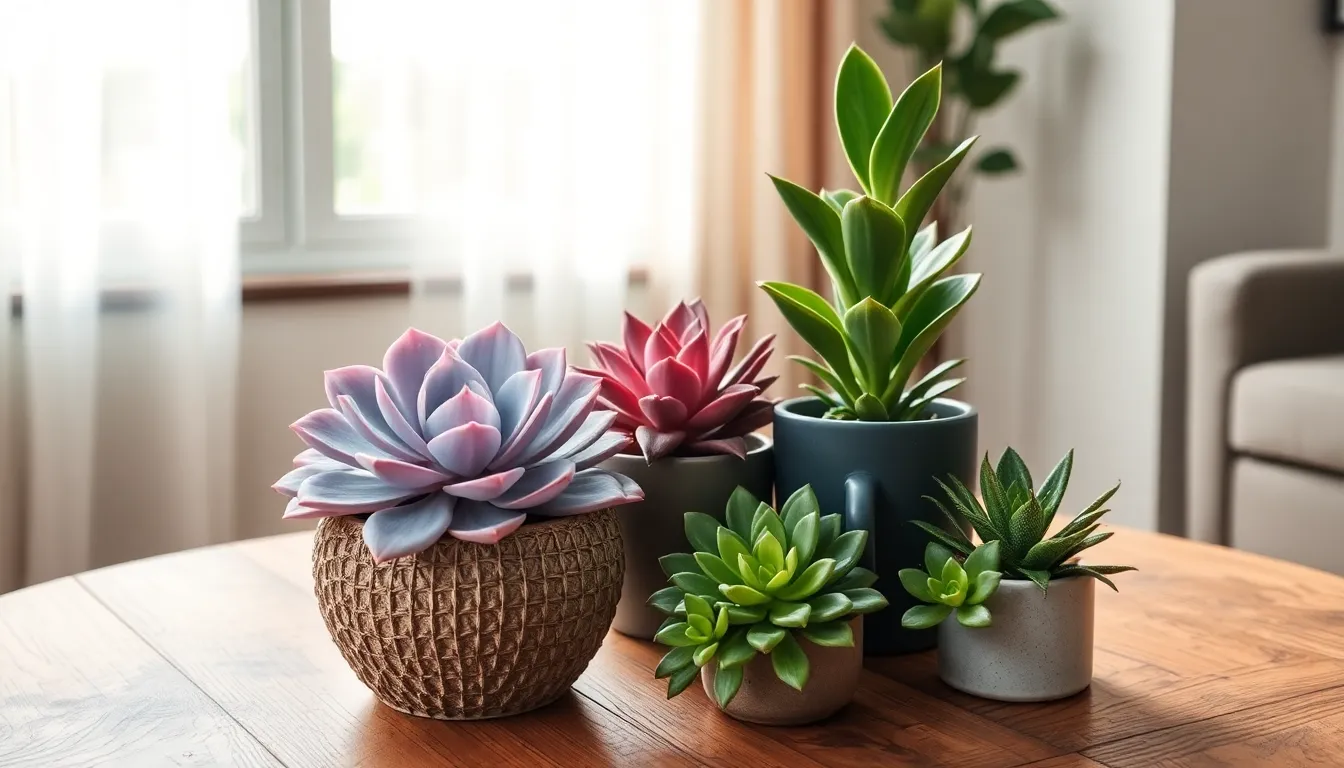
Best Succulents for Beginners in Low Light
Whether you’re just dipping your toes into the world of gardening or you’re a seasoned plant enthusiast, there’s a unique ...
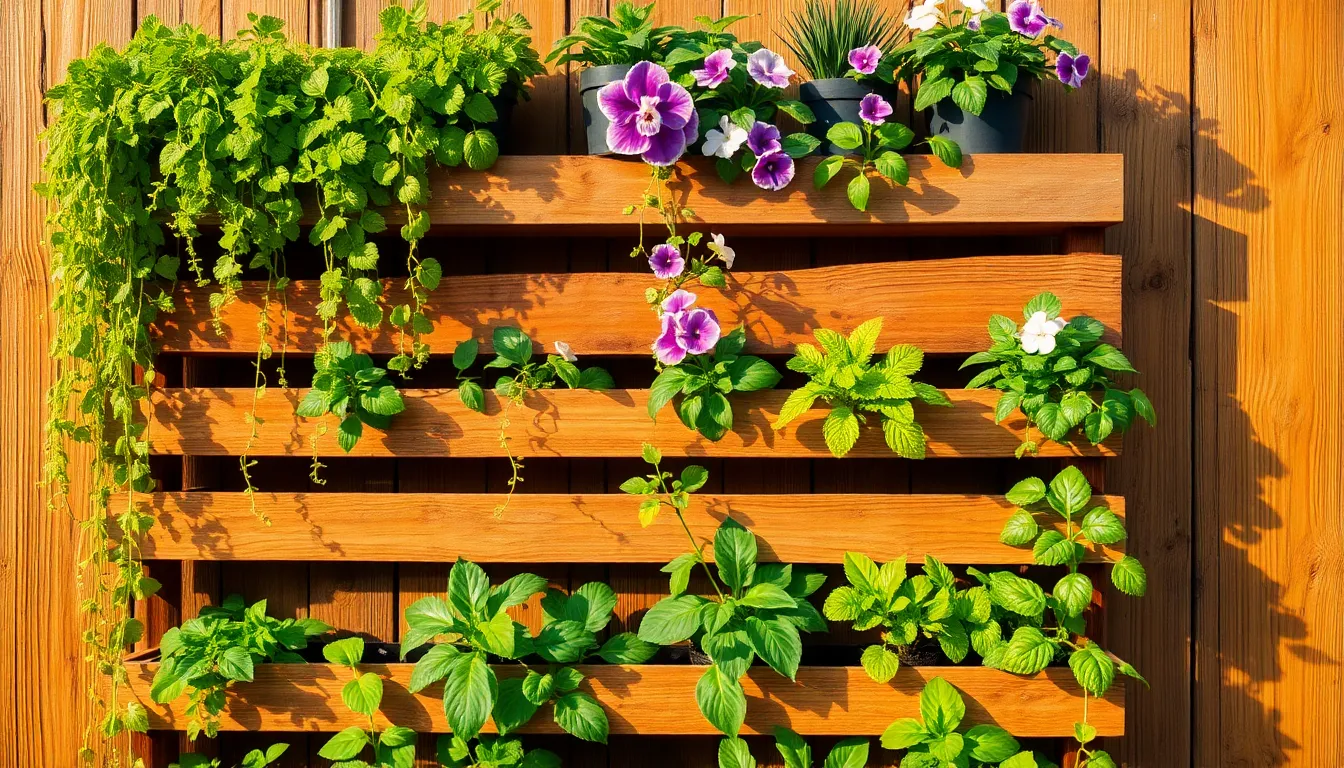
How to Create a Vertical Garden at Home
Imagine transforming a blank wall or a dull corner of your home into a vibrant oasis of greenery. Vertical gardening ...
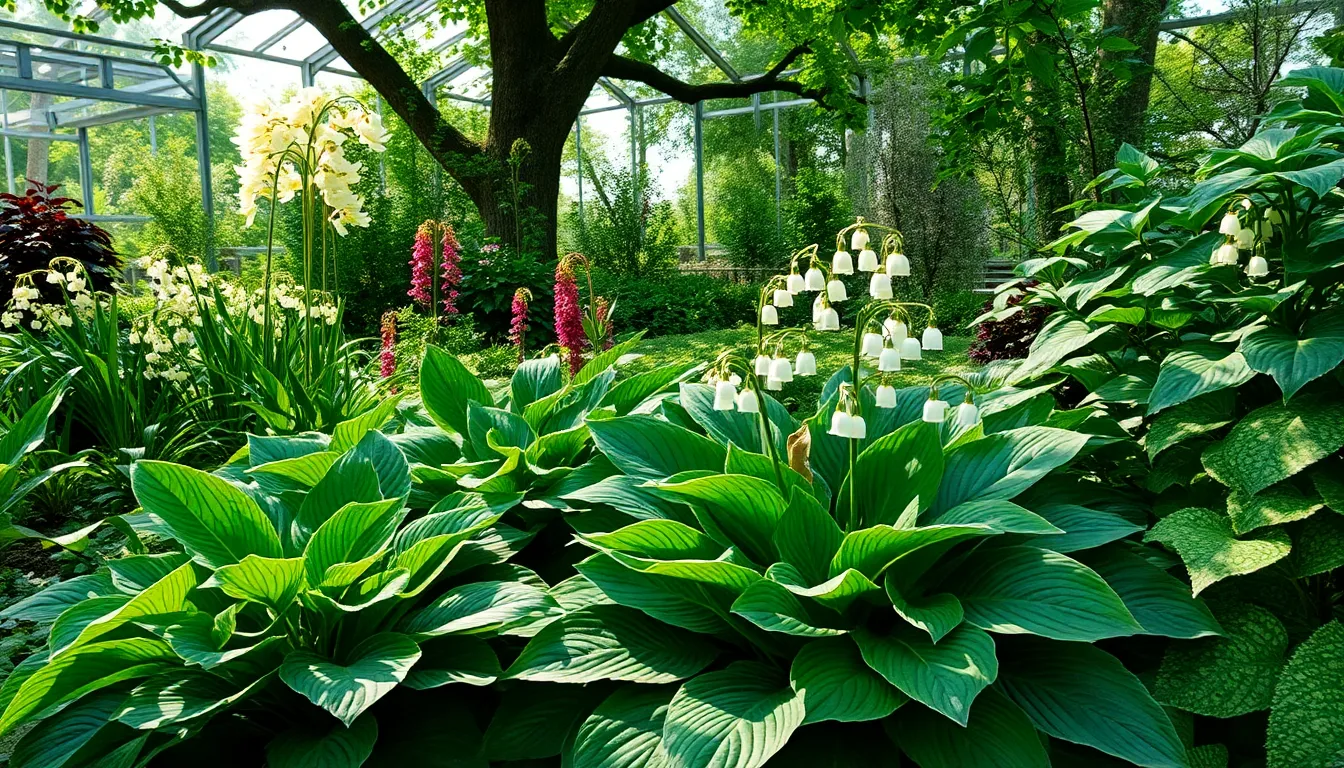
Perennials That Thrive in Shaded Areas
Gardening in the shade often feels like one of nature’s more elusive challenges, offering both mystery and opportunity beneath the ...
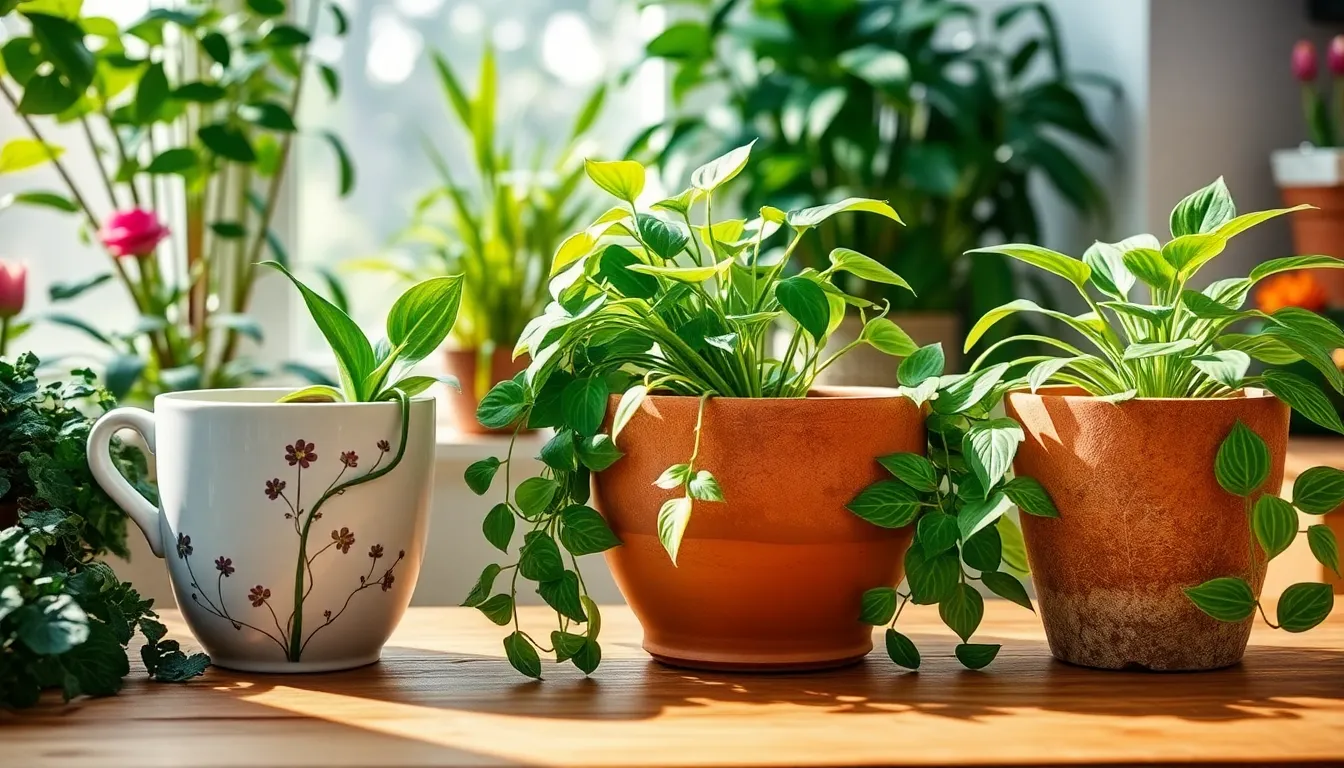
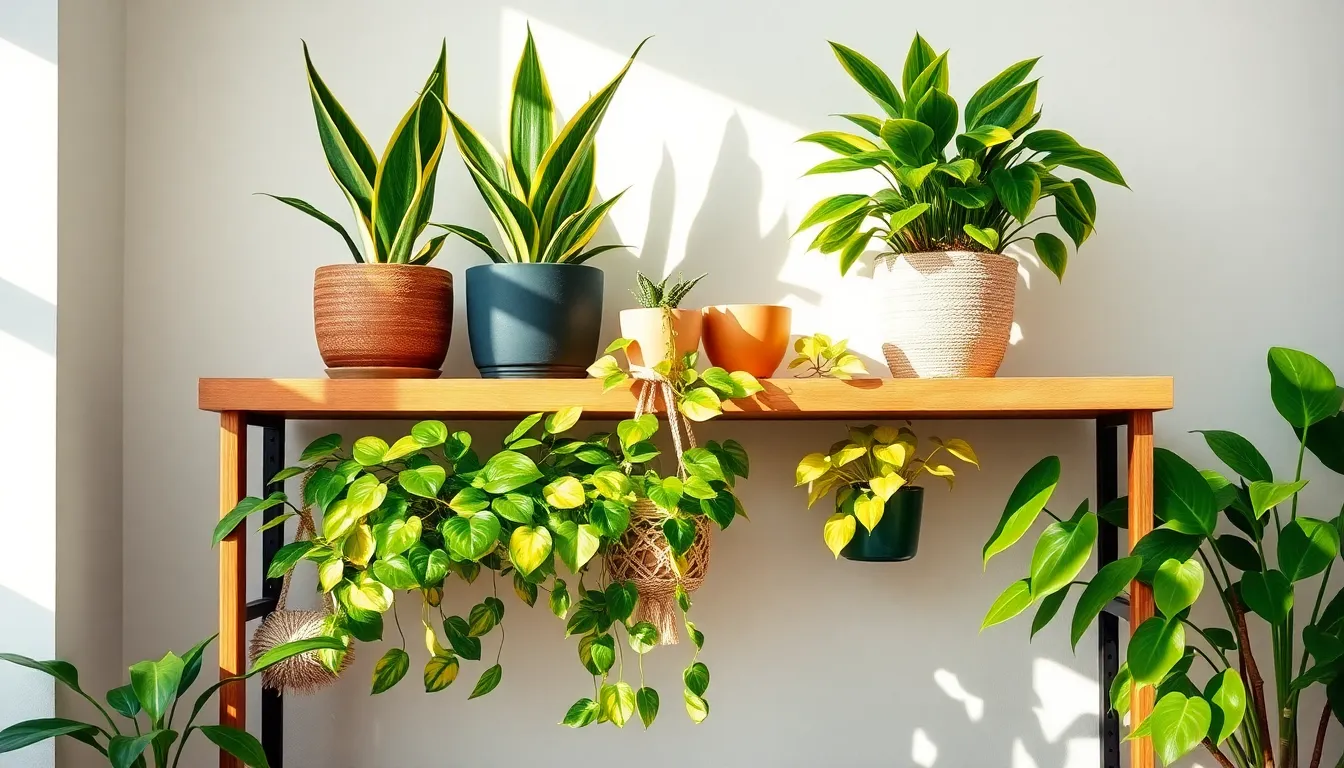
How to Choose the Right Pots for Indoor Plants
Welcome to the delightful world of indoor gardening, where the right pot can make all the difference for your thriving ...
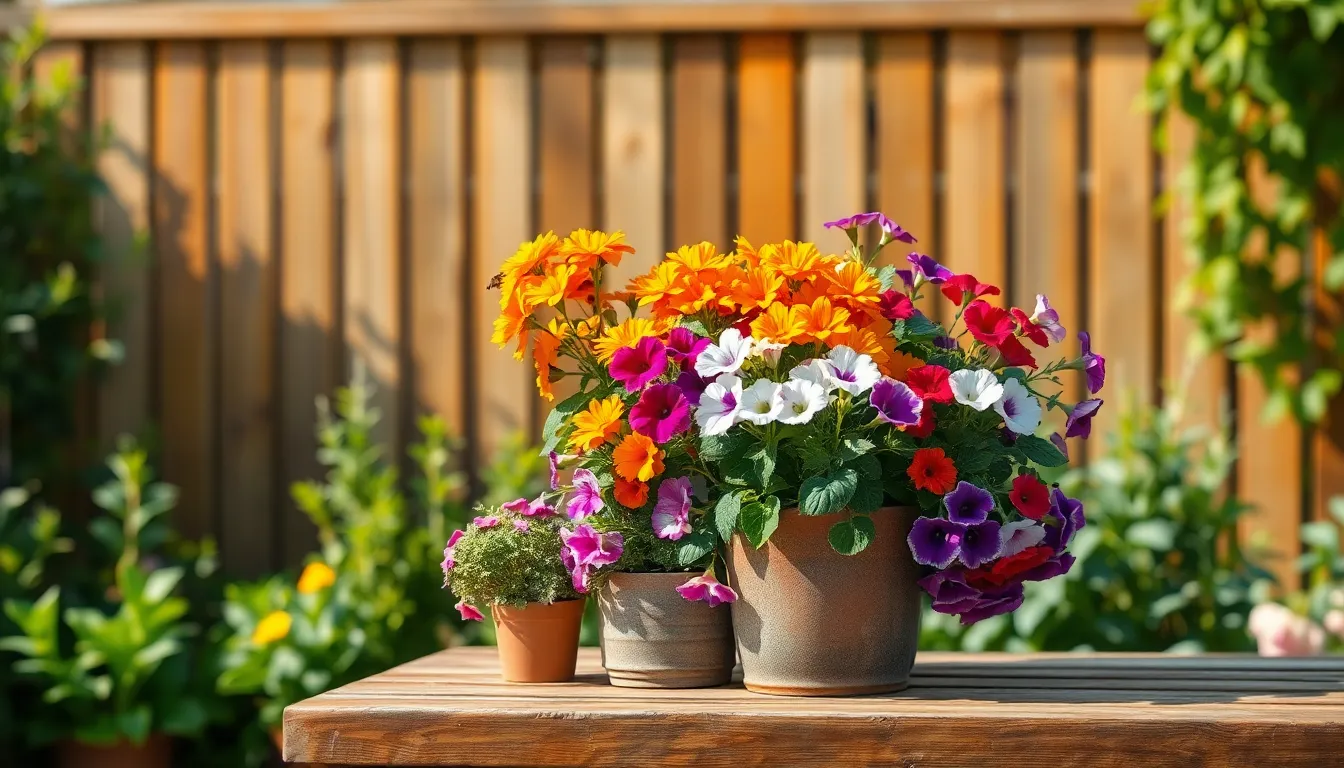
5 Easy-to-Grow Flowers for Your Garden
Welcoming the vibrant allure of flowers into your garden is one of the most rewarding joys of gardening. Whether you’re ...
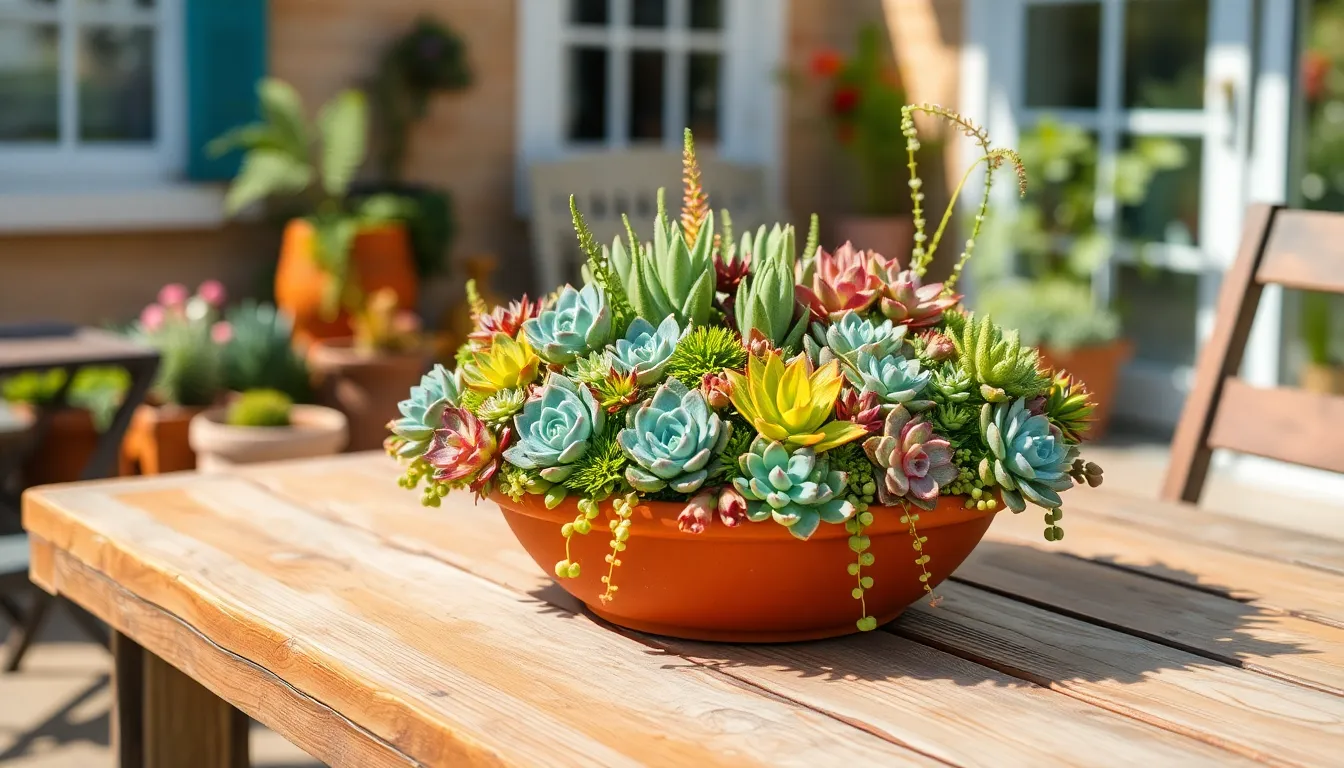
Creative Succulent Arrangements for Beginners
Imagine transforming a dull corner of your home into a vibrant oasis with just a few simple steps and some ...
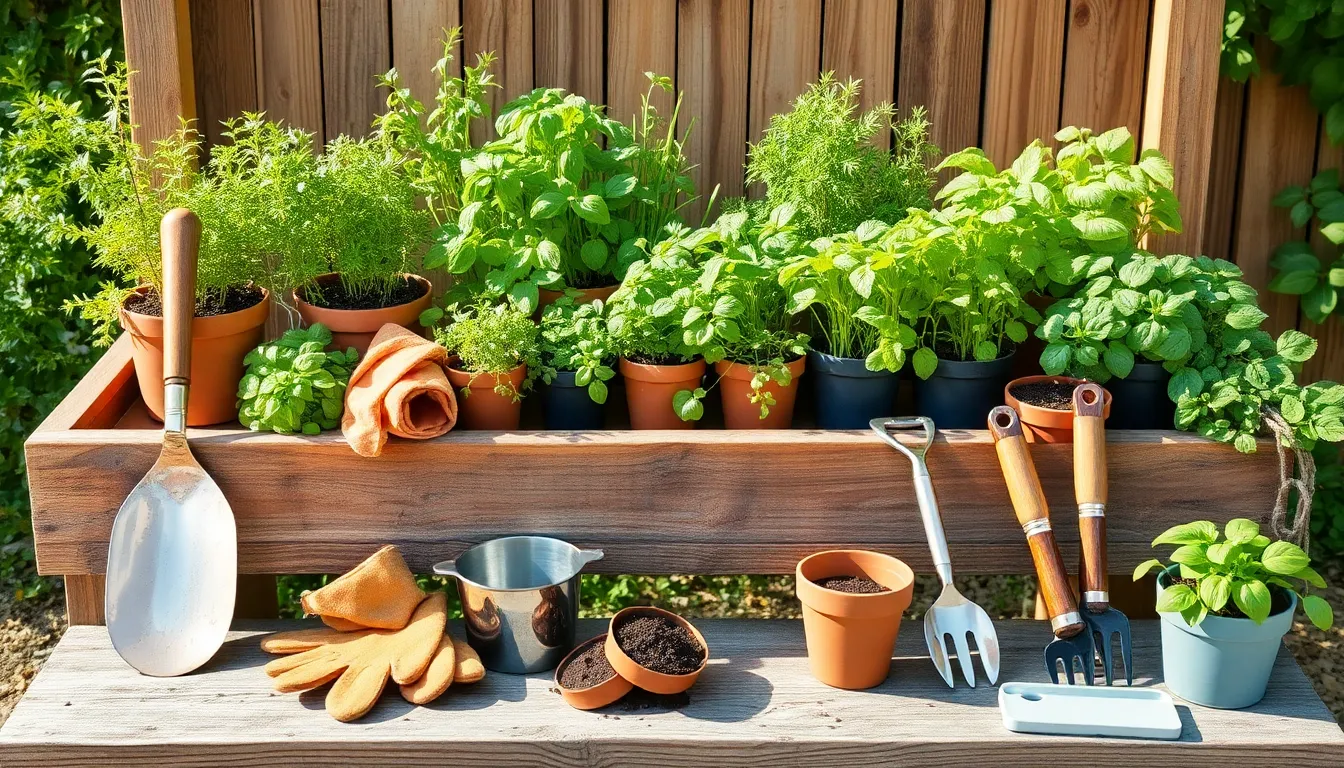
15 Must-Have Tools for Herb Gardening
Herb gardening is a delightful pursuit that combines the joys of nurturing life with the practical benefits of having fresh ...
Easy Indoor Plants for Beginners
Welcoming a touch of greenery into your home is like inviting a breath of fresh air into your daily life. ...
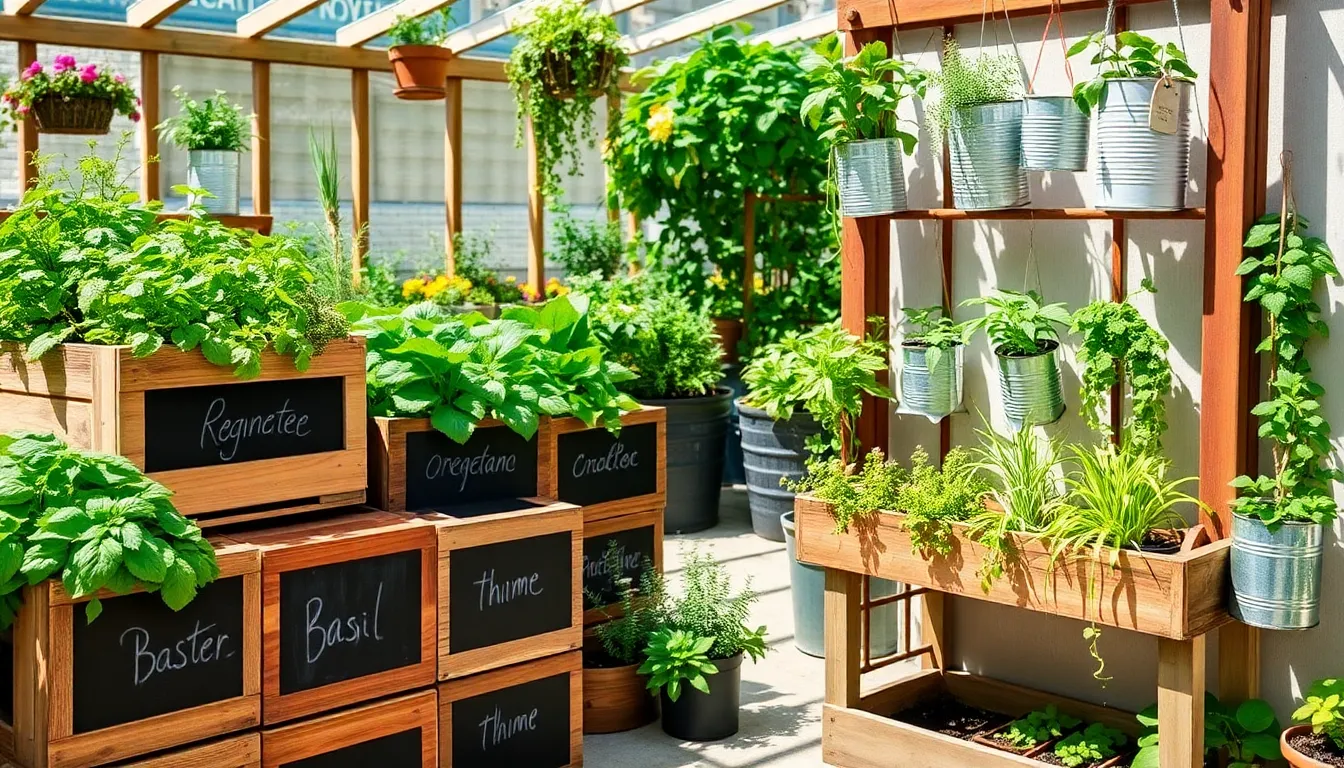
10 Budget-Friendly Herb Garden Ideas
Embarking on the journey of herb gardening can be one of the most rewarding experiences for both novices and seasoned ...


