Beginner Gardening Tips

6 Common Mulching Techniques For Garden Beds
Imagine stepping into your garden and finding it thriving with vibrancy and health, where each plant seems to flourish effortlessly. ...
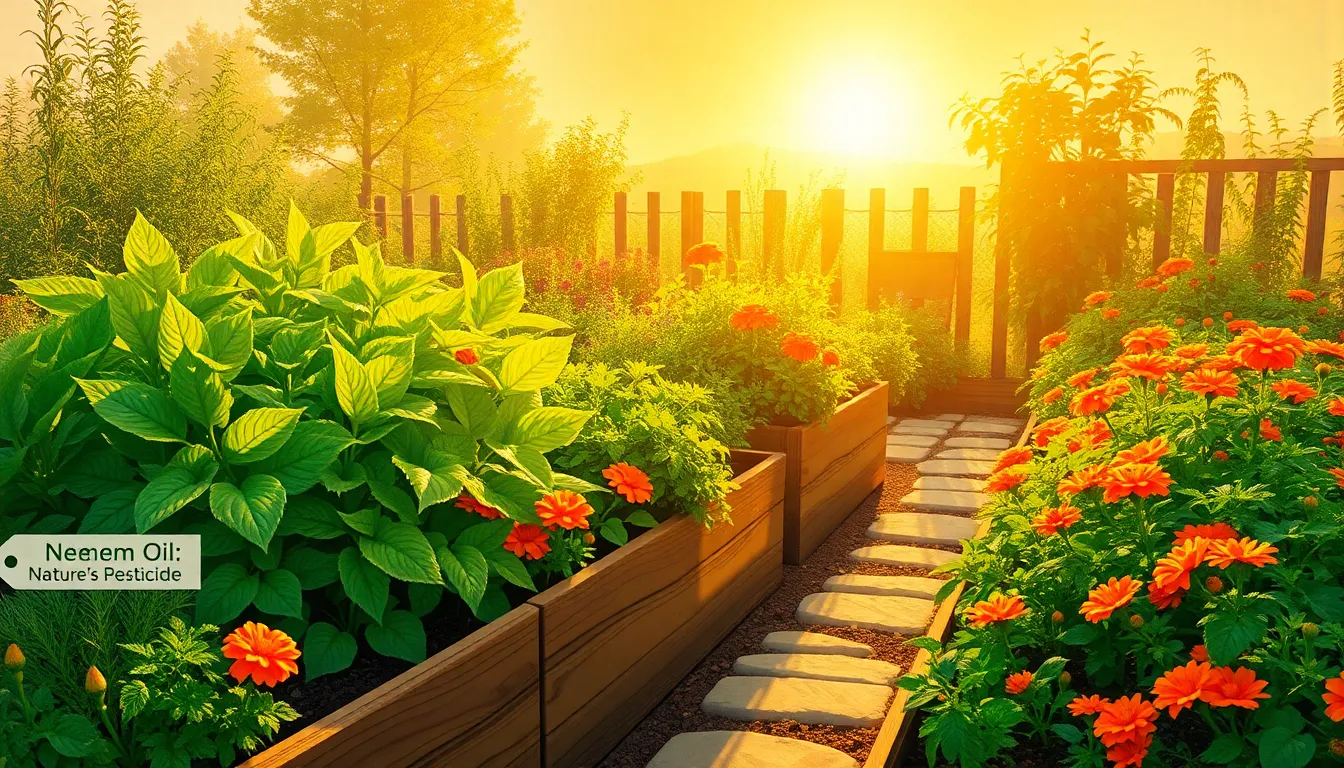
6 Common Eco-Friendly Pest Control
In the sanctuary of your garden, where you nurture vibrant blooms and lush greenery, the last thing you want is ...

11 Brilliant Shade-Loving Garden Plants
Gardening is often celebrated for its sunlit blossoms and vibrant hues, but there is a quieter, equally rewarding side to ...
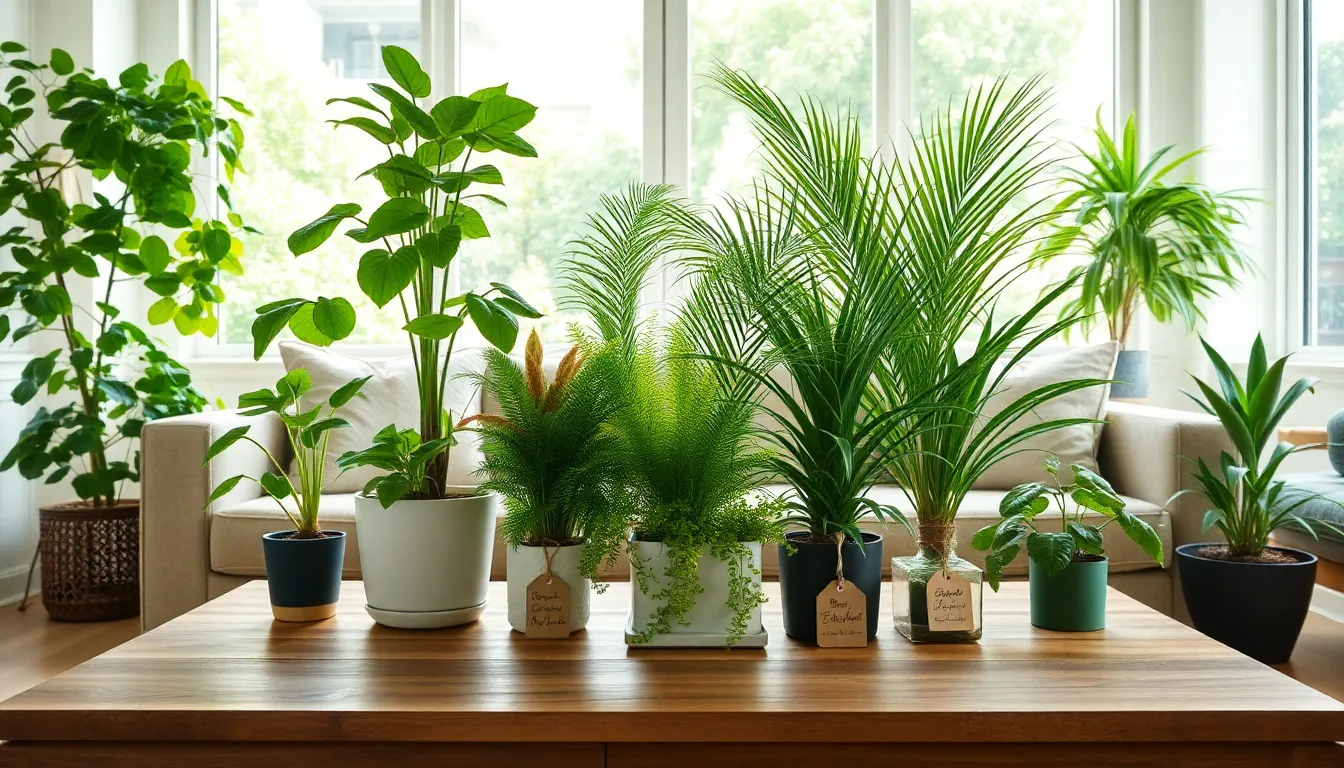
8 Fun Pet-Safe Plants For The Home
Welcoming plants into your home can transform your space into a vibrant oasis, a sanctuary for both you and your ...
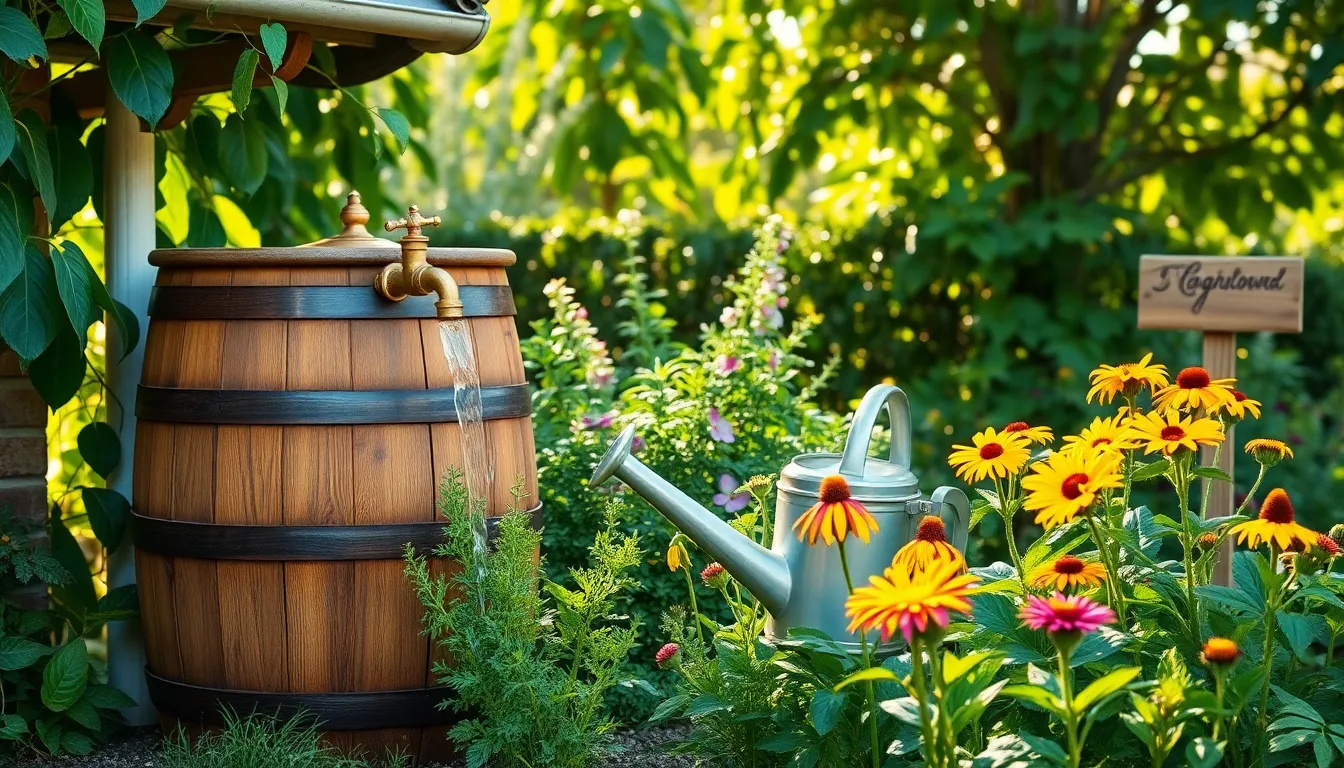
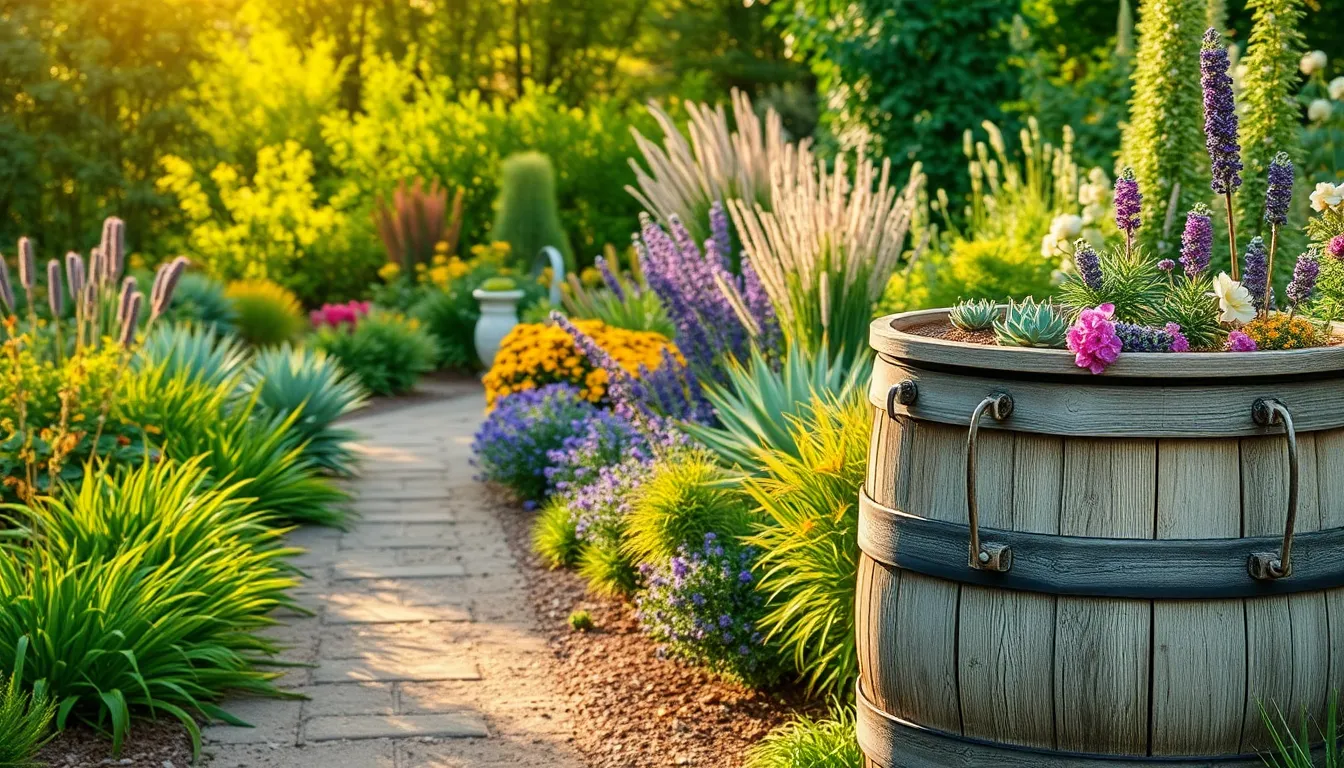
6 Common Rainwater Harvesting For Gardens
Water is the lifeblood of any thriving garden, yet in many regions, it can be a scarce resource. Whether you’re ...
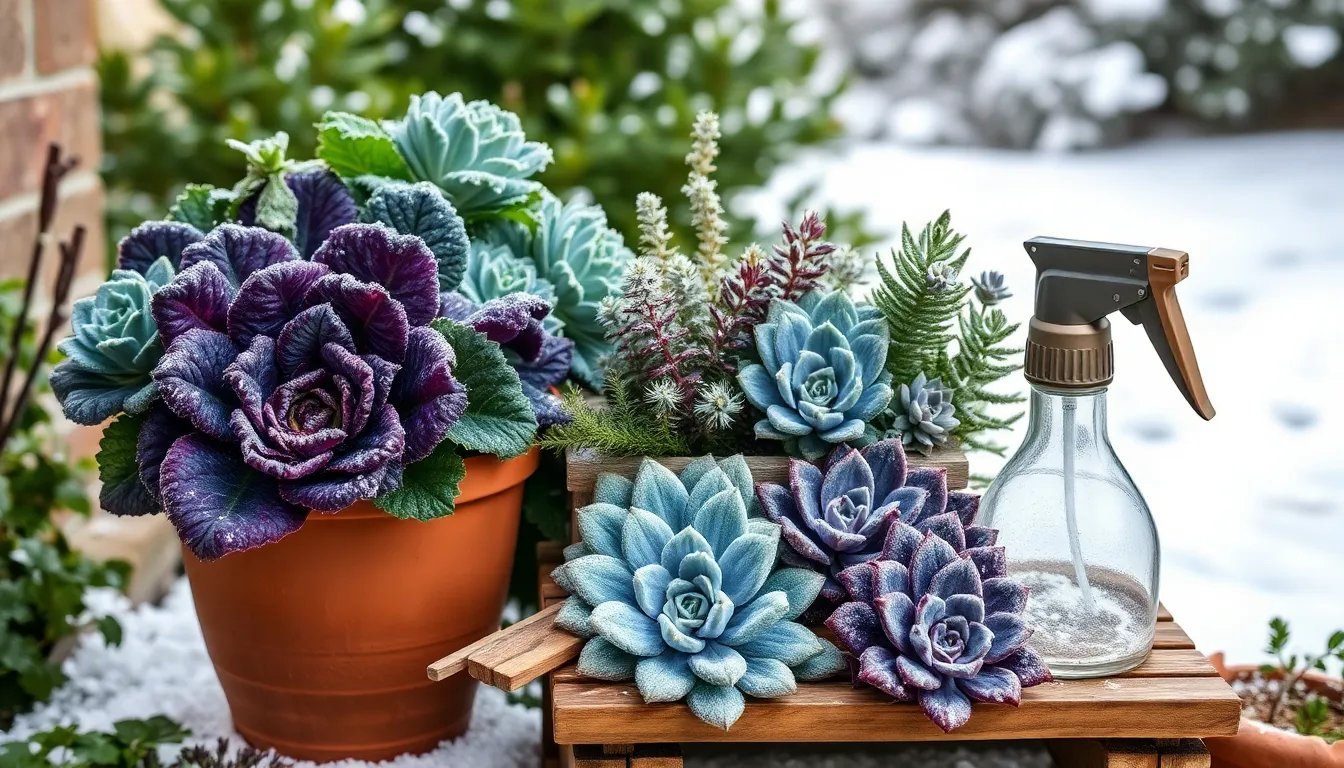
10 Easy Winter Gardening Essentials
As the days grow shorter and the crisp air heralds winter’s approach, it’s easy to think that our gardening duties ...
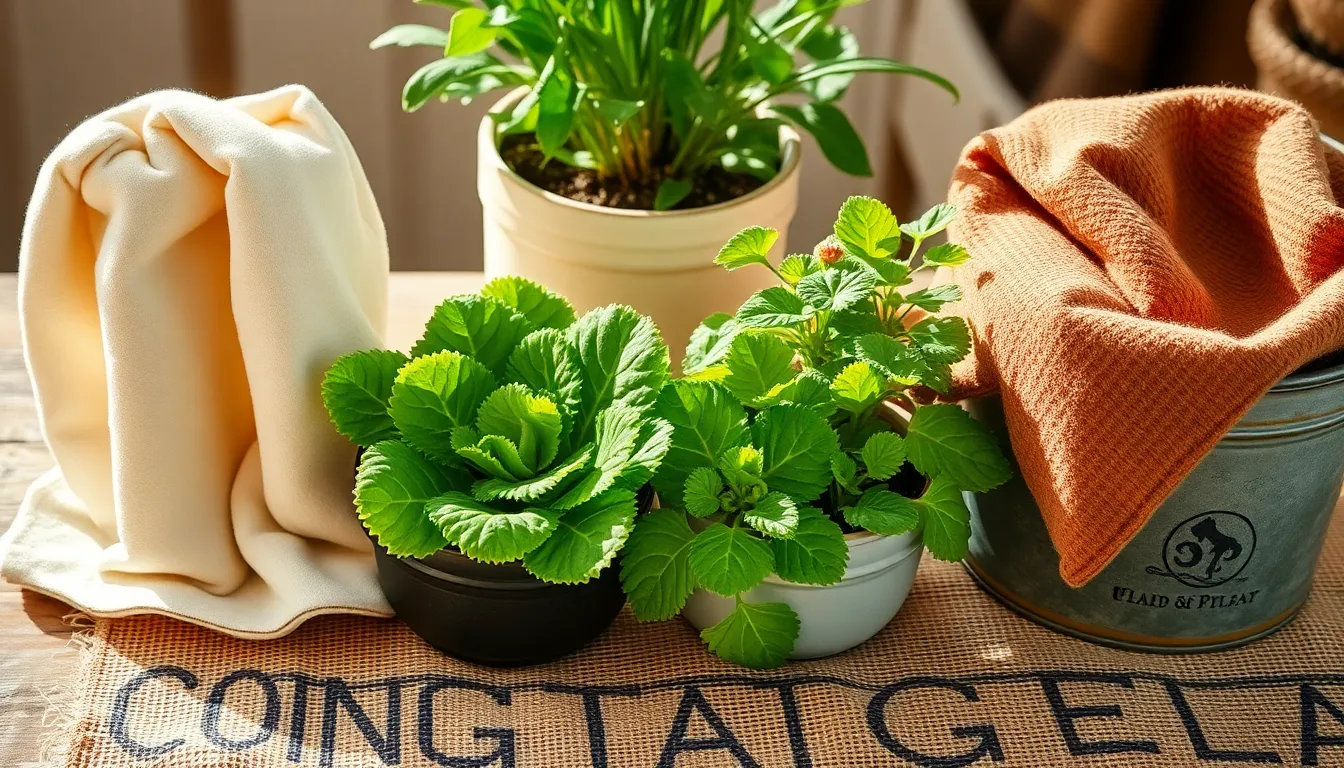
6 Common Water-Saving Garden Ideas
Welcome to a world where your garden thrives even as it conserves precious water, a resource more vital today than ...
9 Proven Winter Gardening Essentials
Ah, winter—a time when the garden dons a coat of frost and the vibrant colors of summer feel like a ...

12 Essential Water-Saving Garden Ideas
Gardening is a journey filled with joy, creativity, and the satisfying crunch of fresh produce or the vibrant colors of ...
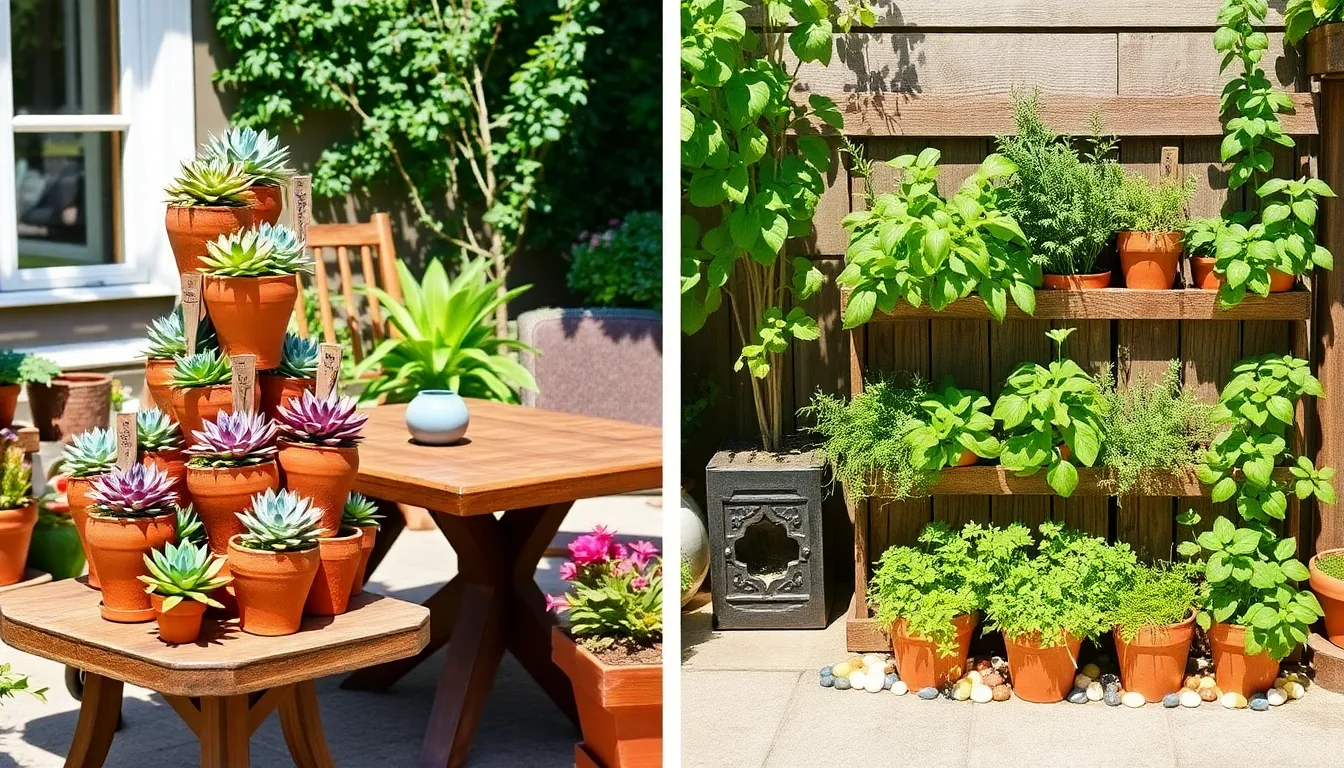
6 Common Patio Garden Inspirations
Imagine stepping onto your patio and being greeted by a vibrant tapestry of colors, scents, and textures that transform your ...


