Beginner Gardening Tips
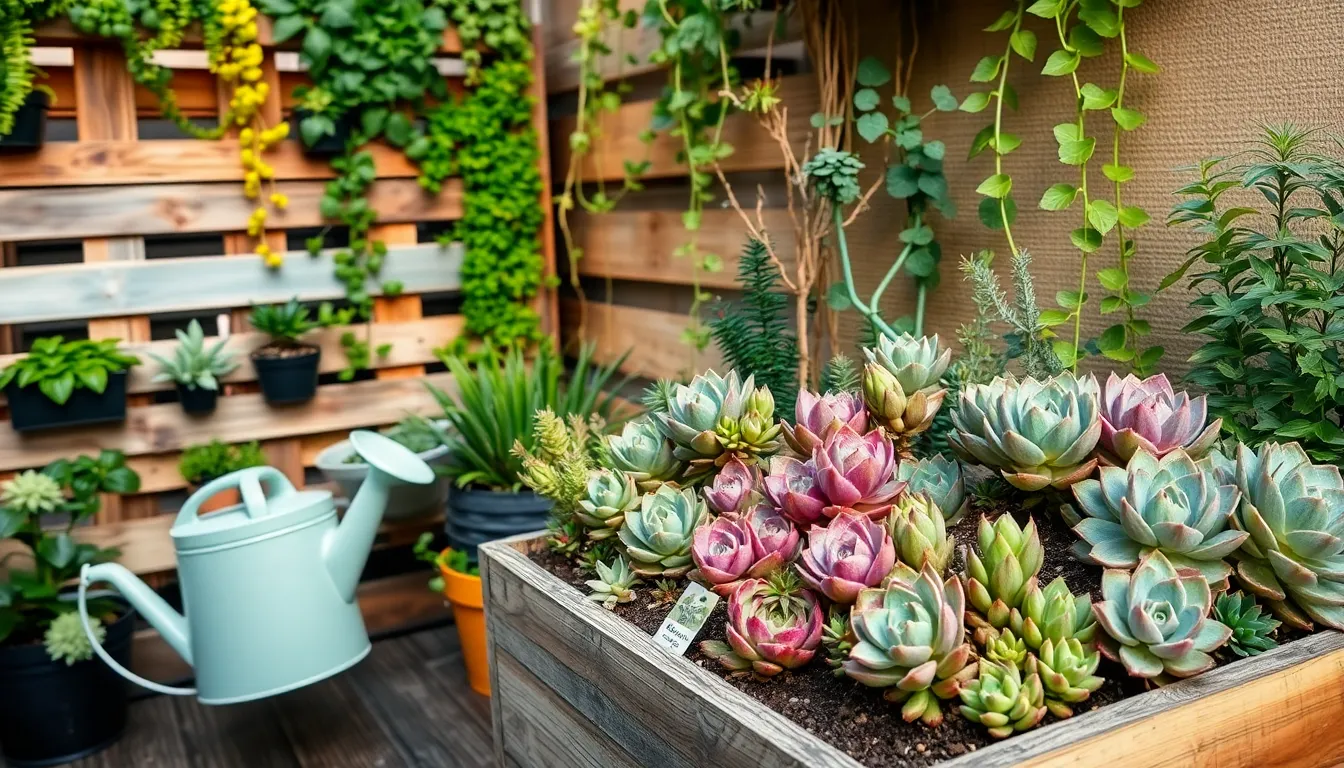
7 Quick Urban Gardening Tips
In the bustling heart of the city, where concrete and glass often take center stage, lies an oasis waiting to ...
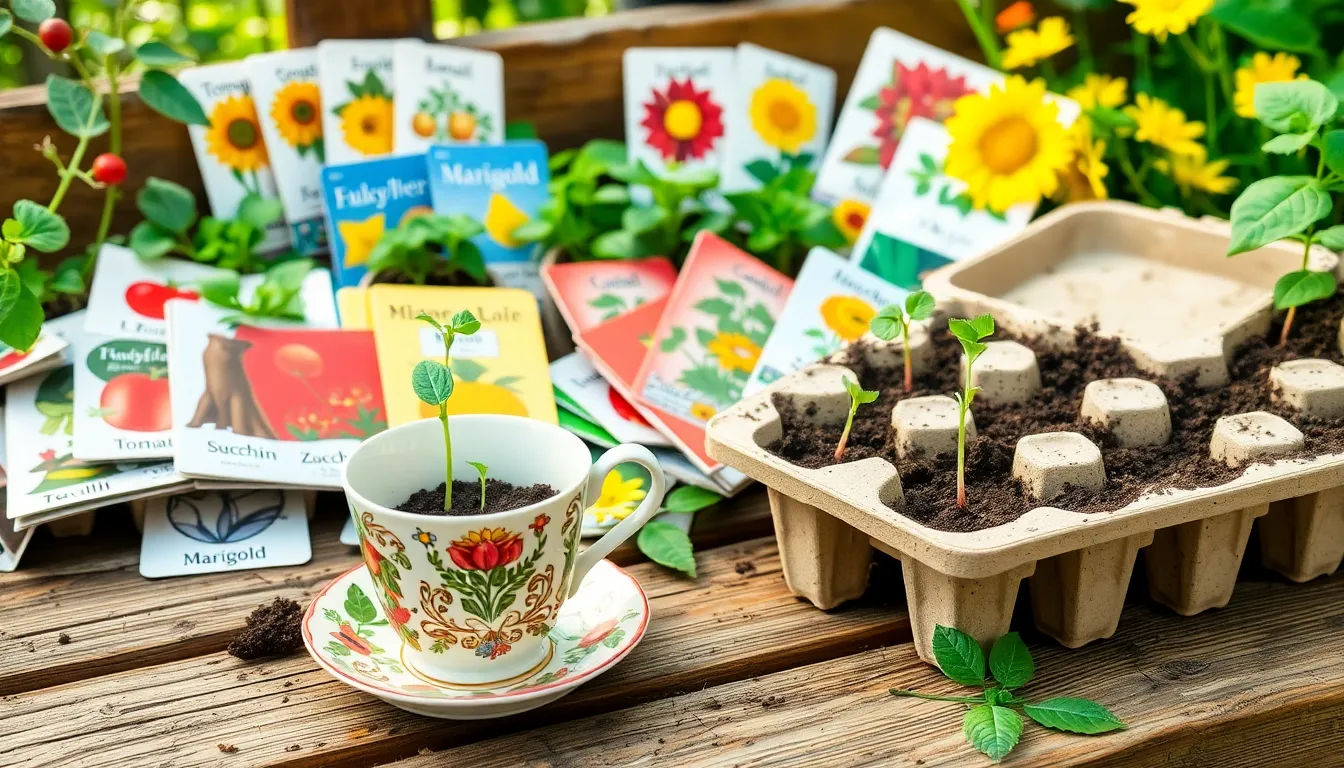
5 Creative Starting A Garden From Seeds
Embarking on the journey of starting a garden from seeds is like opening the door to a world of endless ...
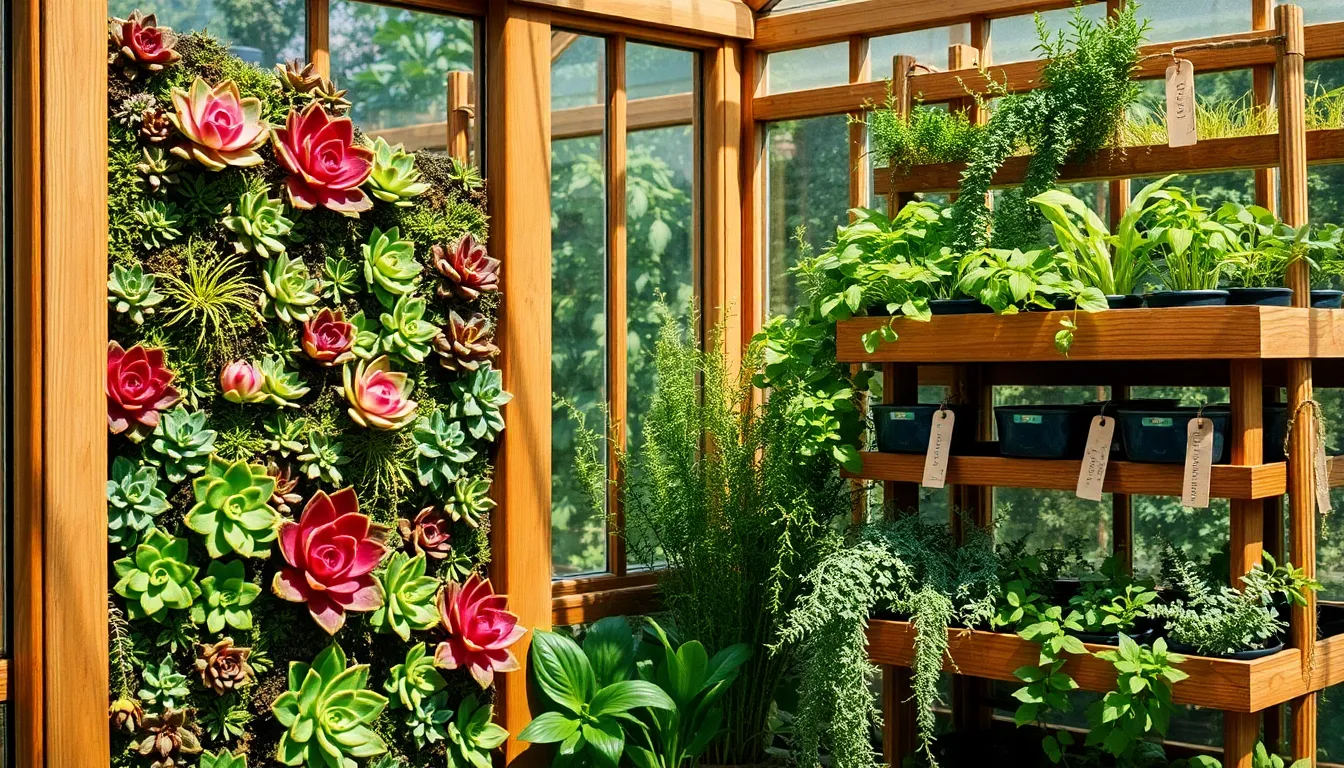
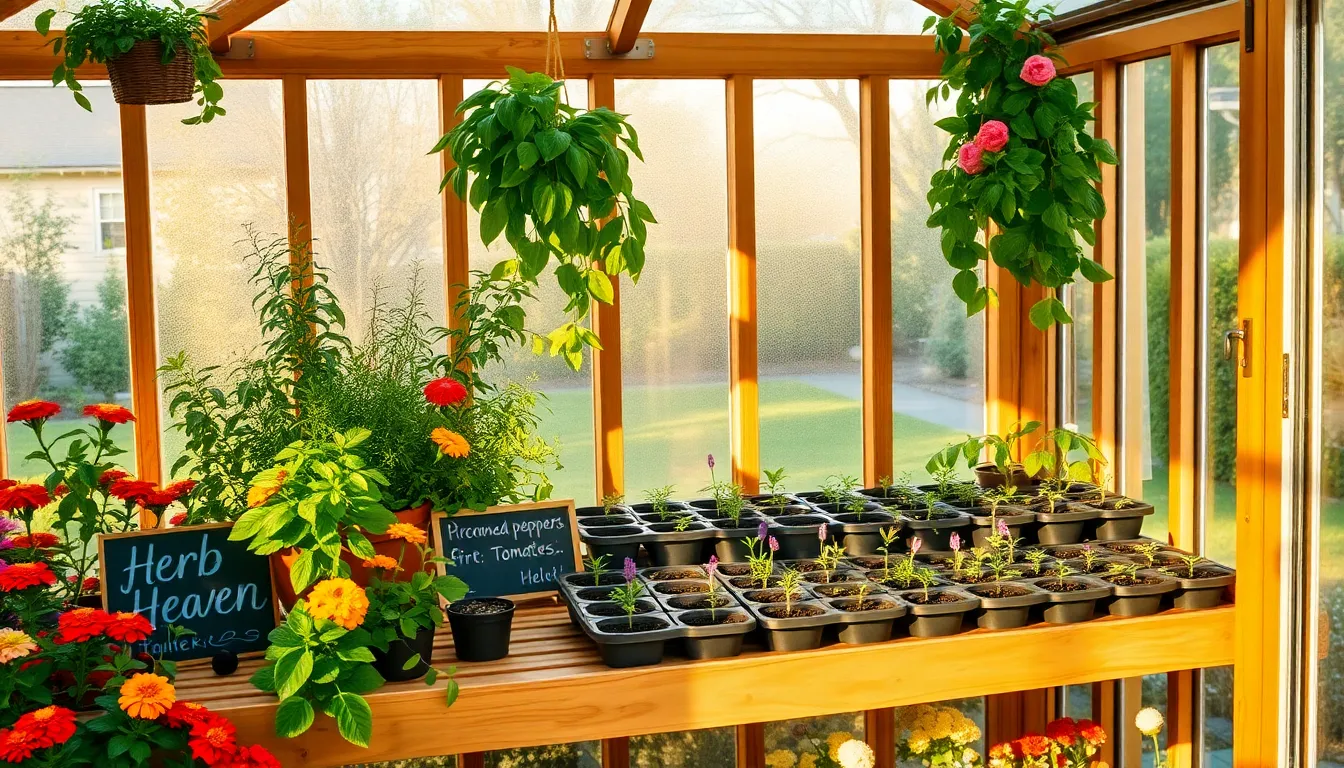
12 Essential Backyard Greenhouse Projects
Imagine stepping into your backyard, enveloped in a lush, thriving oasis that thrives year-round, regardless of the weather outside. A ...
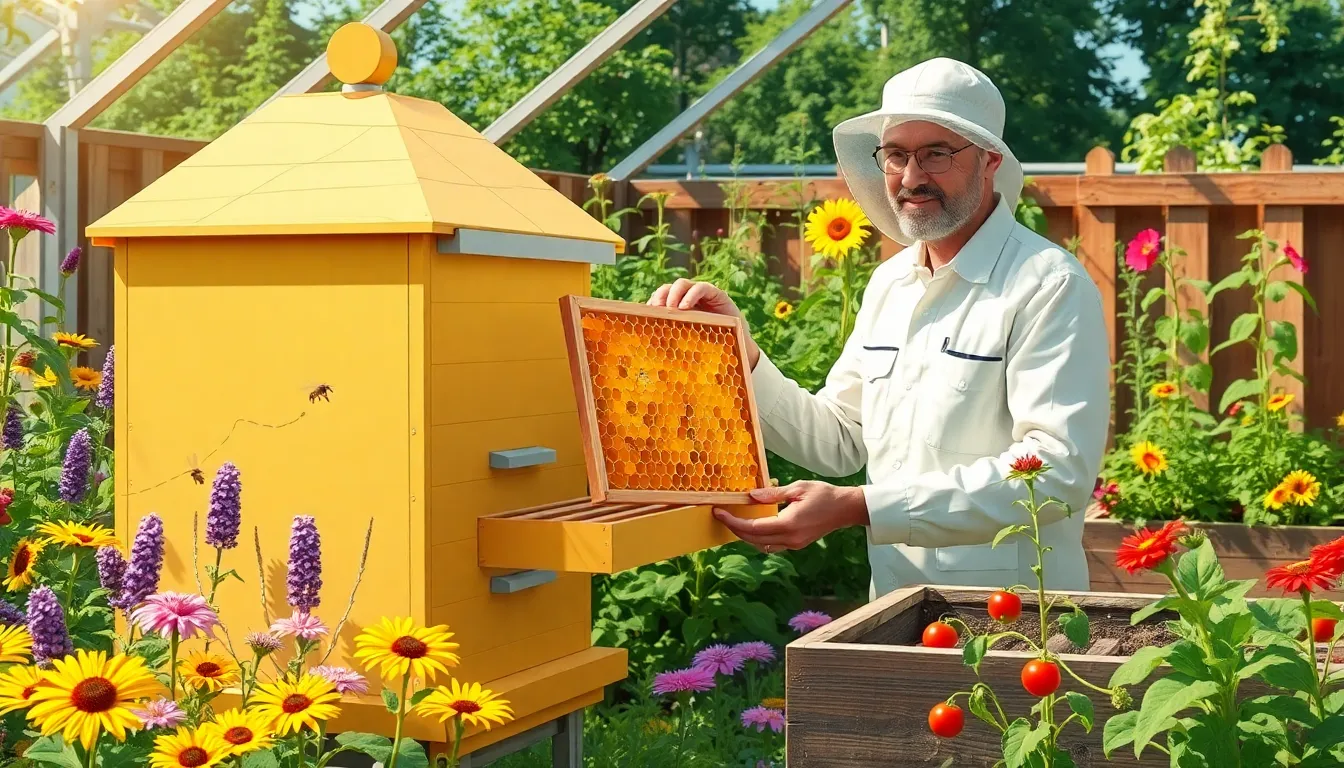
10 Easy Backyard Beekeeping Basics
Imagine stepping into your garden and being greeted by the gentle hum of bees, diligently working to pollinate your flowers ...
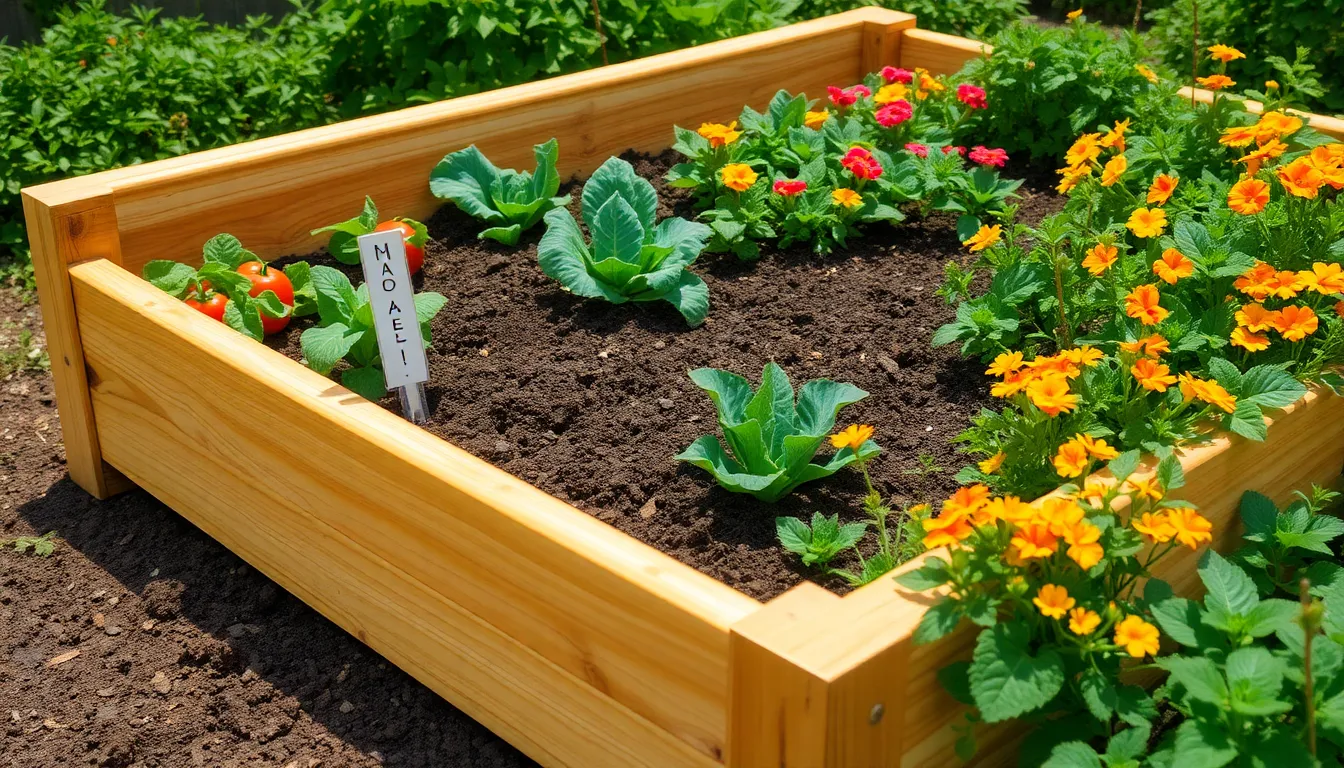
Top 10 Building A Raised Garden Bed
Gardening is a journey filled with the joy of nurturing life and the satisfaction of seeing your hard work blossom ...

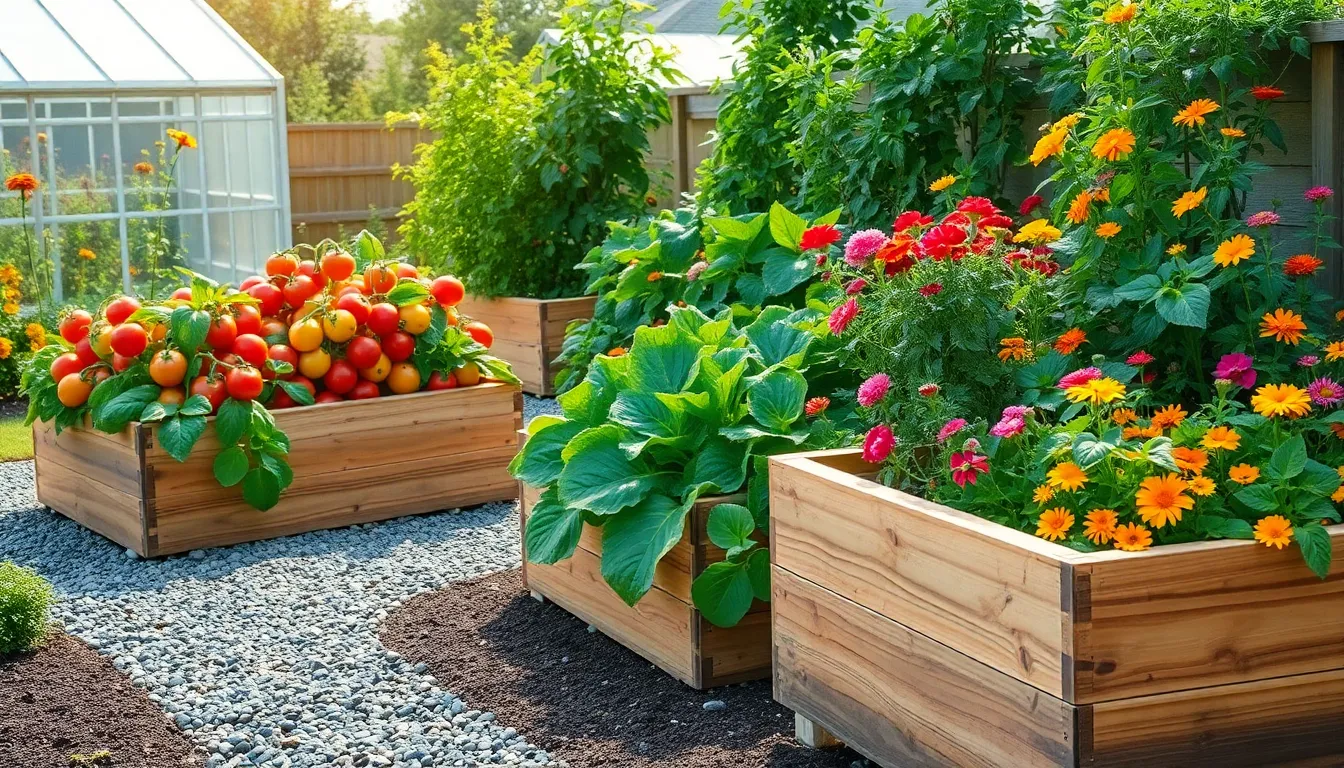
8 Fun Raised Bed Garden Designs
Gardening is more than just a hobby; it’s a delightful journey of creativity and connection with nature. Whether you’re a ...
Common Gardening Mistakes to Avoid
Gardening is a journey filled with discovery, growth, and the occasional unexpected twist, much like the plants we lovingly tend ...
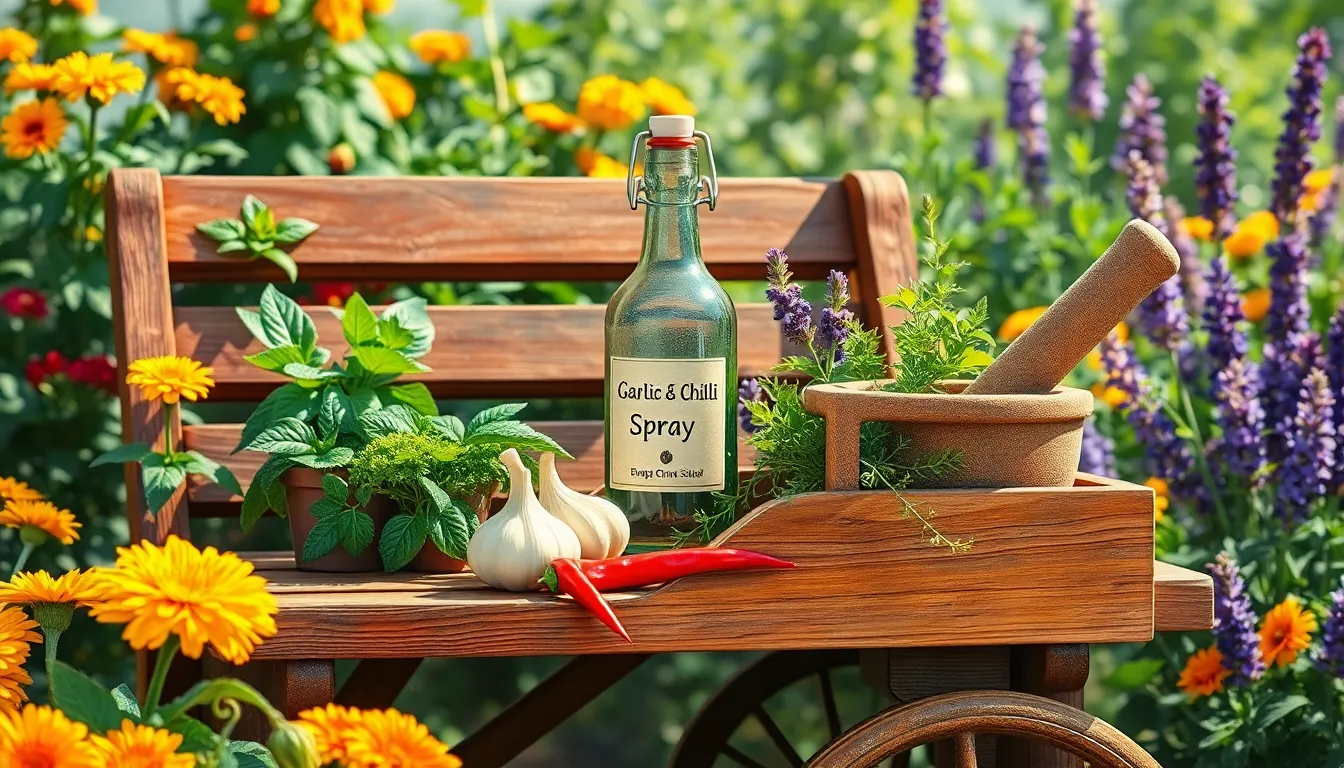
How to Make Natural Pesticides
In the serene world of gardening, every plant tells a story, but sometimes unwanted characters—pests—can disrupt the narrative. For both ...
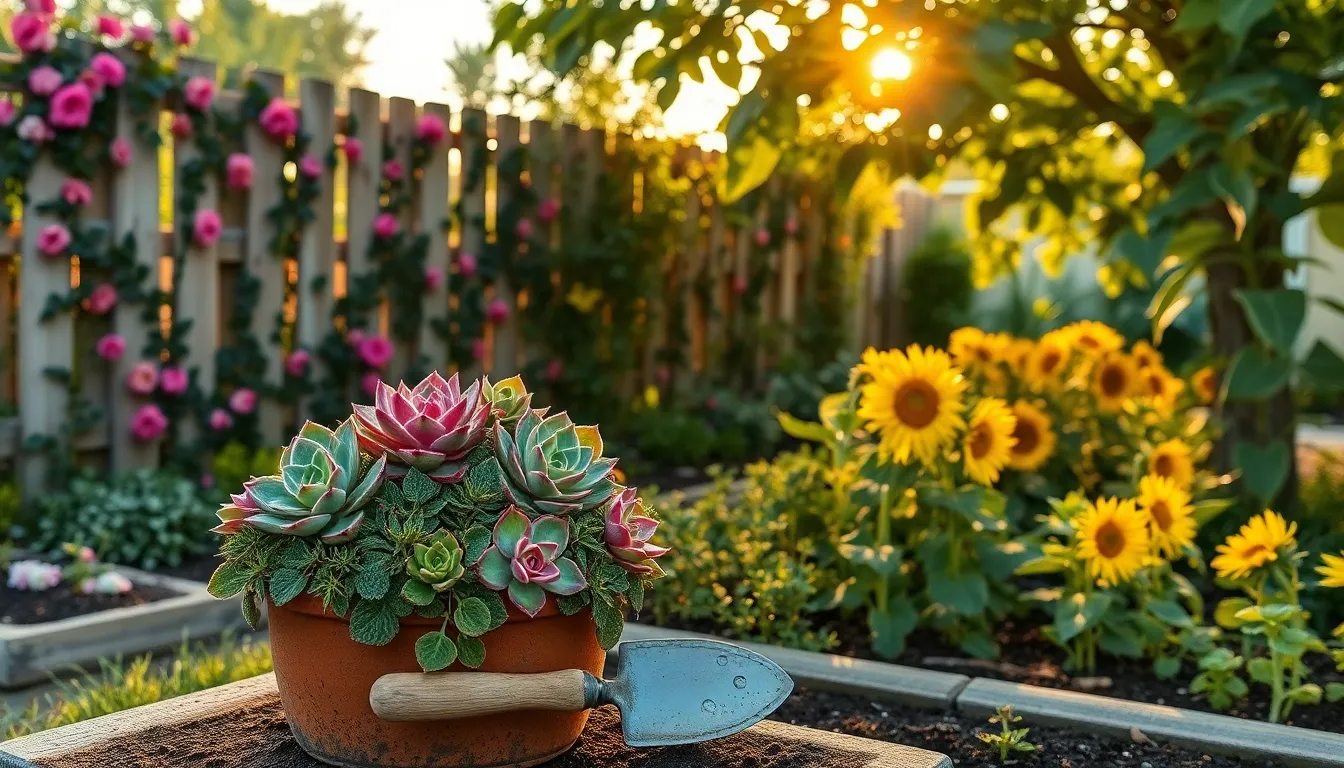
Benefits of Raised Bed Gardening
Imagine stepping into your garden and finding a sanctuary of thriving plants, all meticulously organized in neat, elevated rows. Raised ...
How to Start a Greenhouse Garden
Imagine a space where the constraints of seasons fade away, and the joy of nurturing plants thrives year-round. Welcome to ...


