Beginner Gardening Tips
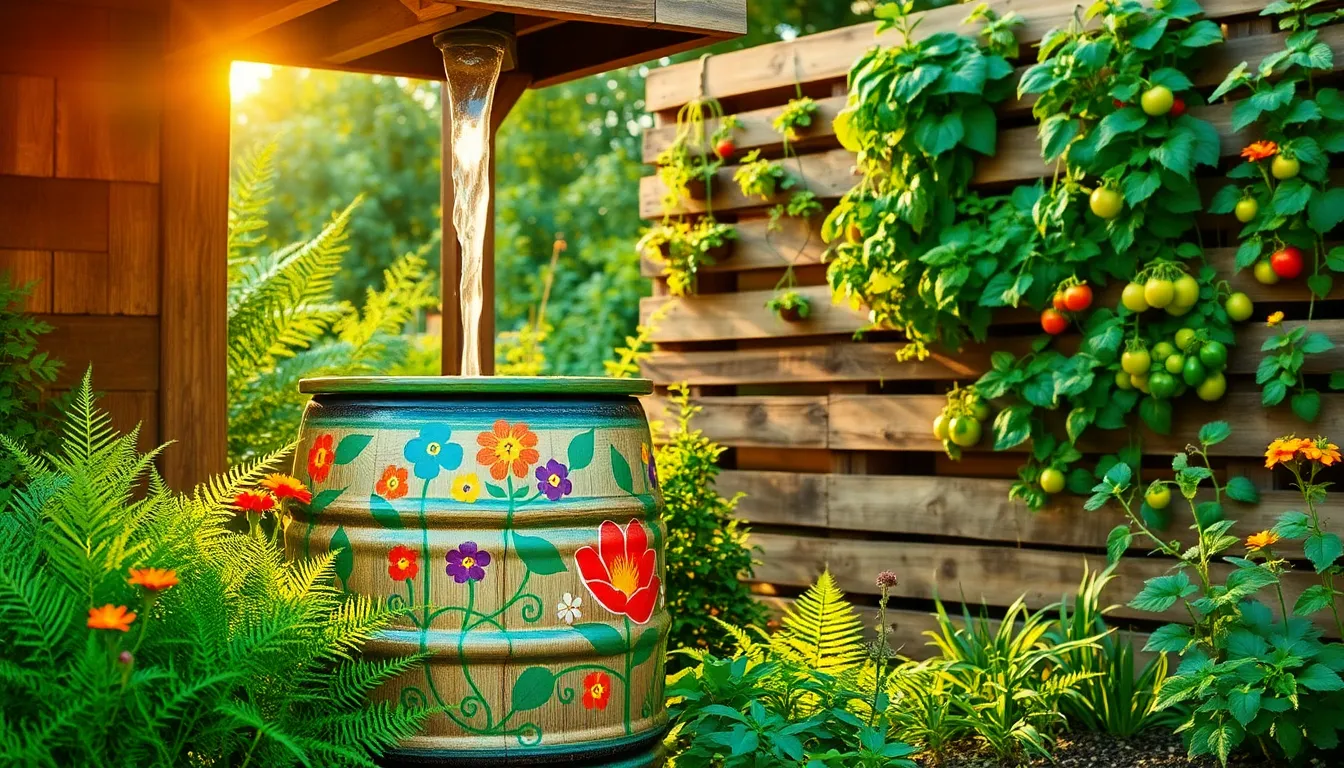
Rainwater Harvesting for Garden
Imagine having a self-sufficient garden that not only flourishes with life but also contributes to conserving one of our planet’s ...
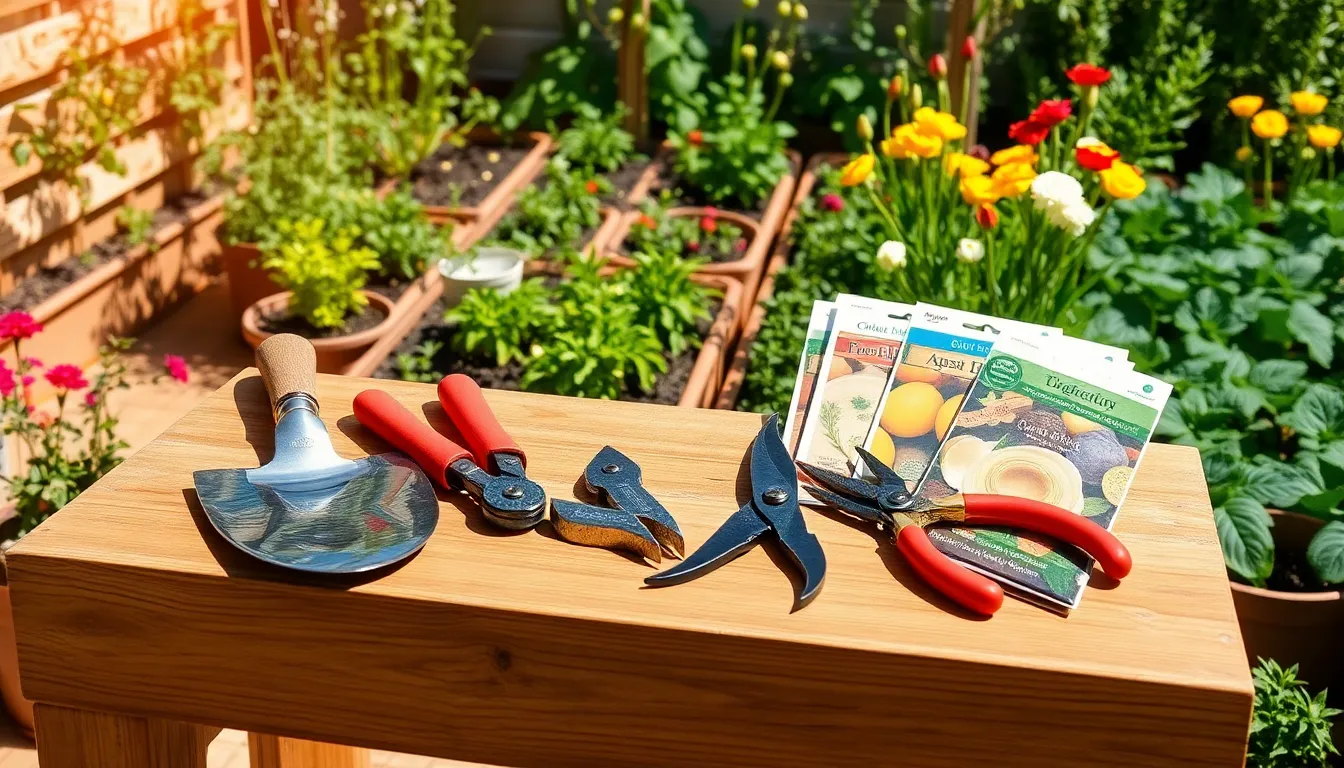
Best Gardening Tools for Beginners
Gardening is a journey that begins with a single seed and blooms into a tapestry of colors, scents, and flavors. ...
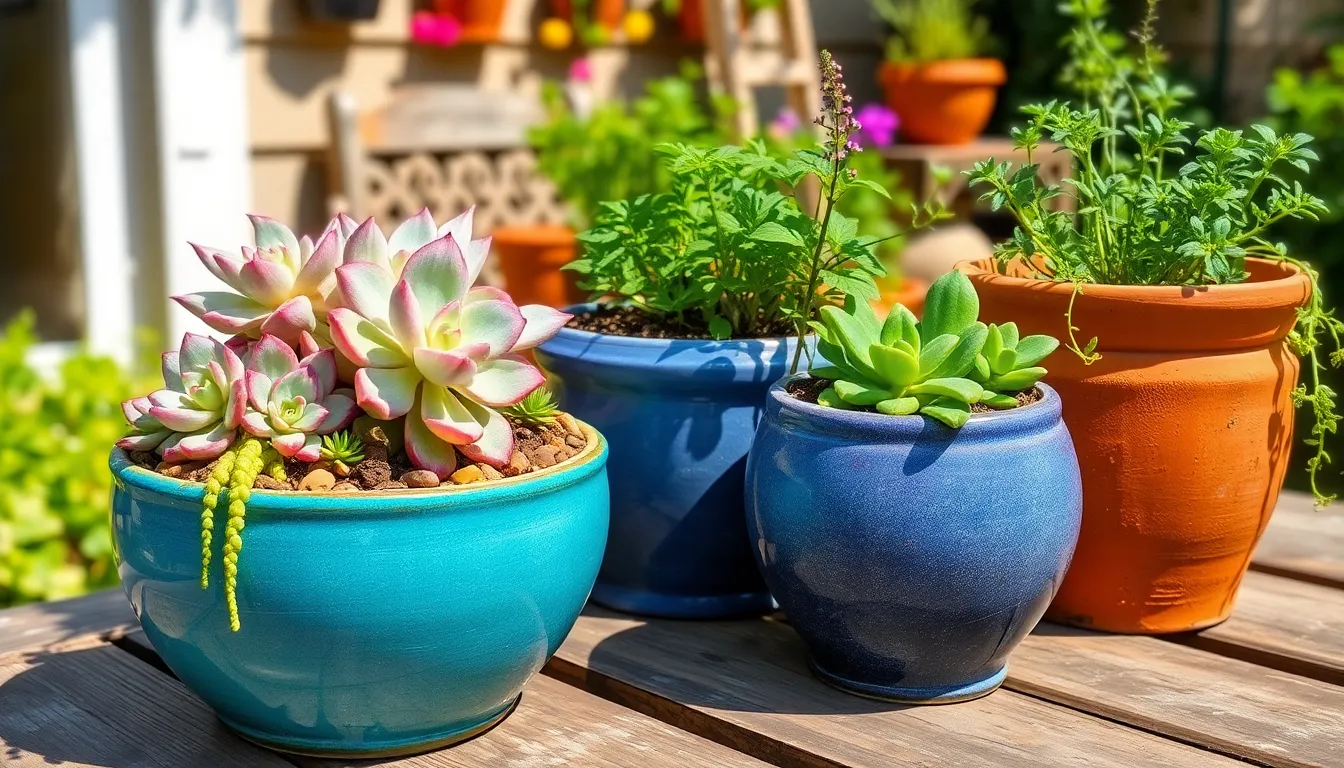
Creative Container Gardening Ideas
Welcome to the vibrant world of container gardening, where creativity blossoms as beautifully as the plants themselves! Whether you’re just ...
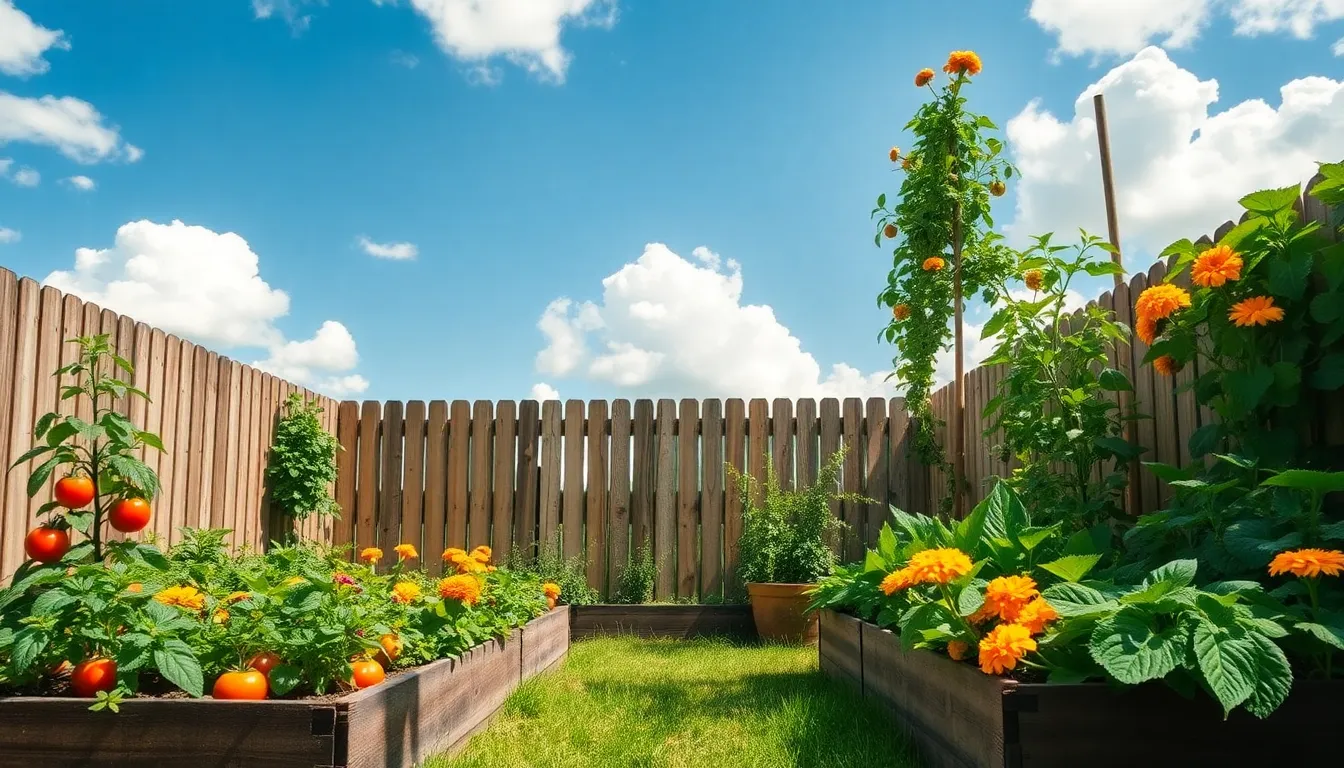
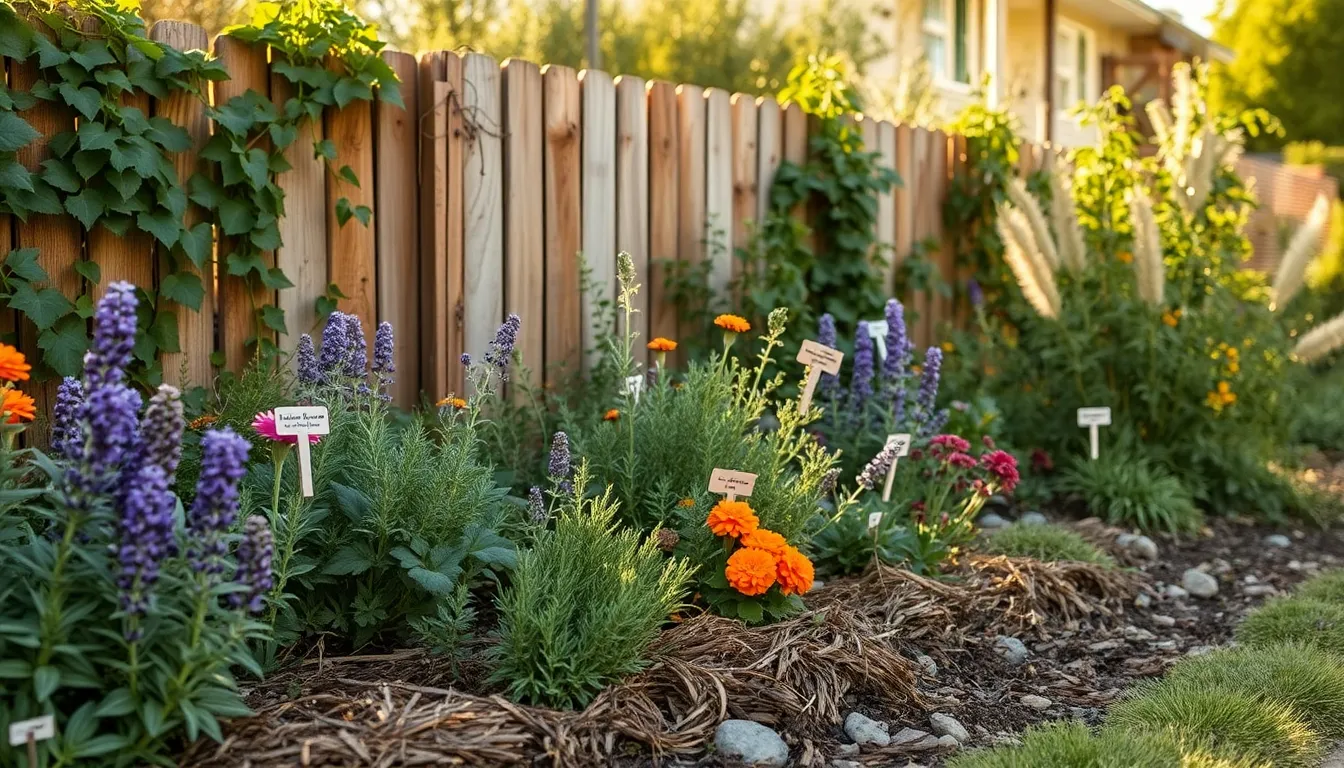
Garden Planning Tips for Summer
Summer is the season when gardens truly come alive, bursting with color and vibrancy that can transform any outdoor space ...
How to Keep Rabbits Out of Garden
When it comes to creating a garden that thrives, few challenges are as persistently perplexing as keeping those adorable yet ...

Winter Gardening Tips
As the chill of winter sets in, many gardeners might tuck away their tools, but the true enthusiast knows this ...

What to Plant in Spring
As the chill of winter fades and the promise of longer days fills the air, spring emerges as a gardener’s ...
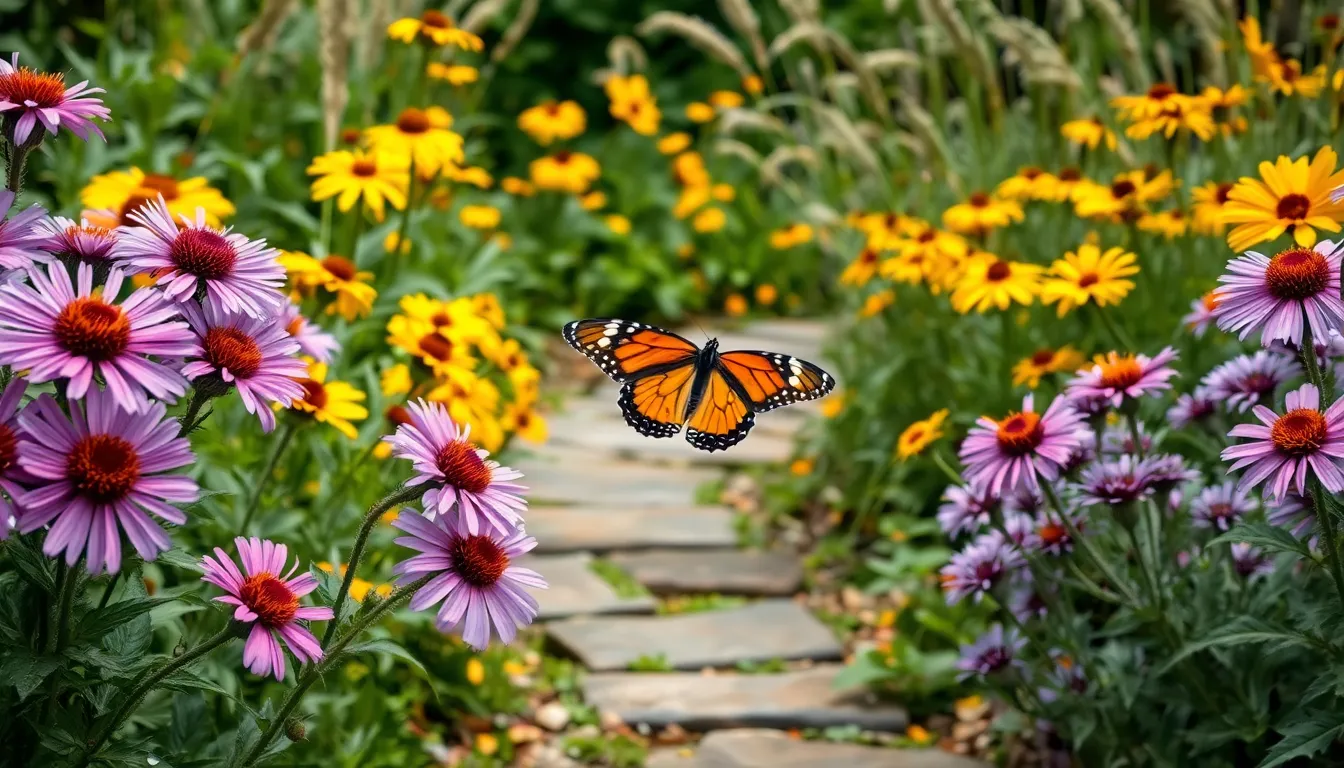
How to Create a Butterfly Garden
Imagine stepping into your garden and being greeted by a kaleidoscope of butterflies, their vibrant wings fluttering gently in the ...
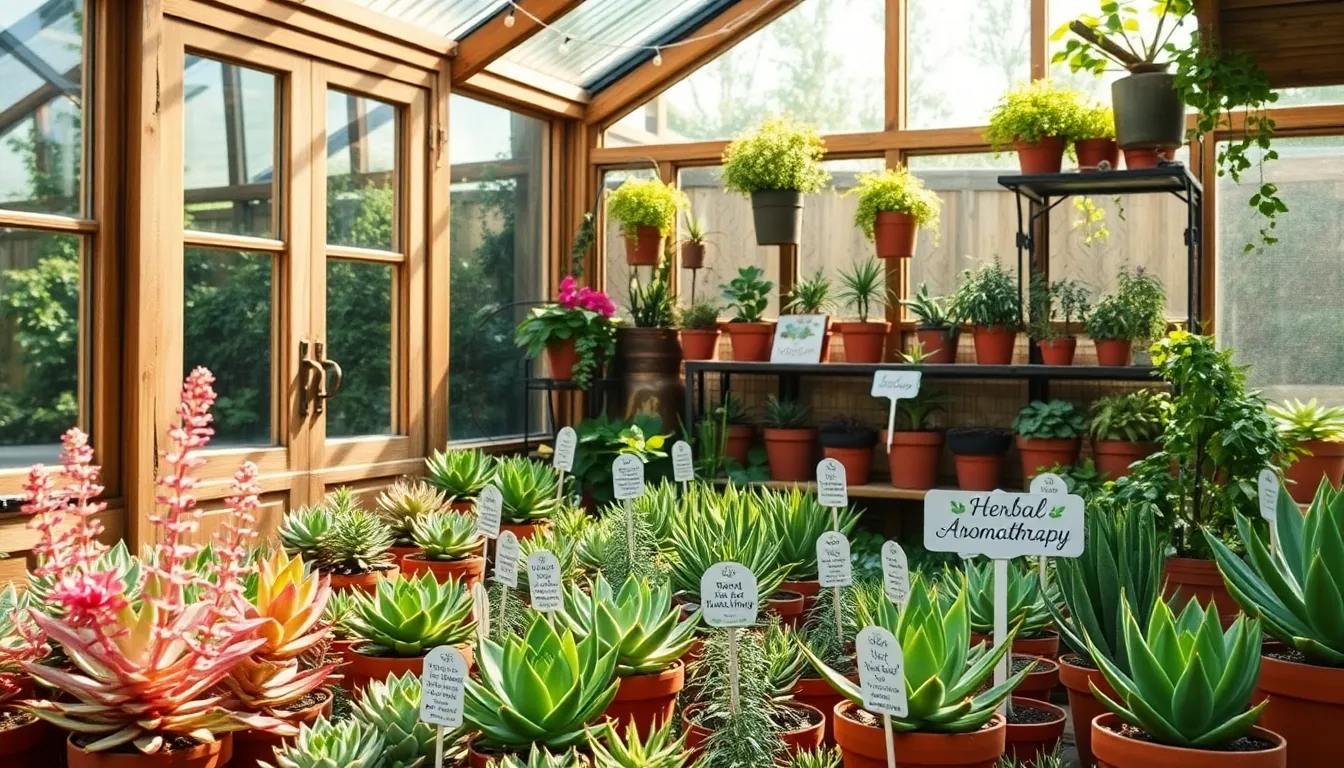
Backyard Greenhouse Gardening Tips
Imagine stepping into your backyard to find a lush oasis, a sanctuary brimming with thriving plants regardless of the season. ...
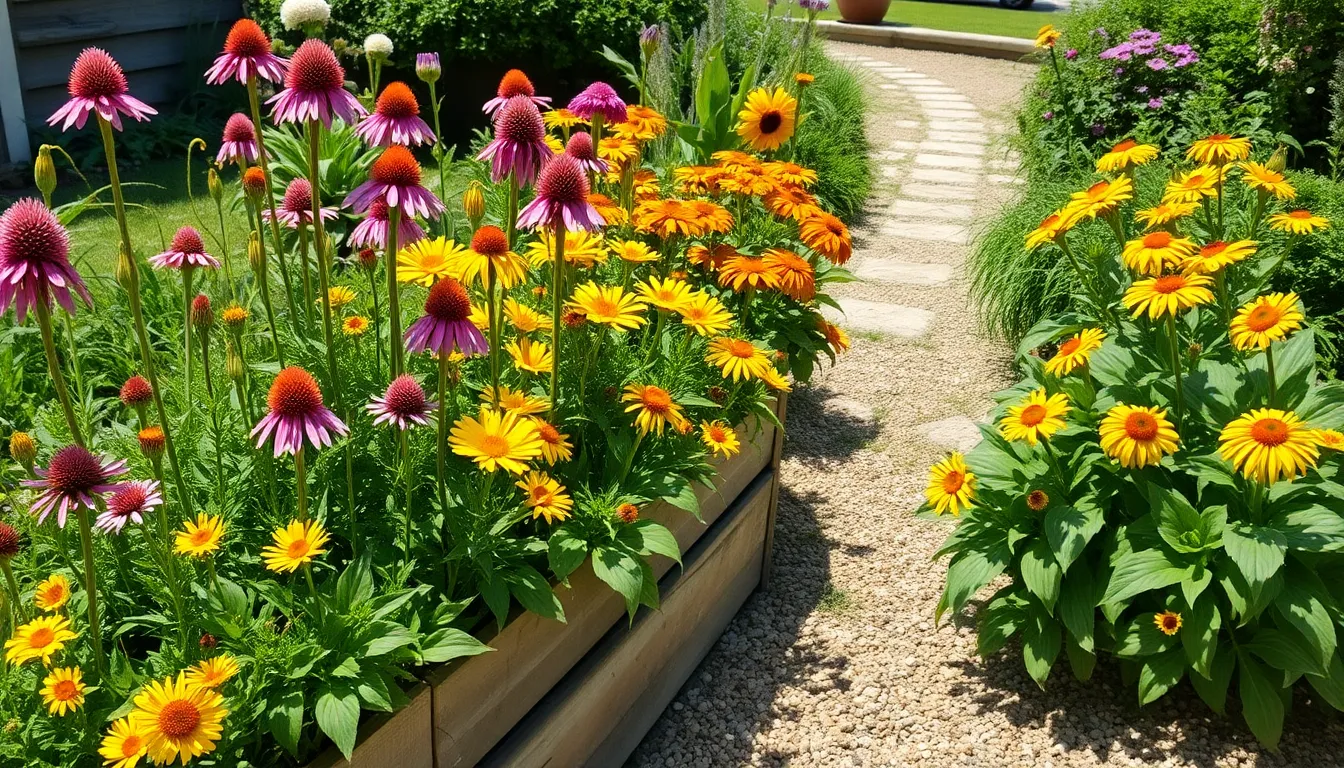
Best Perennial Plants for Beginners
Welcome to the delightful world of perennial plants, where the magic of gardening is accessible to both budding enthusiasts and ...


