Category: Budget Garden Hacks

  • DIY Garden Path Ideas

    DIY Garden Path Ideas

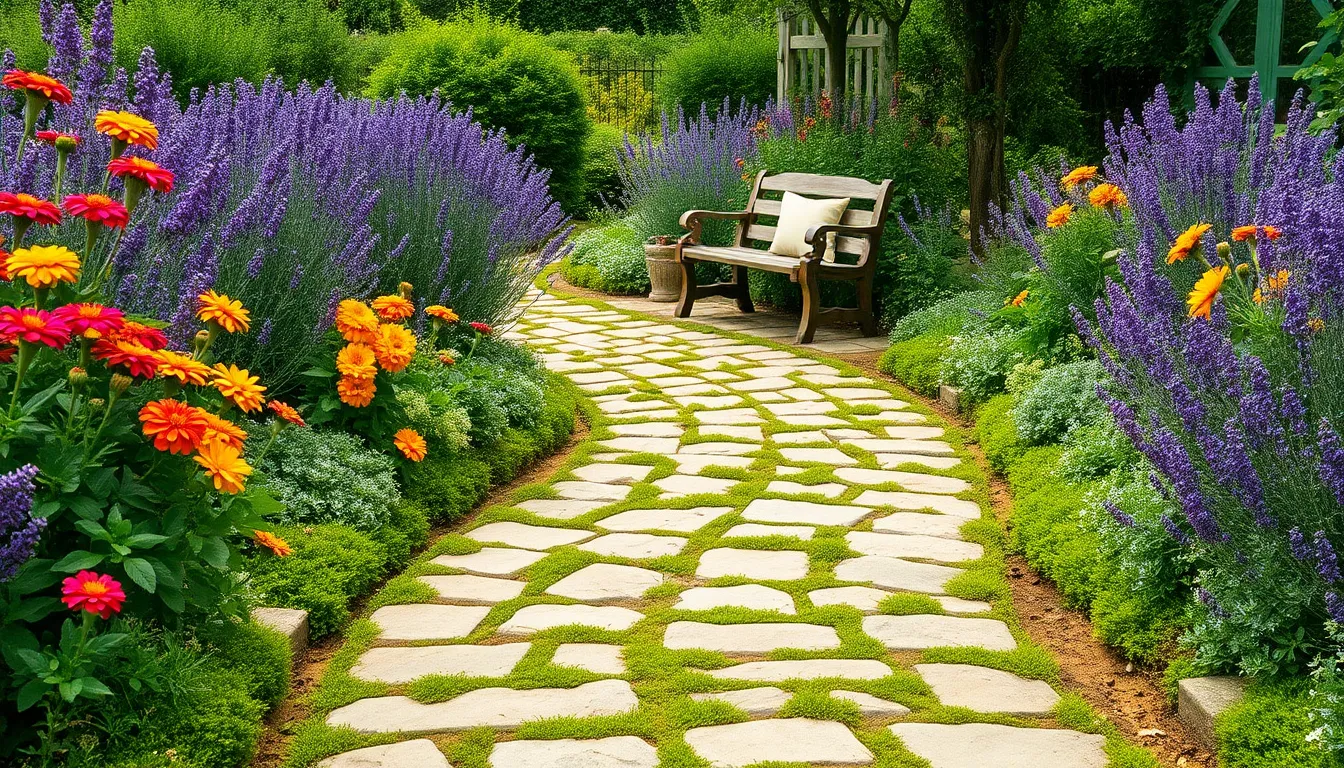
    Welcome to a world where your garden becomes a canvas, and each step you take is a brushstroke in the masterpiece of your outdoor sanctuary. Whether you’re a newcomer just setting down roots or a seasoned gardener with soil-caked hands, “DIY Garden Path Ideas” is your ticket to transforming drab pathways into delightful journeys. This guide will be your companion, offering practical and creative ideas to help you carve out inviting trails that reflect your unique style and vision.

    Imagine the satisfaction of walking through your garden on a path you designed and crafted with your own hands. These DIY garden path ideas are not just about aesthetics; they are about enhancing the functionality and beauty of your space. By the end of this guide, you’ll not only have the knowledge to create stunning garden paths but also the confidence to make your garden a truly personal retreat. Let’s dive in and start planning the pathways that will lead you to a more joyful, rewarding gardening experience.

    Choose Durable, Natural Materials

    Choose Durable, Natural Materials

    When designing a garden path, choosing durable, natural materials ensures longevity and blends seamlessly with the garden environment. Materials like stone, brick, and gravel not only withstand weather changes but also require minimal maintenance, making them ideal for gardeners of all levels.

    Stone paths are highly durable and add a timeless charm to any garden. Opt for stones like slate or flagstone, which are not only aesthetically pleasing but also provide a stable surface for foot traffic.

    For those seeking a more rustic look, gravel is a versatile choice that offers excellent drainage and is easy to install. Make sure to lay down a weed barrier fabric underneath the gravel to prevent unwanted plant growth and reduce maintenance efforts.

    Brick paths provide a classic look and can be laid in various patterns to suit your garden’s style. Ensure you level the ground properly and use sand to fill the gaps between bricks to prevent movement and ensure a stable walking surface.

    Lay Paths with Gravel and Sand

    Lay Paths with Gravel and Sand

    To create a sturdy and attractive path using gravel and sand, start by outlining your desired path with stakes and string. This step ensures that your path is well-defined and follows the route you envision, making the construction process smoother.

    Dig out the path area to a depth of about four inches, removing any grass, roots, or debris. This depth provides enough space for both the sand and gravel layers, ensuring durability and longevity.

    Next, lay a landscape fabric along the bottom of the trench to prevent weeds from growing through your path. This fabric acts as a barrier, reducing the need for frequent maintenance and keeping your path looking pristine.

    Spread a layer of coarse sand about an inch thick over the landscape fabric, and compact it using a tamper. This sandy base helps with drainage and provides a stable surface for the gravel layer above.

    Finally, add two to three inches of gravel on top of the sand, spreading it evenly with a rake. Choose a gravel size that complements your garden’s aesthetic, such as pea gravel for a softer look or crushed stone for a more rugged appearance.

    Incorporate Stepping Stones Creatively

    Incorporate Stepping Stones Creatively

    Stepping stones can transform your garden path into a charming and functional feature. Start by selecting stones that complement your garden’s aesthetic, whether you prefer natural stone, concrete, or mosaic designs.

    Aim to space the stones about 16 to 24 inches apart, allowing for a comfortable stride. This thoughtful spacing ensures that the path is both visually appealing and easy to navigate, making it suitable for all ages.

    For a creative touch, consider planting low-growing ground covers like creeping thyme or Irish moss between the stones. These hardy plants not only soften the look of the path but also release a pleasant fragrance when stepped on.

    When installing the stones, dig into the soil to set each one flush with the ground, which helps prevent trips and allows for easy mowing. Use a mixture of sand and soil to secure the stones in place, which provides stability and aids drainage.

    Use Recycled Bricks for Edging

    Use Recycled Bricks for Edging

    Using recycled bricks for garden edging not only adds a rustic charm but also helps in sustainable gardening. These bricks can be sourced from demolished buildings or surplus from construction sites, making them an eco-friendly choice.

    Before you begin, ensure the bricks are clean and free of any mortar or debris. This can be achieved by soaking them in water and scrubbing with a stiff brush, preparing them for easy placement in your garden.

    Lay the bricks in a trench about two inches deep, ensuring they are level and stable. Fill the gaps between the bricks with soil or sand to hold them firmly in place and create a neat finish.

    For advanced gardeners, consider planting low-growing herbs like thyme or creeping phlox along the brick edges. These plants not only enhance the aesthetic appeal but also thrive in the well-drained conditions provided by the bricks.

    Add Low-Growing Ground Covers

    Add Low-Growing Ground Covers

    Enhancing your garden path with low-growing ground covers is a practical way to add beauty and functionality. These plants can soften the edges of your path while preventing weed growth, creating a lush, seamless appearance.

    Consider using plants like creeping thyme or Irish moss, which are both hardy and visually appealing. These species thrive in full sun and well-drained soil, making them ideal for path borders where conditions are often challenging.

    For those in shadier areas, try planting sweet woodruff or Ajuga reptans, which perform well in less sunny spots. Ensure the soil is consistently moist but not waterlogged, as these plants prefer a bit more moisture compared to sun-loving varieties.

    Begin by preparing the area with a layer of good-quality compost to enrich the soil. Plant the ground covers about 12 inches apart to allow them to spread and fill in over time, creating a dense carpet of greenery.

    Water new plants regularly until established, usually for about the first month after planting. Once established, most ground covers require minimal maintenance, needing only occasional watering during dry spells and a light pruning to maintain their shape.

    For a more advanced approach, consider mixing different varieties of ground covers for a textured look. This technique can add visual interest and ensure a resilient spread that reacts well to varying light conditions and soil types.

    Conclusion: Growing Success with These Plants

    As we journey through the transformative world of DIY garden paths, we uncover key relationship concepts that mirror our personal connections. First, the importance of a solid foundation reminds us that relationships thrive on trust and understanding. Second, embracing creativity encourages us to think outside the box, keeping love fresh and exciting. Third, adapting to change, much like adjusting a garden path to suit the landscape, highlights the necessity of flexibility in relationships. Fourth, the beauty of simplicity teaches us that sometimes the most profound moments are the simplest. Lastly, the power of collaboration illustrates how working together strengthens bonds.

    To turn these insights into action, pick one concept and apply it to a relationship today—maybe start by being more flexible in a conversation or planning a creative date night. And remember, this article is a treasure trove of guidance. Save or bookmark it now for whenever you need a relationship boost.

    By integrating these concepts into your daily life, you’re paving the way for a future filled with love and understanding. Embrace this journey with confidence, knowing that every step you take is a step toward deeper, more meaningful connections.

  • How to Build a Vertical Garden

    How to Build a Vertical Garden

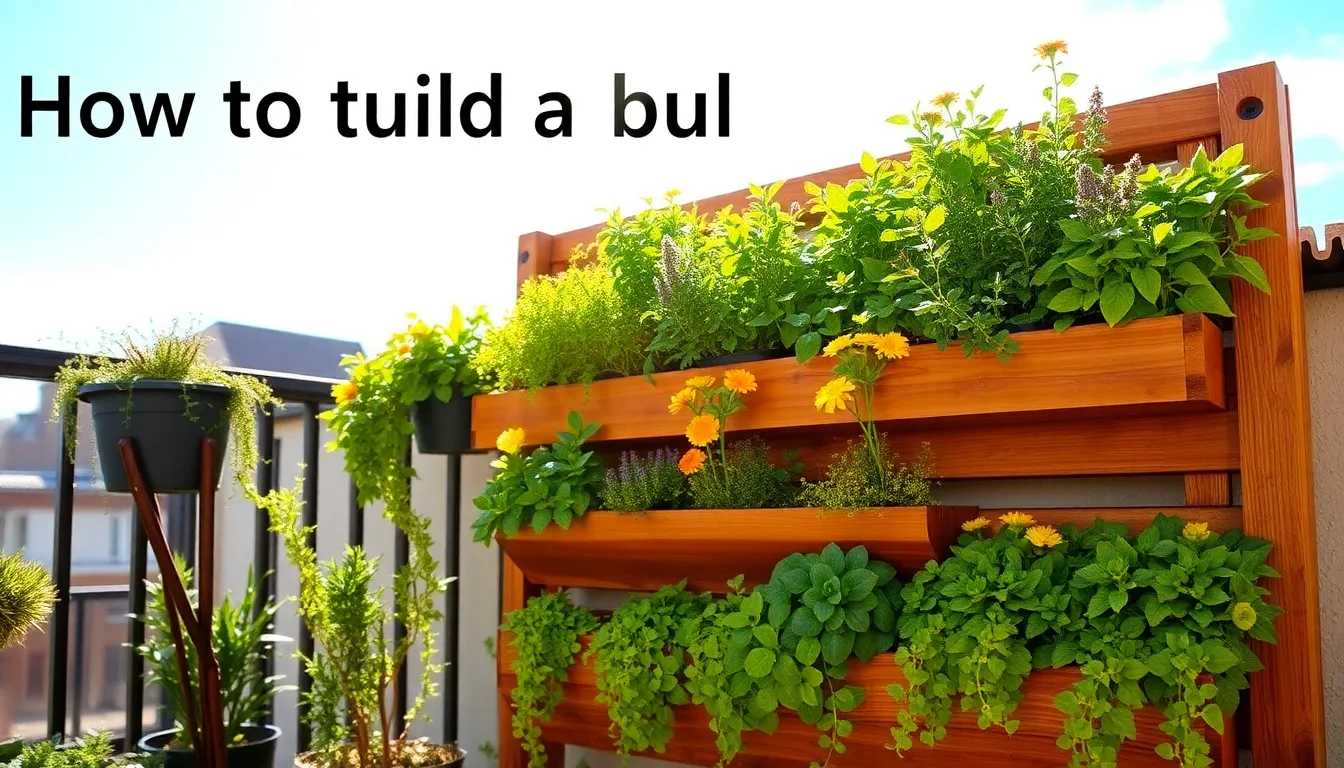
    Imagine transforming a blank wall or a small urban balcony into a lush, verdant haven that not only delights the eyes but also nourishes the soul. Vertical gardening, an innovative approach that maximizes space and creativity, allows you to cultivate a thriving garden regardless of your living area’s size. Whether you’re just beginning your gardening journey or have years of green-thumb experience, building a vertical garden can open up new possibilities for growing your favorite plants. It’s an exciting way to turn limited space into an abundant oasis, offering both aesthetic and functional benefits.

    In this article, we will guide you through the essentials of creating your own vertical garden, ensuring your project is both rewarding and manageable. You’ll learn about selecting the right structures and materials, choosing plants that thrive in vertical settings, and maintaining your garden with ease. Our step-by-step advice aims to simplify the process, empowering you to succeed regardless of your gardening expertise. By the end of this journey, you’ll be equipped with the knowledge and confidence to bring your vertical garden vision to life, creating a sanctuary that reflects your unique style and passion for nature.

    Select an Ideal Wall Space

    Select an Ideal Wall Space

    When selecting an ideal wall space for your vertical garden, consider the amount of sunlight it receives. Most plants require at least six hours of sunlight daily, so choose a spot that meets this requirement or opt for shade-tolerant plants if sunlight is limited.

    Evaluate the wall’s structural integrity to support the weight of the garden. Ensure the wall material can withstand moisture, as watering will inevitably create damp conditions.

    Access to water is another critical factor to keep in mind. Install your vertical garden near a water source or plan for an efficient watering system, such as drip irrigation, to maintain healthy plant growth.

    For gardeners seeking a challenge, consider creating a self-watering system using a rainwater collection setup. This not only conserves water but also provides a more sustainable approach to maintaining your vertical garden.

    Gather Necessary Materials

    Gather Necessary Materials

    Before you start building your vertical garden, make sure to gather all the essential materials. This preparation will save you time and ensure a smooth gardening process. Begin by collecting a sturdy vertical frame or trellis, as it forms the backbone of your garden. You can choose from materials like wood, metal, or recycled pallets, depending on your aesthetic and budget.

    Next, consider the type of containers or pockets you’ll use to hold your plants. Options include fabric pockets, pots, or recycled plastic bottles, each offering different advantages in terms of drainage and space. Ensure the containers have adequate drainage holes to prevent root rot and encourage healthy plant growth.

    It’s essential to select the right soil mix for your vertical garden, as this will influence plant health and growth. Use a lightweight potting mix rich in organic matter to provide nutrients and retain moisture. For advanced gardeners, consider incorporating slow-release fertilizers or water-retaining crystals to support plants in challenging conditions.

    Watering systems are critical for the success of vertical gardens, especially in warm climates. For beginners, a simple drip irrigation system can ensure consistent moisture without overwatering. Alternatively, experienced gardeners might opt for a more complex automated system to manage large or diverse plantings.

    Install Support Framework

    Install Support Framework

    When installing a support framework for your vertical garden, begin by selecting a sturdy material such as wood, metal, or a durable plastic. These materials provide the necessary strength to hold your plants securely as they grow, ensuring that your vertical garden remains stable.

    Consider the weight of both the plants and the containers when choosing your support framework. It’s crucial to ensure that your framework can handle the combined weight, especially when the plants are fully watered, to prevent any structural failure.

    Position your support framework against a solid wall or fence to give your vertical garden additional stability. If you’re working on a freestanding structure, use anchors or braces to secure it firmly to the ground to withstand wind and other environmental factors.

    For beginners, a simple trellis or grid pattern can be an excellent starting point. This design allows easy access for planting and maintenance, while also providing ample support for climbing plants such as beans or peas.

    Experienced gardeners might explore more complex designs like modular systems or tiered layers. These advanced setups offer flexibility and maximize space, enabling you to cultivate a wider variety of plants with differing growing requirements.

    Whichever design you choose, ensure that climbing plants have something to grip by incorporating horizontal and vertical elements in your framework. Use twine or netting to guide plants and encourage upward growth, promoting healthier plants and a more visually appealing garden.

    Choose Suitable Plants

    Choose Suitable Plants

    Choosing the right plants for your vertical garden is crucial to its success. Consider the *available light*, as this will dictate whether you should opt for sun-loving or shade-tolerant varieties.

    For a sunny wall, plants like *herbs*, *succulents*, and *some vegetables* such as cherry tomatoes thrive well. Ensure these plants receive at least six hours of sunlight daily and have well-draining soil to prevent root rot.

    If your vertical garden is in a *shadier spot*, go for plants like *ferns*, *ivy*, or *begonias* that flourish with indirect light. These plants generally require less frequent watering but enjoy consistently moist soil, so make sure to monitor soil moisture levels regularly.

    Beginners might start with hardy plants like *pothos* or *spider plants*, which are forgiving of minor care mistakes. These plants are adaptable to various light conditions and require watering only when the top inch of soil feels dry.

    On the other hand, experienced gardeners can experiment with more demanding plants like *strawberries* or *peas*, which require more precise care. These plants need specific *fertilization routines* and regular pruning to maximize yield and maintain health.

    Arrange and Secure Plants

    Arrange and Secure Plants

    When arranging plants in your vertical garden, consider both aesthetics and functionality. Position larger, bushier plants at the bottom to provide a stable base, while placing smaller, trailing plants higher up for a cascading effect.

    It’s crucial to secure your plants properly to prevent them from toppling over. Use sturdy plant hooks or brackets, and ensure that pots or containers are tightly fastened to the vertical structure.

    Choose soil that retains moisture yet drains well, such as a mix of peat moss and perlite. This will help prevent root rot and ensure that your plants receive adequate hydration without becoming waterlogged.

    For beginners, watering every few days is typically sufficient, but adjust based on the specific needs of your chosen plants. More advanced gardeners might employ a drip irrigation system to automate watering and ensure consistent moisture levels.

    Conclusion: Growing Success with These Plants

    As we explored the intricate art of building a vertical garden, we uncovered five key relationship concepts that parallel nurturing personal connections: understanding foundational needs, fostering growth through consistent care, embracing creativity in problem-solving, cultivating patience, and celebrating shared achievements. These elements are essential not only in gardening but also in nurturing thriving relationships.

    To start incorporating these principles today, consider dedicating a moment to identify one relationship that could benefit from a bit of nurturing. Perhaps it’s a conversation you’ve been putting off or a simple act of kindness that could make a difference. Begin this journey with small, intentional steps that reflect your commitment to growth.

    We encourage you to bookmark this article as a handy reference guide for nurturing both your garden and your relationships. By revisiting these concepts, you can steadily enrich the connections that matter most in your life.

    Remember, the seeds of effort you plant today can blossom into deeply fulfilling relationships tomorrow. As you embark on this path, envision a future where your relationships are as vibrant and resilient as the most flourishing garden. Save this guide, and let it inspire your journey toward lasting relational success.

  • DIY Raised Garden Bed Ideas

    DIY Raised Garden Bed Ideas

    Welcome to a gardener’s paradise, where creativity and practicality bloom together in the form of DIY Raised Garden Bed Ideas! Whether you’re just planting your first seeds or have been nurturing your green oasis for years, this guide promises to transform your gardening space into a thriving, beautiful sanctuary. By embracing the art of raised garden beds, you’ll not only elevate your plants but also your gardening experience, unlocking new potential for vibrant growth and bountiful harvests.

    In this collection, you’ll discover a treasure trove of innovative designs that cater to every skill level and garden size. These ideas are more than just aesthetically pleasing; they are crafted to enhance your gardening success with improved soil health, better drainage, and easier maintenance. As you explore these pages, you’ll gain the confidence to construct and customize your own raised beds, ensuring your plants thrive like never before. Get ready to dig in and cultivate a garden that delights both the eyes and the soul, reaping the joyful rewards of your labor.

    Choose Durable Wood Materials

    Choose Durable Wood Materials

    When building a raised garden bed, selecting the right wood is crucial for longevity and plant health. Opt for durable and naturally rot-resistant woods like cedar or redwood, which can withstand the elements better than untreated softwoods.

    For those on a budget, pressure-treated wood is an option, but ensure it’s safe for vegetable gardens. Look for wood labeled as safe for vegetable use, as it won’t leach harmful chemicals into the soil.

    To further extend the life of your wooden garden bed, consider applying a non-toxic wood sealant. This will help protect against moisture and pests without compromising the soil quality or plant safety.

    Advanced gardeners might explore using composite wood materials, which blend wood fibers and plastic. These environmentally friendly options offer exceptional durability and require minimal maintenance over the years.

    Ensure Proper Drainage Holes

    Ensure Proper Drainage Holes

    Ensuring proper drainage in your raised garden bed is crucial for healthy plant growth. Without adequate drainage, plants may suffer from root rot due to standing water, which can be detrimental to their health.

    Start by drilling multiple holes in the bottom of your raised bed to allow excess water to escape. Ideally, these holes should be spaced 6 to 12 inches apart, depending on the size of your bed, to ensure even drainage across the entire area.

    Consider the type of soil you use, as this will impact drainage as well. A well-draining soil mix usually contains a combination of garden soil, compost, and materials like perlite or sand to improve aeration and prevent waterlogging.

    For an advanced tip, line the bottom of your raised bed with a layer of gravel or small stones before adding soil. This layer helps facilitate drainage and prevents soil from blocking the holes, which can be especially useful in regions with heavy rainfall.

    Use Quality Soil Mix

    Use Quality Soil Mix

    Choosing a quality soil mix is crucial for the success of your raised garden bed. Begin with a blend of topsoil, compost, and a soilless growing medium like peat moss or coconut coir to ensure proper nutrient balance and drainage.

    For beginners, a simple mix of 50% topsoil, 30% compost, and 20% soilless medium is an effective starting point. This combination provides essential nutrients and maintains moisture, reducing the frequency of watering.

    Experienced gardeners might consider adding specific amendments to enhance soil quality further. Adding perlite or vermiculite can improve aeration and drainage, particularly beneficial for plants that don’t like to sit in waterlogged soil.

    When selecting soil, ensure it is free from contaminants and pests, which can hinder plant growth. Opt for organic-certified soil mixes whenever possible, as they provide a healthier environment for both your plants and the ecosystem.

    Regularly test your soil to monitor pH levels and nutrient content, especially if you’re growing vegetables or fruits. Adjusting the soil pH with lime or sulfur can be necessary to meet the specific requirements of different plants.

    Incorporate Weed Barrier Fabric

    Incorporate Weed Barrier Fabric

    One effective way to keep weeds at bay in your raised garden bed is to incorporate weed barrier fabric. This fabric acts as a physical barrier, preventing sunlight from reaching the soil, which is essential for weed germination.

    Before laying the fabric, ensure your bed is free of existing weeds and debris. It is crucial to lay the fabric smoothly, ensuring it covers the entire bed, including edges, to prevent weeds from sneaking through.

    Cut small slits or holes in the fabric where you plan to plant your vegetables or flowers. This ensures that your plants have room to grow while still suppressing weeds in other areas.

    For added effectiveness, cover the fabric with a layer of mulch, which provides additional weed suppression and helps retain soil moisture. Consider using organic mulches such as straw or wood chips, as they also decompose over time, enriching the soil.

    While weed barrier fabric is excellent for controlling weeds, remember that it can limit the movement of beneficial insects and microorganisms. Monitor the soil health regularly and adjust your gardening practices as needed to maintain a thriving garden ecosystem.

    Opt for Modular Design Plans

    Opt for Modular Design Plans

    Choosing a modular design plan for your raised garden beds can offer flexibility and ease of maintenance. By using modular components, you can easily adjust the layout and size of your garden beds as your planting needs evolve.

    Modular systems often come with interlocking parts that make assembly straightforward, even for beginners. This feature is particularly beneficial if you plan to expand your garden in stages or want to test different plant arrangements over time.

    Consider using durable materials like cedar or composite wood for your modular garden beds, as these resist rot and pests effectively. These materials not only provide a longer lifespan for your garden beds but also require less maintenance, freeing up more time for plant care.

    For optimal plant growth, ensure that each module of your garden bed has a depth of at least 12 inches. This depth accommodates a variety of vegetables, herbs, and flowers, providing ample room for root development and access to nutrients.

    Watering can be more efficient with modular beds, especially if you integrate a drip irrigation system. This method delivers water directly to the roots, reducing wastage and ensuring consistent hydration even during dry spells.

    Advanced gardeners might want to experiment with vertical extensions on their modular beds to maximize space and sunlight exposure. These extensions can support climbing plants like beans and tomatoes, allowing you to grow more in limited areas.

    Conclusion: Growing Success with These Plants

    As we’ve explored, cultivating a thriving garden bed is strikingly similar to nurturing successful relationships. First, we delved into the importance of a strong foundation, just as the right soil mix sets the stage for growth. Next, we learned how variety enriches, whether in plant selection or in embracing diverse perspectives within our relationships. Third, regular maintenance, akin to consistent communication, prevents weeds and misunderstandings from taking root. Fourth, we highlighted the necessity of sunlight and space, reflecting the balance of closeness and independence. Finally, we emphasized patience and time as essential for growth, both in gardens and relationships.

    Now, empowered by these insights, take a moment to assess one relationship in your life. Identify one of these concepts to focus on and take a small step towards nurturing it today, whether it’s a heartfelt conversation or planning a shared activity.

    Bookmark this article as your go-to resource when you need a reminder of these vital concepts. By doing so, you’re setting yourself up for flourishing relationships that will endure and bloom over time. Remember, the seeds you plant today will yield the relationships you cherish tomorrow.