Creative Garden Ideas
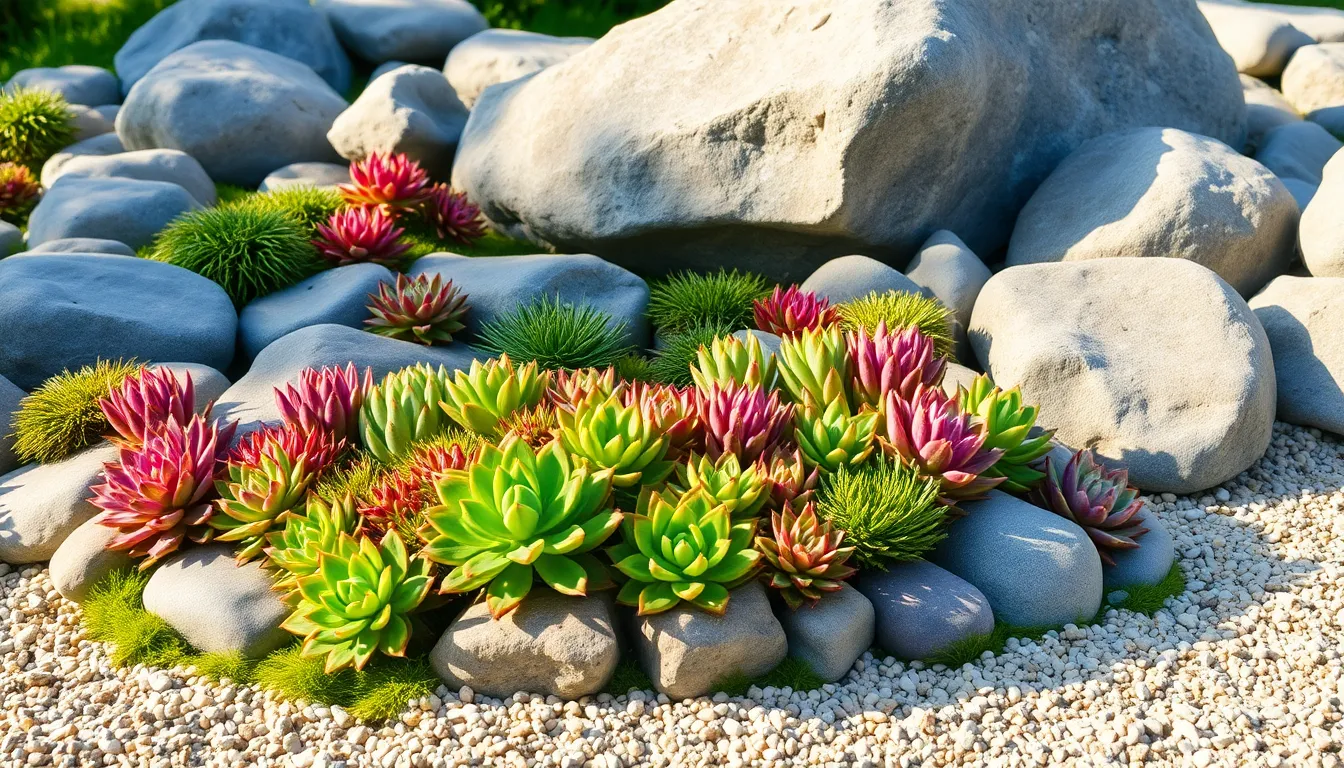
7 Quick Creating A Rock Garden
Creating a rock garden is like sculpting a piece of living art in your own backyard. Whether you’re a budding ...
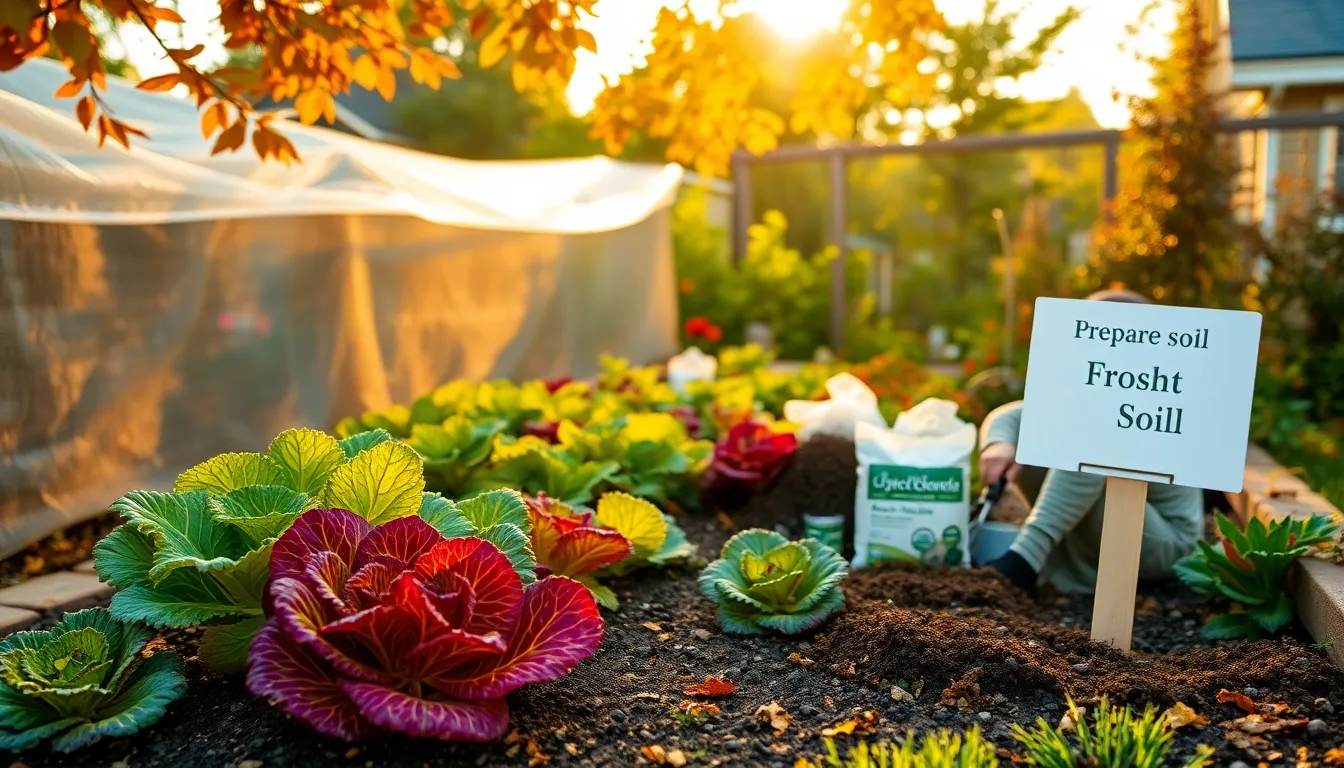
10 Easy Fall Gardening Tips
As the vibrant greens of summer give way to the warm hues of autumn, it’s time to embrace the unique ...
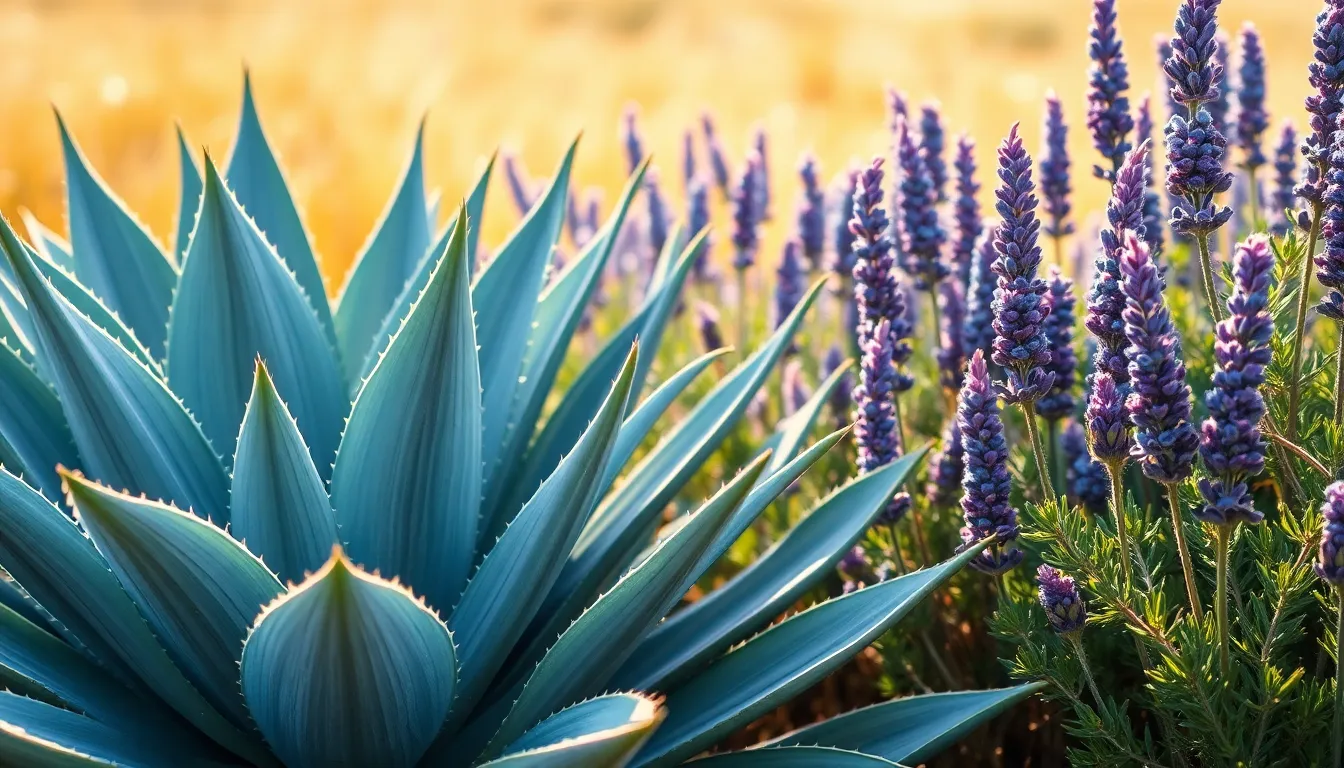
6 Common Drought-Resistant Plants For Hot Climates
Gardening in hot, arid climates can often feel like a daunting challenge, yet it opens the door to a world ...
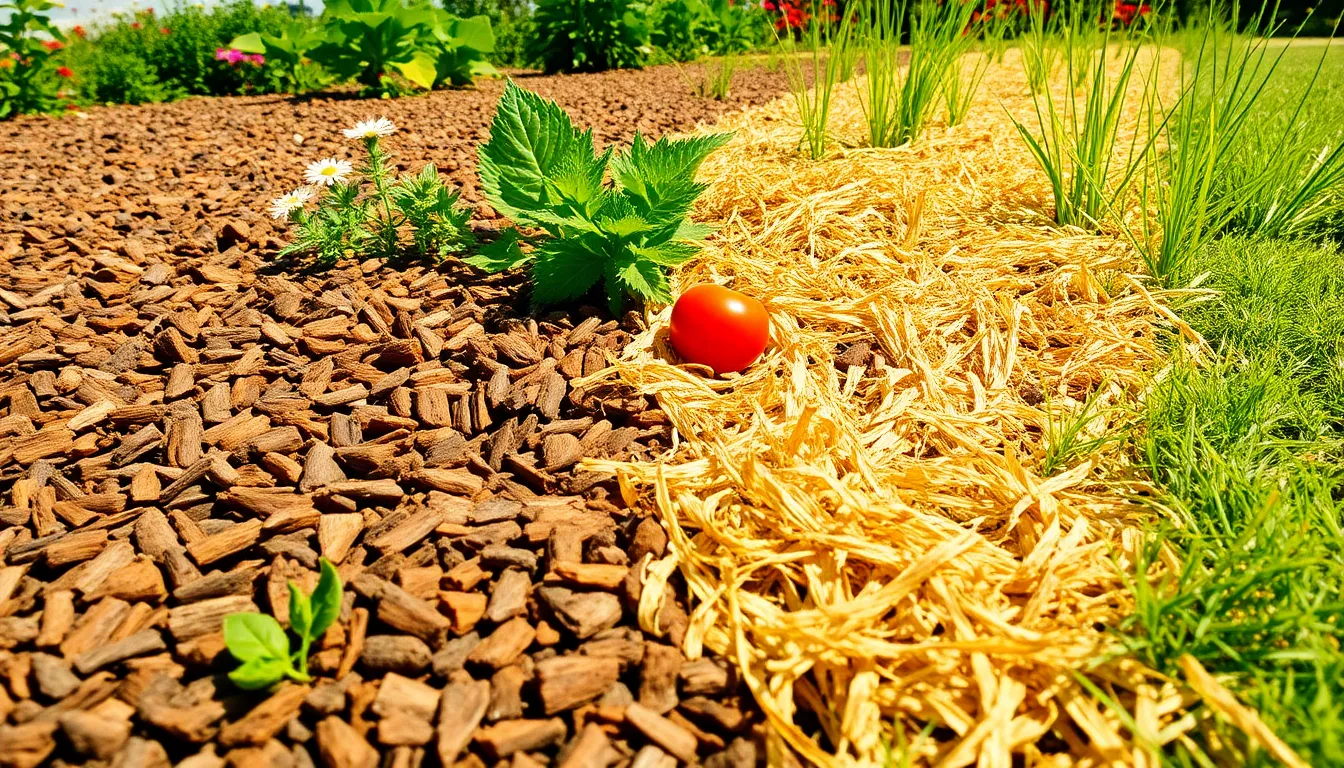
Top 10 Mulching Techniques For Garden Beds
Welcome to “Top 10 Mulching Techniques For Garden Beds,” where the secret to thriving plants and vibrant garden beds awaits ...
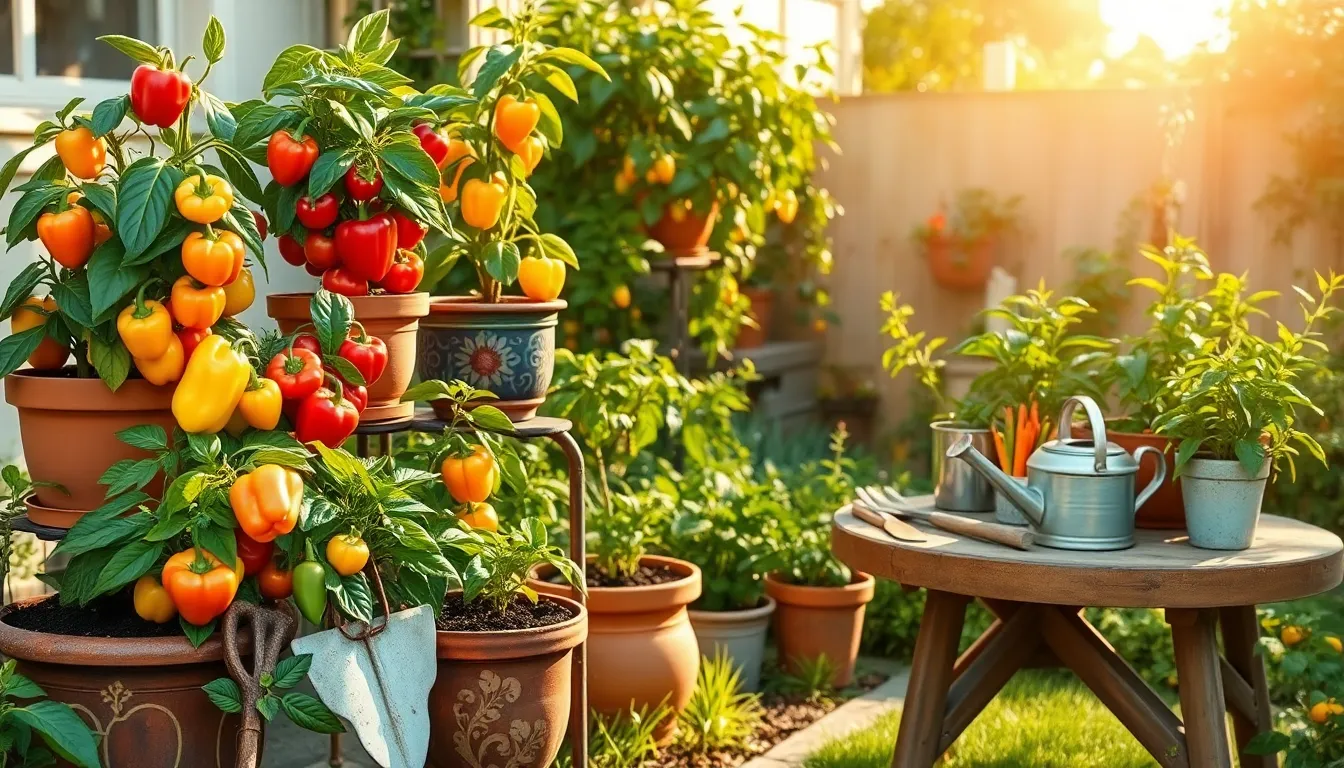
13 Effective Growing Peppers In Containers
There’s a certain magic in cultivating your own peppers, especially when space is tight and you need to think outside ...
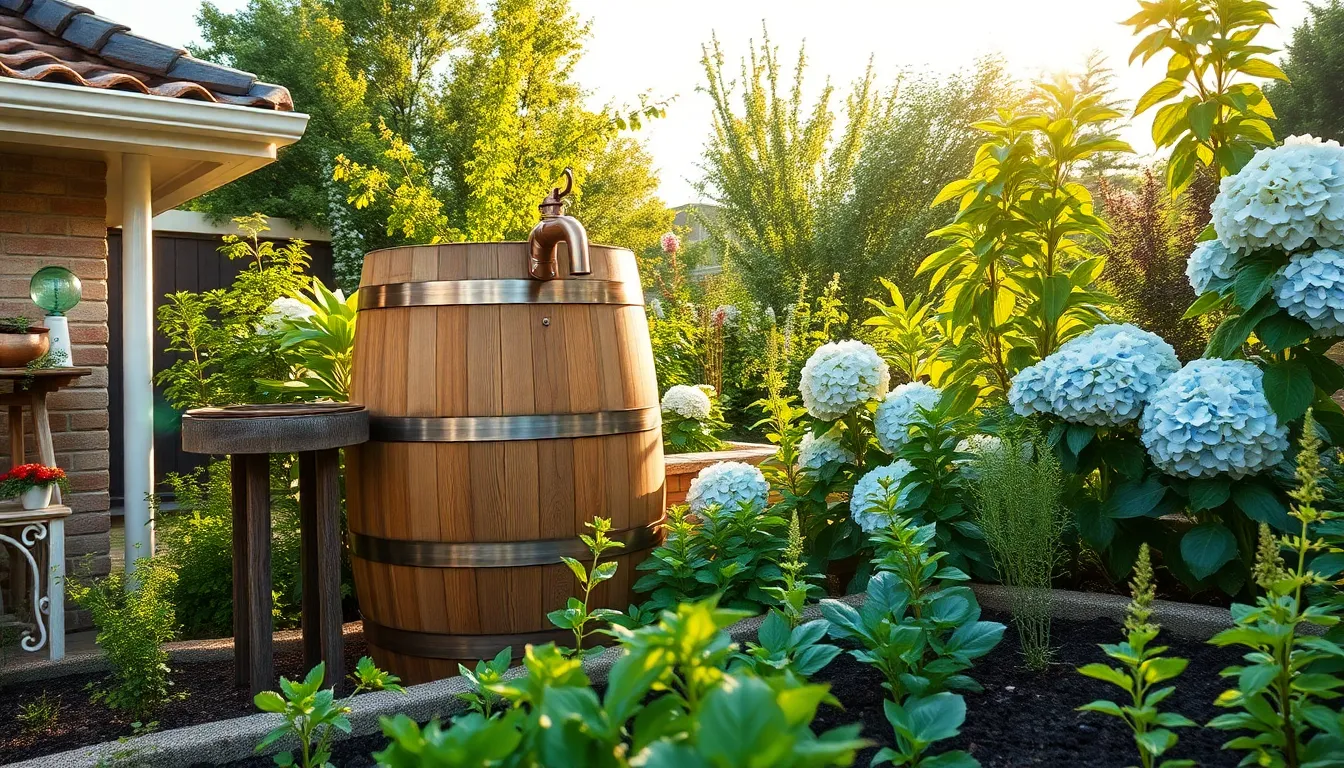
15 Best Rainwater Harvesting For Gardens
Imagine transforming your garden into a thriving oasis that not only flourishes but also contributes to a more sustainable world. ...

7 Beautiful Eco-Friendly Pest Control
Gardening is a journey that blends art and science, inviting both novices and seasoned green thumbs to nurture life from ...
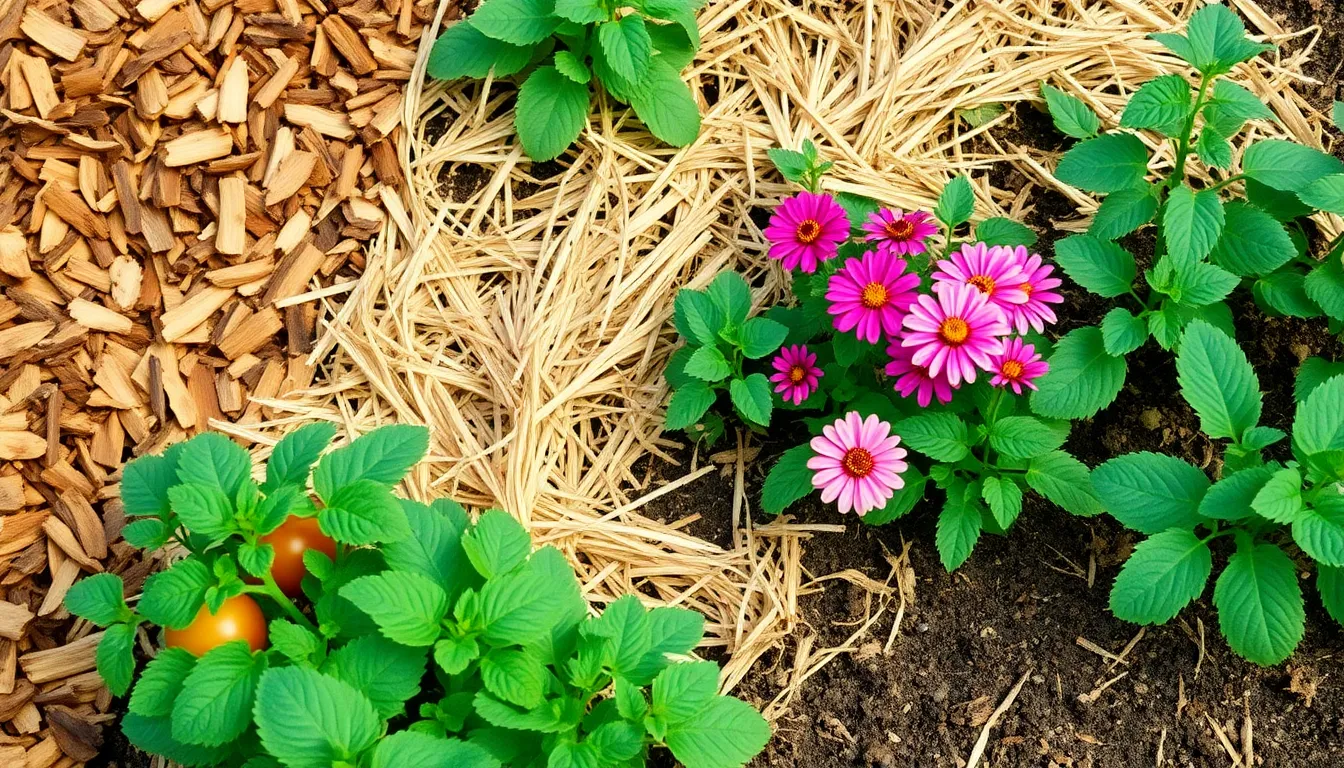
6 Common Mulching Techniques For Garden Beds
Gardening is an art that blends patience with the joy of watching life flourish, and mulching is a key technique ...
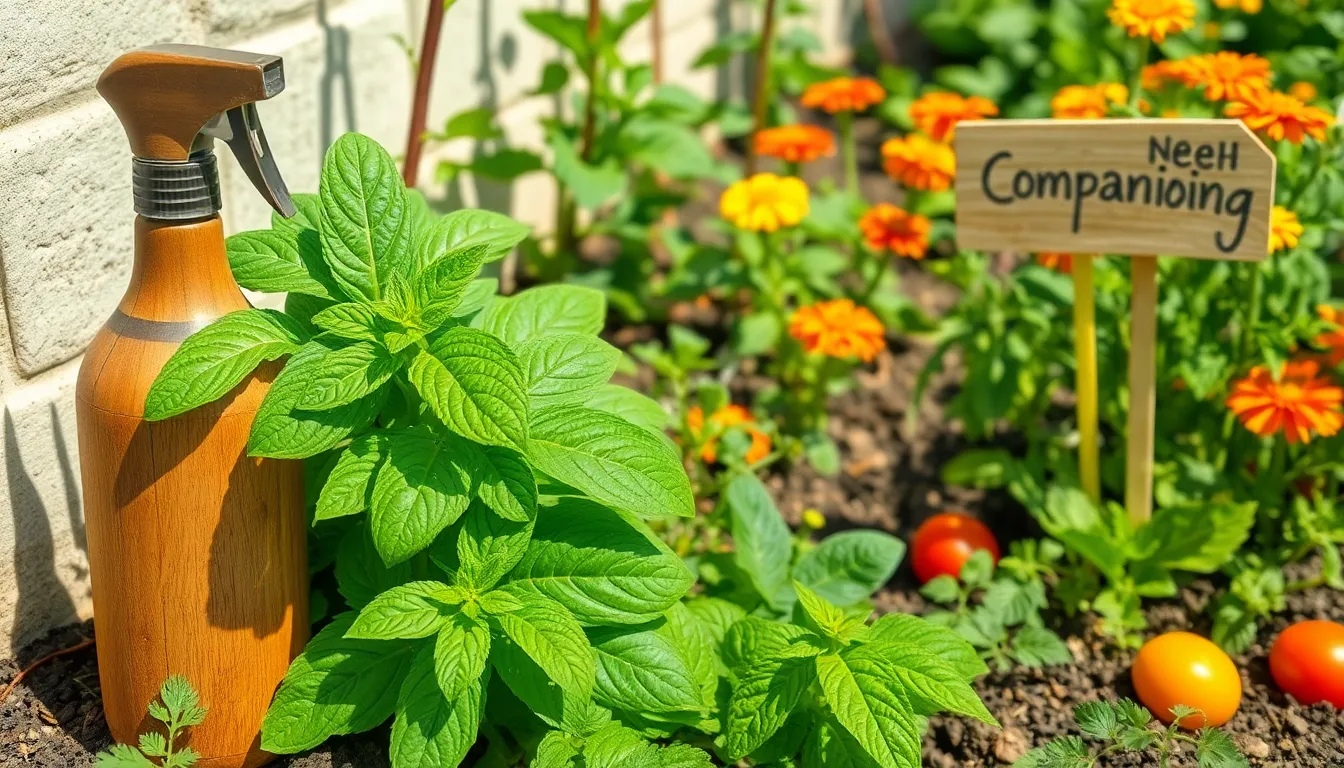
6 Common Eco-Friendly Pest Control
In the vibrant world of gardening, a thriving ecosystem is both a gardener’s dream and a delicate balance to maintain. ...
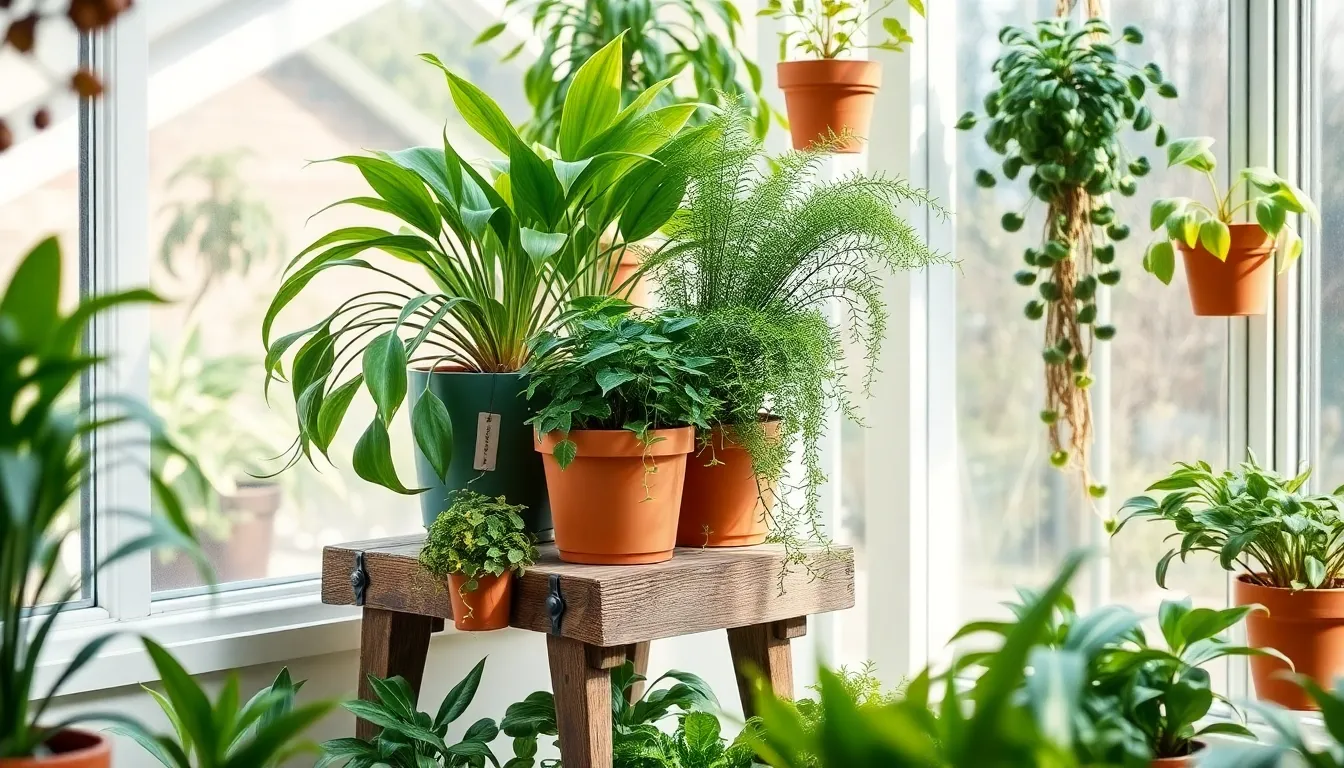
8 Fun Pet-Safe Plants For The Home
Welcoming a lush touch of greenery into your home doesn’t have to be a daunting task, especially when ensuring the ...


