Creative Garden Ideas
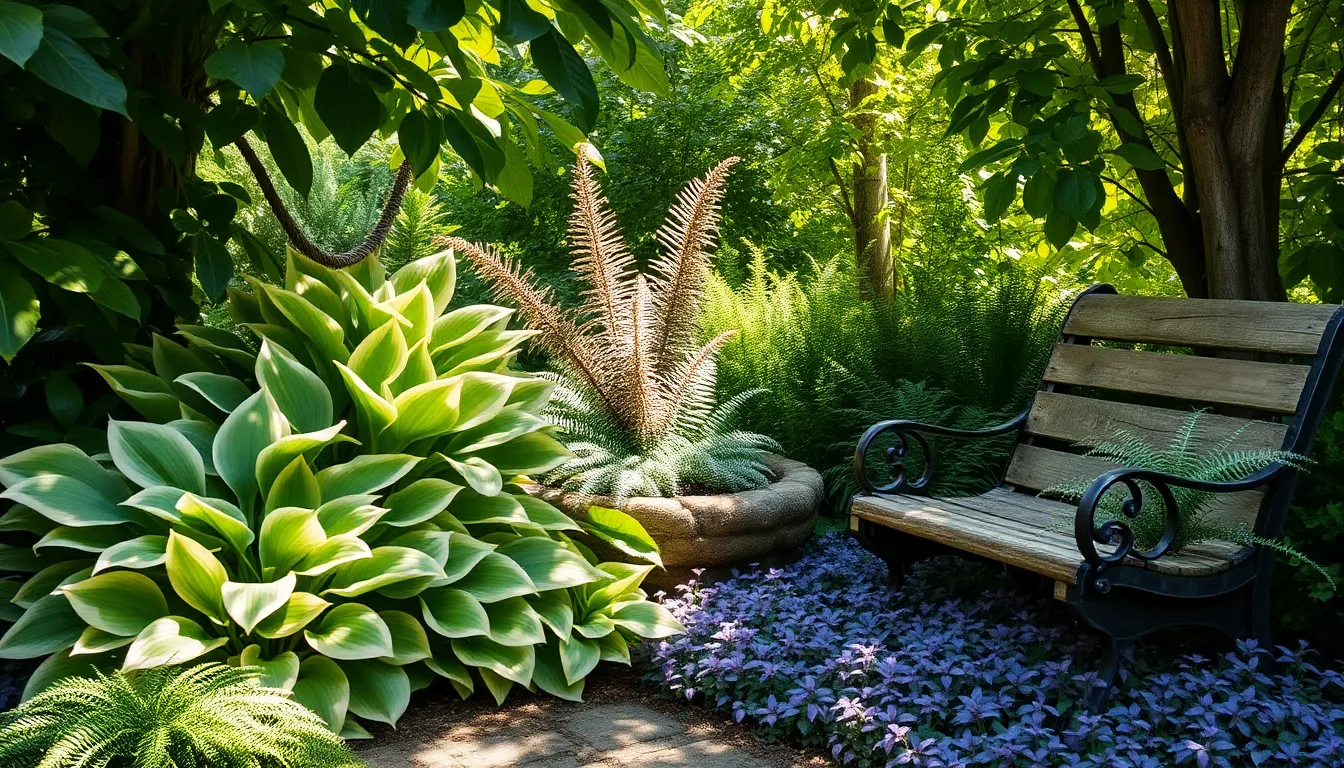
11 Brilliant Shade-Loving Garden Plants
Gardening is a pursuit that invites us to dance with the natural world, coaxing beauty from the ground regardless of ...
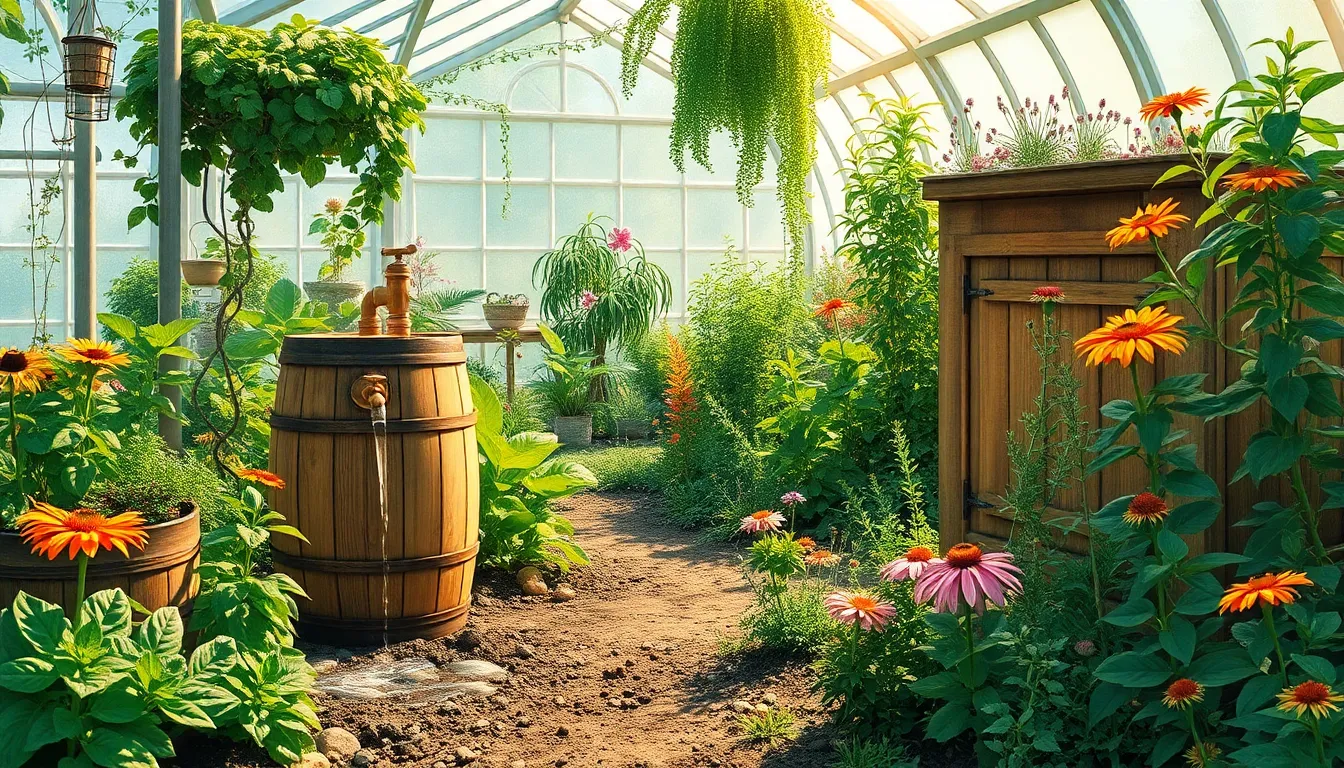
6 Common Rainwater Harvesting For Gardens
Imagine harnessing the power of nature to nurture your garden, a practice as old as time but more relevant than ...
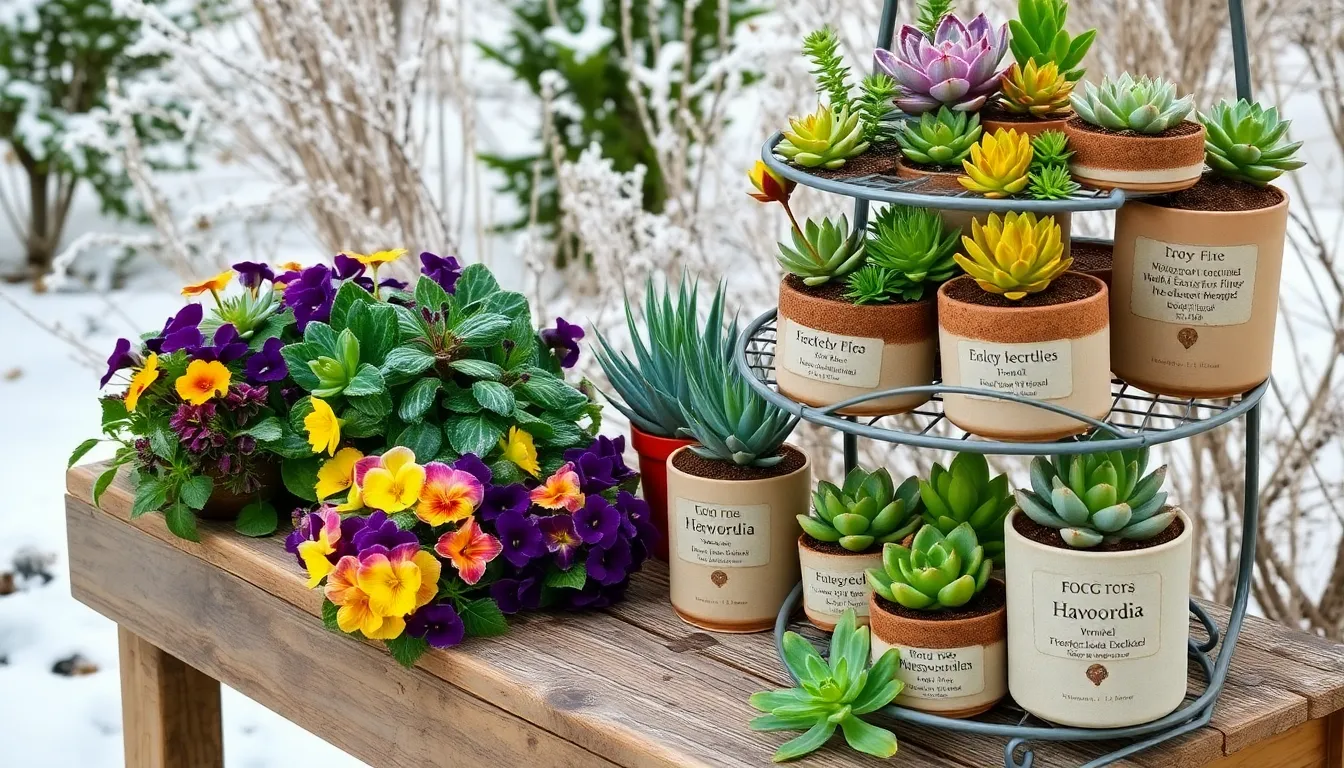
10 Easy Winter Gardening Essentials
Winter may seem like a dormant season for gardens, but it offers unique opportunities for growth and maintenance. Whether you’re ...
6 Common Water-Saving Garden Ideas
Gardening is a joyful dance with nature, where every drop of water counts, especially in our ever-changing climate. Whether you’re ...
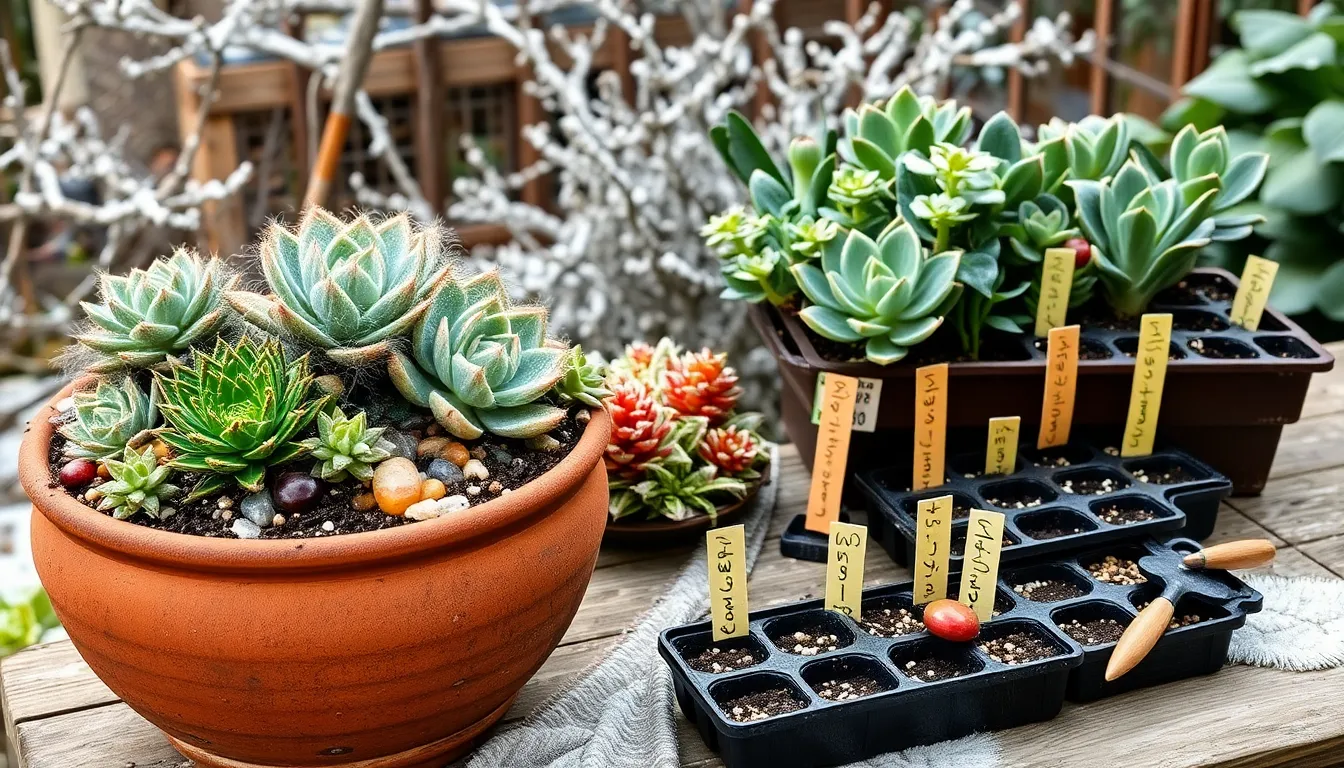
9 Proven Winter Gardening Essentials
As the crisp air begins to bite and the landscape transforms under a frosty blanket, many gardeners retreat indoors, leaving ...
12 Essential Water-Saving Garden Ideas
Welcome to the lush world of gardening where your green thumb can thrive, no matter your level of experience! Whether ...
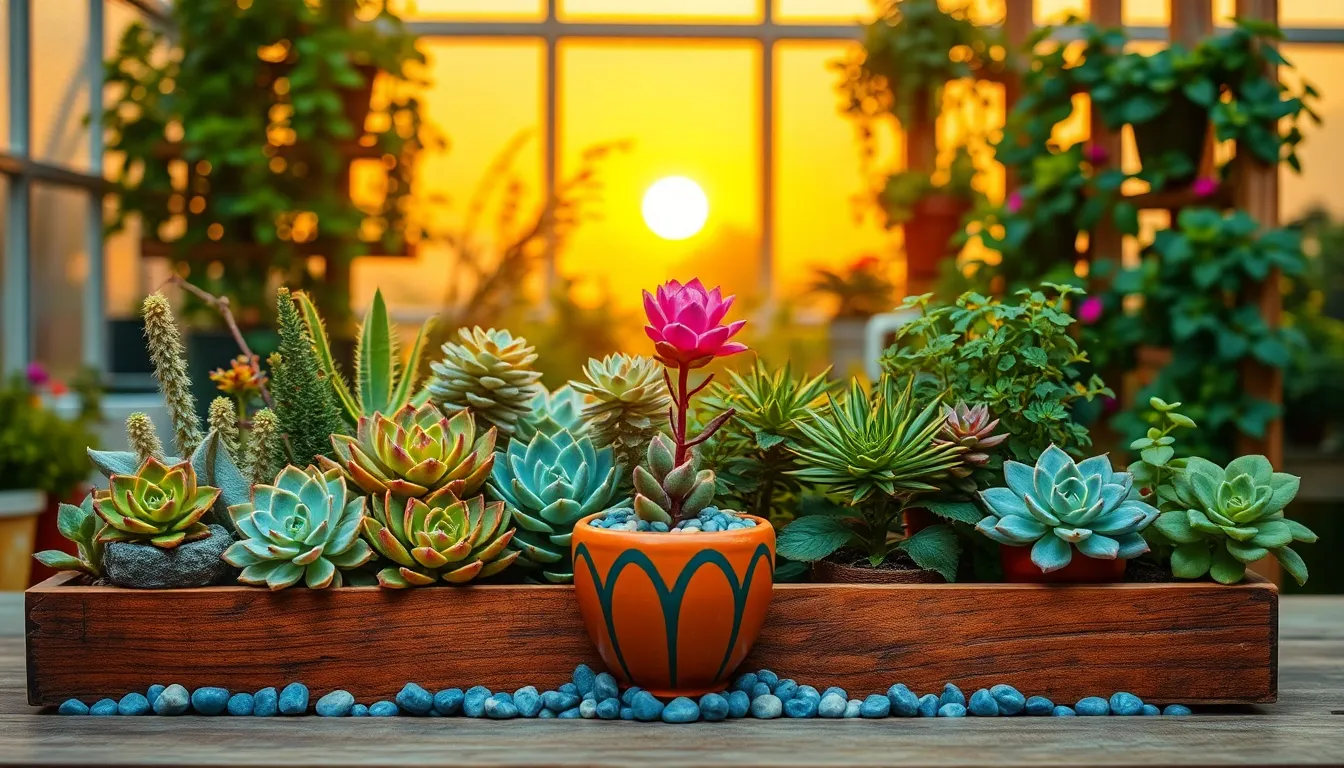
6 Common Patio Garden Inspirations
Transforming your patio into a lush, vibrant garden can be both an exciting challenge and a rewarding retreat. Whether you’re ...
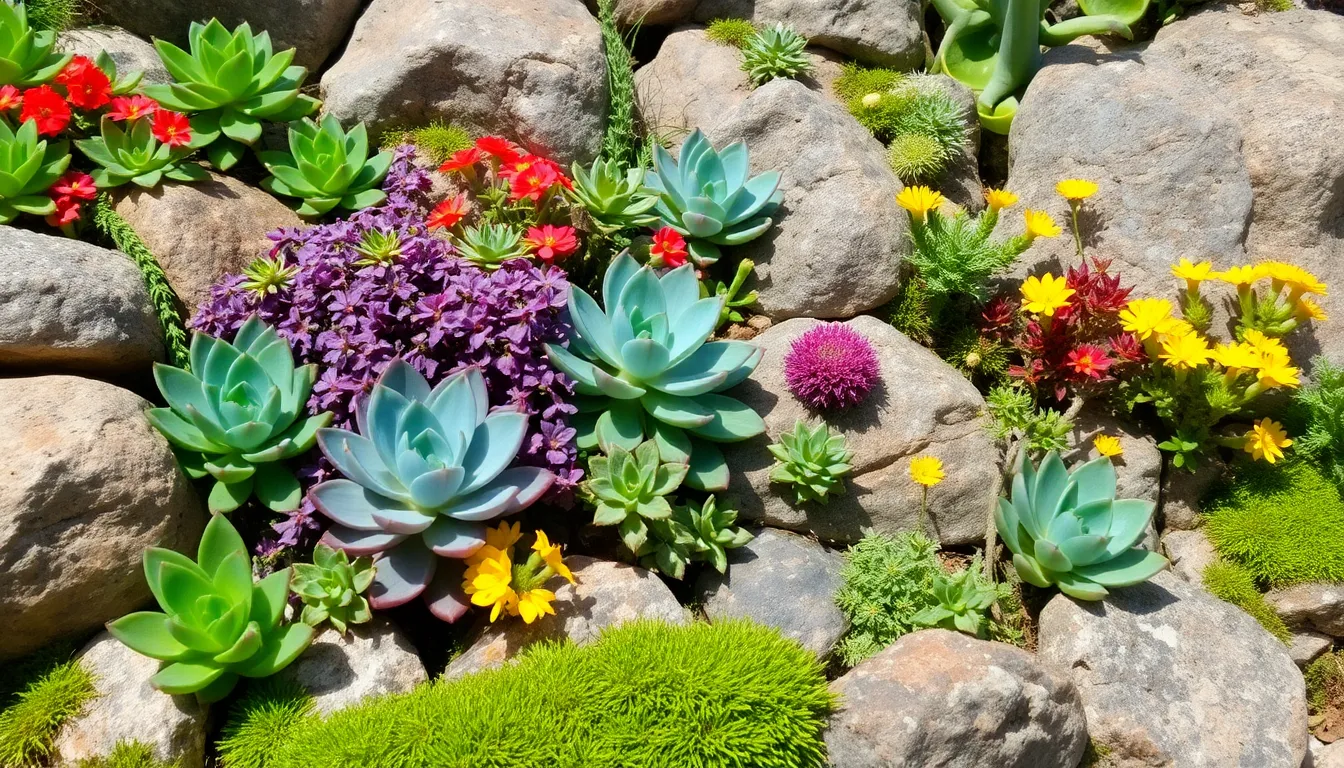
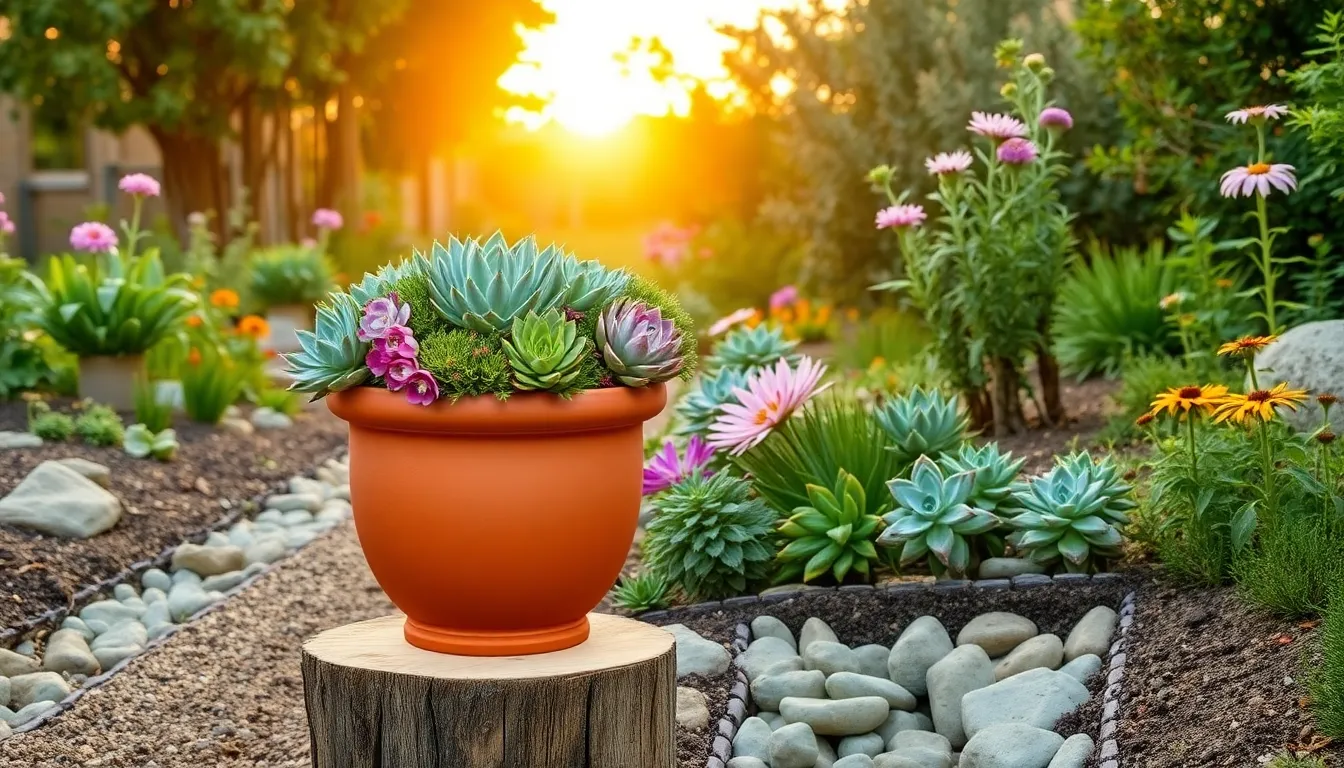
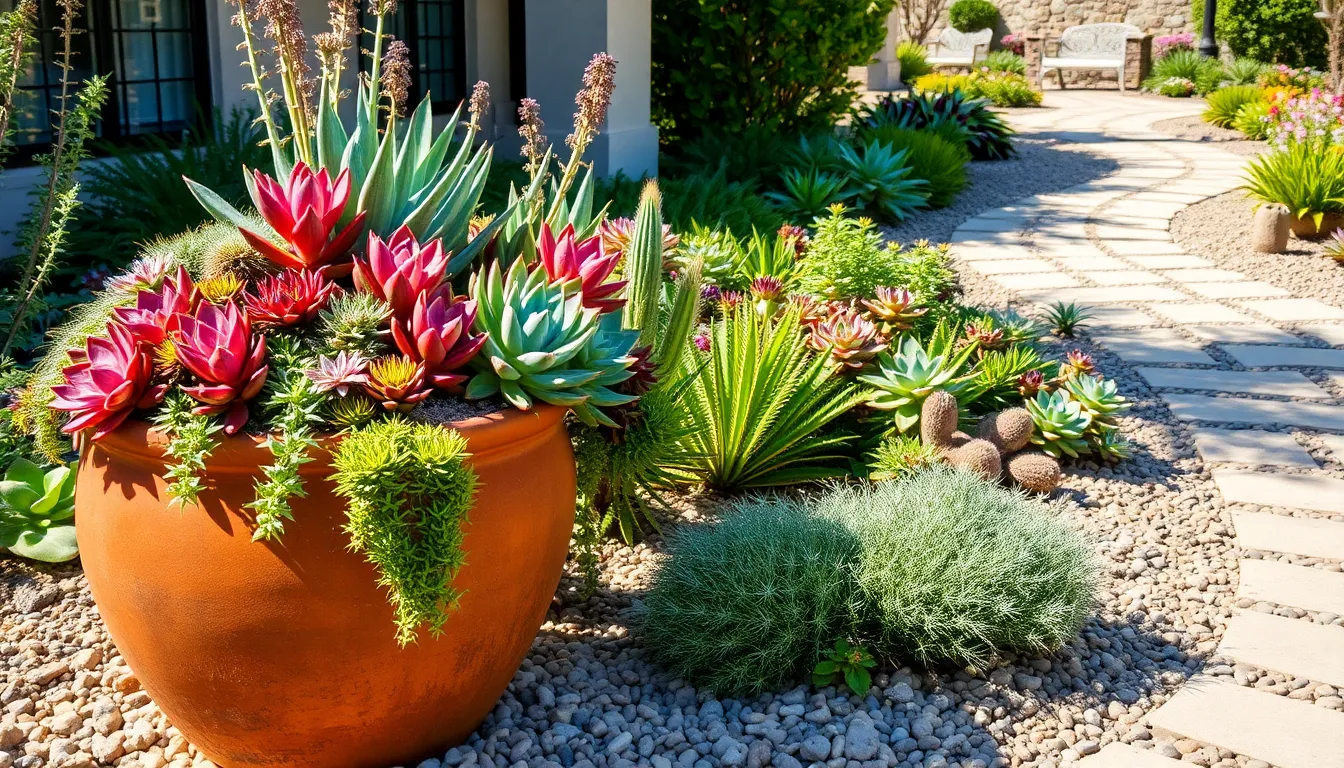
6 Common Creating A Rock Garden
Imagine transforming a mundane corner of your garden into a captivating landscape that echoes the serene beauty of nature’s rugged ...
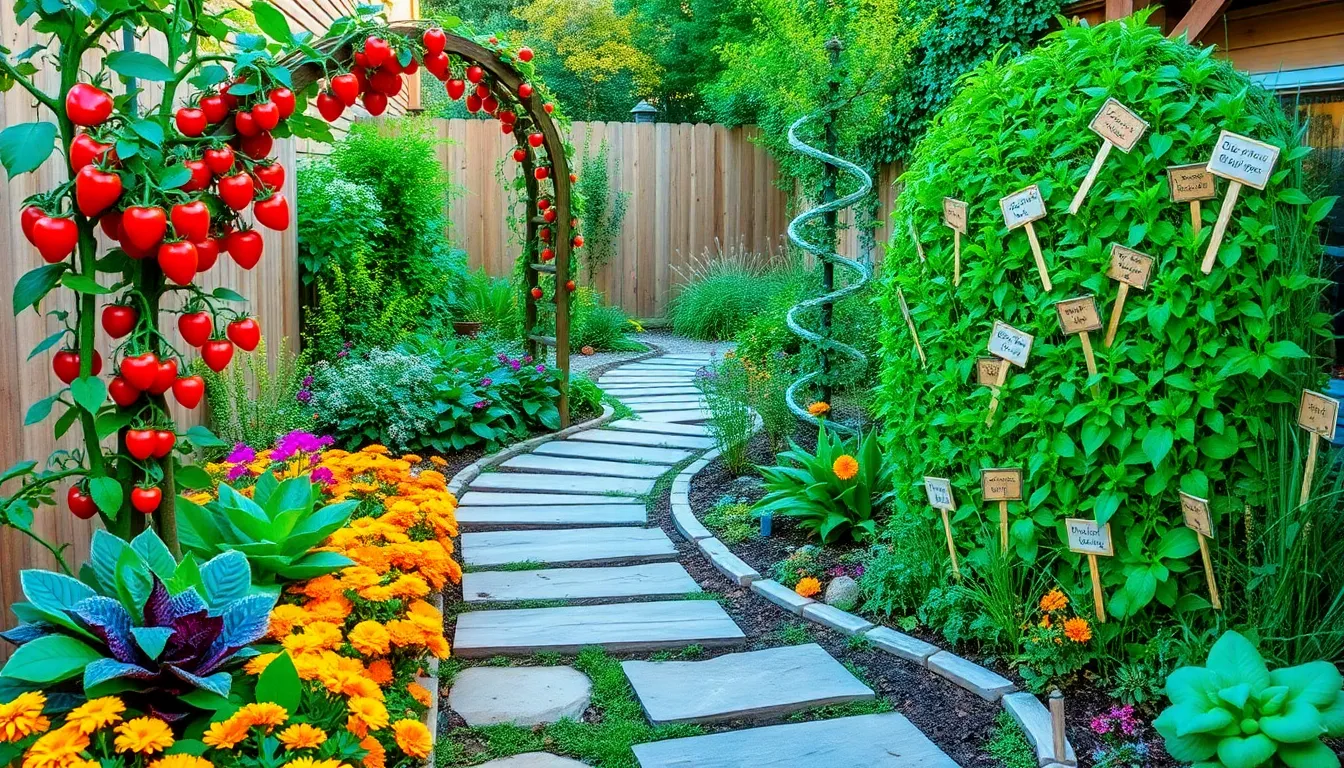
8 Fun Edible Landscaping Ideas
Imagine stepping into your garden and being greeted by a vibrant, delicious landscape that delights both the eyes and the ...
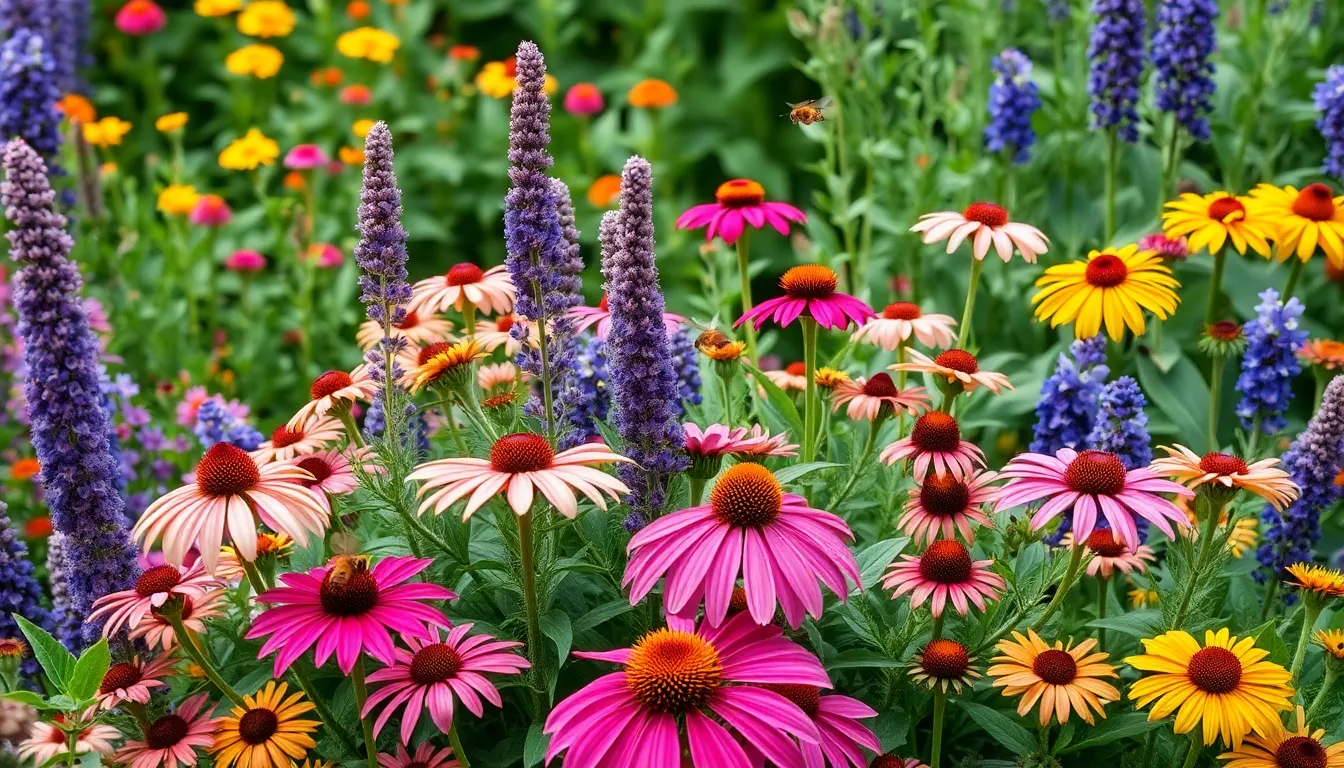
15 Best Attracting Pollinators To Your Garden
Gardening is a joyful dance with nature, where every bloom invites a world of vibrant life to your doorstep. Whether ...


