Creative Garden Ideas
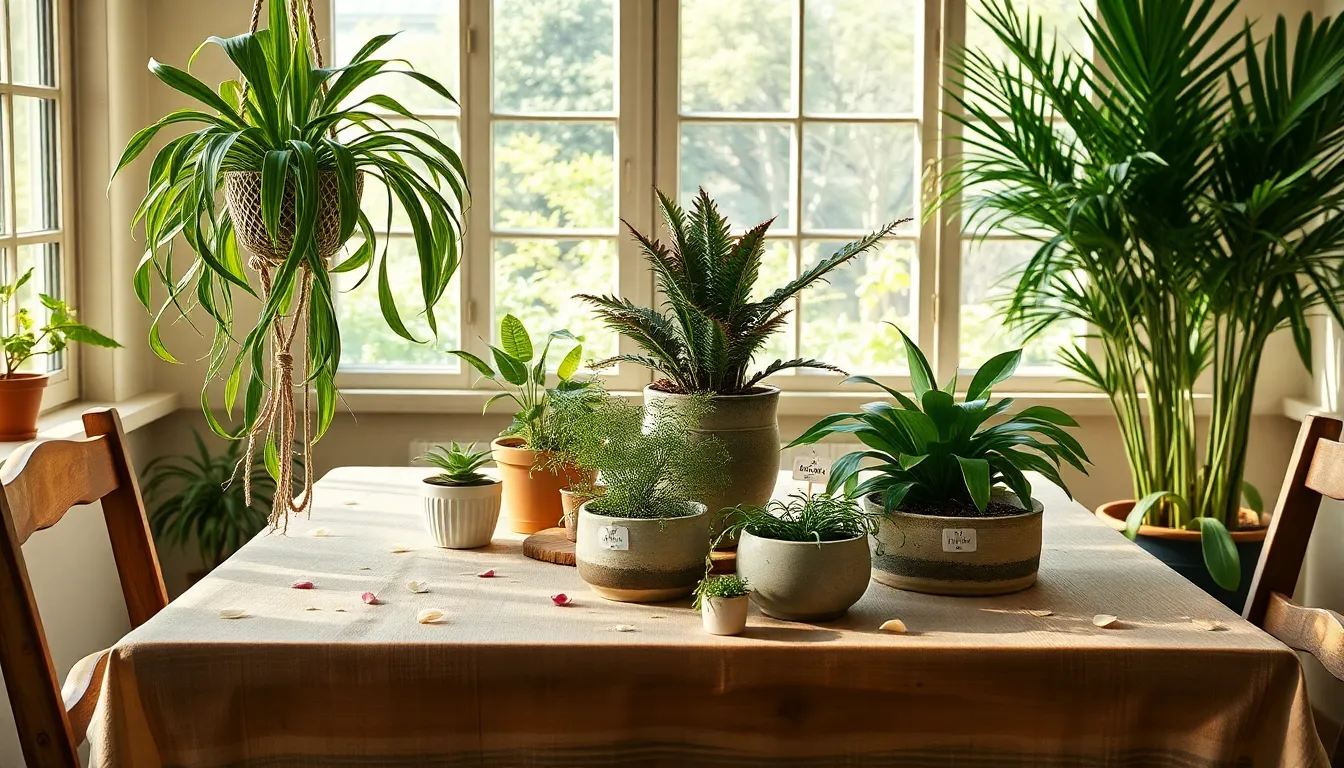
11 Brilliant Pet-Safe Plants For The Home
Welcoming a lush array of greenery into your home is a delightful endeavor, but for those sharing their space with ...
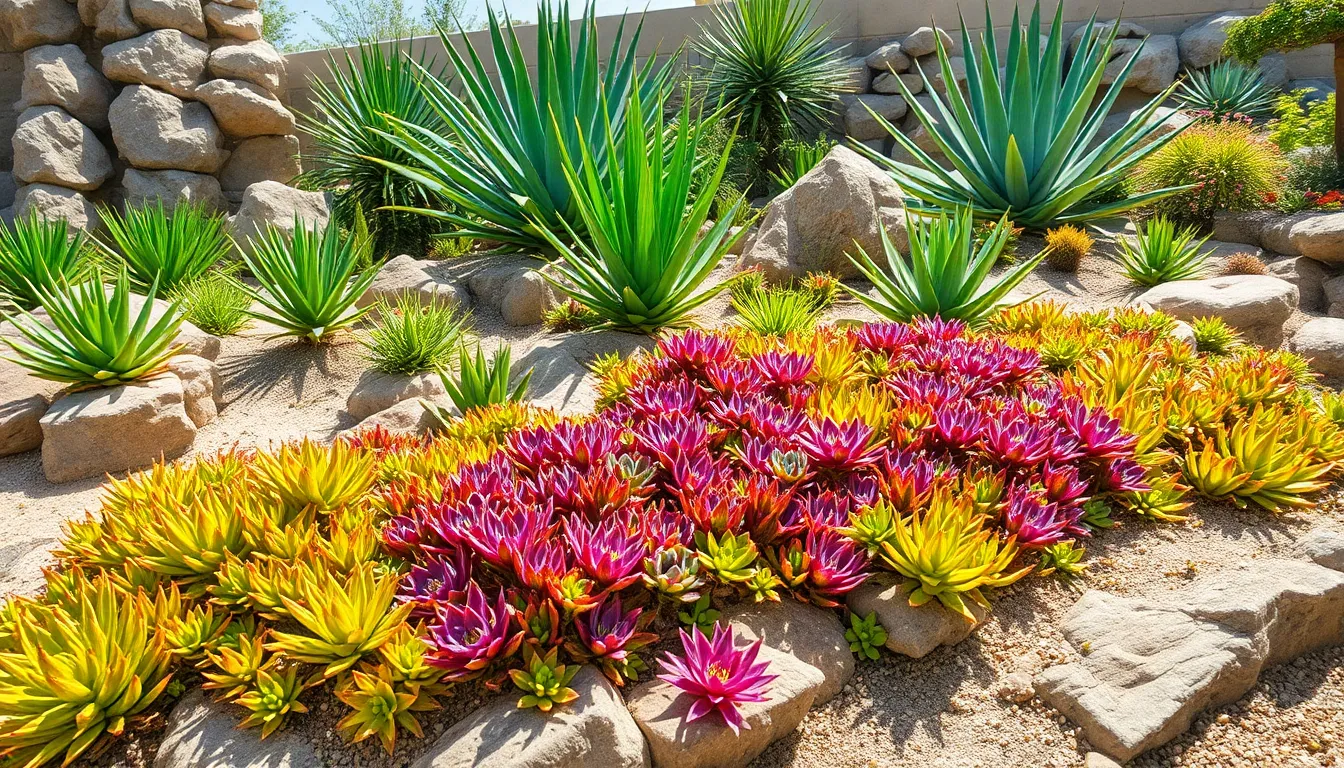
10 Low-Maintenance Low Water Landscaping Ideas
Welcome to a world where your garden thrives with minimal effort and water, leaving you more time to savor its ...
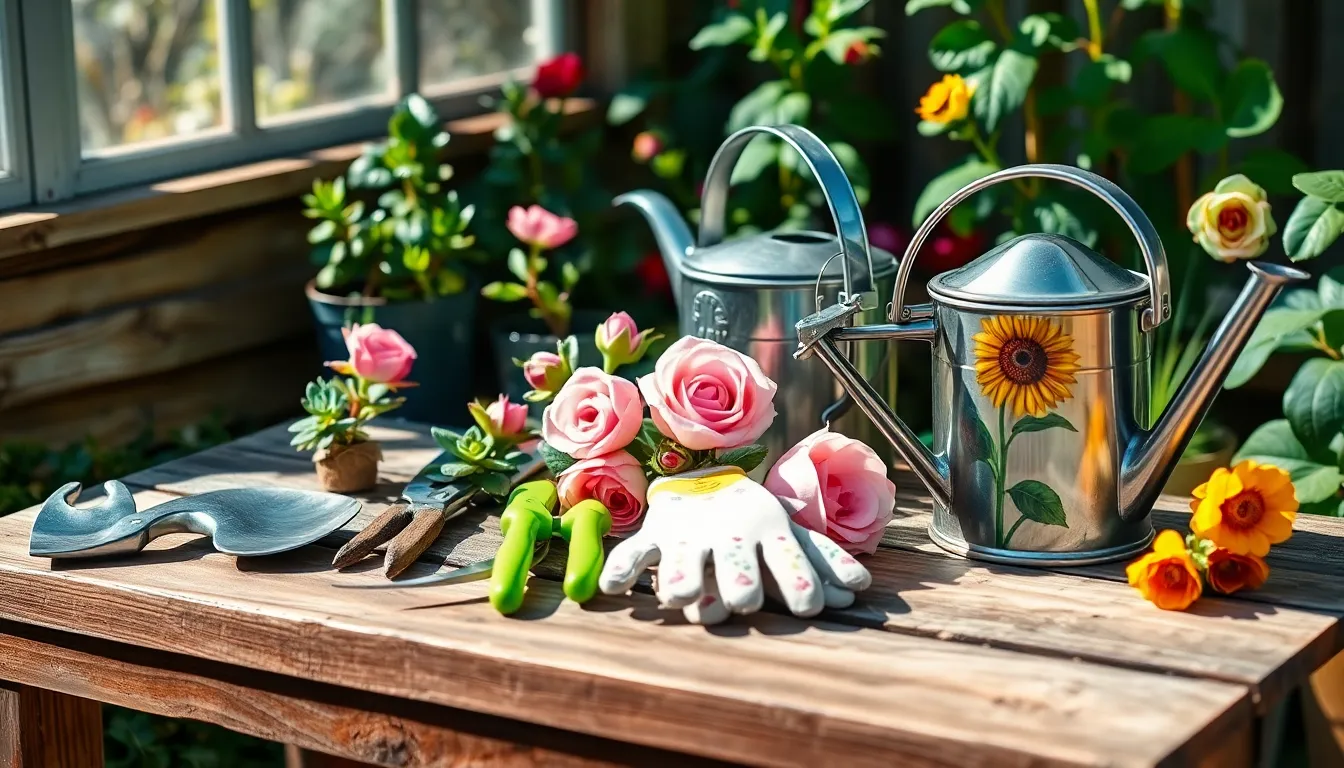
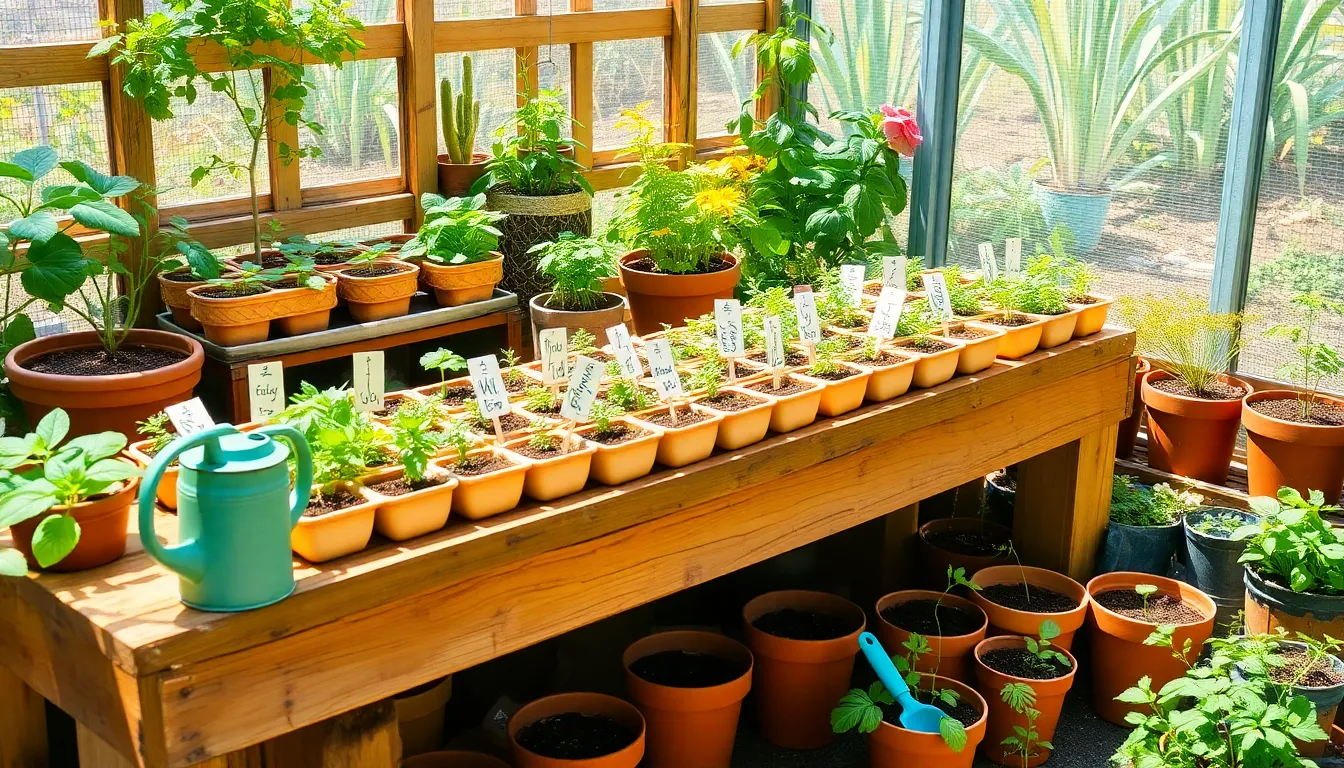
10 Easy Choosing The Right Garden Tools
Gardening is a journey that invites us to cultivate not just plants, but also patience, joy, and a deeper connection ...
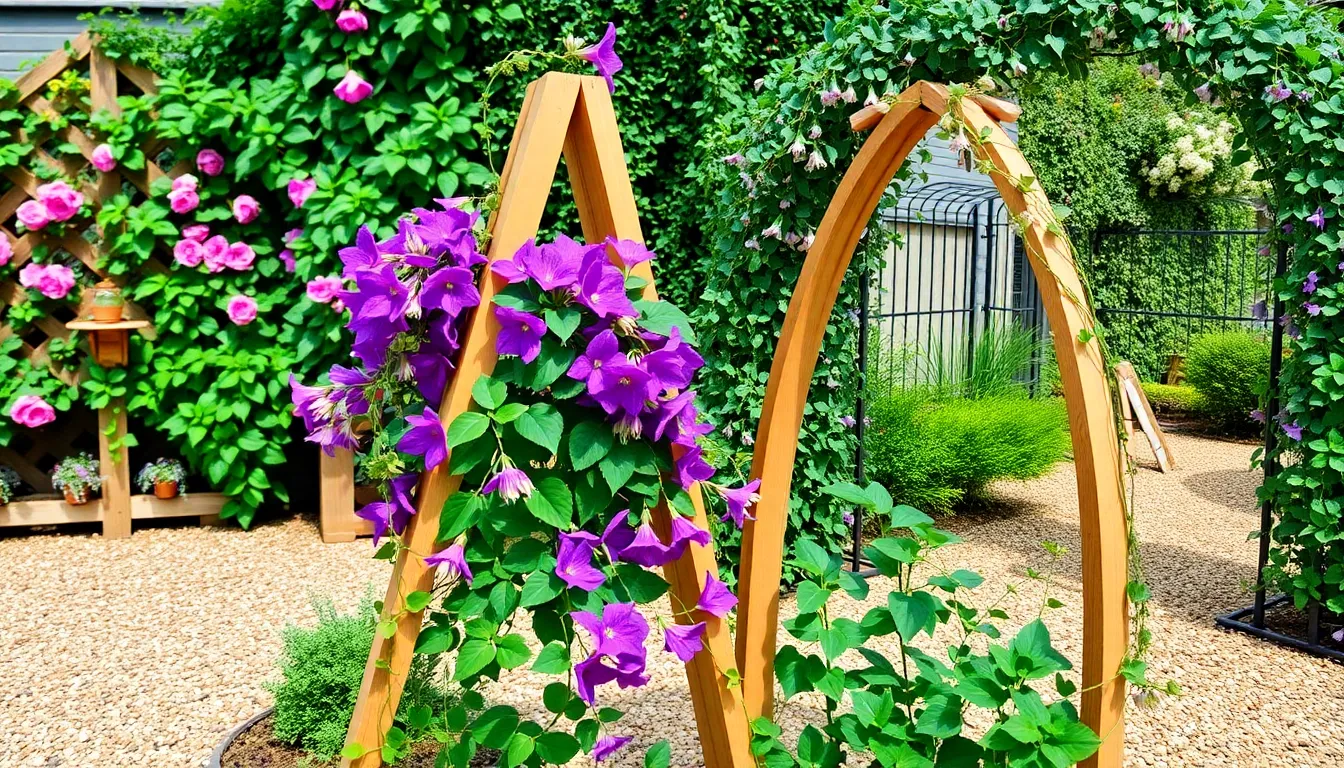
12 Essential Trellis Ideas For Climbing Plants
Imagine a garden where every climbing plant reaches for the sky, painting your outdoor or indoor space with a tapestry ...
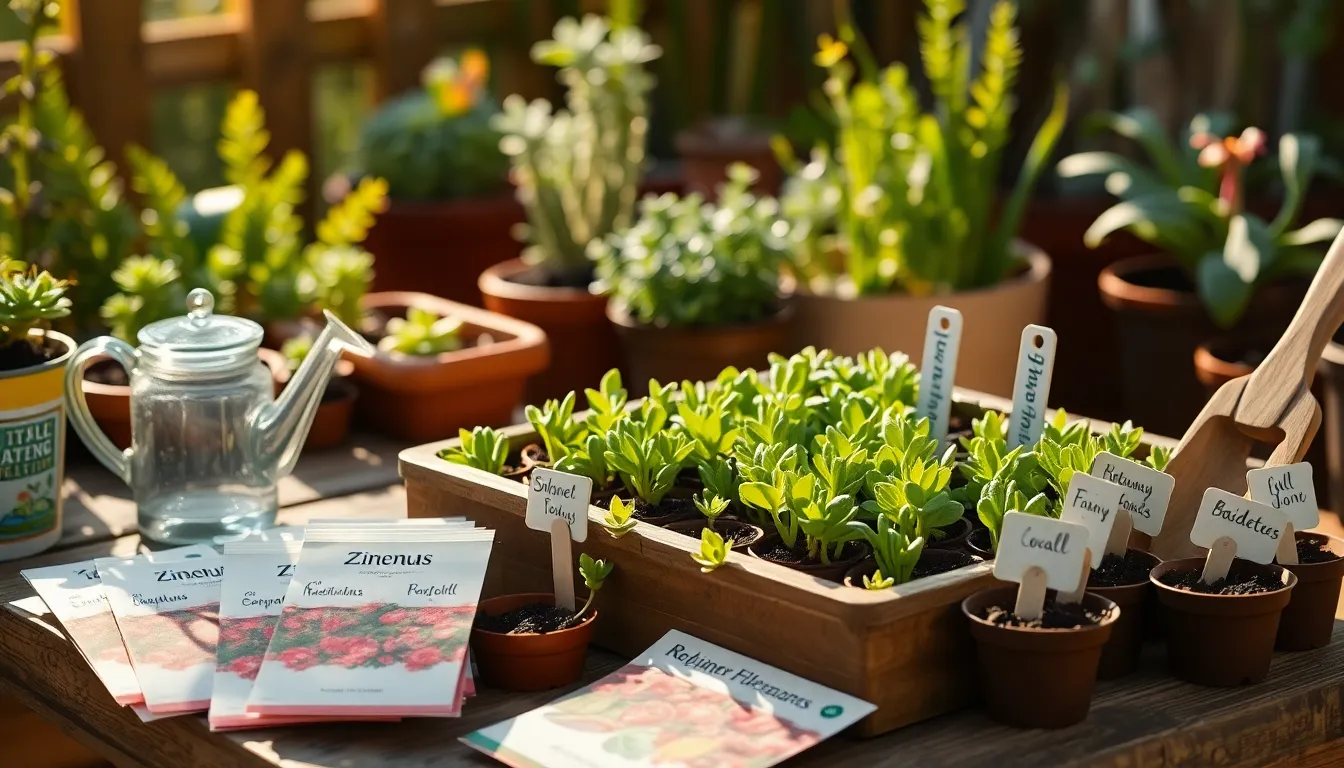
10 Low-Maintenance Starting A Garden From Seeds
Embarking on the journey of starting a garden from seeds is like opening a doorway to endless possibilities; it invites ...
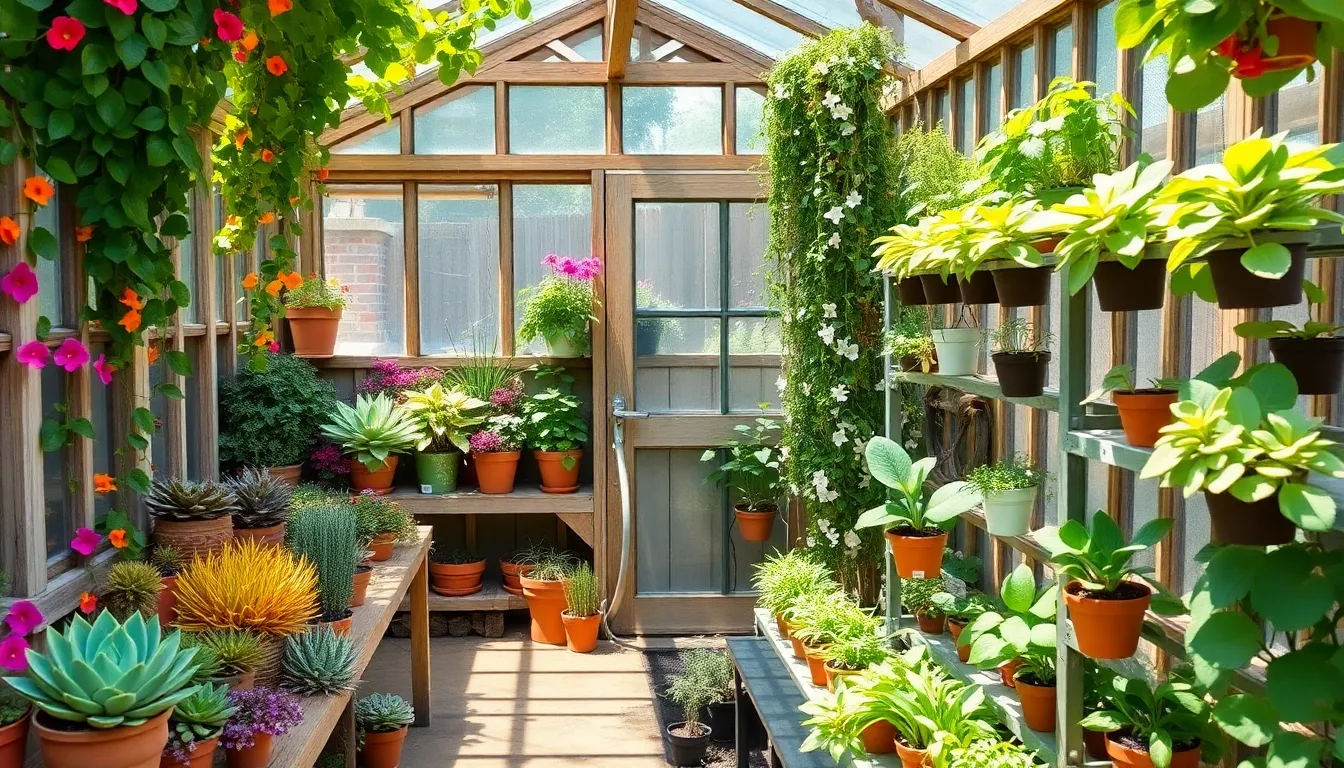
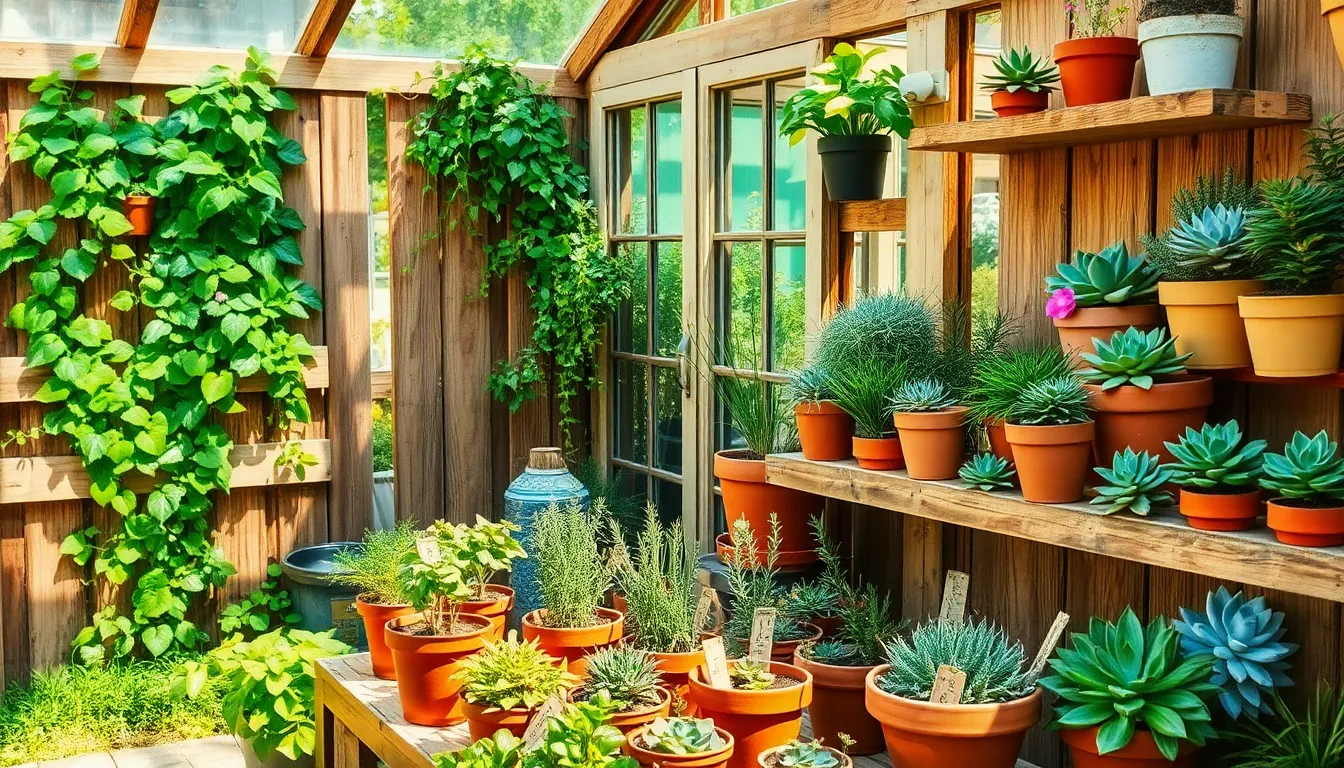
15 Best Backyard Greenhouse Projects
Welcome to “15 Best Backyard Greenhouse Projects,” where the magic of gardening comes alive right in your own backyard! Whether ...
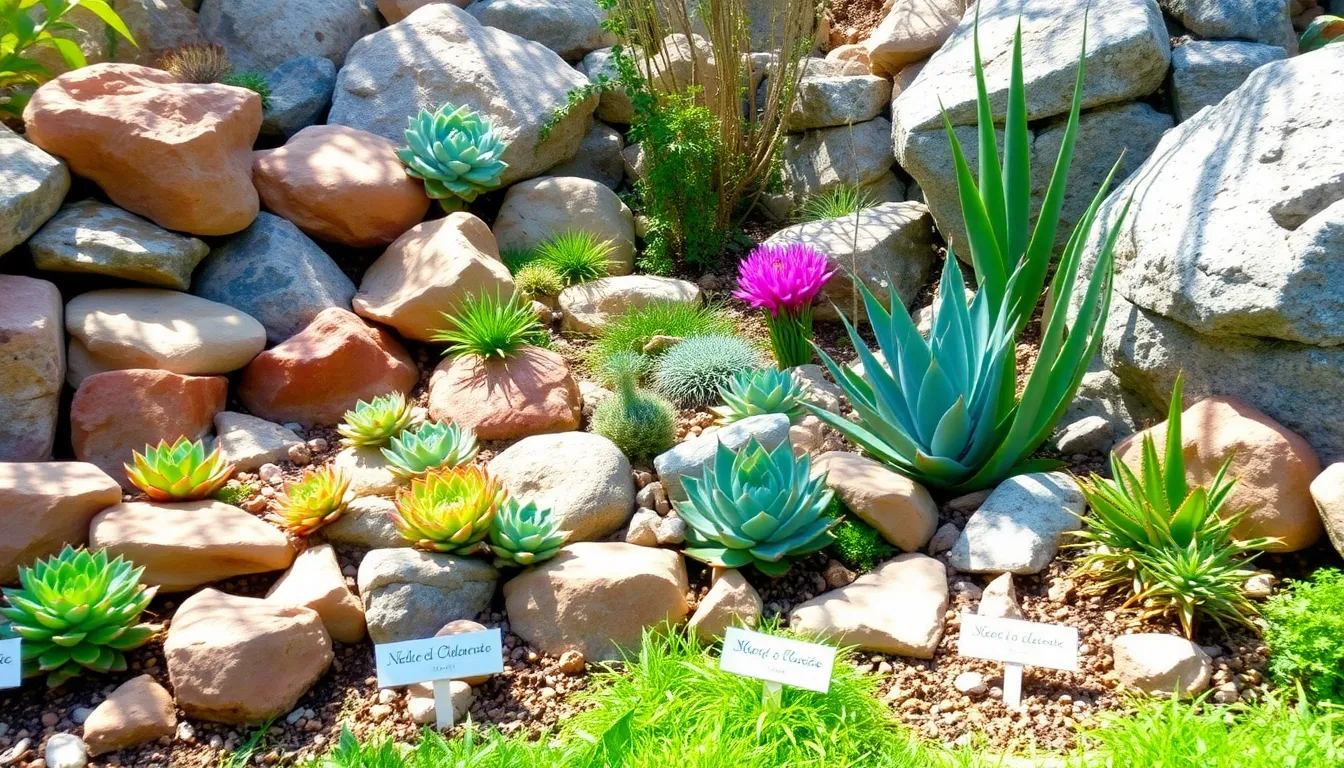
12 Essential Creating A Rock Garden
Creating a rock garden is like painting with nature’s own palette, where stones and plants come together to craft a ...
5 Creative Starting A Garden From Seeds
Planting a garden from seeds is like embarking on a delightful journey where each tiny seed holds the promise of ...
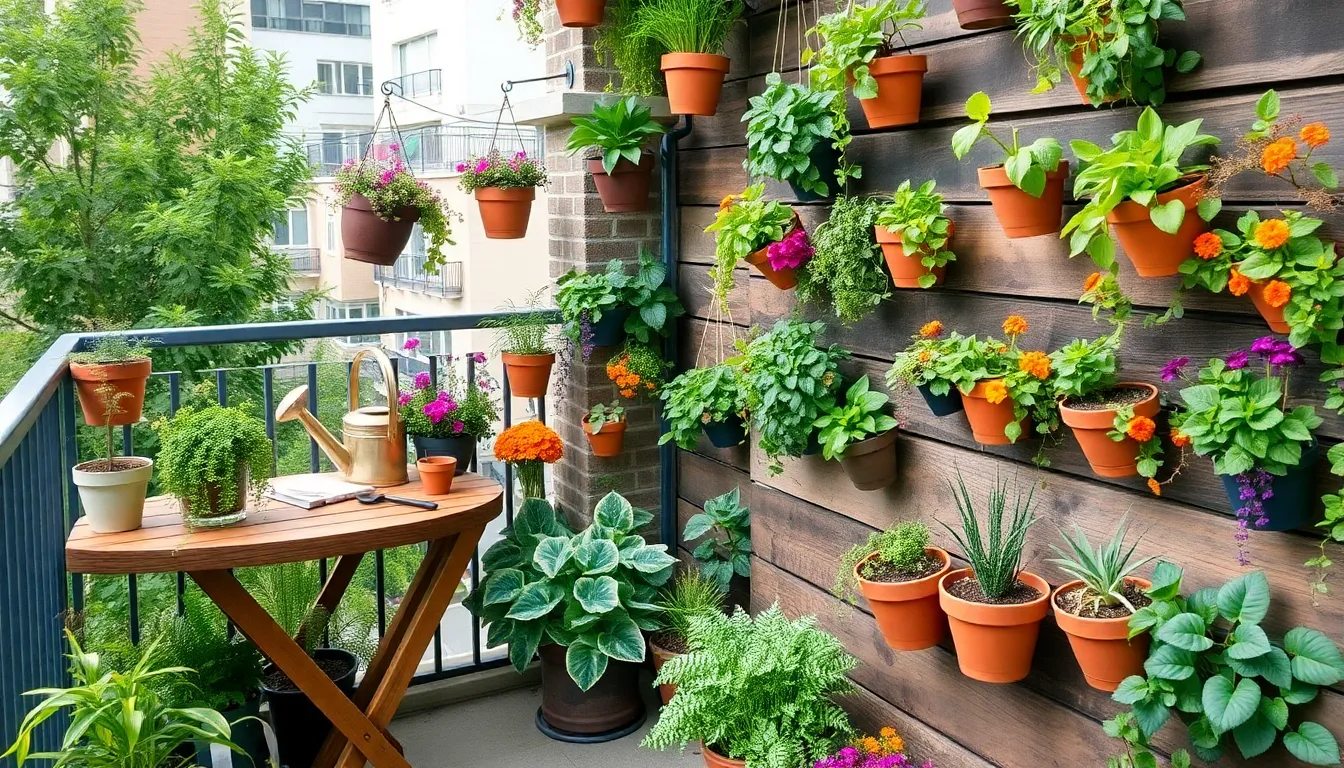
7 Quick Urban Gardening Tips
Welcome to the vibrant world of urban gardening, where small spaces burst with life and creativity flourishes in every nook ...
12 Essential Backyard Greenhouse Projects
Creating a backyard greenhouse can feel like unlocking a secret garden, where each leaf, bloom, and tendril tells a story ...


