Creative Garden Ideas
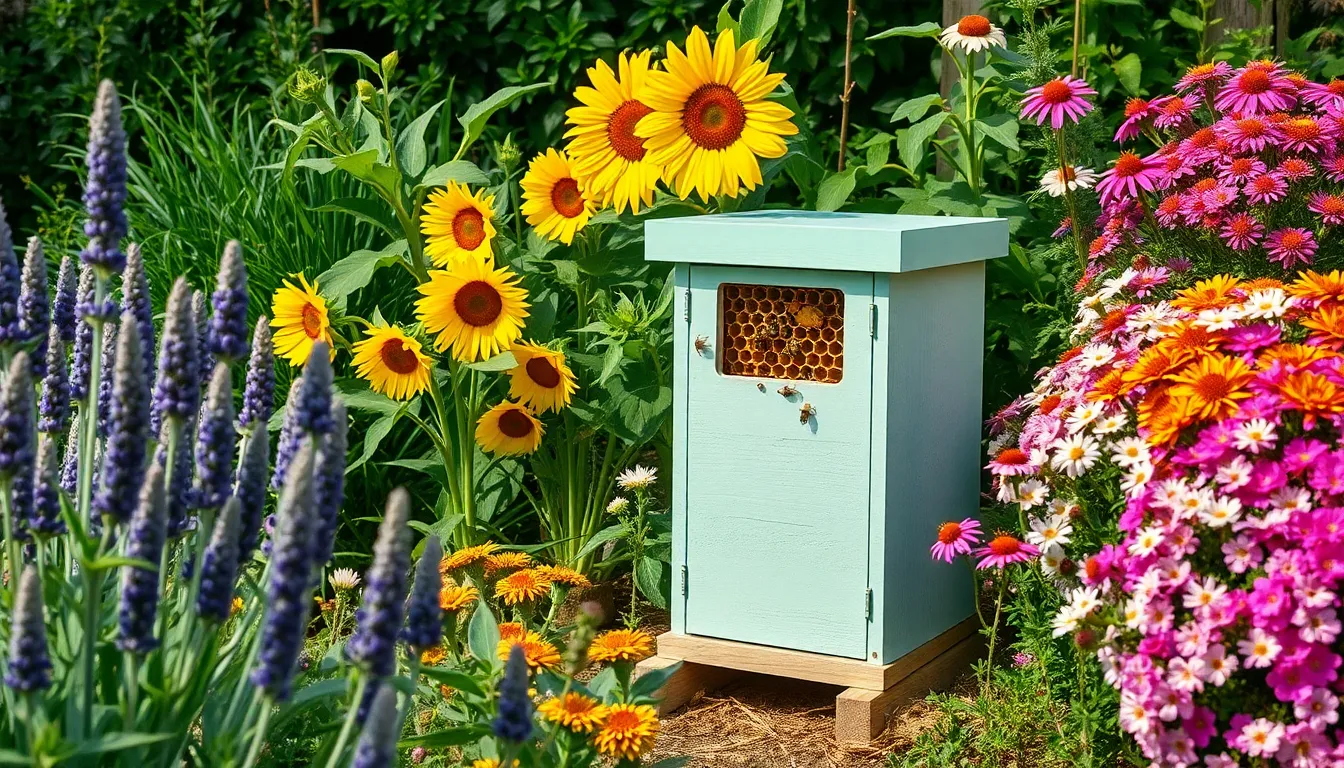
10 Easy Backyard Beekeeping Basics
Imagine stepping into your backyard and hearing the gentle hum of bees busily flitting from flower to flower, knowing you’re ...
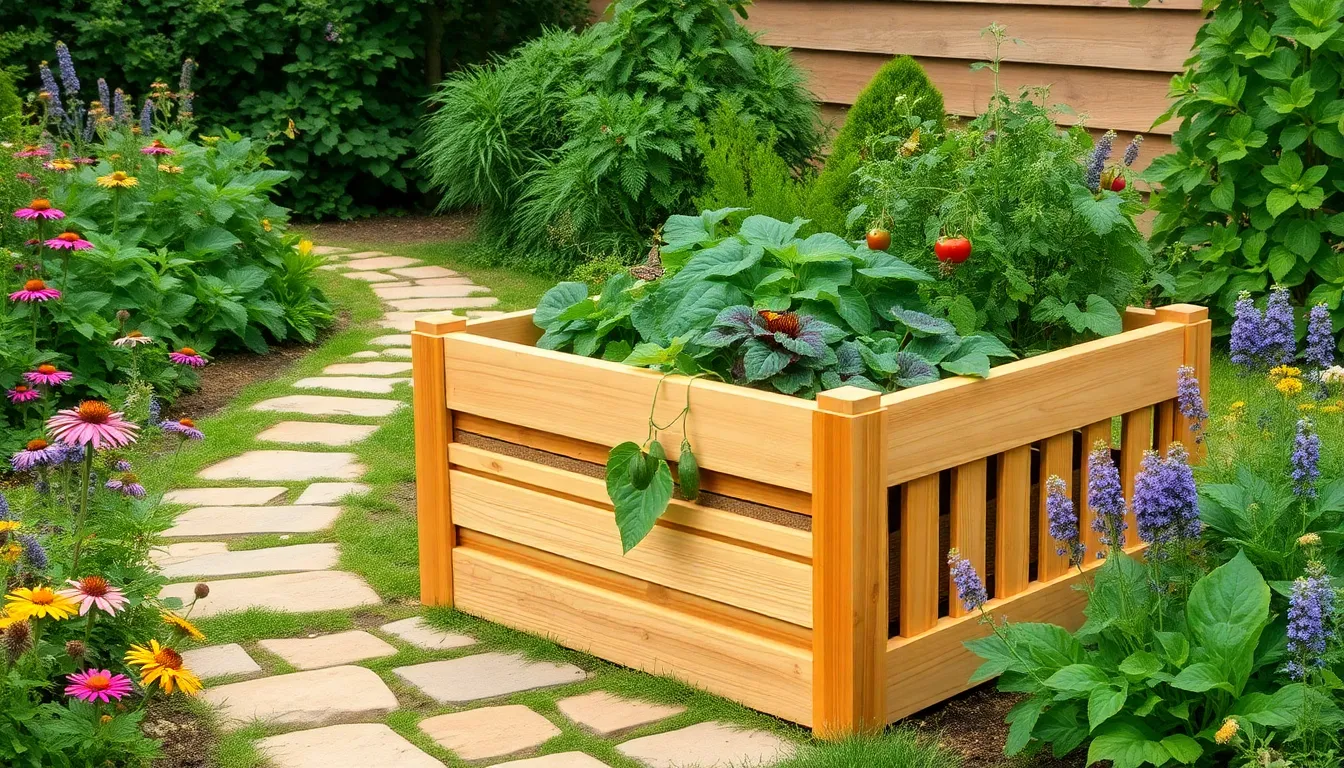
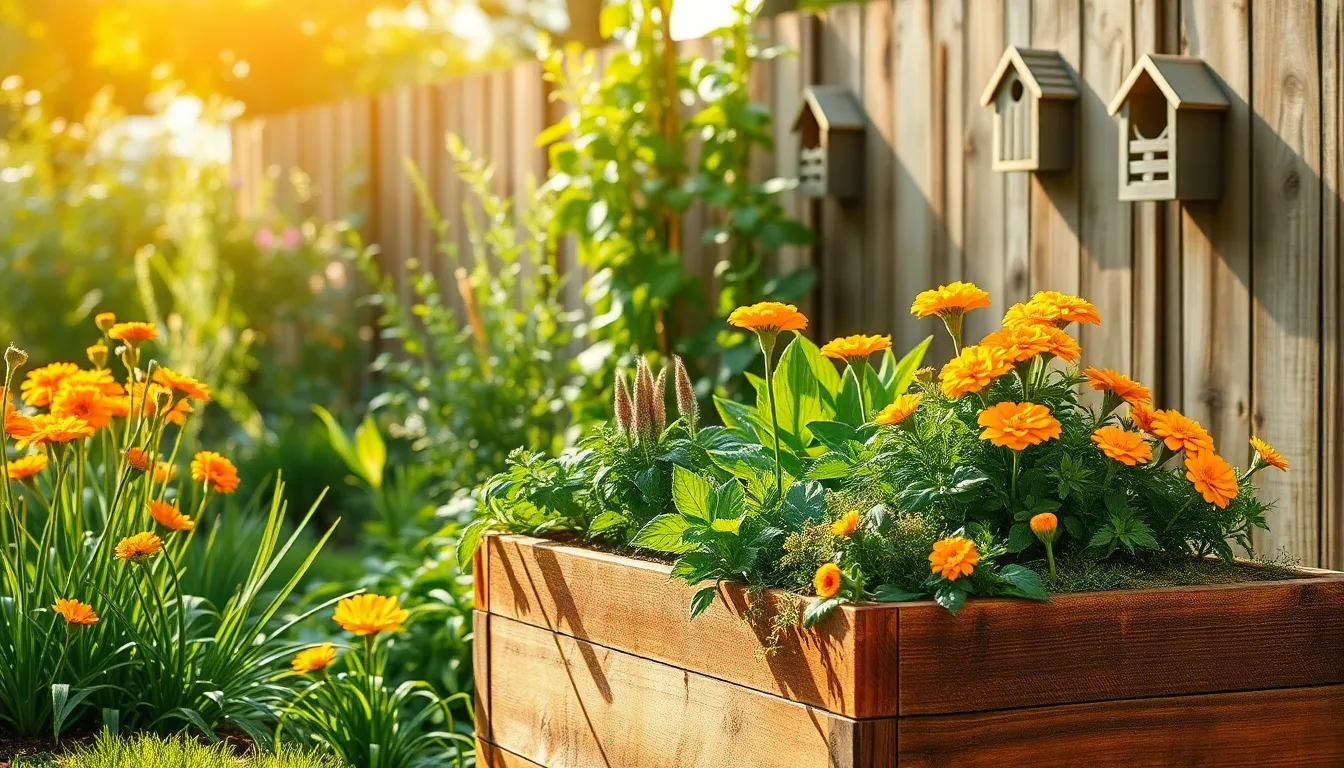
Top 10 Building A Raised Garden Bed
Gardening is more than just a hobby; it’s a journey into a world of growth, creativity, and the simple joy ...
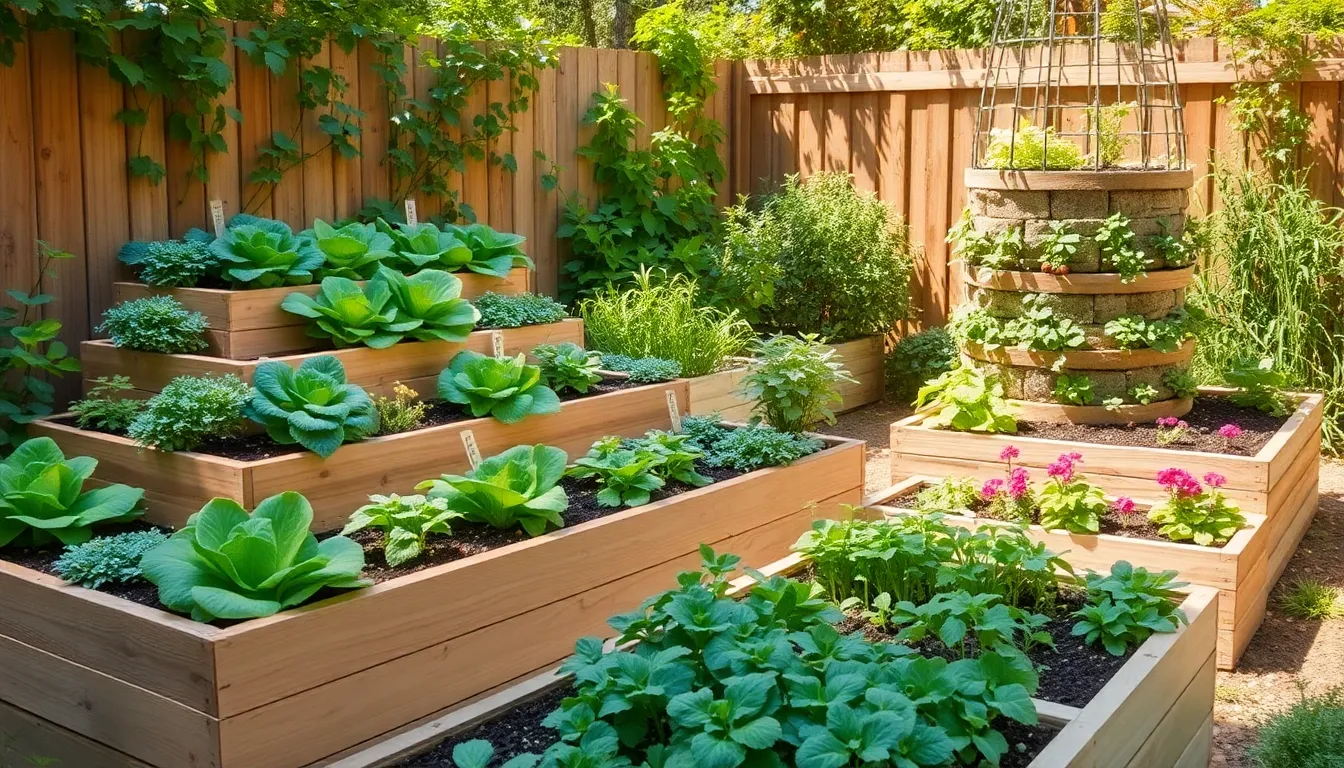
8 Fun Raised Bed Garden Designs
Gardening is a journey where creativity meets nature, and few projects embody this better than raised bed gardens. Whether you’re ...
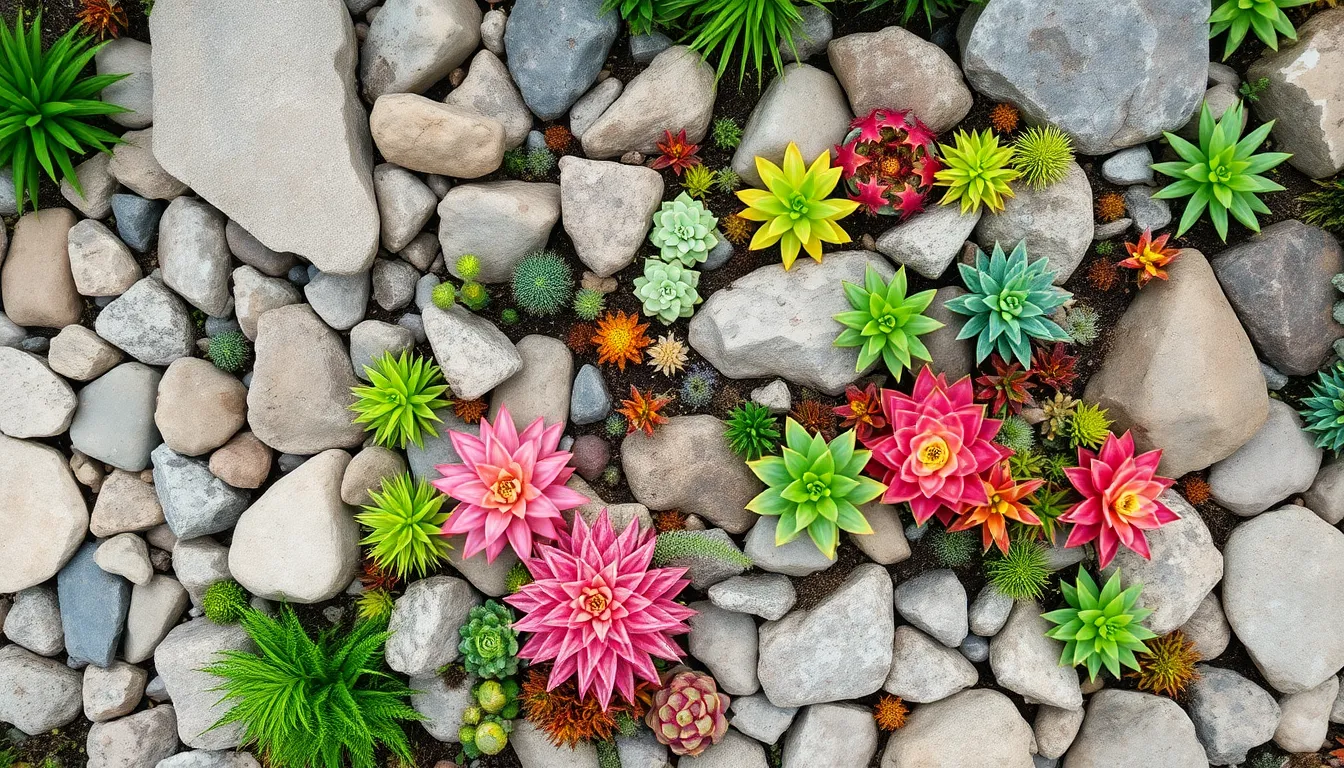
7 Quick Creating A Rock Garden
The allure of rock gardens lies in their timeless beauty and ability to transform even the smallest space into a ...
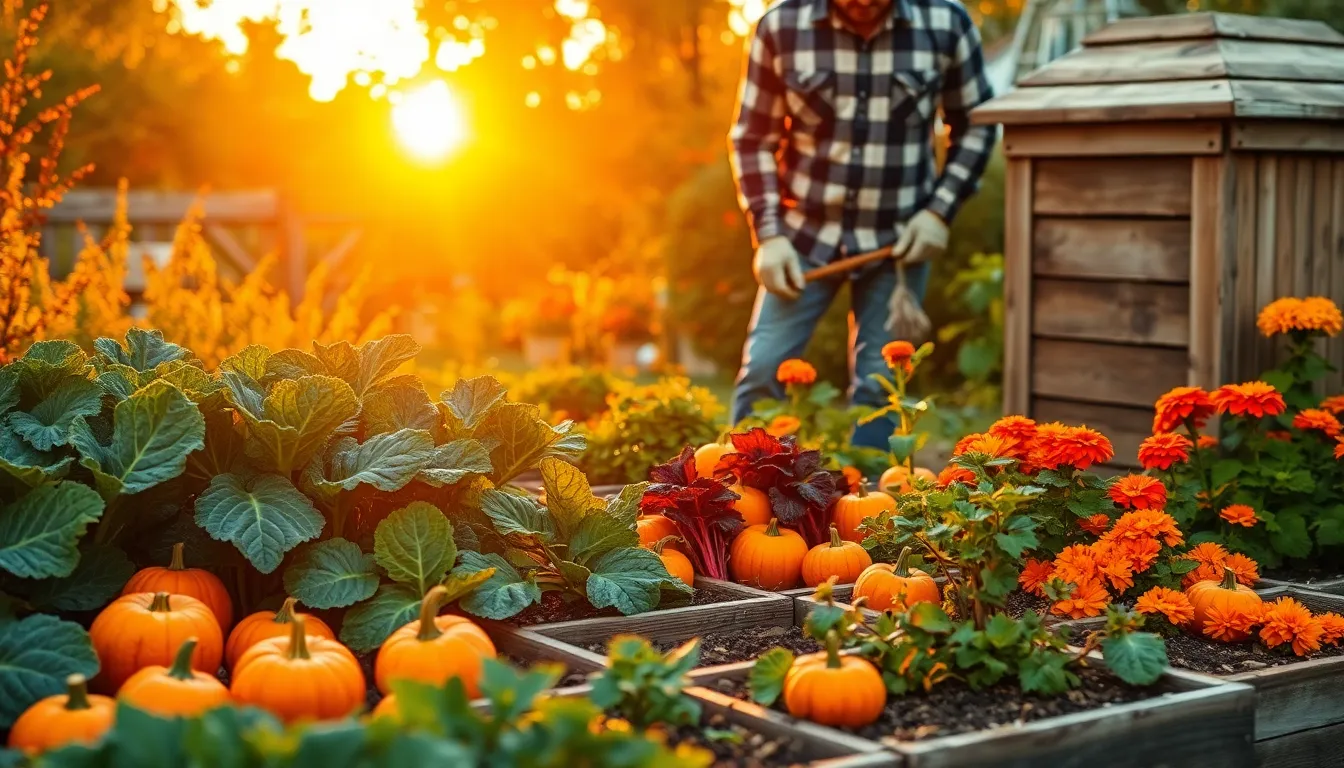
10 Easy Fall Gardening Tips
As the vibrant hues of summer gracefully give way to the crisp air of fall, the gardening season is far ...
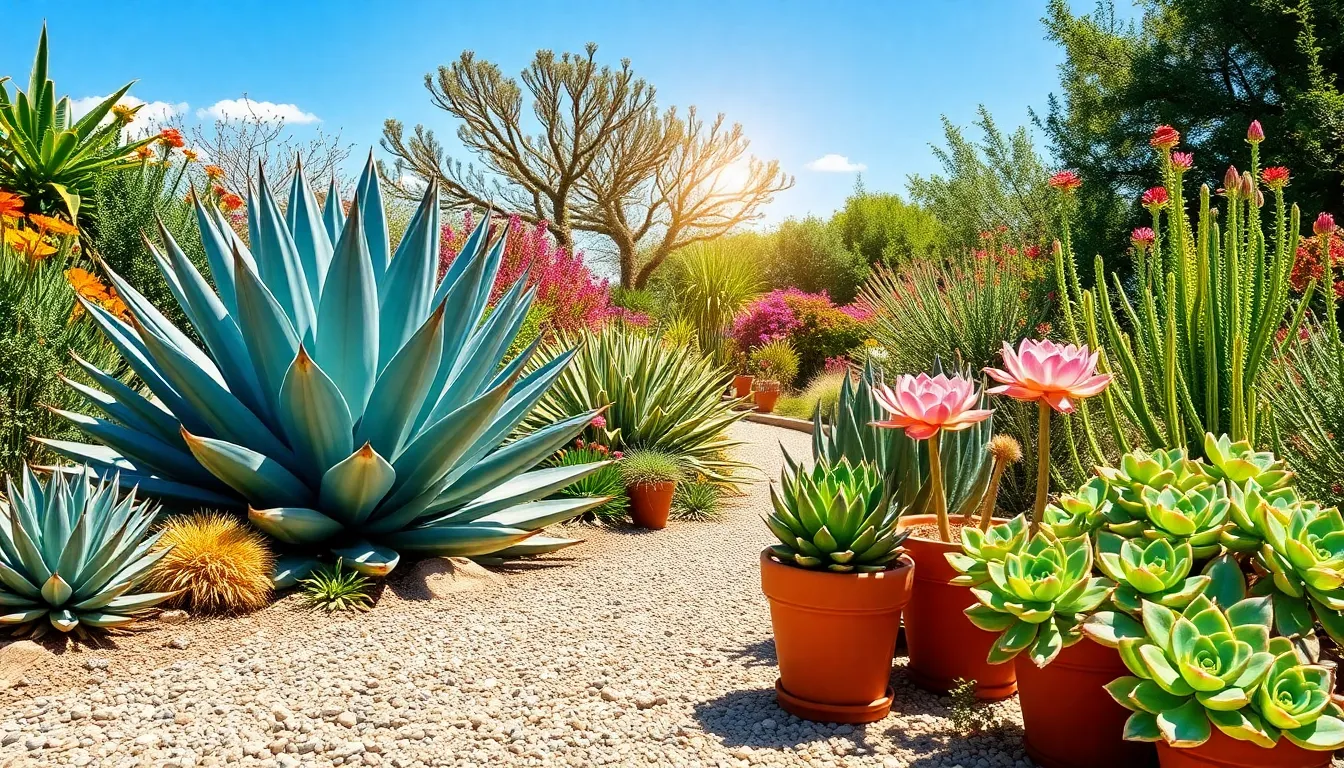
6 Common Drought-Resistant Plants For Hot Climates
In the ever-changing tapestry of climate conditions, gardeners are increasingly reaching for resilient plants that can thrive under the sun’s ...
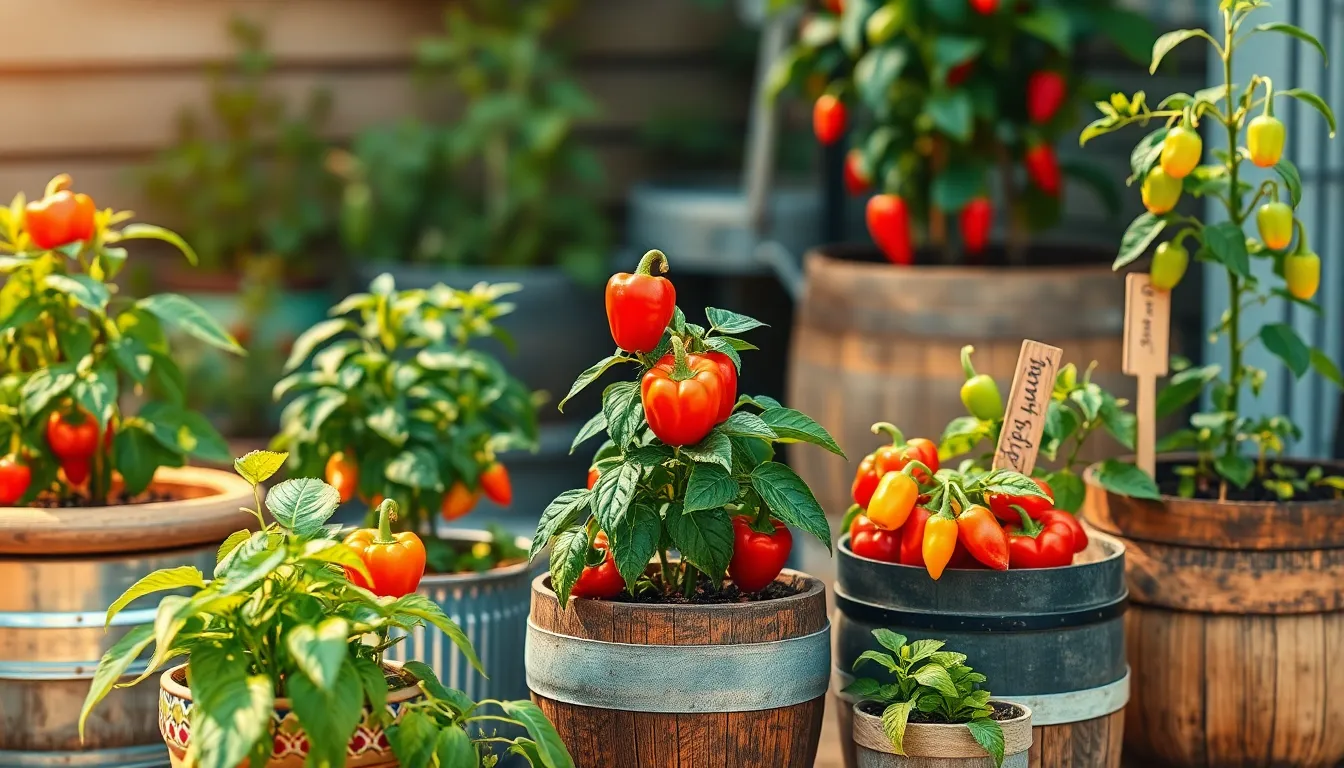
13 Effective Growing Peppers In Containers
Imagine stepping onto your balcony or patio and being greeted by vibrant, glossy peppers swaying gently in the breeze, each ...
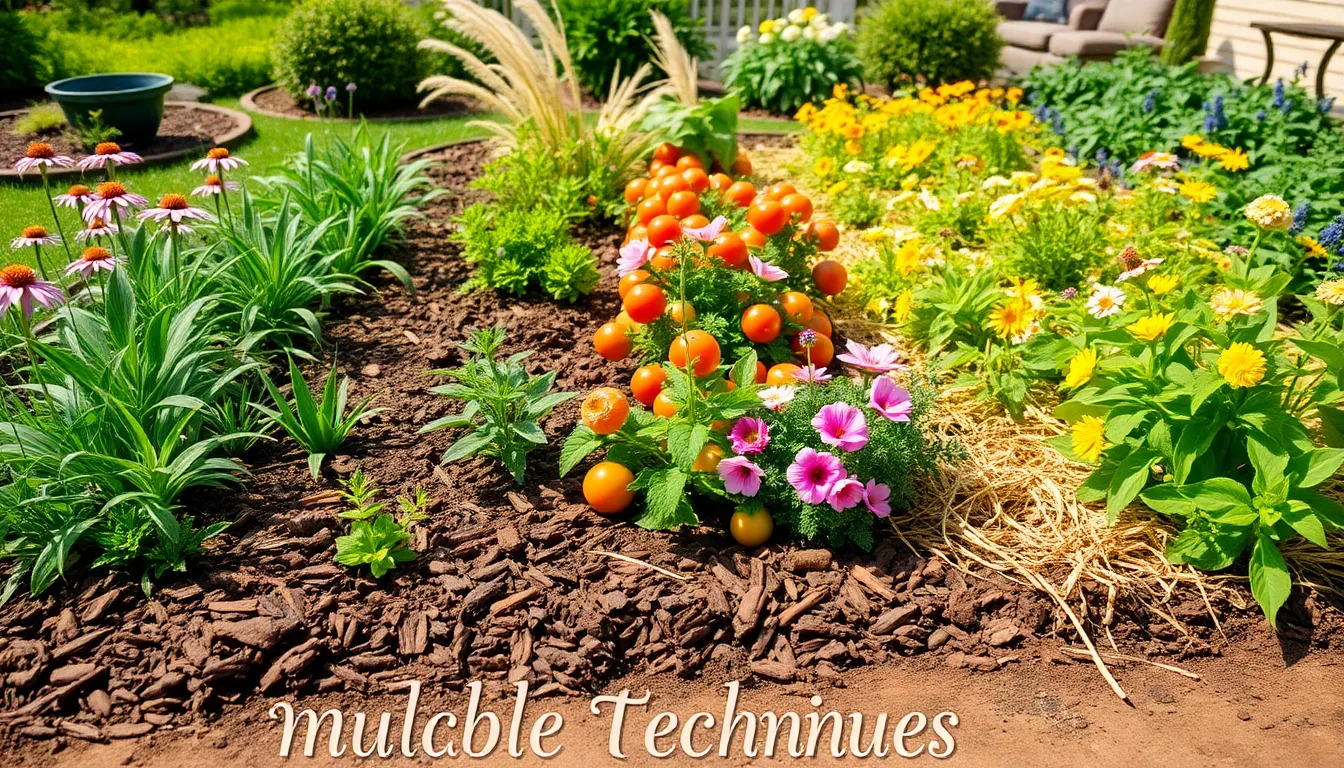
Top 10 Mulching Techniques For Garden Beds
Welcome to “Top 10 Mulching Techniques For Garden Beds,” your ultimate guide to enhancing the beauty and health of your ...
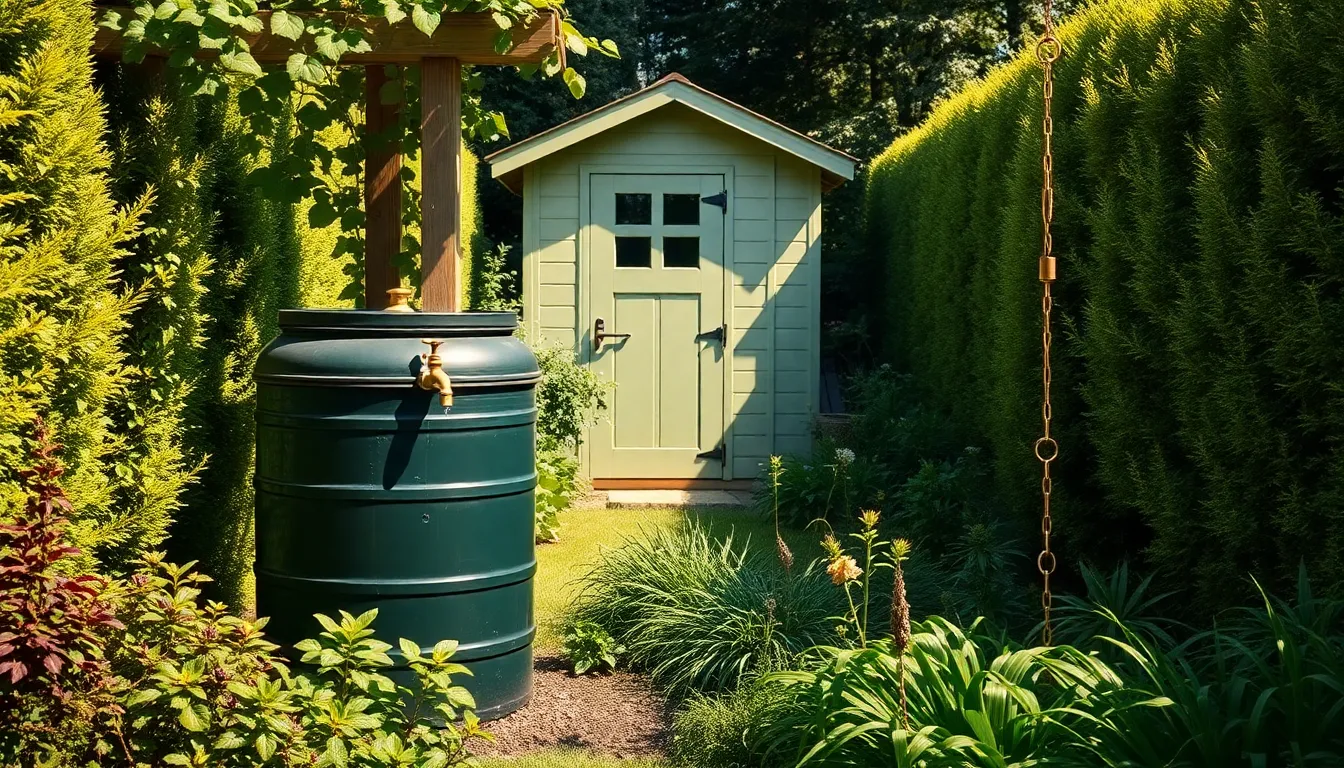
15 Best Rainwater Harvesting For Gardens
Rainwater harvesting isn’t just a sustainable practice; it’s a delightful way to deepen your connection with your garden. Whether you’re ...
7 Beautiful Eco-Friendly Pest Control
In the vibrant tapestry of gardening, where every leaf and blossom tells a story, the challenge of managing pests is ...


