Creative Garden Ideas
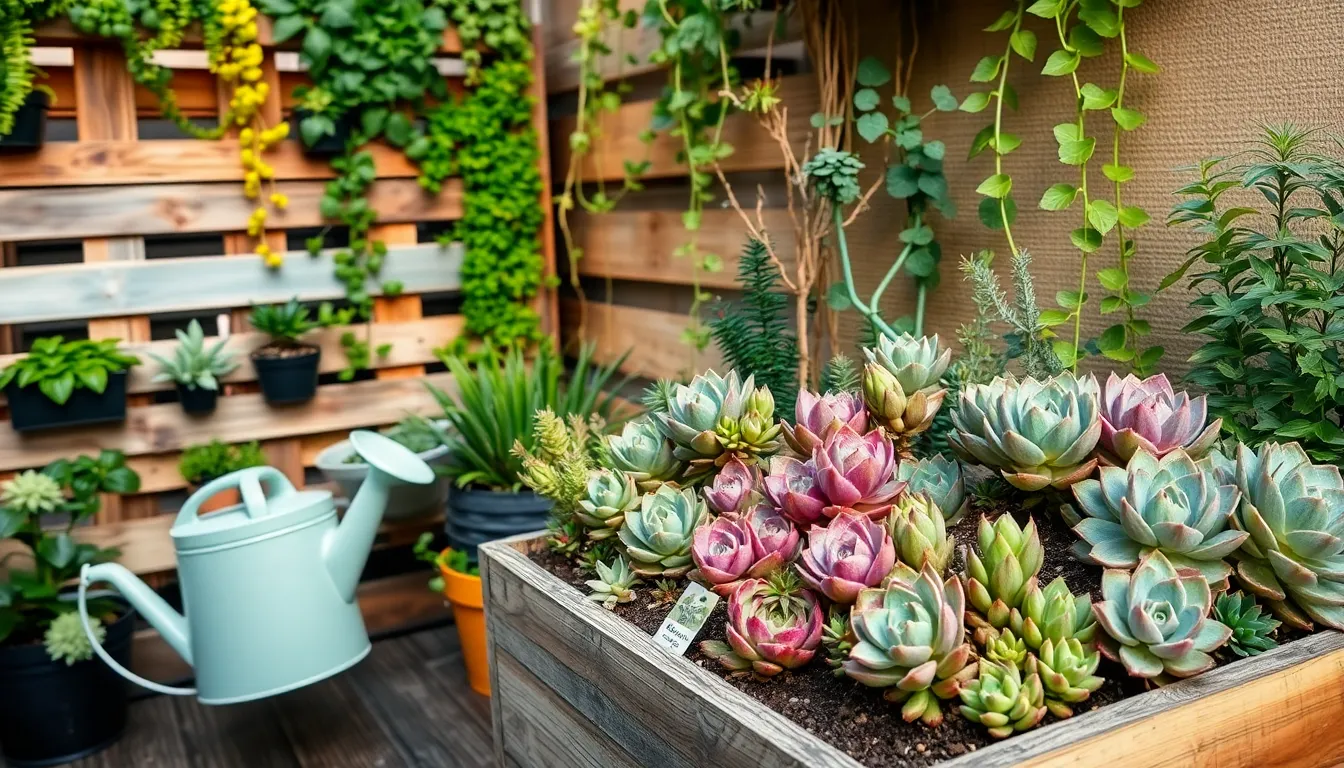
7 Quick Urban Gardening Tips
In the bustling heart of the city, where concrete and glass often take center stage, lies an oasis waiting to ...
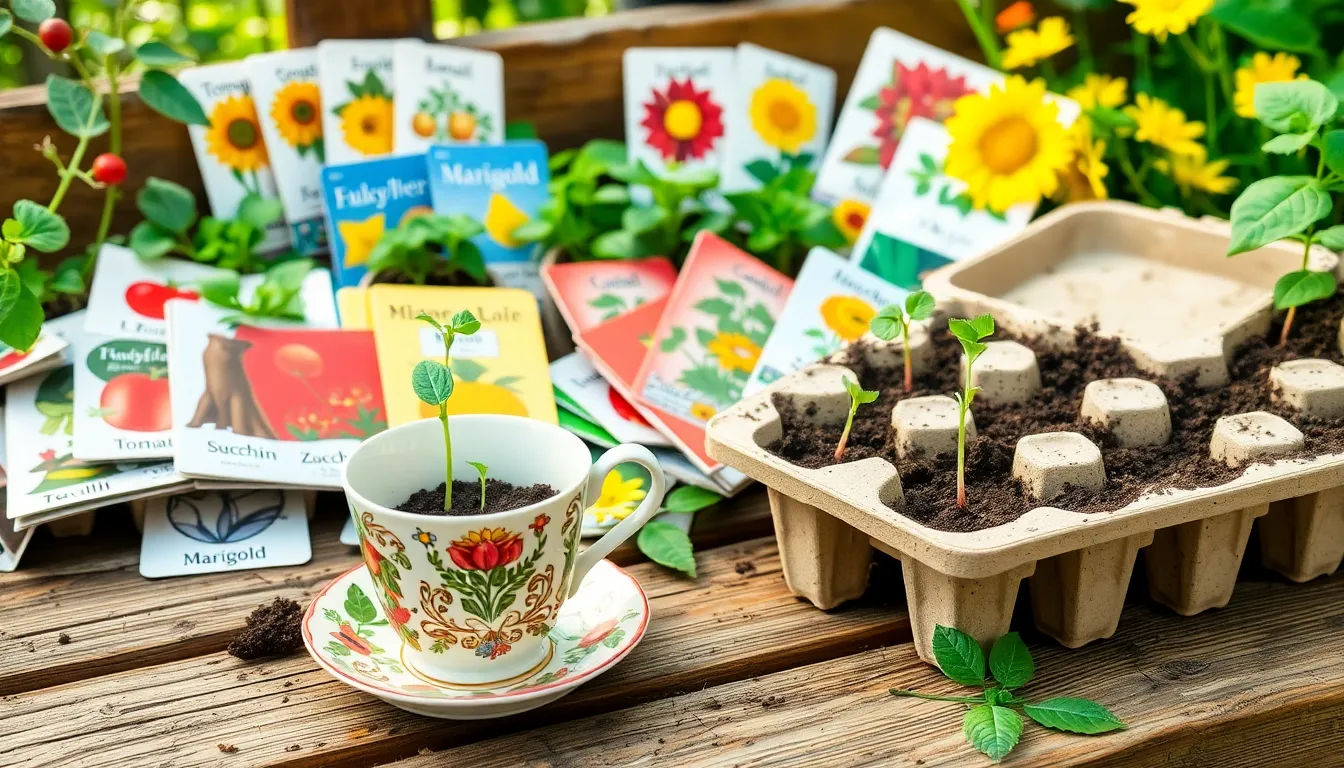
5 Creative Starting A Garden From Seeds
Embarking on the journey of starting a garden from seeds is like opening the door to a world of endless ...
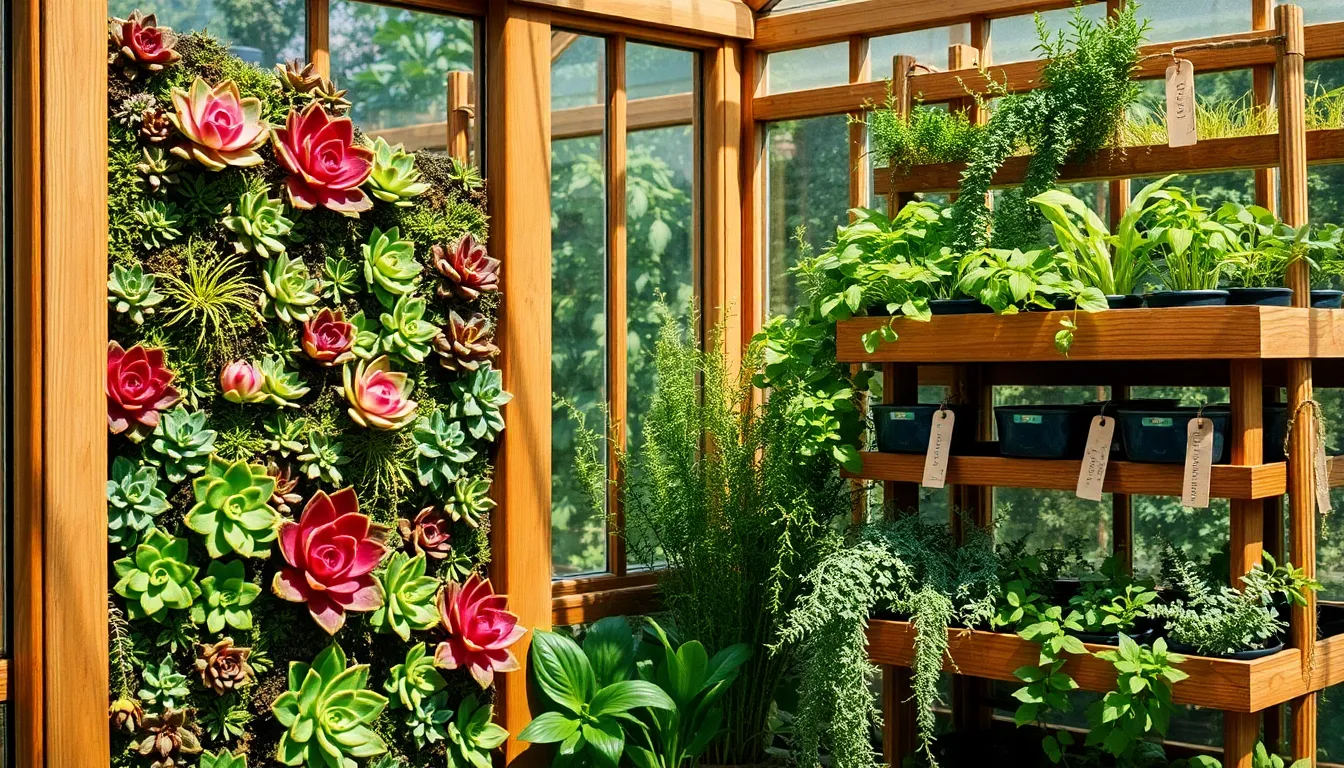
12 Essential Backyard Greenhouse Projects
Imagine stepping into your backyard, enveloped in a lush, thriving oasis that thrives year-round, regardless of the weather outside. A ...
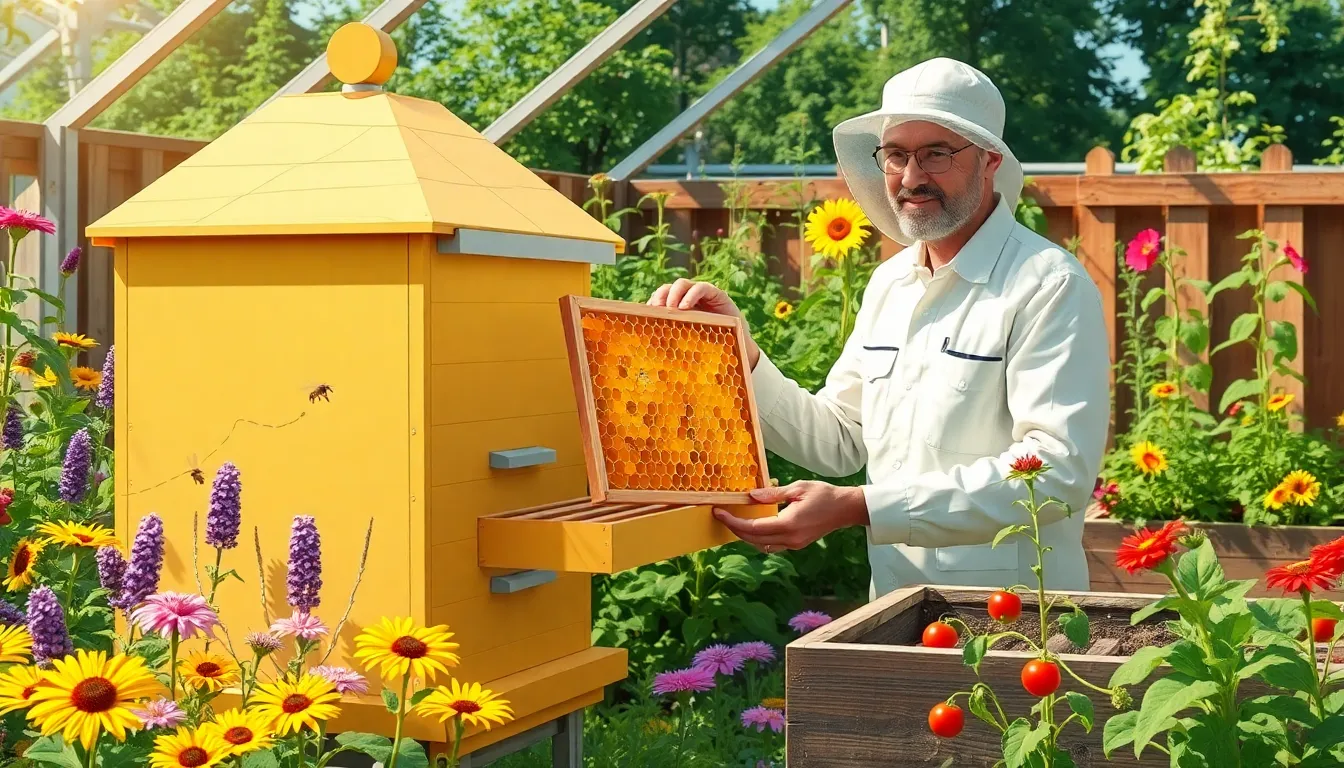
10 Easy Backyard Beekeeping Basics
Imagine stepping into your garden and being greeted by the gentle hum of bees, diligently working to pollinate your flowers ...
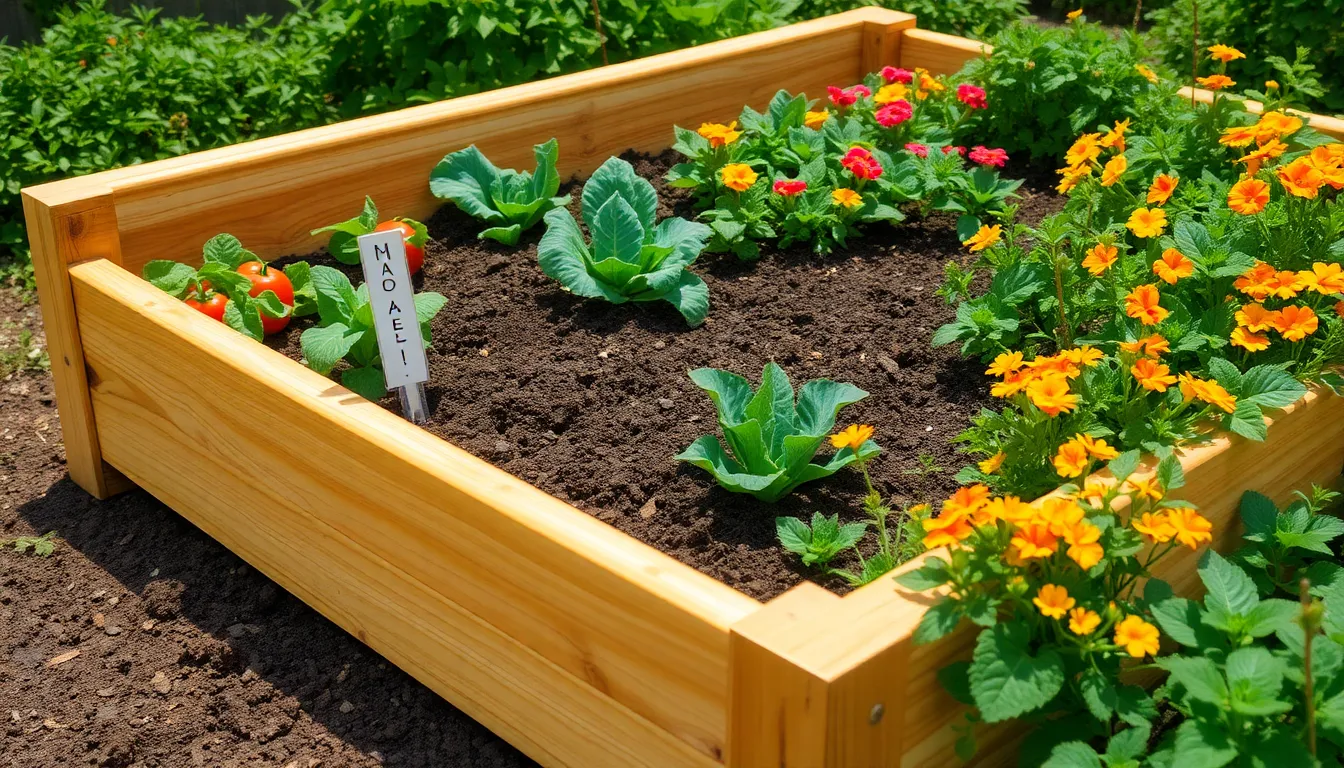
Top 10 Building A Raised Garden Bed
Gardening is a journey filled with the joy of nurturing life and the satisfaction of seeing your hard work blossom ...

8 Fun Raised Bed Garden Designs
Gardening is more than just a hobby; it’s a delightful journey of creativity and connection with nature. Whether you’re a ...
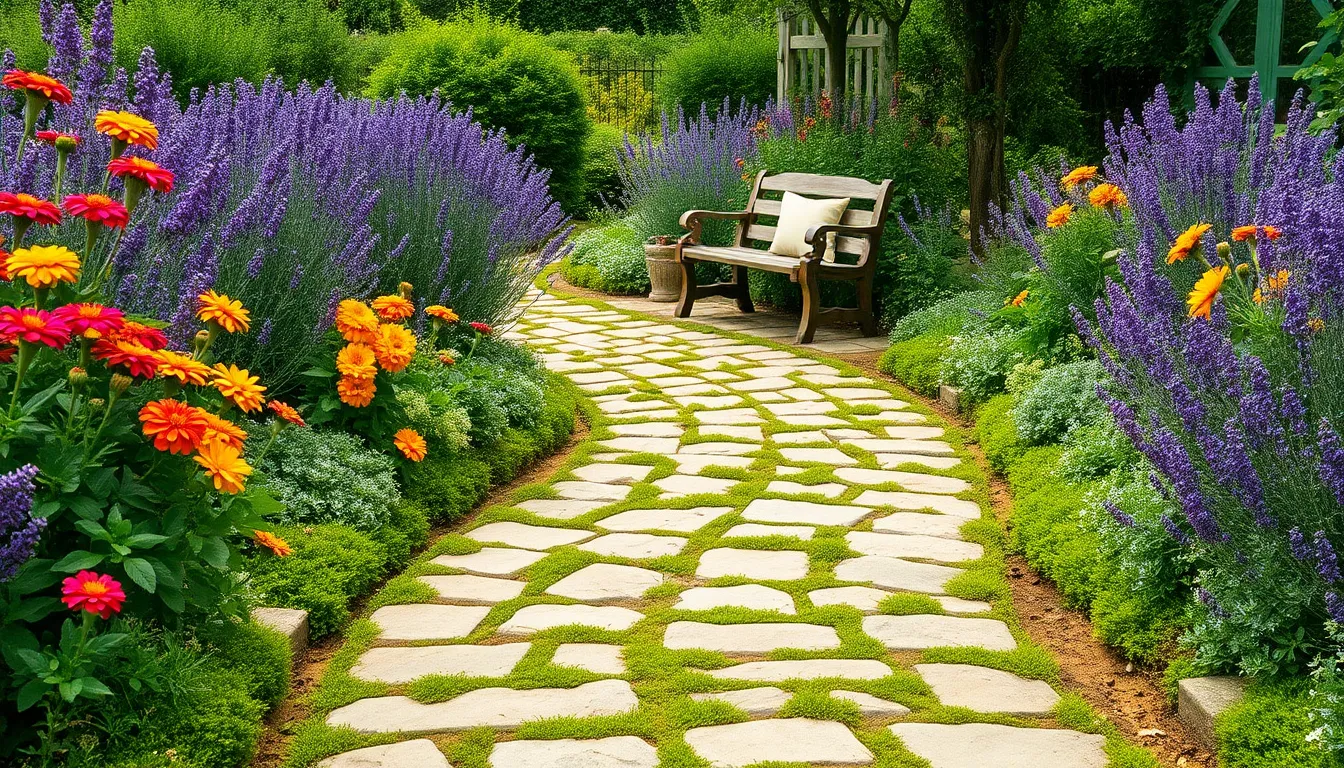
DIY Garden Path Ideas
Welcome to a world where your garden becomes a canvas, and each step you take is a brushstroke in the ...
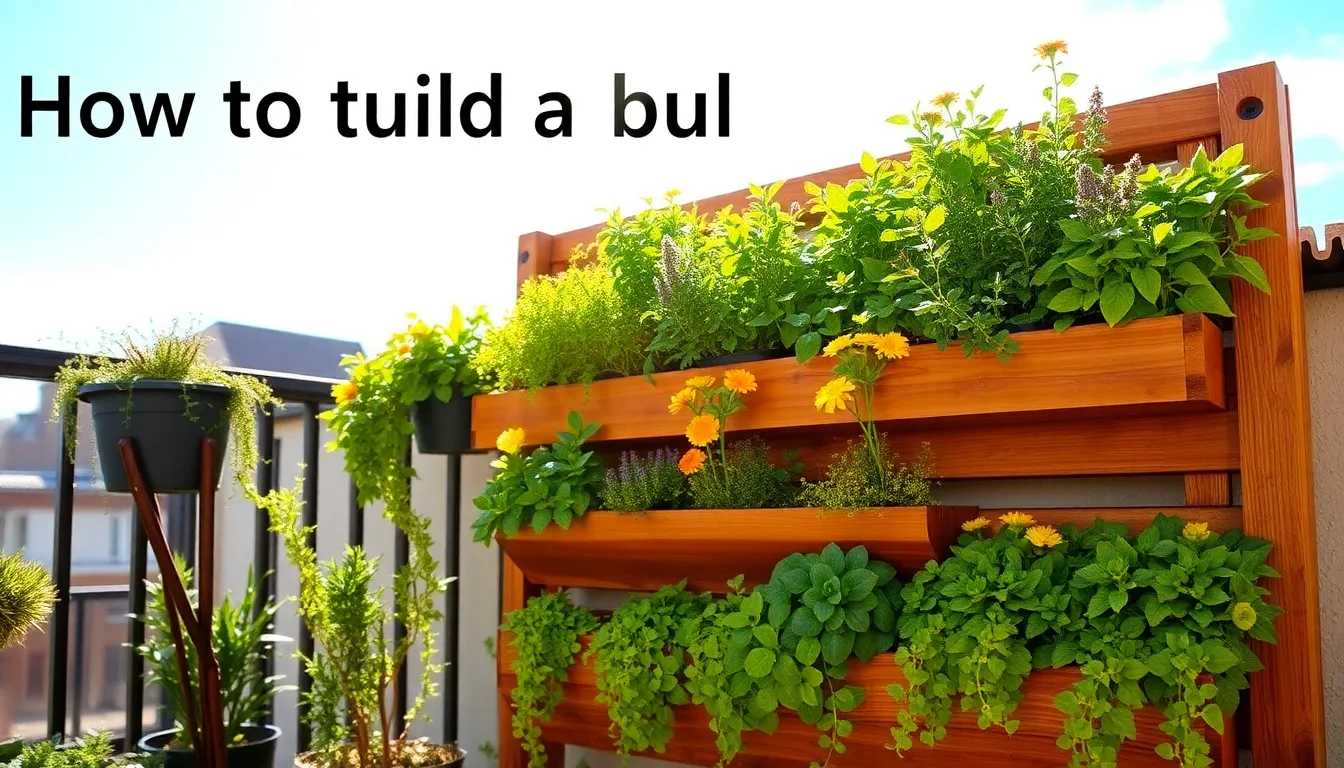
How to Build a Vertical Garden
Imagine transforming a blank wall or a small urban balcony into a lush, verdant haven that not only delights the ...

DIY Raised Garden Bed Ideas
Welcome to a gardener’s paradise, where creativity and practicality bloom together in the form of DIY Raised Garden Bed Ideas! ...


