Flower Garden Designs
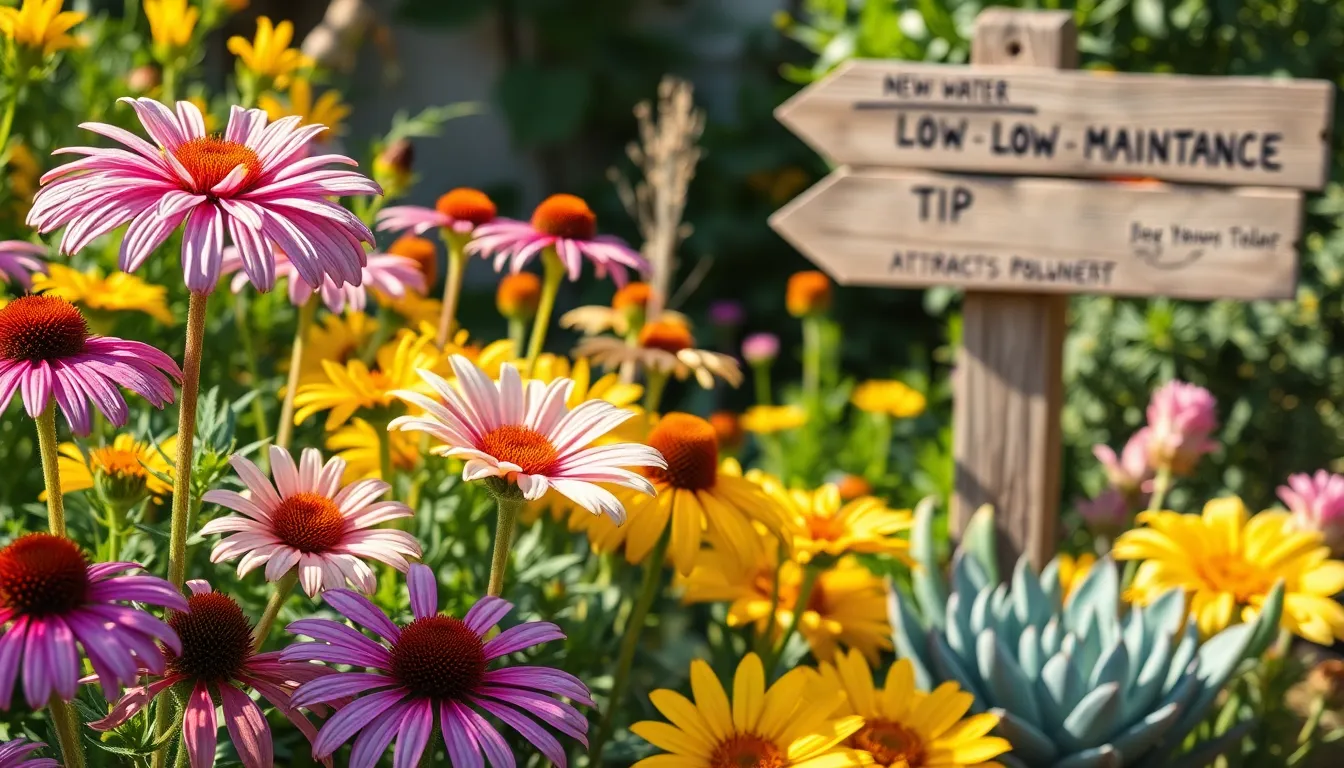
10 Low-Maintenance Flower Gardening Tips
Welcome to a world where flower gardening becomes a delightful dance of color and life, without the demanding choreography! Whether ...
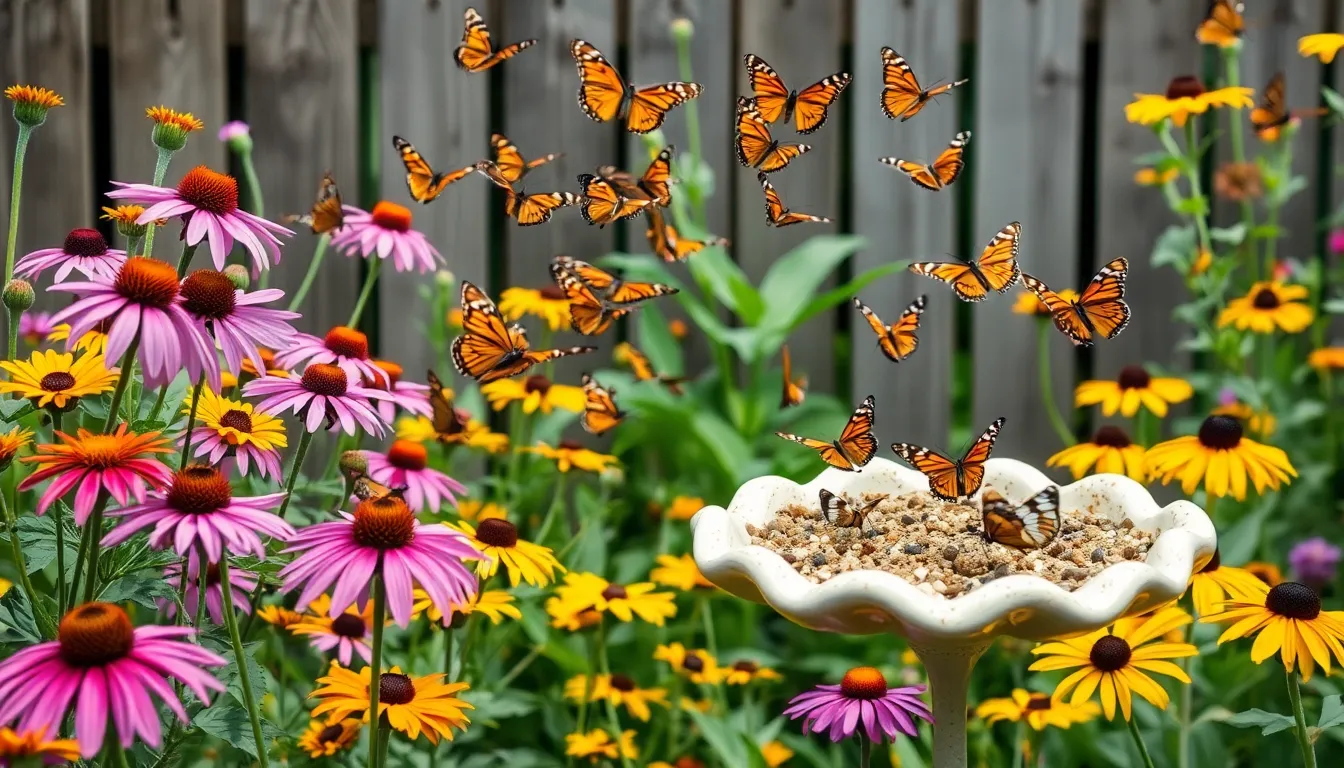
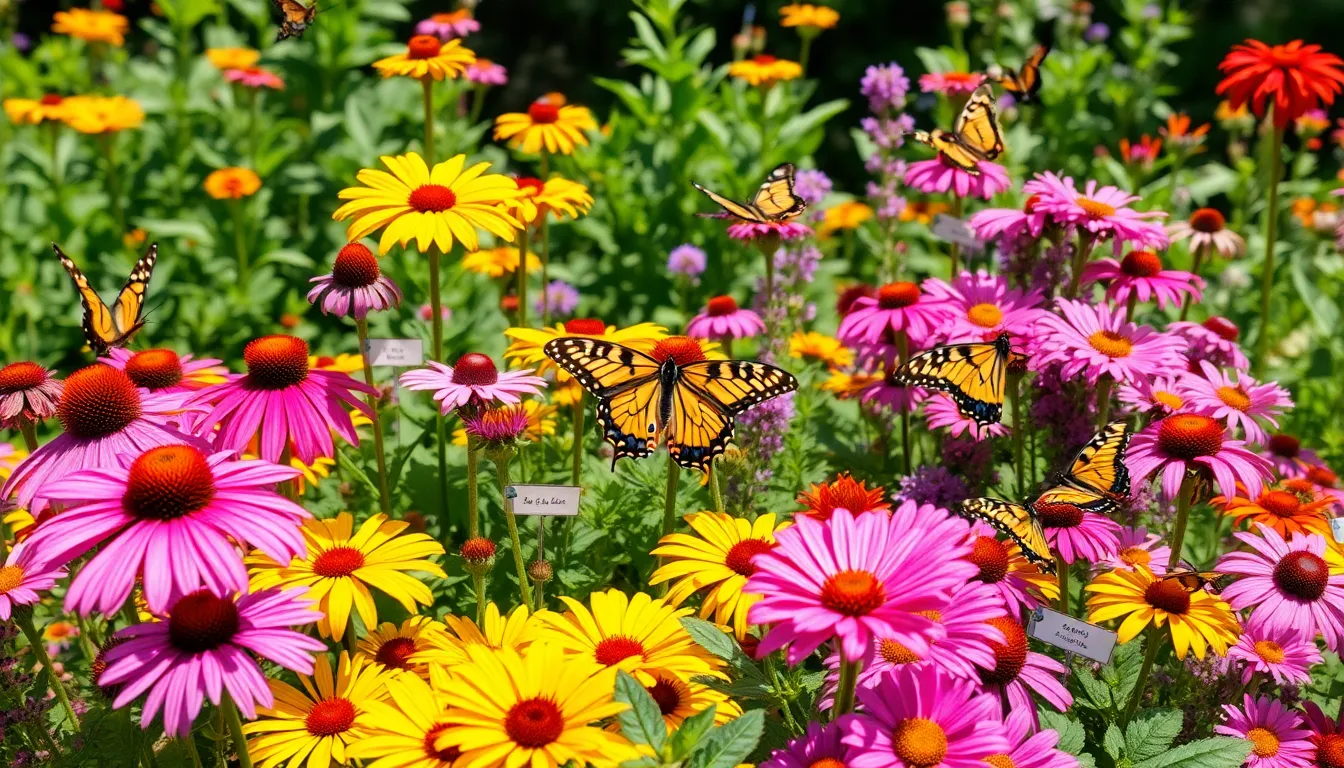
8 Fun Creating A Butterfly Garden
Imagine stepping into your garden, greeted by a fluttering of vibrant wings and the gentle hum of life taking flight. ...
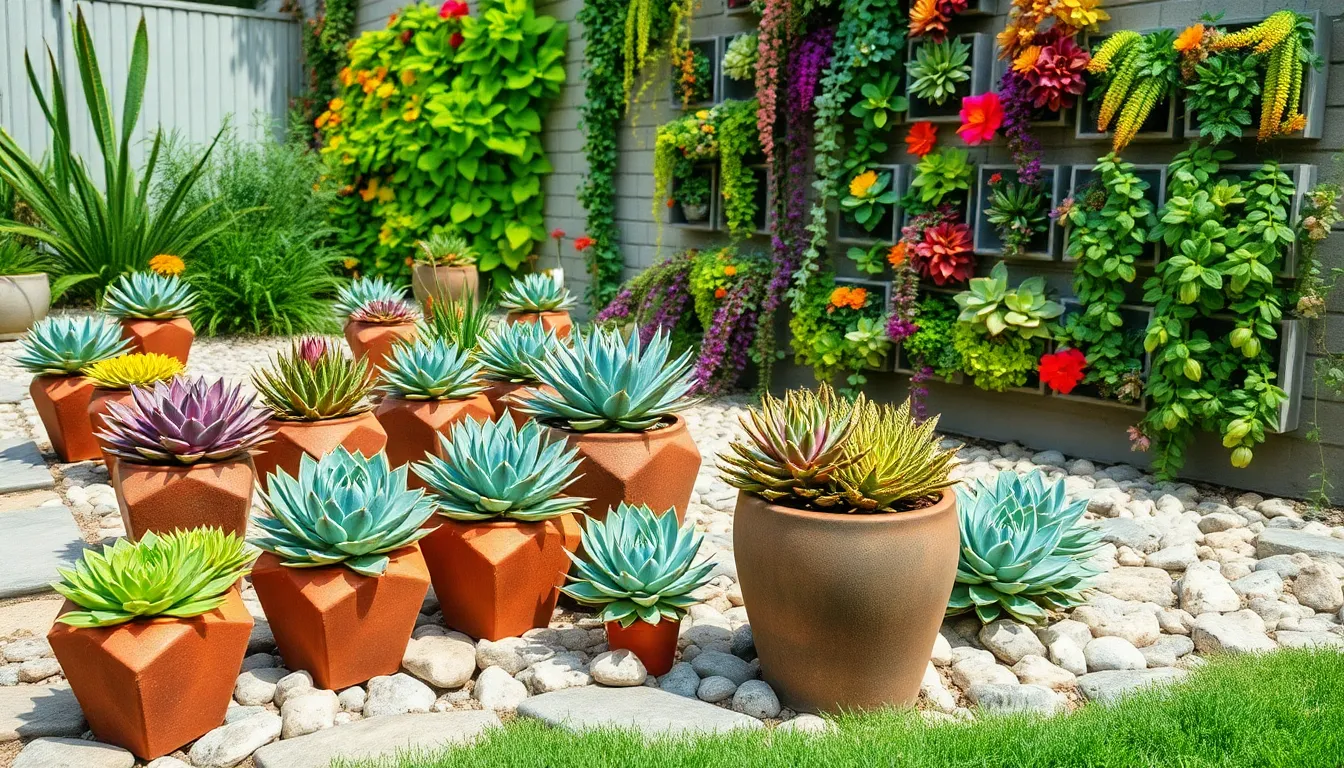
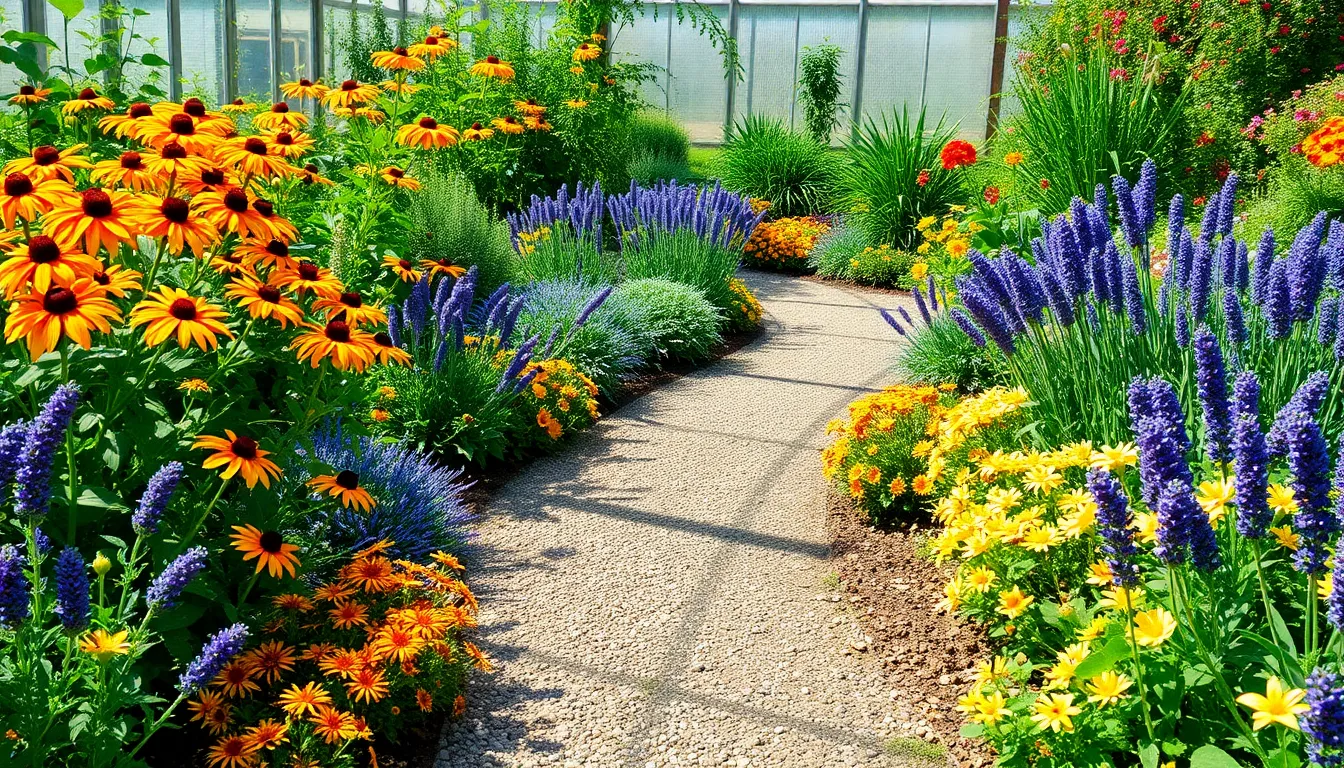
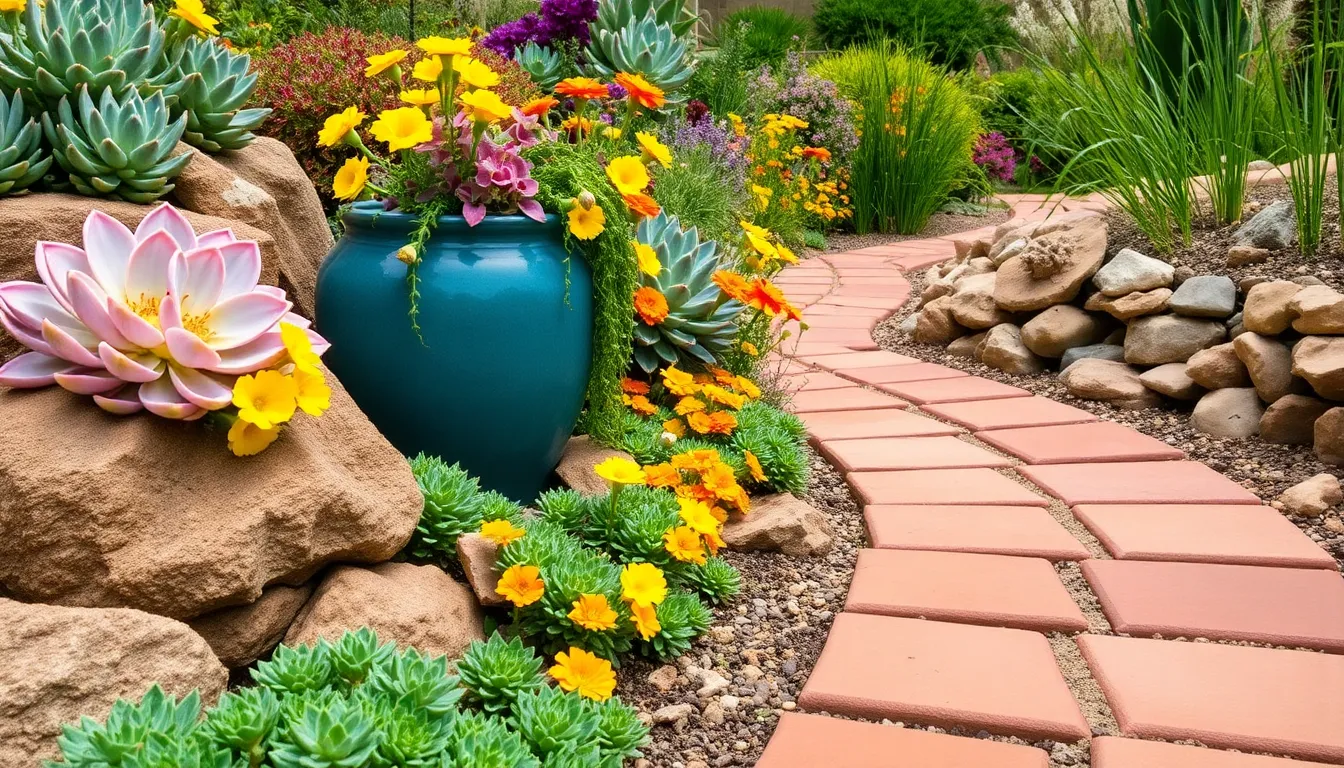
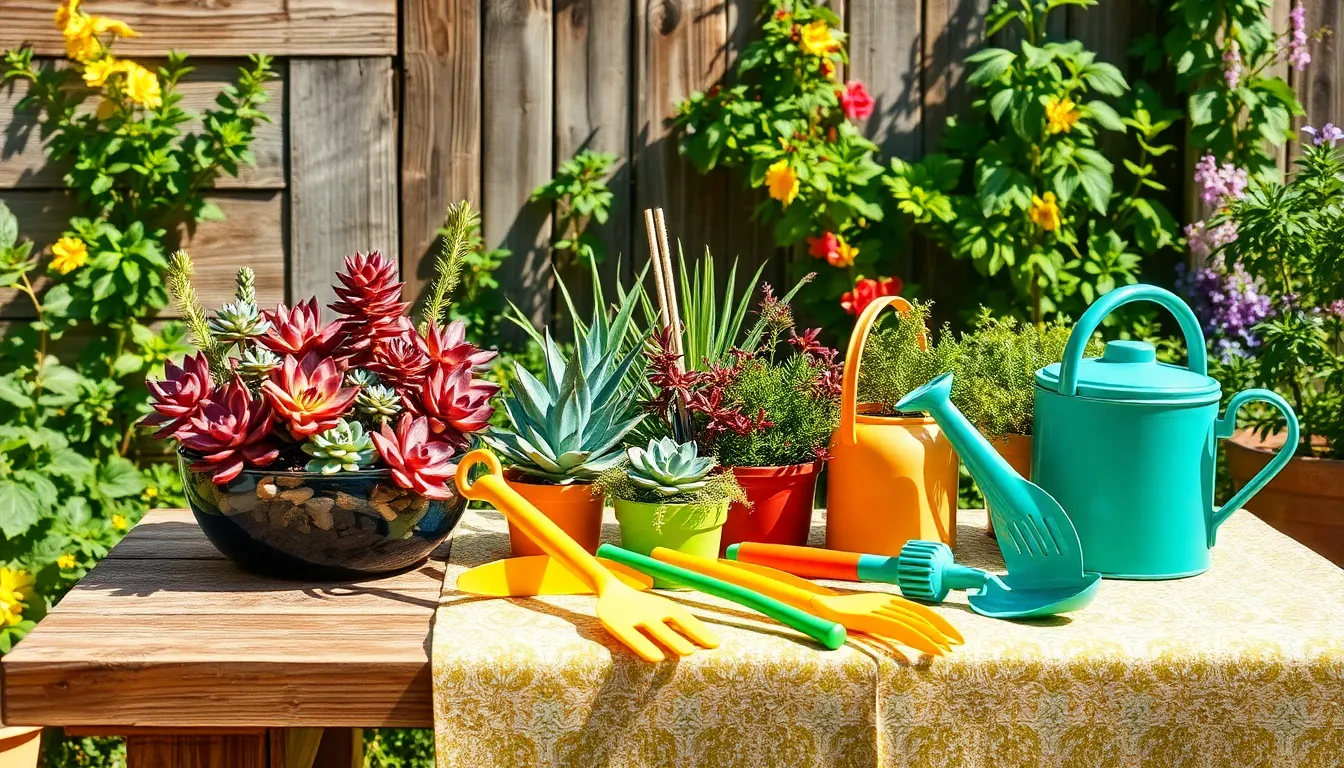
12 Colorful Water-Saving Garden Ideas
Gardening is a vibrant symphony of colors and textures, a delightful canvas that both beginners and seasoned green thumbs can ...
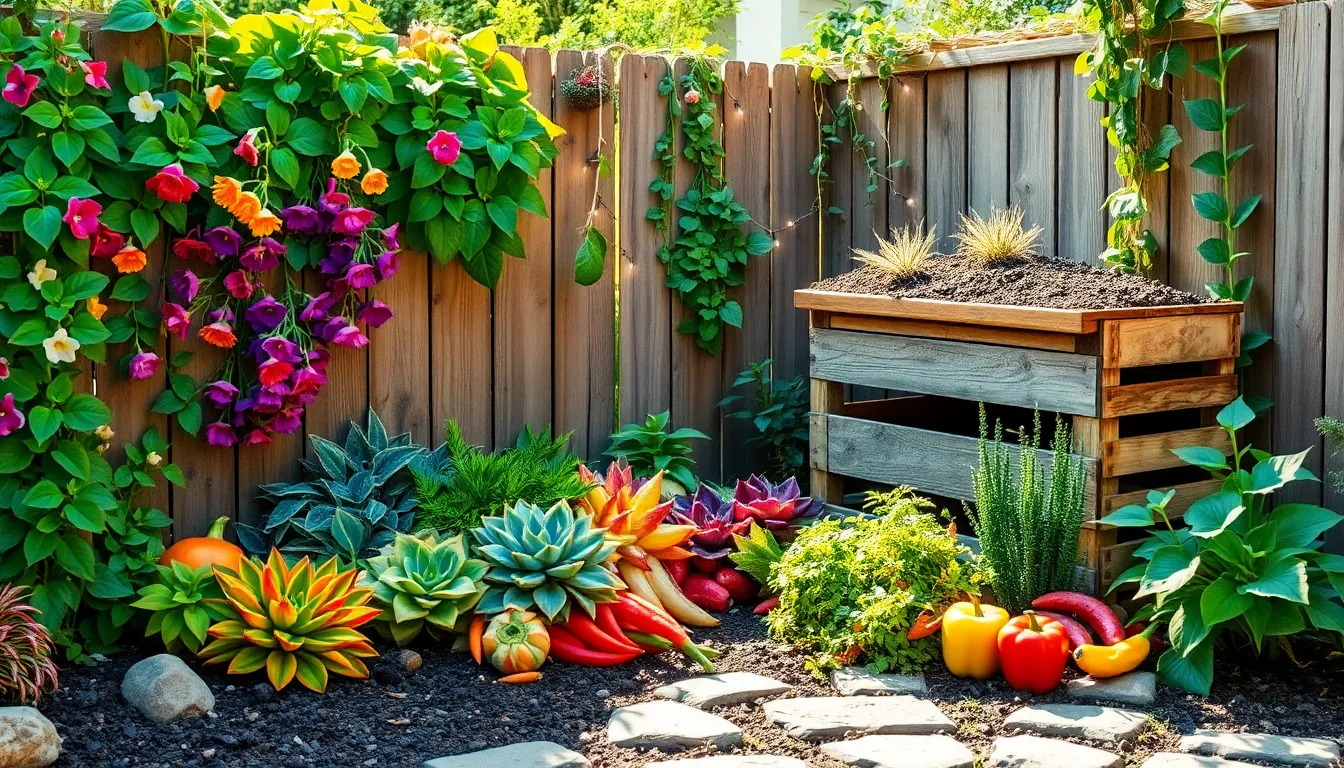
12 Colorful Organic Gardening Hacks
Gardening is a journey filled with discovery, creativity, and the simple joys of nurturing life. Whether you’re a seasoned horticulturist ...
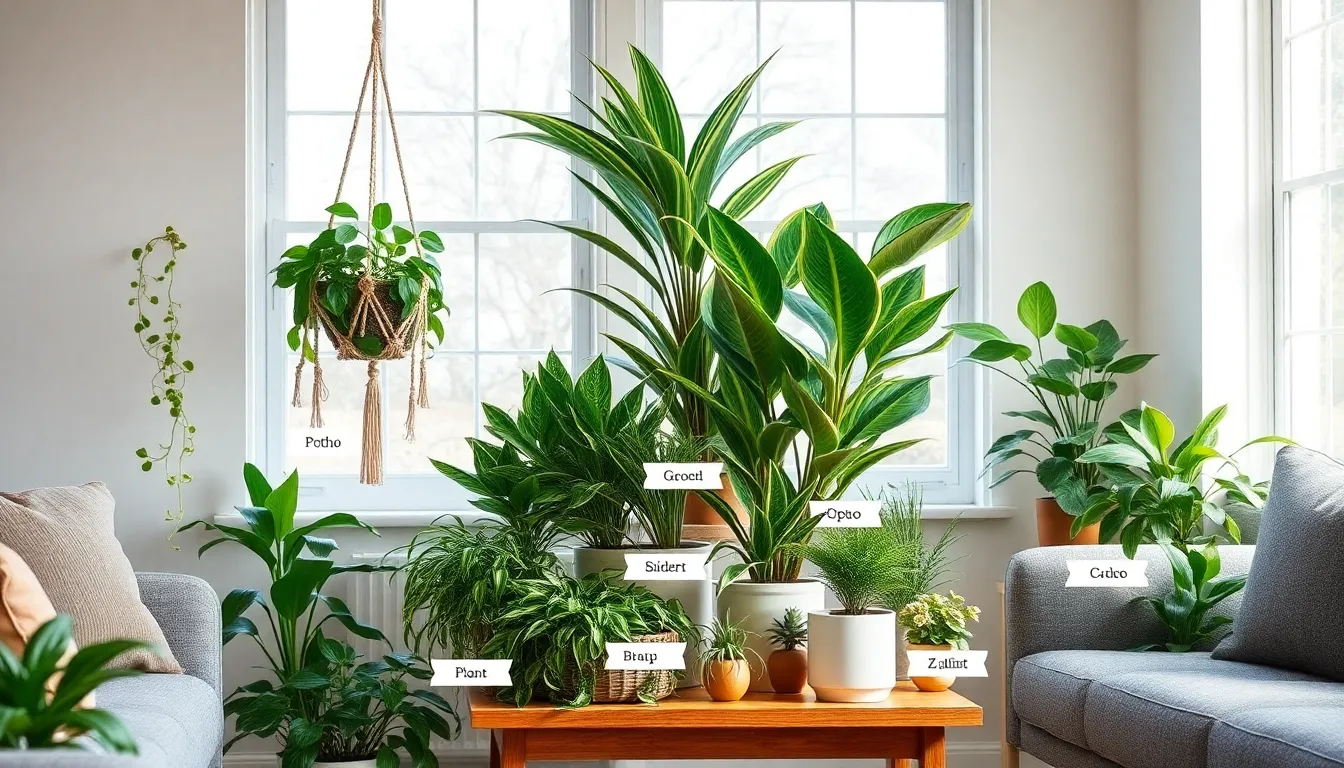
12 Colorful Indoor Plants For Beginners
Creating a vibrant indoor garden can seem like a daunting task, especially if you’re just starting out. Yet, with the ...
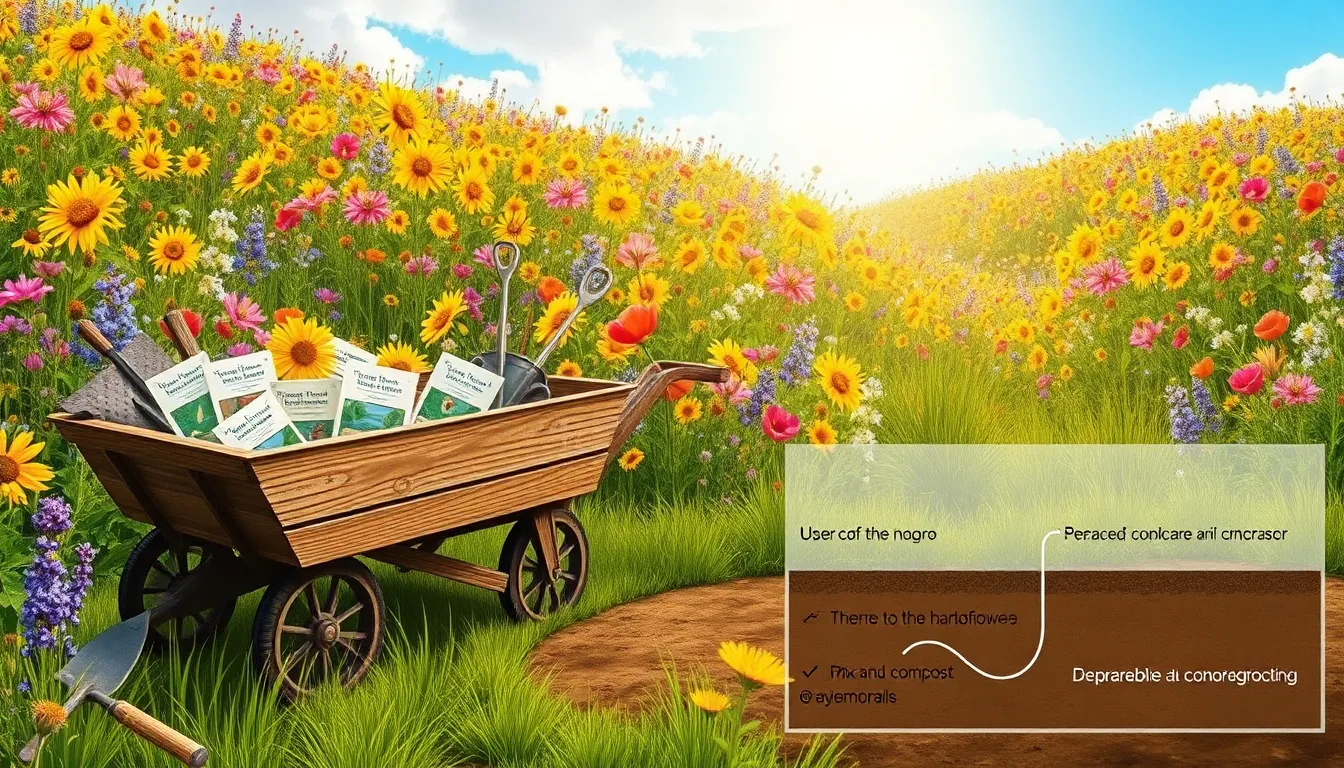
6 Common Planting A Wildflower Meadow
Creating a wildflower meadow is like painting with the vibrant hues of nature itself, an endeavor that invites both seasoned ...
10 Low-Maintenance Flower Gardening Tips
Whether you’re just starting to explore the world of gardening or have years of experience under your belt, the allure ...
8 Fun Creating A Butterfly Garden
Imagine stepping into your garden and being greeted by a fluttering kaleidoscope of colors. Creating a butterfly garden is not ...
12 Colorful Water-Saving Garden Ideas
Welcome, green thumbs and budding enthusiasts alike, to a world where vibrant gardens burst into life with every shade of ...
12 Colorful Organic Gardening Hacks
In the vibrant world of gardening, few things bring as much joy and satisfaction as cultivating a tapestry of colors ...


