Grow Your Own Food
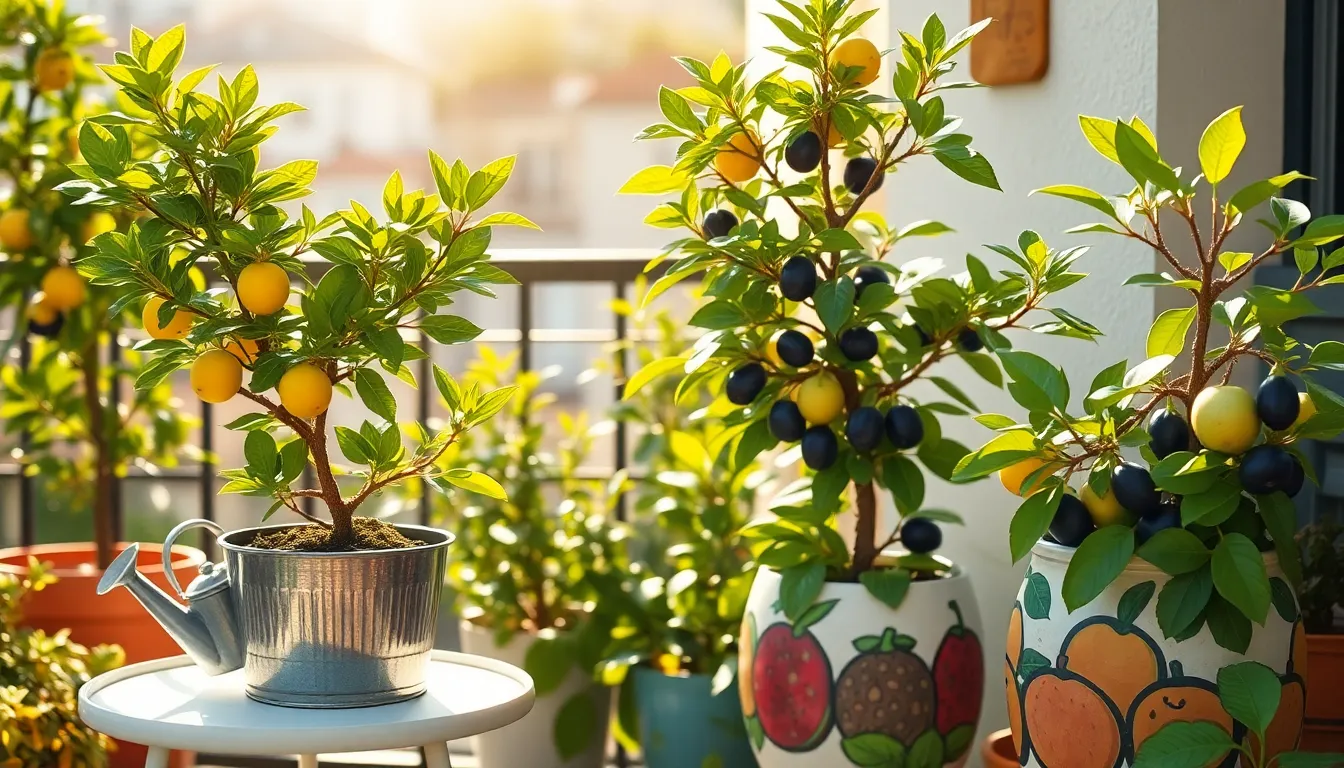
Top 10 Fruit Trees For Small Spaces
Imagine stepping into your backyard, a compact oasis brimming with the colors and scents of ripe, juicy fruits, ready to ...
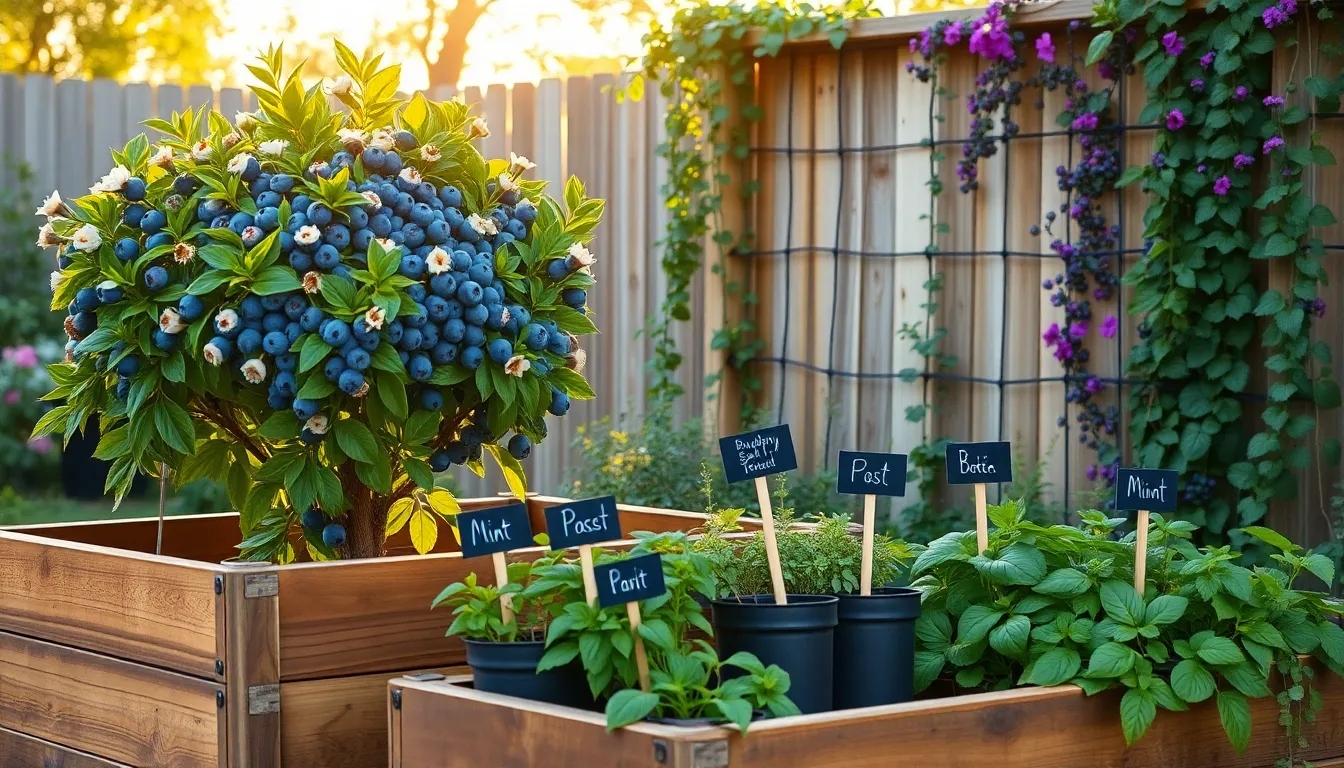
How to Grow Blueberries at Home
There’s something truly magical about the thought of plucking a handful of sun-warmed blueberries from your very own garden. Whether ...
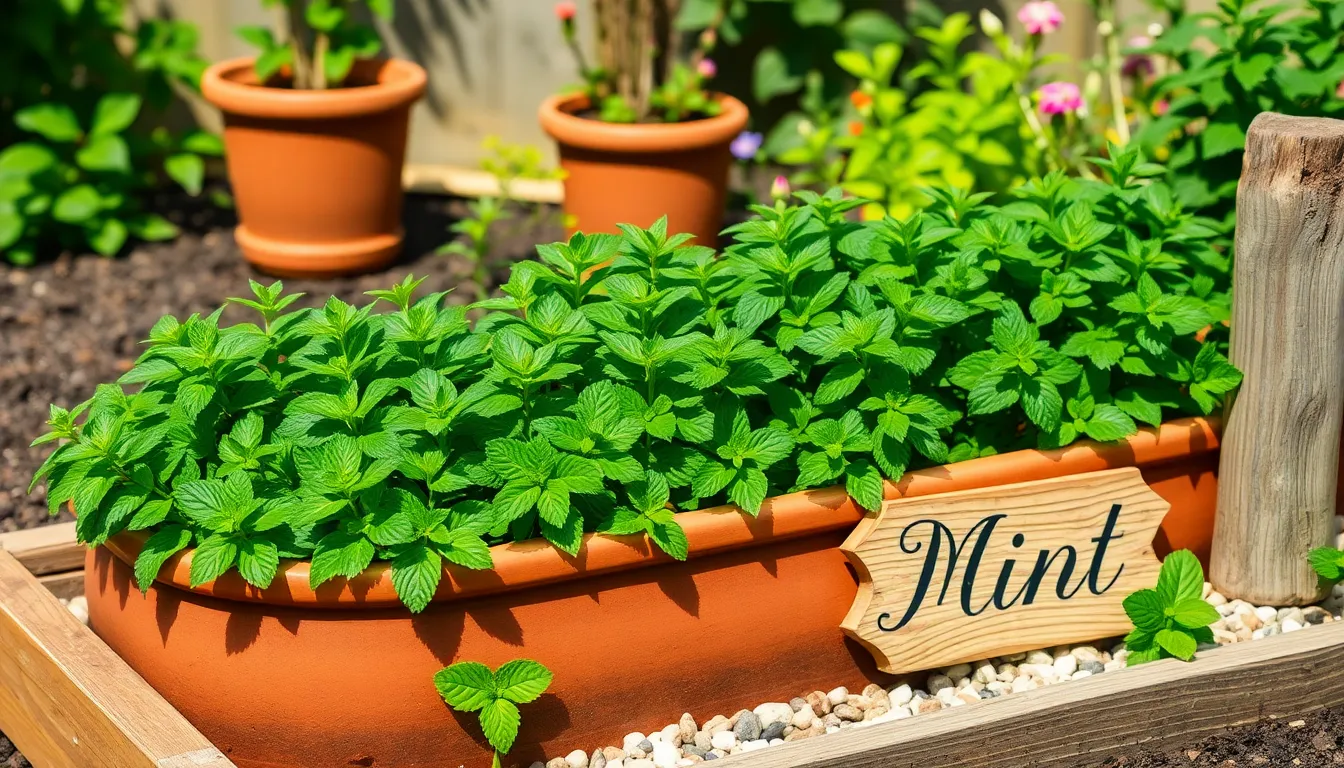
How to Grow Mint Without Spreading
Mint is a delightful herb that can transform your garden with its refreshing aroma and culinary versatility, but it does ...
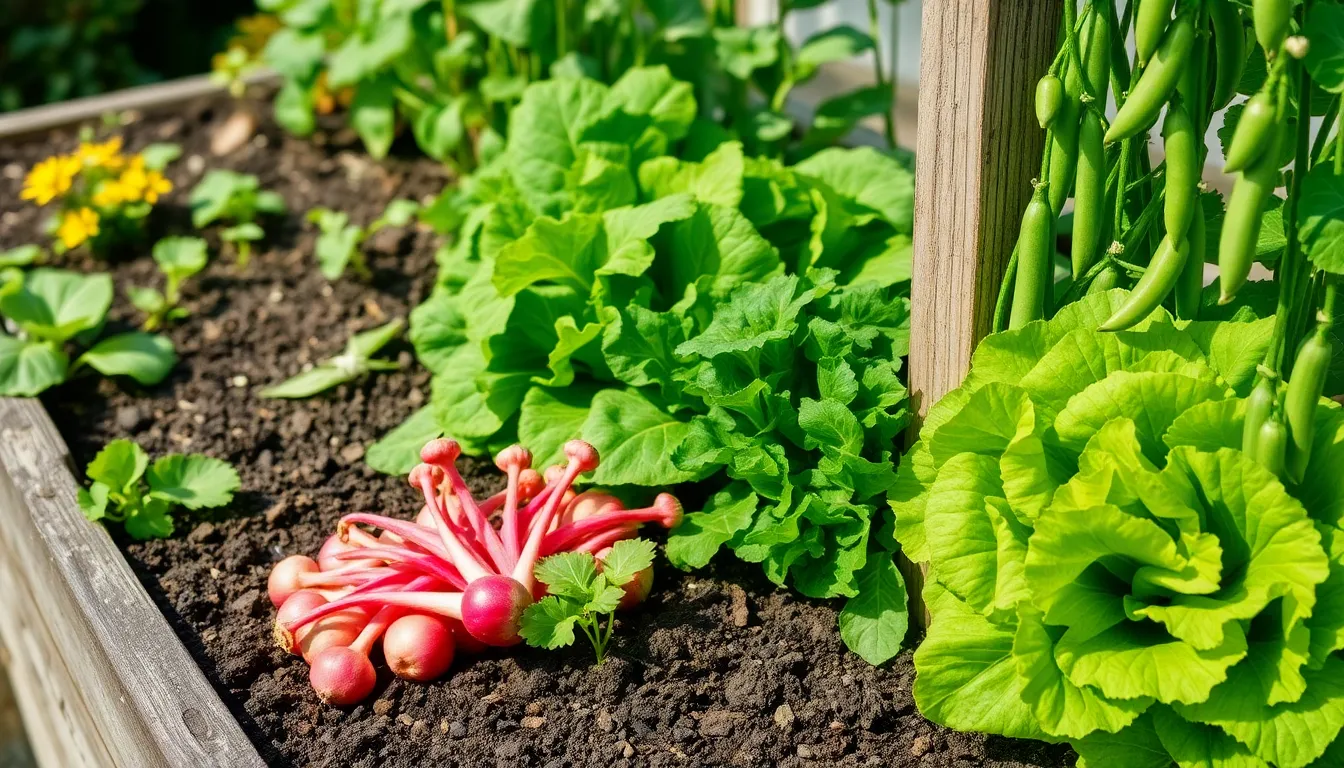
Best Fast-Growing Vegetables
Imagine stepping into your garden, the sun warming your skin, as you witness the miracle of growth unfold at a ...
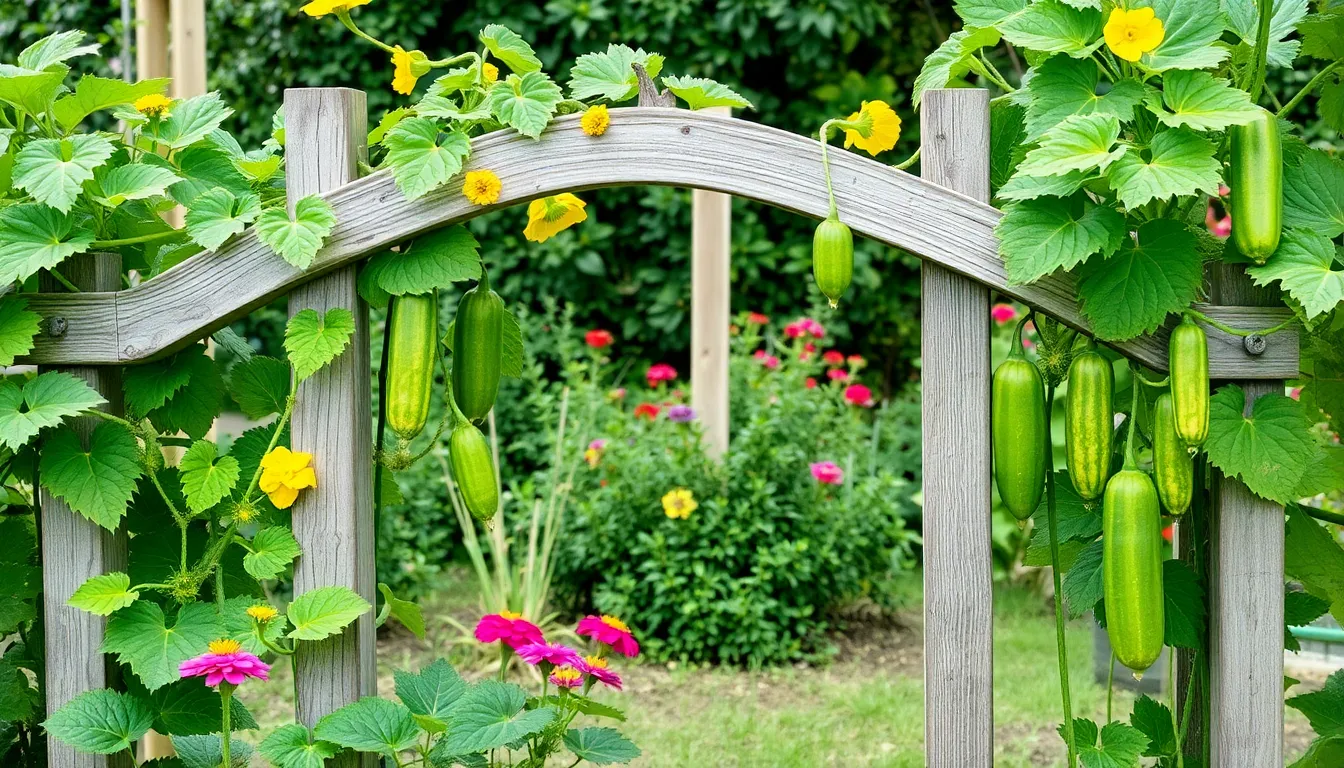
How to Grow Cucumbers on a Trellis
There’s something truly magical about watching cucumber vines stretch and spiral their way up a trellis, transforming a simple structure ...
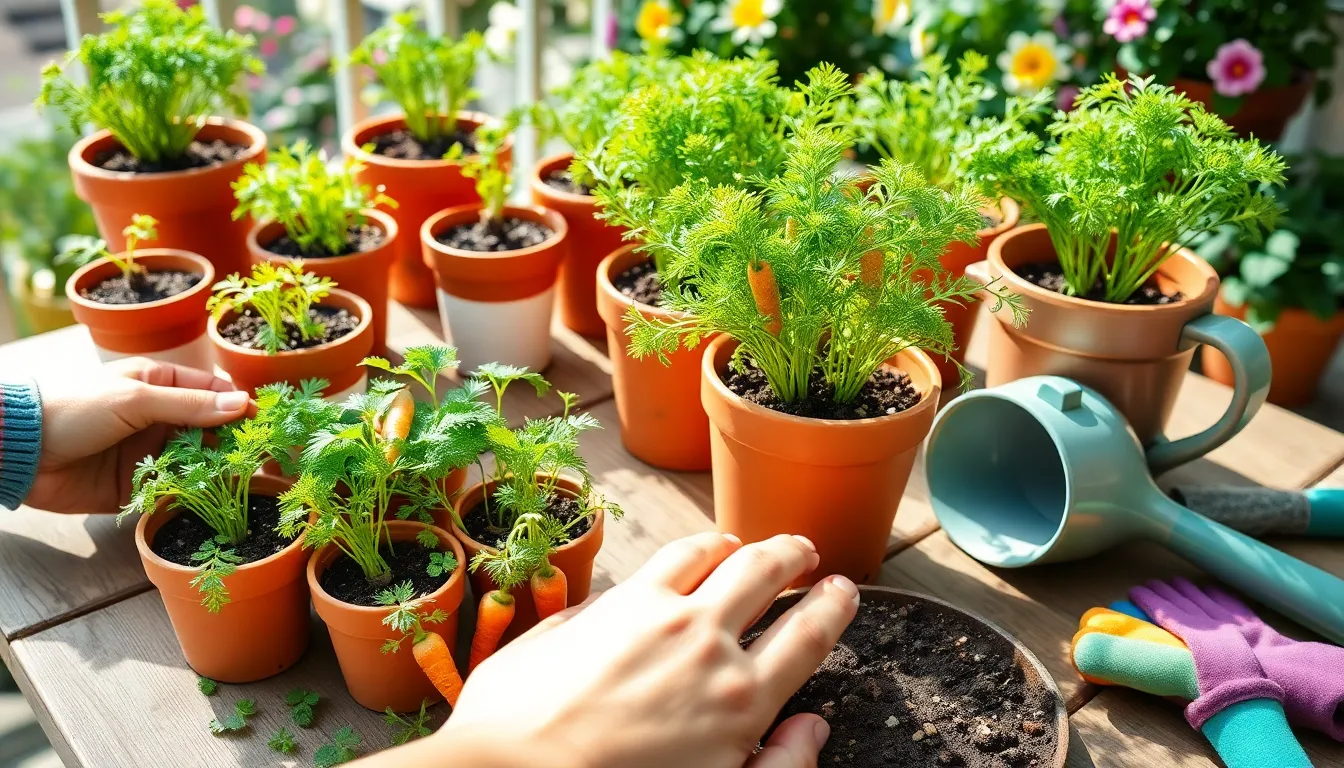
How to Grow Carrots in Pots
There’s a certain magic in growing your own food, especially when it’s as vibrant and rewarding as carrots. Whether you’re ...
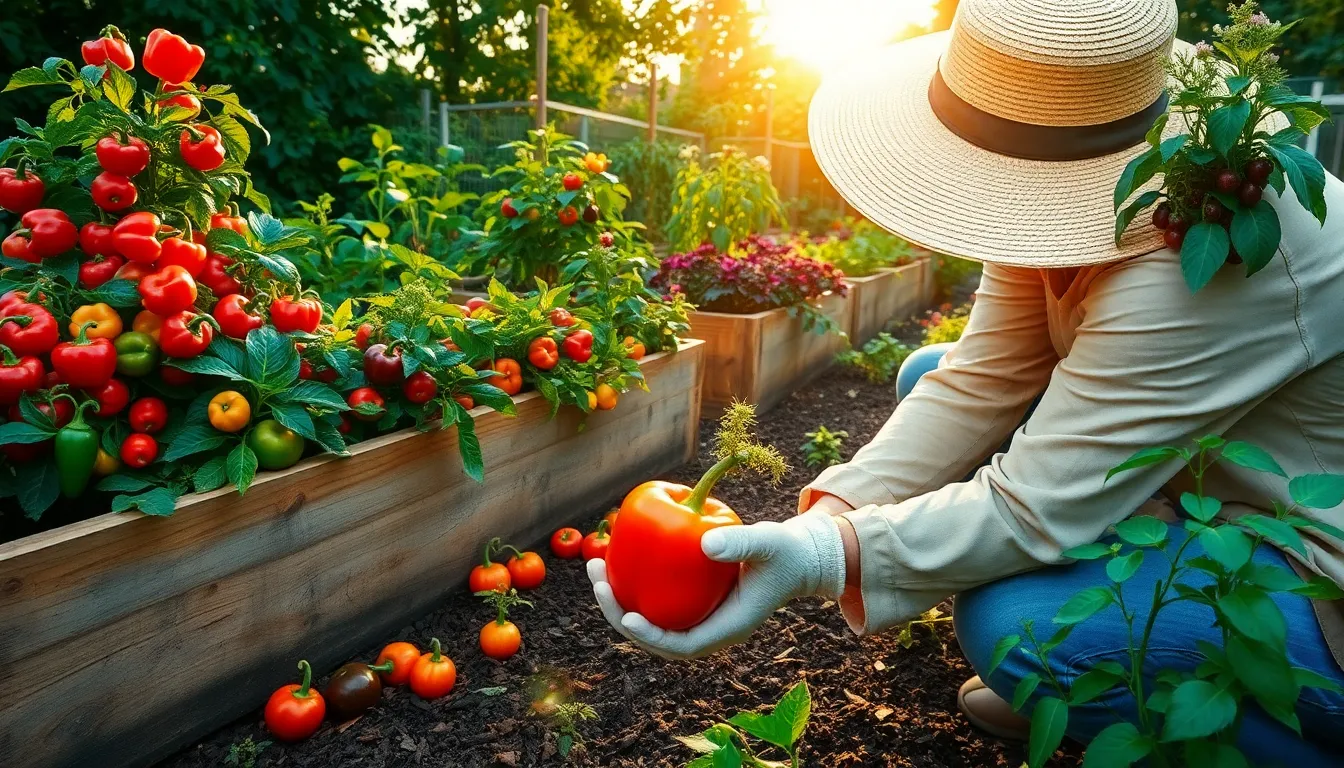
How to Grow Peppers at Home
There’s something undeniably rewarding about plucking a vibrant, homegrown pepper from its vine, knowing that your nurturing hands have brought ...
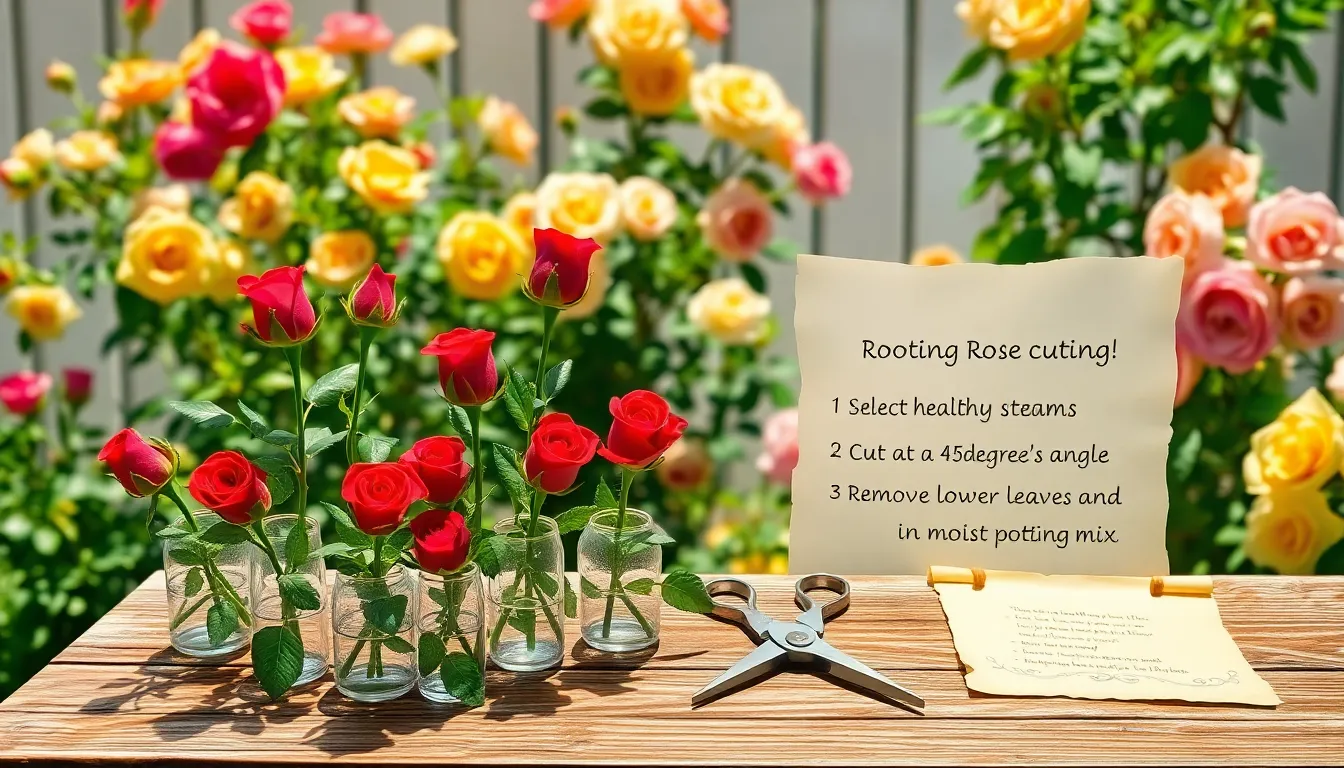
How to Grow Roses from Cuttings
Roses have long been the crowning jewels of gardens, captivating both the novice and seasoned gardener with their timeless beauty ...
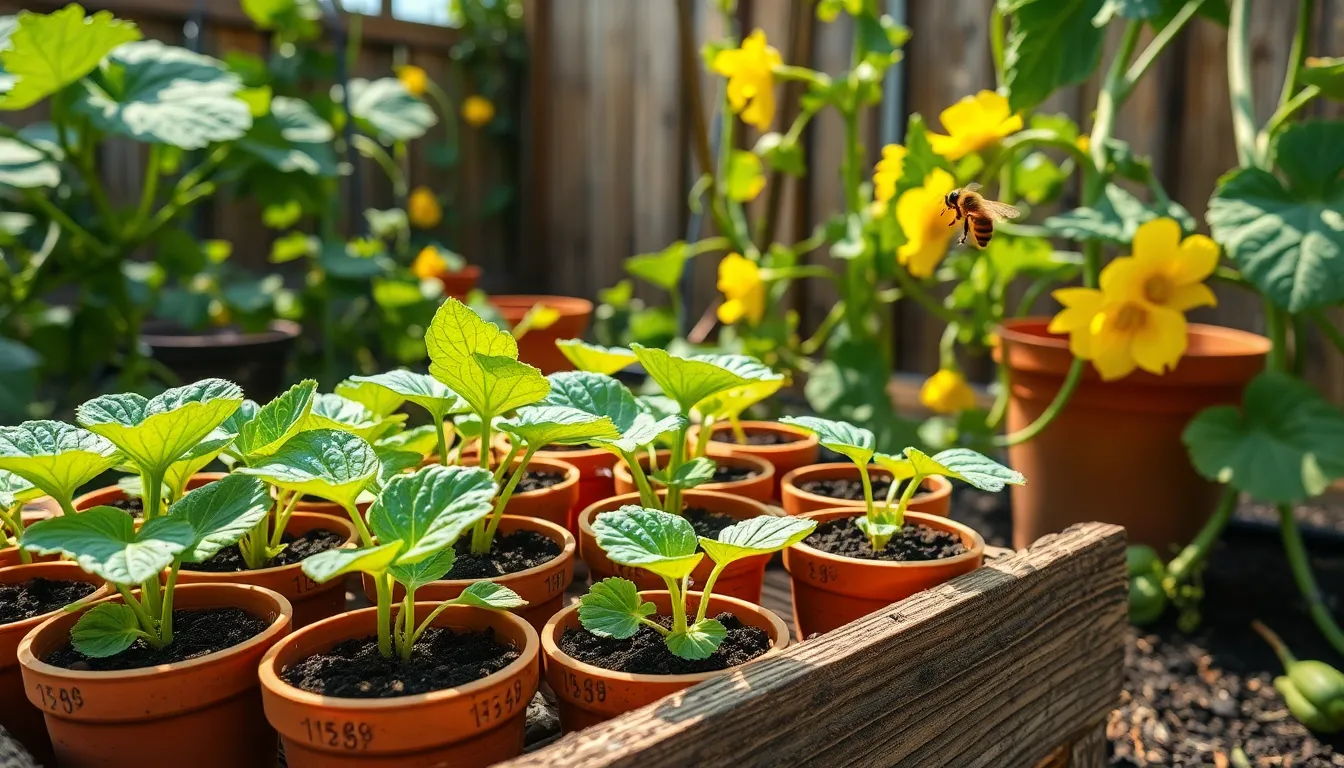
How to Grow Zucchini from Seeds
Growing zucchini from seeds is like opening the door to a bountiful garden harvest, offering both a rewarding challenge for ...
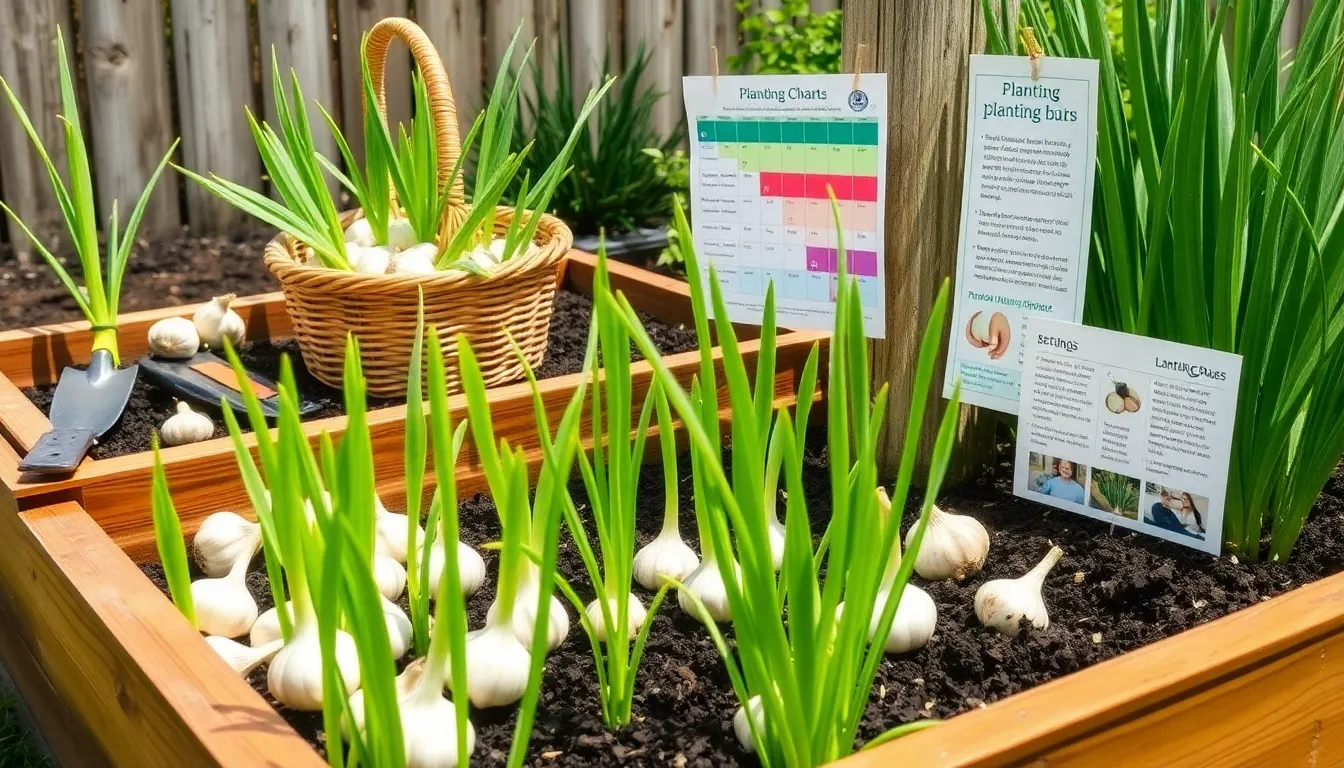
How to Grow Garlic at Home
For those who relish the idea of transforming their kitchen scraps into thriving garden treasures, growing garlic at home offers ...


