Home Gardening Ideas

What to Plant in Spring
As the chill of winter fades and the promise of longer days fills the air, spring emerges as a gardener’s ...
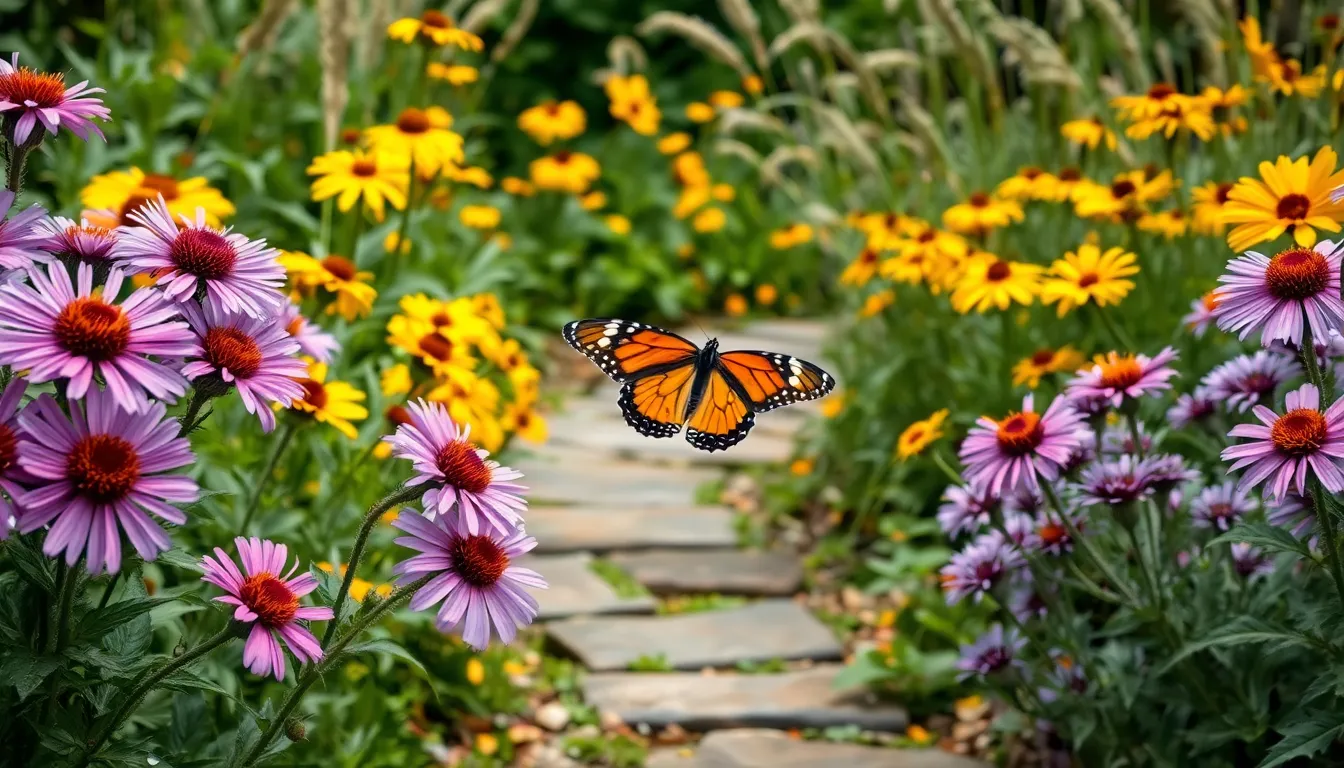
How to Create a Butterfly Garden
Imagine stepping into your garden and being greeted by a kaleidoscope of butterflies, their vibrant wings fluttering gently in the ...
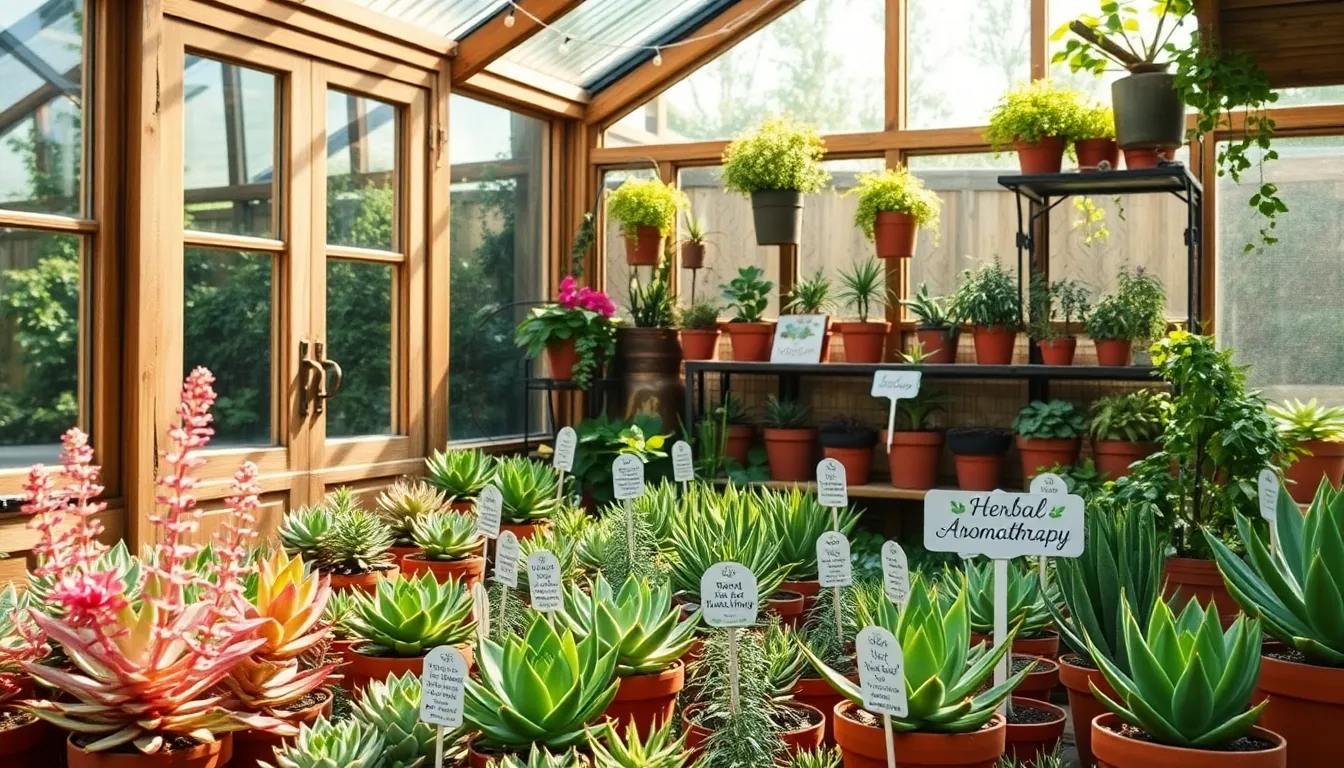
Backyard Greenhouse Gardening Tips
Imagine stepping into your backyard to find a lush oasis, a sanctuary brimming with thriving plants regardless of the season. ...
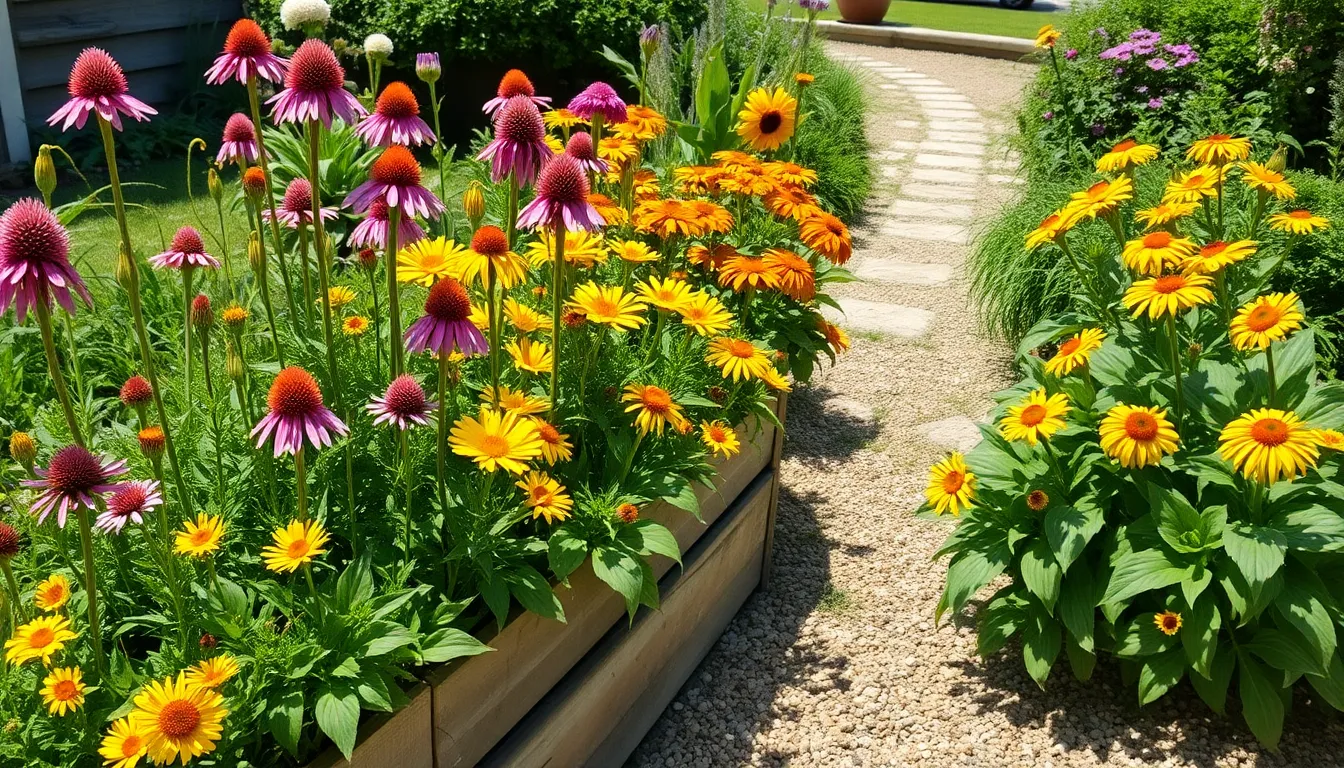
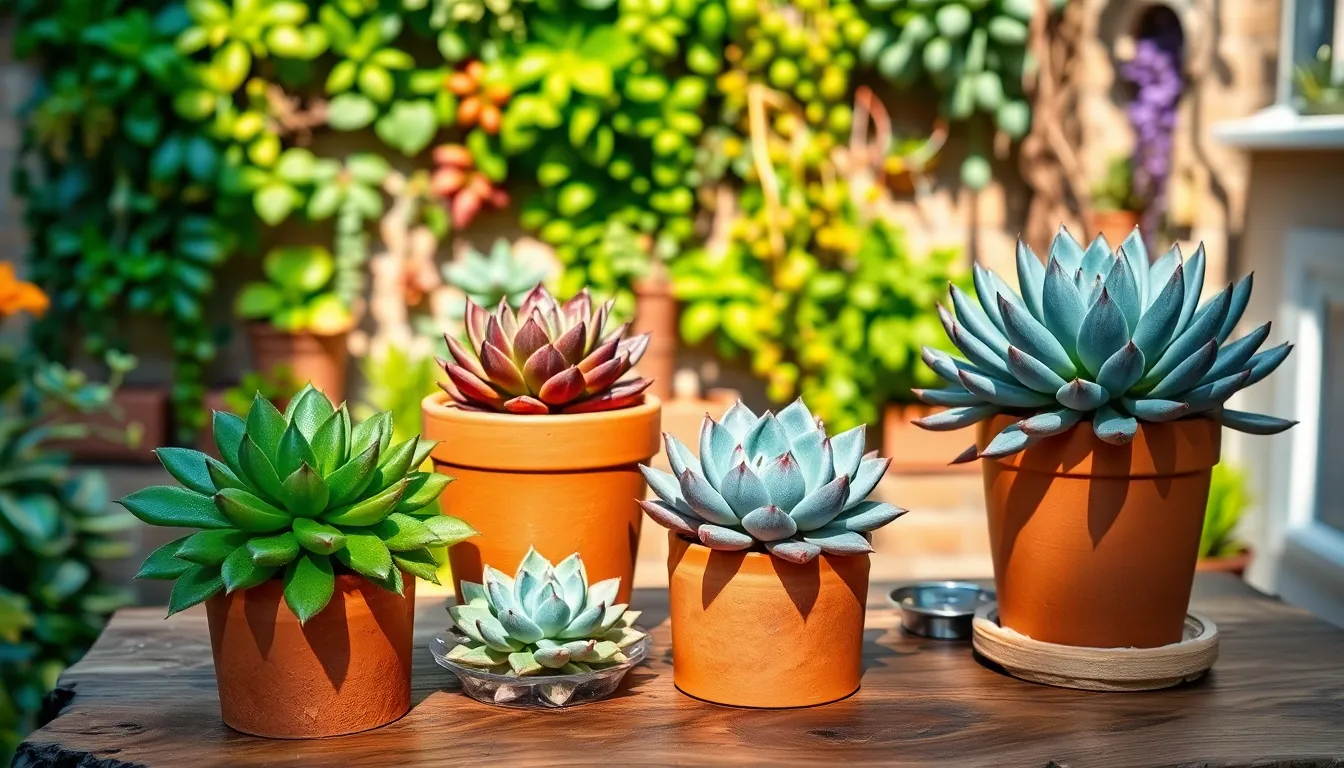
Best Perennial Plants for Beginners
Welcome to the delightful world of perennial plants, where the magic of gardening is accessible to both budding enthusiasts and ...
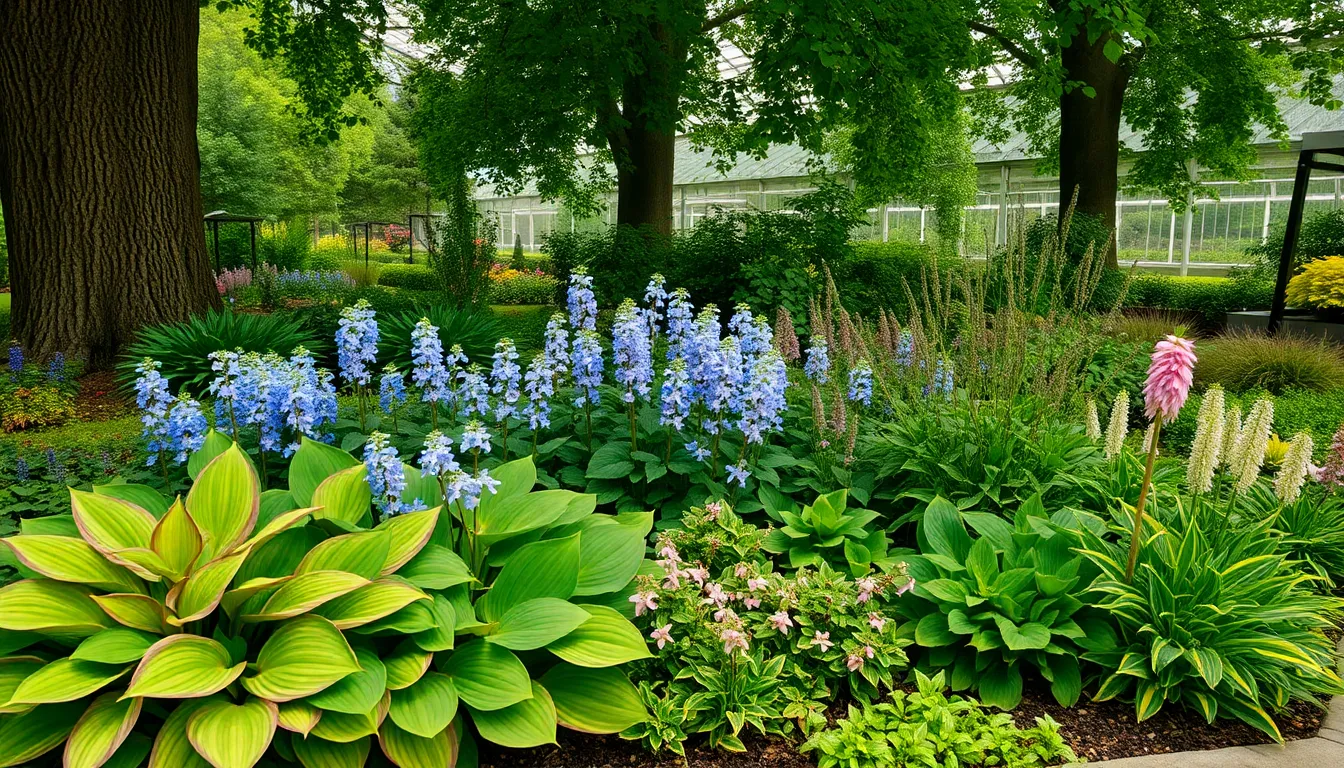
Best Plants for Shade Gardens
Welcome to the delightful world of shade gardening, where even the shadiest corners of your garden can burst with life ...
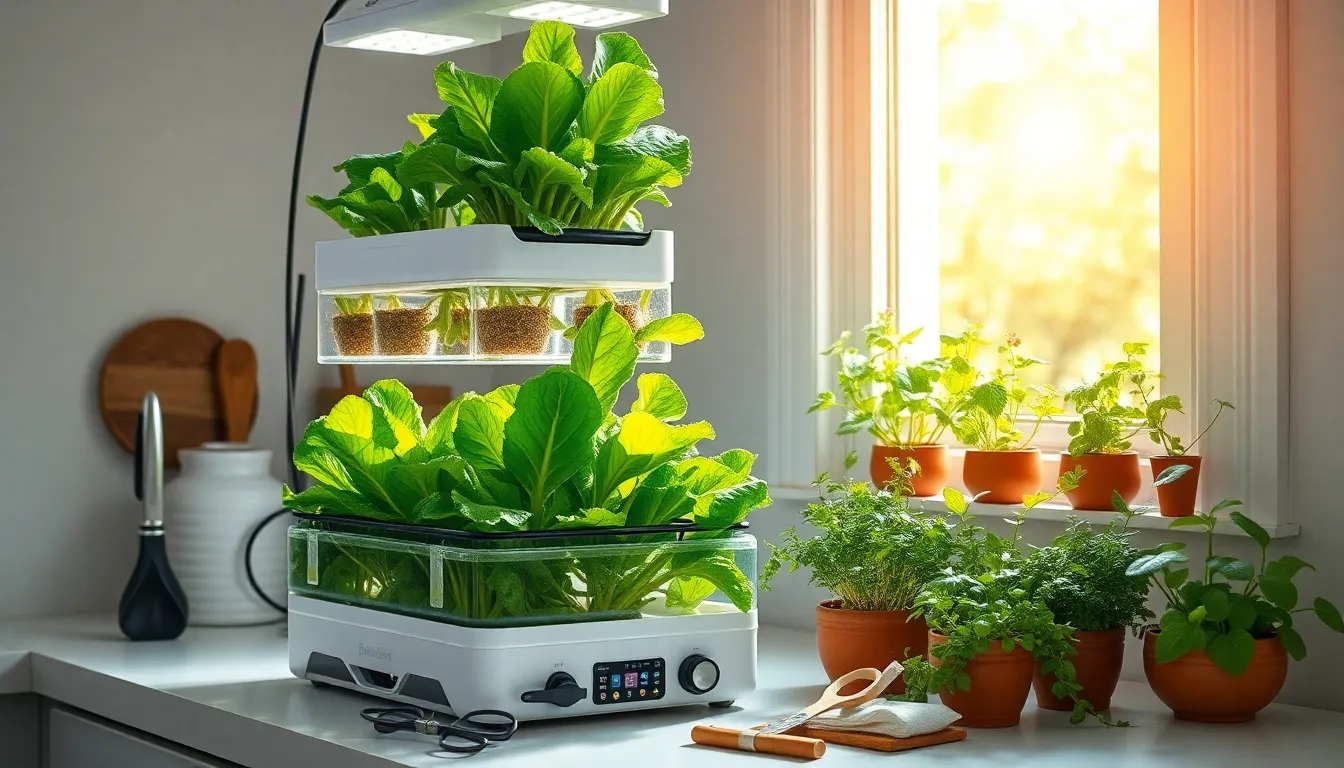
Hydroponic Gardening at Home
Imagine cultivating lush, vibrant greens or plump, juicy tomatoes right in your living room, with no soil in sight. Hydroponic ...
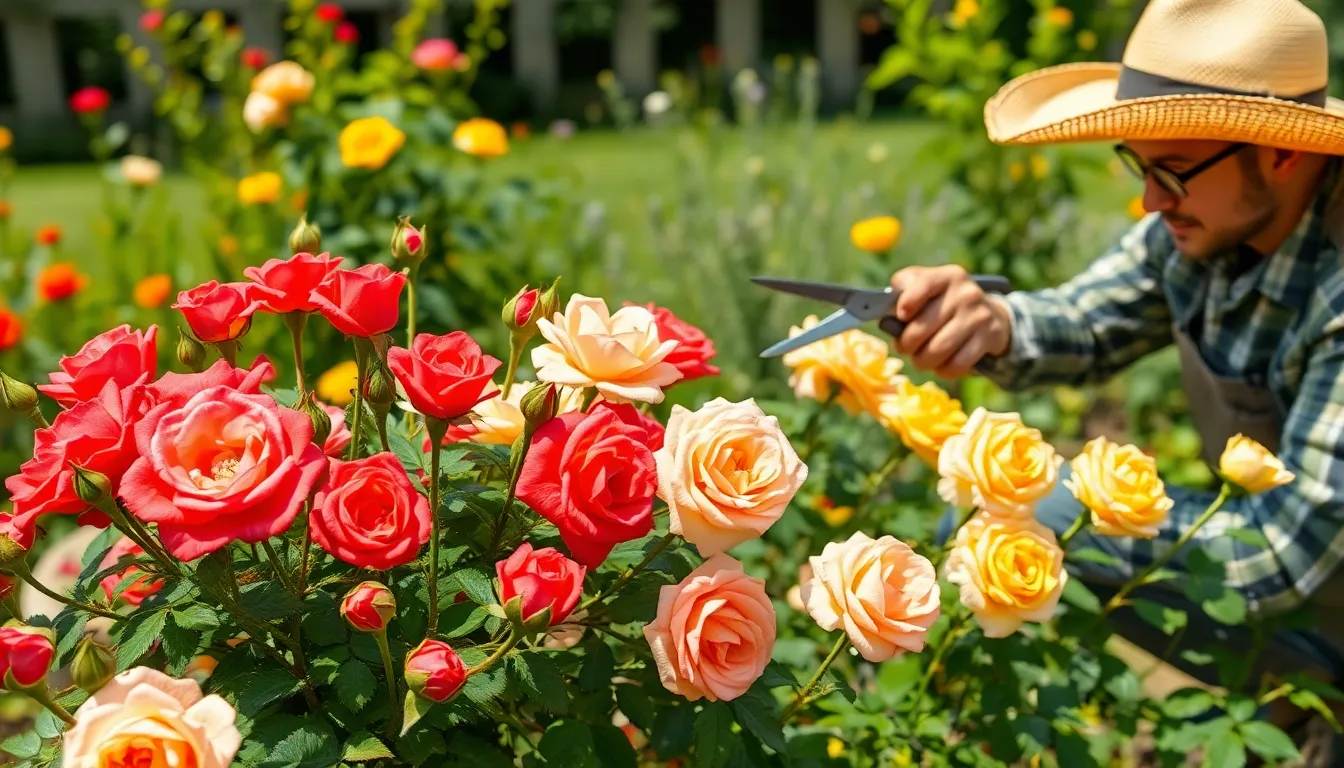
How to Prune Roses Properly
There’s a certain magic to a well-tended rose bush, its blooms unfurling in a vibrant display that can transform any ...
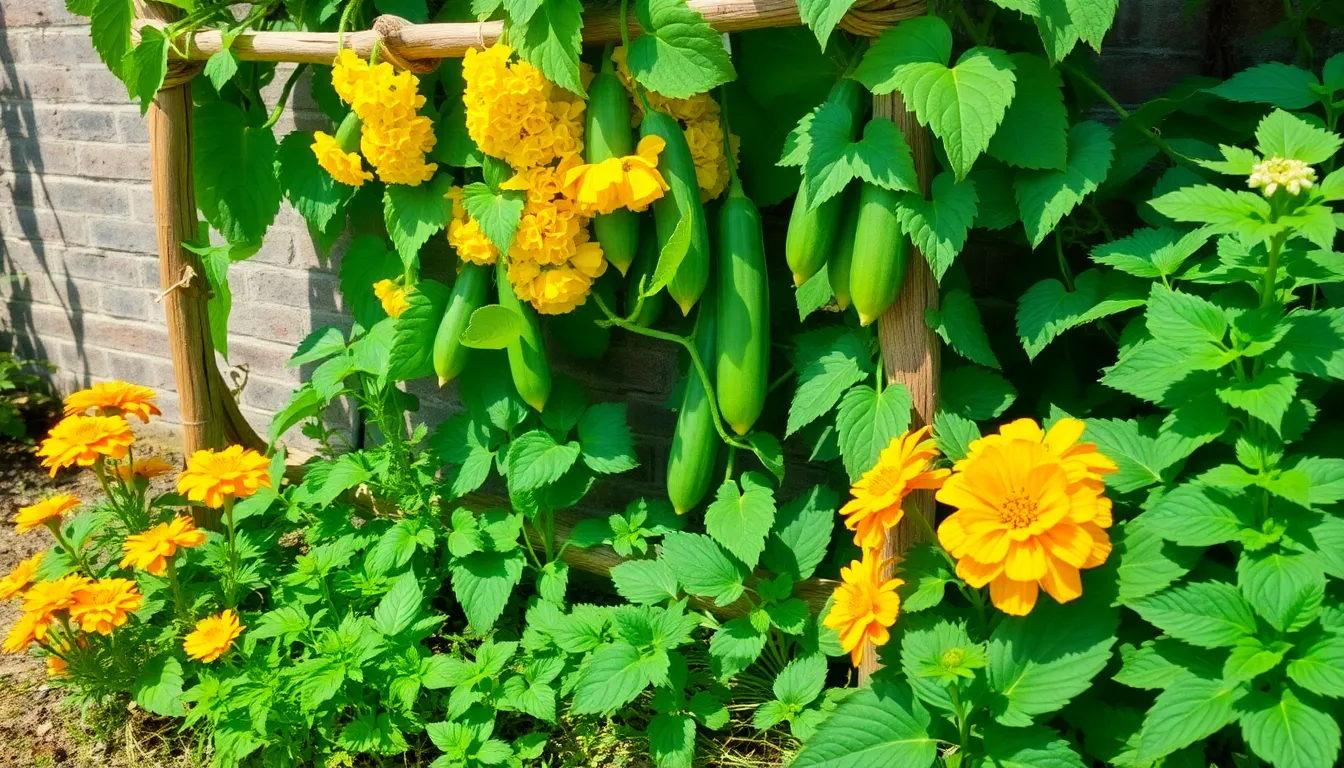
Best Companion Plants for Cucumbers
Imagine stepping into your garden and witnessing a vibrant tapestry of plants, where cucumbers thrive alongside their best companions, creating ...
How to Water Plants Efficiently
In the enchanting world of gardening, water is the lifeblood that sustains our green companions. Whether you’re nurturing a sprawling ...
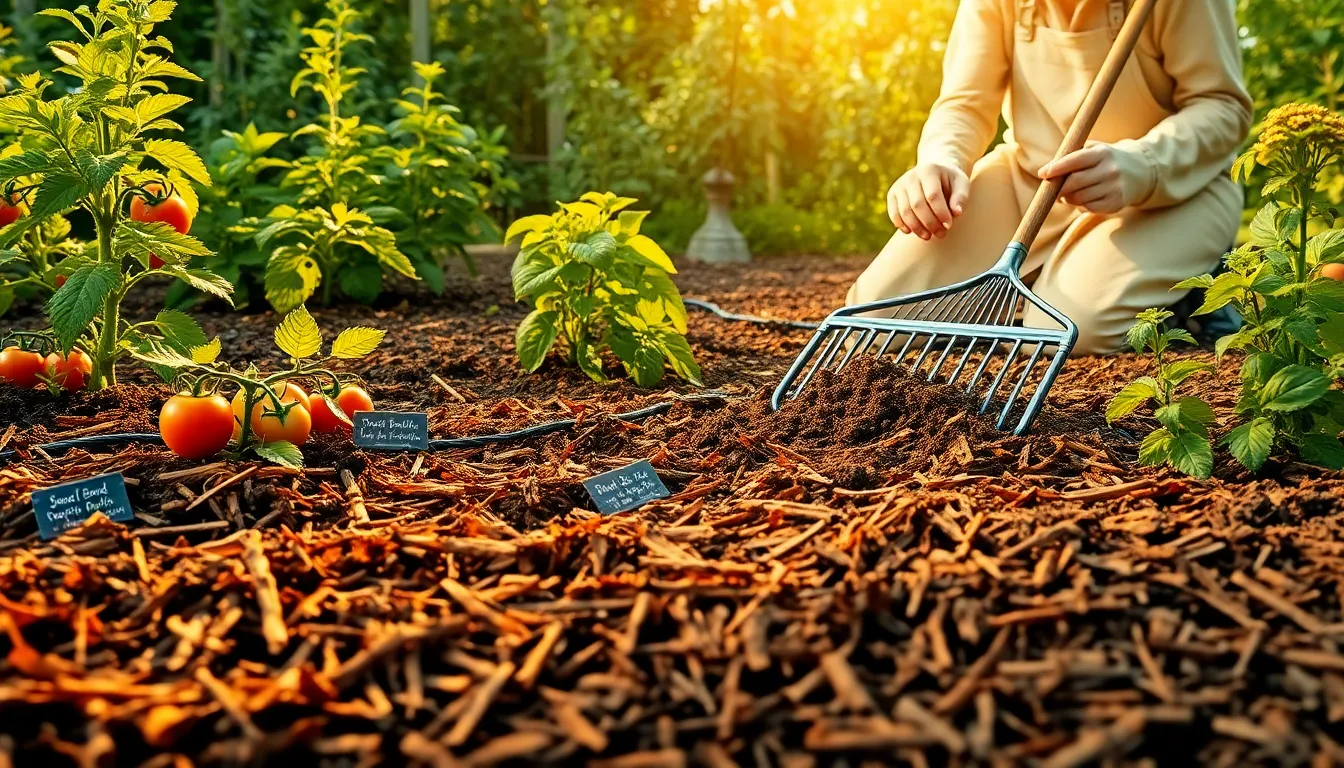
How to Mulch Your Garden
Mulching is more than just a covering for your garden beds; it’s a nurturing blanket that can transform your green ...


