Seasonal Planting Guide
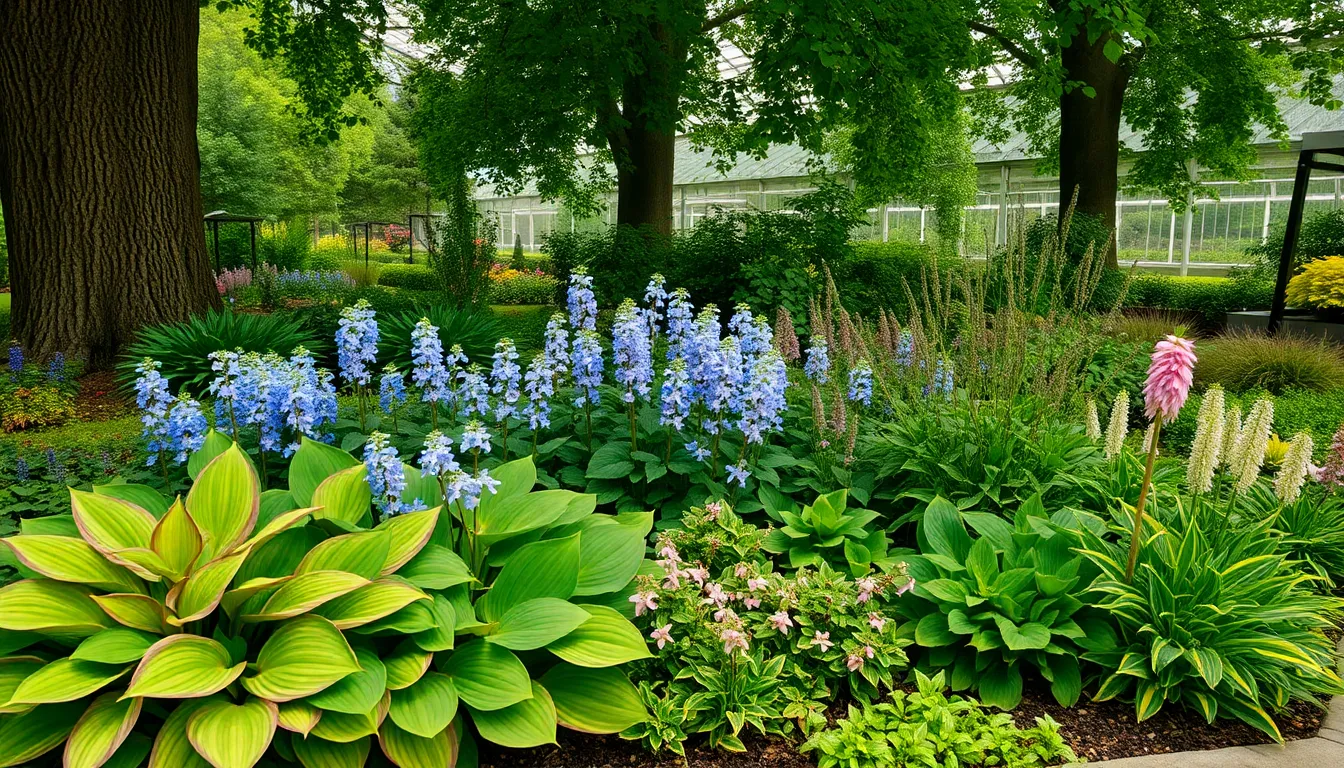
Best Plants for Shade Gardens
Welcome to the delightful world of shade gardening, where even the shadiest corners of your garden can burst with life ...
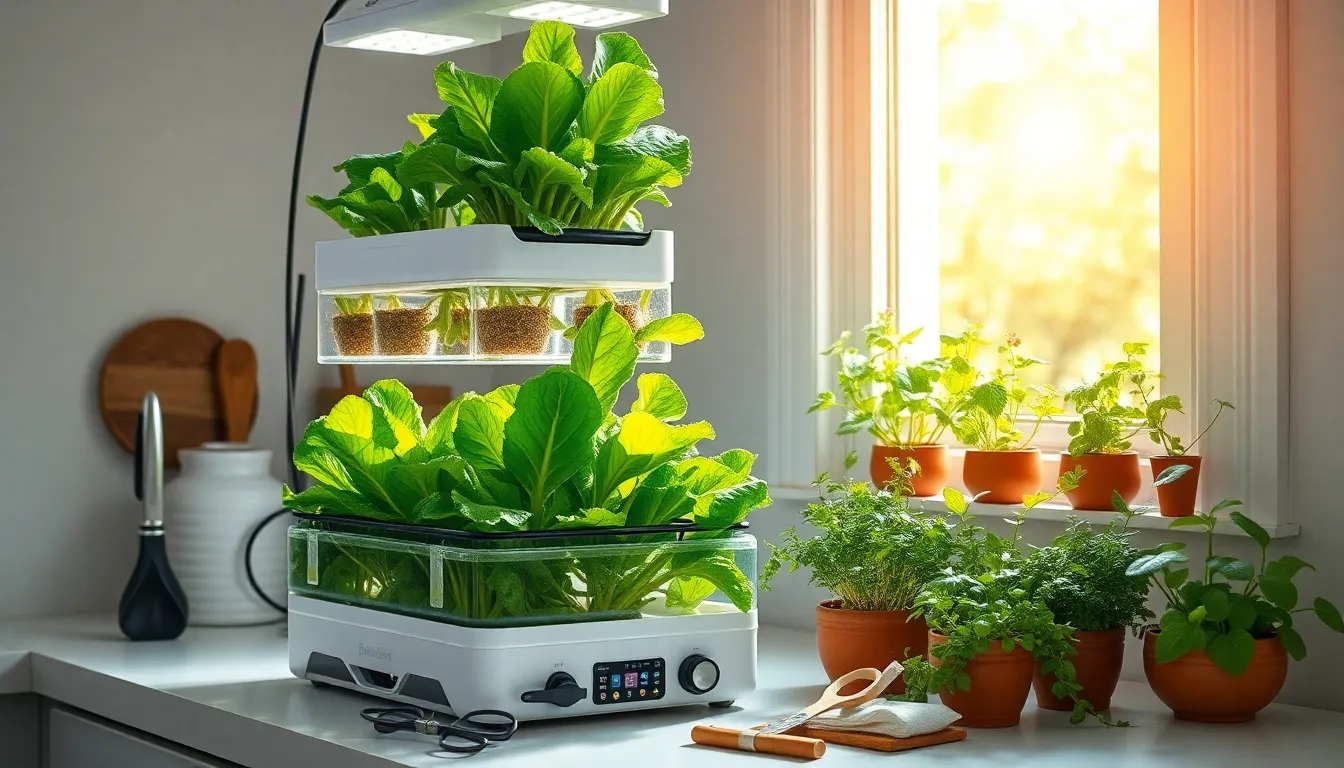
Hydroponic Gardening at Home
Imagine cultivating lush, vibrant greens or plump, juicy tomatoes right in your living room, with no soil in sight. Hydroponic ...
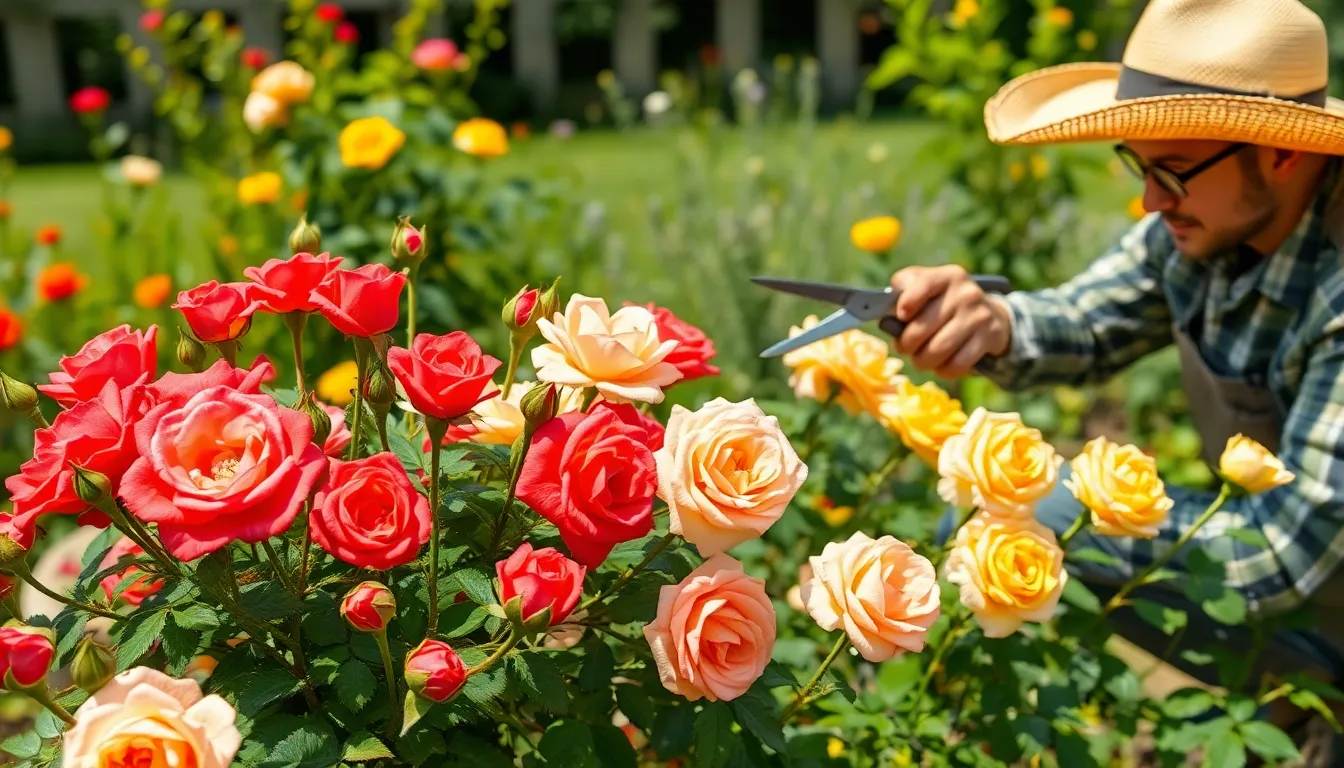
How to Prune Roses Properly
There’s a certain magic to a well-tended rose bush, its blooms unfurling in a vibrant display that can transform any ...
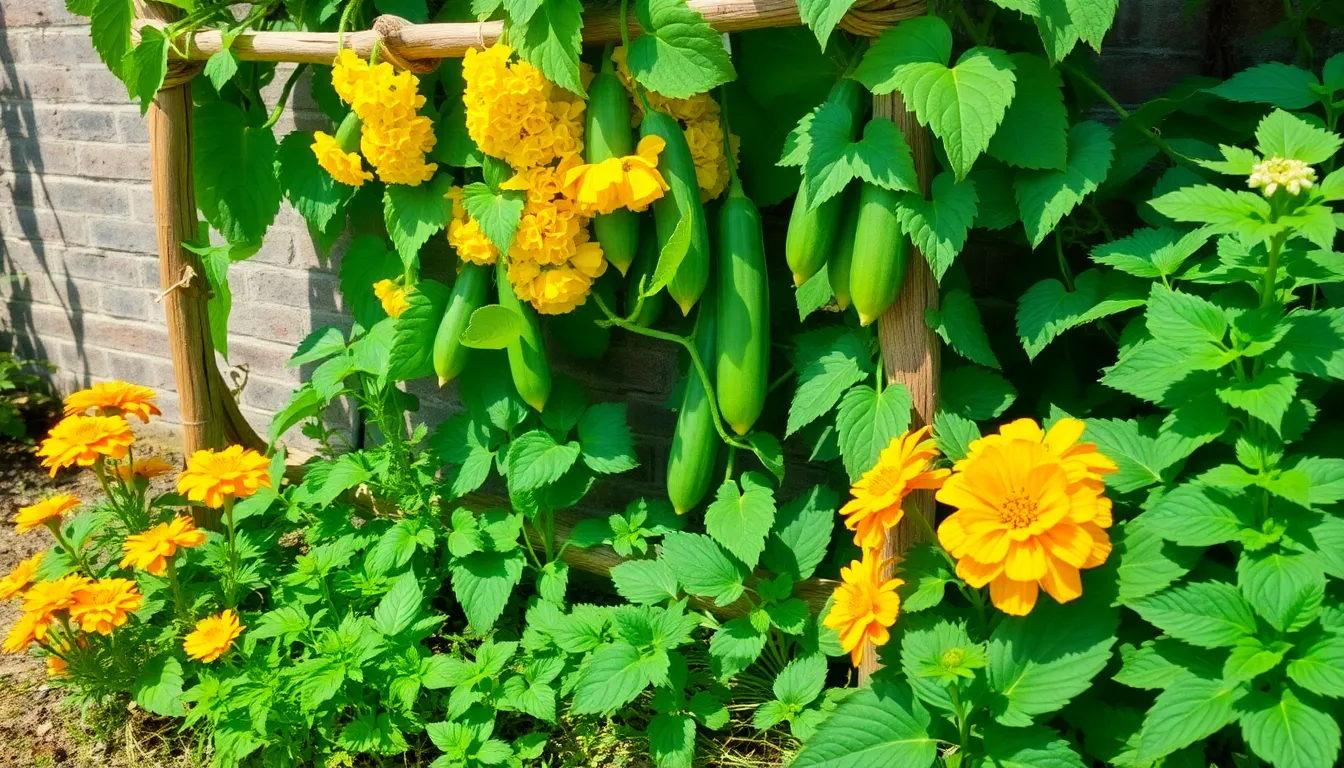
Best Companion Plants for Cucumbers
Imagine stepping into your garden and witnessing a vibrant tapestry of plants, where cucumbers thrive alongside their best companions, creating ...
How to Water Plants Efficiently
In the enchanting world of gardening, water is the lifeblood that sustains our green companions. Whether you’re nurturing a sprawling ...
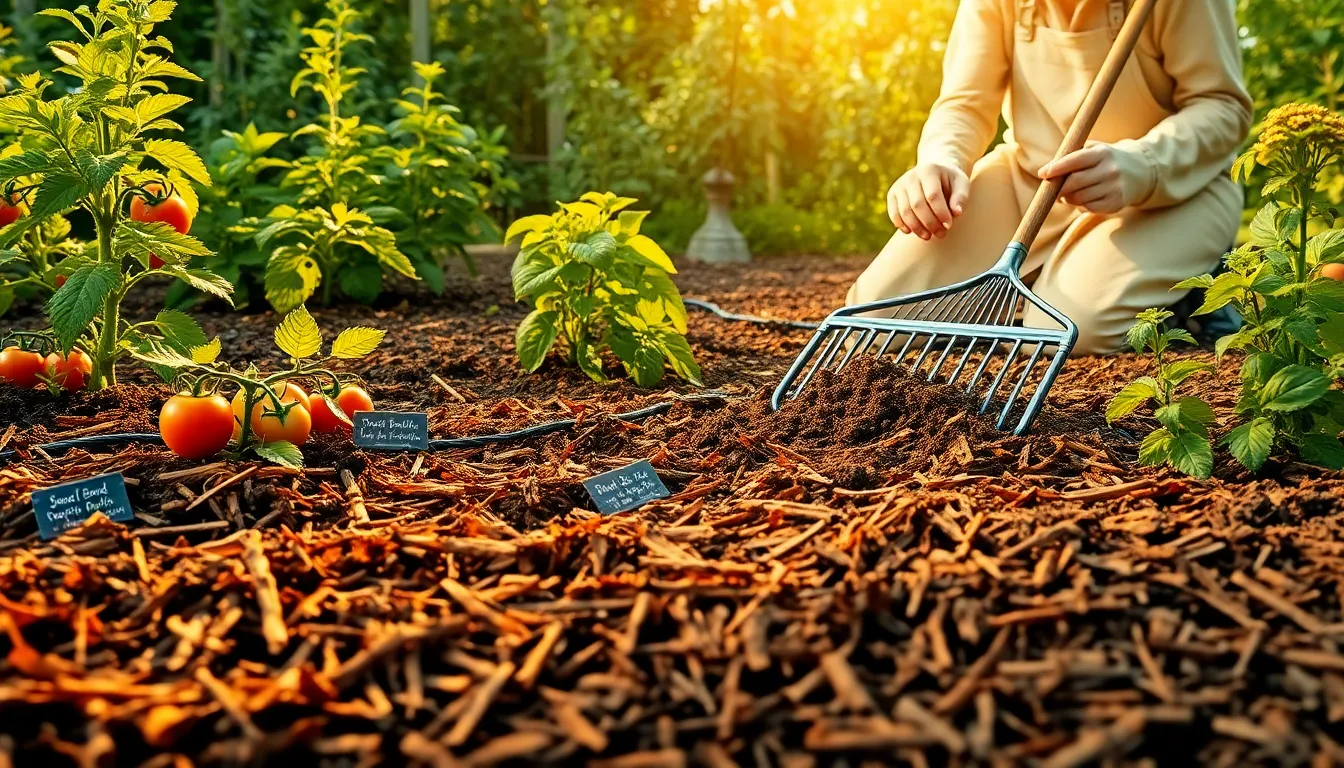
How to Mulch Your Garden
Mulching is more than just a covering for your garden beds; it’s a nurturing blanket that can transform your green ...
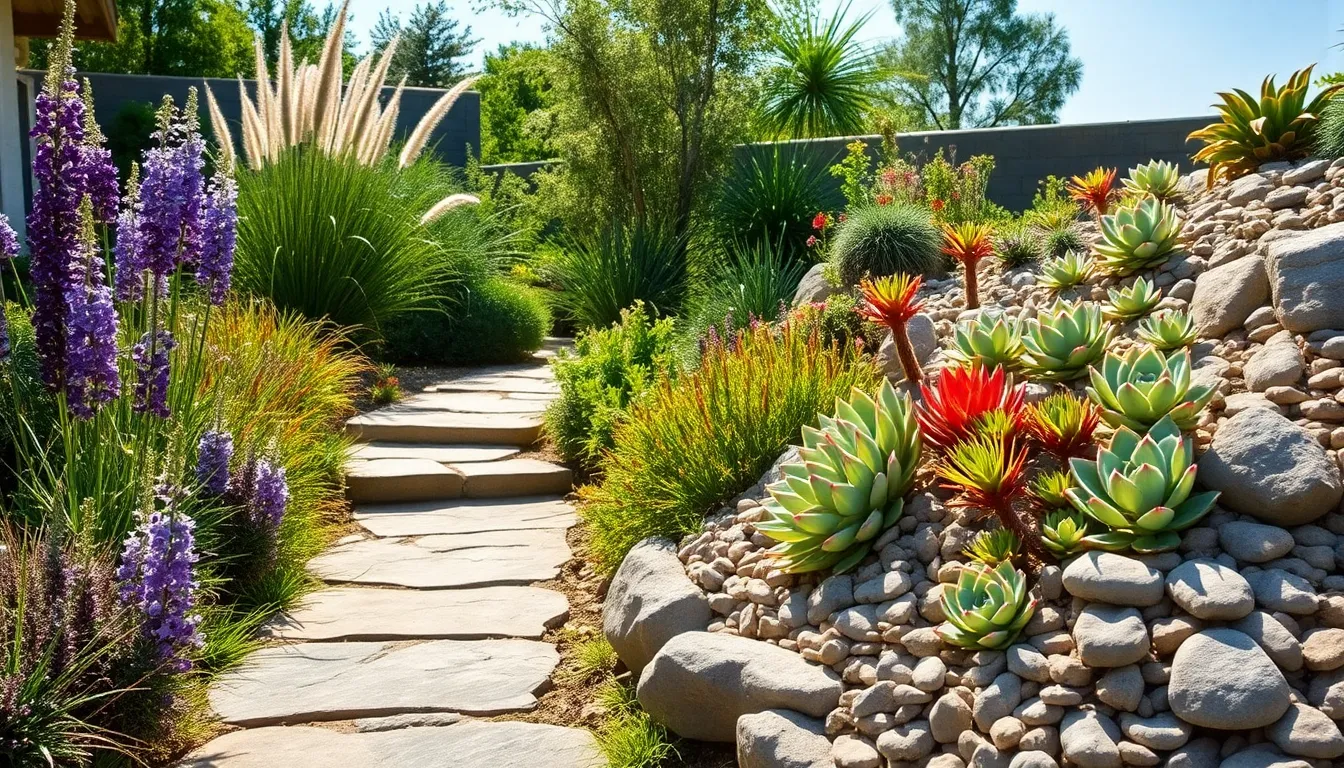
Low Maintenance Landscaping Ideas
Imagine stepping into a garden that thrives effortlessly, where every plant plays its part in a symphony of color and ...
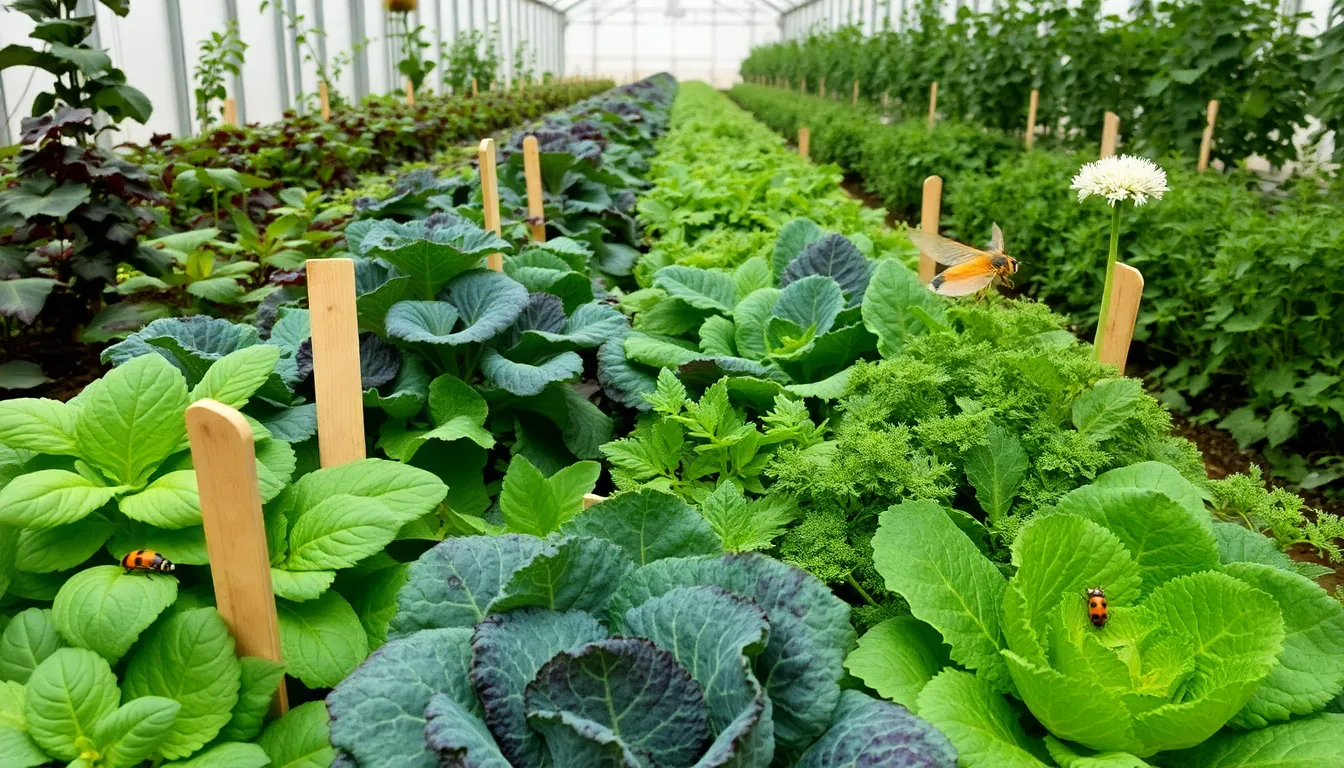
Pest Control in Organic Gardens
In the bustling world of organic gardening, the quest for a healthy, flourishing garden often feels like a dance with ...
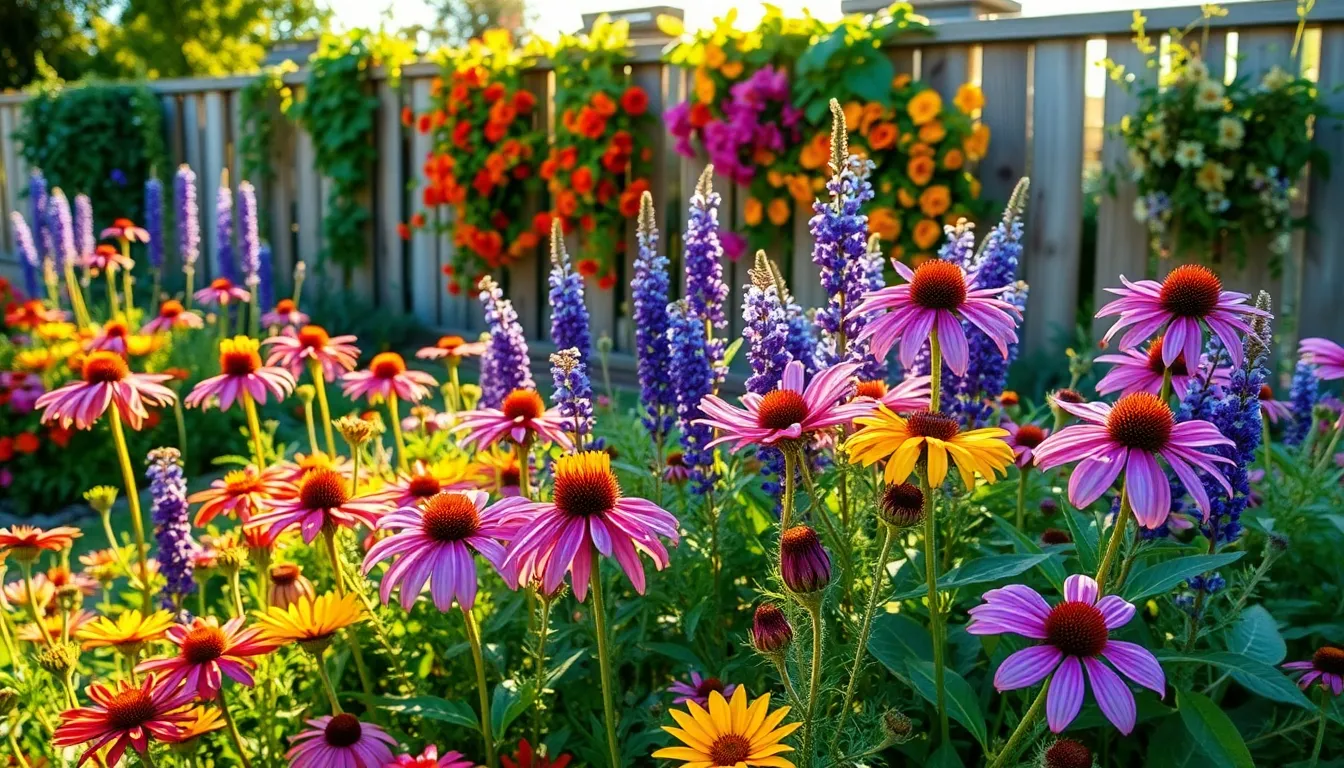
How to Attract Pollinators
In the gentle dance between flora and fauna lies the secret to a thriving garden: pollinators. These small yet mighty ...
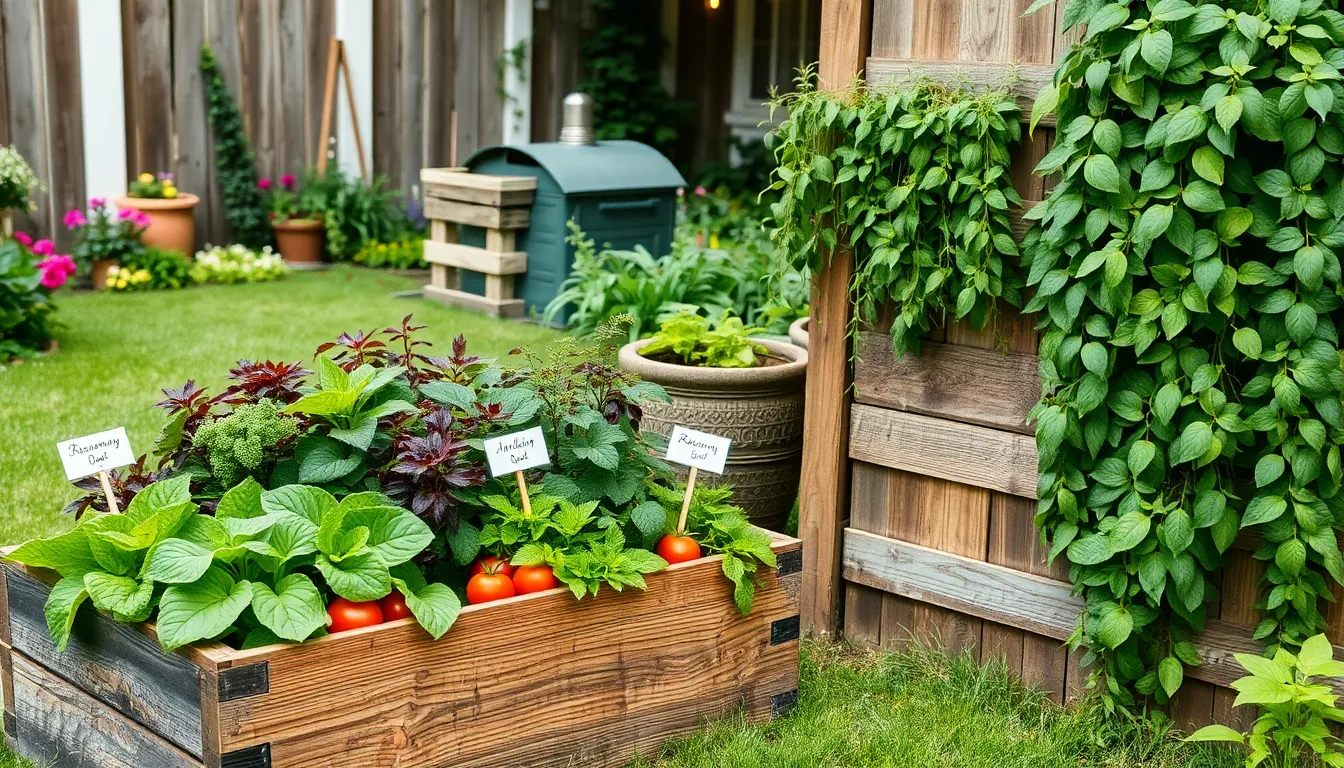
Organic Gardening at Home
Embarking on the journey of organic gardening at home is like inviting nature’s gentle touch right to your doorstep. Whether ...


