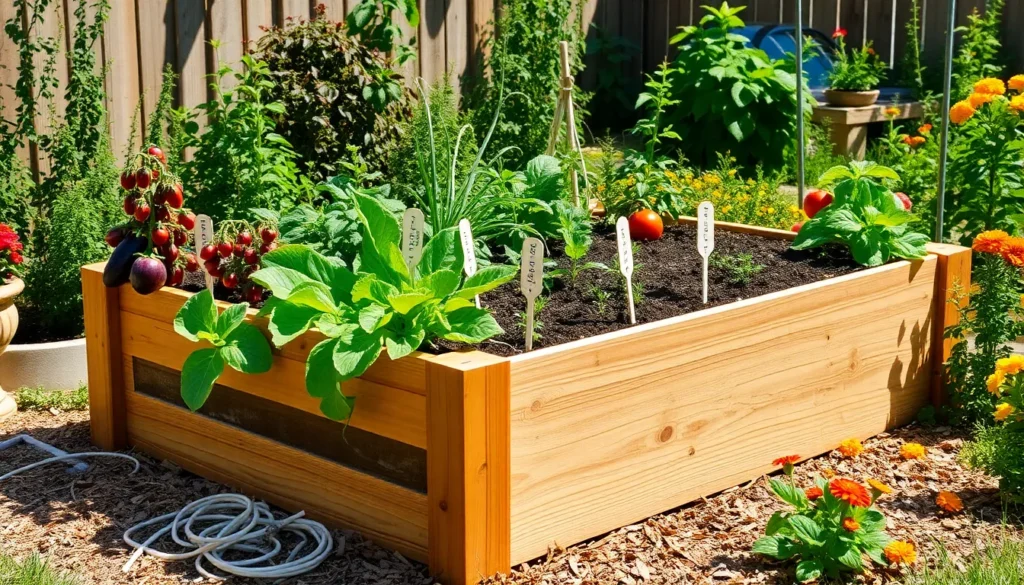
For those who find joy in nurturing life from the soil, building a raised garden bed offers a delightful opportunity to elevate your gardening experience. Whether you’re just planting your first seeds or you’re a seasoned gardener looking to refine your techniques, raised beds are a versatile and rewarding project that can transform your garden into a bountiful oasis.
Raised garden beds provide numerous benefits, from improved soil drainage and aeration to easier weed management and pest control. In this guide, we will walk you through the process of constructing your own raised bed, selecting the best materials, and preparing the ideal soil mix for your plants.
You will discover how to tailor your raised bed to suit your space and gardening needs, ensuring a fruitful and manageable growing environment. By the end of this article, you’ll have the confidence and knowledge to create a thriving raised garden bed that promises abundant harvests and a deeper connection with the natural world.
Select the Ideal Location
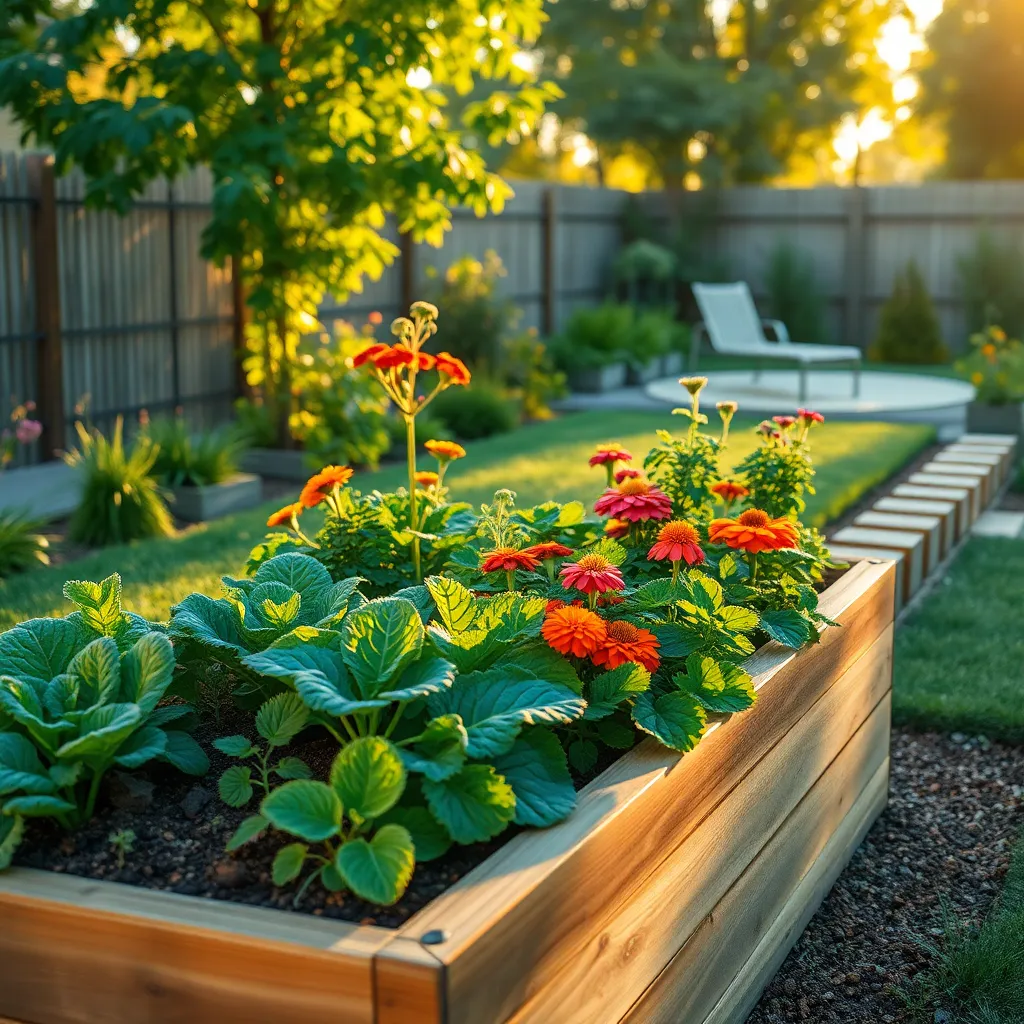
Choosing the right spot for your raised garden bed is crucial to successful gardening. Begin by observing the sun patterns in your yard, as most vegetables and flowers thrive with 6 to 8 hours of direct sunlight daily.
It’s also important to consider the proximity to a water source. Convenient access to water will make it easier to maintain a consistent watering schedule, especially during dry spells.
Avoid placing your raised bed in low-lying areas where water tends to accumulate. Good drainage is vital, as standing water can lead to root rot and other plant health issues.
For those with more experience, try positioning your beds to take advantage of natural windbreaks like fences or hedges, which can help protect delicate plants. Additionally, aligning your garden bed in a north-south orientation can maximize sun exposure throughout the day.
Gather Essential Materials
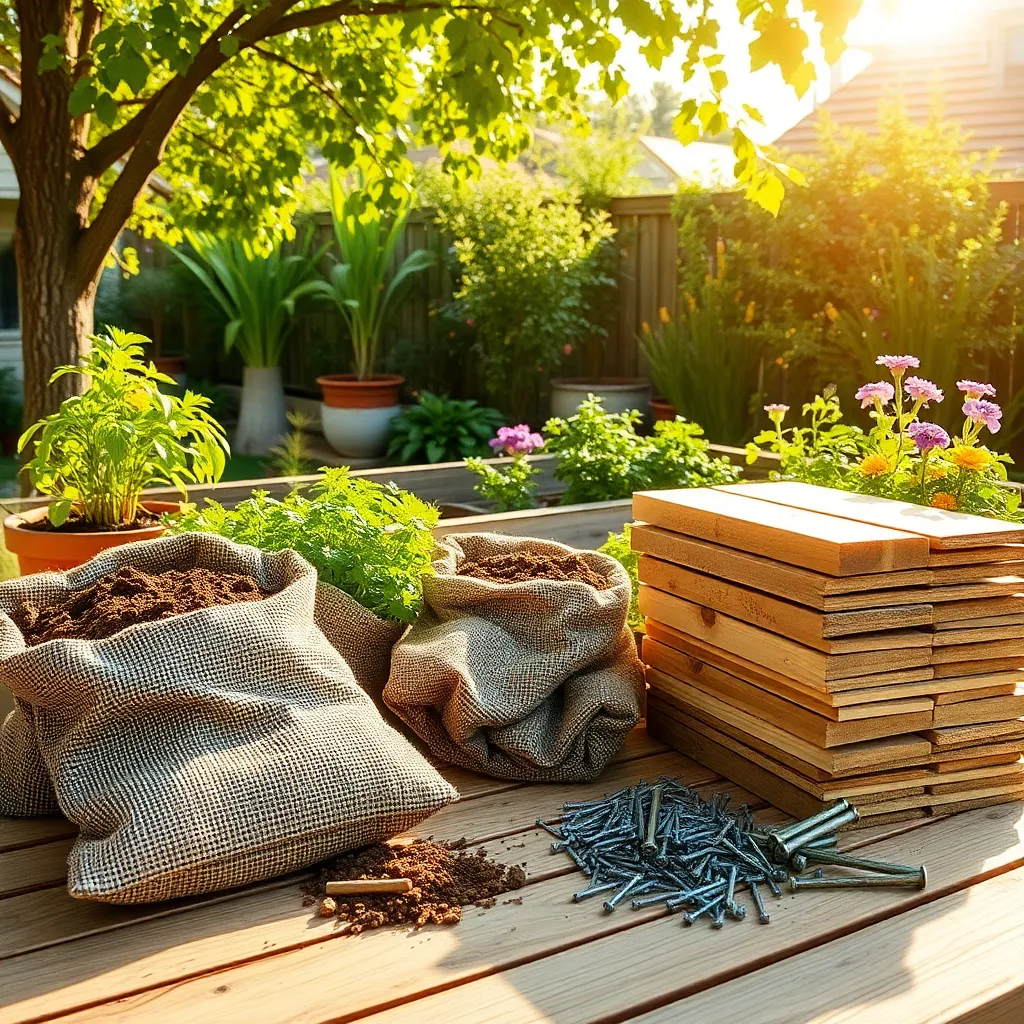
Before you start building your raised garden bed, gather all essential materials to ensure a smooth process. Purchase high-quality, untreated wood, such as cedar or redwood, which are naturally resistant to decay and pests.
You’ll also need soil and compost to fill your bed, and it’s crucial to choose the right mix. A combination of 60% topsoil, 30% compost, and 10% potting soil will provide a nutrient-rich environment for most plants.
Consider investing in a good set of tools to make the assembly process easier and more efficient. Basic tools include a drill, a saw, a measuring tape, and a level to ensure your bed is stable and even.
For those looking to add an advanced touch, you can incorporate a drip irrigation system to maintain consistent moisture levels. This will help conserve water and ensure your plants receive the hydration they need without overwatering.
Assemble the Garden Frame
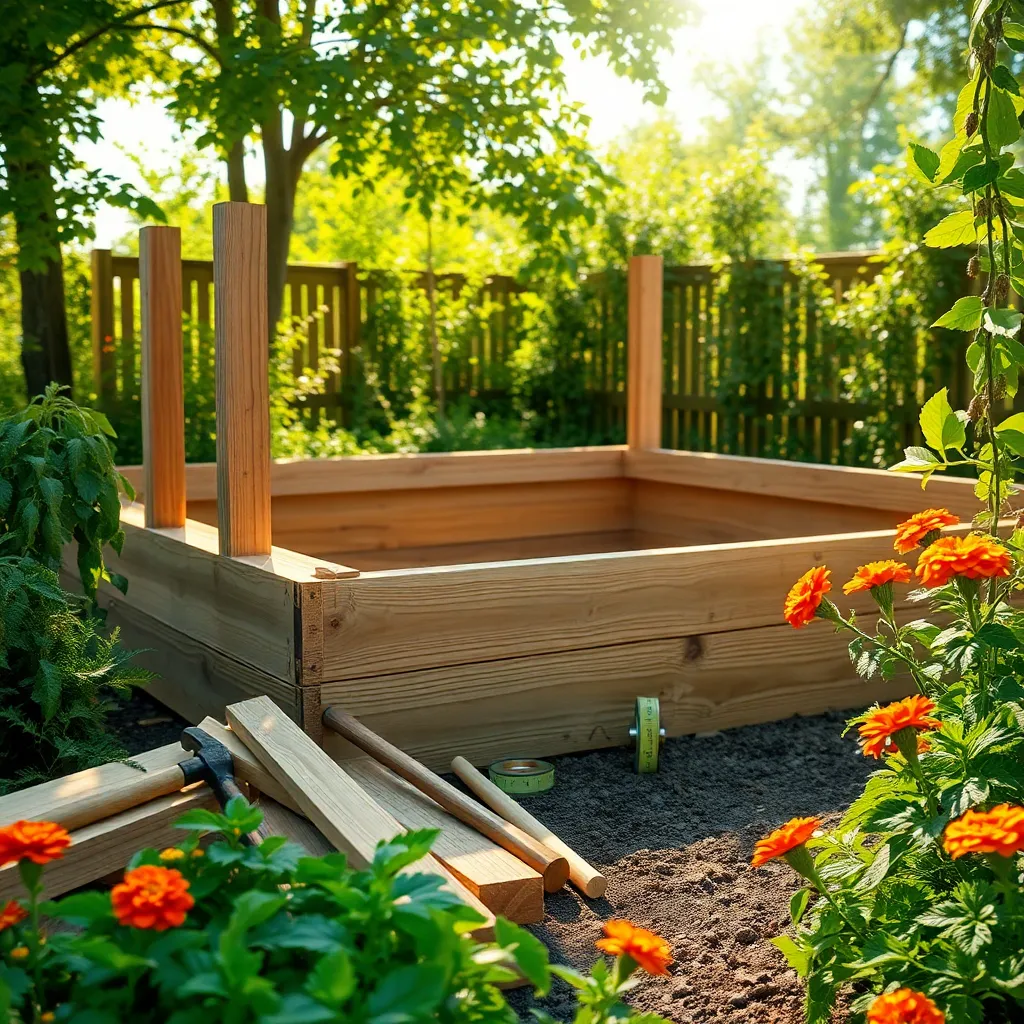
Start by positioning the four corner posts of your raised bed, ensuring they are upright and stable. Use a level to make sure each post is perfectly vertical, which will help maintain the integrity of your structure over time.
Next, attach the side boards to the corner posts using galvanized screws or brackets for durability. This step is crucial as it creates the basic frame, so double-check that each board is aligned correctly and securely fastened.
For added stability, consider adding cross braces along the longer sides of the frame. This technique helps prevent the sides from bowing outwards when the bed is filled with soil and plants.
Before you fill your bed with soil, lay a layer of landscape fabric or cardboard on the bottom to suppress weeds. This step is especially helpful if you’re placing your bed on a grassy area, providing a barrier that minimizes competition from unwanted plants.
Once your frame is assembled, fill the bed with a high-quality soil mix suited for your plants. A blend of topsoil, compost, and peat moss is often recommended to provide good drainage and nutrient balance.
Water the soil thoroughly after filling to help it settle and eliminate air pockets. This ensures that the roots of your plants have good contact with the soil, promoting healthy growth from the start.
Fill with Quality Soil

Once your garden frame is assembled, it’s time to focus on filling it with quality soil. The right soil mix is crucial for healthy plant growth, as it provides essential nutrients and proper drainage.
Start by creating a base layer of organic material like straw or cardboard at the bottom of your raised bed. This layer improves drainage and adds organic matter as it breaks down over time.
On top of the base layer, add a mix of topsoil, compost, and peat moss in equal parts. This combination offers a balance of nutrients, moisture retention, and aeration, ideal for most plants.
For an enhanced nutrient boost, consider mixing in some worm castings or well-rotted manure. These organic amendments enrich the soil and support vigorous plant growth.
Test the soil pH to ensure it’s within the ideal range of 6 to 7 for most vegetables and herbs. If the pH is off, amend it accordingly with lime to raise it or sulfur to lower it.
Once your soil mix is ready, fill the bed to about an inch below the rim to allow space for watering. This ensures that water doesn’t spill over and is absorbed efficiently by the soil.
Water the soil thoroughly after filling the bed to settle it and eliminate air pockets. Consistent moisture is key, especially in the first few weeks as your plants establish their roots.
Install Proper Drainage System
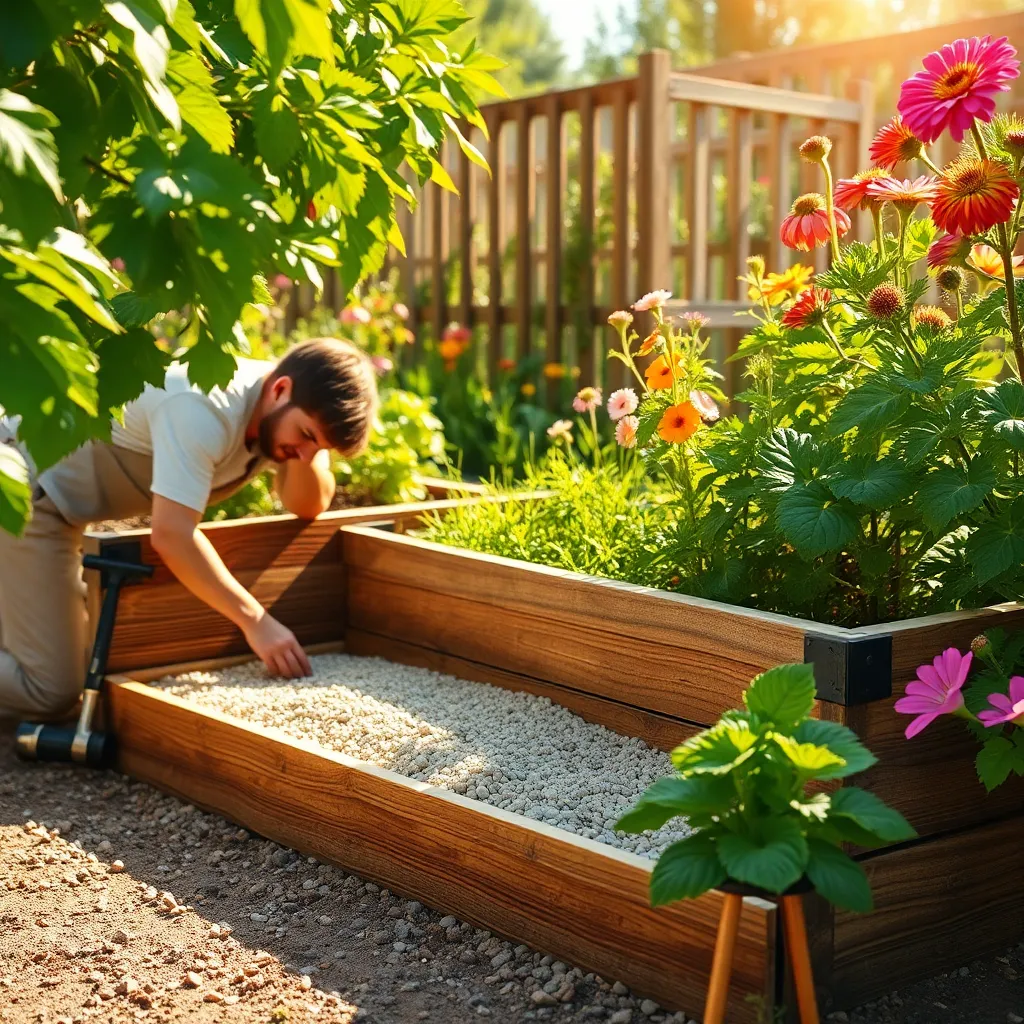
Proper drainage is crucial to the success of your raised garden bed, preventing water from pooling and roots from rotting. Start by laying a base layer of coarse material, such as gravel or crushed stone, at the bottom of your bed to enhance water movement.
Next, consider adding a layer of landscape fabric over the gravel to prevent soil from clogging the drainage layer. This step is particularly beneficial for gardeners who plan to grow plants that prefer well-drained soil conditions, such as tomatoes and peppers.
Ensure your raised bed has adequate drainage holes if it’s built with solid sides, like wood or metal. Drill holes at the sides’ base, spaced every 12 to 18 inches apart, to allow excess water to escape easily.
For those in rainy climates, slightly elevating your raised bed on bricks or pavers can further improve drainage. This will help keep the soil from becoming waterlogged and maintain the health of your plants.
Conclusion: Growing Success with These Plants
In nurturing the garden of your relationship, much like building a raised garden bed, the fundamentals are crucial. We explored the importance of a strong foundation, akin to selecting the right location for your bed, ensuring your relationship is rooted in trust and mutual understanding. Next, we delved into the importance of having healthy boundaries, just as you would define the edges of your garden. Communication was highlighted as the rich soil that nourishes growth, allowing love and respect to flourish. We also discussed the significance of regular maintenance, ensuring issues are addressed before they become overwhelming, much like tending to weeds. Lastly, we emphasized patience and understanding, akin to waiting for plants to bloom, recognizing that growth takes time.
Now, take a moment to reflect on one area where your relationship could use some nurturing and write down one action you can take today. Remember, small, consistent efforts yield profound transformations. Bookmark this article to revisit these insights whenever you feel the need to realign and rejuvenate your relationship. As you implement these practices, envision a future where your relationship thrives, blossoming into a resilient partnership. Let this be your guidepost to cultivating a love that endures and grows stronger with each passing season.


