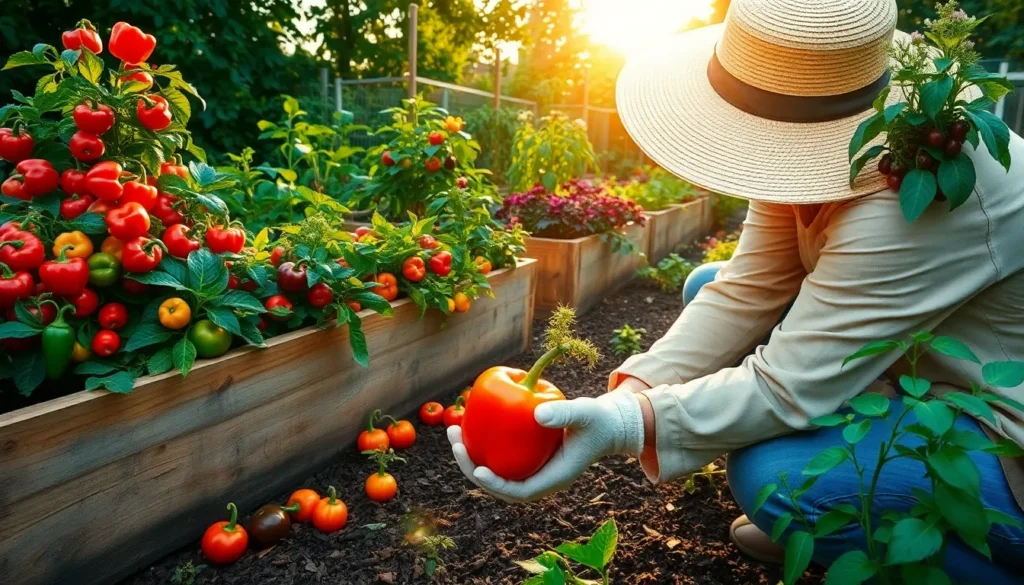
There’s something undeniably rewarding about plucking a vibrant, homegrown pepper from its vine, knowing that your nurturing hands have brought it to life. For both budding green thumbs and seasoned horticulturists, growing peppers at home offers a delightful blend of simplicity and satisfaction, making it an ideal endeavor for anyone looking to enhance their gardening repertoire.
Peppers not only add a splash of color to your garden but also bring a burst of flavor to your culinary creations. Whether you’re aiming to cultivate sweet bell peppers or venture into the spicier realms of habaneros, this guide will equip you with the knowledge and confidence to transform your garden into a pepper paradise.
In the following pages, we’ll delve into the essentials of pepper cultivation, from selecting the right varieties for your climate to mastering the art of soil preparation and pest management. You’ll discover practical tips and tricks that cater to both the novice eager to get their hands dirty and the seasoned gardener seeking to perfect their pepper-growing prowess.
Select Ideal Pepper Varieties
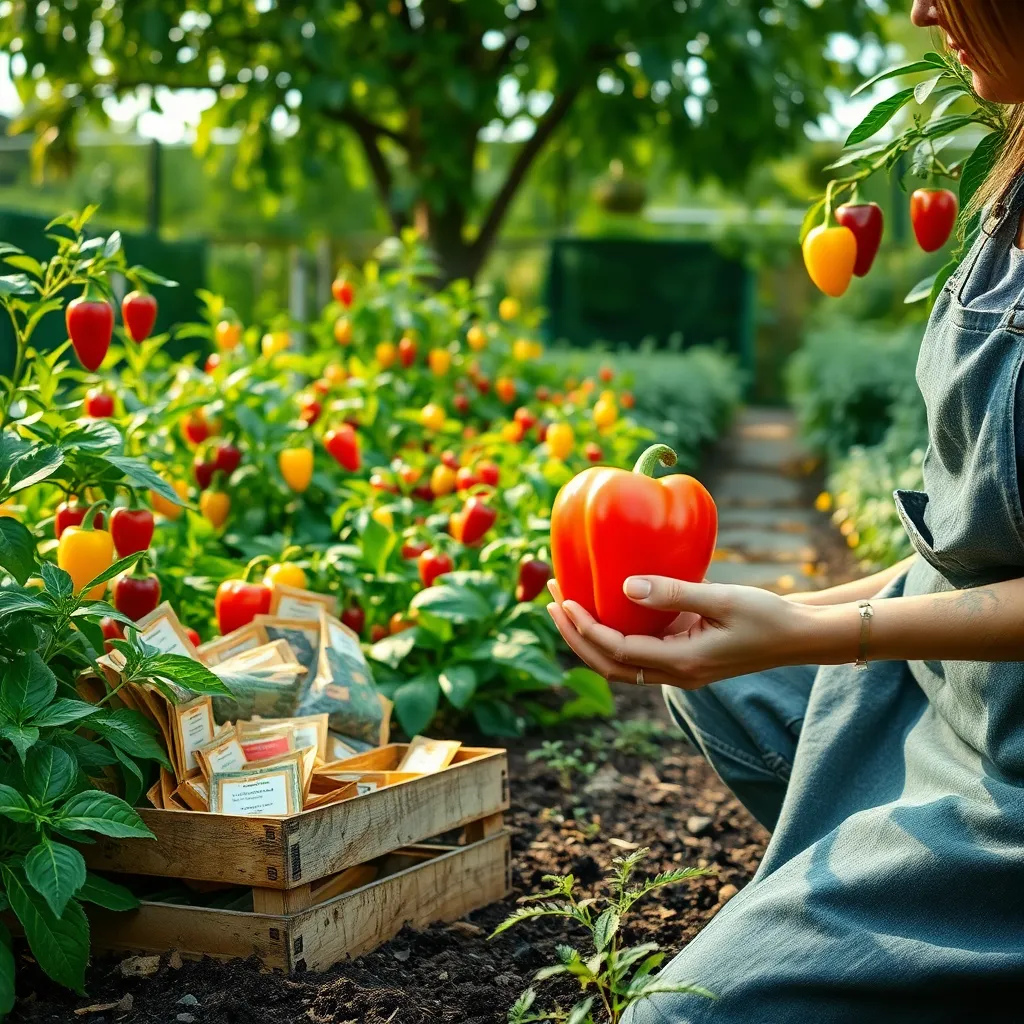
Choosing the right pepper variety is crucial for a successful harvest, as different types thrive under varying conditions. Consider your regional climate and the space available in your garden before selecting a variety.
For beginners, starting with easy-to-grow varieties like ‘California Wonder’ or ‘Jalapeño’ can be rewarding. These types are known for their resilience and moderate care requirements.
If you want to experiment with more exotic choices, consider growing ‘Habanero’ or ‘Bhut Jolokia’ for a spicy challenge. These varieties require a longer growing season and consistent warmth, so plan accordingly by starting seeds indoors.
To maximize your pepper yield, ensure you plant them in well-draining soil rich in organic matter. Regular watering is essential, but avoid waterlogging by allowing the topsoil to dry out slightly between waterings.
For optimal growth, provide peppers with full sun exposure and protect them from strong winds using garden stakes or cages. Regularly check for pests like aphids and caterpillars, and address any issues promptly with organic remedies.
Prepare Well-Draining Soil
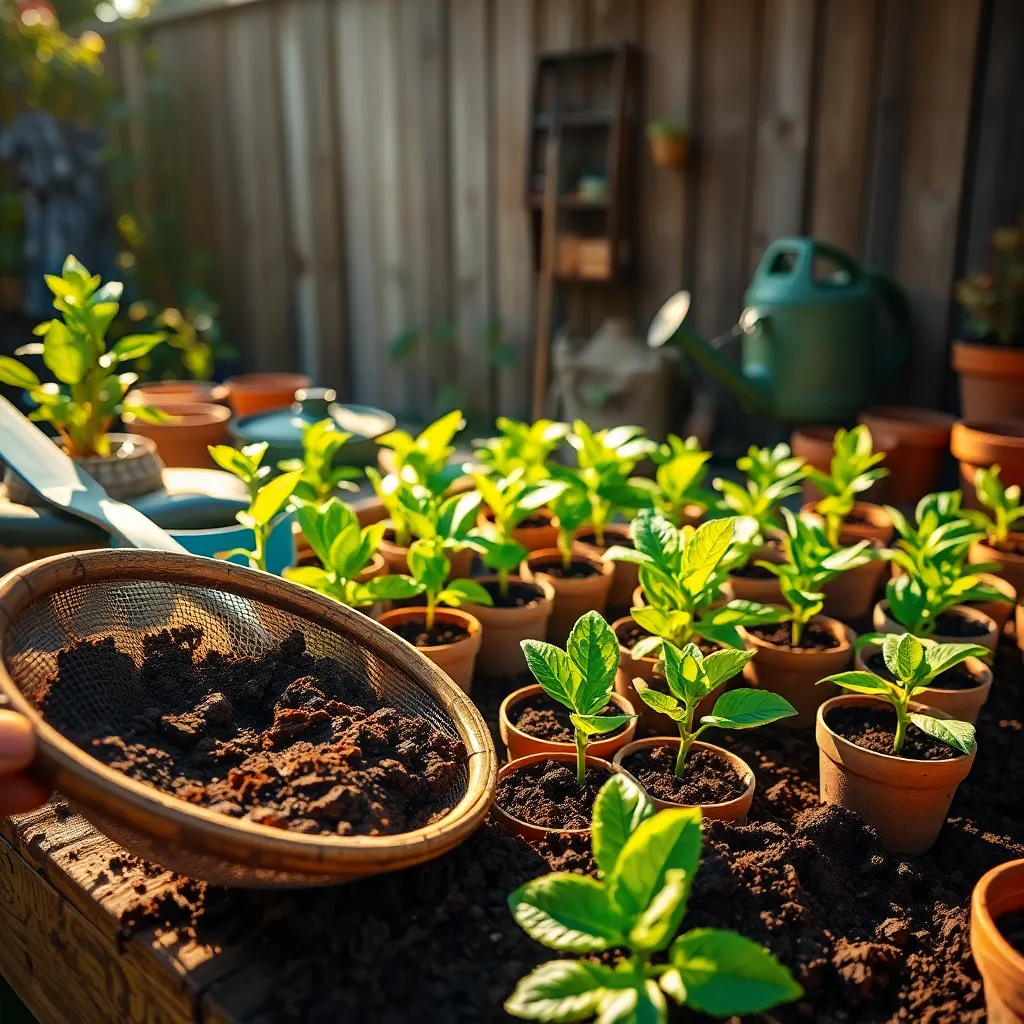
To grow peppers successfully, it’s essential to begin with well-draining soil. This not only prevents waterlogging but also ensures the roots get enough oxygen, which is crucial for healthy plant development.
Start by choosing a soil mix that is rich in organic matter such as compost or well-rotted manure. These materials improve soil structure, enhancing drainage while still retaining essential moisture and nutrients.
For those new to gardening, a simple way to test soil drainage is to dig a hole about 12 inches deep and fill it with water. If the water takes more than 30 minutes to drain, consider amending your soil with perlite, sand, or fine gravel to improve its drainage properties.
Experienced gardeners might opt to create a custom soil blend by mixing equal parts of peat moss, vermiculite, and garden soil. This combination offers excellent balance, providing both drainage and water retention needed for optimal pepper growth.
For those who prefer container gardening, ensure pots have adequate drainage holes and use a potting mix specifically designed for vegetables. Regularly check these containers to ensure they are not sitting in standing water, as this can lead to root rot and other complications.
Sow Seeds Indoors Early
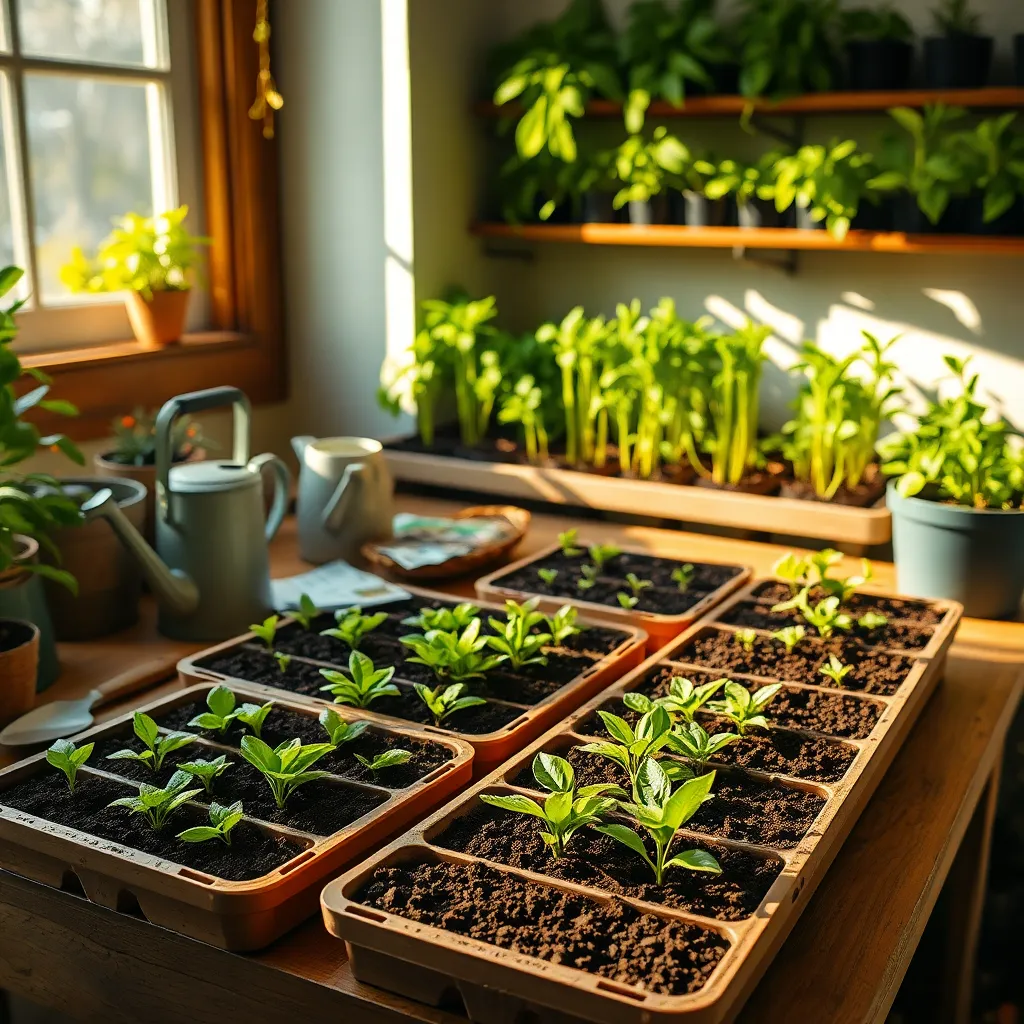
Starting pepper seeds indoors gives you a head start on the growing season, especially in regions with shorter summers. Begin by sowing seeds 8 to 10 weeks before the last expected frost date in your area.
Choose a high-quality seed-starting mix that is light and well-aerated to ensure strong root development. Fill seed trays or small pots with the mix, leaving about half an inch from the top to allow for watering.
Plant seeds about a quarter-inch deep, and keep them consistently moist but not waterlogged. To maintain optimal moisture levels, cover the trays with a clear plastic lid or plastic wrap until seedlings emerge.
Place the seeds in a warm location with temperatures between 70-80°F (21-27°C) to encourage germination. If necessary, use a heat mat to maintain consistent warmth, which can significantly speed up the germination process.
Once seedlings appear, move them to a bright spot where they receive at least 12-16 hours of light daily, using grow lights if natural sunlight is insufficient. Keep the lights just a few inches above the seedlings to prevent them from becoming leggy.
As seedlings grow, thin them out by snipping weaker ones at the base, allowing the strongest to thrive. Water the seedlings when the top inch of soil feels dry, avoiding overwatering, which can lead to root rot.
Transplant Seedlings Outdoors Carefully
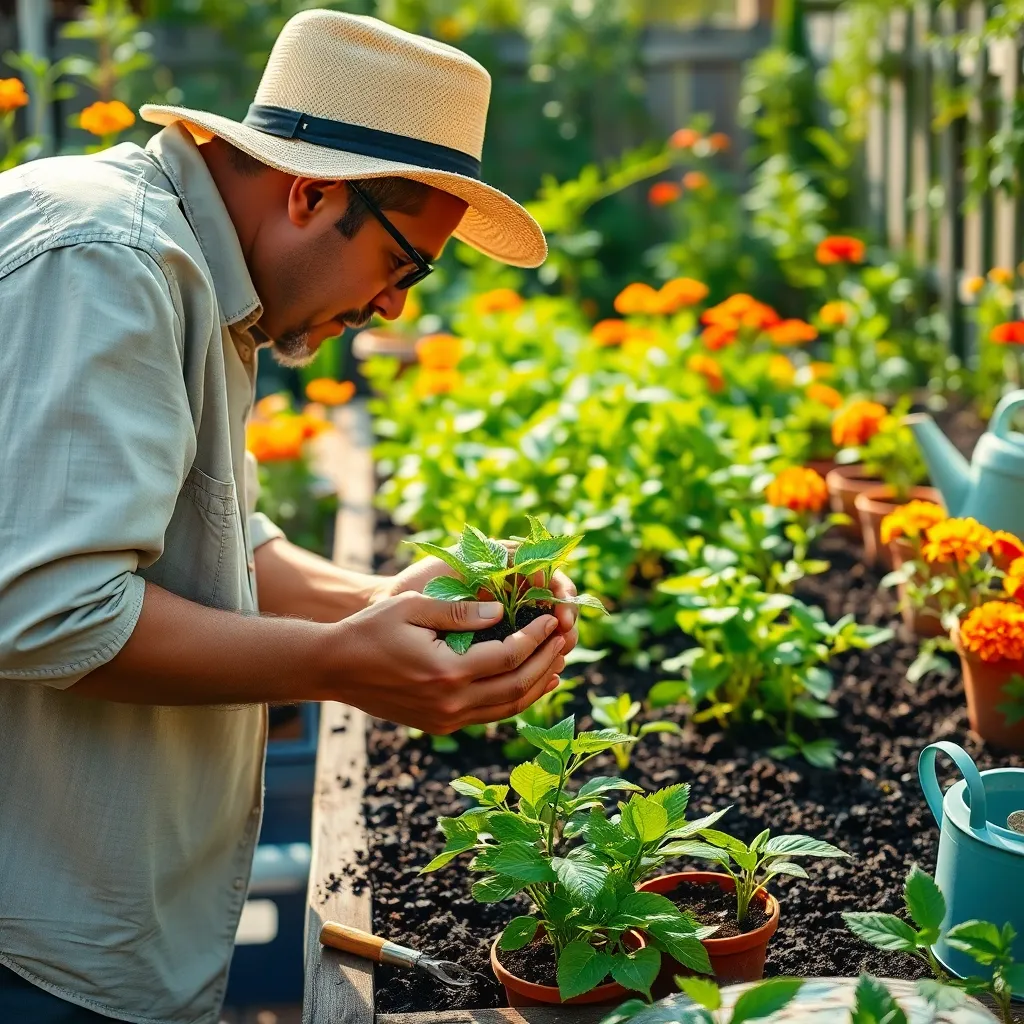
To ensure your pepper seedlings thrive outdoors, it’s crucial to transplant them carefully. Begin by hardening off your seedlings about two weeks before the actual transplant date. This involves gradually exposing them to outdoor conditions, starting with just an hour a day and slowly increasing the time. This process helps seedlings acclimate to the sun, wind, and temperature variations, reducing transplant shock.
Choose a cloudy day or transplant in the late afternoon to reduce stress on the plants. Before transplanting, ensure your garden soil is well-prepared, rich in organic matter, and well-draining. Peppers prefer a slightly acidic to neutral pH, ideally between 6.0 and 7.0, so test your soil if necessary. Water your seedlings thoroughly before removing them from their pots to keep the root ball intact.
When planting, dig a hole deep enough to cover the root ball but not so deep as to bury the stem. Space pepper plants about 18 to 24 inches apart to allow for proper air circulation and growth. Firm the soil around the seedlings gently, ensuring no air pockets remain, and water them immediately after planting. This initial watering is crucial for setting the roots in their new environment.
To help retain soil moisture and suppress weeds, consider adding a layer of organic mulch around the plants. Regular watering is essential, especially during dry spells, but avoid overhead watering to prevent diseases. Instead, water at the base of the plants, providing about 1-2 inches per week, depending on rainfall and humidity levels. By following these steps, you’ll give your pepper plants the best chance to flourish in their new outdoor home.
Water and Fertilize Regularly
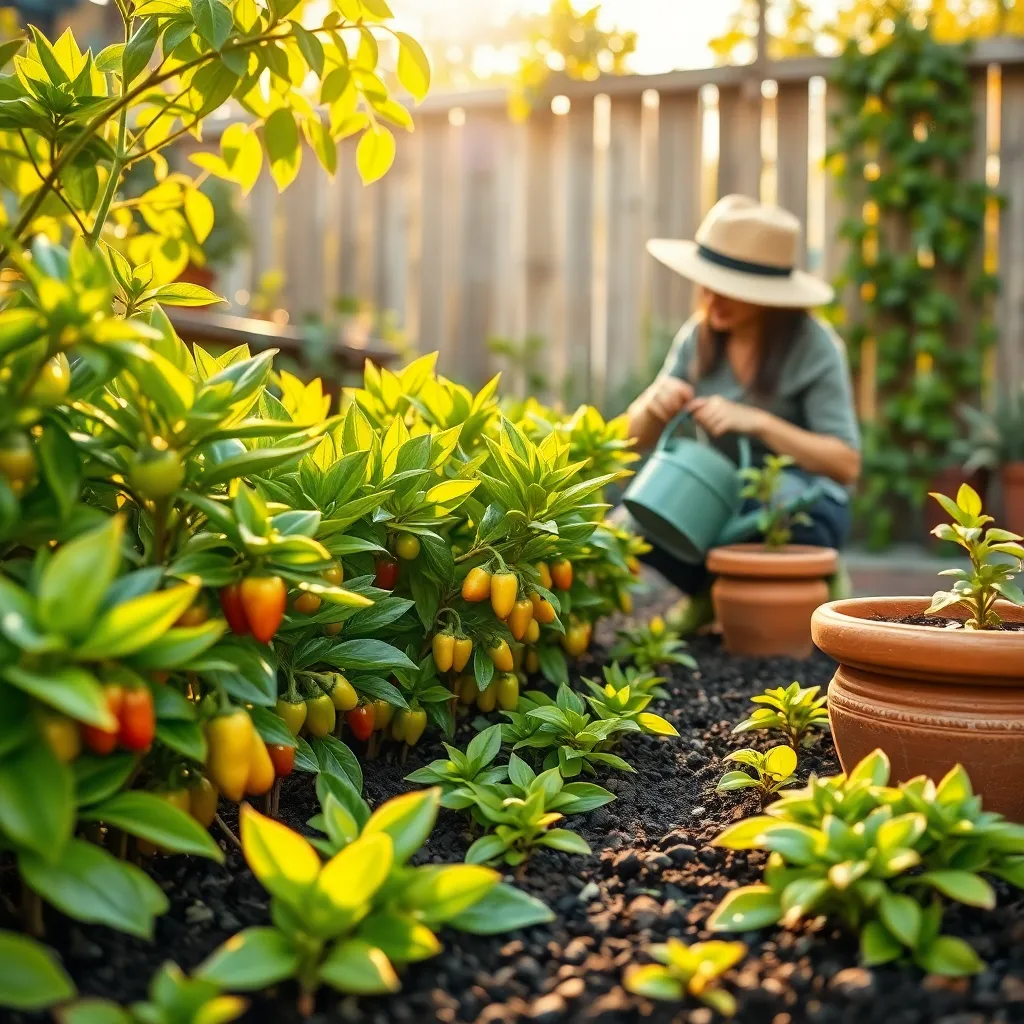
To ensure your peppers thrive, it’s vital to water them regularly but wisely. Peppers prefer consistently moist soil, so aim to water them deeply once or twice a week, depending on the weather and soil type.
Mulching around the plants can help retain soil moisture and reduce the frequency of watering. Organic mulches like straw or shredded leaves work well and also add nutrients to the soil as they decompose.
Fertilizing peppers is equally important for promoting healthy growth and fruit production. Use a balanced fertilizer, such as a 10-10-10 formula, every four to six weeks during the growing season.
Advanced gardeners might consider using a liquid fertilizer every two weeks for an extra boost, particularly during the flowering and fruiting stages. Always follow the manufacturer’s instructions to avoid over-fertilizing, which can harm the plants.
For both watering and fertilizing, it’s crucial to observe your plants and adjust your approach based on their appearance and the weather conditions. Healthy pepper plants will have vibrant green leaves and start setting fruit several weeks after transplanting.
Conclusion: Growing Success with These Plants
As you embark on the rewarding journey of growing peppers at home, remember that nurturing your plants closely parallels nurturing your relationships. The five key concepts we’ve explored—understanding each plant’s unique needs, providing consistent care, nurturing through challenges, celebrating growth milestones, and learning from past experiences—are just as vital in cultivating healthy relationships. By recognizing and catering to individual needs, fostering a supportive environment, and celebrating progress, you can create a flourishing garden of connection.
As an actionable next step, spend a few moments today reflecting on how you can apply these principles to your relationships, whether it’s through a heartfelt conversation or an unexpected act of kindness. This small step can set in motion a cascade of positive changes.
Don’t forget to bookmark this article for future reference; it’s your go-to guide for nurturing both your plants and your connections. By integrating these practices into your daily life, you’re taking significant strides towards relationship success. Remember, the seeds of today are the blooms of tomorrow. Together, let’s cultivate a garden of thriving relationships that will stand the test of time.


