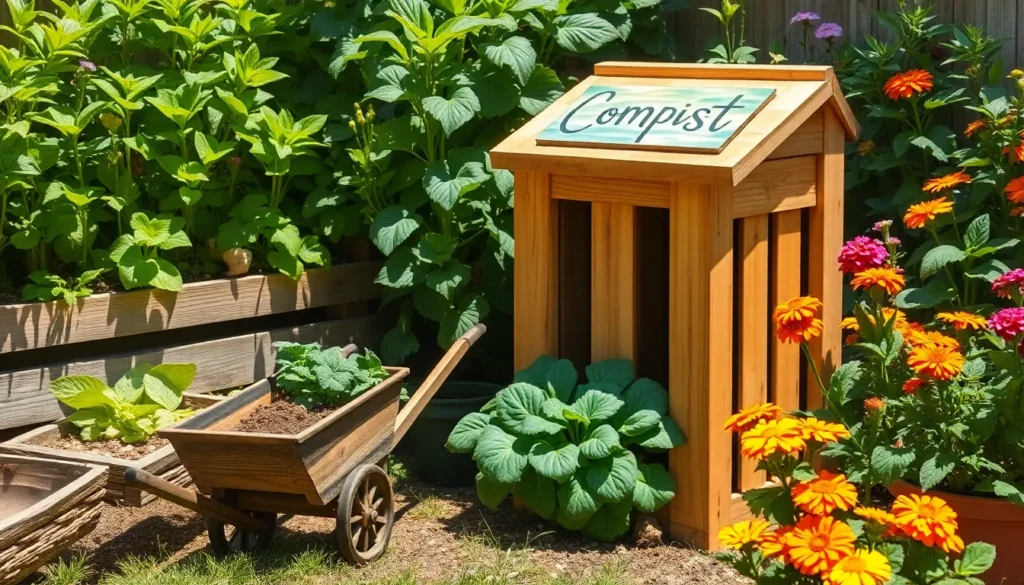
Creating your own compost bin is a delightful entry into the world of sustainable gardening, whether you’re just planting your first seeds or have a seasoned green thumb. As gardeners, we all know that the secret to vibrant, healthy plants often lies in the soil, and what better way to enrich it than with homemade compost brimming with nutrients?
For those who are new to this, don’t worry—composting is as rewarding as it is simple, and we’re here to guide you through every step of the process. Even for the experienced gardener, building a DIY compost bin can be a fulfilling project that enhances your garden’s ecosystem and reduces kitchen waste.
In this article, you’ll discover the essentials of constructing a compost bin that suits your space and style. From selecting the best materials to understanding the perfect balance of greens and browns, we’ll ensure you’re equipped with all the knowledge needed to turn organic waste into garden gold.
By the end of this guide, you’ll not only have a new addition to your garden but also a deeper connection to the cycle of growth and renewal. Together, let’s embark on this journey to create a more sustainable and flourishing garden environment, one compost bin at a time.
Select a Suitable Location
Choosing the right location for your compost bin is crucial for its efficiency and success. Look for a level spot in your garden that is easily accessible, as you’ll need to add materials regularly and turn the pile for aeration.
It’s important to place your compost bin on bare soil to allow beneficial organisms to migrate into the pile, aiding the decomposition process. If bare soil isn’t an option, add a layer of twigs or straw at the bottom to help with drainage and aeration.
Consider the sun exposure in the area you choose; a spot with partial shade can prevent the compost from drying out too quickly. However, ensure the location receives some sunlight to help maintain warmth, which is essential for the composting process.
For those with limited space, a smaller bin can be tucked away near a garden bed but away from structures to prevent excess moisture from causing damage. If you’re an advanced gardener, you might consider a dual-bin system in a similar location, allowing for continuous composting with one bin actively decomposing while the other is being filled.
Gather Necessary Materials
To start building your DIY compost bin, gather all necessary materials to ensure a smooth assembly process. You’ll need wooden pallets, chicken wire, or plastic bins, depending on your chosen design. Wooden pallets are a popular choice due to their availability and ease of assembly. If you opt for a more enclosed bin, consider using plastic bins with drilled holes for aeration.
Next, acquire tools such as a hammer, nails, wire cutters, and a power drill. These tools will help you securely construct and customize your bin to fit your garden space. For beginners, pre-assembled kits are available and can simplify the process. More experienced gardeners might enjoy the challenge of building their bin from scratch.
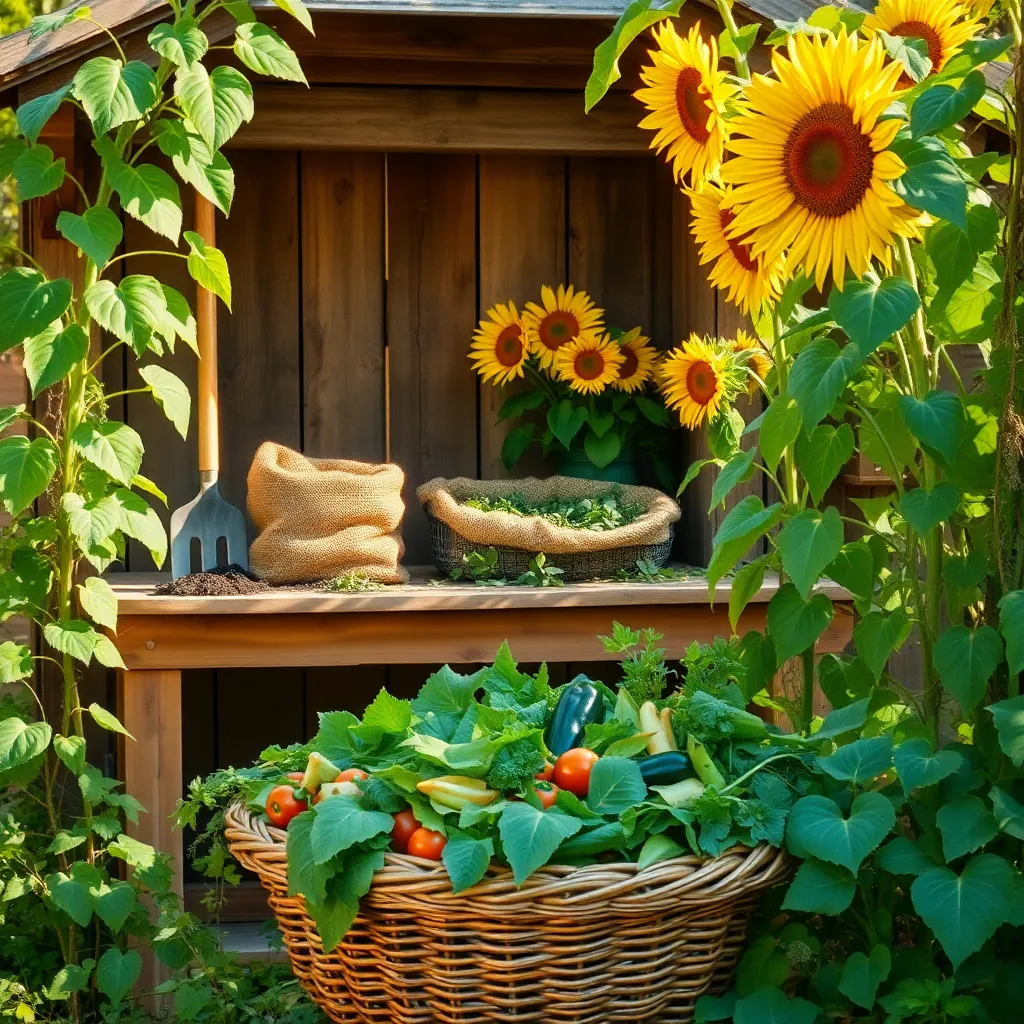
Having a compost thermometer is an advanced yet beneficial tool to monitor the internal temperature of your compost. Maintaining a temperature of 135-160°F (57-71°C) is ideal for effective decomposition. Additionally, stock up on materials to start your compost pile, such as green waste like kitchen scraps and brown waste like dried leaves. Balancing these materials correctly will ensure a thriving compost environment.
Finally, consider acquiring a tarp or cover to protect your compost from excessive rain or sun. This helps maintain the right moisture levels, which is crucial for the composting process. Remember, a well-maintained compost bin not only reduces waste but also enriches your garden soil with essential nutrients. With your materials ready, you’re set to build a functional and eco-friendly compost bin for your garden!
Assemble the Compost Bin
Now that you have all the necessary materials, it’s time to assemble your compost bin. Start by choosing a location that receives partial sun, which will help speed up the decomposition process but prevent overheating.
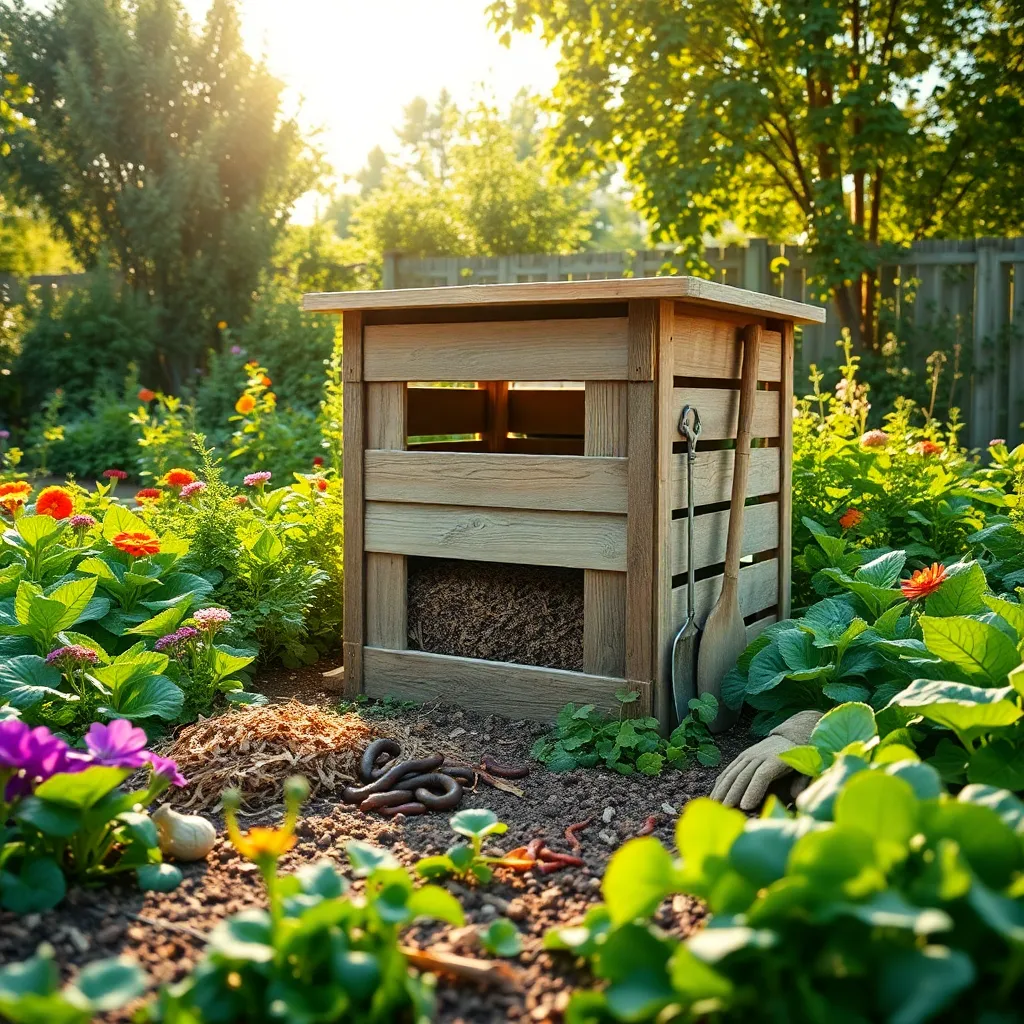
Begin by constructing the base of the bin using sturdy materials, such as untreated wood or wire mesh. This base will allow for proper drainage and air circulation, essential for creating a healthy compost environment.
Next, build the sides of the bin, ensuring they are secure but allow for some ventilation. You can achieve this by leaving small gaps between the boards or using slatted wood panels.
Once the sides are in place, ensure the top of the bin can be easily accessed for adding materials and turning the compost. Consider installing a hinged lid or a removable panel for this purpose, as regular aeration is crucial for effective composting.
For added convenience, you can divide the bin into sections, creating a multi-stage composting system. This allows you to have one section for fresh materials and another for maturing compost, optimizing the process.
Remember to regularly check the moisture level inside the bin; it should be like a damp sponge. If it’s too dry, add water, and if it’s too wet, incorporate more dry materials like shredded newspaper or straw.
Add Layers of Organic Waste
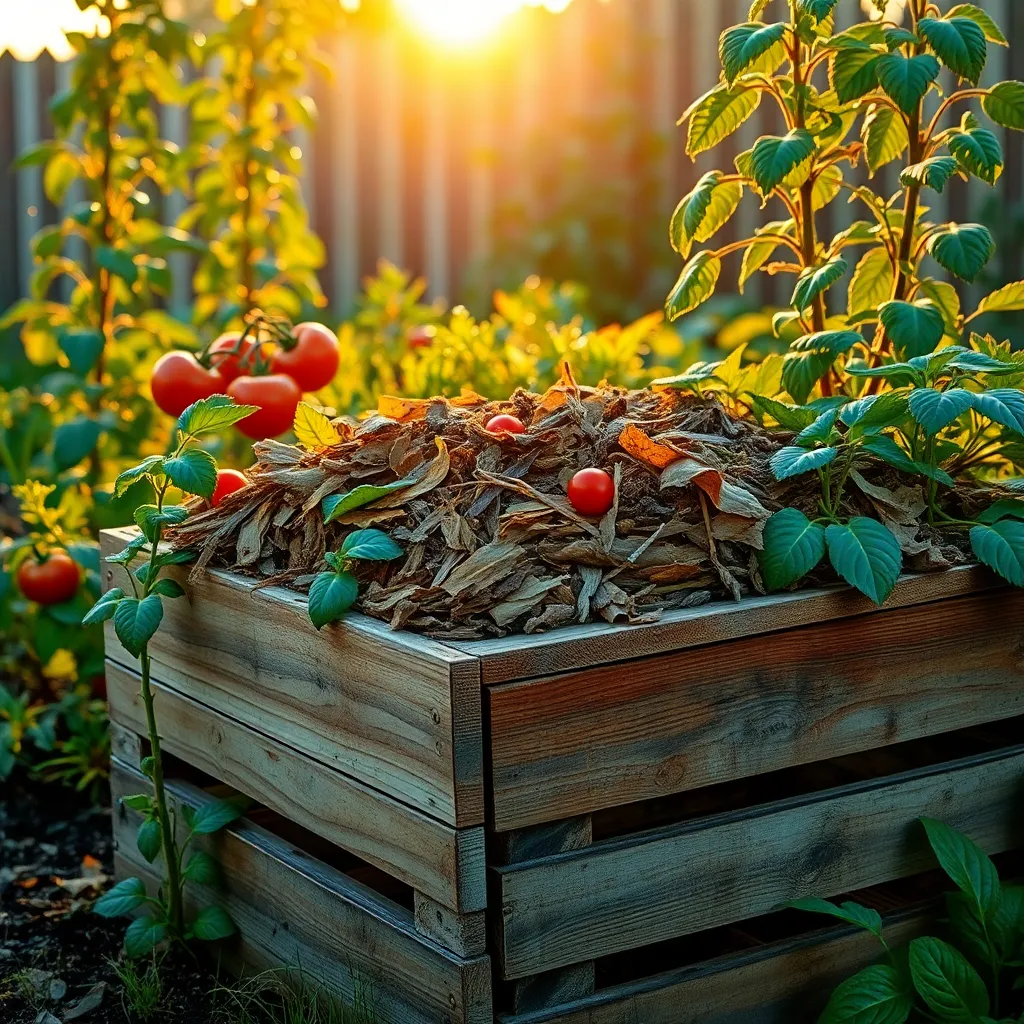
Once your compost bin is assembled, it’s time to start adding layers of organic waste. Begin with a base layer of coarse material such as small twigs or straw to facilitate drainage and aeration.
Next, add a layer of brown materials like dried leaves or shredded newspaper, which are rich in carbon. These materials help balance the compost by counteracting the moisture from green materials, ensuring a proper breakdown.
After the brown layer, add a layer of green materials such as vegetable scraps, grass clippings, or coffee grounds. These organic wastes are rich in nitrogen, which helps to speed up the decomposition process.
Be sure to keep the layers relatively thin, around 2 to 4 inches, to encourage even decomposition. Moisture is key; your compost should feel like a damp sponge, so water lightly if necessary.
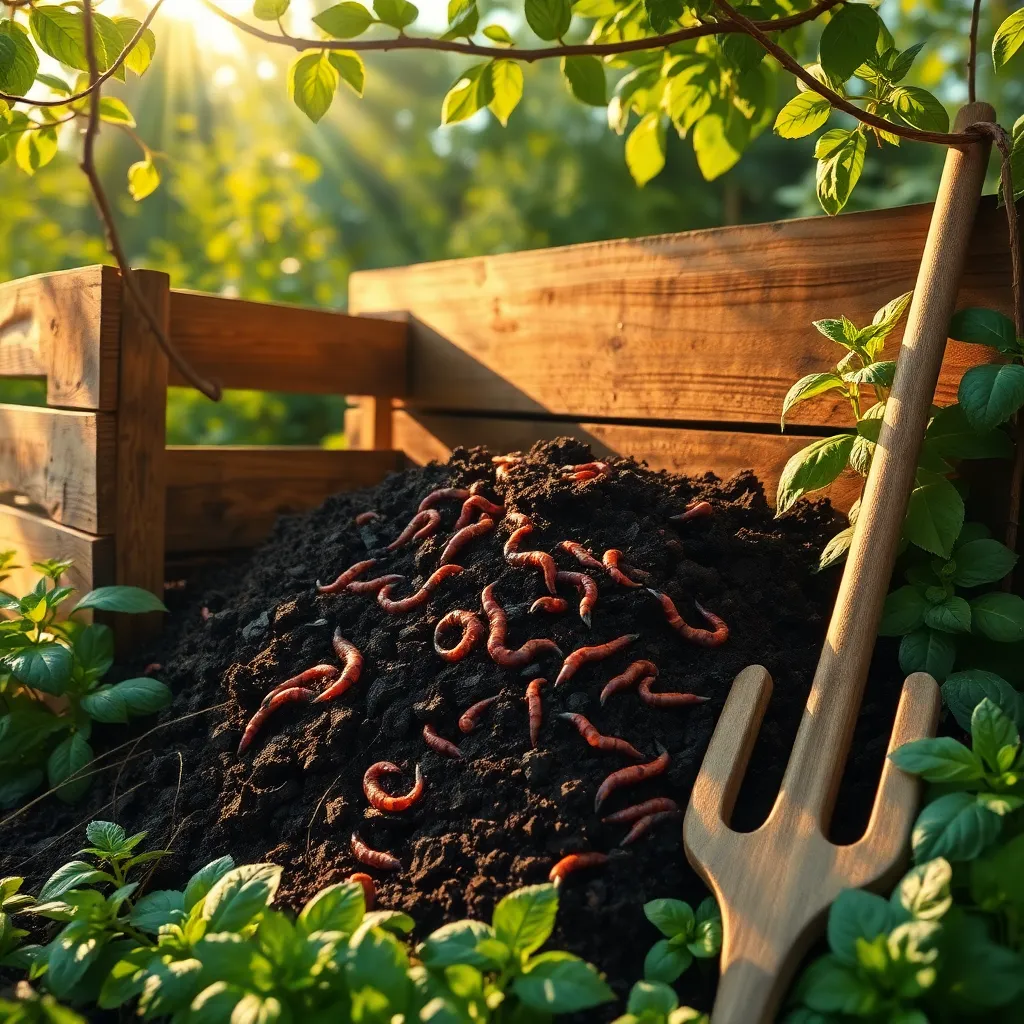
As you continue to add layers, occasionally mix the contents with a garden fork to introduce air and promote microbial activity. This aerobic process prevents unpleasant odors and accelerates decomposition, producing compost faster.
If you’re an experienced gardener, consider adding a handful of garden soil or finished compost between layers. This introduces beneficial microorganisms that jumpstart the breakdown of organic materials.
Maintain and Monitor Compost
Once you’ve added your layers of organic waste, it’s important to maintain and monitor your compost pile regularly. This ensures that the decomposition process continues efficiently and that you end up with nutrient-rich compost for your garden.
Begin by checking the moisture level of your compost pile, which should be as damp as a wrung-out sponge. If it’s too dry, add water using a garden hose or watering can, and if it’s too wet, mix in dry materials like straw or shredded newspaper to absorb excess moisture.
Aeration is crucial for the composting process, so make sure to turn your pile every few weeks. Use a garden fork or shovel to mix the materials, bringing the outer layers to the center and vice versa, to introduce oxygen and speed up decomposition.
Temperature is another key factor, with the ideal range being between 135°F and 160°F. Use a compost thermometer to monitor this, and if the temperature drops, it might be time to turn the pile again or add more green materials like grass clippings to raise it.
Keep an eye out for pests and unwanted odors, which can indicate an imbalance in your compost. To prevent this, make sure you’re maintaining a proper balance of green and brown materials and avoid adding meat or dairy products, which can attract pests.
Advanced gardeners can experiment by adding natural accelerators like compost starters or aged manure to boost microbial activity. These can help speed up the composting process and produce finished compost in a shorter timeframe.
Conclusion: Growing Success with These Plants
In embarking on your DIY compost bin journey, we’ve explored the essence of nurturing relationships, both in the garden and in life. First, we highlighted the importance of communication, akin to understanding the needs of your compost materials. Second, we delved into the value of consistency, much like regularly turning your compost for optimal results. Third, we emphasized patience, as strong relationships, like rich compost, take time to develop. Fourth, we discussed resourcefulness, finding creative solutions in both relationship challenges and composting obstacles. Lastly, we celebrated mutual growth, nurturing your garden and your connections simultaneously.
Now, take a moment to assess your current relationships. Identify one area where you can apply these principles today—whether it’s reaching out to a friend or setting aside time for a loved one.
Save or bookmark this article to revisit these insights whenever you need a gentle reminder of how to enrich your relationships. As you cultivate your garden, remember that the seeds of healthy relationships, when tended with care, will ultimately blossom into lasting success. Your journey to flourishing relationships starts with a single step—embrace it today.


