Mulching is more than just a covering for your garden beds; it’s a nurturing blanket that can transform your green space into a thriving oasis. Whether you’re new to gardening or have years of experience under your belt, understanding how to effectively mulch your garden is key to promoting healthier plants, conserving moisture, and reducing pesky weeds. This essential practice lies at the heart of sustainable gardening, and it’s one that rewards your efforts with vibrant blooms and bountiful harvests.
As you embark on this mulching journey, you’ll uncover the diverse types of mulch available and learn how each can uniquely benefit your garden. From organic options like bark, straw, and leaves, to inorganic choices like stones and fabric, selecting the right mulch for your specific needs can significantly influence your garden’s success. We’ll guide you through the process of applying mulch correctly, ensuring that you maximize its benefits while avoiding common pitfalls that can hinder plant growth.
In this article, you’ll discover practical tips that make mulching a straightforward and enjoyable part of your gardening routine. We’ll explore how to gauge the right thickness, how to time your mulching perfectly with the seasons, and even how to integrate mulching into your garden’s aesthetic appeal. By the end, you’ll feel empowered to create a garden that not only looks beautiful but thrives with vitality, all thanks to the art of mulching.
Select the Appropriate Mulch Type
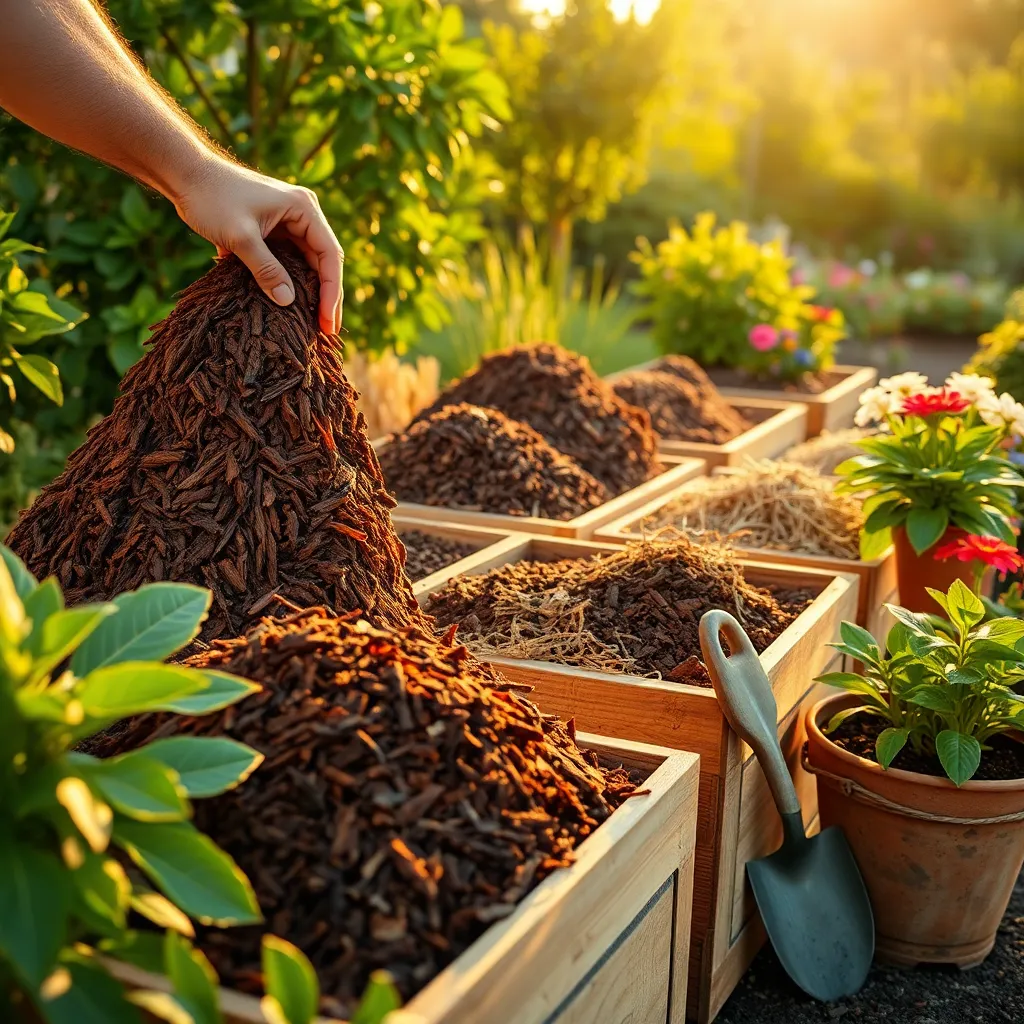
Choosing the right mulch is crucial for maintaining healthy soil and plants. Organic mulches such as shredded bark, straw, and compost gradually improve soil structure as they decompose.
Avoid using mulch types that do not break down over time, like stones or rubber, unless you’re mulching pathways. These types are less beneficial for plants but can be useful for decorative or practical purposes outside of plant beds.
For vegetable gardens, consider using straw or shredded leaves, as they allow for easy planting and are excellent at suppressing weeds. Be sure to apply a layer about 2-3 inches thick to ensure effective weed control while retaining soil moisture.
In perennial flower beds, shredded bark or wood chips are excellent choices, providing a neat appearance while protecting plant roots from temperature fluctuations. Advanced gardeners might opt for cocoa hulls, which add a subtle chocolate aroma and enrich the soil with nutrients as they break down, though they can be harmful to pets.
Clear and Prepare Your Garden

Before you begin mulching, it’s essential to clear your garden of any debris and weeds. This helps ensure that the mulch will not trap unwanted elements underneath, which can hinder plant growth and health. Pay attention to any remaining plant material, such as old stalks or leaves, which should be removed to prevent disease spread. A clean garden bed sets a solid foundation for mulch application, promoting a healthier ecosystem.
Once your garden is cleared, the next step is to prepare the soil for optimal mulching. Loosen the top layer of soil with a garden fork or tiller to improve aeration and water penetration. If you notice compacted soil, consider adding organic matter like compost, which enriches the soil and enhances its structure. This preparation step is crucial to ensure that your plants will benefit fully from the mulching process.
Consider the specific needs of your plants when preparing the soil. For instance, sandy soils may require additional organic matter to improve water retention, while clay soils might benefit from sand to enhance drainage. Tailoring your soil preparation to your garden’s unique conditions can lead to significantly better results. This thoughtful approach allows mulch to work effectively, providing insulation and moisture retention.
Advanced gardeners might also test their soil’s pH levels to tailor the mulch choice. Certain mulches, like pine needles or bark, can slightly acidify the soil, which is beneficial for acid-loving plants like blueberries or azaleas. By aligning your soil preparation with the specific requirements of your plants, you set the stage for a thriving garden. This attention to detail ensures that your gardening efforts yield the best possible outcomes.
Measure the Mulch Thickness
To ensure your garden thrives, it’s crucial to measure the thickness of your mulch layer accurately. A mulch layer that’s too thin may not effectively suppress weeds, while an overly thick layer can suffocate plant roots.
For most garden beds, aim for a mulch thickness of about 2 to 4 inches. This depth is optimal for retaining moisture and insulating plant roots without hindering growth.
When mulching around trees and shrubs, be cautious not to pile mulch against the trunks. Instead, create a mulch-free space of about 1 to 2 inches around these plants to prevent rot and pest issues.
Beginners should use a simple ruler or stick to measure the mulch depth at various points. For those with more experience, consider adjusting the mulch thickness seasonally, adding an extra inch in winter to protect roots from frost.
It’s important to choose the right type of mulch for your plants and soil. Organic mulches like straw or wood chips break down over time, enriching the soil, while inorganic options like stone are more permanent but offer less soil improvement.
Regularly check your mulch layer throughout the growing season, as natural decomposition and weather conditions can alter thickness. By maintaining the correct mulch depth, you enhance your garden’s health and encourage robust plant growth.
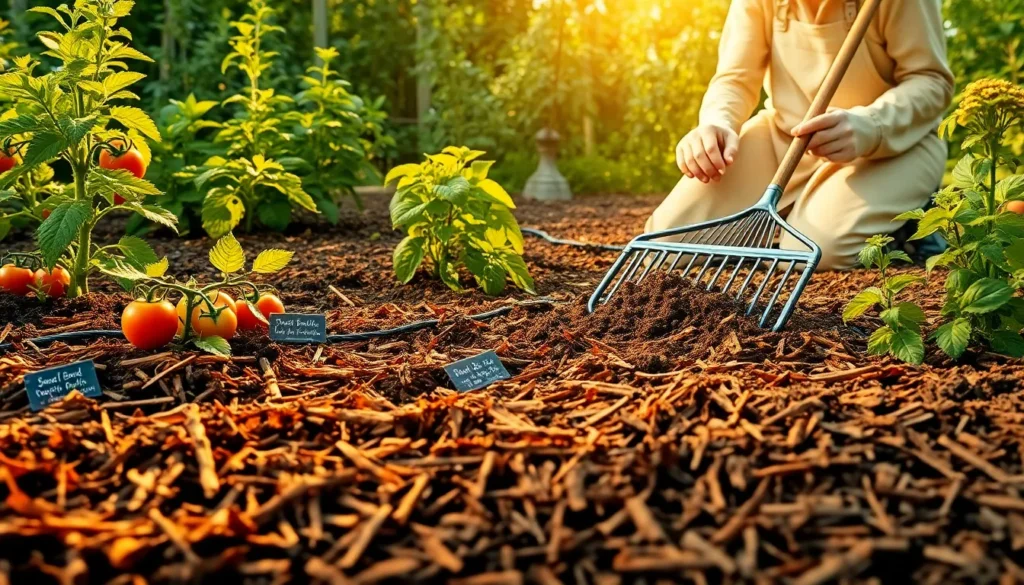
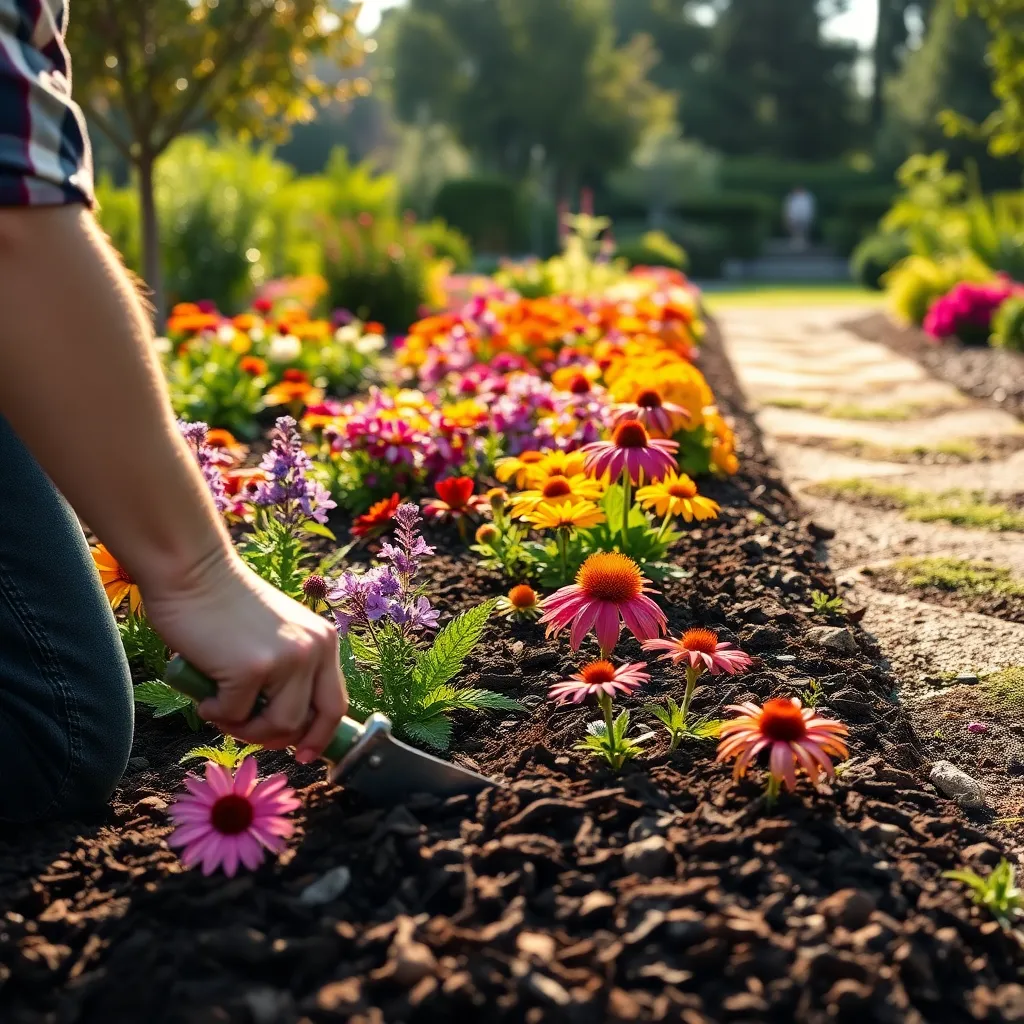
Spread Mulch Evenly Over Soil

After measuring the desired thickness of your mulch layer, it’s crucial to spread it evenly over the soil. Uniform coverage ensures that each part of your garden receives the same benefits, such as moisture retention and weed suppression. Use a rake or your hands to distribute the mulch, depending on the area size. Raking helps you control the spread and avoid clumping, which can lead to uneven decomposition and pest issues.
Start at the base of your plants and work your way outwards, keeping the mulch away from direct contact with stems or trunks. Excessive mulch against plant bases can cause rot or disease, so leave a small gap around each plant. For larger garden spaces, consider dividing the area into sections to manage your workload and ensure even distribution. This method allows you to maintain focus and achieve a professional, well-kept appearance in your garden.
It’s important to regularly check the mulch layer for consistency, especially after heavy rain or strong winds. Natural elements can shift mulch, so a quick rake-through will help maintain its efficacy. Advanced gardeners might want to experiment with different mulch types, such as organic versus inorganic, to see which best supports their specific plants and soil conditions. This exploratory approach not only enhances your garden’s health but also broadens your understanding of mulch’s diverse benefits.
For those using mulch in vegetable gardens, consider the growth habits of your plants to adjust mulch application. Warm-season crops like tomatoes or peppers benefit from mulching because it helps maintain even soil temperatures. Additionally, ensure that the mulch is not too thick as this might inhibit air circulation, critical for root health. By following these steps, your garden will not only look tidy but thrive under the protective, nutrient-rich blanket of mulch.
Water to Help Mulch Settle

After spreading your mulch evenly over the soil, it’s important to water the area thoroughly. This step helps the mulch settle into place, creating a snug blanket over your garden bed.
Watering the mulch serves the dual purpose of eliminating air pockets and ensuring it doesn’t blow away with the wind. Use a gentle spray from a garden hose or watering can to avoid displacing the mulch you just carefully arranged.
For best results, aim to moisten the mulch without soaking it, as excessive water can lead to compacted mulch that hinders soil breathability. Watering in the early morning or late afternoon prevents rapid evaporation and gives the mulch time to settle naturally.
Experienced gardeners may opt to use drip irrigation systems beneath the mulch, ensuring consistent moisture levels without disturbing the mulch layer. As a tip, test the soil beneath the mulch with your finger; it should feel slightly damp but not wet.
Conclusion: Growing Success with These Plants
As we wrap up our exploration of nurturing relationships through the lens of mulching your garden, let’s revisit the key concepts that can transform your relational landscape. First, lay a solid foundation by understanding your partner’s love language, just as you would prepare the soil. Second, nurture growth by regularly communicating, like watering your plants. Third, protect your relationship from external pressures, much like mulch safeguards against weeds. Fourth, maintain a balance of give and take, ensuring both partners flourish, akin to the balanced nutrients in your garden. Lastly, embrace change and adapt, allowing your relationship to evolve just as seasons transform your garden.
To put these insights into practice, take a moment today to engage in a heartfelt conversation with your partner, focusing on one area to improve together. For future reference, bookmark this article to revisit these valuable concepts when your relationship needs a little nourishment.
Remember, the seeds of relationship success are planted with intention and care. As you cultivate your connection, anticipate the vibrant growth that comes from dedication and love. Your journey to a thriving, resilient relationship starts now. Save this article and let it be your guide.


