Gardening is a journey filled with discovery, growth, and the occasional unexpected twist, much like the plants we lovingly tend to. Whether you’re planting your very first seed or you’ve cultivated a thriving garden for years, understanding common pitfalls can transform your gardening experience from frustrating to fulfilling. Mistakes in the garden are not merely missteps; they are opportunities for learning and growth, providing valuable insights that enrich our green-thumbed adventures.
For both novice and seasoned gardeners, recognizing and avoiding frequent missteps can be the key to unlocking the full potential of your garden. In this article, you’ll learn how to steer clear of common errors that could hinder your plants’ health and vitality, ensuring a thriving garden that bursts with life. By delving into these pitfalls, you’ll be equipped with the knowledge to nurture your garden more effectively, making your gardening experience not only more successful but also more enjoyable.
Join us as we explore these essential insights, helping you cultivate a garden that thrives in harmony with nature. You’ll discover practical strategies and tips that empower you to create a lush, vibrant sanctuary, no matter your level of expertise. With these tools in hand, you can embrace the joys of gardening with confidence and a deeper understanding of how to foster a flourishing environment.
Overcrowded Planting Spaces
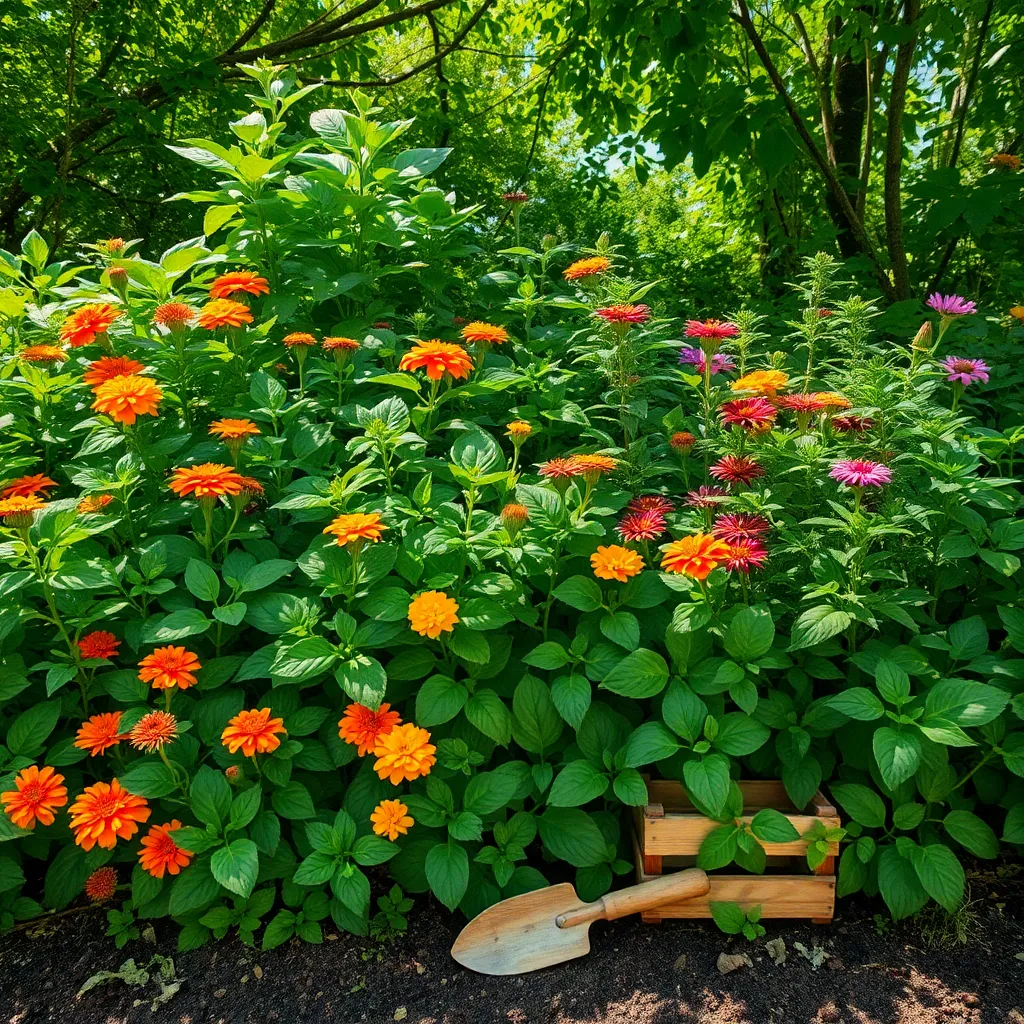
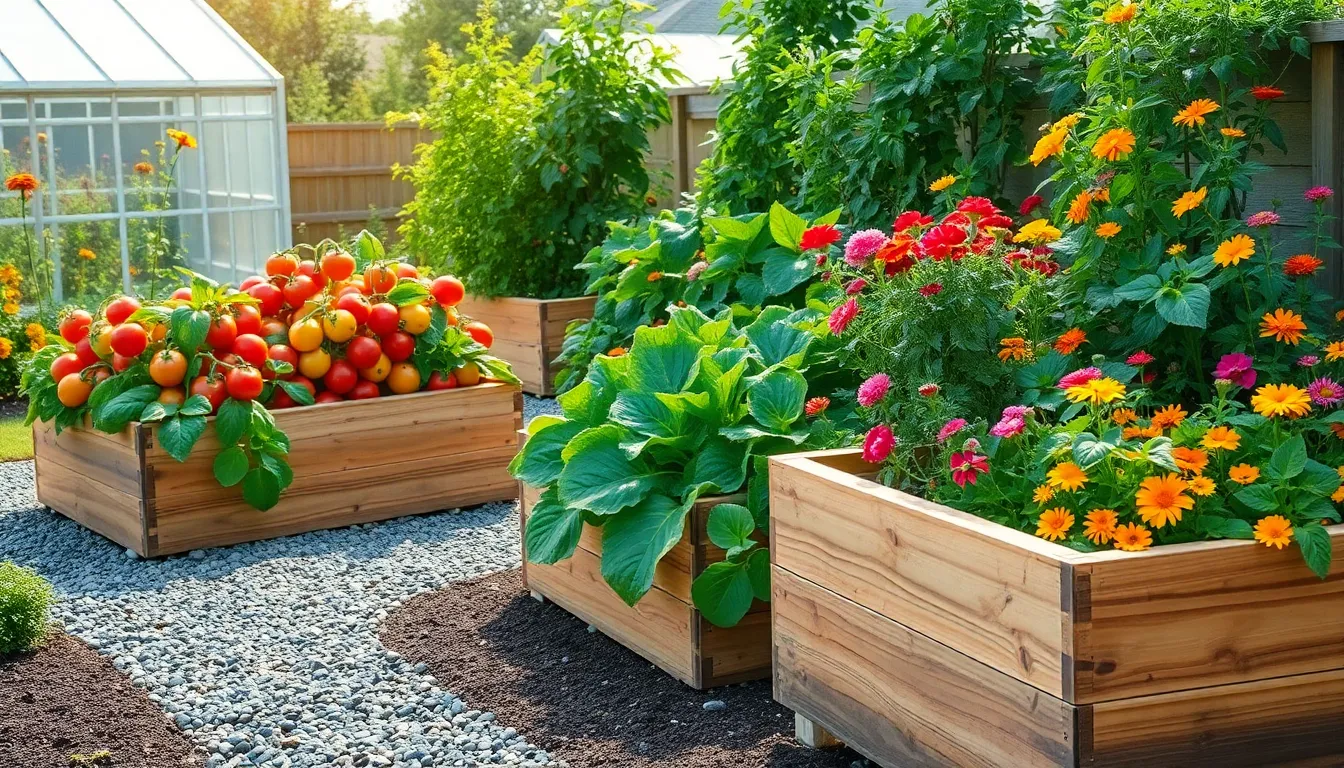
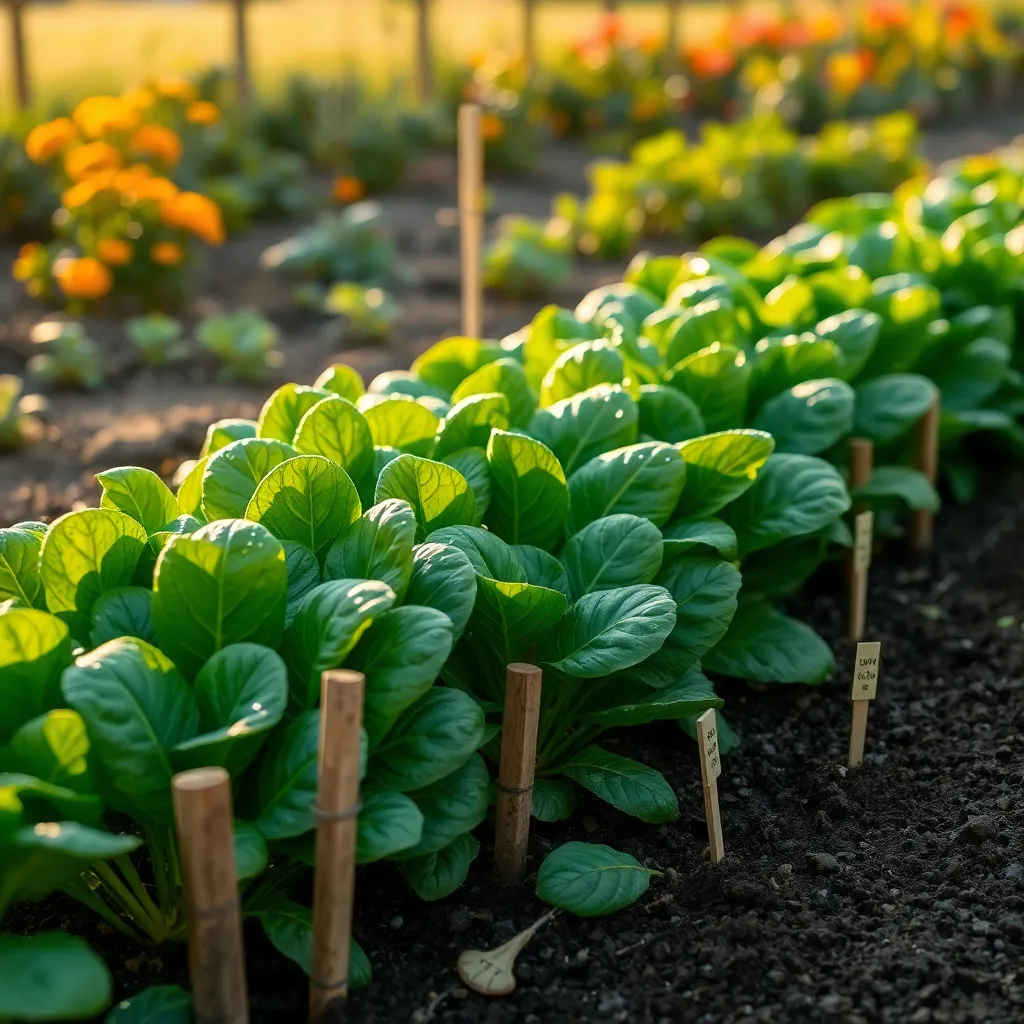
One common mistake gardeners make is overcrowding their planting spaces, which can lead to unhealthy plants. When plants are too close together, they compete for nutrients, water, and sunlight, often resulting in stunted growth and increased susceptibility to diseases.
To avoid this, always check the recommended spacing for each plant on the seed packet or plant label. As a general rule, ensure there is enough room for air circulation, as this helps prevent fungal diseases and promotes healthier growth.
For beginners, a simple way to gauge spacing is to use your hand as a guide; most vegetables need at least a hand’s width between them. Advanced gardeners might use a planting grid or square foot gardening techniques for more precise spacing, optimizing plant health and yield.
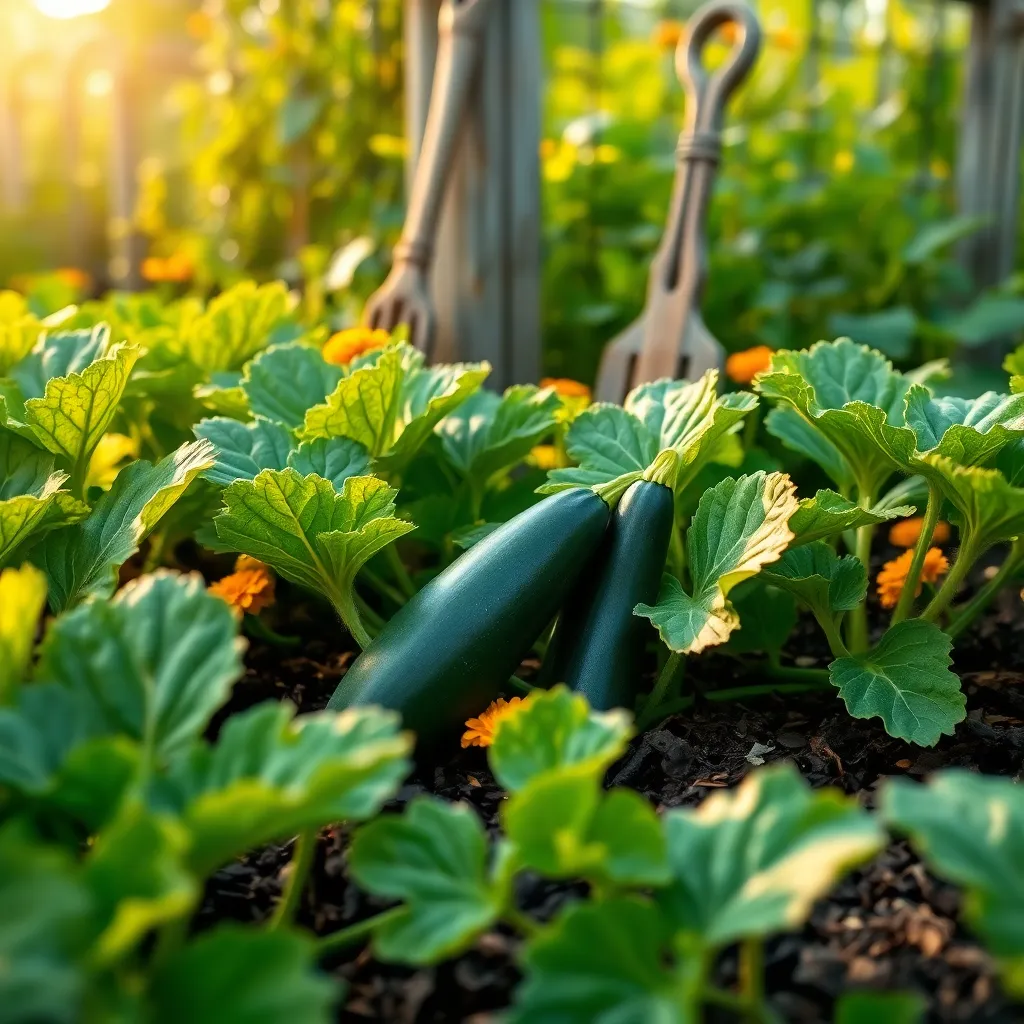
Consider the mature size of the plant when planning your garden layout, as some plants, like tomatoes and zucchini, need more space than others such as carrots or lettuces. Companion planting can also be an effective strategy; for instance, planting taller plants like corn next to low-growing ones like beans can maximize space and resources.
Ignoring Soil pH Levels
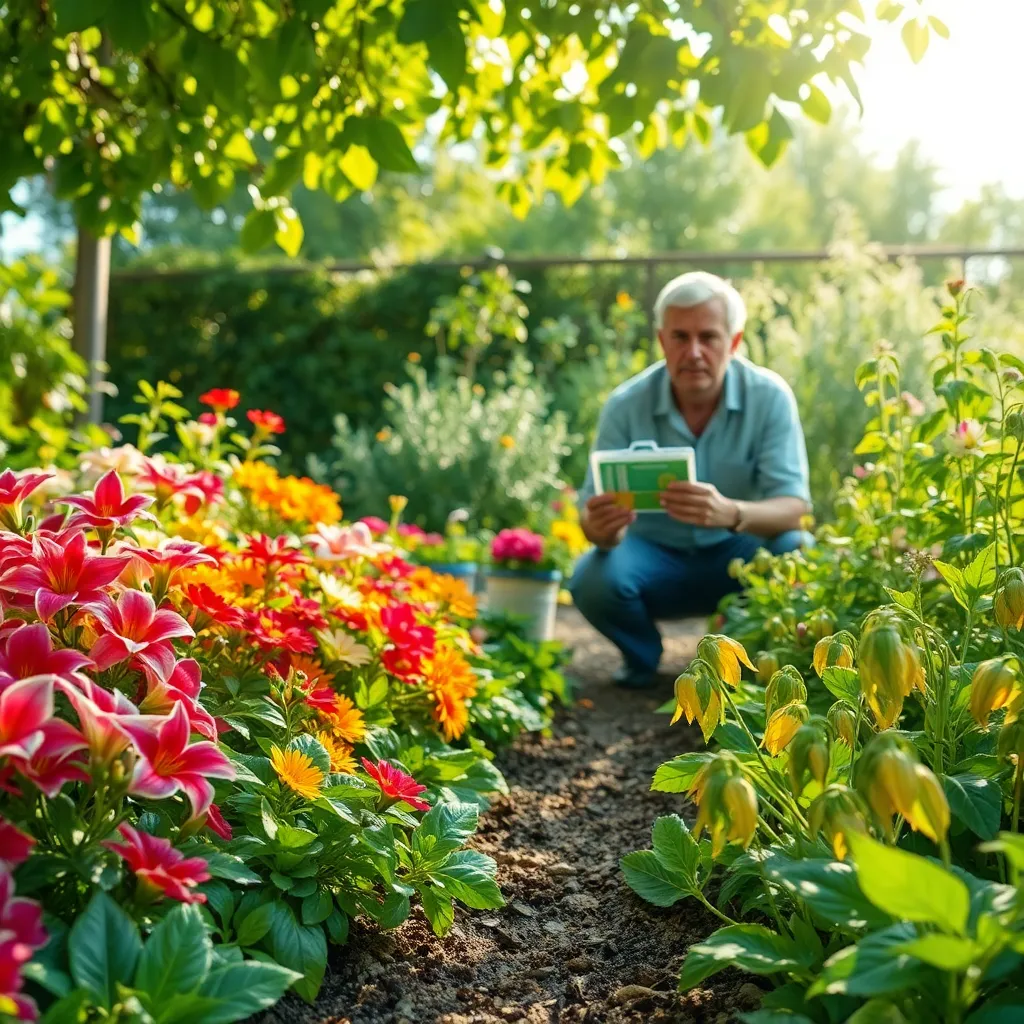
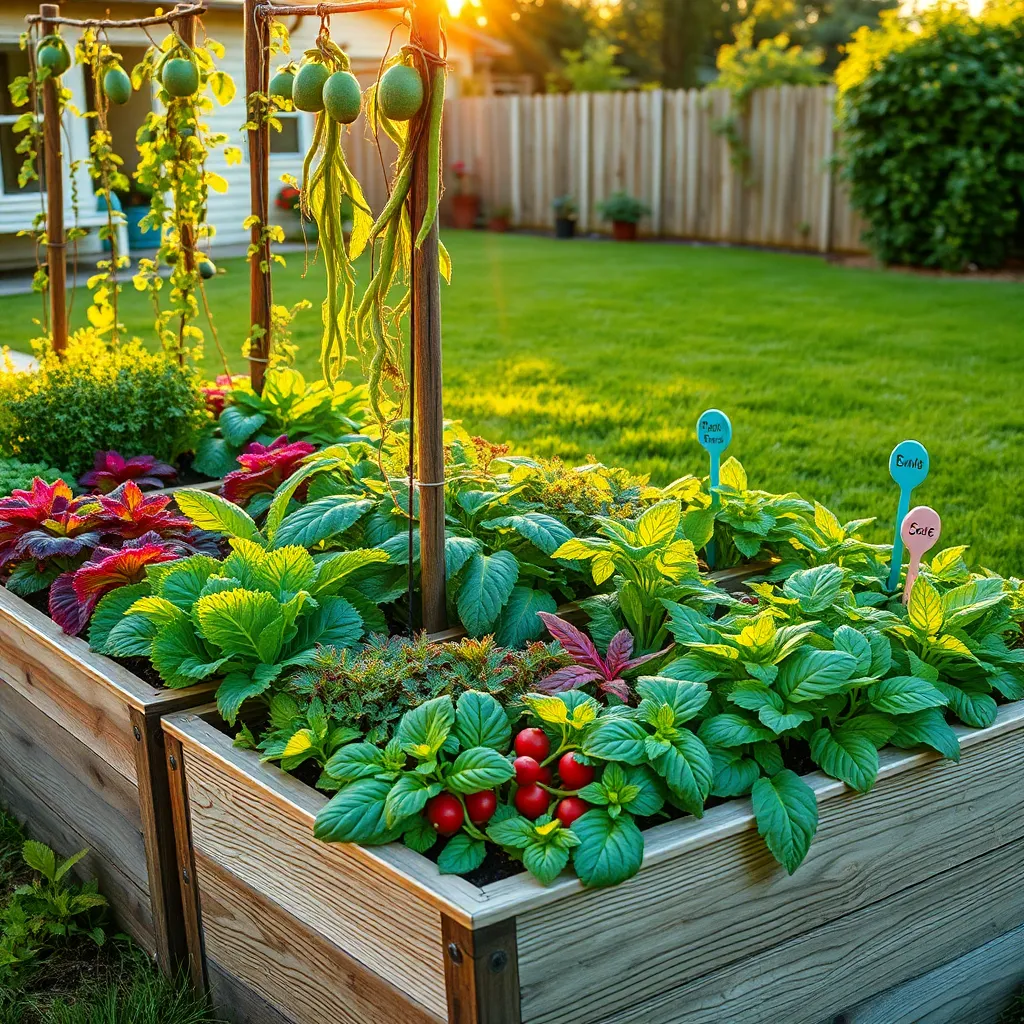
Understanding soil pH levels is crucial for the health and productivity of your garden. Neglecting this aspect can lead to poor plant growth and nutrient deficiencies. Soil pH affects nutrient availability, and most plants thrive in a slightly acidic to neutral pH range, typically between 6.0 and 7.0. To determine your soil’s pH, you can use an affordable home test kit available at garden centers.
Once you know your soil’s pH, you can make necessary adjustments to create the optimal growing environment for your plants. If your soil is too acidic, adding lime can help raise the pH, whereas sulfur can lower the pH if your soil is too alkaline. Incorporating organic matter such as compost can also help moderate soil pH levels over time, providing a balanced medium for plant roots.
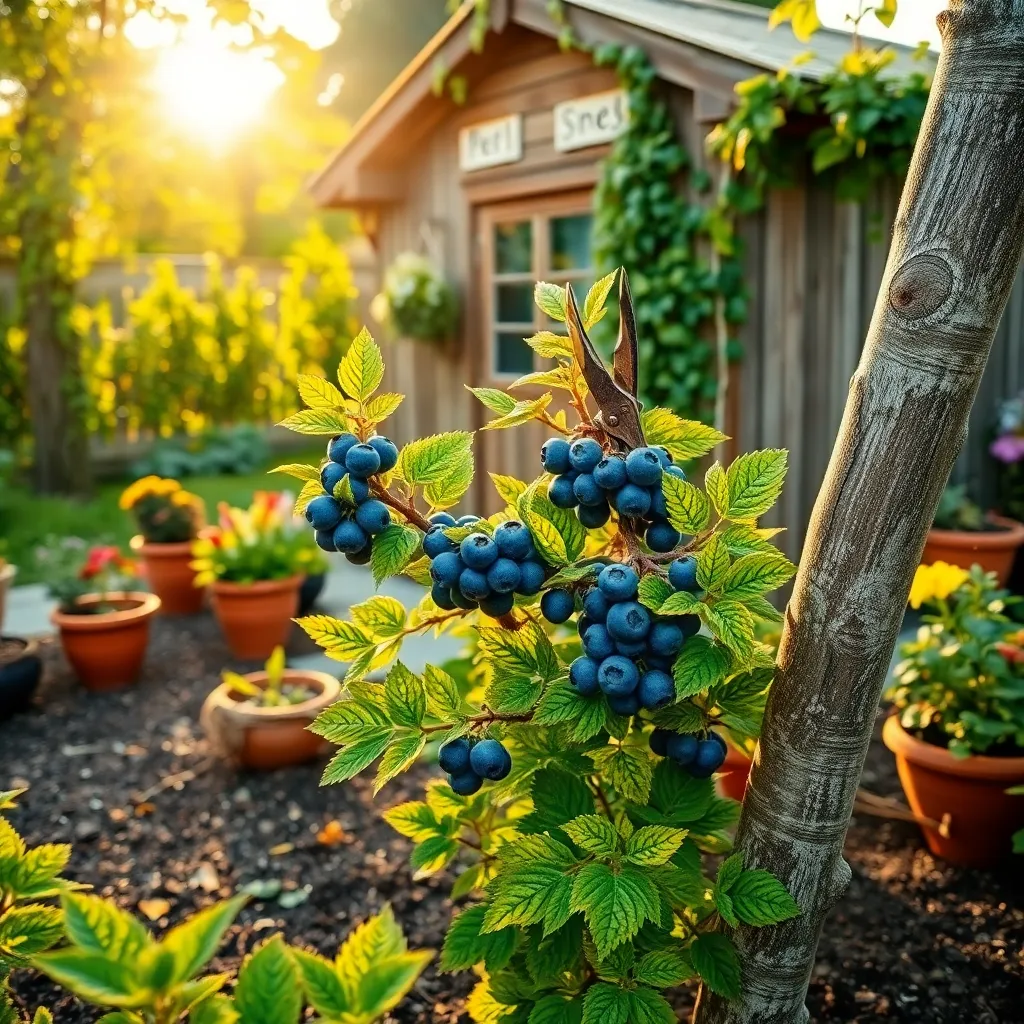
For beginners, start by testing a small section of your garden to get a feel for the process. Advanced gardeners might opt for regular testing, especially if introducing new plants with specific pH preferences. Plants like blueberries and azaleas prefer more acidic soils, whereas many vegetables do best in near-neutral conditions. Tailoring your soil amendments to these needs will ensure robust growth and vibrant blooms.
Regular monitoring and adjusting of soil pH can prevent common issues such as yellowing leaves and stunted growth. It’s a small step that can make a significant difference in the health of your garden. By paying attention to soil pH, you cultivate an environment where plants can access the nutrients they need, leading to a thriving, productive garden.
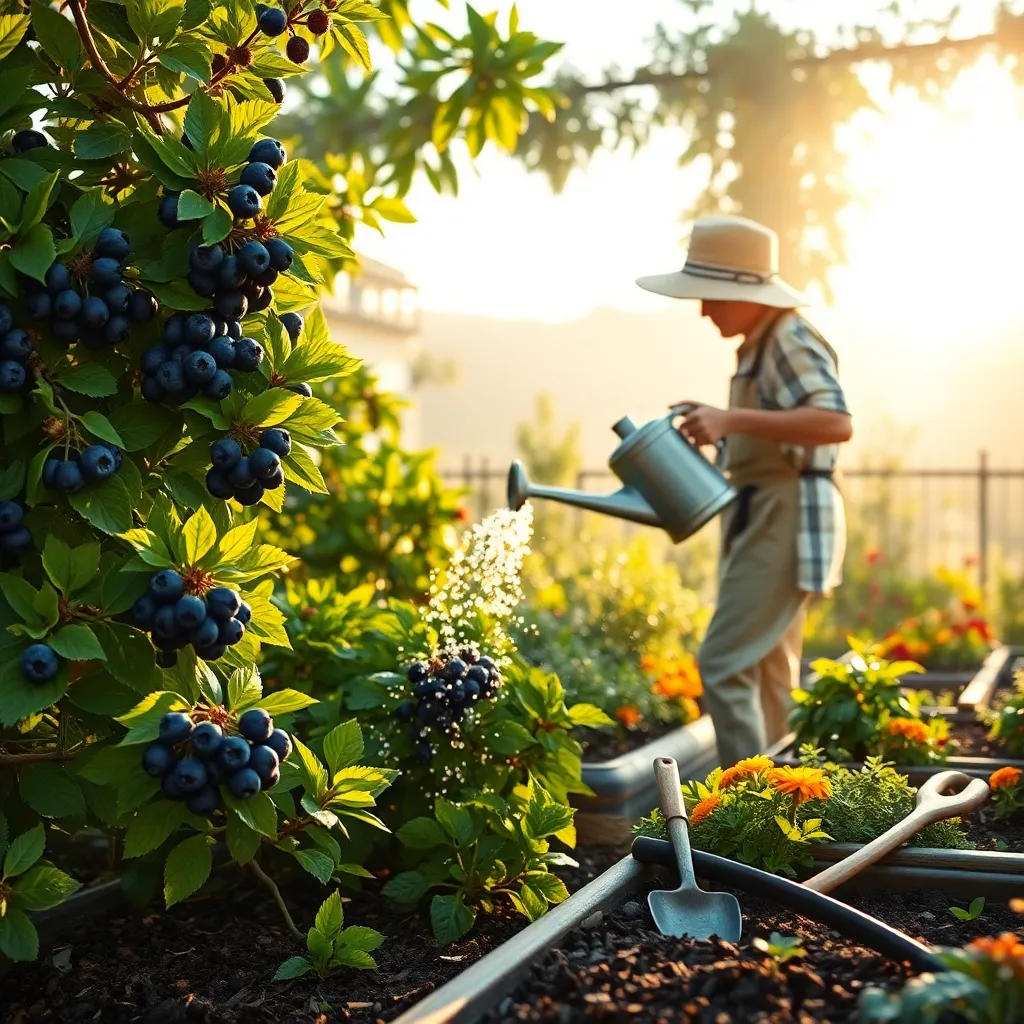
Underwatering Young Seedlings
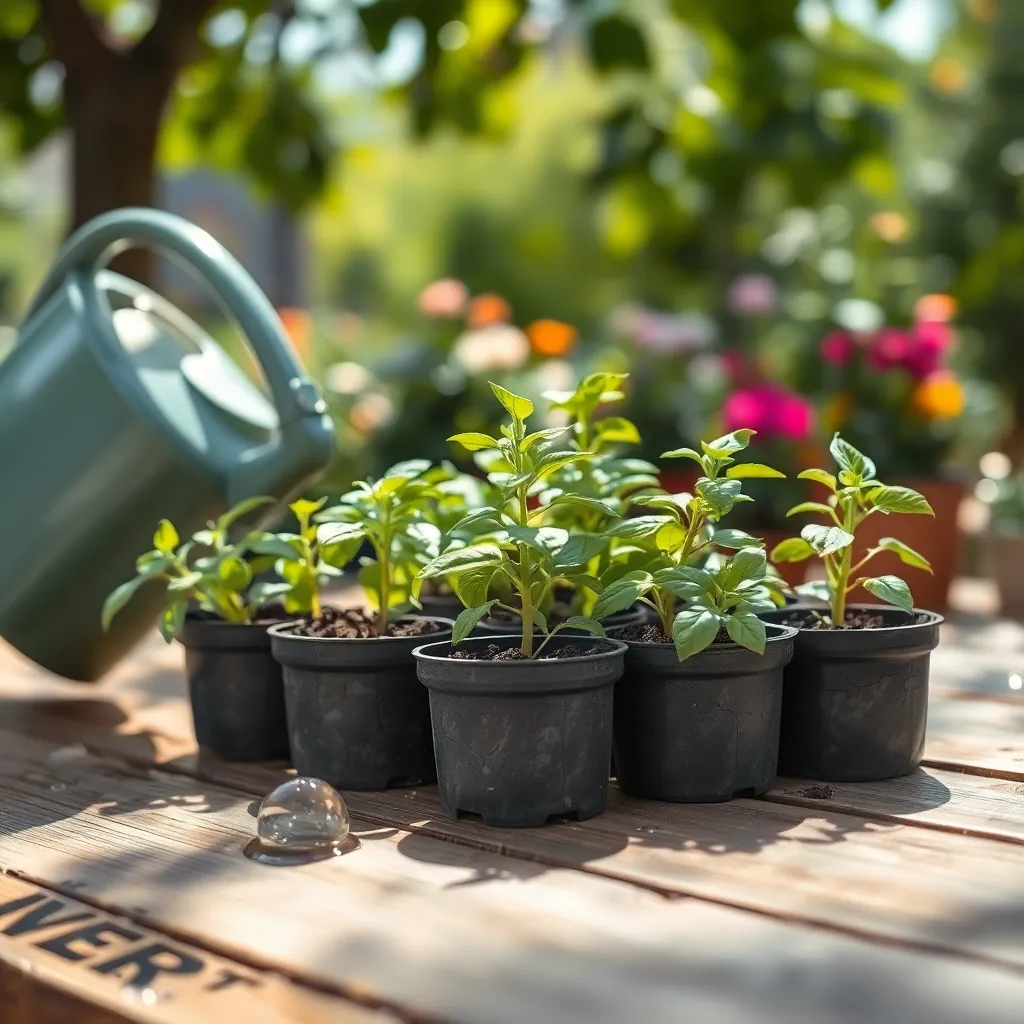
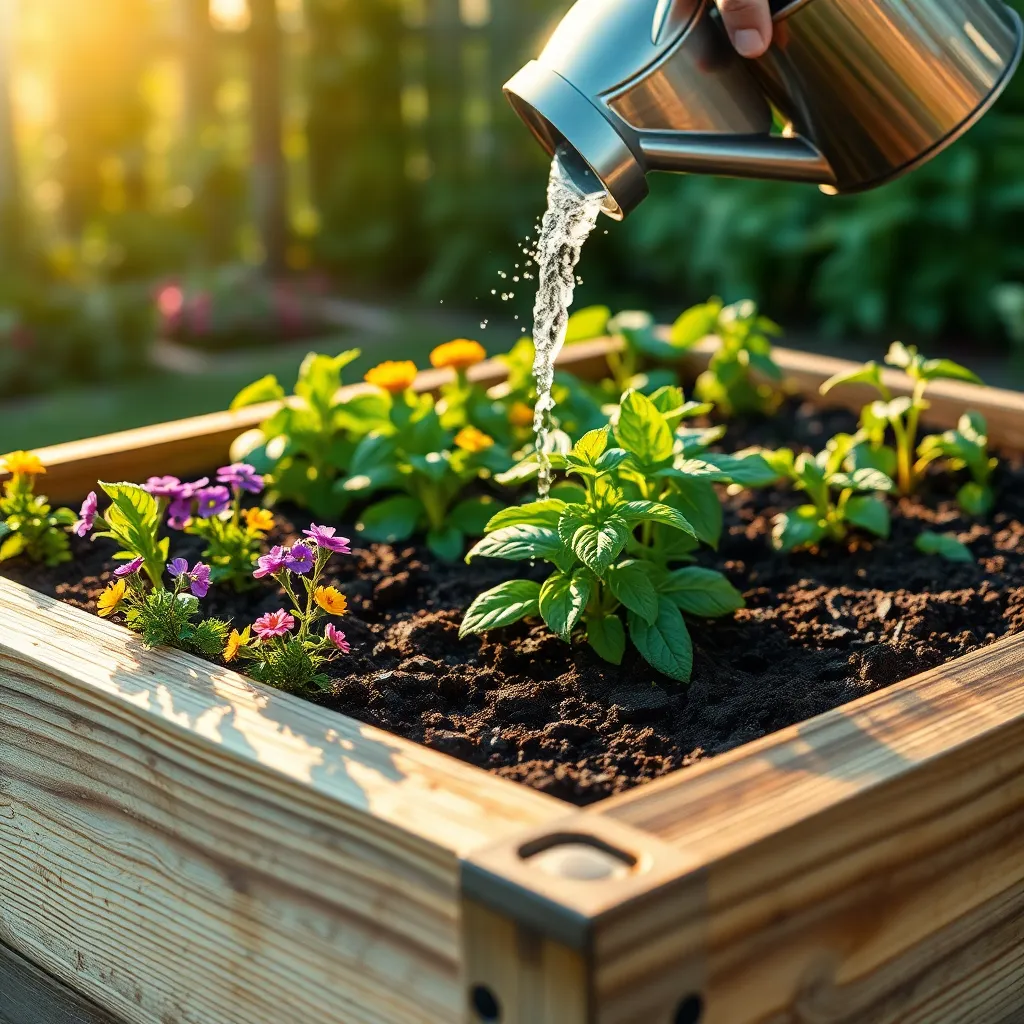
Underwatering young seedlings is a common mistake that can severely hinder their growth. It’s crucial to remember that seedlings have delicate roots that require a consistent moisture level to thrive.
To ensure your seedlings get the right amount of water, check the soil’s moisture by sticking your finger about an inch into the soil. If it feels dry, it’s time to water; if it’s moist, wait a day or two before checking again.
Using a spray bottle is often the best way to water seedlings, as it provides gentle moisture without overwhelming them. Ensure that water reaches the roots by lightly misting the soil surface until it is evenly damp.
For gardeners looking to refine their technique, consider using a moisture meter for more precise measurements. These tools can help you determine the exact moisture level of the soil and take the guesswork out of watering.
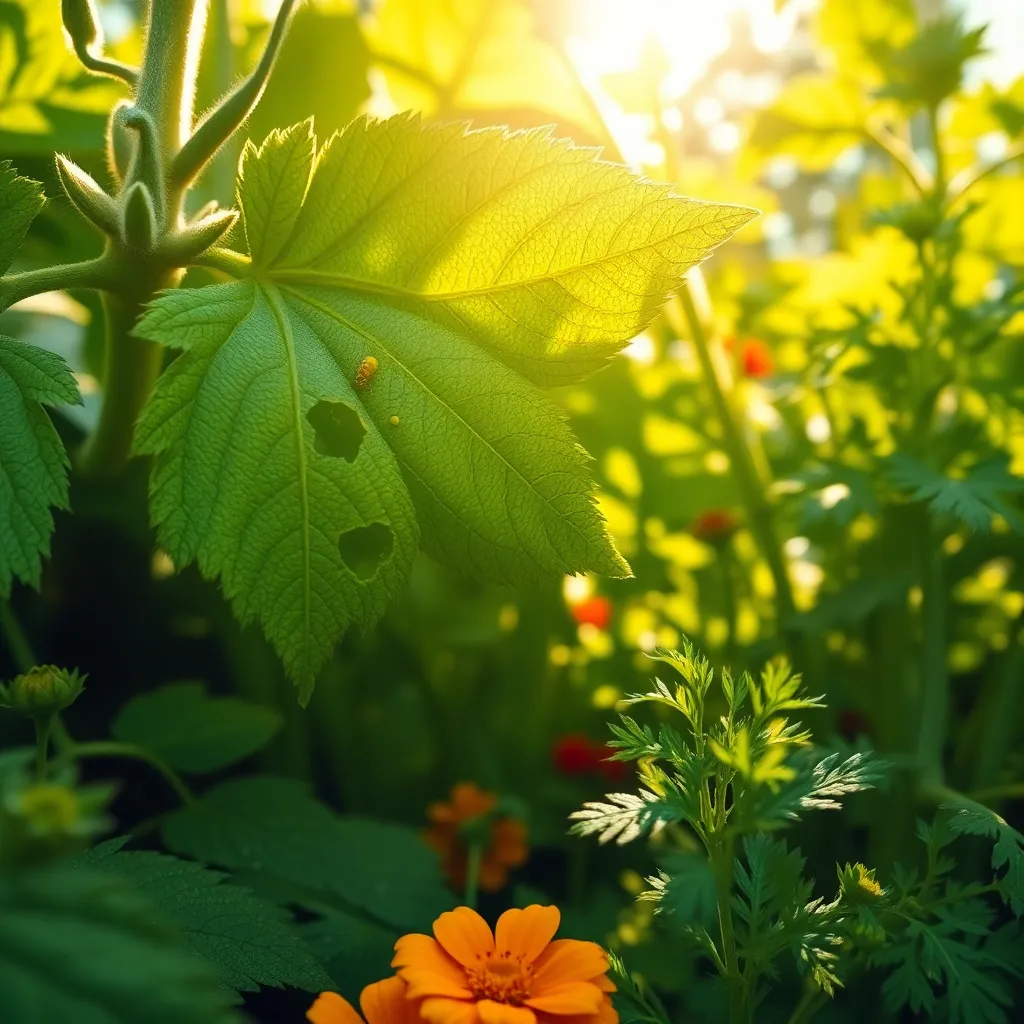
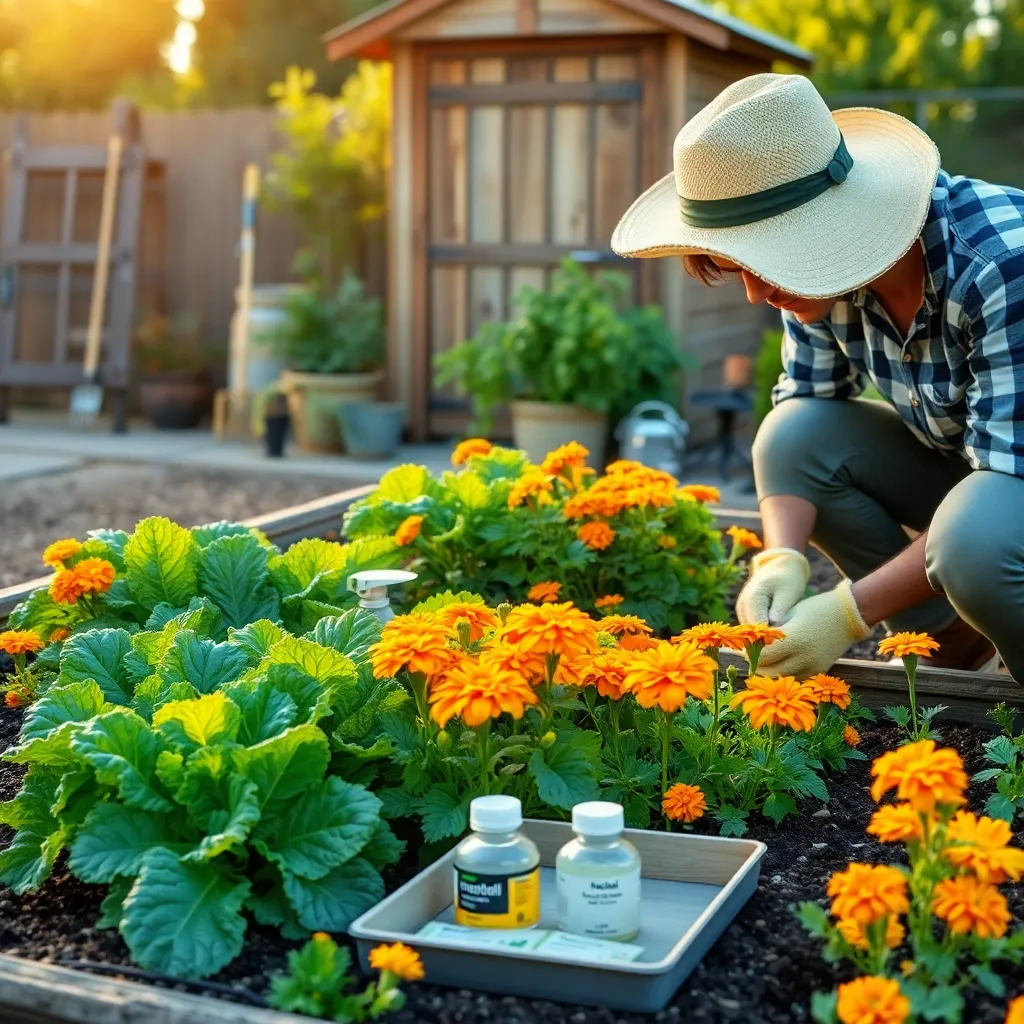
Neglecting Pest Management
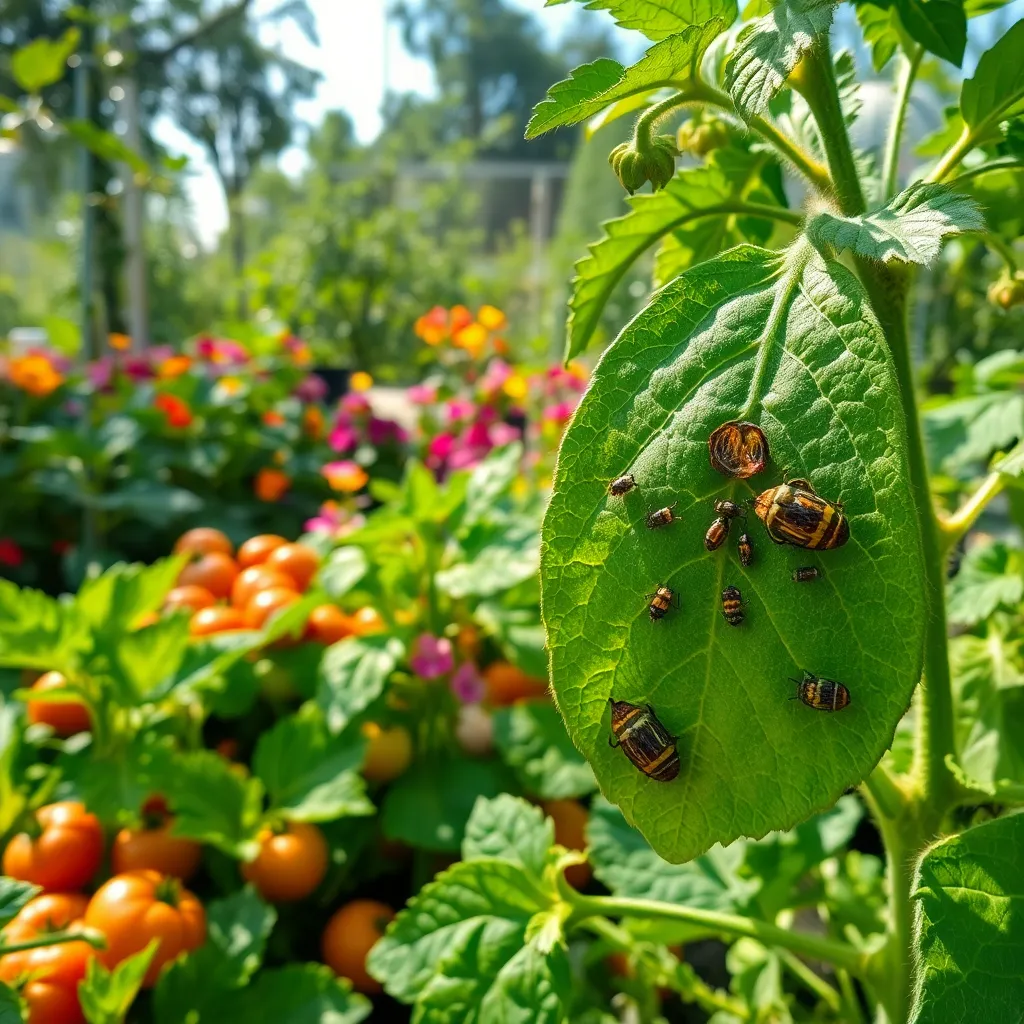
While growing a garden can be incredibly rewarding, neglecting pest management is a common mistake that can lead to disappointment. Pests can quickly damage or destroy plants if not addressed, so it’s crucial to monitor your garden regularly for any signs of infestation.
Implementing an integrated pest management (IPM) approach is a practical way to keep pest populations in check. This approach combines cultural, mechanical, biological, and chemical methods to manage pests sustainably and effectively.
Start by ensuring your plants are healthy, as robust plants are less susceptible to pest damage. Use well-draining soil and amend it with compost to improve its structure and nutrient content, which will support strong plant growth.
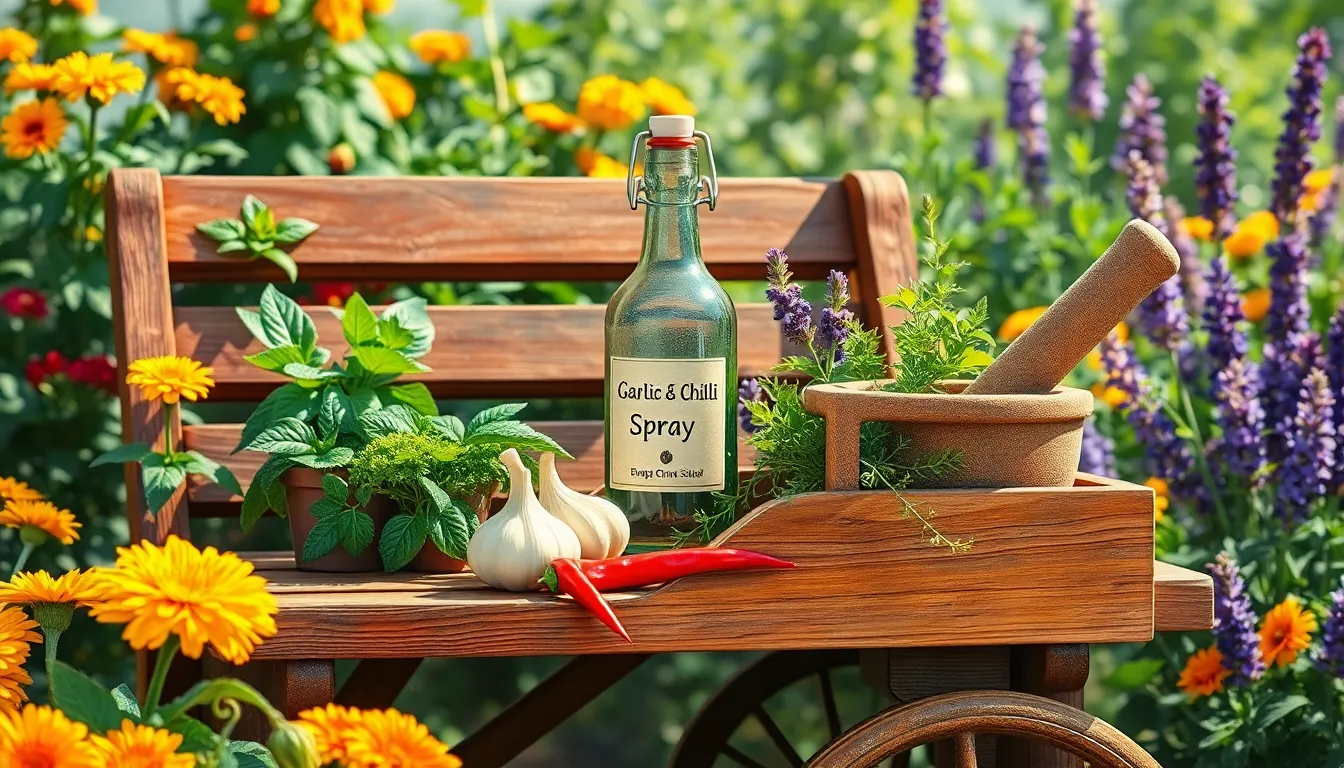
Introduce beneficial insects like ladybugs and lacewings to your garden, as they naturally control pest populations. For more serious infestations, consider using organic pesticides like neem oil, but always follow label instructions carefully to avoid harming beneficial organisms.
Planting at Wrong Depth
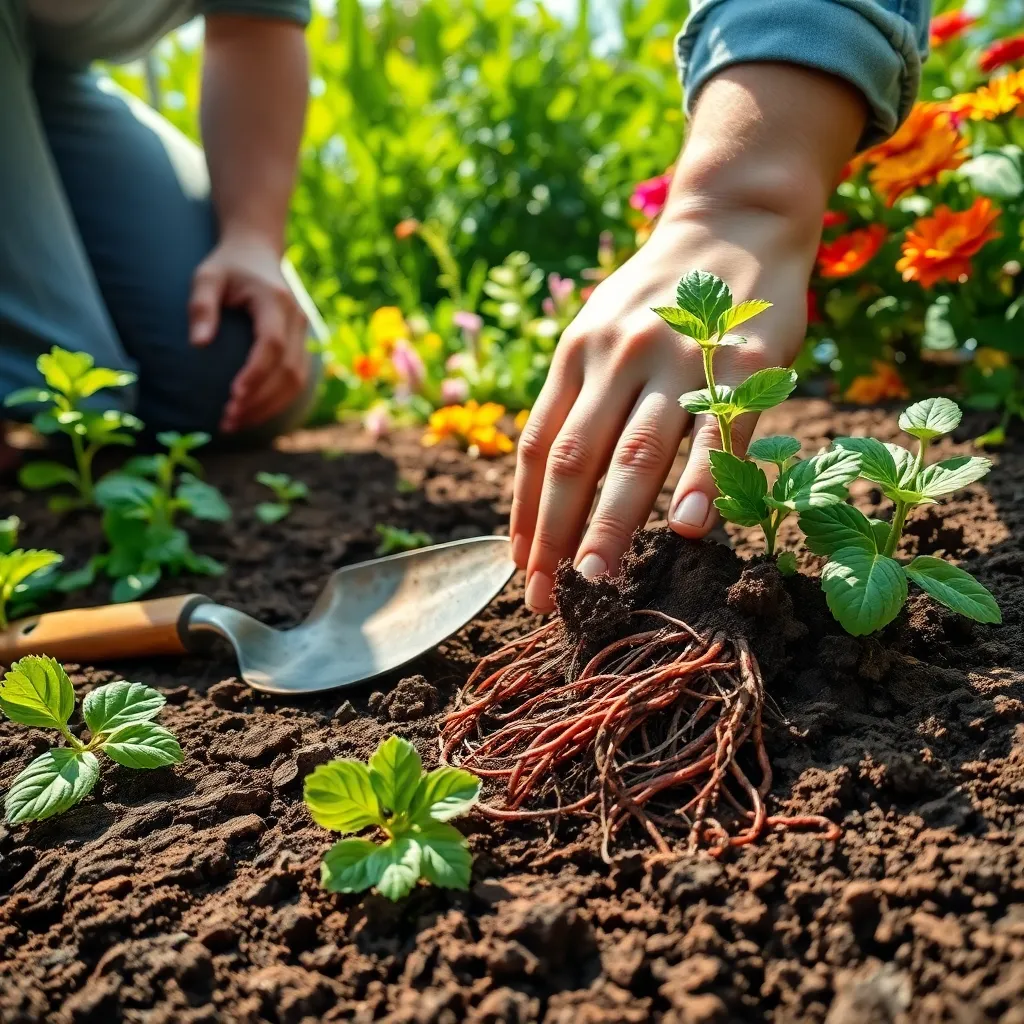
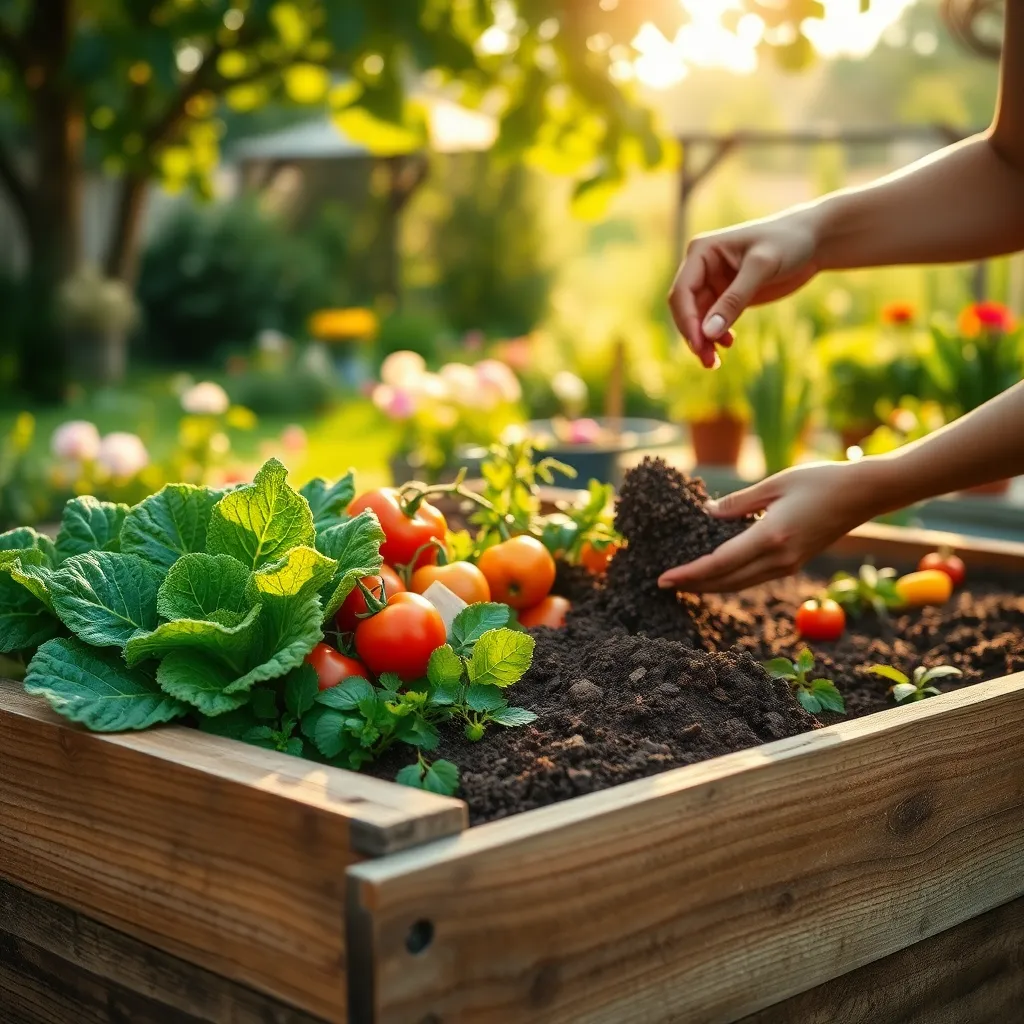
Planting at the wrong depth can significantly hinder a plant’s growth and vitality. Ensuring that seeds or seedlings are planted at the correct depth is crucial for proper root development and nutrient uptake.
For seeds, a general rule of thumb is to plant them at a depth that is two to three times their diameter. This ensures that they have enough soil coverage for stability without being too deep to hinder emergence.
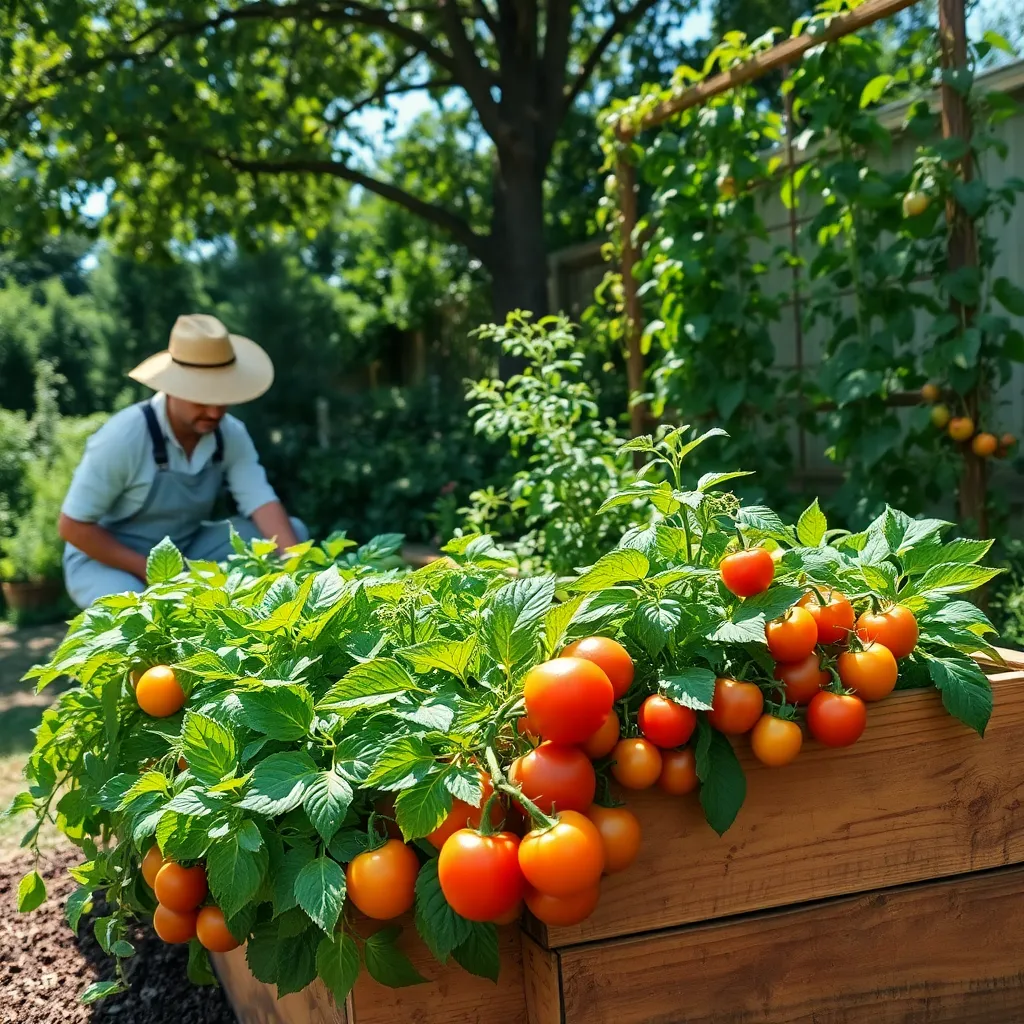
When transplanting seedlings, it’s important to plant them at the same depth they were growing in their pots, with the exception of tomatoes. Tomatoes benefit from deeper planting, as their stems can develop additional roots when buried.
For advanced gardeners, consider the type of soil when determining planting depth. Sandy soils may require slightly deeper planting to retain moisture, whereas clay soils might need shallower planting to prevent waterlogging.
Conclusion: Growing Success with These Plants
In nurturing a flourishing relationship, much like a thriving garden, it’s essential to avoid common pitfalls. First, remember the importance of consistent communication; neglect here can lead to misunderstandings, just as failing to water plants can cause them to wither. Second, ensure you both set healthy boundaries, akin to planting each seed with adequate space. Third, be mindful of nurturing trust, which, like the soil, supports every aspect of your relationship. Fourth, embrace patience, allowing time for growth, as relationships, like gardens, need time to bloom. Lastly, celebrate your unique journey together, resisting the urge to compare your relationship to others, just as no two gardens are the same.
As a proactive next step, take a moment today to express appreciation to your partner, nurturing your bond with positivity. Bookmark this article for a handy reminder of these relationship essentials. Saving it ensures you have a ready guide to help steer your shared journey.
Remember, your relationship, like any garden, holds the potential for abundant growth and joy. By avoiding these common mistakes and tending to your relationship with care, you pave the way for a future filled with love and mutual support. 🌱❤️