There’s a certain magic in growing your own food, especially when it’s as vibrant and rewarding as carrots. Whether you’re a seasoned green thumb or just starting your gardening journey, cultivating carrots in pots offers a convenient and delightful way to bring a touch of nature to your doorstep. In this article, we’ll demystify the process and show you how easy and enjoyable it can be to grow these versatile root vegetables, even in the smallest of spaces.
Imagine the satisfaction of pulling a bunch of fresh, crisp carrots from your own container garden—it’s a joy that never grows old. For those with limited garden space or urban dwellers, growing carrots in pots is not just a practical solution; it’s a chance to experiment and play with different varieties. You’ll discover the best potting techniques, soil choices, and care routines that ensure your potted carrots thrive, offering a plentiful harvest from your patio, balcony, or windowsill.
We’ll guide you through every step with clear, actionable advice tailored to both beginners and experienced gardeners alike. From selecting the right seeds to understanding the nuances of watering and sunlight, you’ll gain confidence in nurturing your own crop of delicious carrots. By the end of this article, you’ll not only have the know-how to grow carrots successfully in containers but also a newfound appreciation for the simplicity and joy of container gardening.
Select Suitable Carrot Varieties
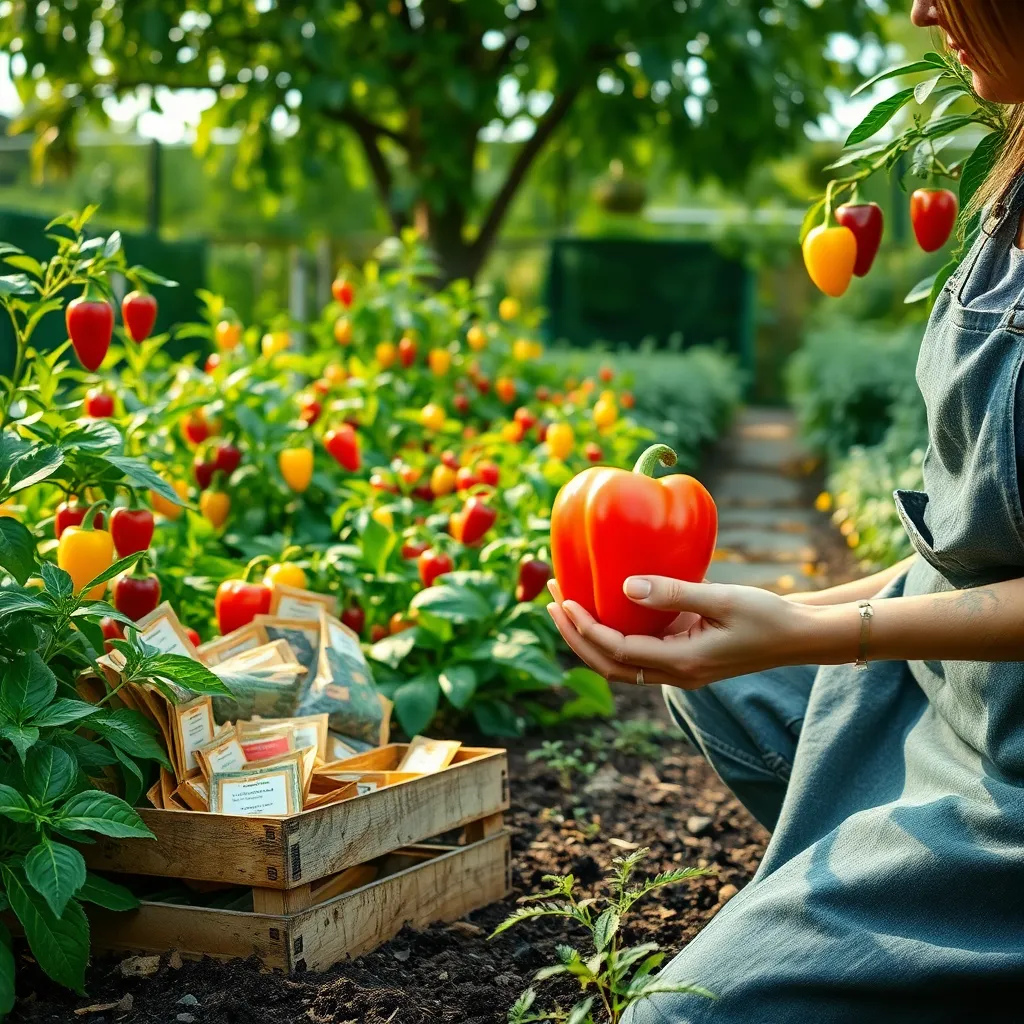
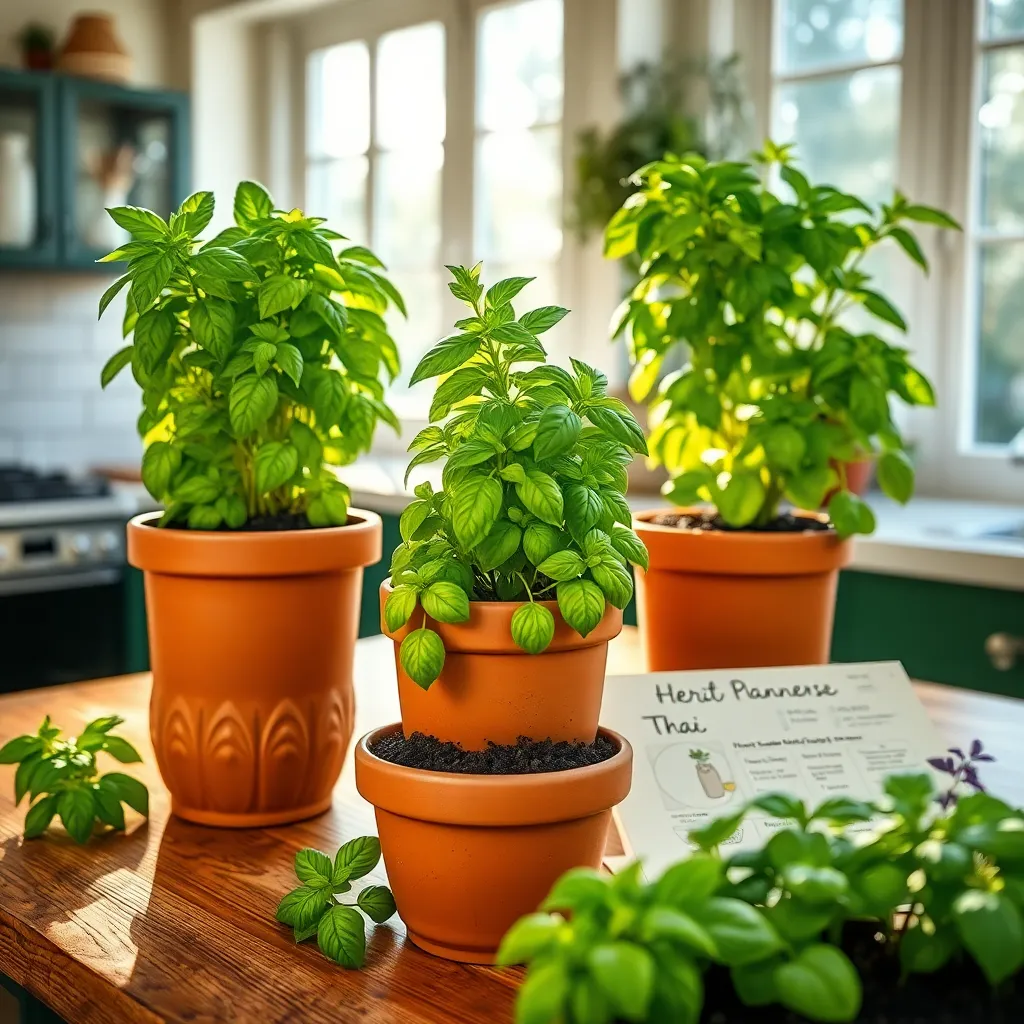
Choosing the right carrot variety is crucial for successful container gardening. Shorter, round varieties like ‘Paris Market’ and ‘Thumbelina’ are ideal for pots due to their compact root systems.
These varieties thrive well in containers because they don’t require deep soil. Ensure your pots are at least 8-10 inches deep to accommodate the roots comfortably.
For gardeners looking for a bit more size, ‘Nantes’ carrots are a great option. They produce slender roots that can grow in containers with a depth of 12 inches or more.
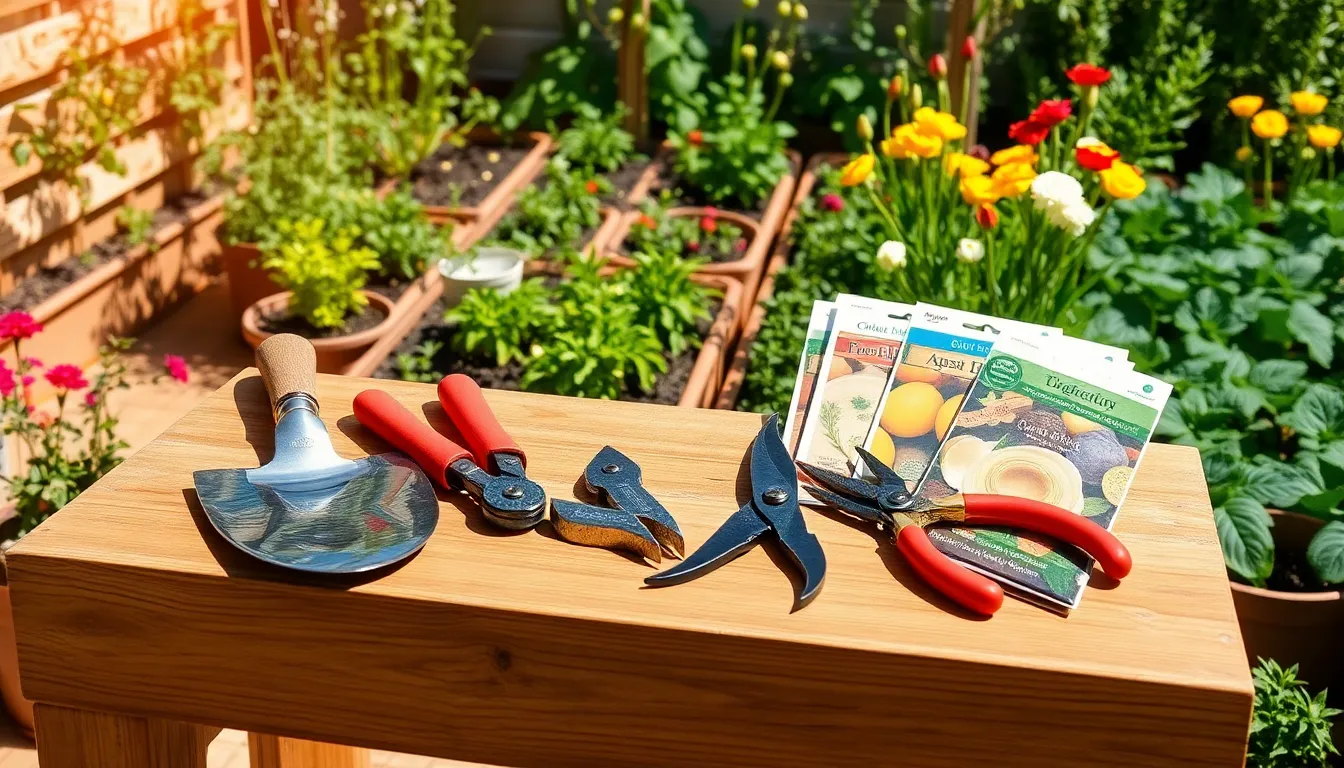
When selecting seeds, always opt for high-quality, disease-resistant varieties to enhance your success rate. Additionally, check the seed packet for any specific growing instructions that might improve your yield.
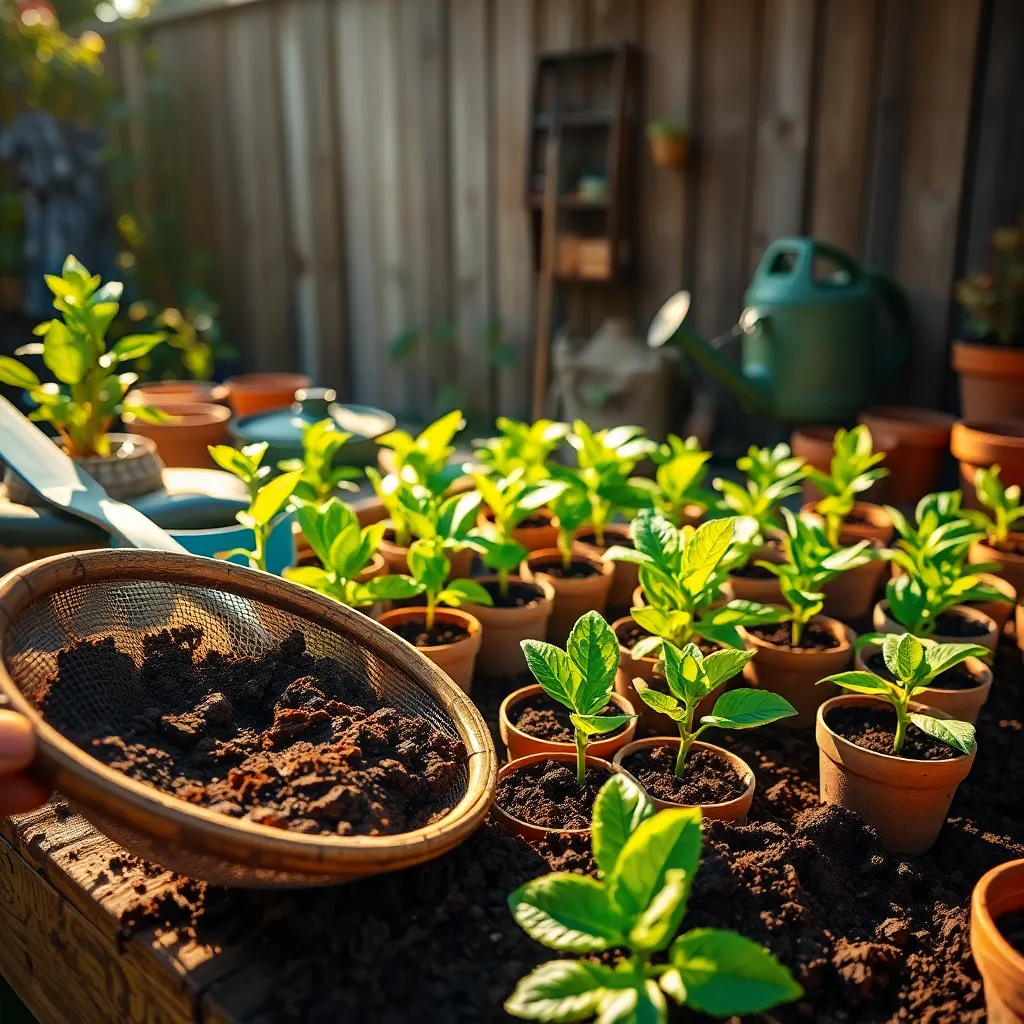
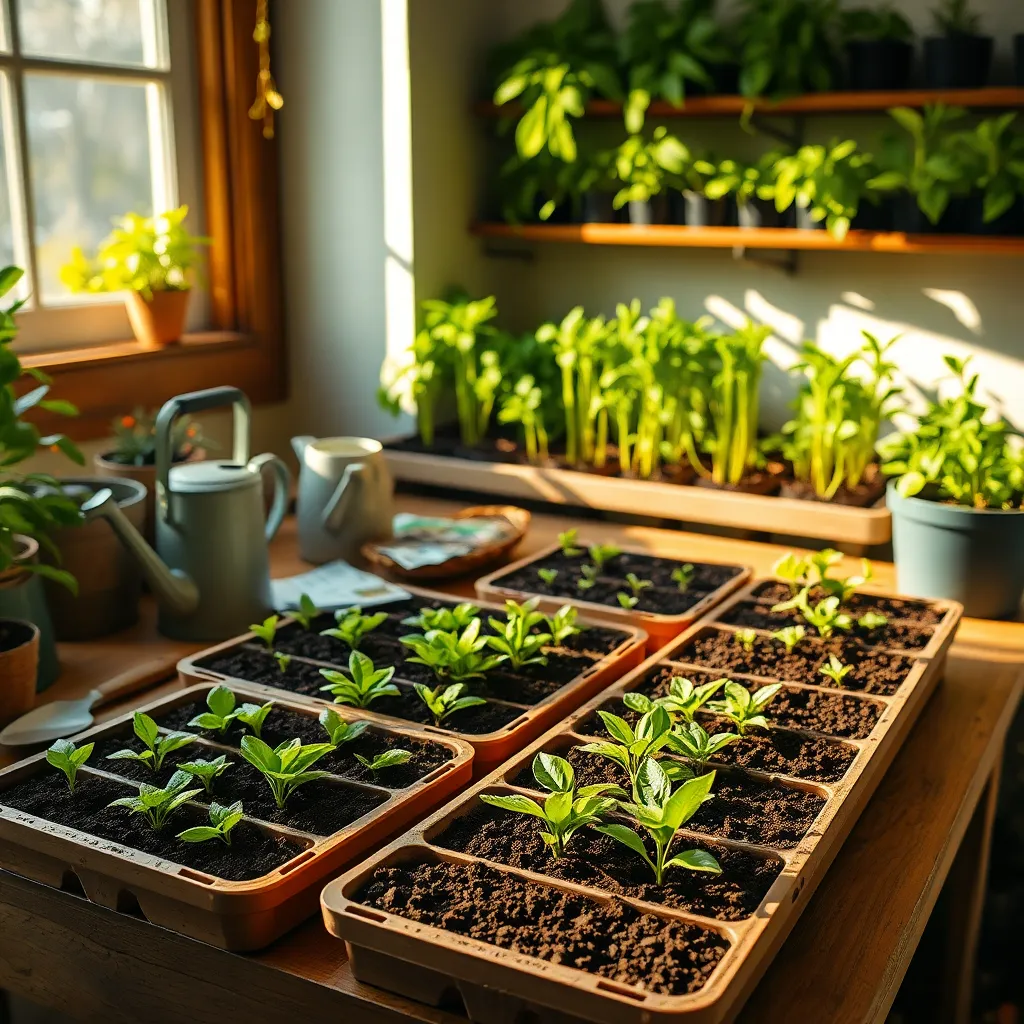
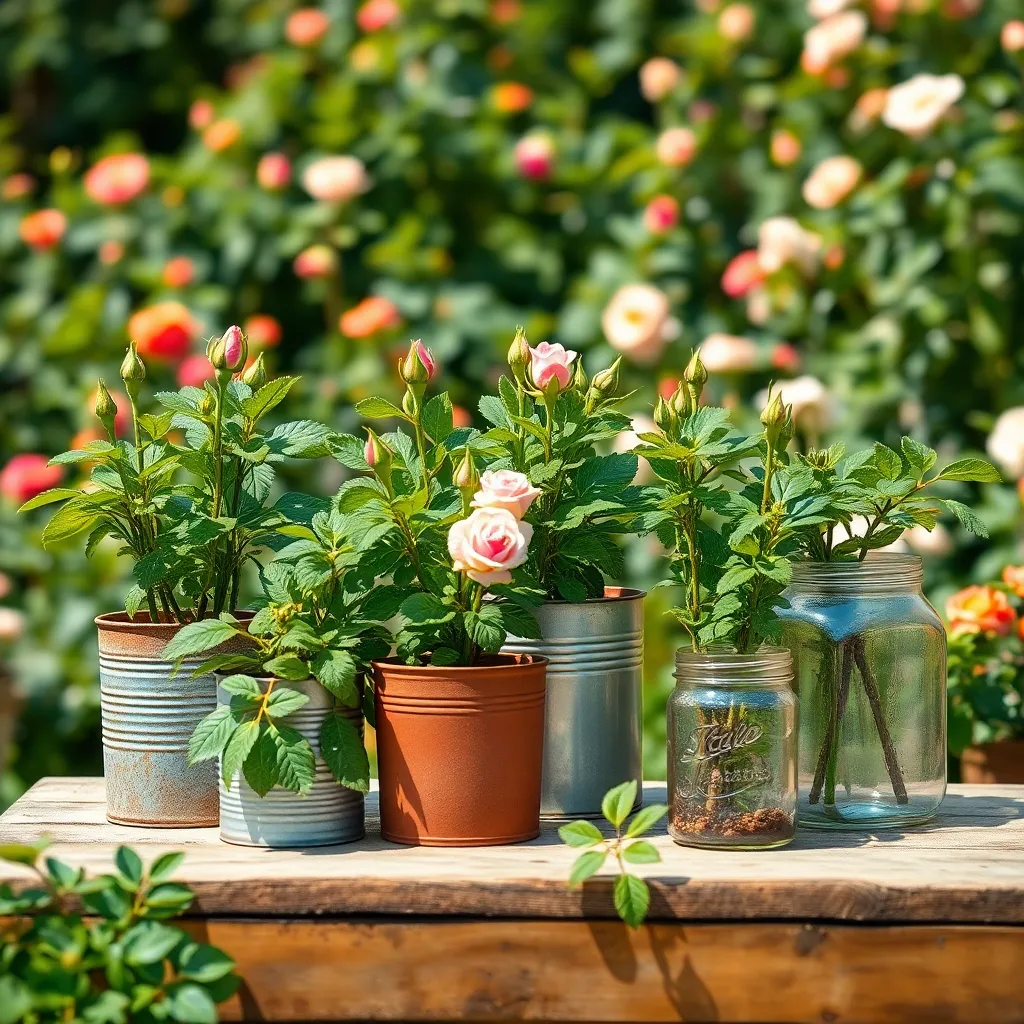
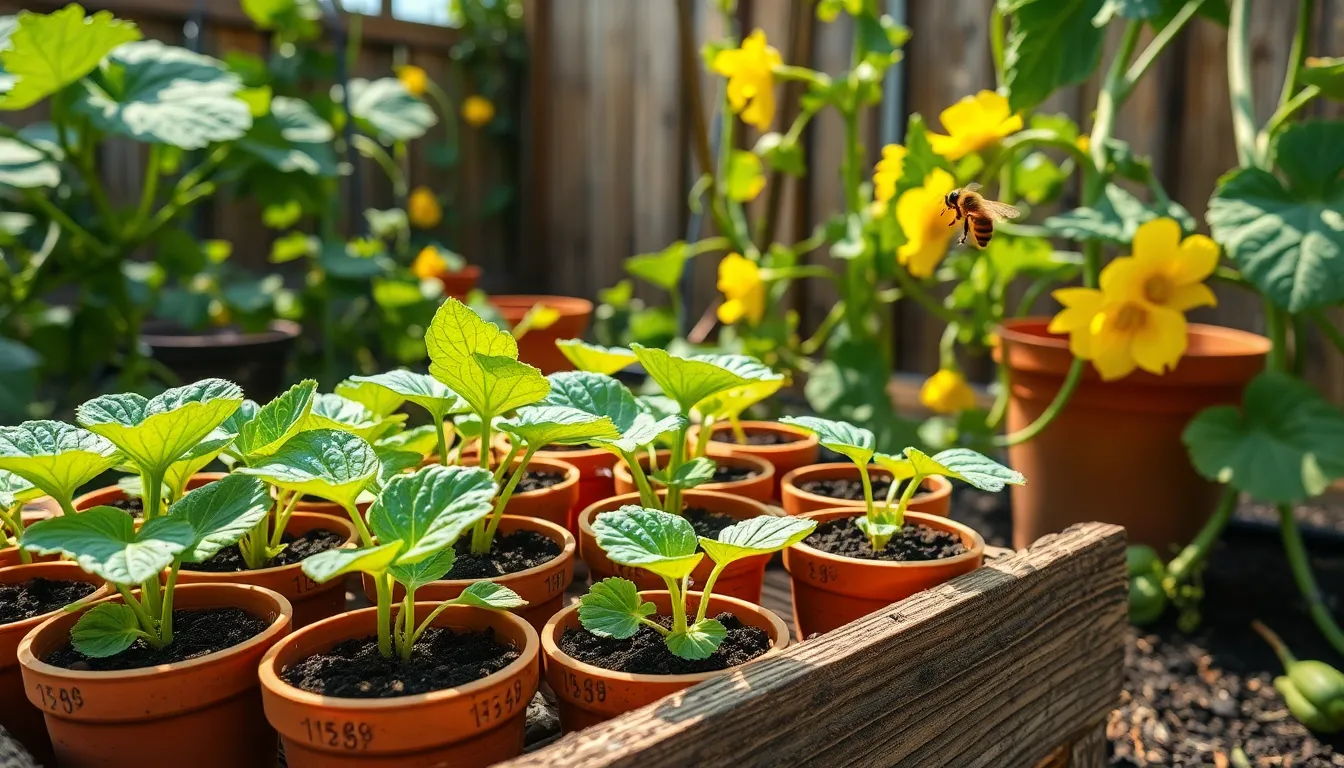
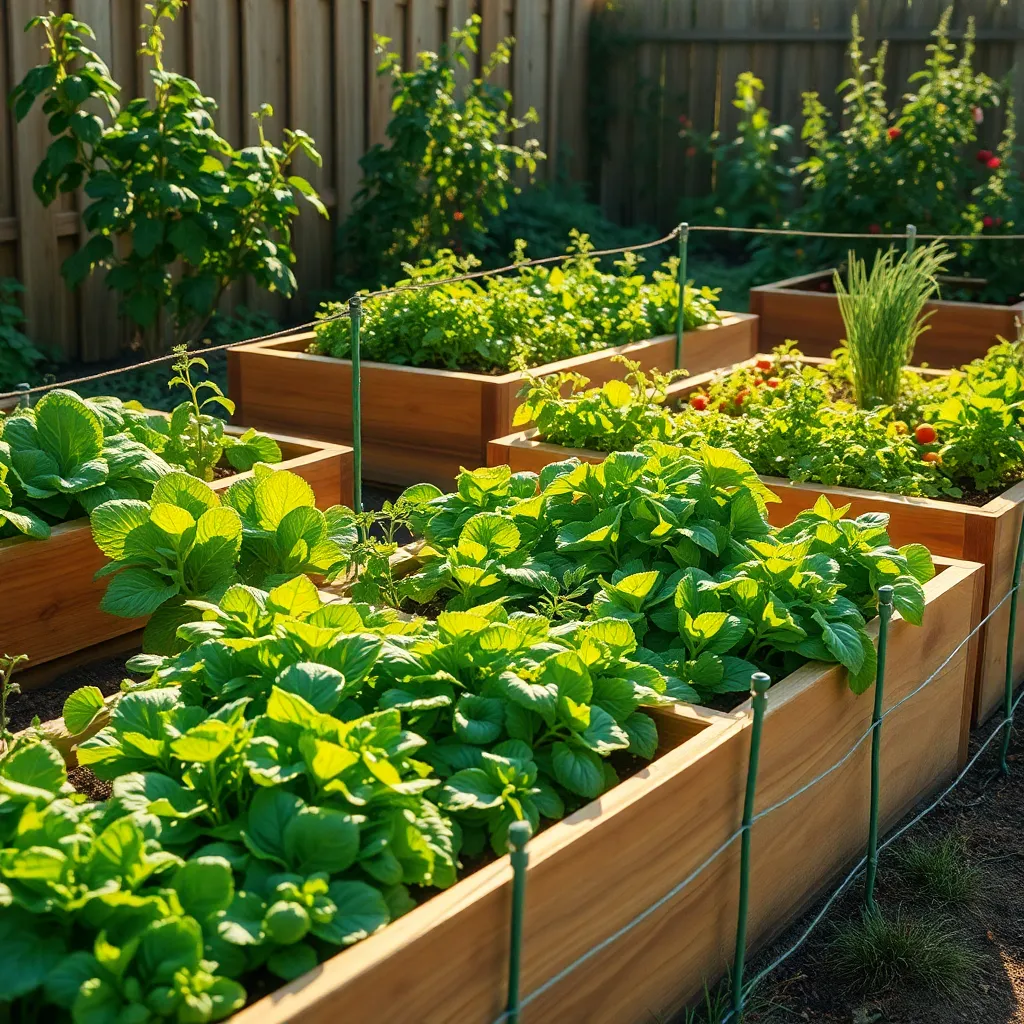
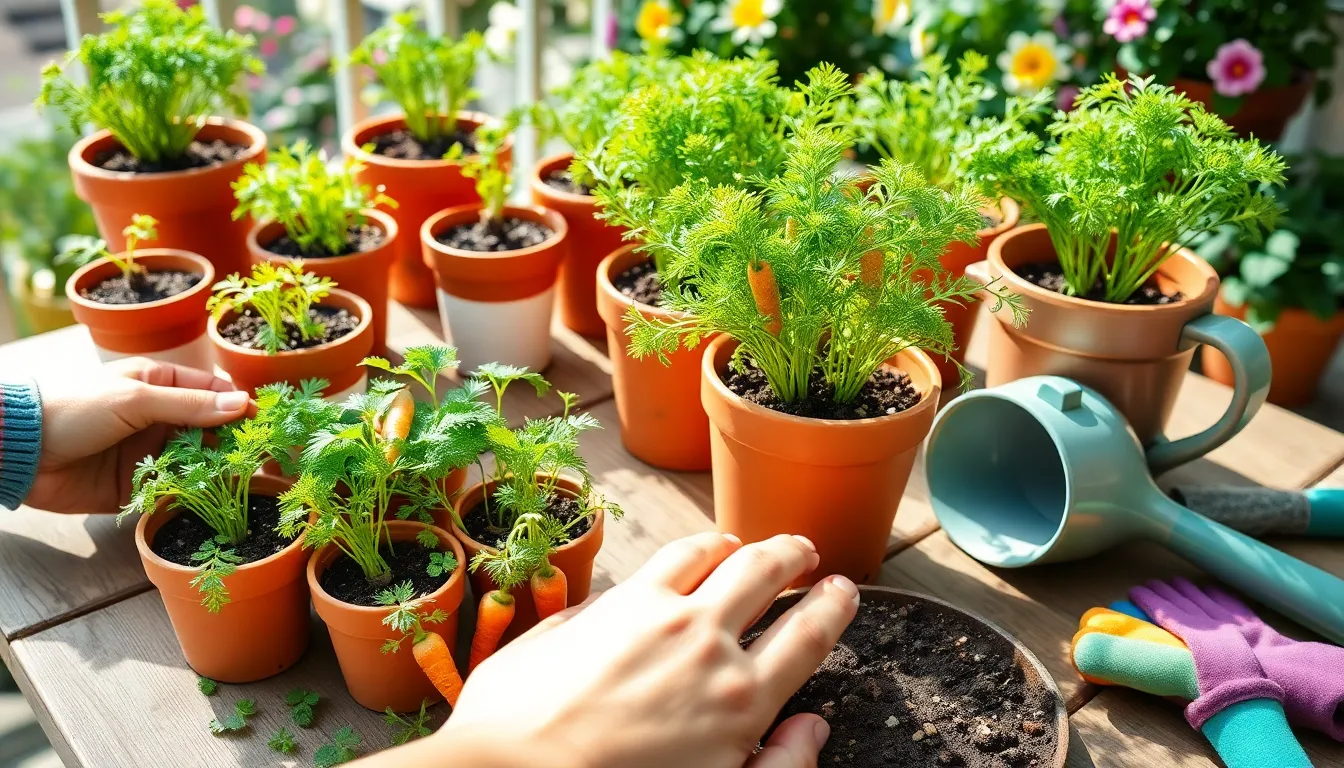
Prepare Deep Planting Containers

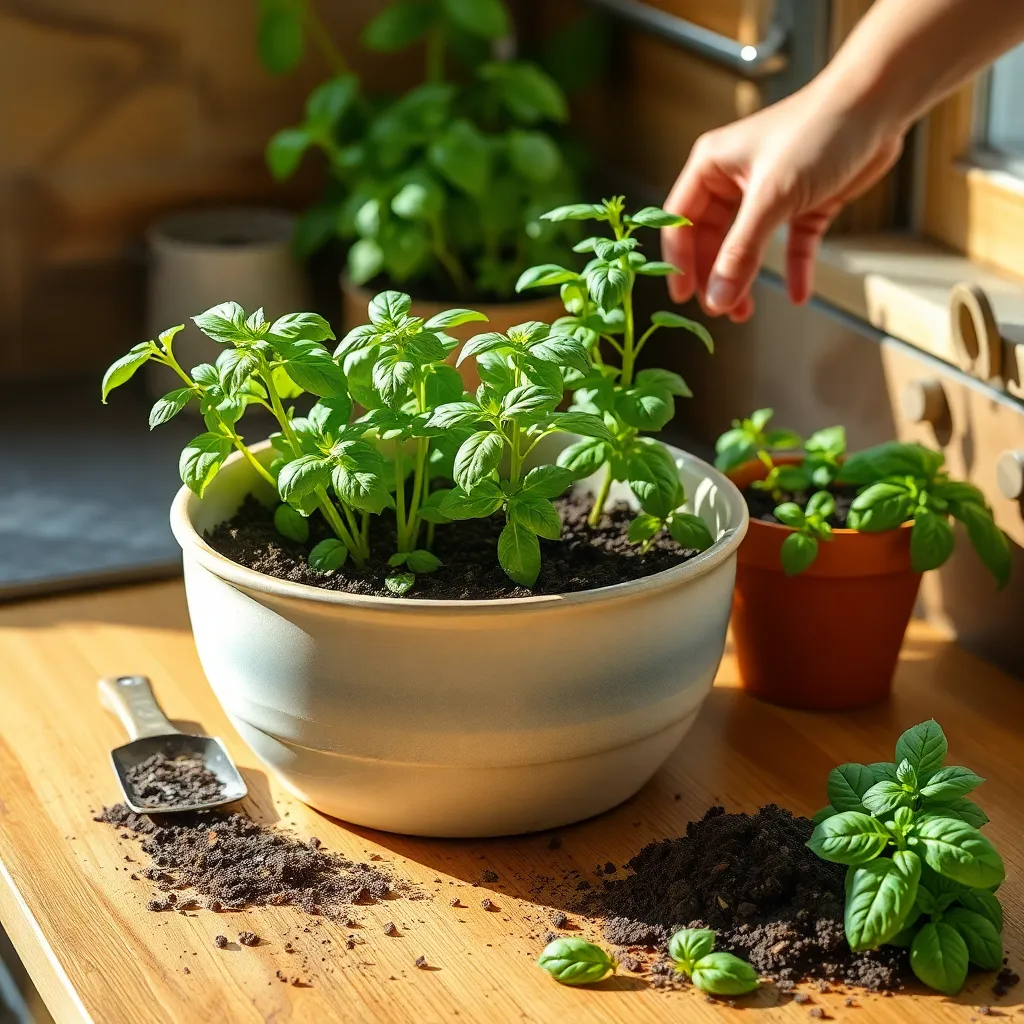
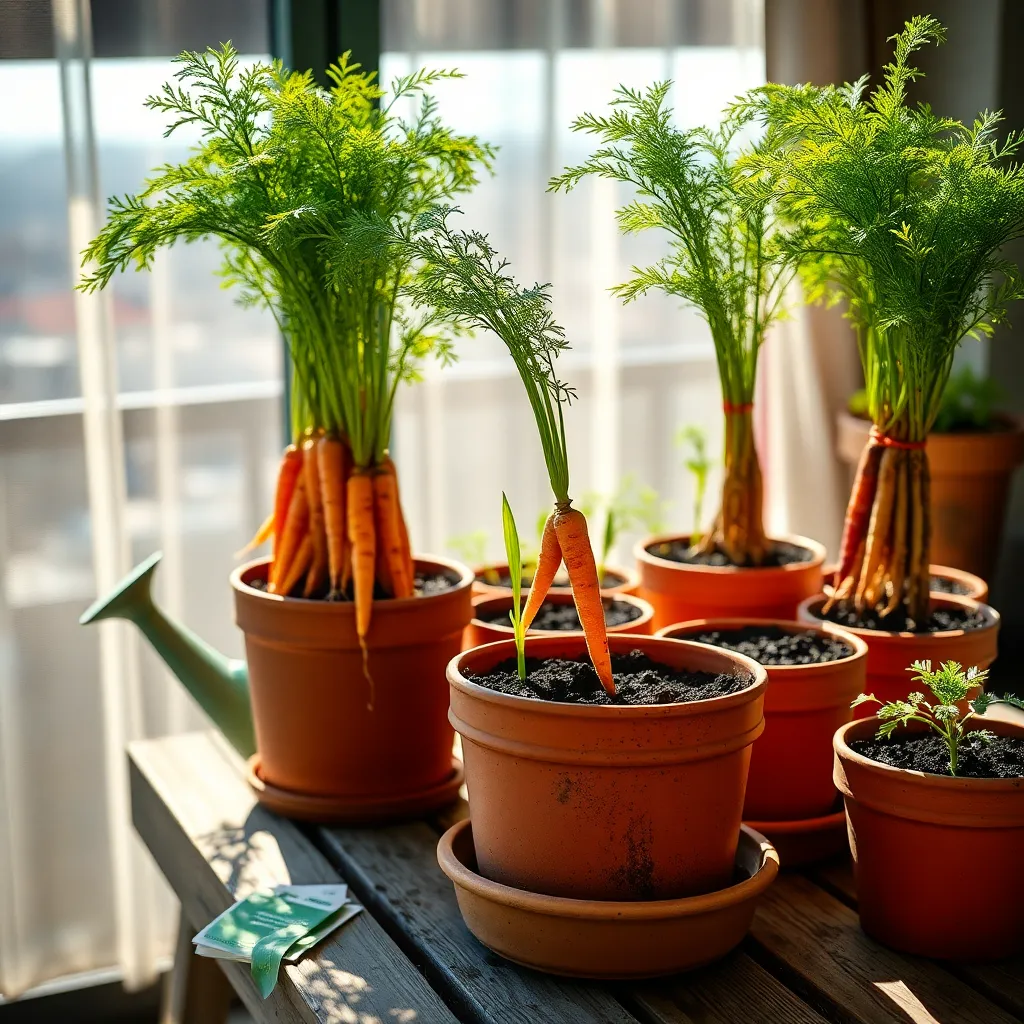
When growing carrots in pots, it’s essential to choose containers that are deep enough to accommodate the long roots of the plants. Aim for pots that are at least 12 inches deep to provide ample space for the carrots to grow straight and fully develop.
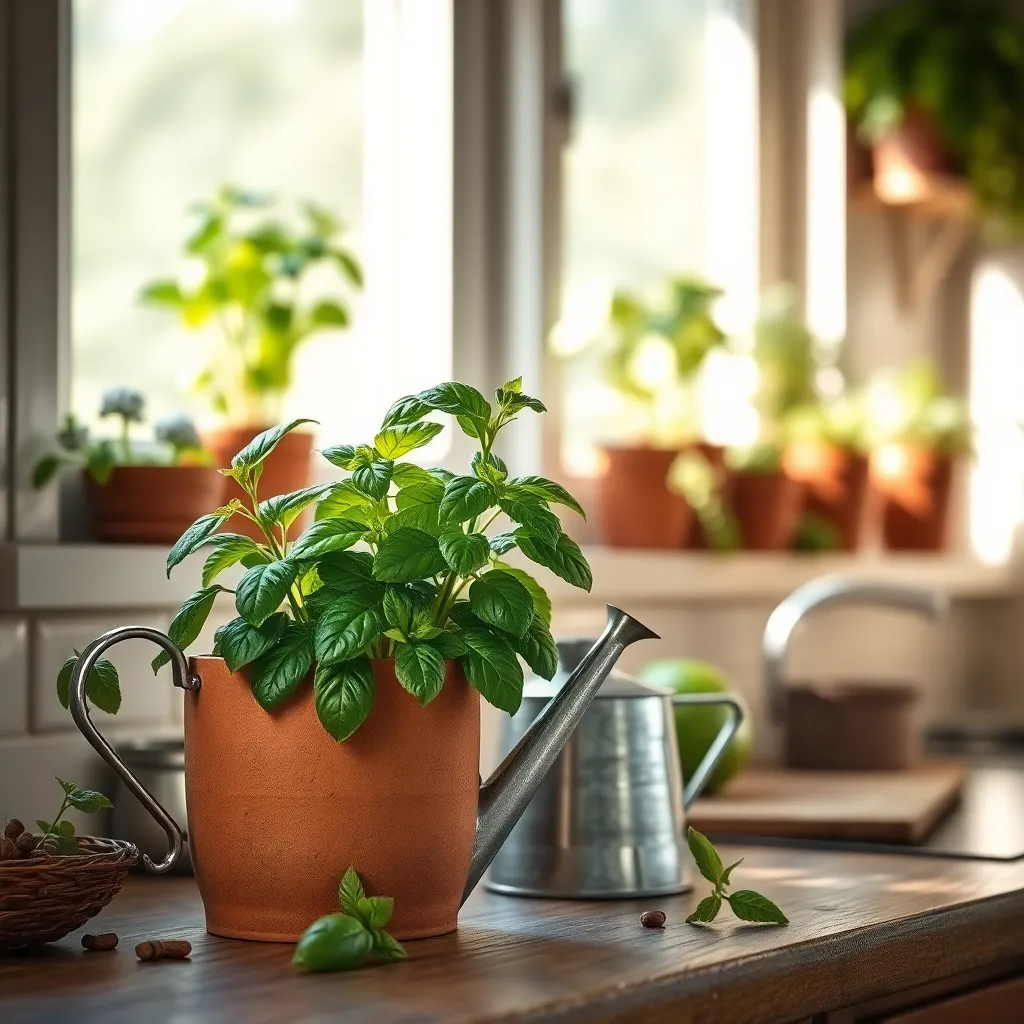
Consider using pots made from materials like terracotta or plastic, as these materials retain moisture well and are durable. Ensure that each container has adequate drainage holes to prevent waterlogging, which can cause root rot and affect the growth of your carrots.
Filling your pots with the right type of soil is critical for successful carrot growth. Use a light, well-draining potting mix enriched with sand or perlite to improve drainage and avoid compacting. Avoid using clay-heavy garden soil, as it can hinder root development and lead to misshapen carrots.
Watering your container-grown carrots requires attention to detail. Carrots prefer consistent moisture; therefore, aim to water the pots thoroughly but infrequently, allowing the top inch of soil to dry out slightly between waterings. Use a finger test to check the soil moisture level and adjust your watering schedule based on weather and pot size.
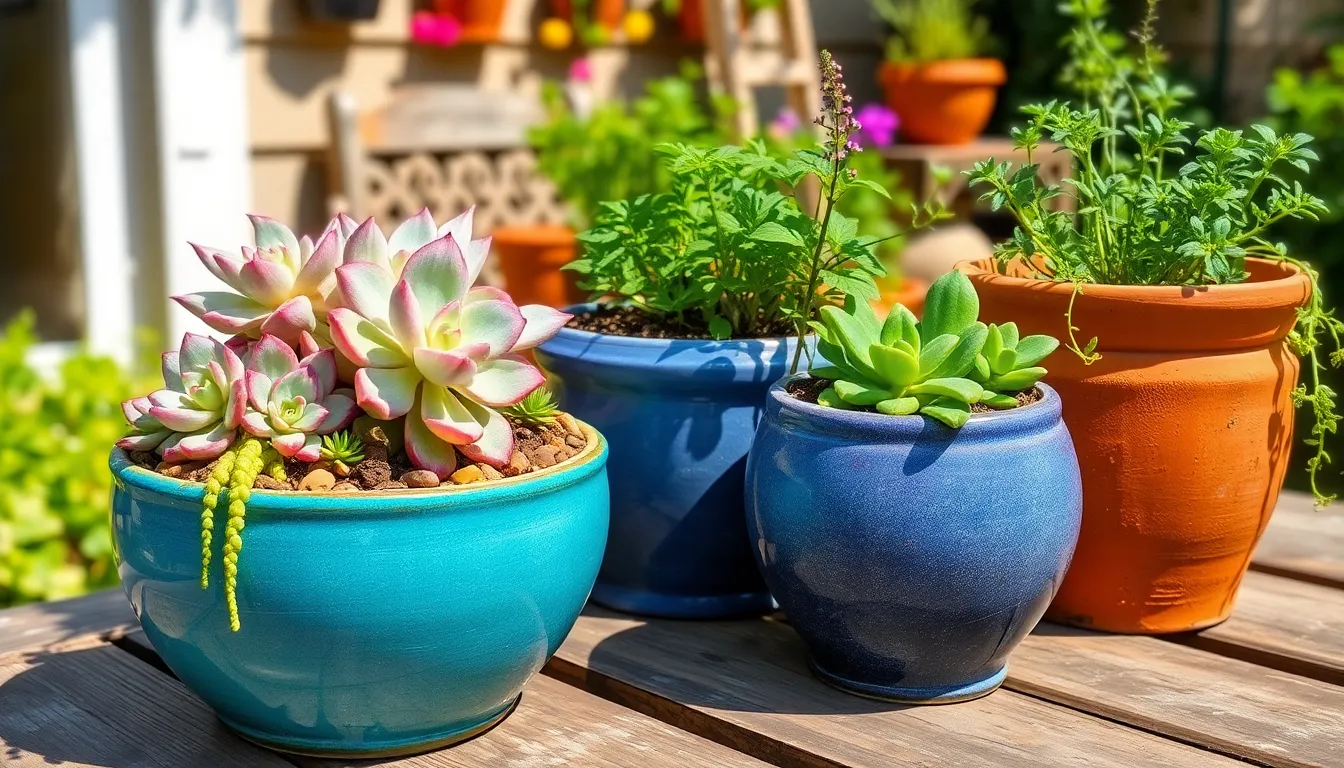
Fill Pots with Quality Soil
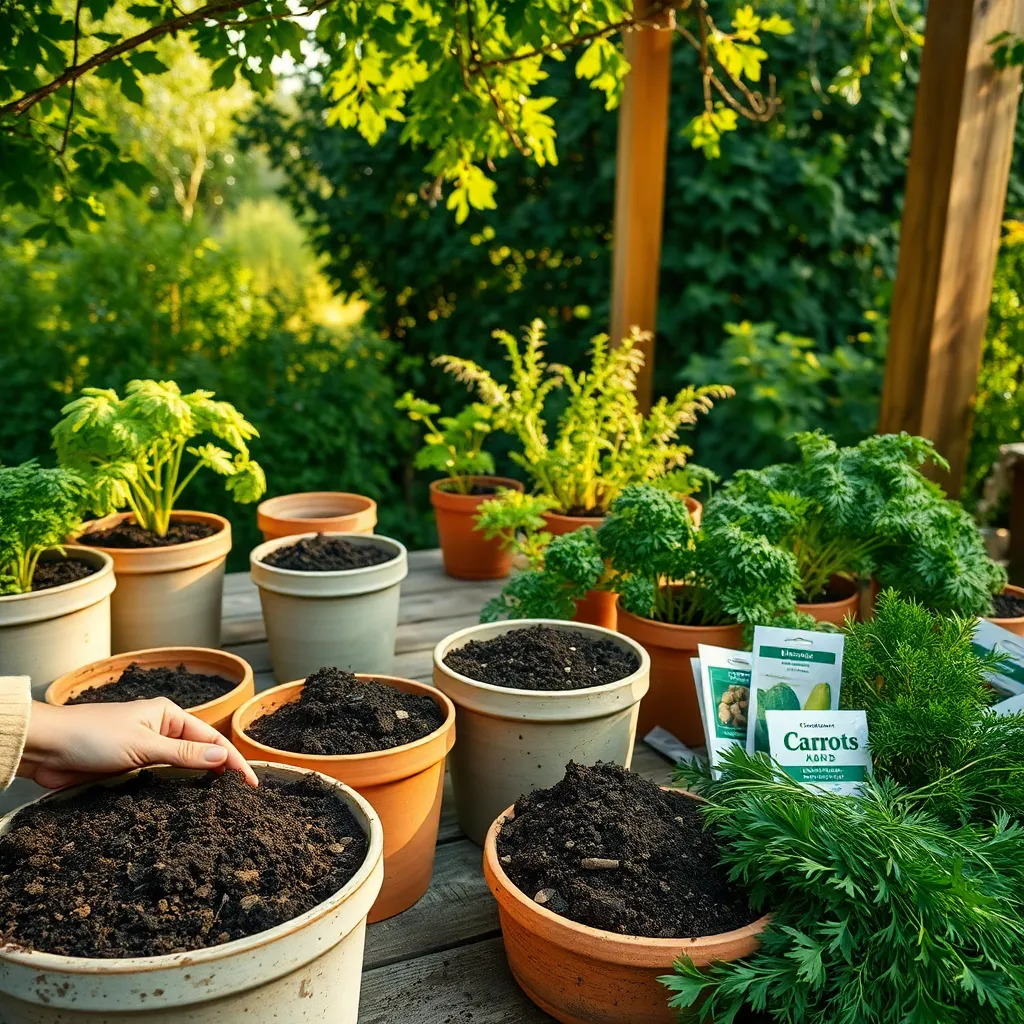
To grow robust carrots in pots, it’s essential to fill them with high-quality soil. Use a well-draining potting mix enriched with organic matter to ensure your carrots receive the nutrients they need to thrive.
Avoid using garden soil, as it can compact easily in containers, hindering root growth. Instead, opt for a potting mix that contains ingredients like peat moss, vermiculite, or perlite to promote aeration and drainage.
For optimal carrot growth, maintain a soil pH of 6.0 to 6.8, which is slightly acidic to neutral. You can test your soil pH using a home test kit and adjust it by adding lime to raise the pH or sulfur to lower it as needed.
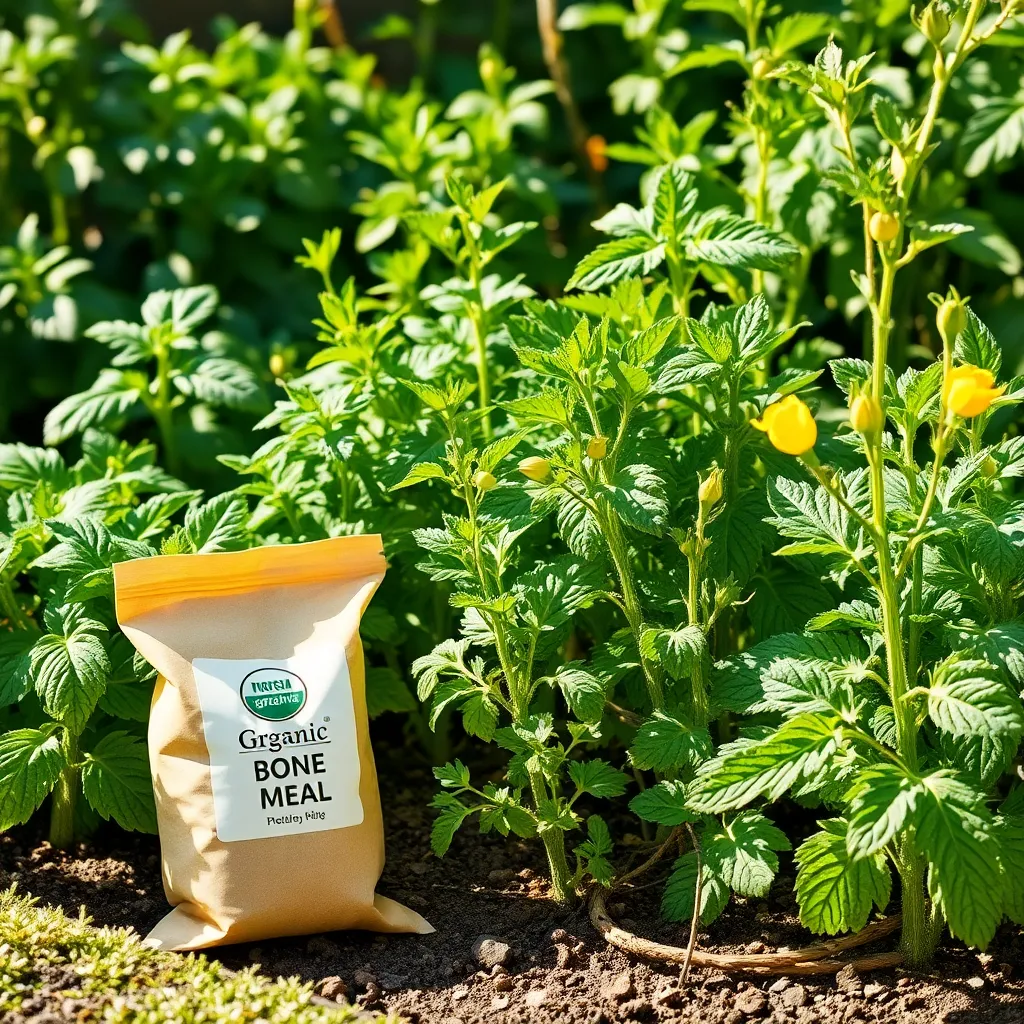
Mix in a slow-release fertilizer to provide a steady supply of nutrients throughout the growing season. This is especially important for container gardening, where nutrients can leach out of the soil more quickly than in-ground planting.
Keep the soil consistently moist, but be careful not to overwater, as carrots can easily rot if left in waterlogged conditions. A helpful tip is to water deeply when the top inch of soil feels dry to the touch, ensuring moisture reaches the root zone.
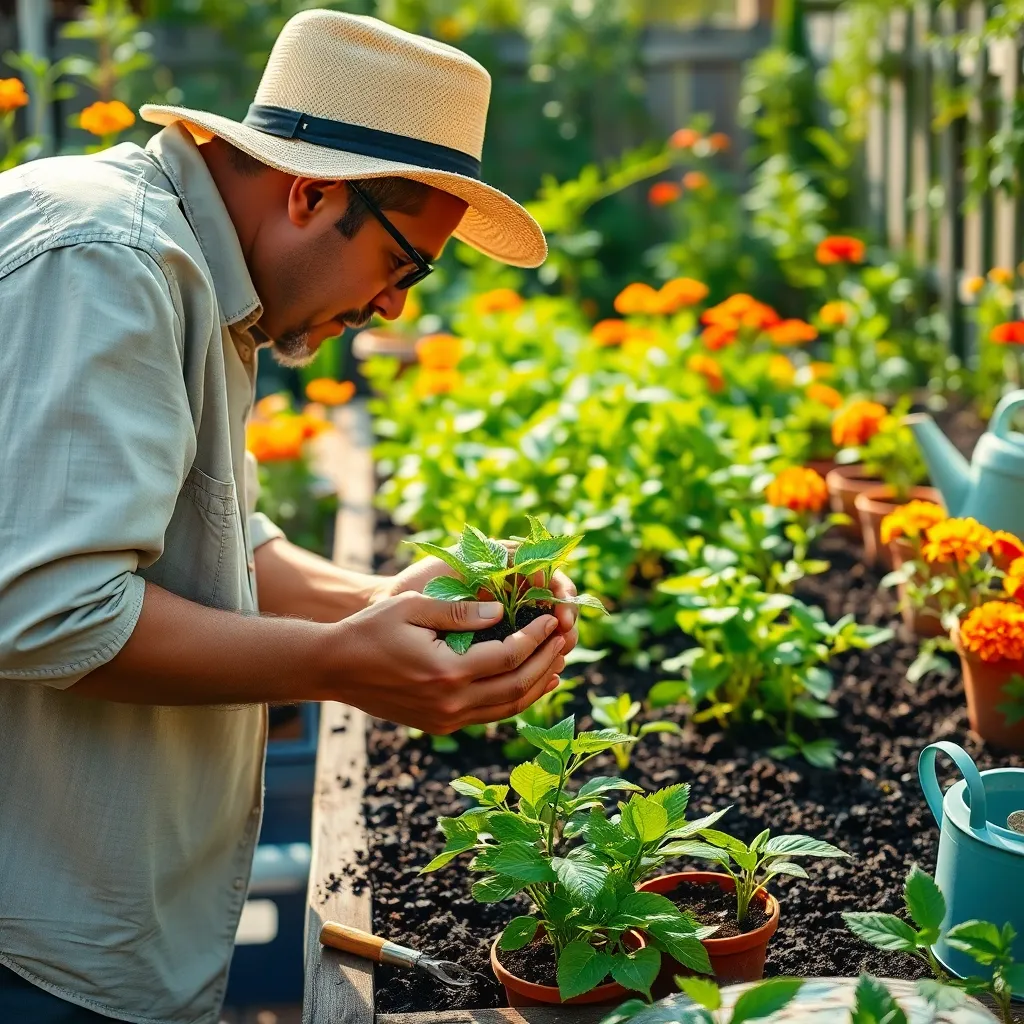
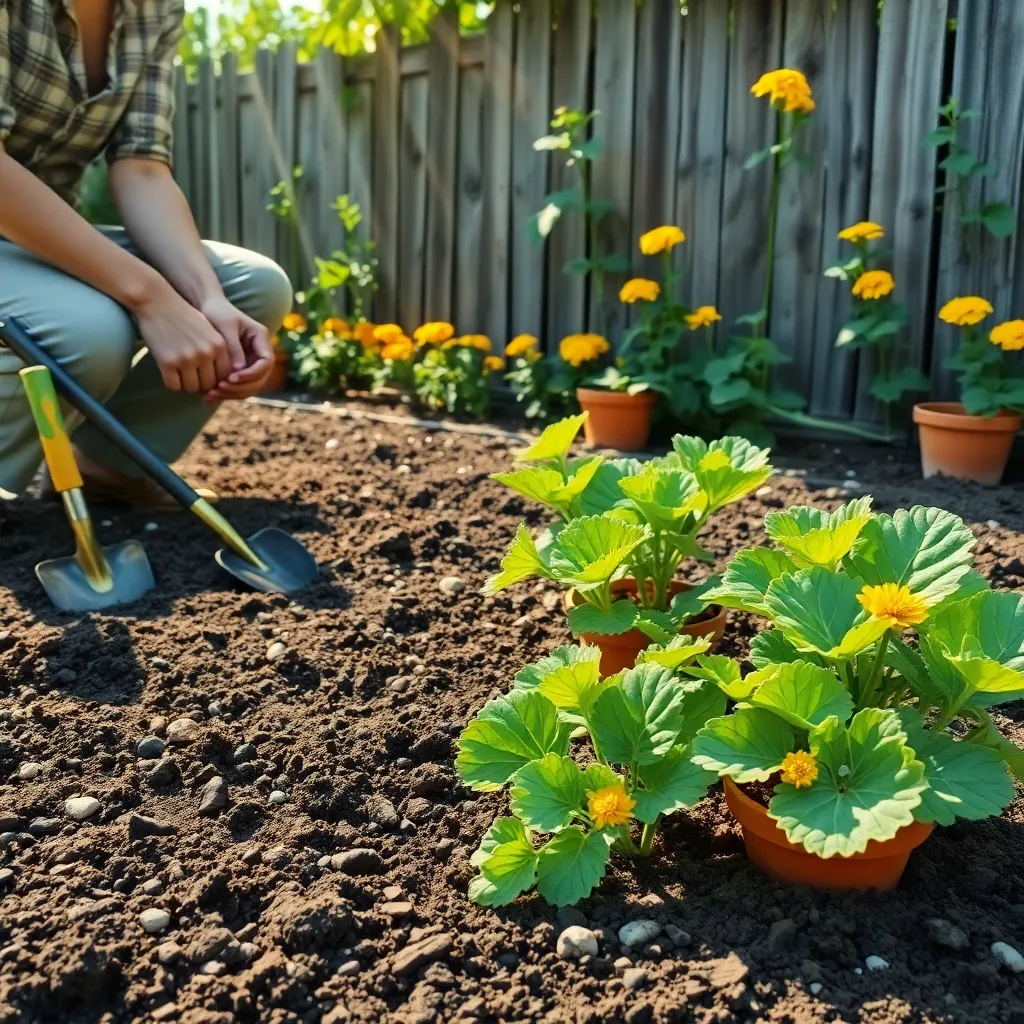
Sow Seeds at Correct Depth
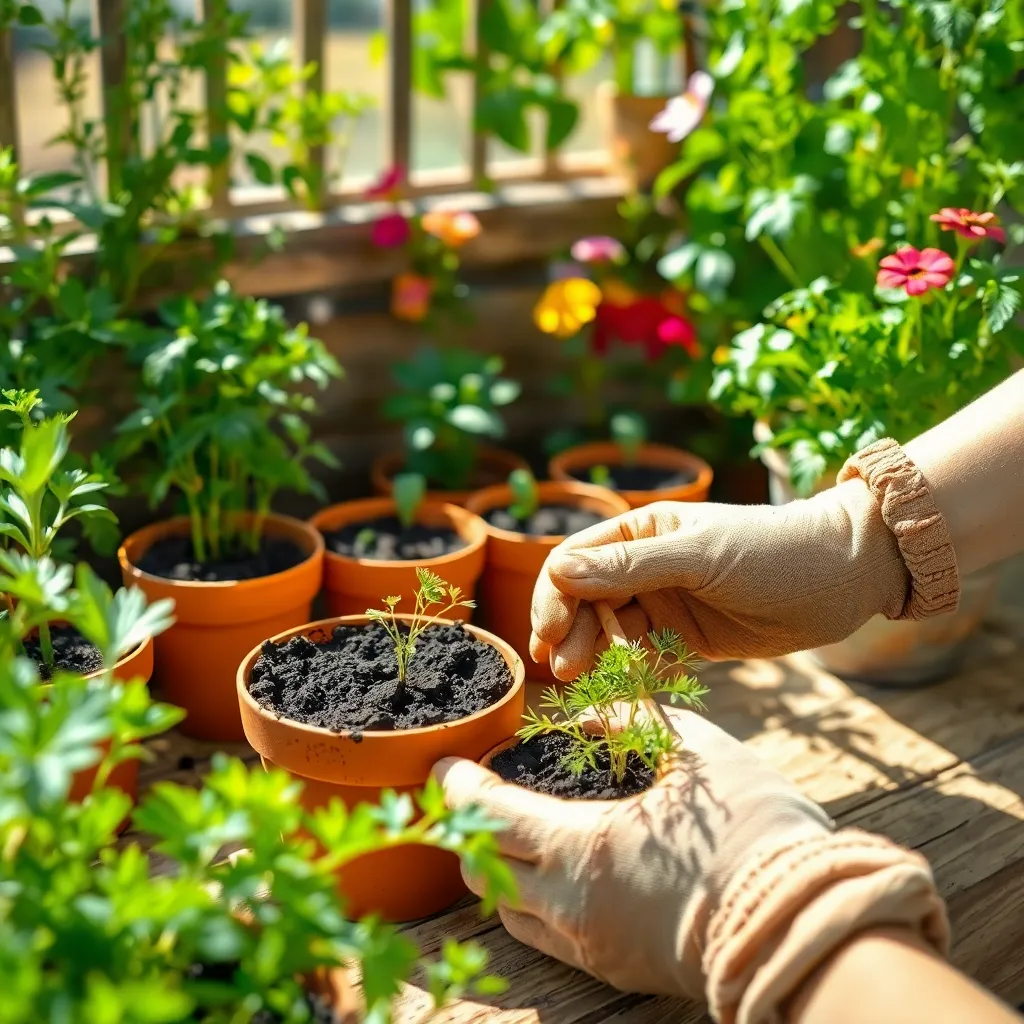
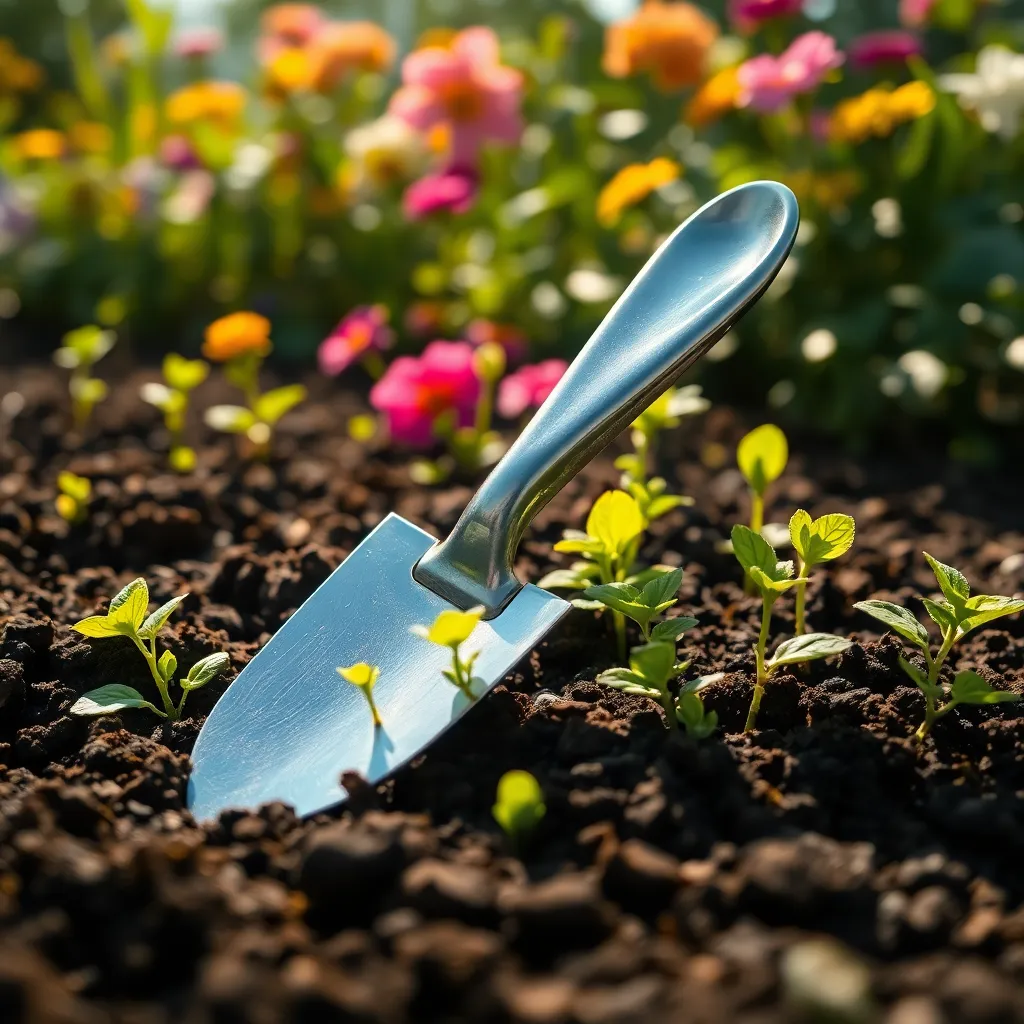
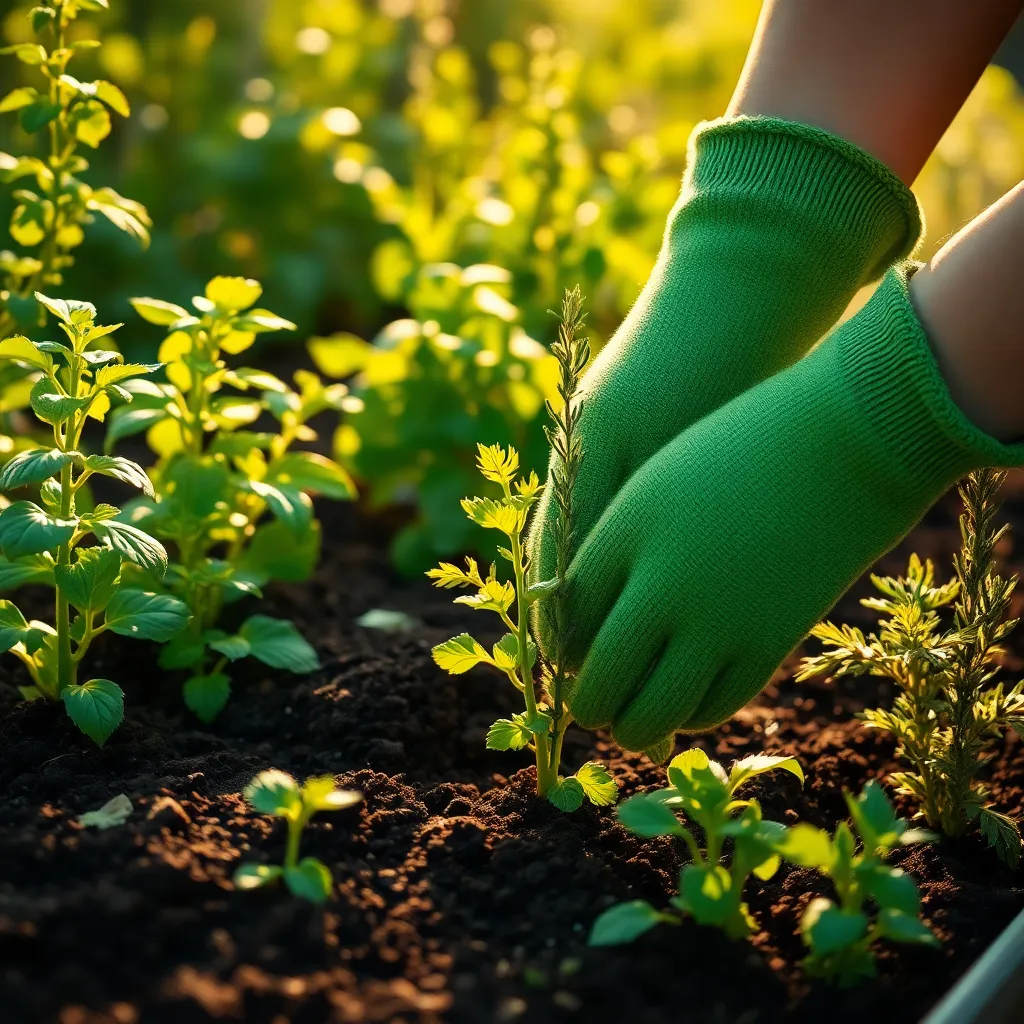
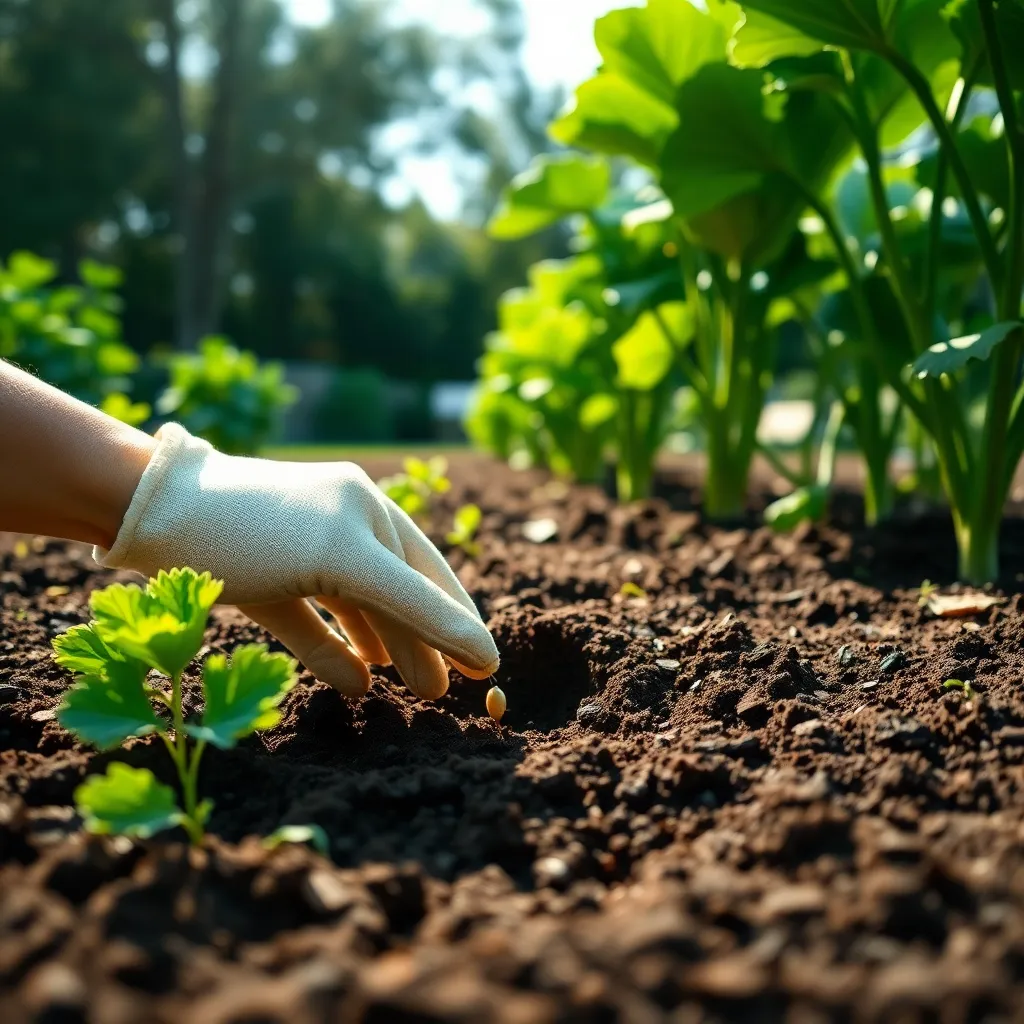
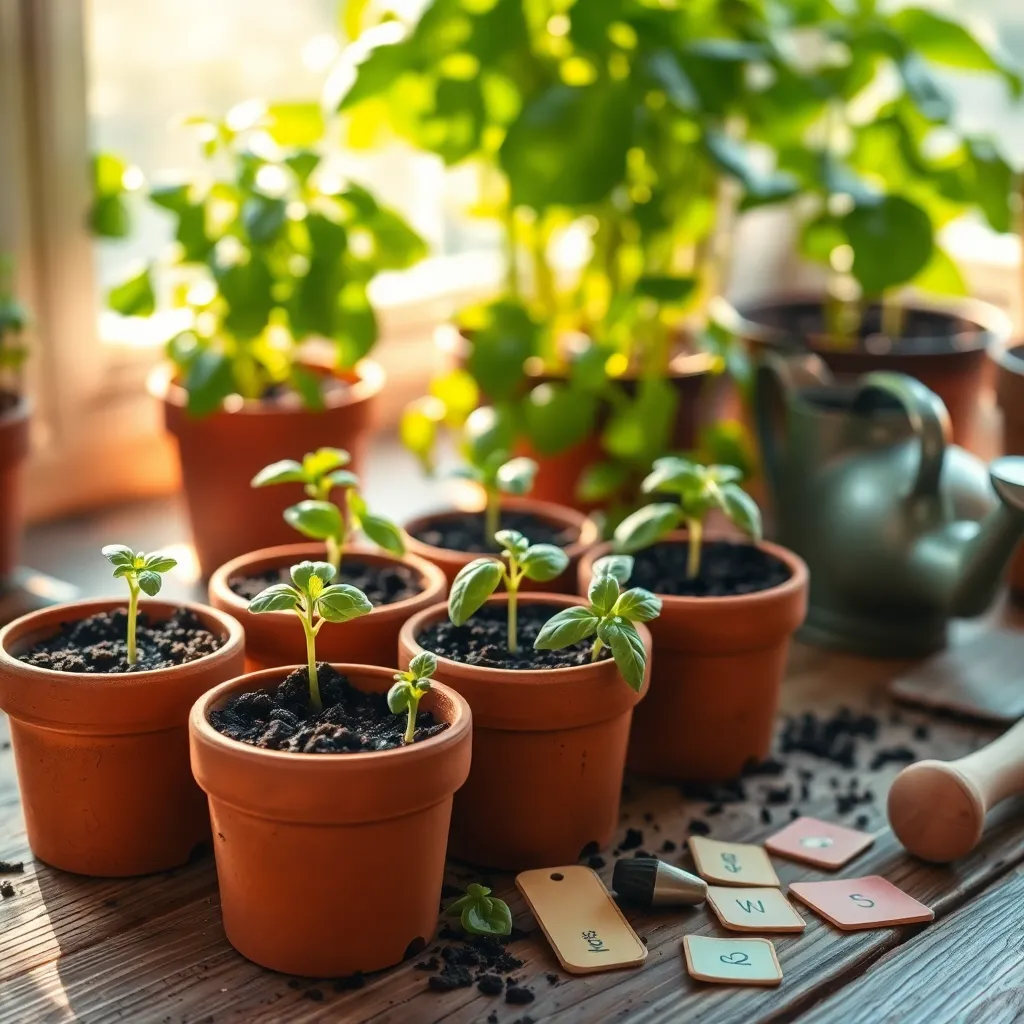
When sowing carrot seeds, it’s crucial to plant them at the correct depth to ensure successful germination. Carrot seeds should typically be sown about 1/4 inch deep, as planting them too deep can prevent them from breaking through the soil.
To achieve the right planting depth, gently press the seeds into the soil with your fingers or a small tool. Cover them lightly with a thin layer of soil, ensuring the surface remains level to promote even growth.
Carrots need consistent moisture to germinate, so it’s important to water the soil gently after planting. Keep the soil evenly moist but not waterlogged, as overly wet conditions can cause the seeds to rot.
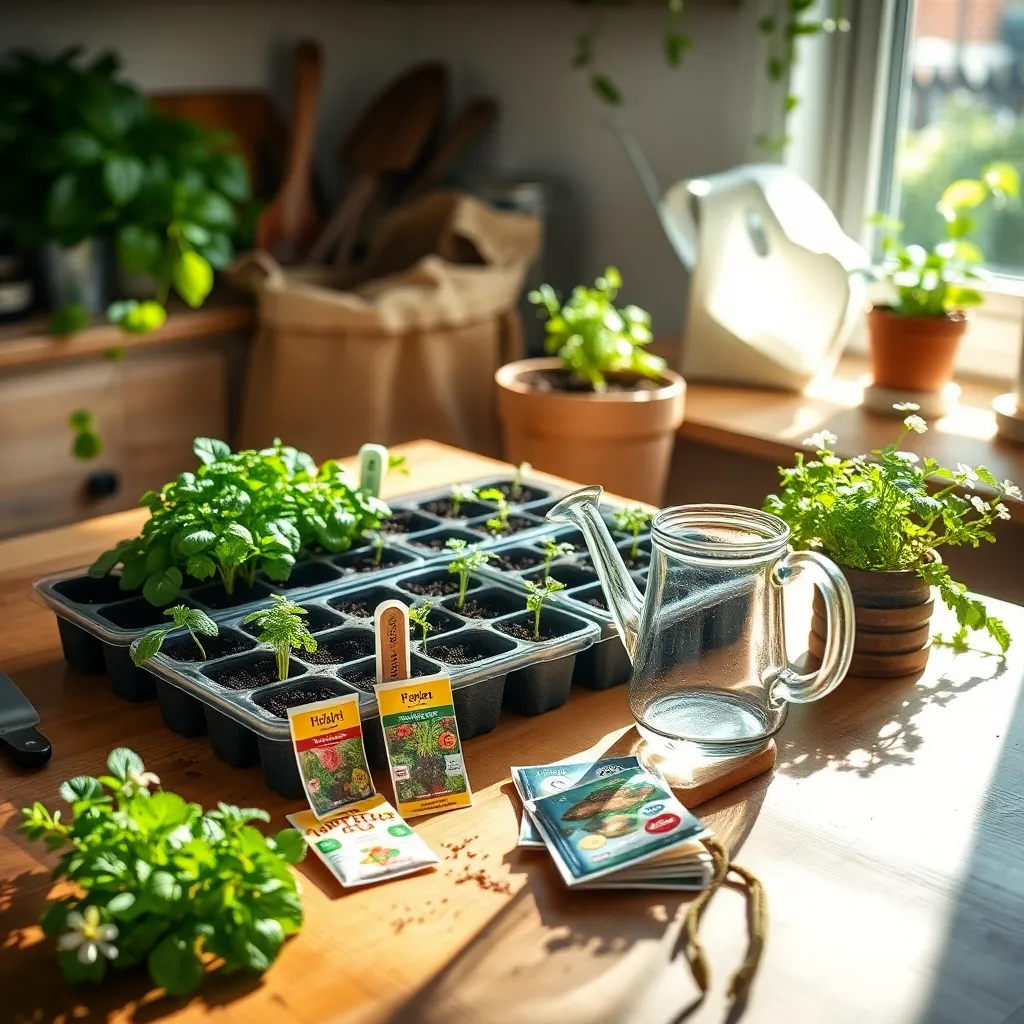
For gardeners looking to maximize space and yields, consider using a staggered planting approach. Sow new seeds every three weeks to ensure a continuous harvest throughout the growing season.
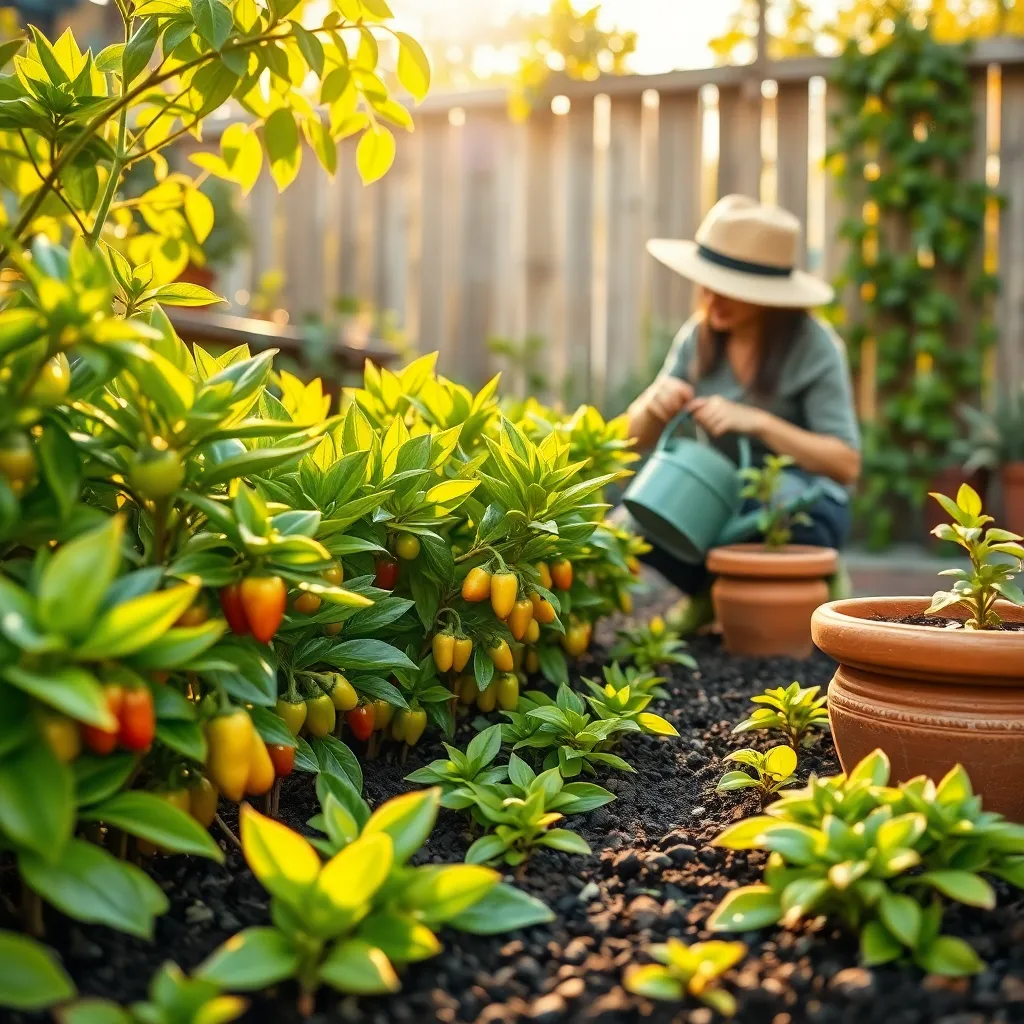
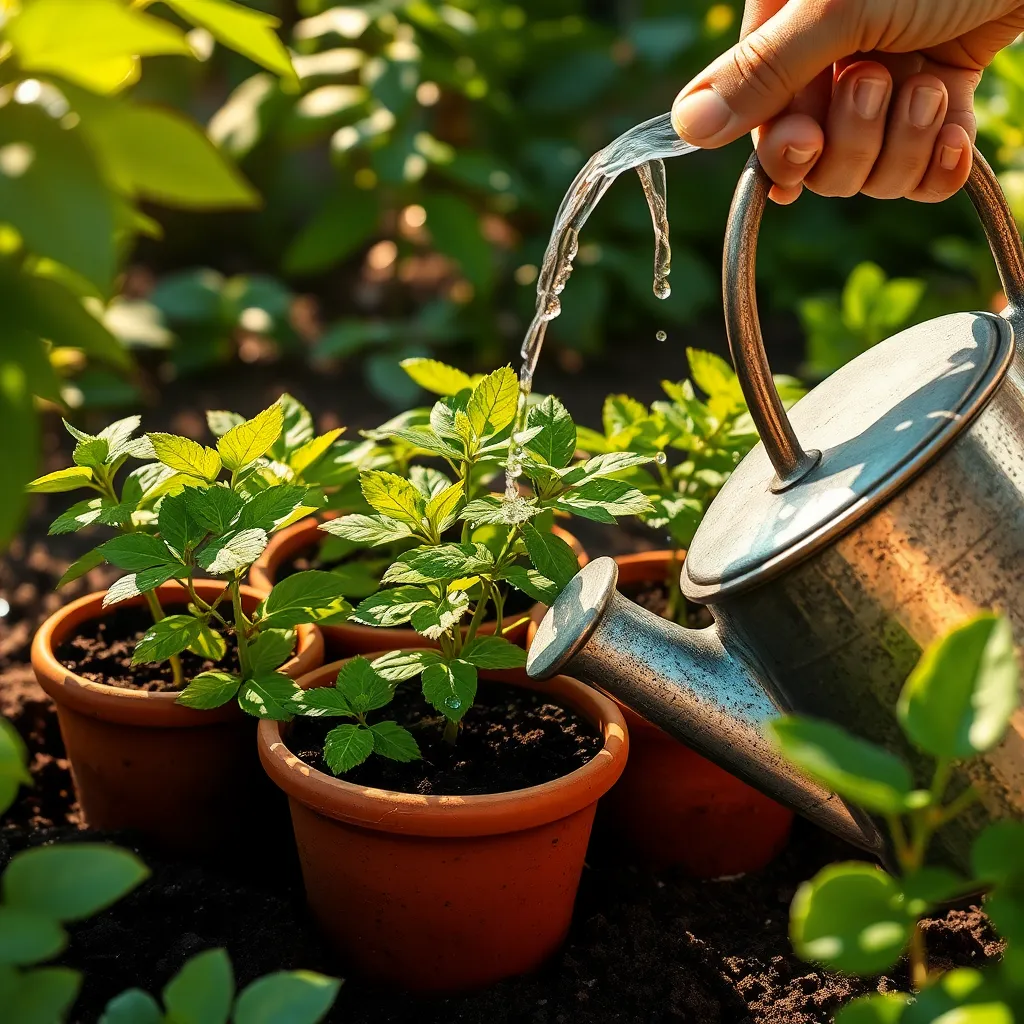
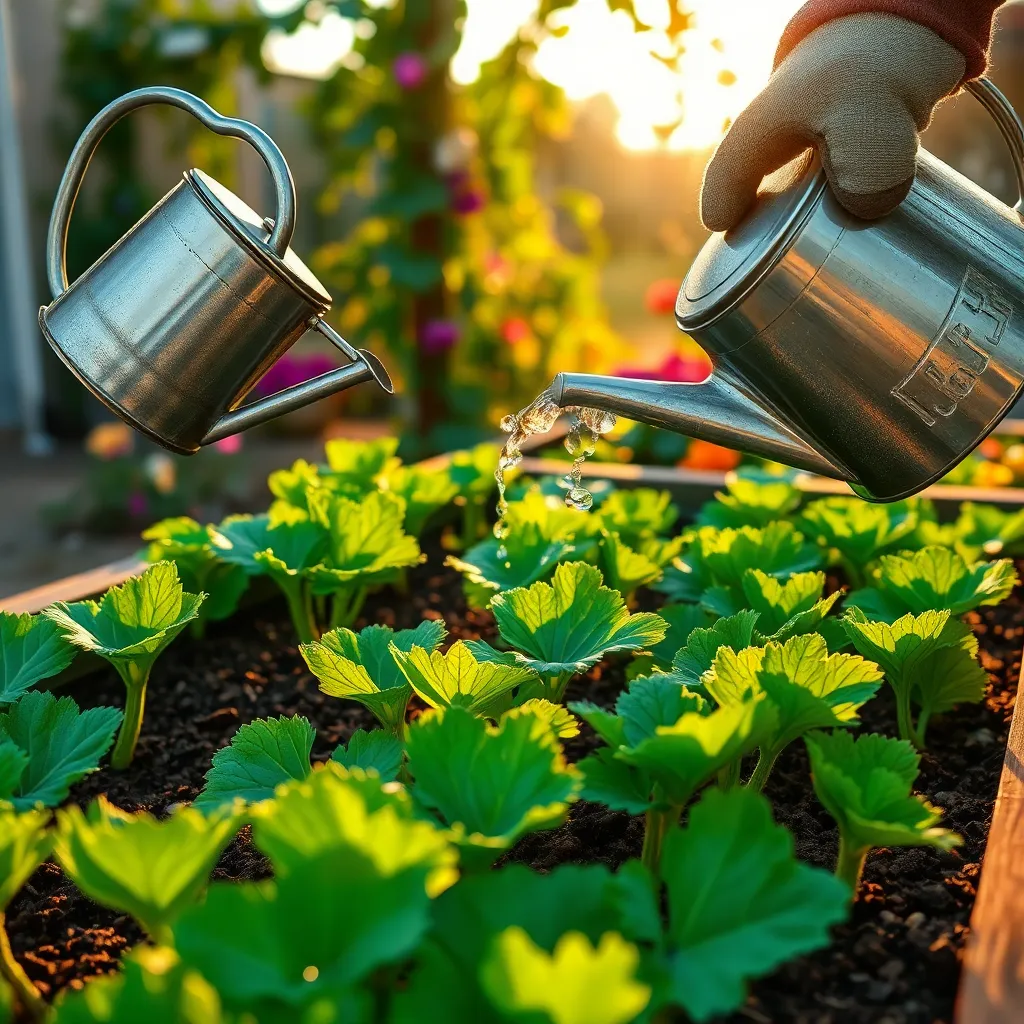
Maintain Consistent Moisture Levels
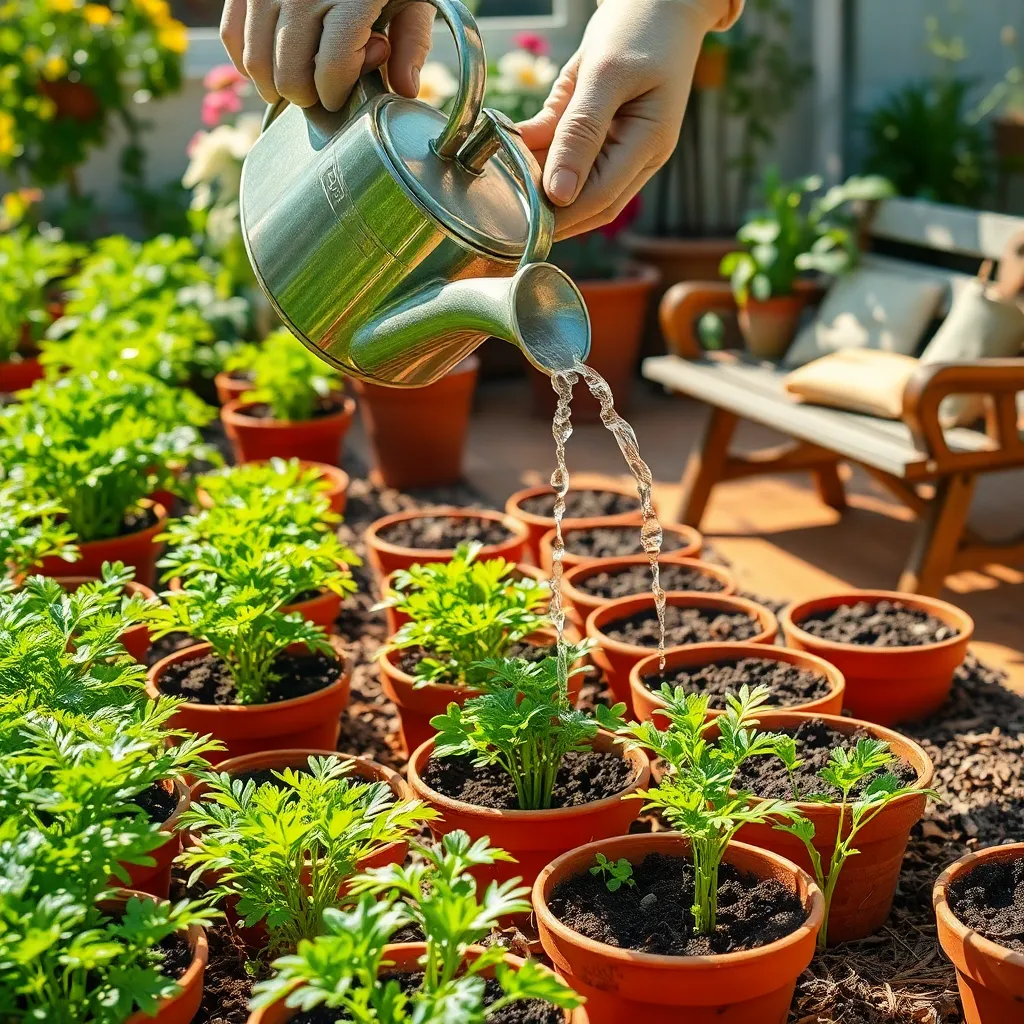
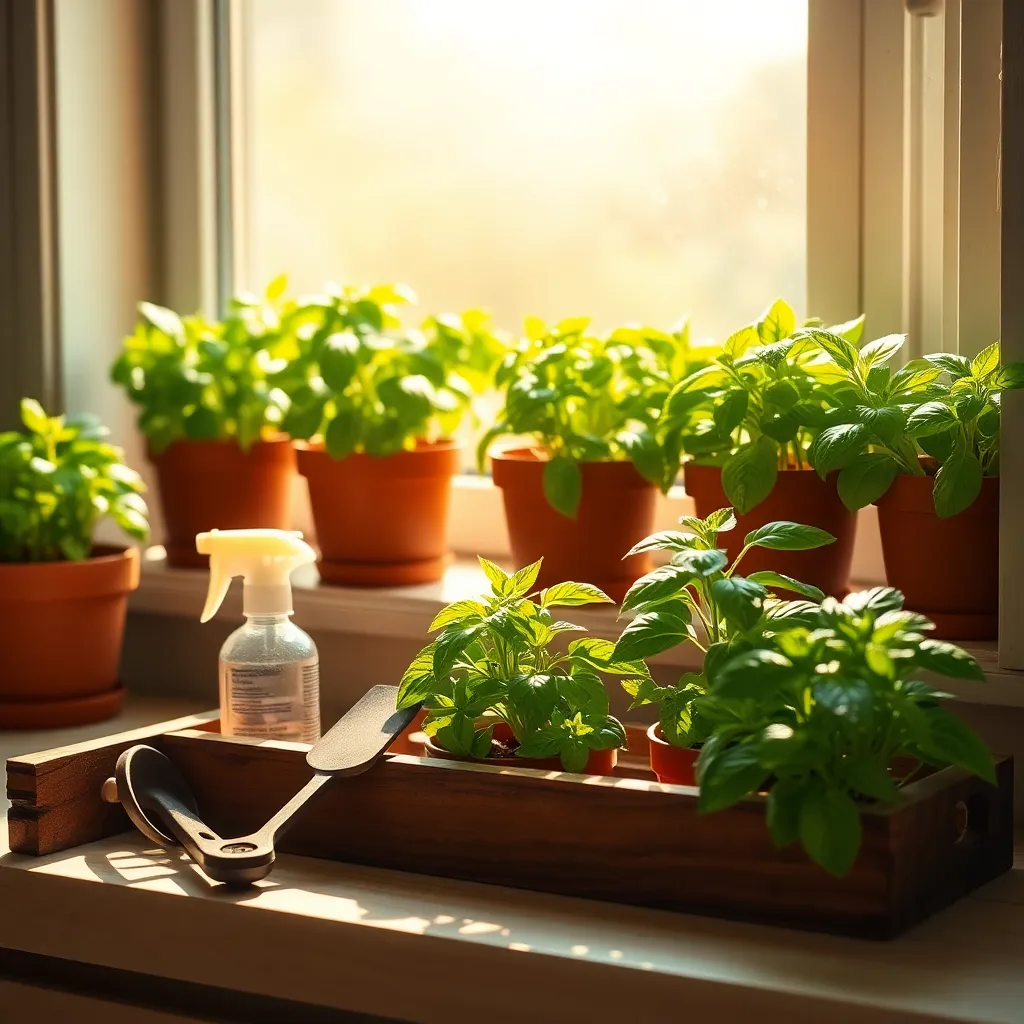
Ensuring consistent moisture levels is crucial when growing carrots in pots. Carrots have delicate roots that can be easily affected by drought or overwatering, so it’s important to strike the right balance.
To start, choose a potting mix that retains moisture yet drains well, such as one with a mix of peat, perlite, and compost. This combination helps keep the soil evenly moist without becoming waterlogged, which is essential for healthy carrot growth.
Water your carrot pots regularly, aiming to keep the soil consistently damp but not soggy. Depending on your climate, this might mean watering every few days, but always check the soil first by sticking your finger an inch deep to assess moisture levels.
For those in warmer climates or during dry spells, consider adding a layer of organic mulch on top of the soil. This will help retain moisture, reduce evaporation, and keep the soil temperature consistent, all of which are beneficial for growing carrots.
Advanced gardeners might experiment with using a self-watering container to maintain steady moisture levels. These containers can be a game-changer, especially if you travel frequently or live in a particularly hot region, as they help prevent the soil from drying out between waterings.
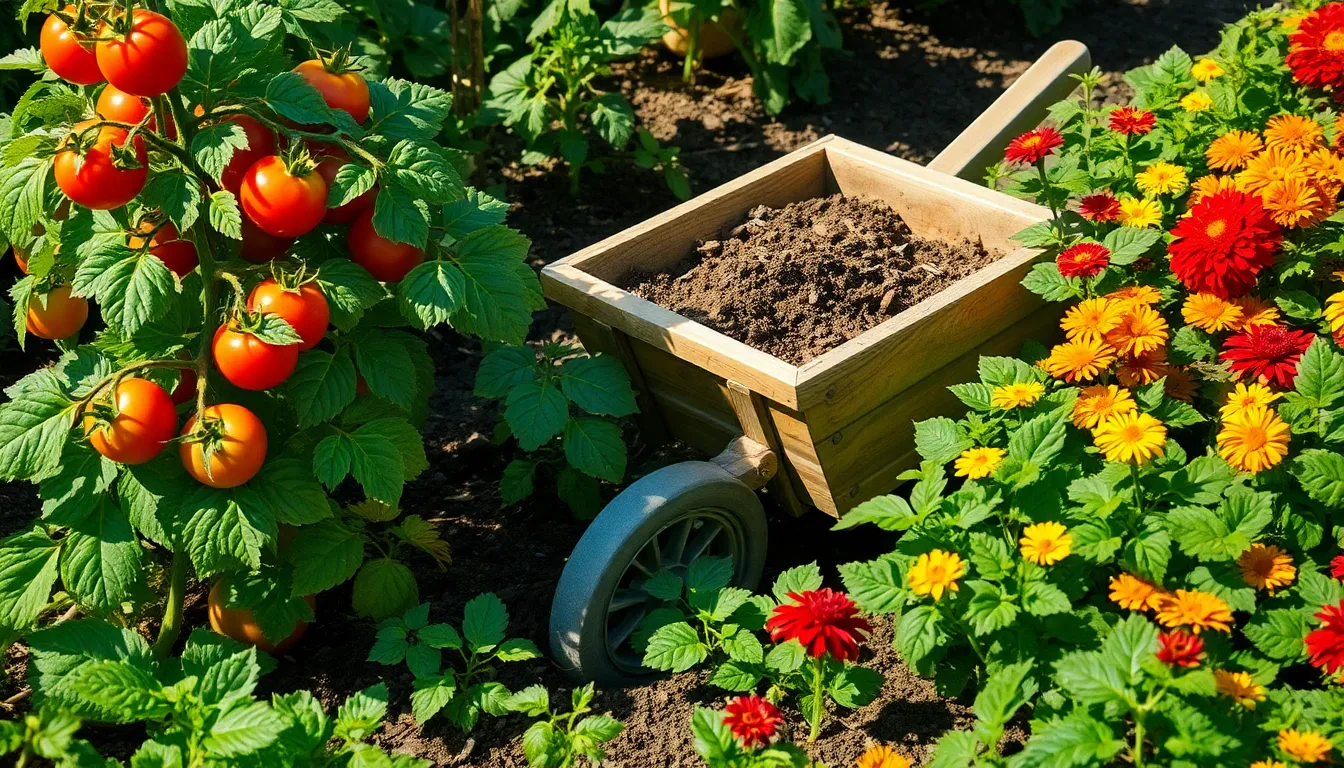
Conclusion: Growing Success with These Plants
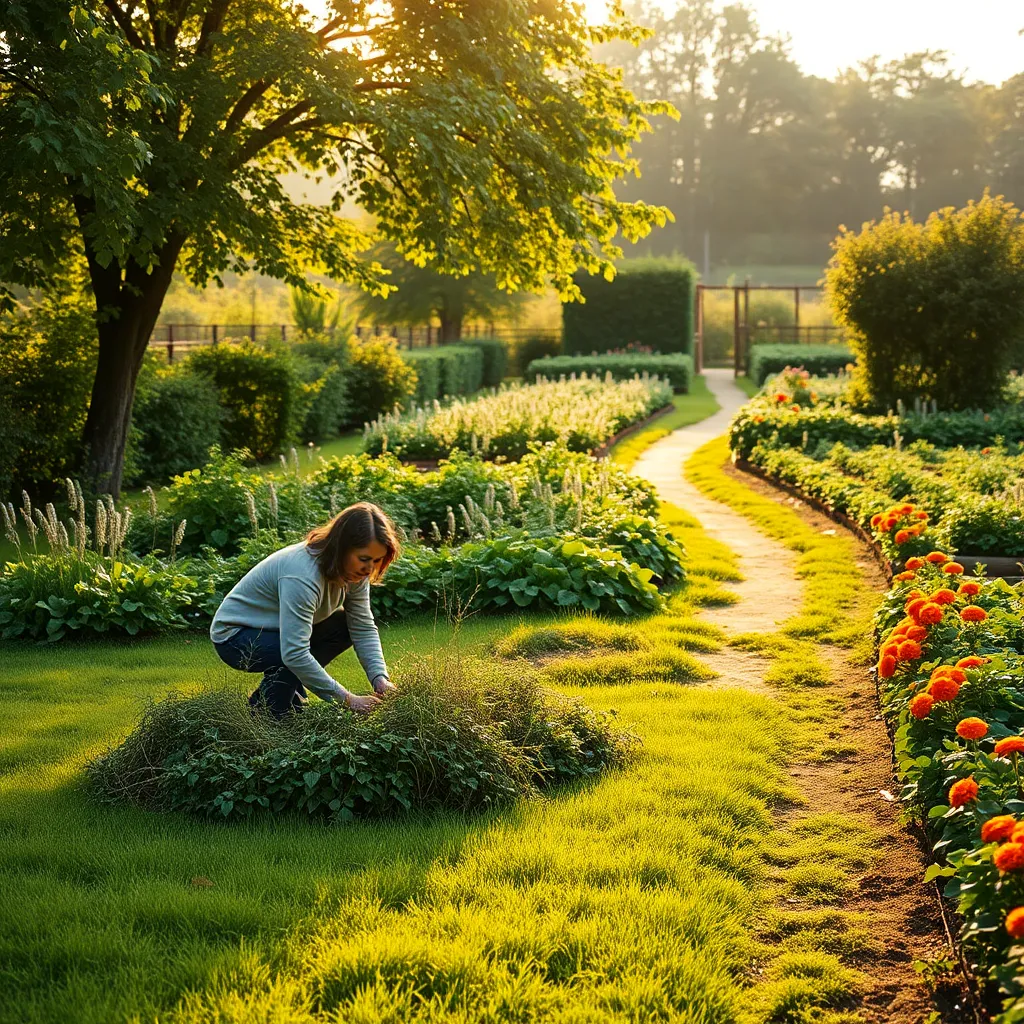
In nurturing the perfect pot of carrots, we discovered five pivotal relationship concepts that parallel cultivating a thriving partnership. First, creating the right environment is essential—whether it’s finding the ideal soil mix or maintaining open communication. Second, patience is key; just as carrots need time to mature, relationships require a commitment to growth. Third, attention to detail, like regular watering, mirrors the importance of daily acts of love and care. Fourth, pruning and weeding symbolize the need to address issues before they overshadow the relationship. Lastly, celebrating small victories, like the first sprout, reinforces the joy found in mutual achievements.
As your actionable next step, consider dedicating time each week to nurture these concepts in your relationship. Whether it’s setting aside a night for heartfelt conversations or tackling issues head-on, every effort counts in fostering a deeper connection.
Be sure to save or bookmark this article for ongoing guidance and support in your journey. Remember, just as a bountiful harvest awaits the patient gardener, a fulfilling relationship is within reach for those who cultivate it with intention and care. Embrace this opportunity to grow together, and watch your partnership flourish like the most vibrant of gardens.