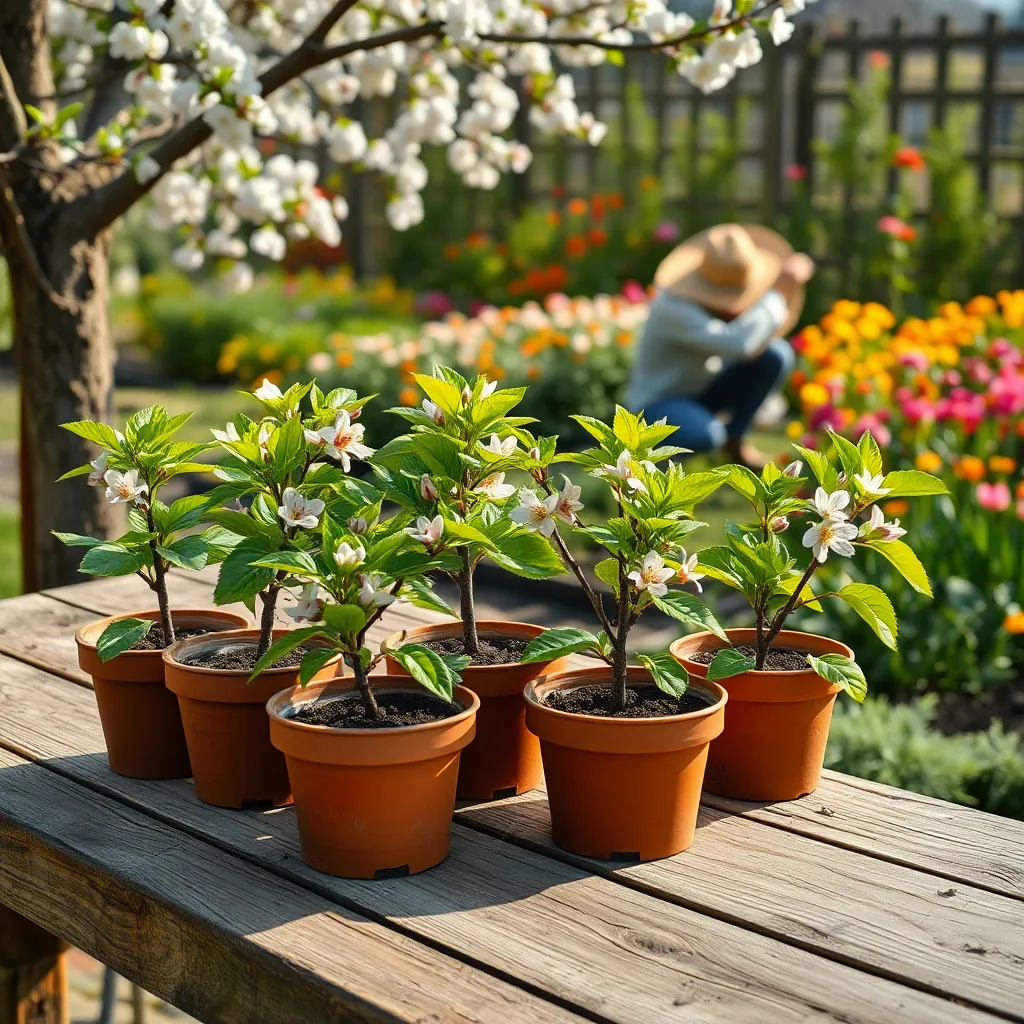
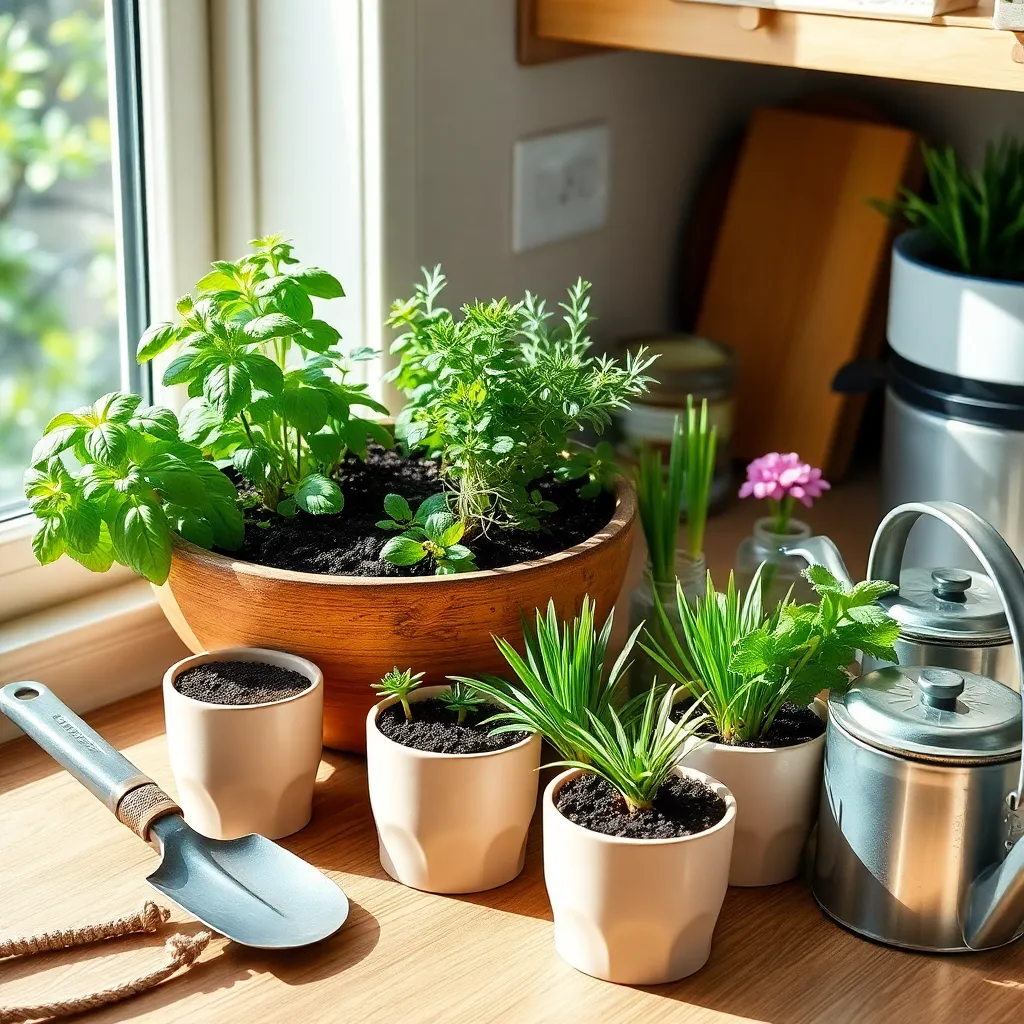
As the chill of winter sets in, many gardeners might tuck away their tools, but the true enthusiast knows this season holds its own unique magic. Whether you’re just starting out or you’ve been tending your garden for years, embracing winter gardening can bring a fresh burst of joy and a sense of accomplishment as you watch your garden thrive against the odds.
This guide is packed with practical tips that will transform your winter landscape into a flourishing oasis, providing both beauty and bounty. From selecting resilient plant varieties to crafting ingenious frost protection, you’ll discover strategies that nurture your green space while keeping your passion for gardening alive during the colder months.
With each tip, you’ll gain confidence and inspiration, opening up new possibilities for your garden and enhancing your skills. By the time spring rolls around, you’ll not only have a garden that’s ready to burst into life but also a deeper appreciation for the rewarding cycle of nature’s seasons.
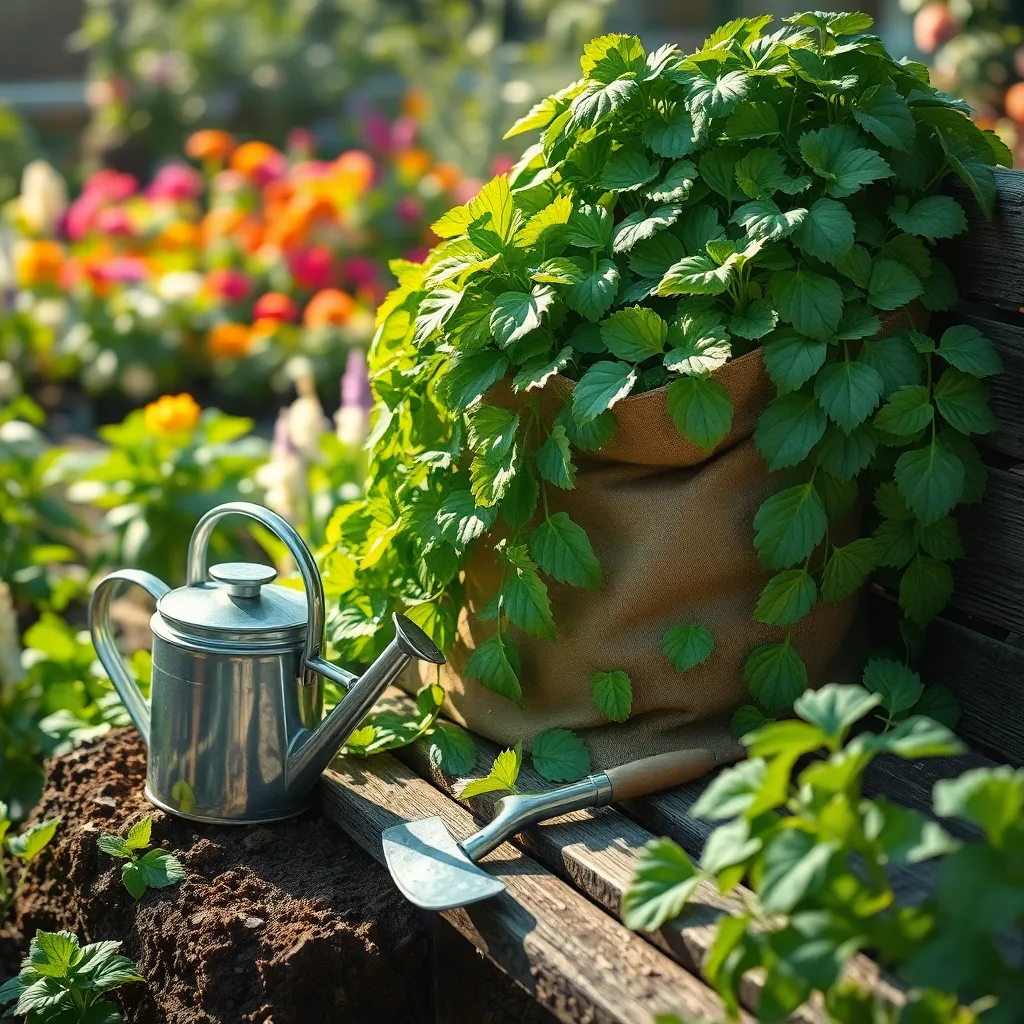
Protect Plants with Mulch
Mulching is a simple yet powerful technique to help your garden survive the winter months. By insulating the soil, mulch helps to maintain a stable temperature and moisture level, which is crucial for plant health during cold weather.
Begin by choosing the right type of mulch for your garden. Organic options like straw, shredded bark, or compost are excellent choices because they gradually break down, enriching the soil with nutrients.
For best results, apply a layer of 2 to 4 inches of mulch around your plants, ensuring it doesn’t directly touch the stems or trunks to prevent rot. This thickness provides adequate insulation and suppresses weeds that might compete with your plants for nutrients.
Advanced gardeners can use mulch to experiment with microclimates in their garden. Varying the depth and type of mulch can create different conditions that some plants may prefer, offering a subtle way to tailor growing environments.
Prune Dormant Trees Carefully
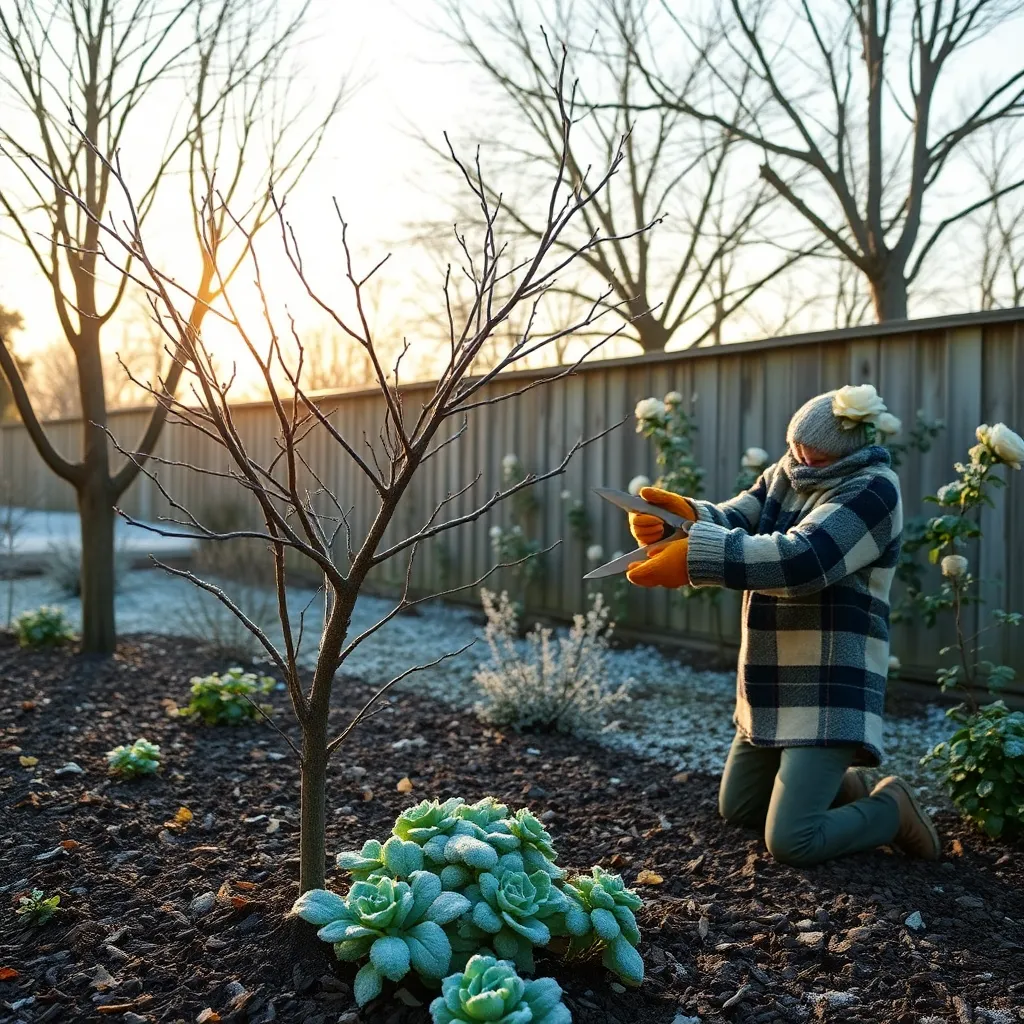
Winter is the ideal time to prune trees while they are dormant, minimizing stress and promoting healthy growth in spring. Ensure your tools are sharp and clean to make precise cuts that heal quickly and reduce the risk of disease.
Begin by removing any dead, damaged, or diseased branches, as they can harbor pests and diseases. Cut branches at the node where they meet another branch or the trunk to avoid leaving stubs that are prone to decay.
For those new to pruning, focus on shaping the tree to allow more sunlight and air to penetrate the canopy. This can involve thinning the interior branches and cutting back any that are crossing or rubbing against each other.
Experienced gardeners might consider advanced pruning techniques such as espalier or pollarding for specific tree shapes. Research the natural growth patterns of your tree species to understand how much can be safely removed without hindering its growth.
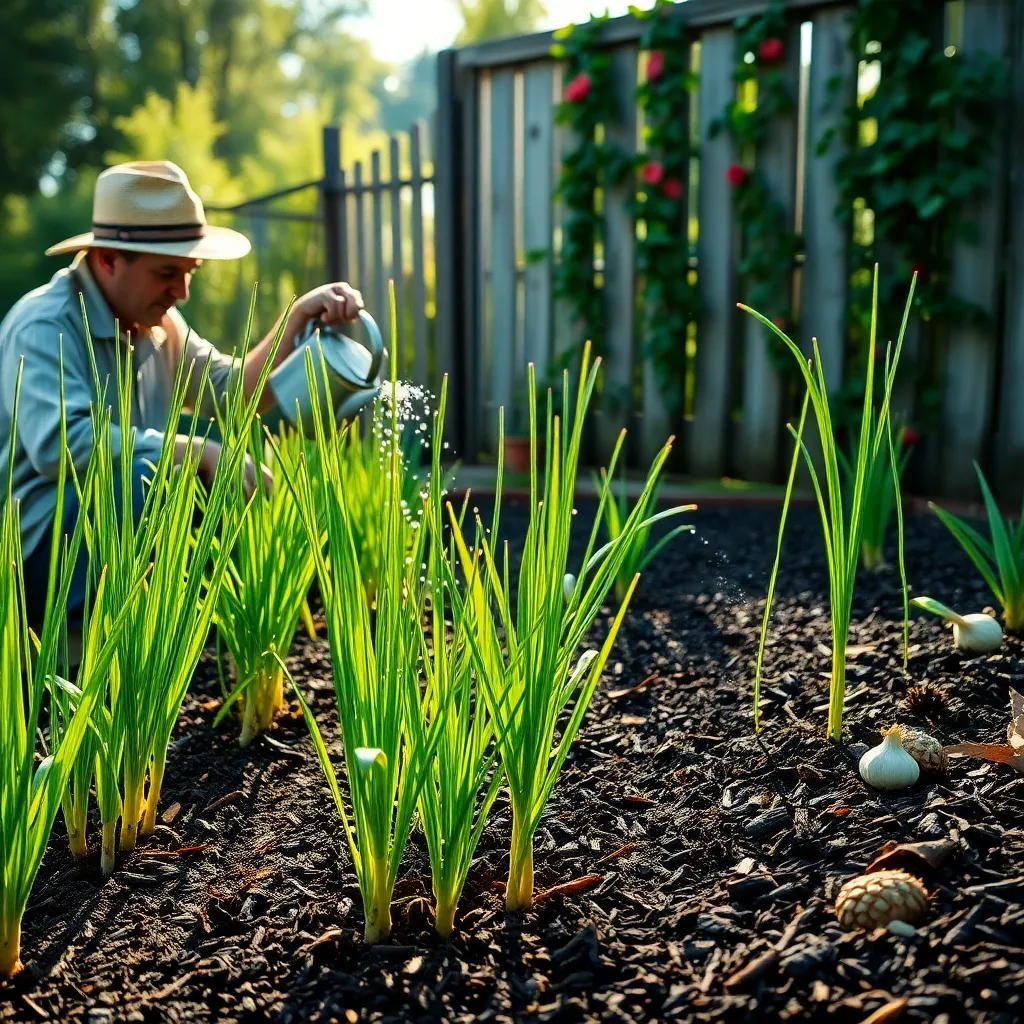
Water Sparingly During Frost
During frosty periods, it’s crucial to water your plants sparingly to avoid damaging their root systems. Watering in the morning allows any excess moisture to evaporate before nightfall, reducing the risk of ice formation around the roots.
Consider the soil type of your garden when planning your watering strategy. Sandy soils drain quickly and may require slightly more frequent watering than clay soils, which retain moisture longer.
Focus on watering the base of the plant rather than the foliage to prevent frost damage. This technique helps keep the roots hydrated without exposing leaves to water that can freeze and cause injury.
For advanced gardeners, installing a moisture meter can be a valuable tool in managing watering schedules during frost. This device provides precise measurements, ensuring that your plants receive just the right amount of water needed to thrive.
Install Row Covers for Insulation
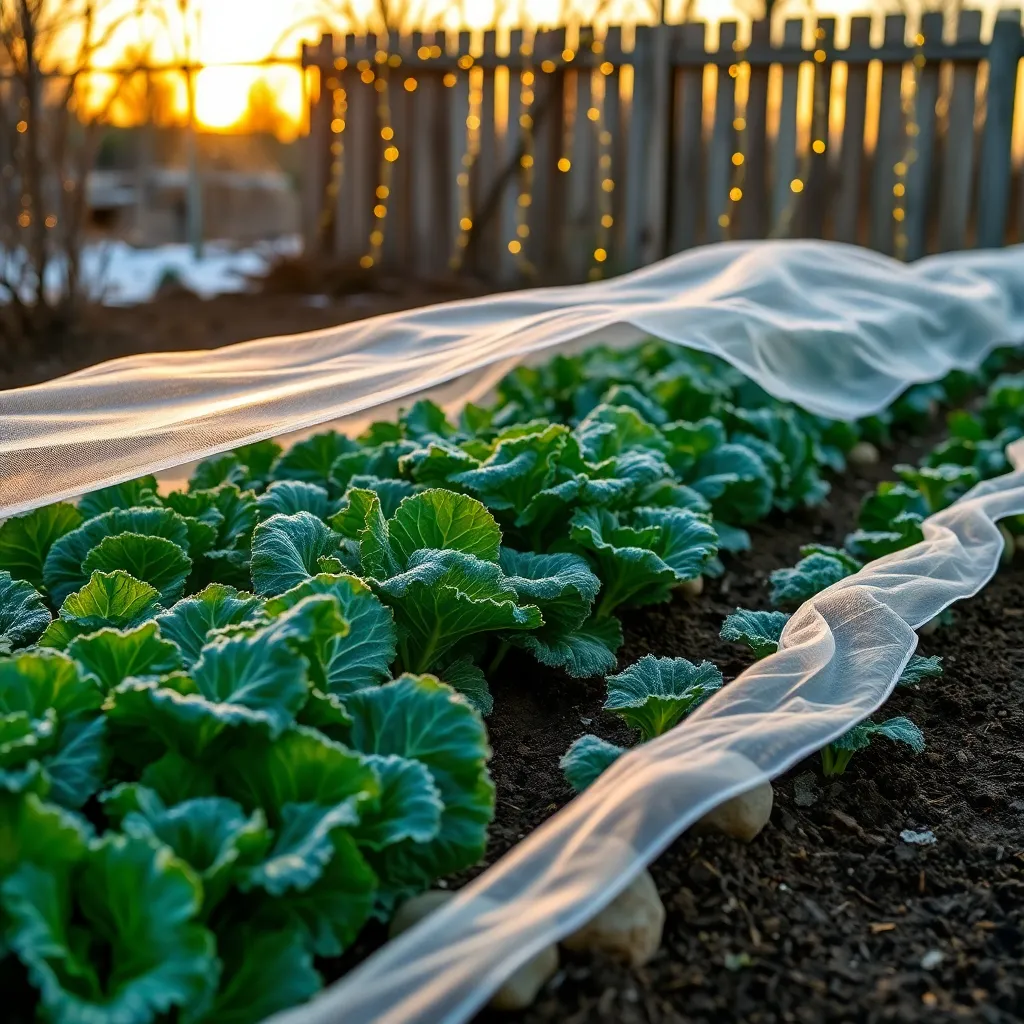
To protect your plants from winter chills, consider installing row covers for insulation. These covers act as a barrier against frost, wind, and pests while allowing light, air, and moisture to penetrate.
Begin by selecting a row cover material that suits your climate and plant needs. Lightweight covers are ideal for milder regions, while heavier fabrics offer better insulation for colder areas.
When installing, ensure the covers are securely anchored to prevent them from blowing away in strong winds. Use garden staples or rocks to hold down the edges, creating a snug fit over the plants.
For added protection, place hoops or frames over your garden beds before draping the covers. This setup provides an air gap between the fabric and the plants, enhancing insulation and minimizing frost damage.
Regularly check underneath the covers for any signs of condensation, which can lead to mold or mildew. If condensation is present, briefly remove the covers on mild days to allow air circulation and dry out any moisture.
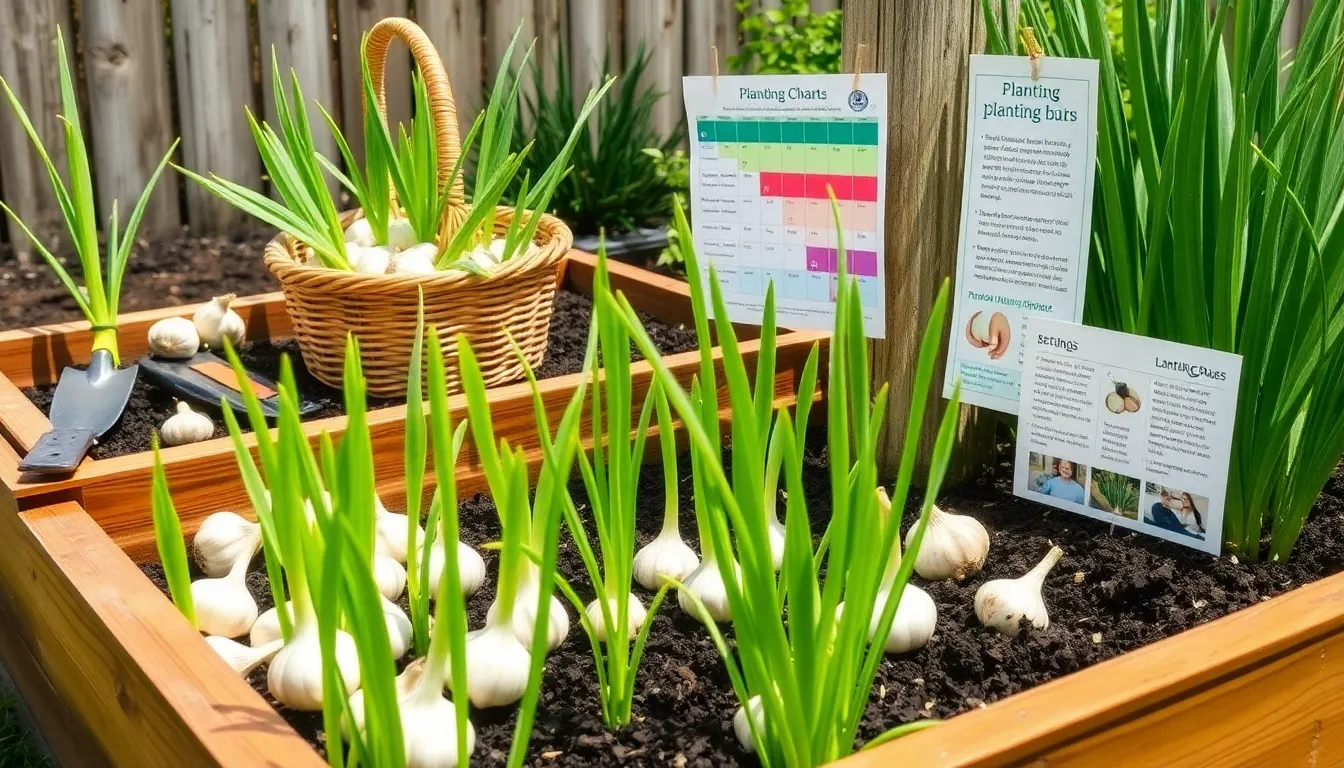
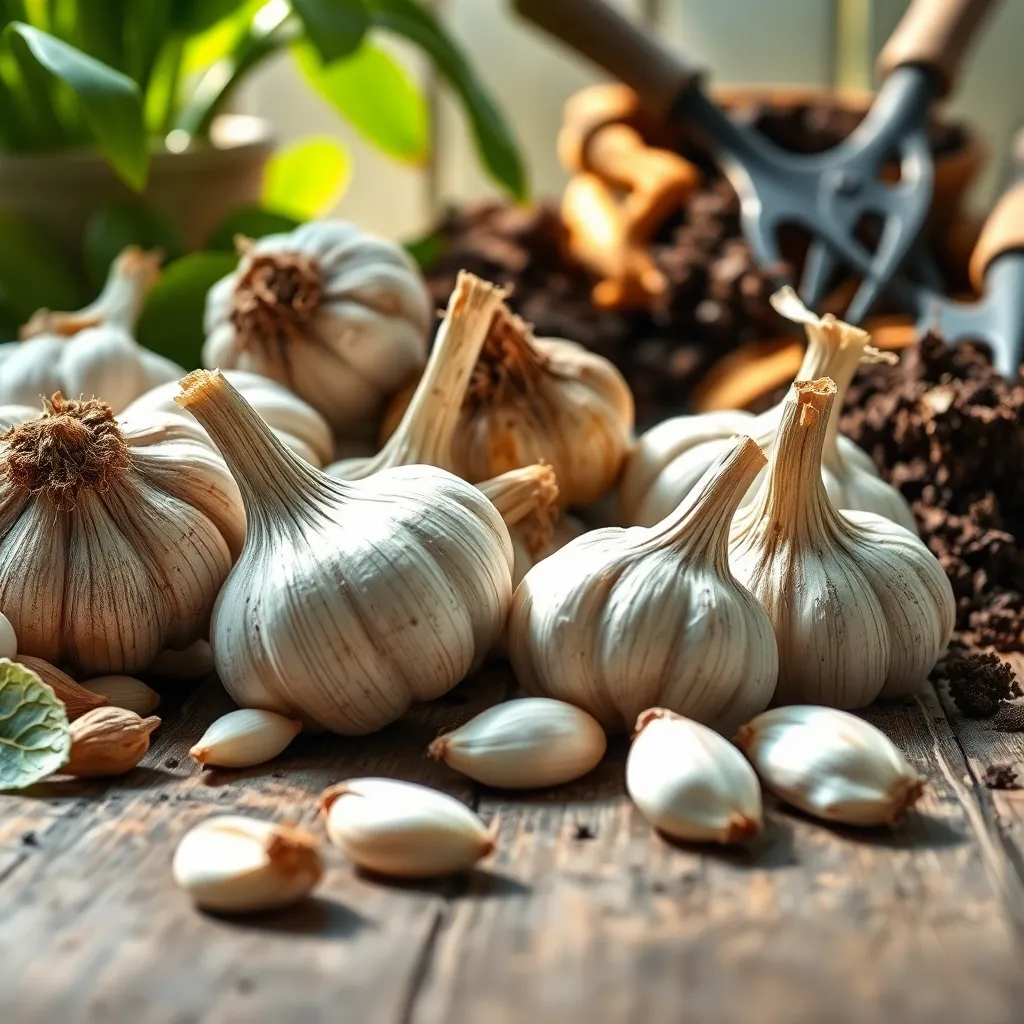
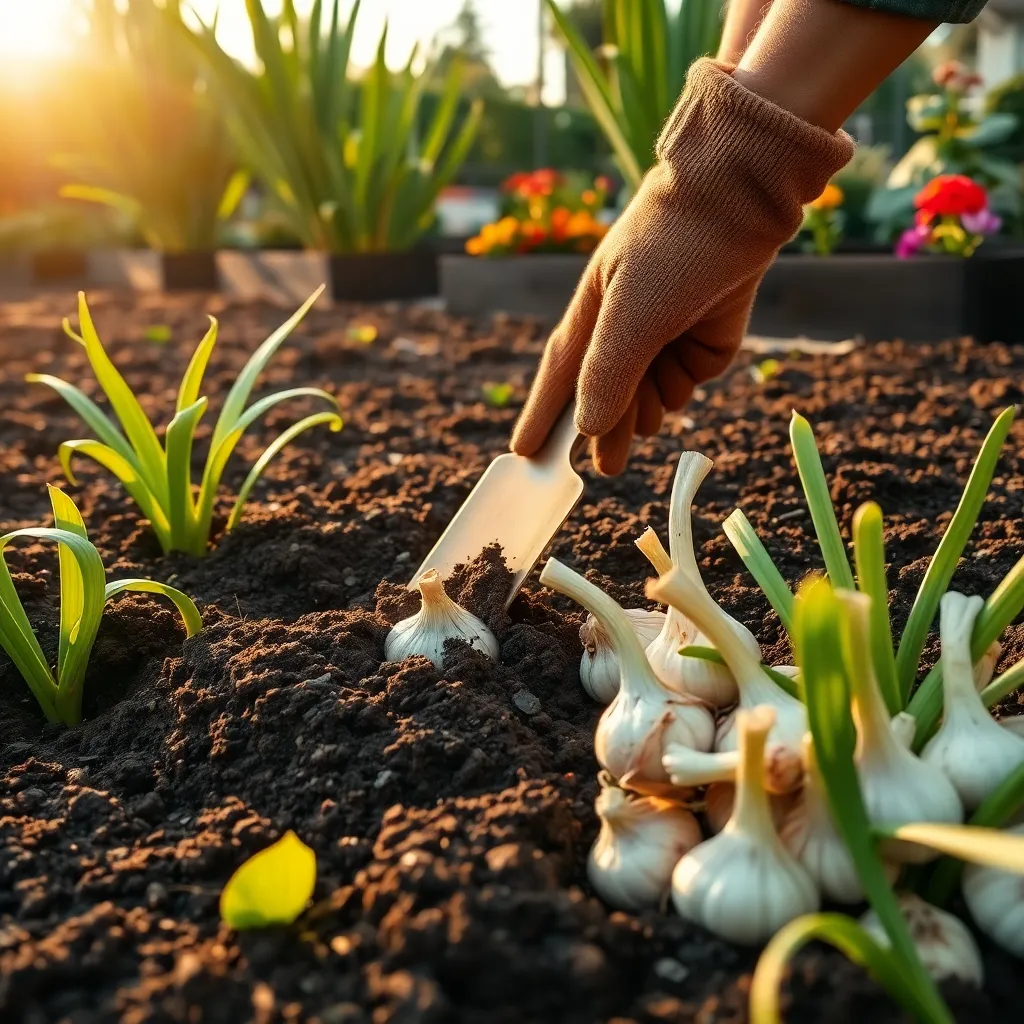
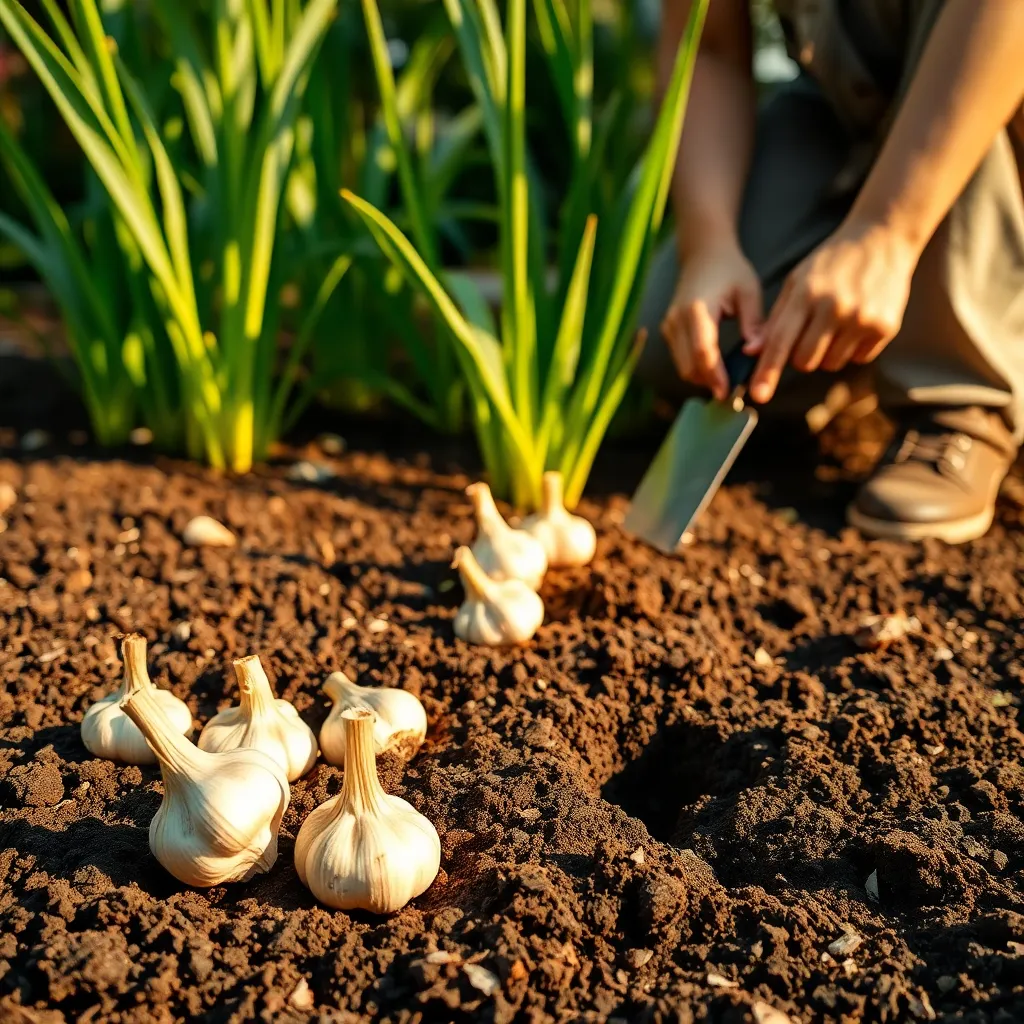
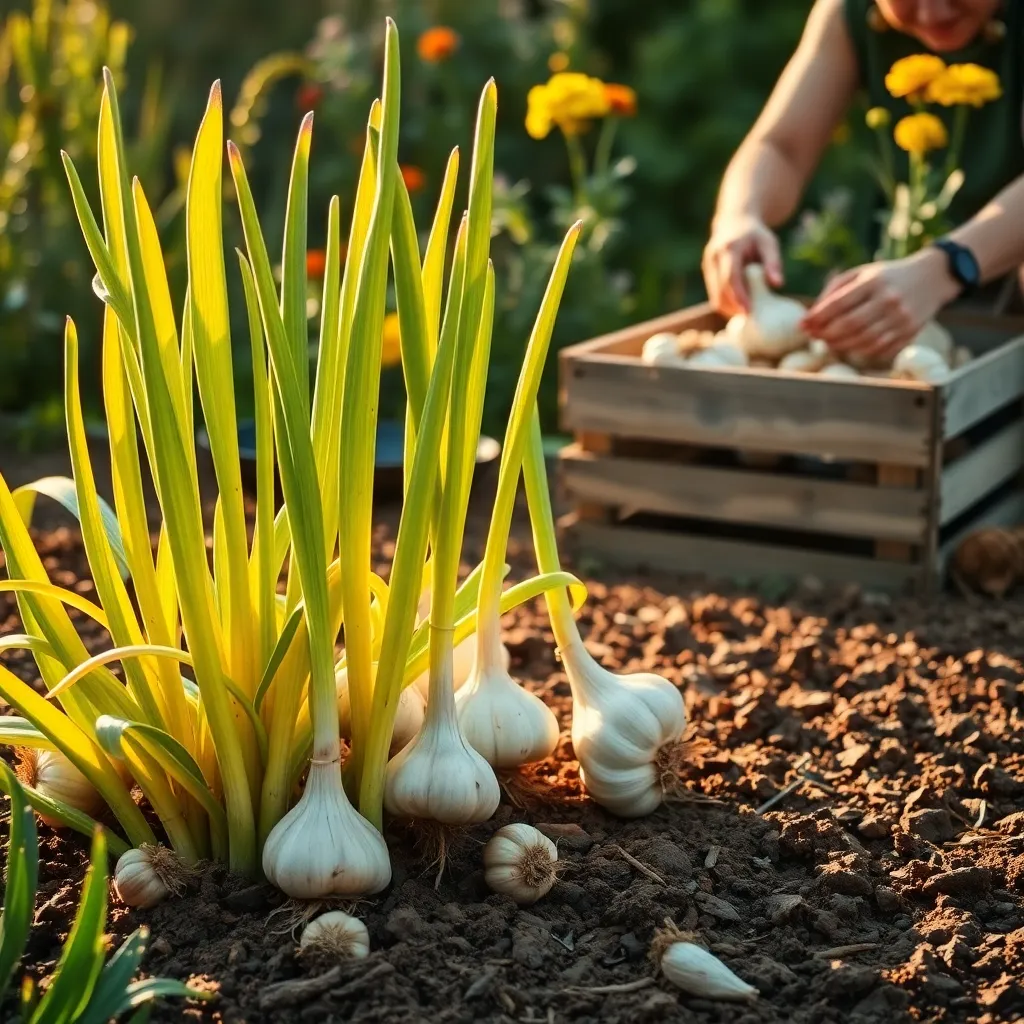
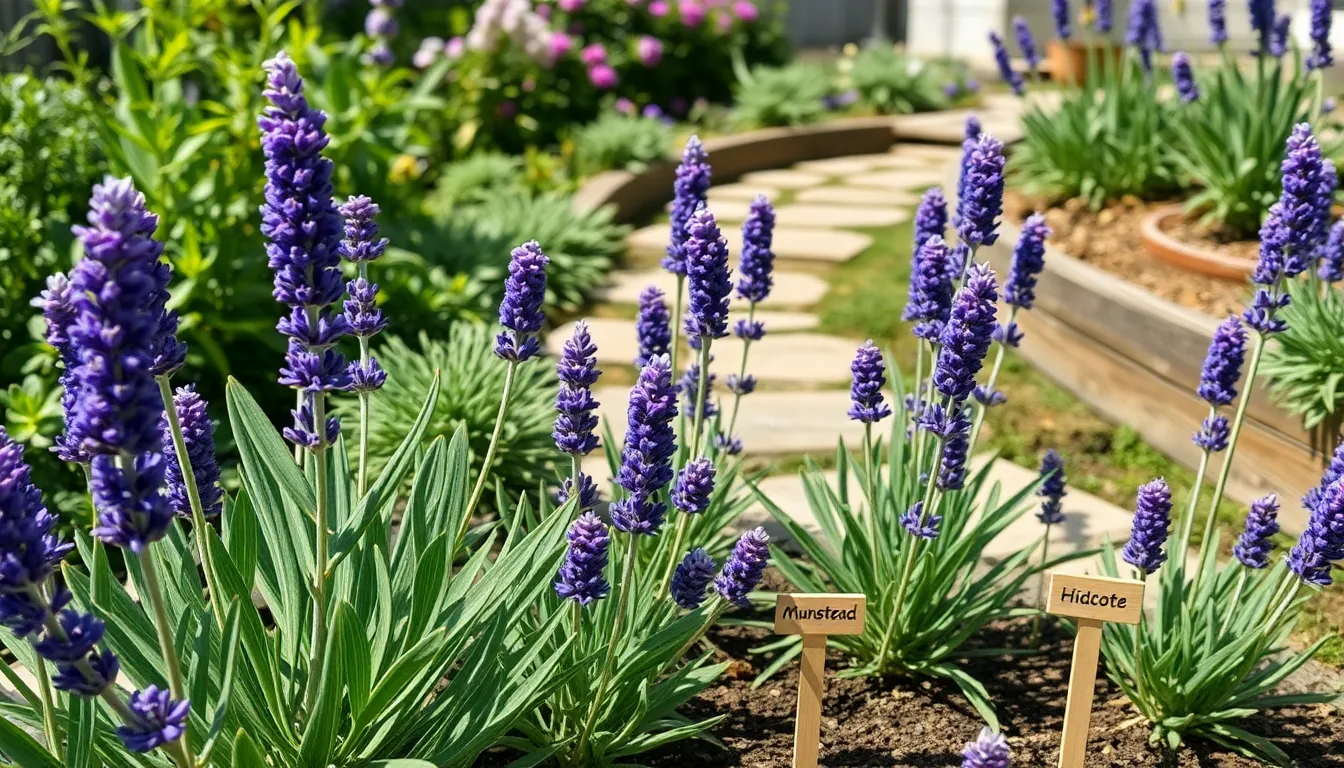
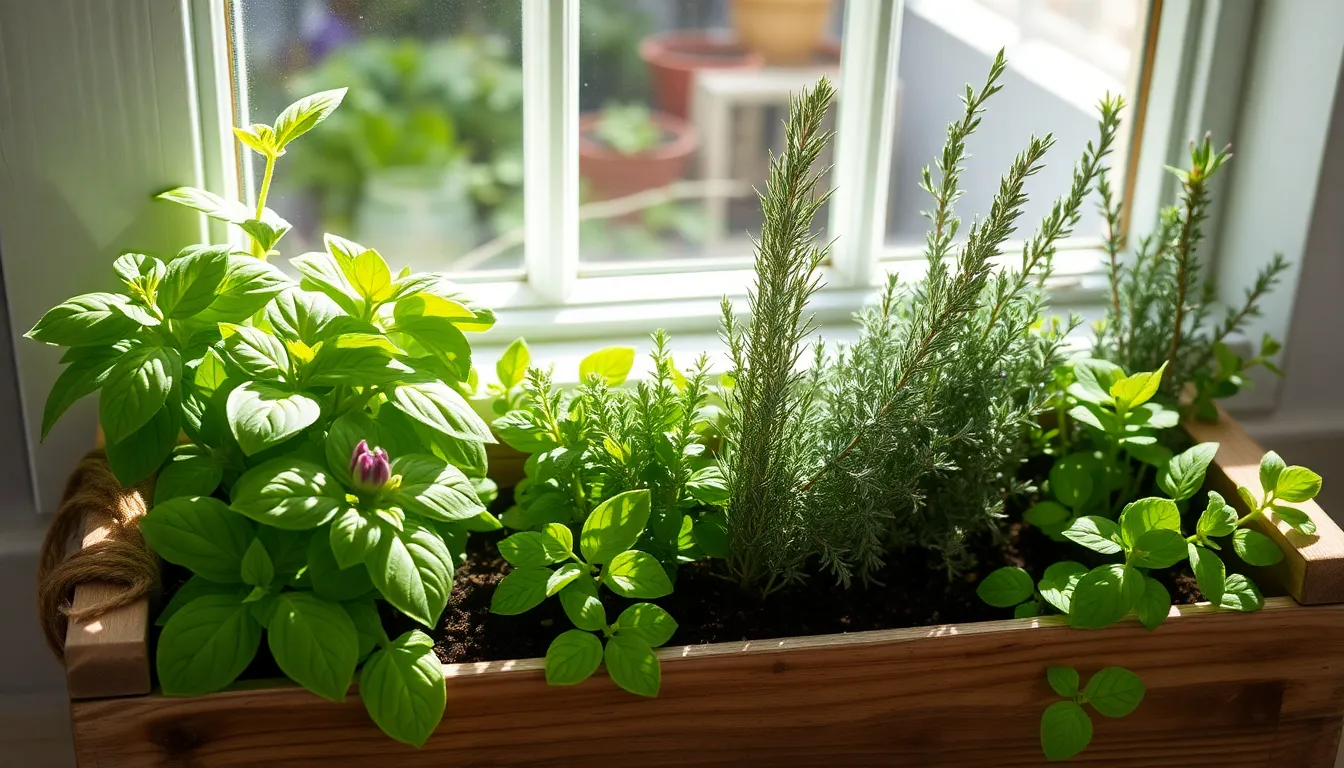
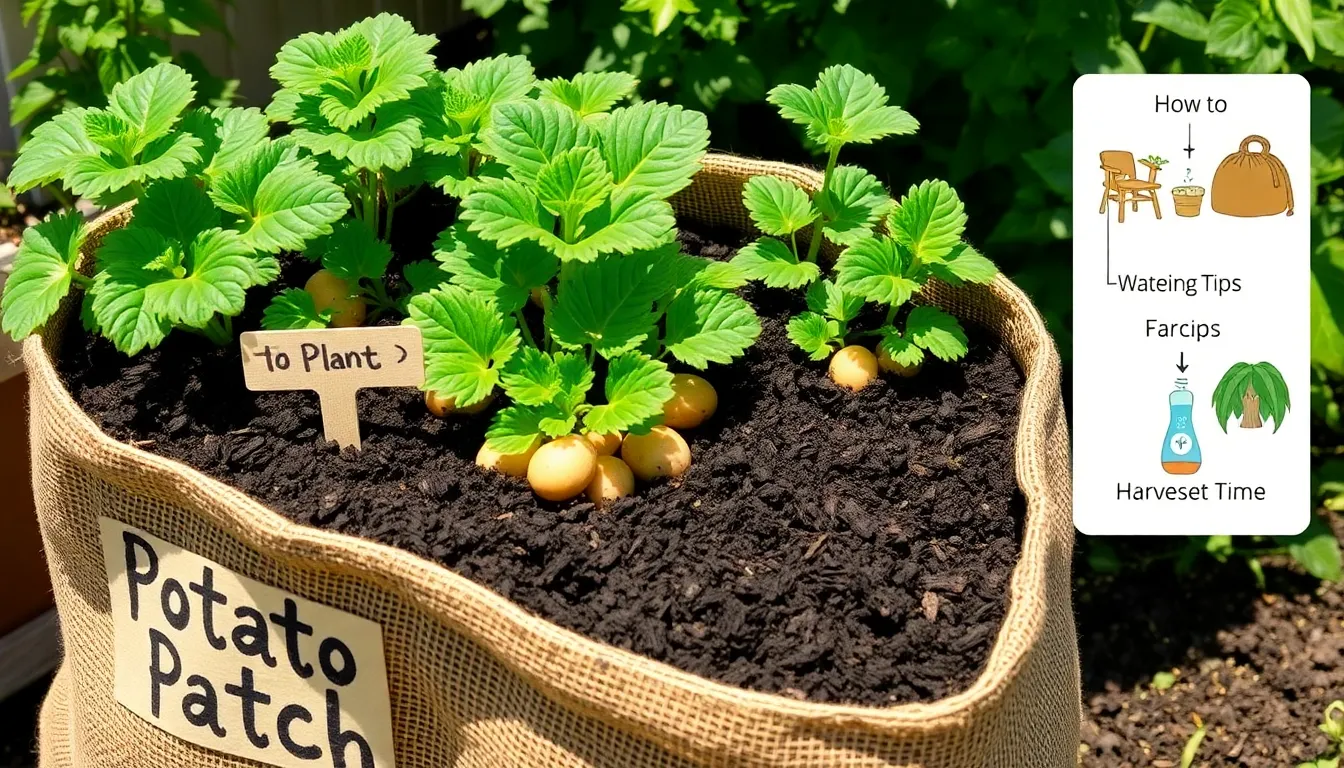
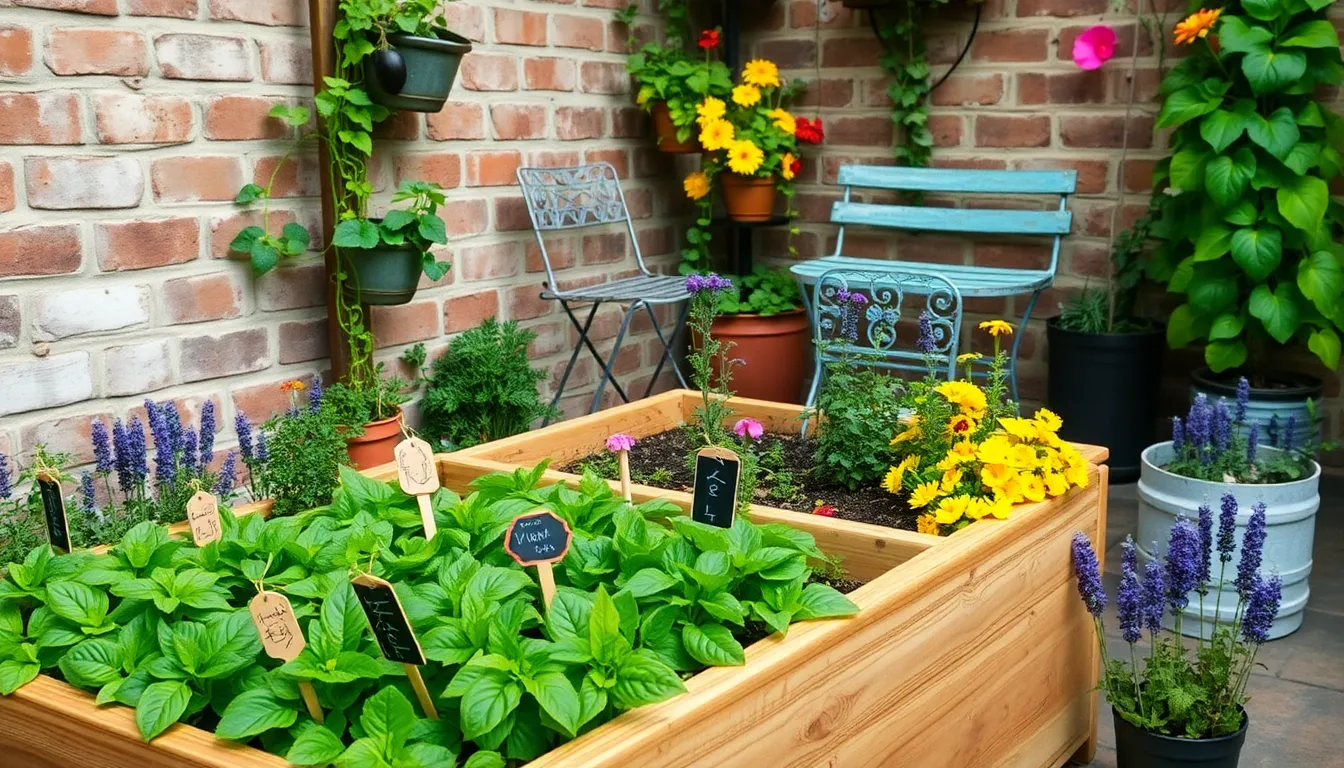
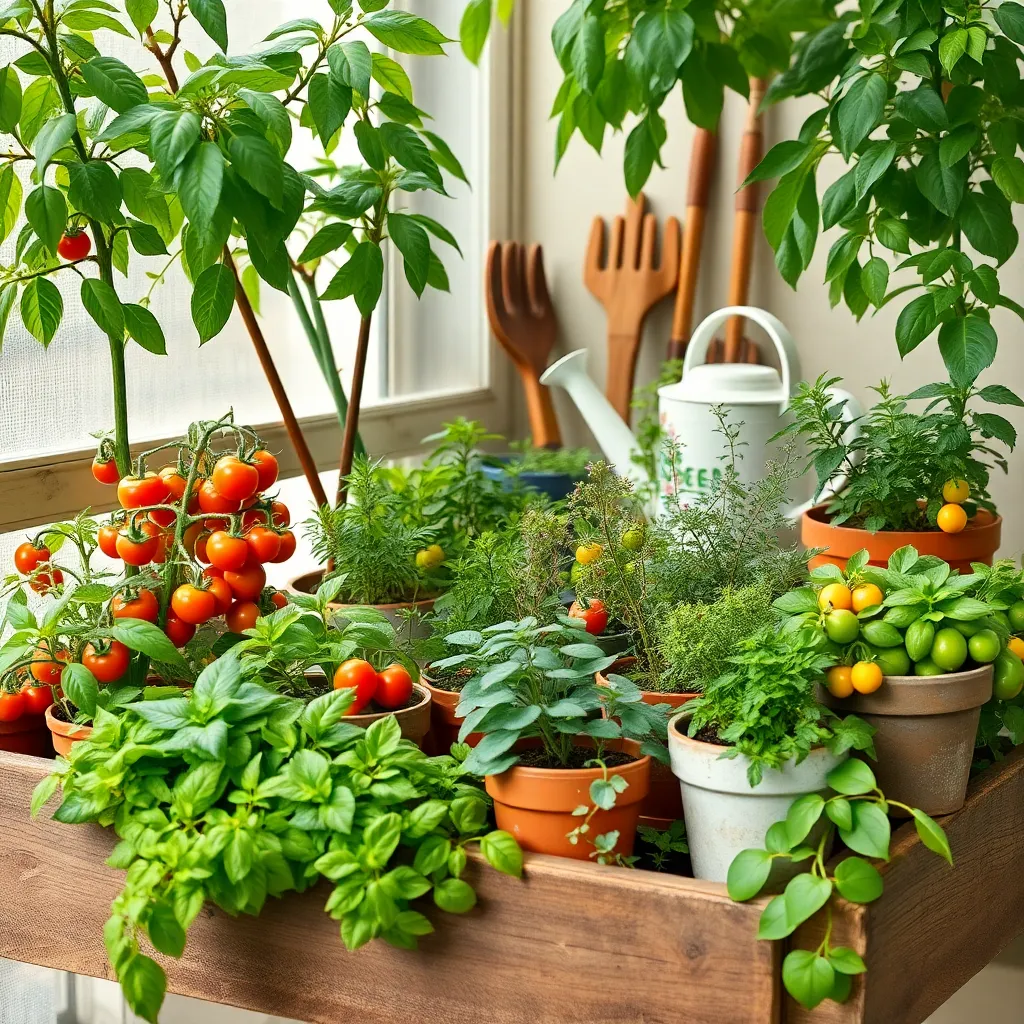
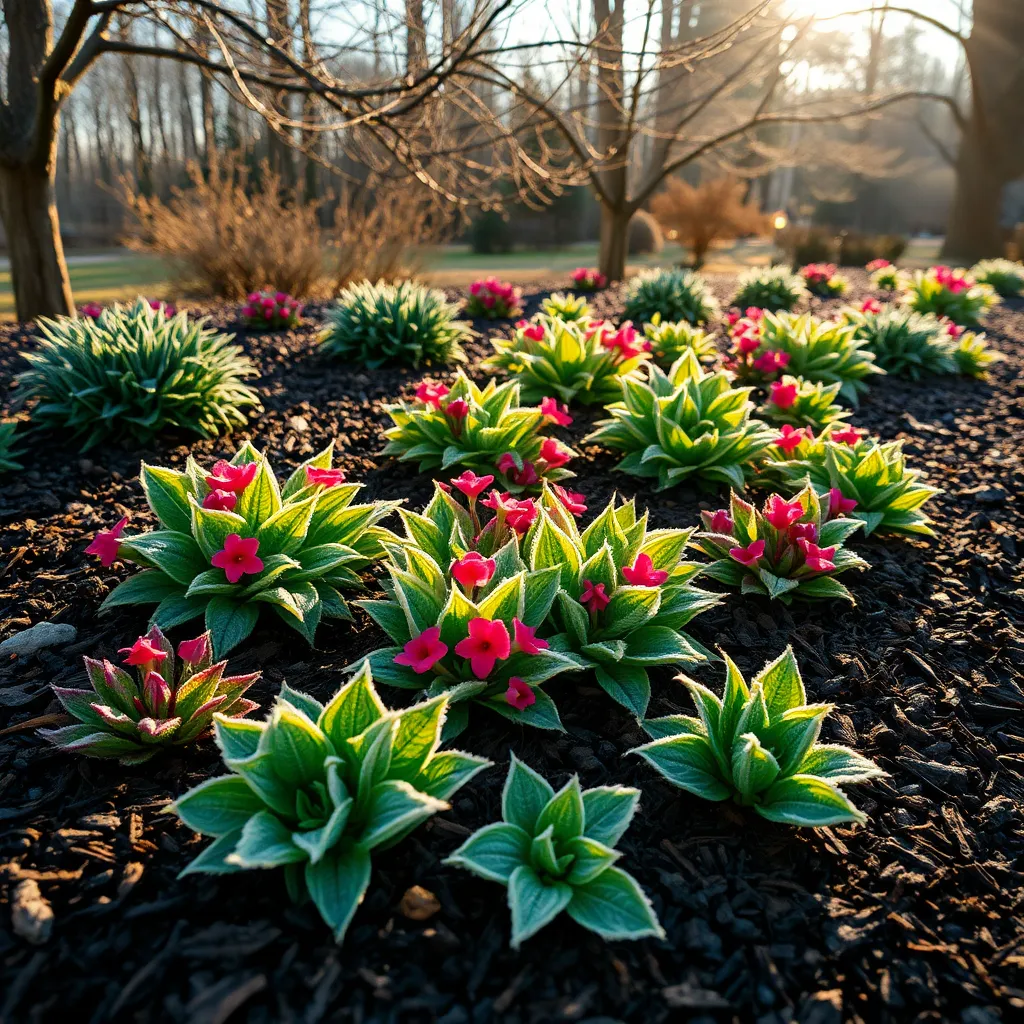
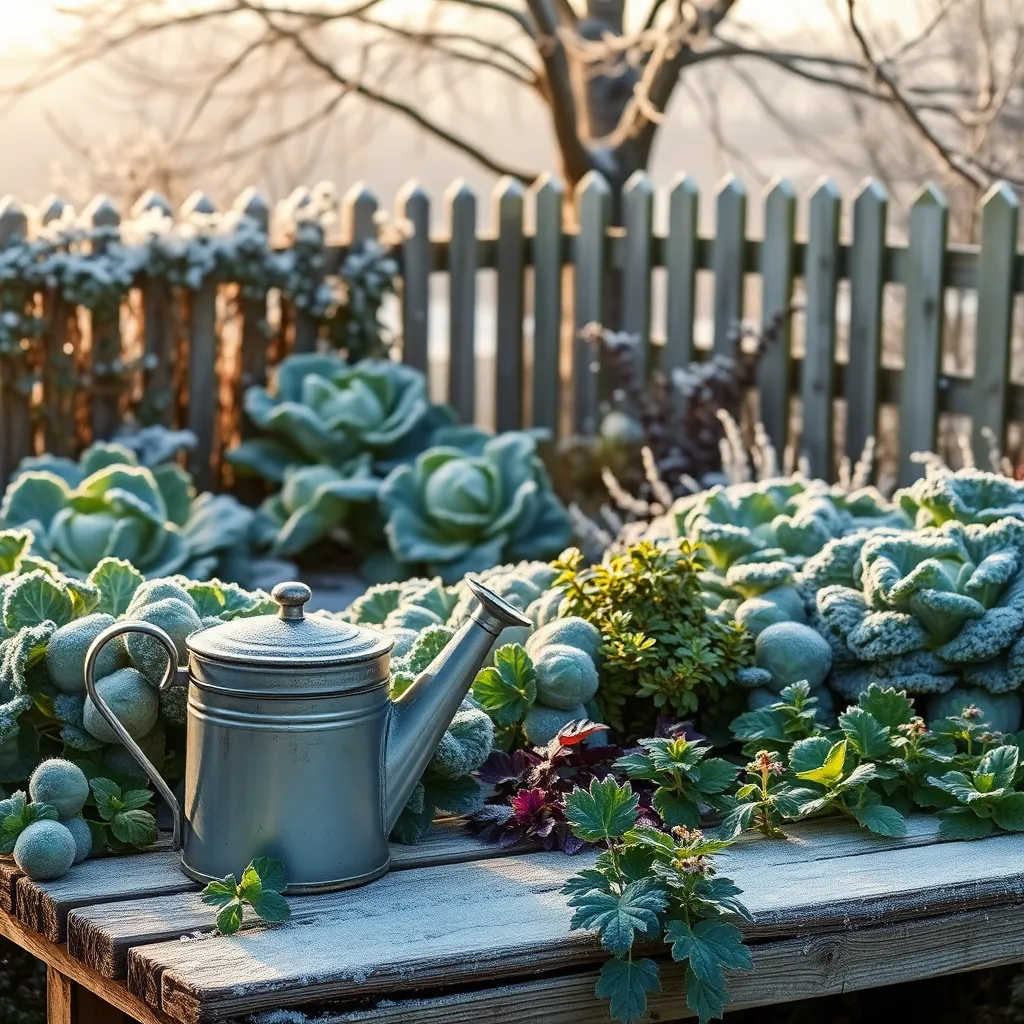
Plant Cold-Tolerant Vegetables
Winter gardening can be rewarding when you choose the right vegetables, especially cold-tolerant ones. Planting vegetables that thrive in cooler temperatures ensures a productive garden even in chilly months.
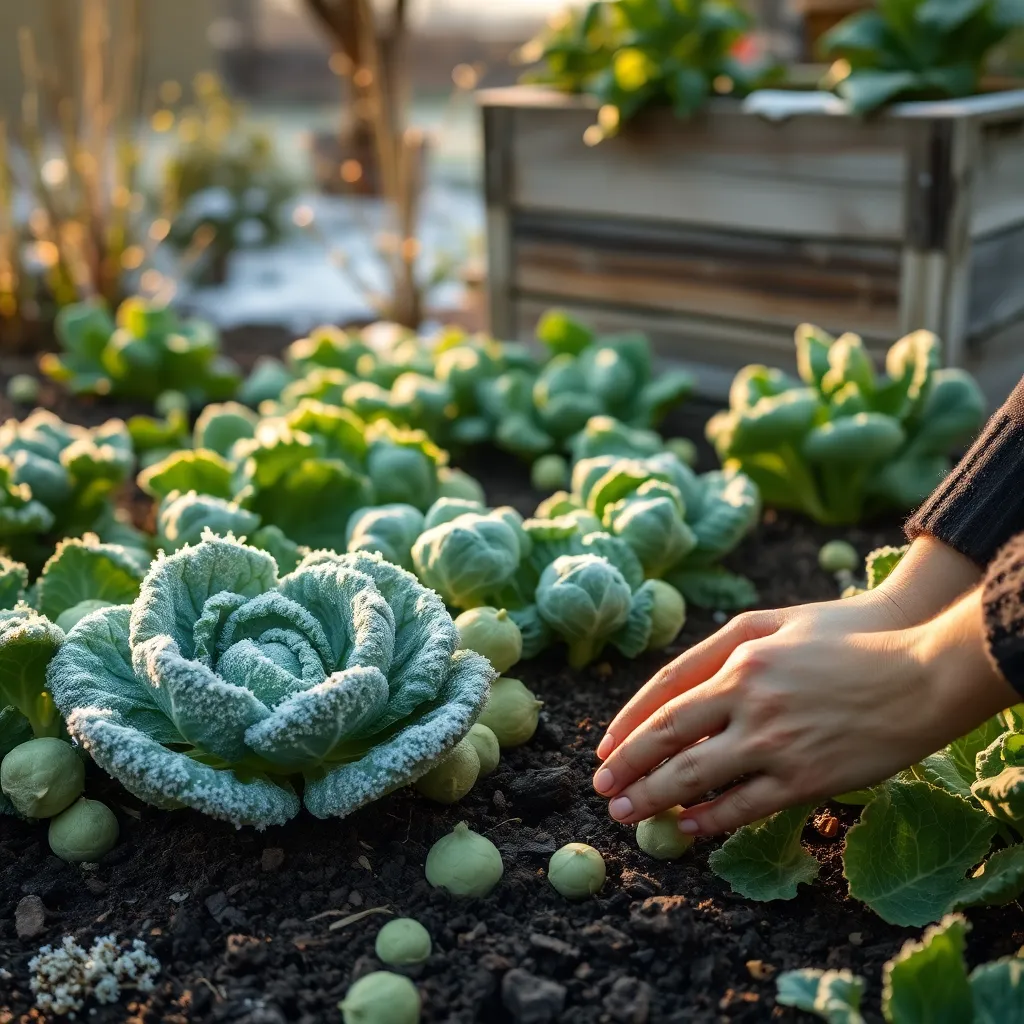
Kale is an excellent cold-tolerant vegetable, known for its resilience in frosty conditions. To grow kale successfully, ensure the soil is well-drained and rich in organic matter, and space the seeds about 12 to 18 inches apart to allow for healthy growth.
Another great option is Brussels sprouts, which actually improve in flavor after a frost. Start these plants indoors 6 to 8 weeks before the first frost, then transplant them to your garden, providing full sun and slightly acidic soil for the best results.
For a faster-growing option, consider spinach, which thrives in temperatures as low as 20°F (-6°C). Sow spinach seeds directly in the garden, about 1/2 inch deep, and keep the soil consistently moist but not waterlogged to encourage rapid growth.
Advanced gardeners might experiment with using mulch to regulate soil temperature and retain moisture for these cold-tolerant crops. Apply a layer of straw or shredded leaves around the base of your plants, which can help protect roots from freezing temperatures and reduce weed growth.
Conclusion: Growing Success with These Plants
As we wrap up our exploration of ‘Winter Gardening Tips,’ let’s revisit the five key relationship concepts that can nourish your connection even in the colder seasons. Firstly, embrace patience like a gardener waiting for spring, understanding that relationships blossom in their own time. Second, cultivate communication, ensuring that your words act as seeds of understanding and empathy. Third, nurture the growth with consistent care, as small gestures of love can weather any storm. Fourth, adapt to change, recognizing that flexibility is essential for thriving partnerships. Lastly, celebrate the harvest by cherishing the milestones and moments you share together.
Now, take an actionable step: initiate a heart-to-heart conversation with your partner about a shared goal or dream. This simple act can deepen your bond and set the stage for future growth. Remember to bookmark this article as your go-to resource for nurturing a resilient and flourishing relationship.
As you venture forward, know that with these tools in hand, your relationship is poised for success, thriving through every season life presents. Empower yourself with this knowledge and cultivate a love that stands the test of time.