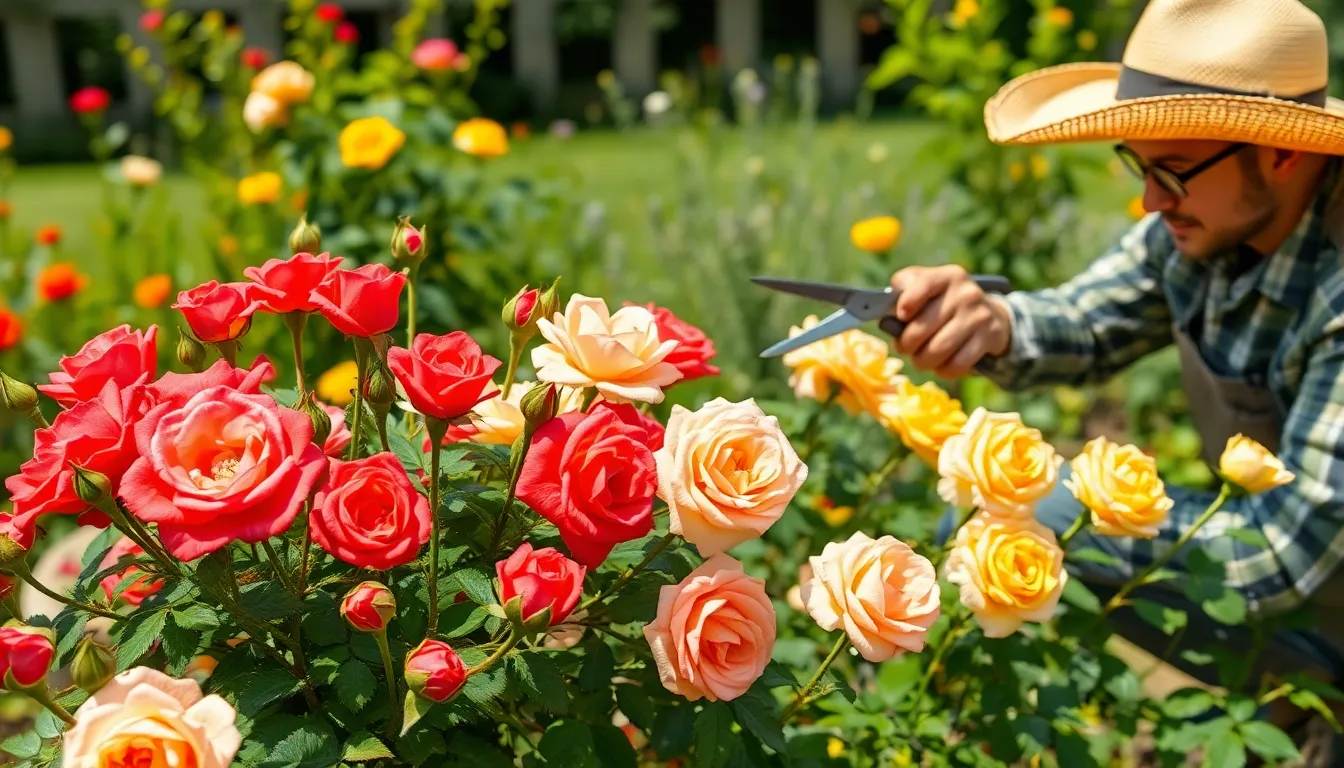
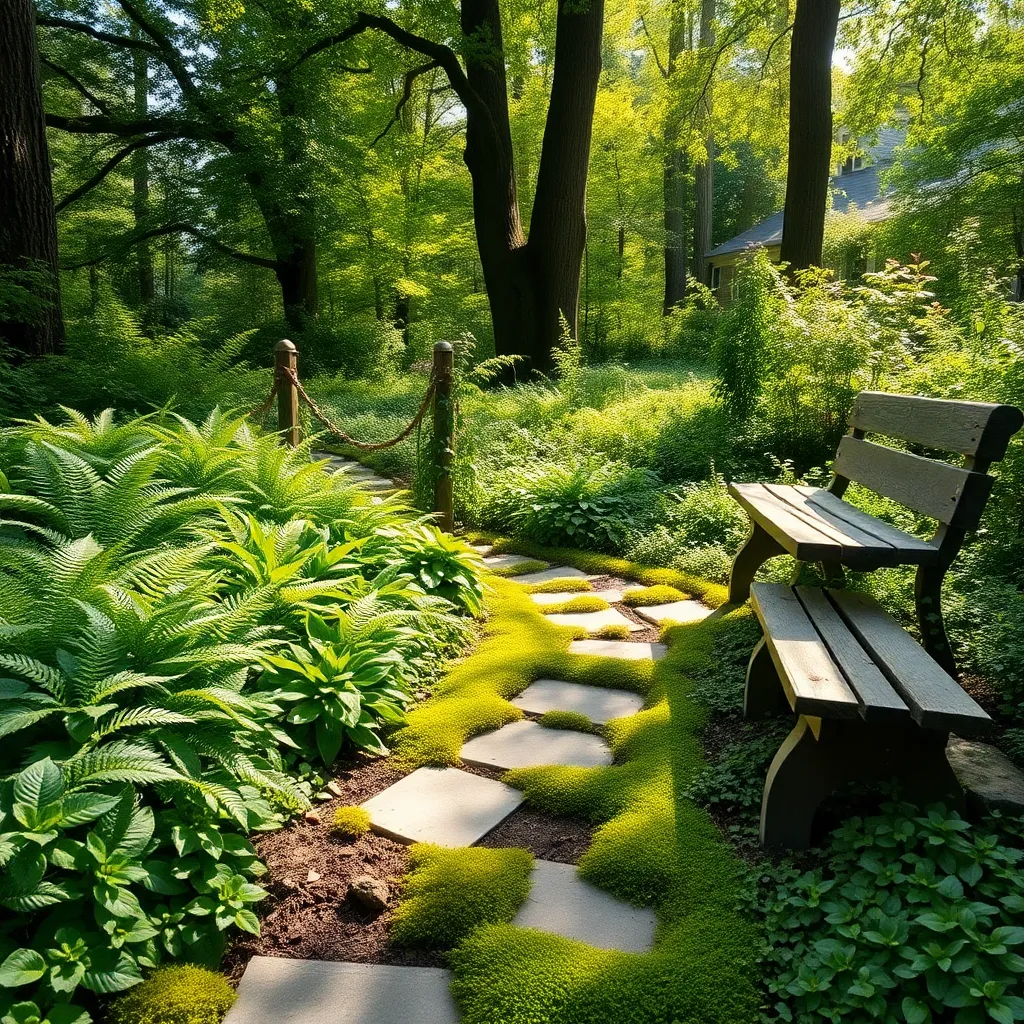
Welcome to the delightful world of shade gardening, where even the shadiest corners of your garden can burst with life and color. Whether you’re just starting your gardening journey or have years of experience with soil-dusted hands, this guide is designed to help you transform those often-overlooked spots into enchanting retreats filled with lush foliage and vibrant blooms.
In this guide, we’ve carefully curated a list of the best plants suited for shade gardens, providing a treasure trove of options for every gardener. This selection is invaluable because it opens up a realm of possibilities for using spaces that are frequently deemed challenging, ensuring your entire garden is a testament to your green thumb prowess.
Imagine the satisfaction of seeing your shade garden thrive, a testament to nature’s resilience and your nurturing care. With practical tips and tried-and-true techniques, you’ll gain the confidence to select, plant, and maintain these shadow-loving beauties, reaping the rewards of a verdant oasis that brings joy and tranquility to your outdoor space.
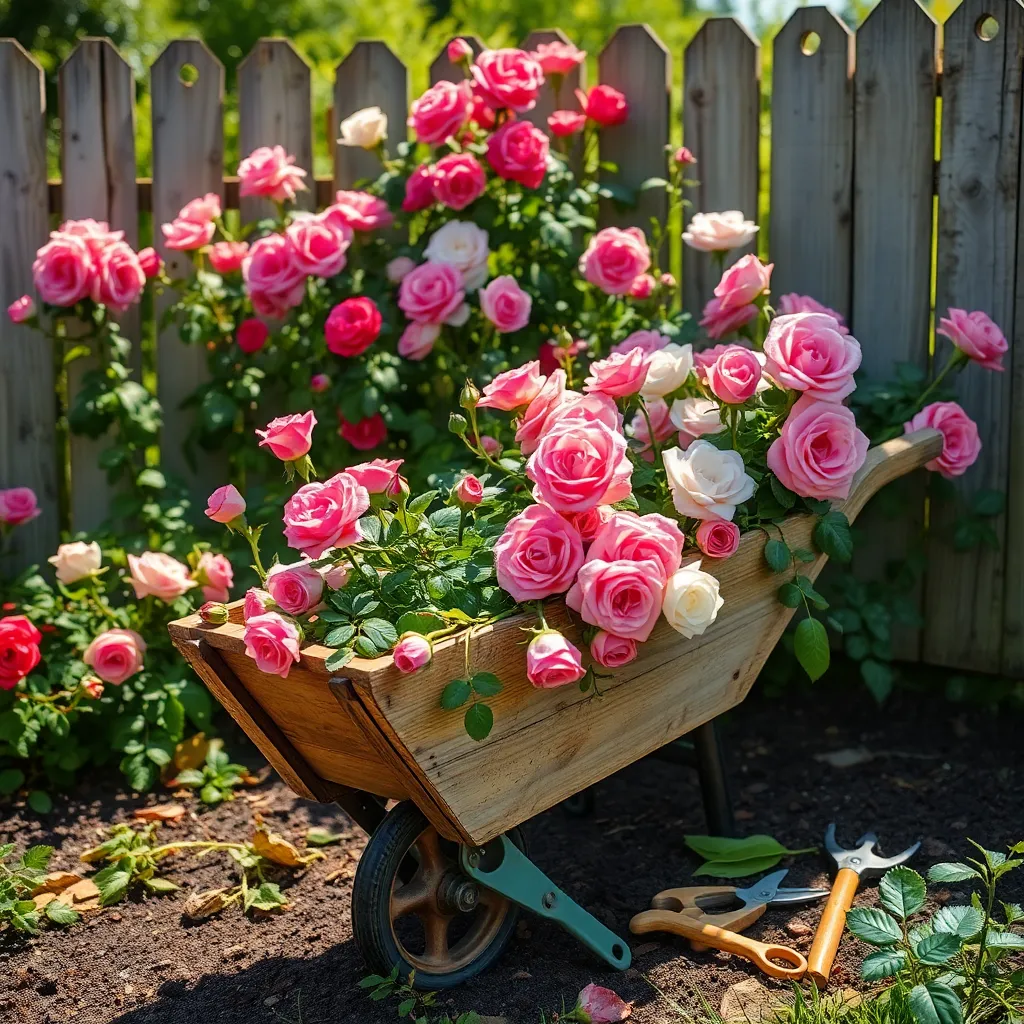
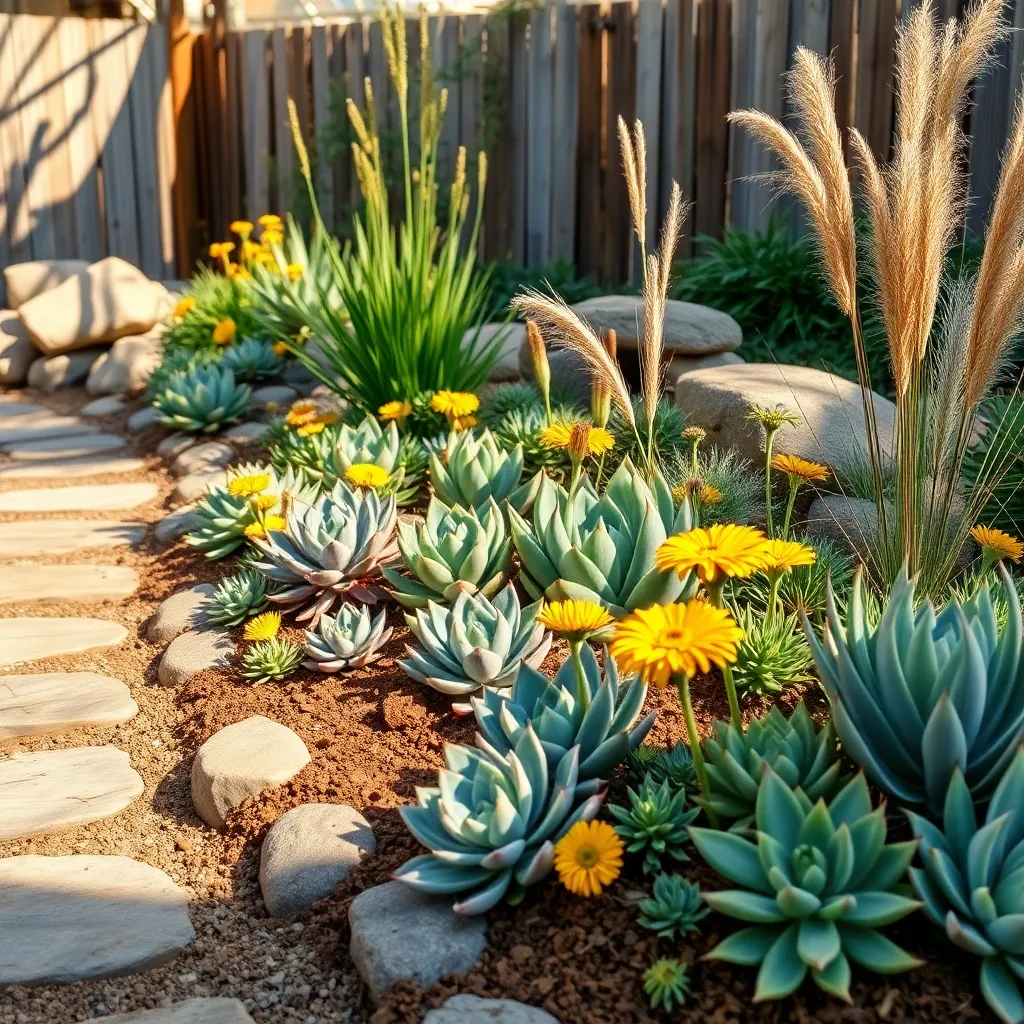
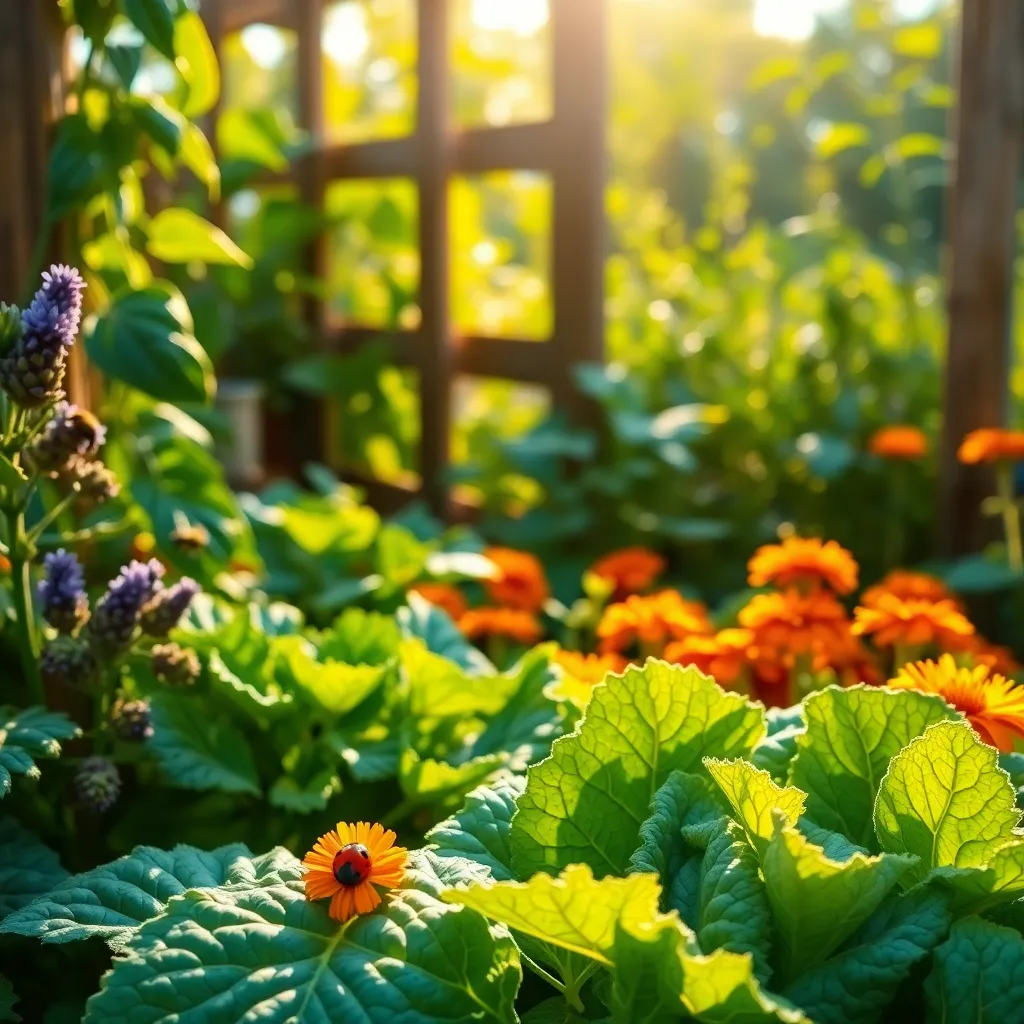
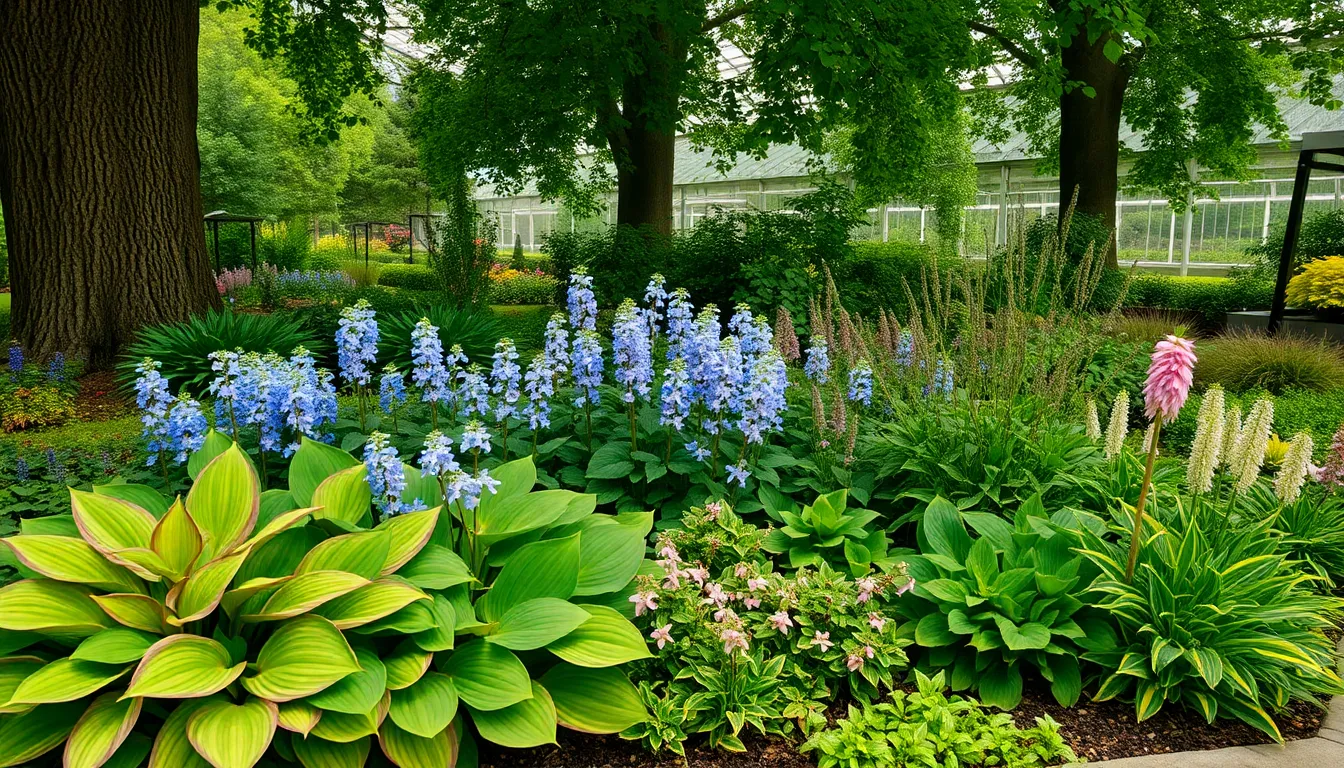
Hosta Varieties (Lush Foliage for Low Light)
Hostas are renowned for their ability to thrive in shade, making them an excellent choice for low-light areas of your garden. These perennials are prized for their lush foliage, which comes in a wide range of colors, sizes, and textures, adding variety and interest to shaded spaces.
When planting hostas, it’s important to consider soil conditions for optimal growth. They prefer well-draining, rich soil with plenty of organic matter, such as compost, to retain moisture and provide nutrients.
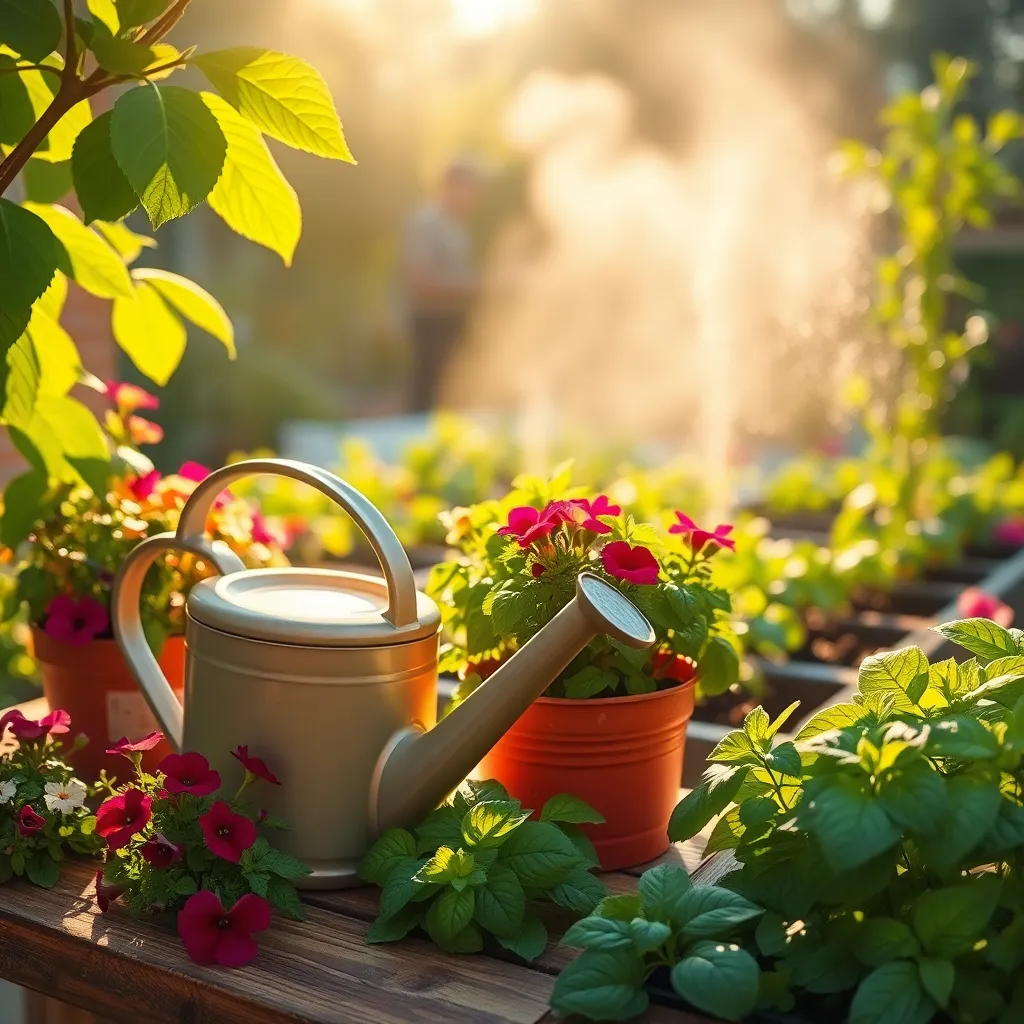
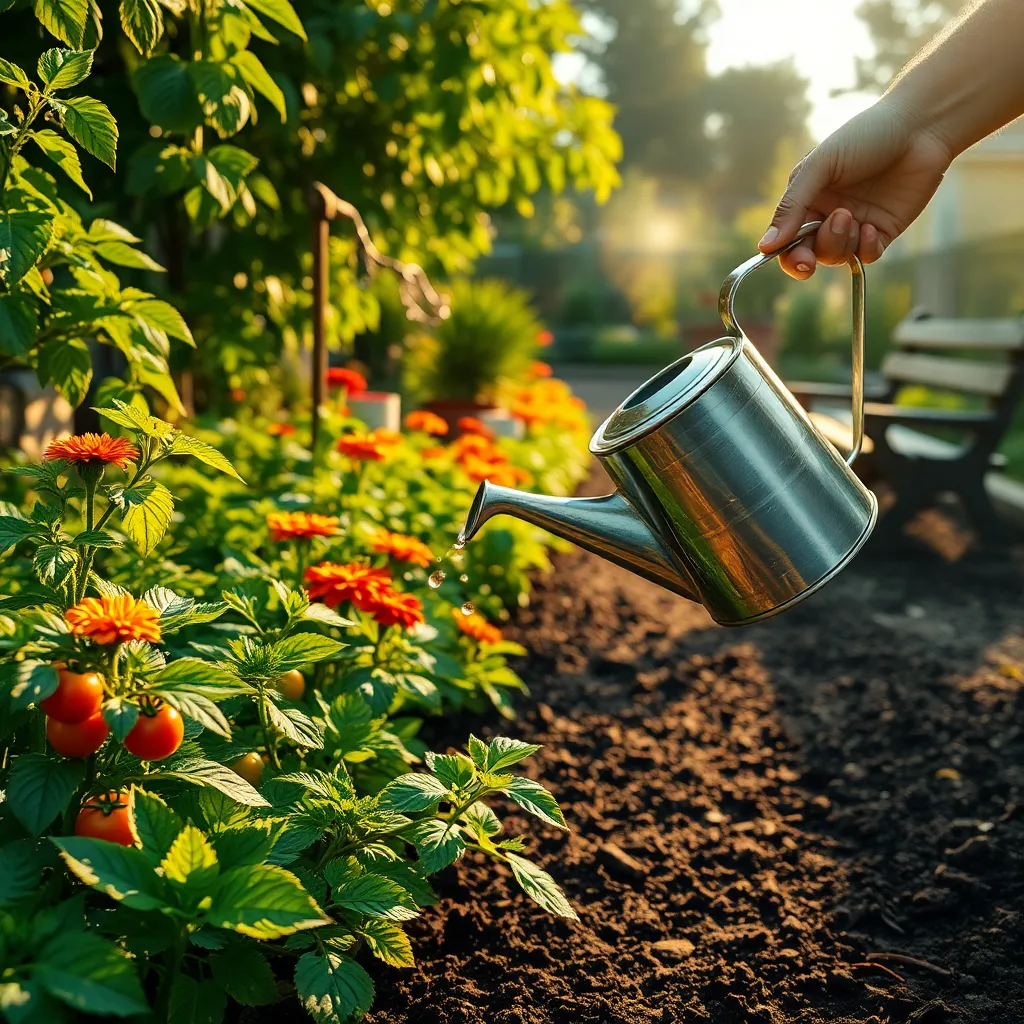
Watering hostas is crucial, especially during dry spells, to maintain their vibrant leaves. Aim to water deeply once a week, ensuring the soil remains moist but not waterlogged, which can lead to root rot.
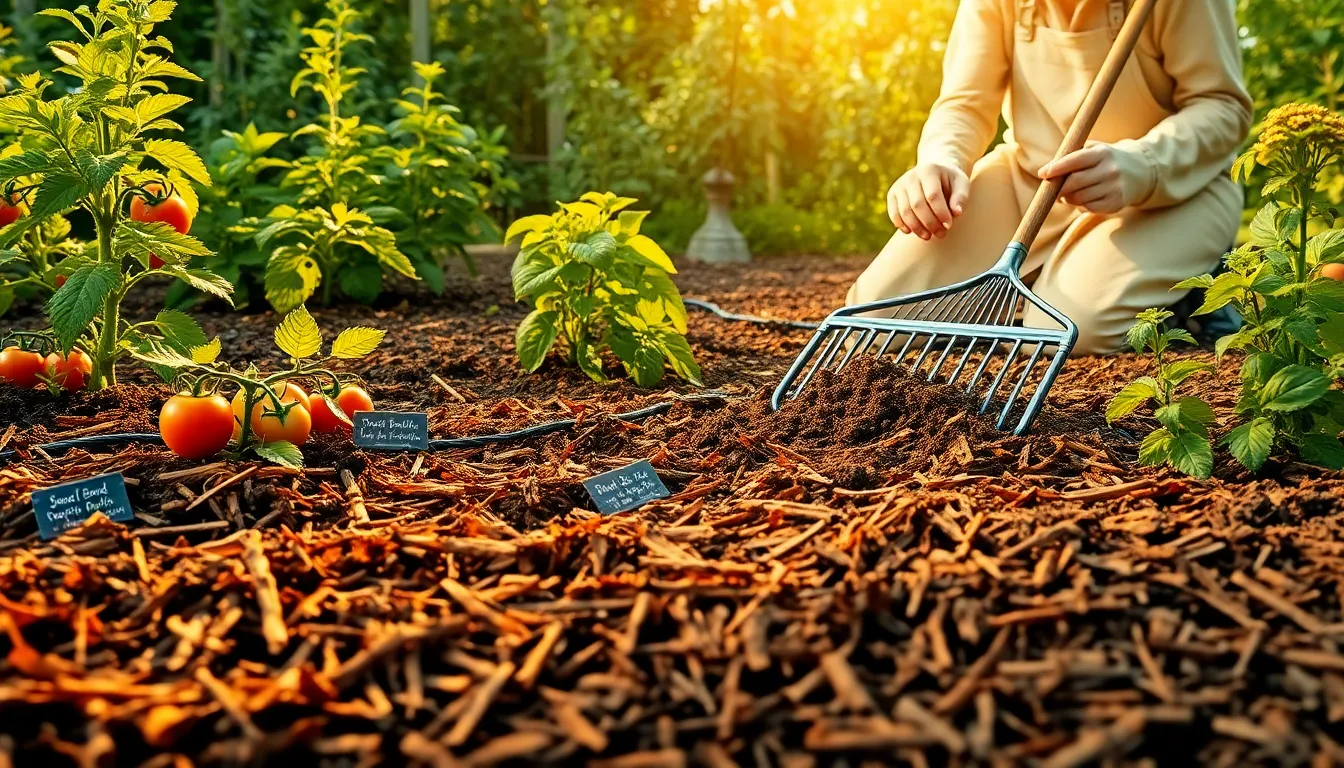
For those looking to elevate their hosta care, consider mulching around the plants. A layer of organic mulch will help conserve moisture and suppress weed growth, making maintenance easier and keeping your hostas healthy.
Astilbe Hybrids (Vibrant Blooms in Dappled Shade)
Astilbe hybrids bring a burst of vibrant color to shaded garden areas, thriving in dappled sunlight. These perennials are perfect for adding texture with their feathery plumes and deeply divided foliage.
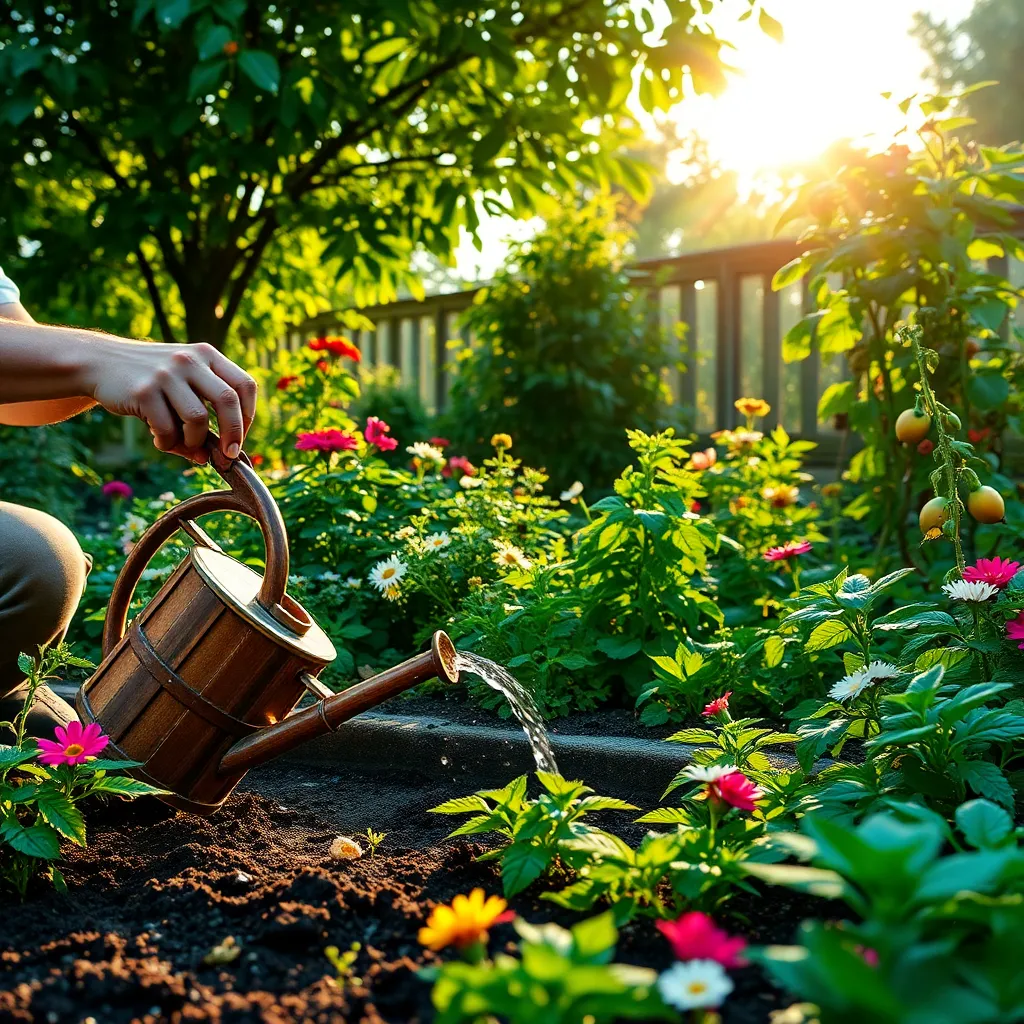
To cultivate astilbe successfully, plant them in rich, well-draining soil that retains moisture. Consistent watering is crucial, especially during dry spells, to prevent the plants from wilting.
Beginner gardeners will appreciate that astilbes are relatively low-maintenance once established. For a more robust bloom, consider applying a balanced, slow-release fertilizer in early spring.
Advanced gardeners can experiment with companion planting, pairing astilbes with hostas or ferns to create a lush, layered look. Dividing the clumps every 3 to 4 years will help maintain their vigor and extend their lifespan.
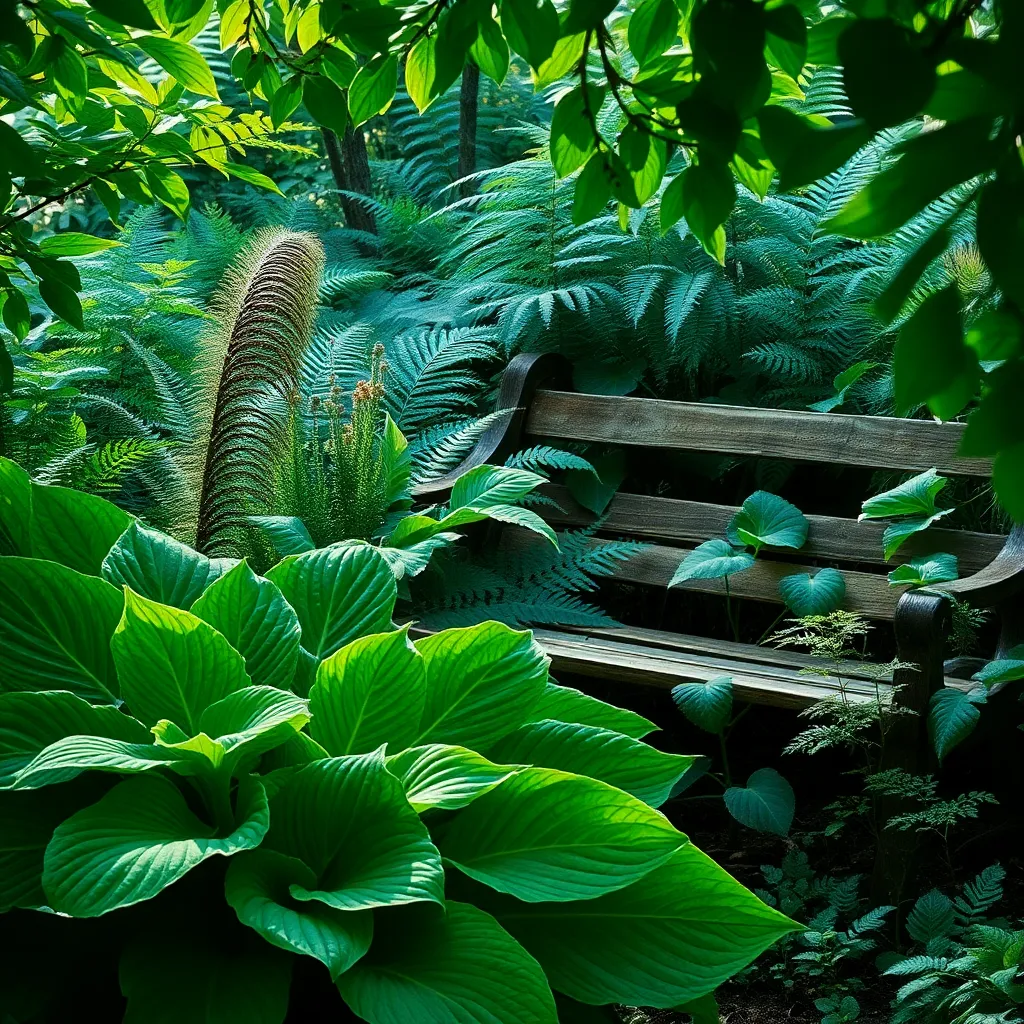
Ferns (Textured Greenery for Woodland Settings)

Ferns offer an enchanting touch to shade gardens with their rich, textured foliage, making them ideal for woodland settings. These plants thrive in moist, well-drained soil, and they appreciate a bed enriched with organic matter like compost or leaf mold.
To ensure healthy growth, water ferns regularly, especially during dry spells, to keep the soil consistently moist. For gardeners looking to add depth and variety, consider mixing different fern species, such as the Japanese Painted Fern and the Lady Fern, which bring unique color variations and leaf patterns.
When planting ferns, allow plenty of space for their fronds to spread, as this helps maintain a natural, woodland appearance. For a more advanced touch, try creating layers by combining ferns with other shade-loving plants like hostas and heucheras, which can enhance the visual interest of your garden.
As ferns are relatively low-maintenance, they require minimal pruning—just remove any dead or damaged fronds to keep them looking their best. Fertilizing isn’t necessary for most ferns, but if your plants appear pale or sluggish, a balanced slow-release fertilizer in early spring can give them a healthy boost.
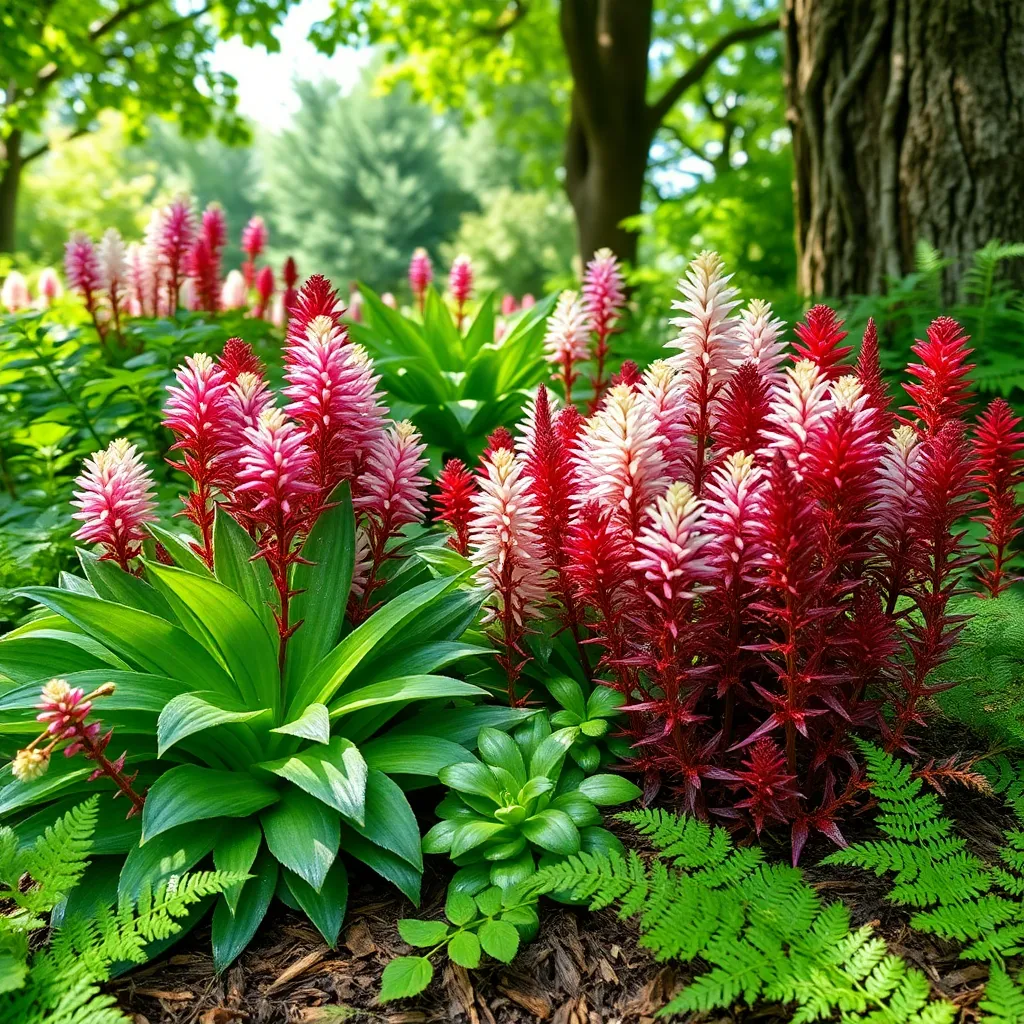
Heuchera Cultivars (Colorful Leaves for Shady Spots)
Heuchera cultivars, also known as coral bells, are excellent choices for adding vibrant color to shady garden spots. With their stunning foliage in hues ranging from deep purples to bright lime greens, they create visual interest and contrast beautifully with more traditional shade plants like ferns.
For optimal growth, plant Heucheras in well-draining soil enriched with organic matter, as they thrive in slightly acidic to neutral pH environments. Ensure the soil remains consistently moist but not waterlogged, as Heucheras are susceptible to root rot if left in overly wet conditions.
Water Heucheras regularly, especially during dry spells, ensuring the top inch of soil remains moist. However, avoid watering directly on the leaves to prevent fungal diseases; watering at the base of the plant is a more effective method.
To maintain the plant’s vibrancy, apply a balanced, slow-release fertilizer in the spring, when new growth appears. Additionally, removing spent flower spikes and dead leaves will encourage bushier growth and more vigorous leaf production throughout the growing season.
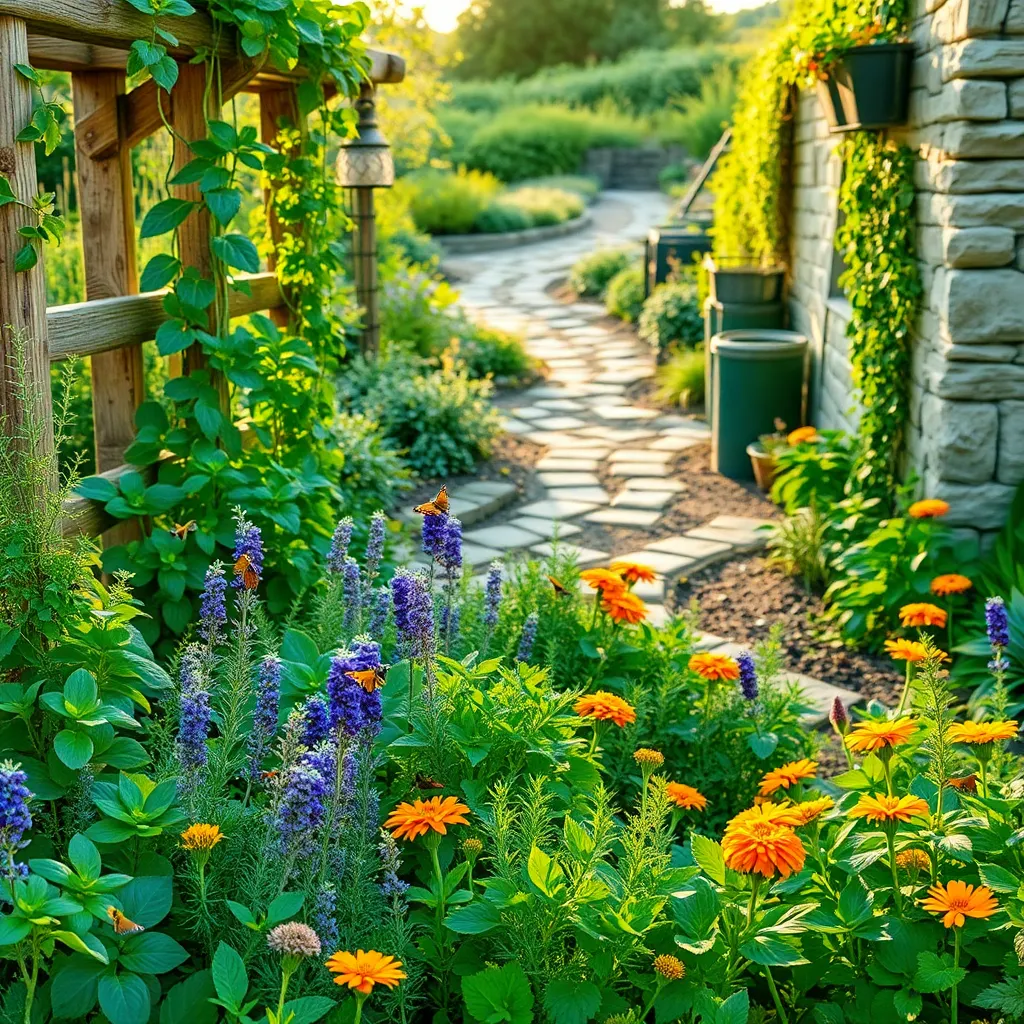
Shade-Loving Ground Covers (Effortless Soil Protection)
For garden areas where sunlight is scarce, shade-loving ground covers provide an effortless solution for soil protection. One of the best choices is the hardy and versatile Pachysandra terminalis, which thrives in partial to full shade and creates a lush green carpet that suppresses weeds effectively.
When planting Pachysandra, ensure the soil is well-draining and rich in organic matter for optimal growth. Regularly water the plants, especially during dry spells, to maintain a consistently moist environment, but avoid overwatering, which can lead to root rot.
Another excellent choice for shady gardens is the Ajuga reptans, known for its striking foliage and vibrant blue flowers. This ground cover prefers slightly acidic to neutral soil and benefits from a layer of mulch to retain moisture and regulate soil temperature.
For added visual interest, consider Vinca minor, commonly known as periwinkle, with its glossy leaves and charming purple blooms. This plant is particularly low-maintenance, requiring minimal fertilization and thriving in a variety of soil types, making it ideal for beginners looking to enhance their shady spots.
Conclusion: Growing Success with These Plants
As we wrap up our exploration of the best plants for shade gardens and how they cleverly parallel nurturing relationships, let’s recap the key concepts: First, understanding the unique needs of each plant, much like recognizing the distinct needs in a relationship, is essential. Second, providing consistent care and attention fosters growth both in gardens and partnerships. Third, the diversity of shade plants mirrors the varied dynamics we encounter in relationships, teaching us to appreciate differences. Fourth, patience is a virtue; just as plants take time to bloom, relationships require time to strengthen. Lastly, adaptability is key, allowing you to adjust to challenges and thrive under varying conditions.
As a next step, take a moment to reflect on the relationships in your life, identifying one area where you can apply these principles. Whether it’s offering more attention, embracing diversity, or practicing patience, small actions can lead to significant growth.
Don’t forget to bookmark this article as a handy guide for nurturing both your garden and your relationships. Embrace the journey toward flourishing connections, and remember, every small step you take today sows the seeds for a successful, thriving future.