In the gentle dance between flora and fauna lies the secret to a thriving garden: pollinators. These small yet mighty creatures—bees, butterflies, and more—are essential partners in the life cycle of your plants, ensuring bountiful blooms and abundant harvests. Whether you’re just beginning your gardening journey or you’ve been nurturing your green paradise for years, understanding how to invite these helpful visitors into your garden is a skill worth mastering.
Pollinators do more than just add a lively buzz to your backyard; they play a crucial role in global food production and biodiversity. By learning how to create a welcoming environment for them, you’ll not only enhance your garden’s beauty but also contribute to the health of our planet. In the following article, we’ll explore the best plants to attract pollinators, simple garden design tips, and sustainable practices that will turn your garden into a vibrant haven.
With every plant choice and garden layout decision, you have the power to make a positive impact on your local ecosystem. Whether you’re aiming to boost your vegetable yields or simply wish to enjoy the sight of colorful butterflies dancing among your flowers, you’ll find practical, easy-to-follow strategies here. Let’s embark on this rewarding journey together, where every budding gardener can find their green thumb and every experienced horticulturist can refine their craft.
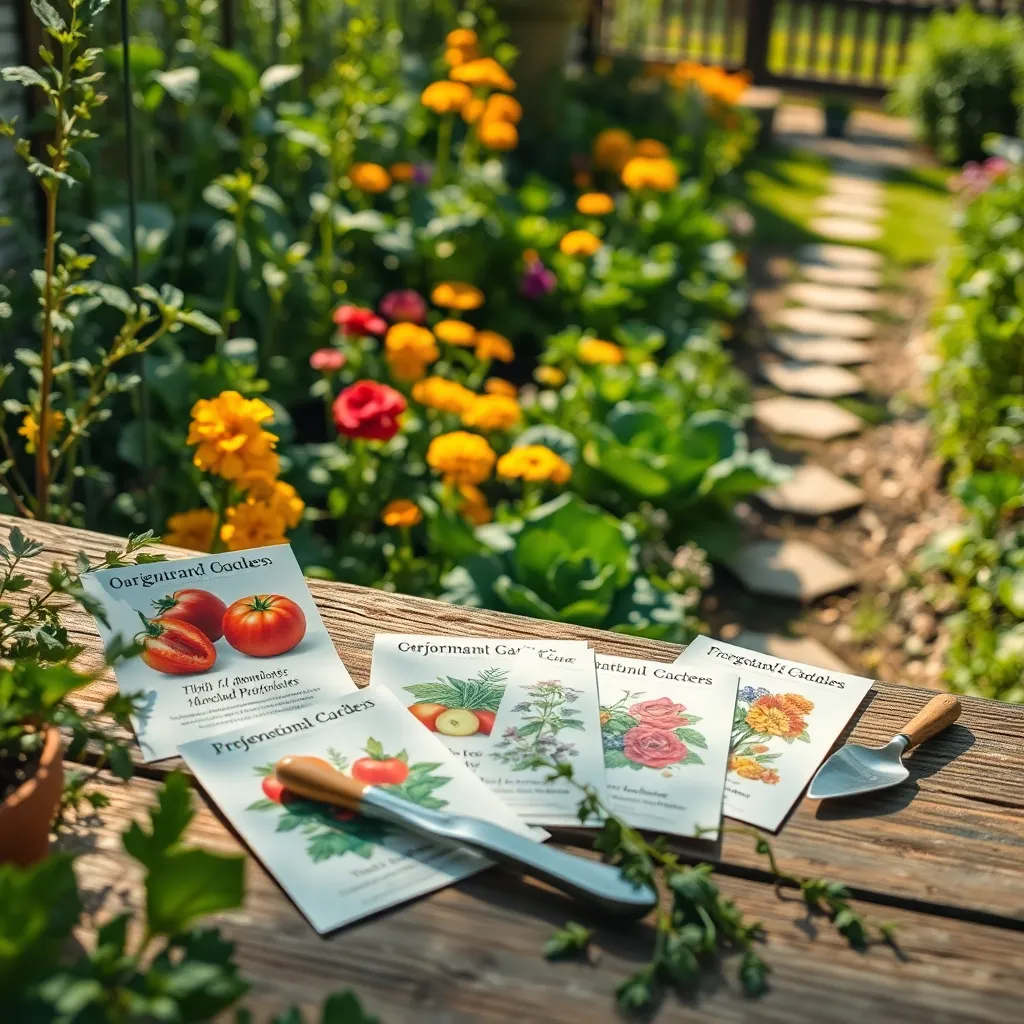
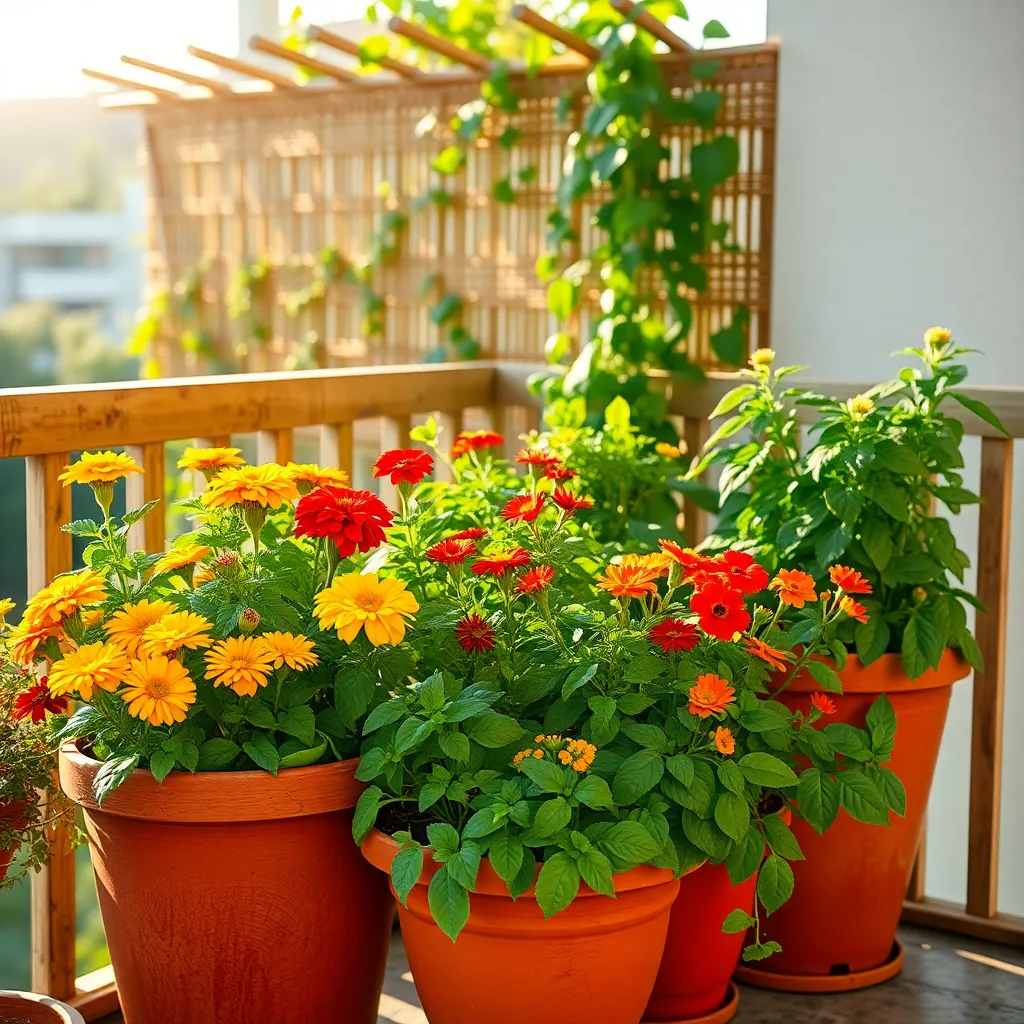
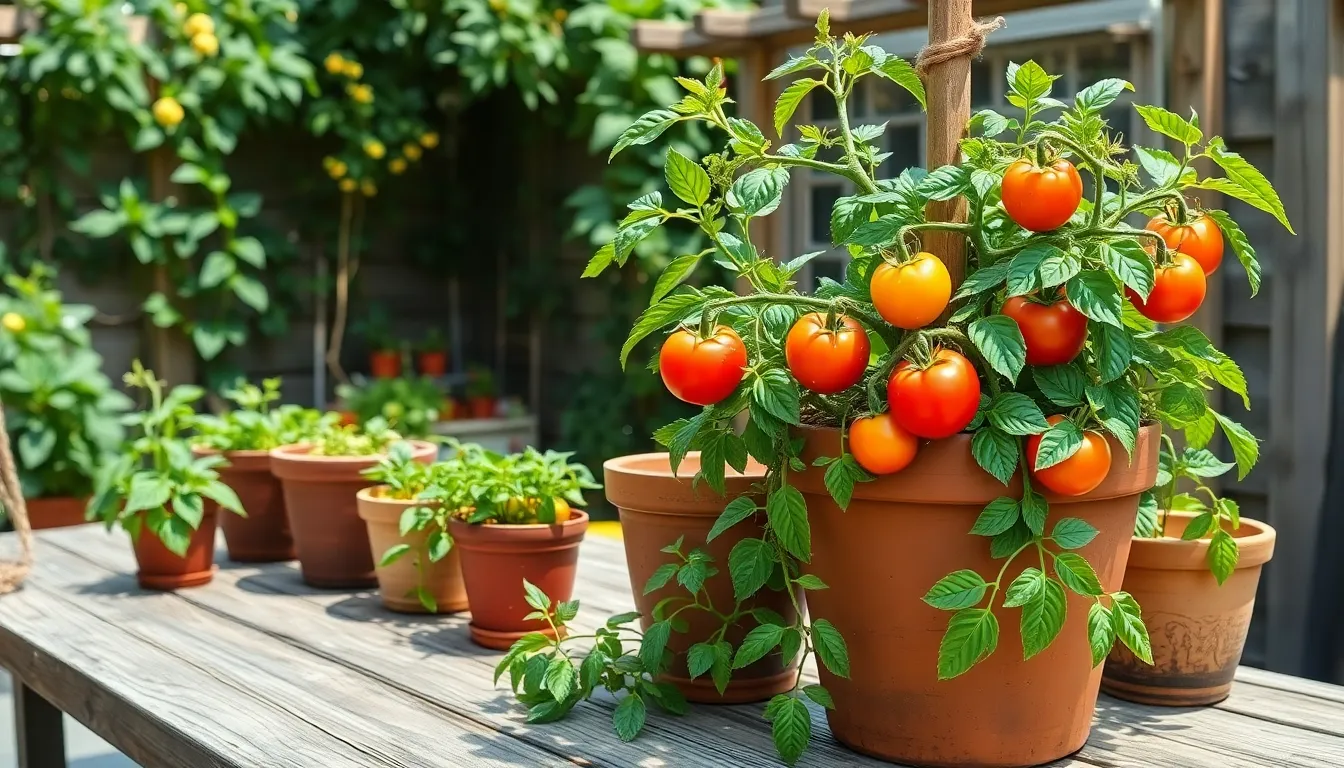
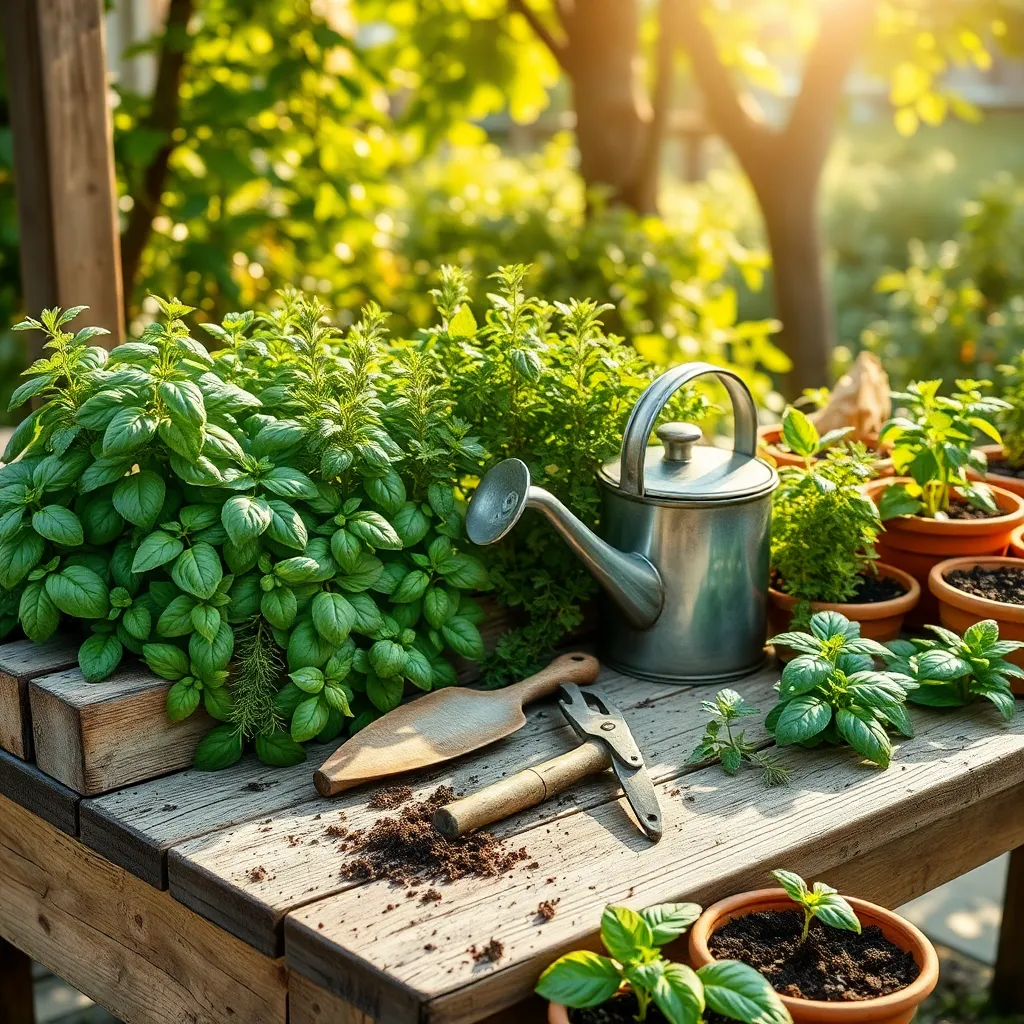
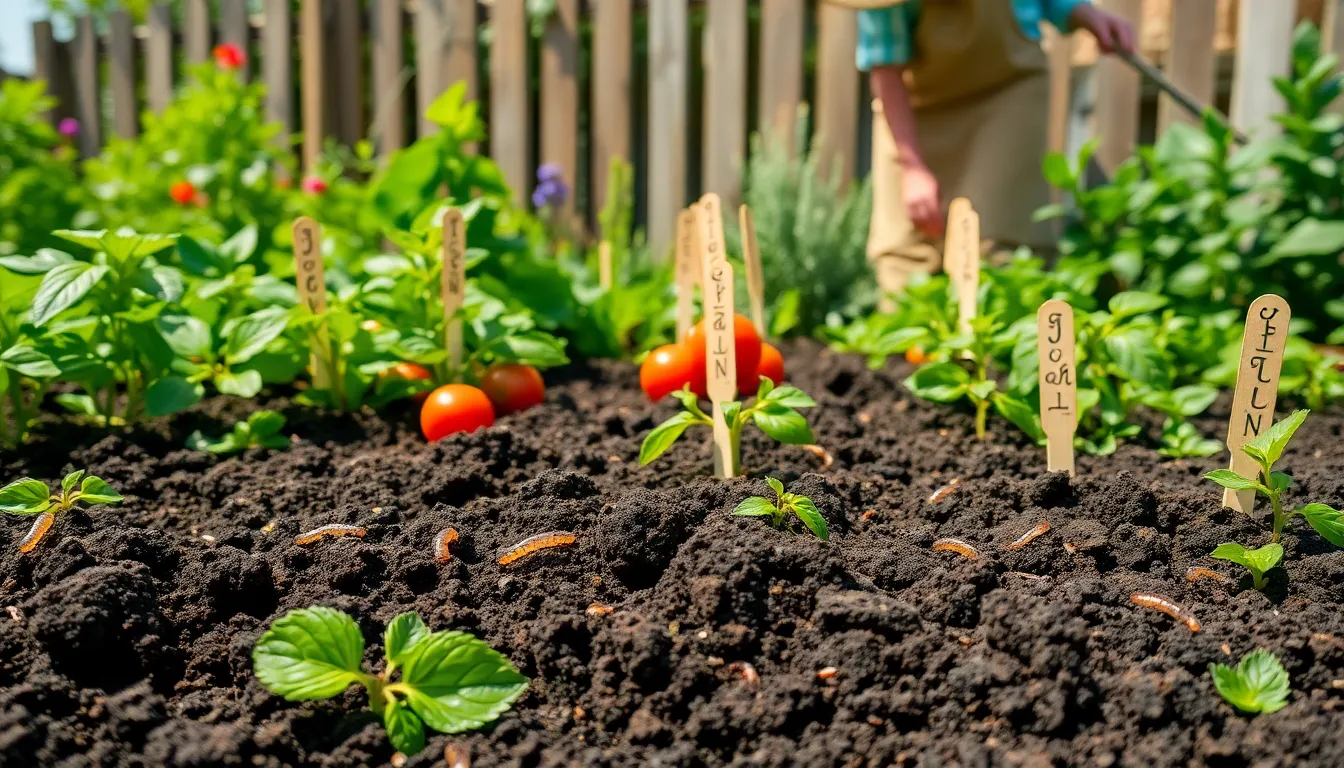
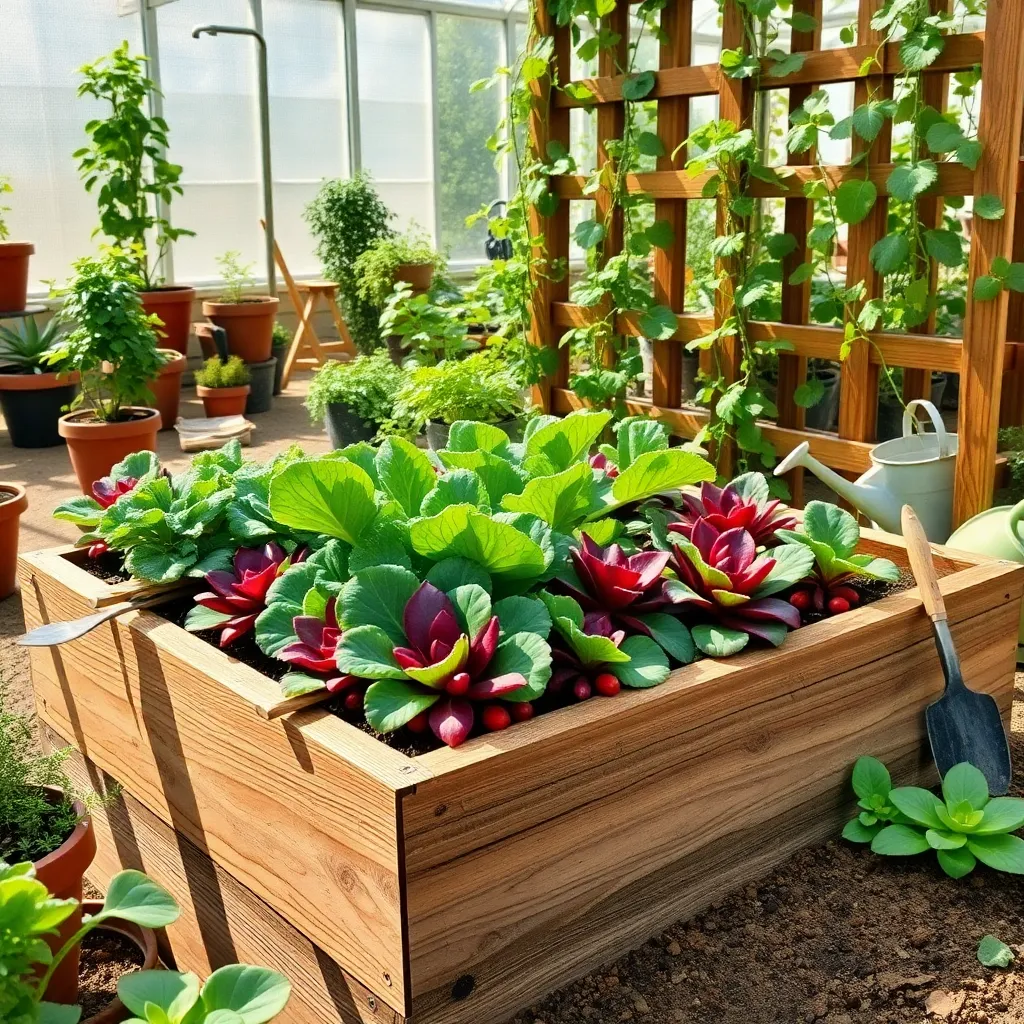
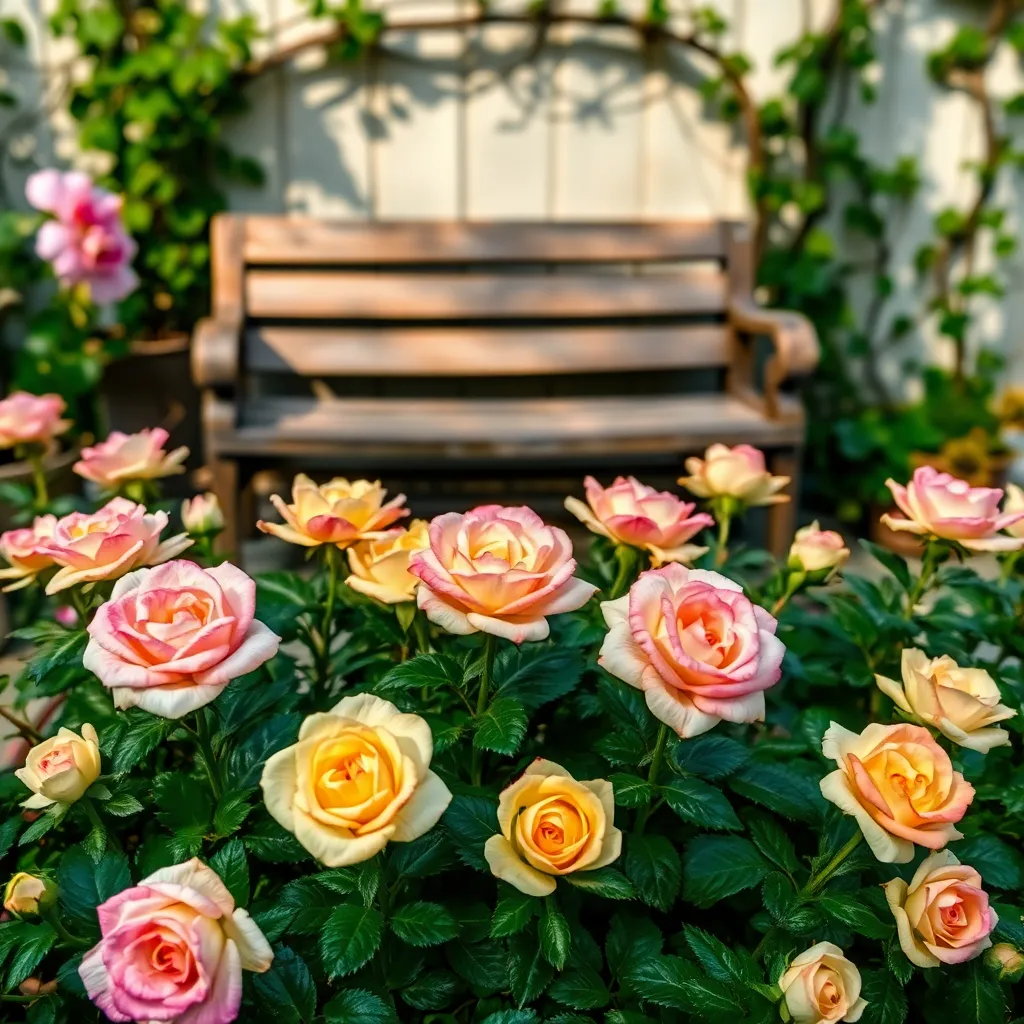
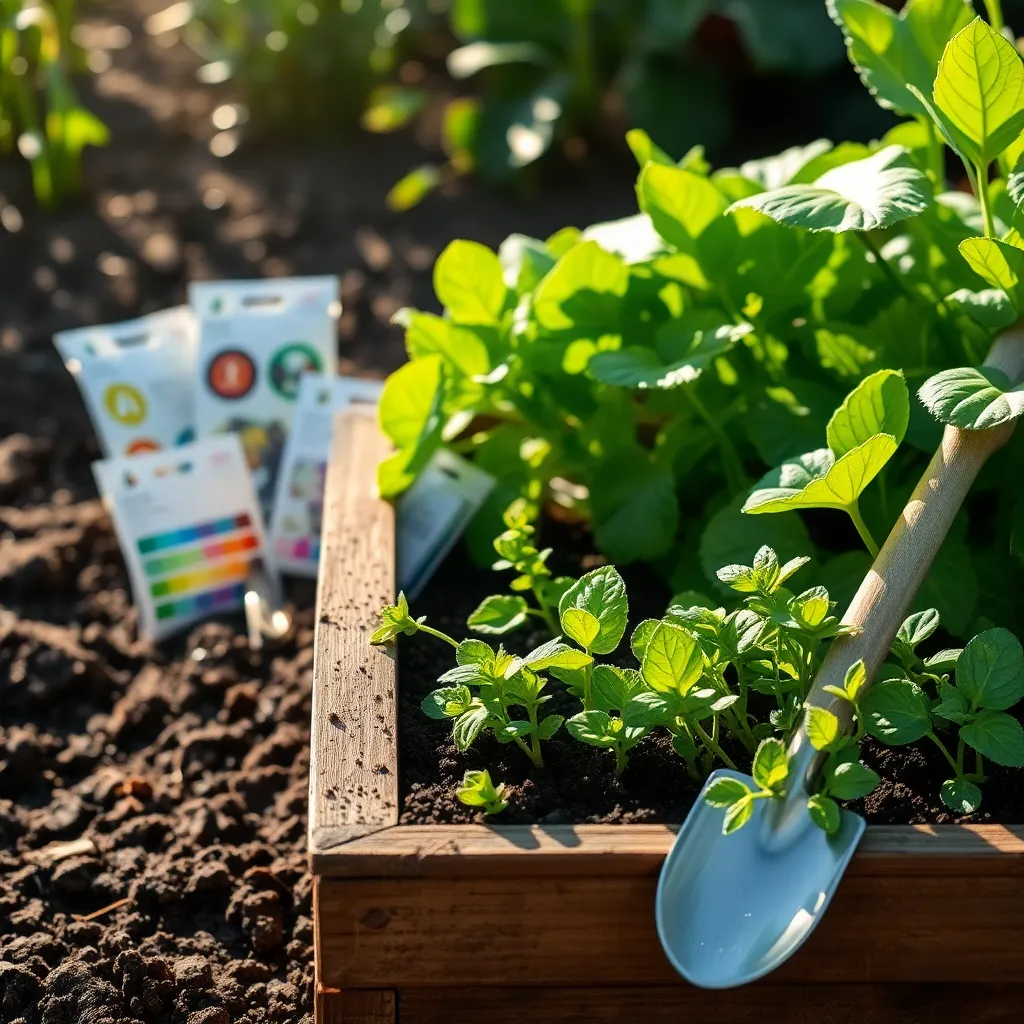
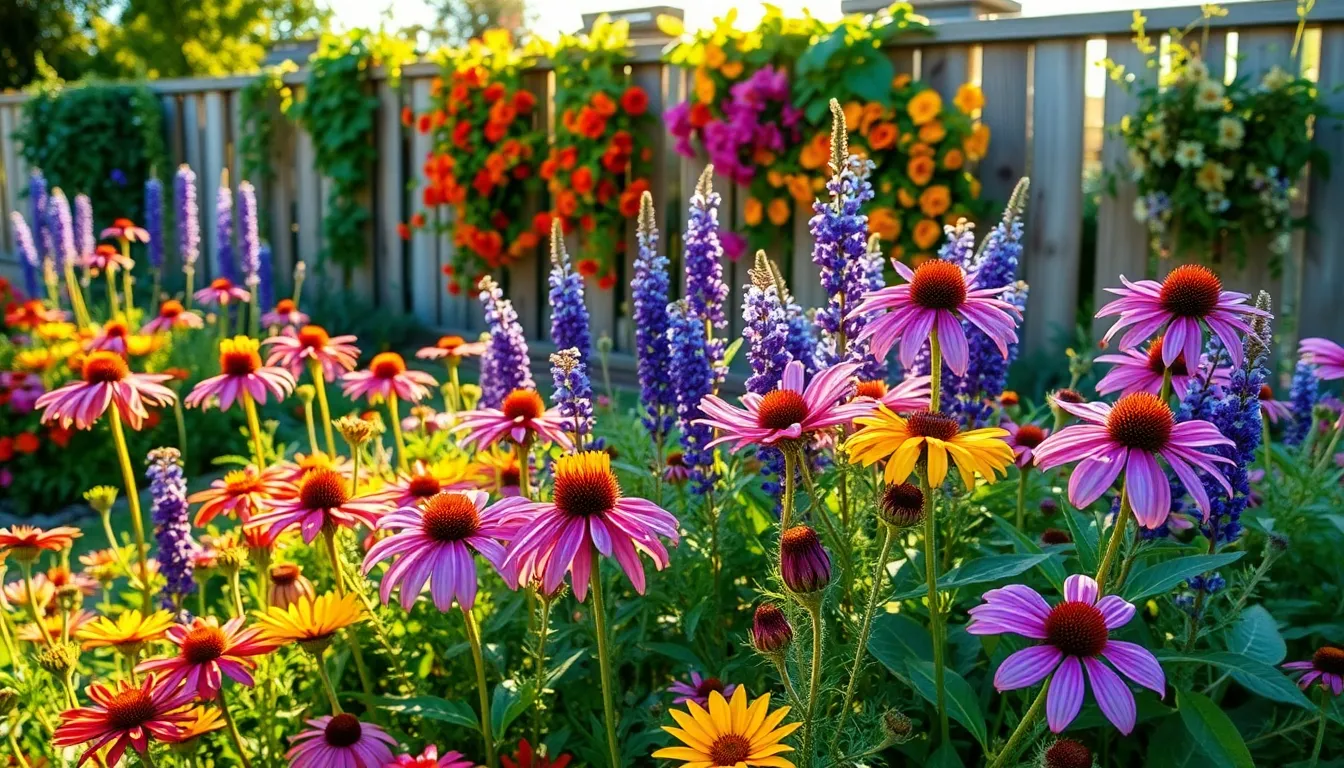
Select Pollinator-Friendly Plants
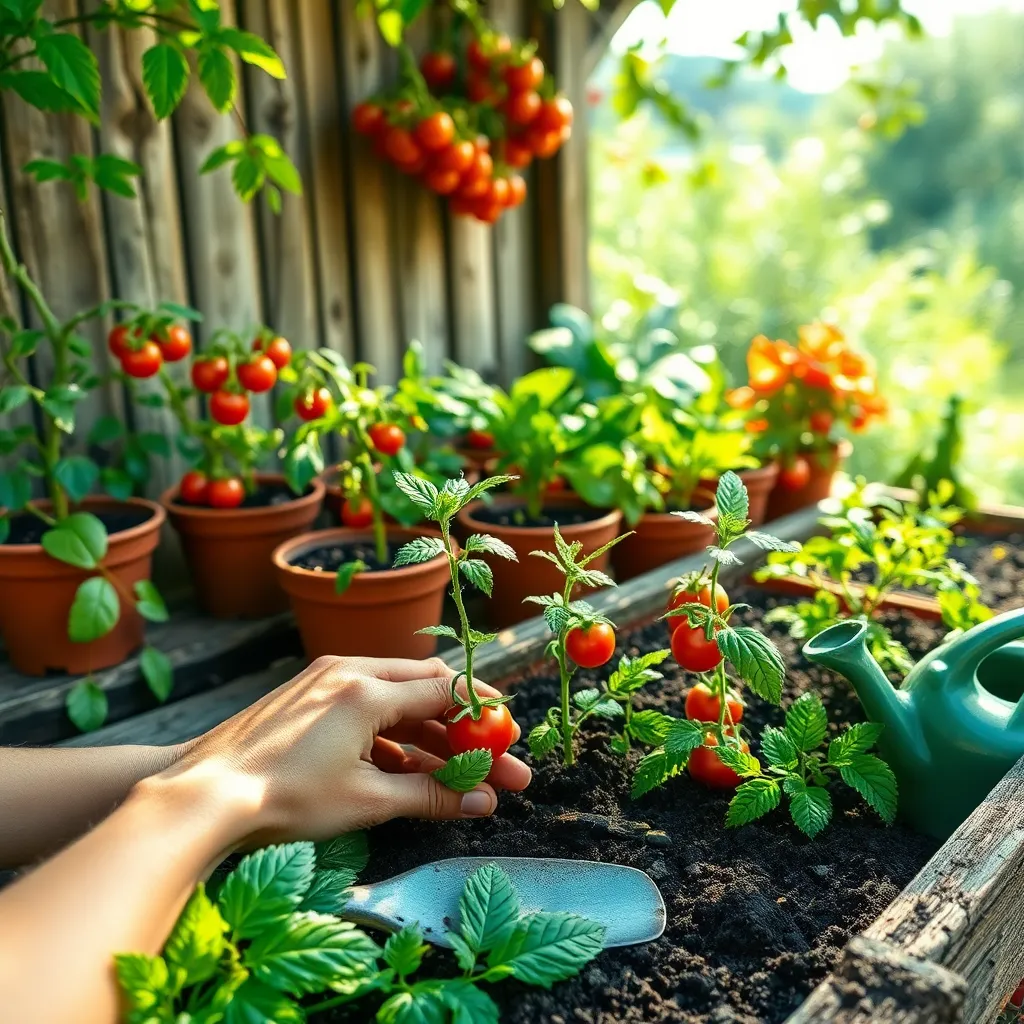
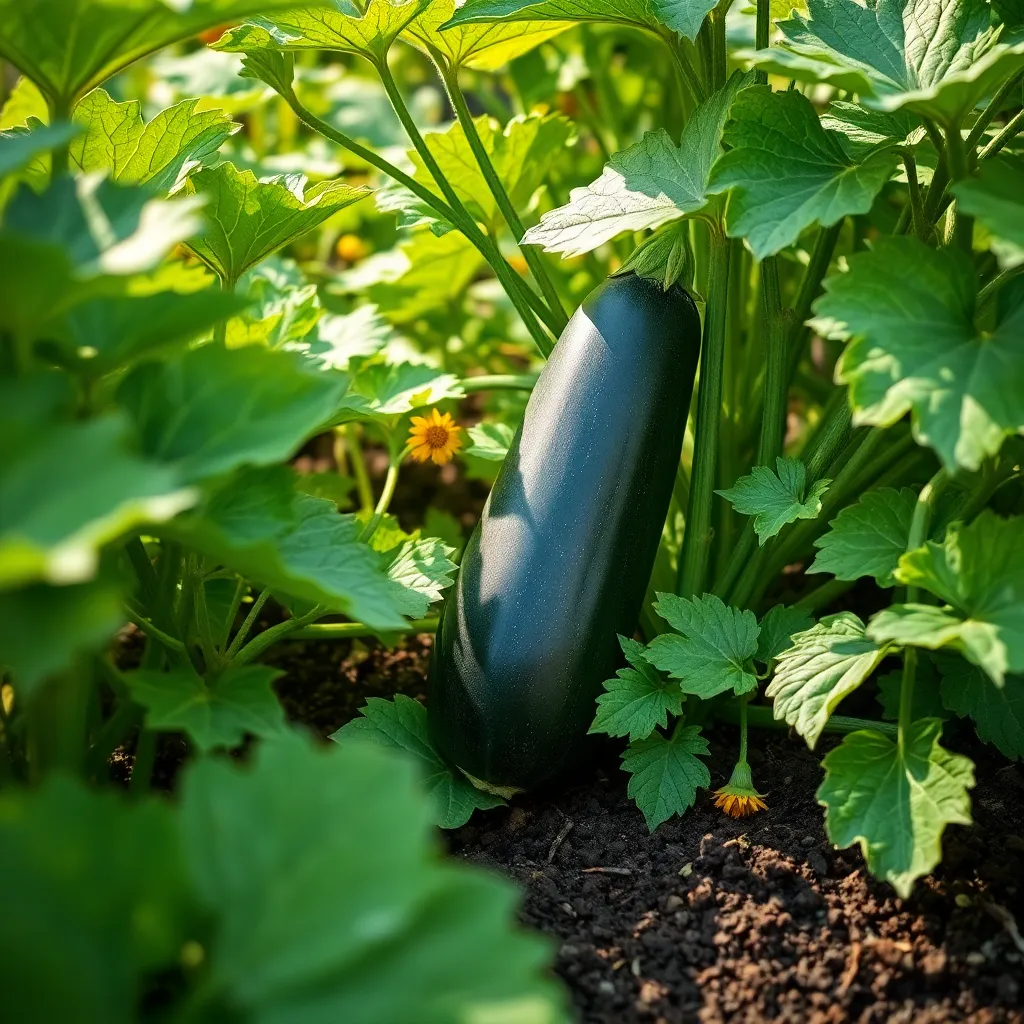
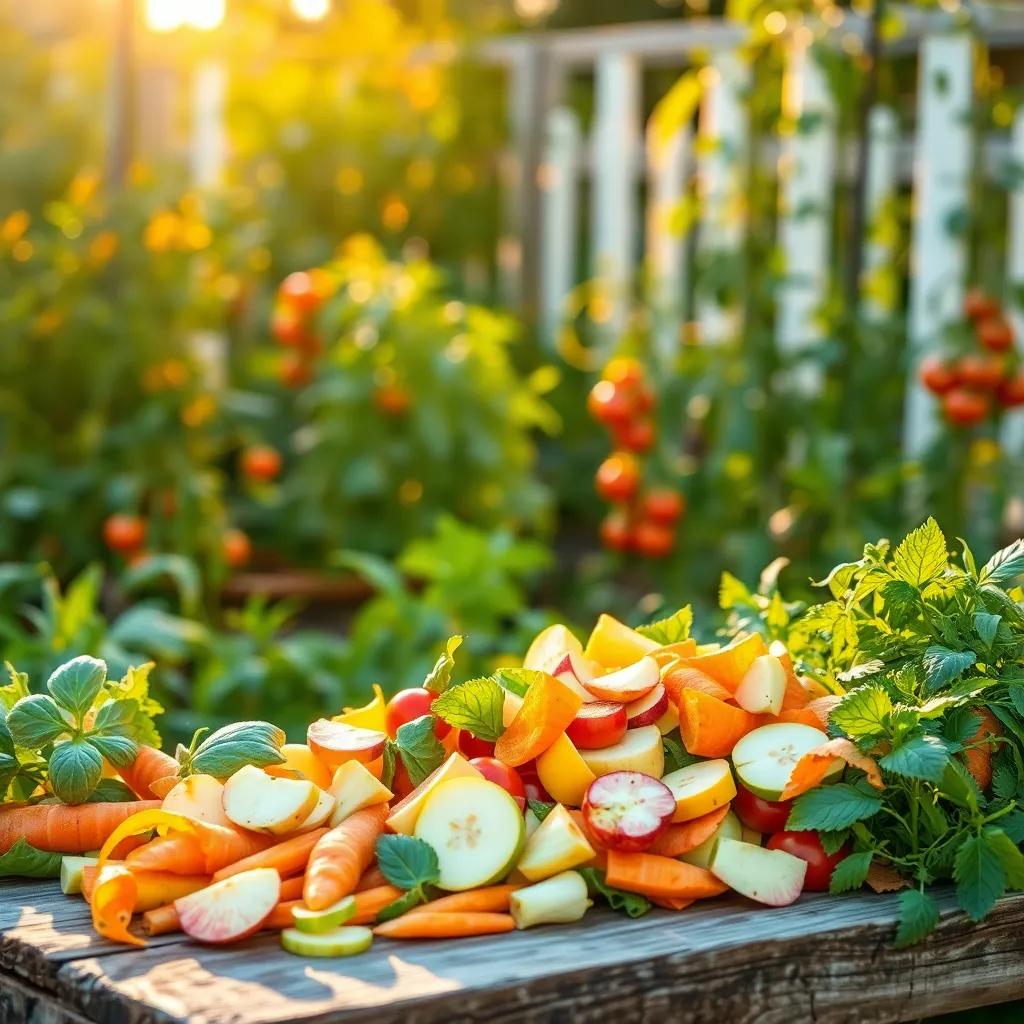
To attract a diverse range of pollinators, consider planting a variety of flowers that bloom throughout the growing season. Choose plants with different shapes and colors to entice butterflies, bees, and hummingbirds.
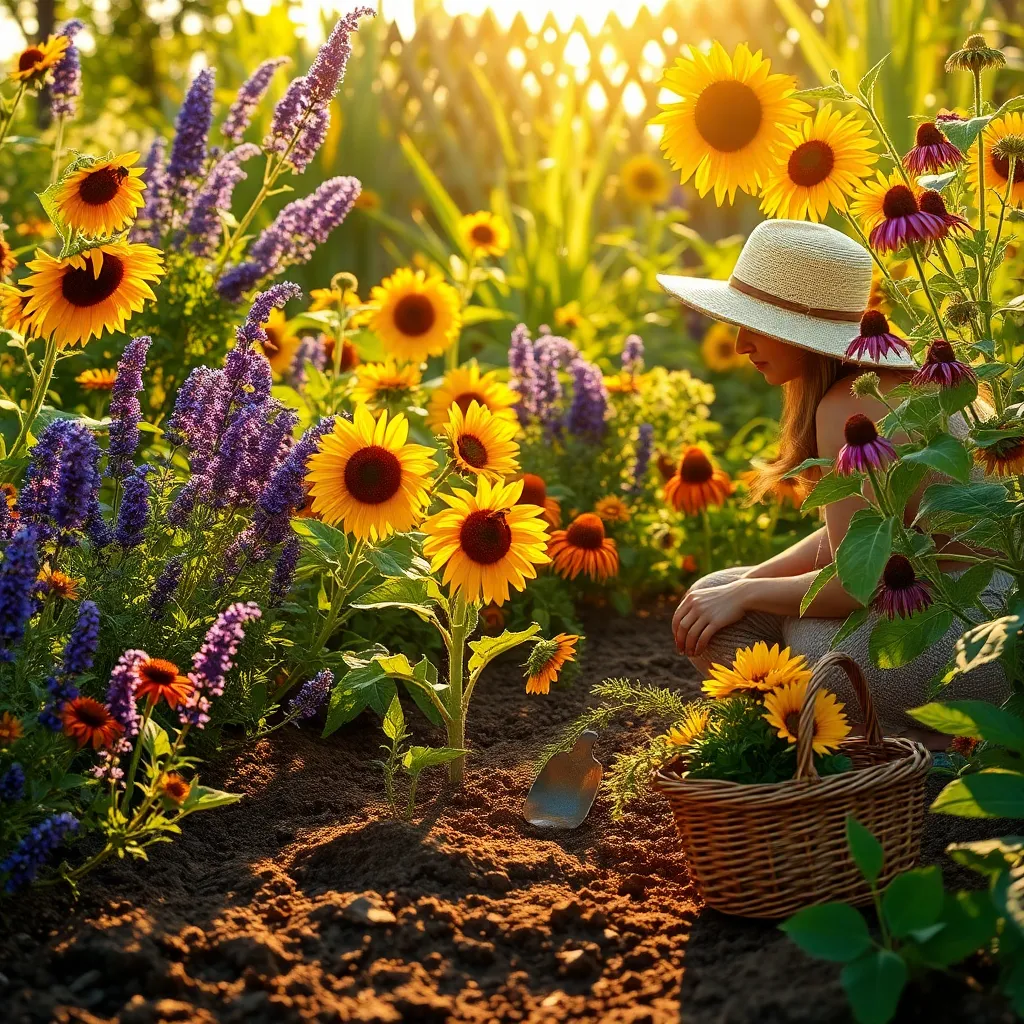
For beginner gardeners, start with easy-to-grow options like lavender and sunflowers, which are known for attracting bees and butterflies. Lavender thrives in well-drained soil and requires minimal watering once established, while sunflowers enjoy full sun and moderate water.
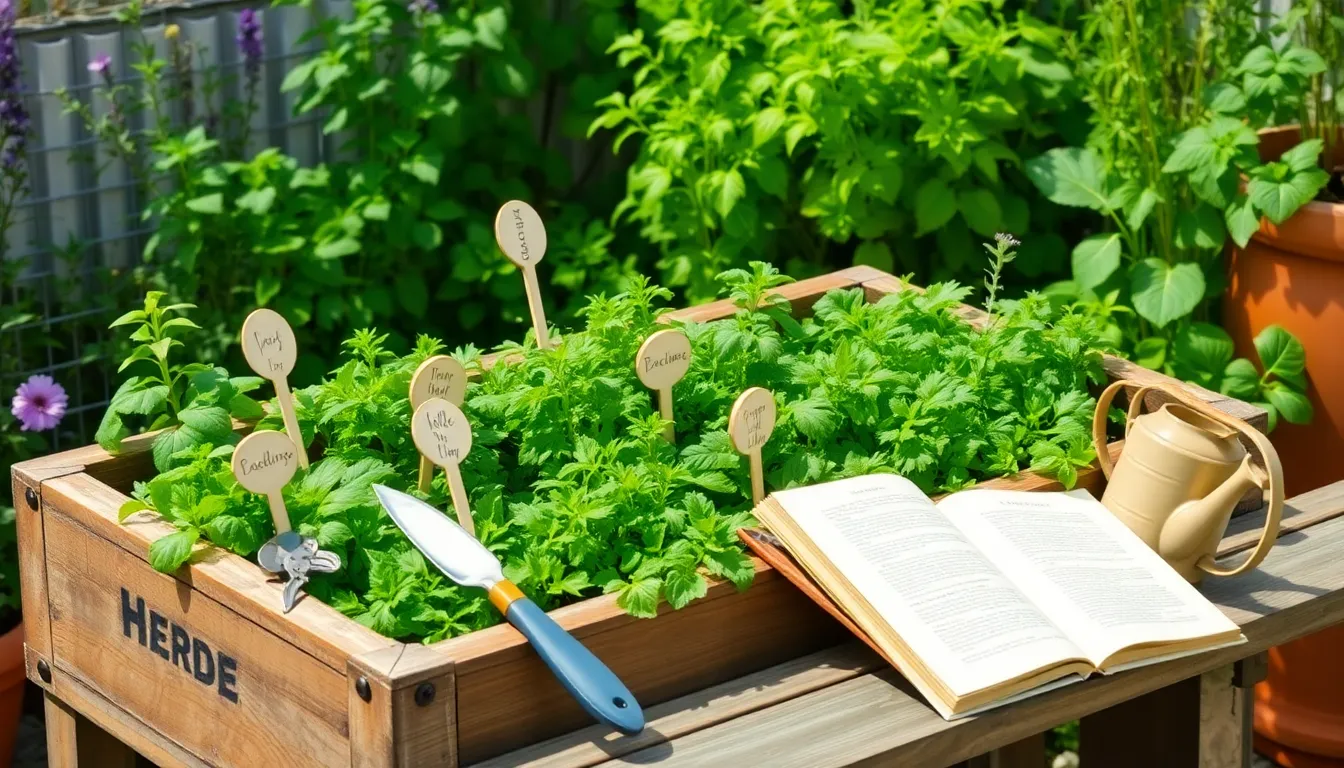
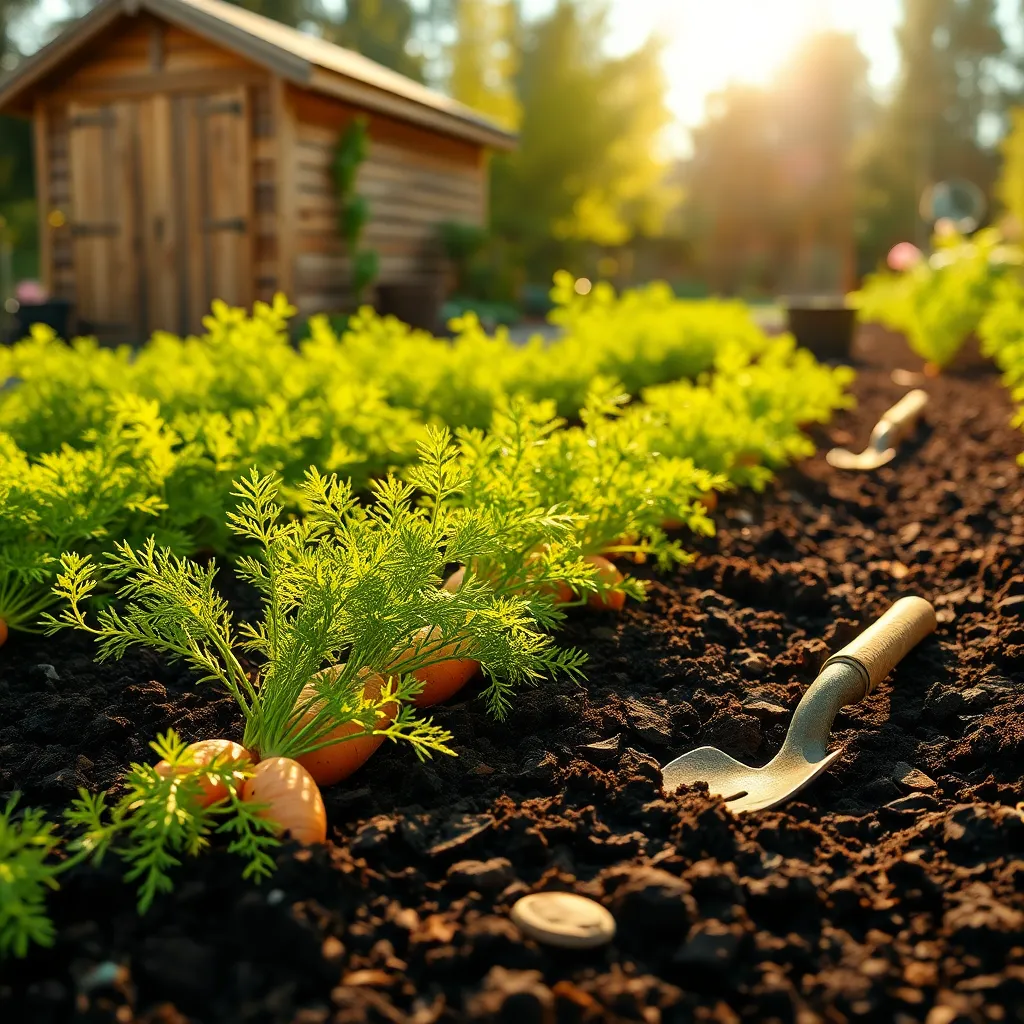
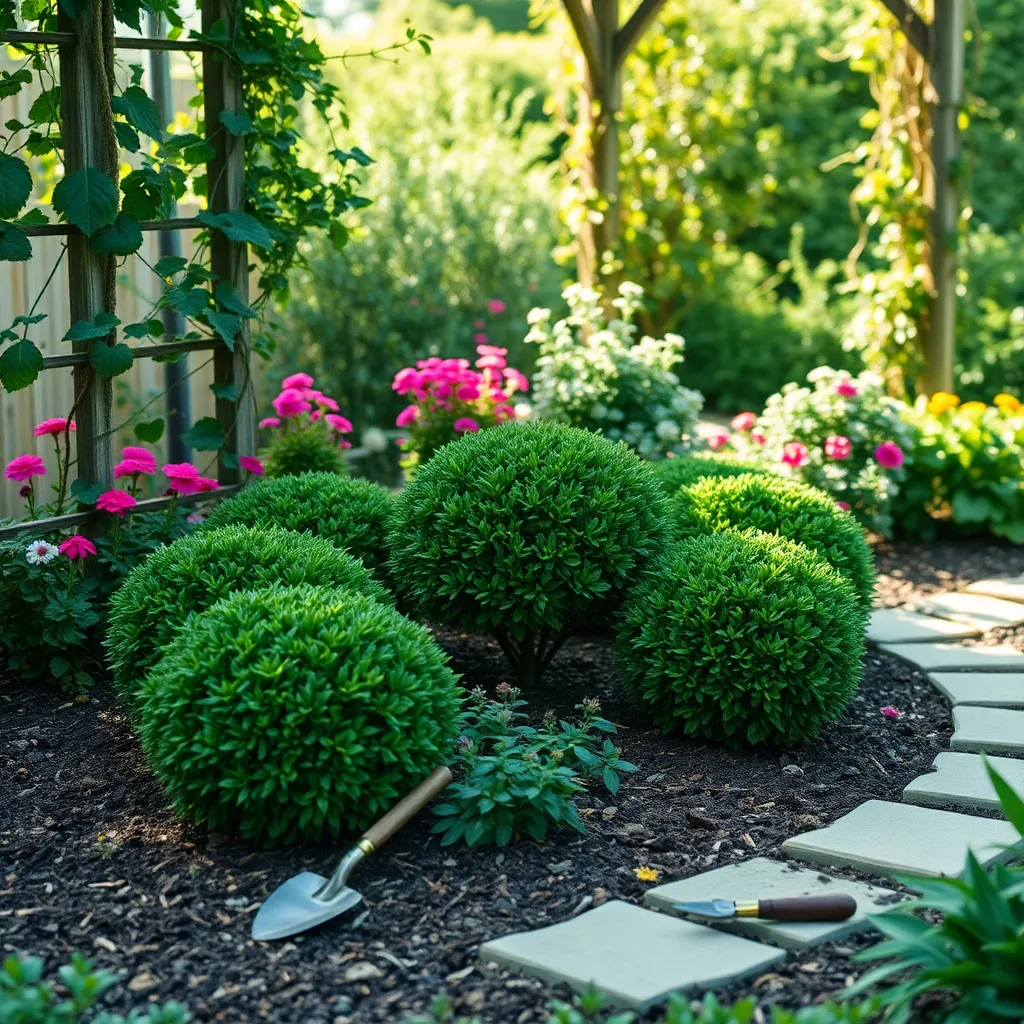
Experienced gardeners might experiment with native wildflowers, which often require less maintenance and are well-suited to local pollinators. Wildflowers like coneflowers and milkweed support a variety of pollinators and can be sown directly into prepared garden beds in the spring.
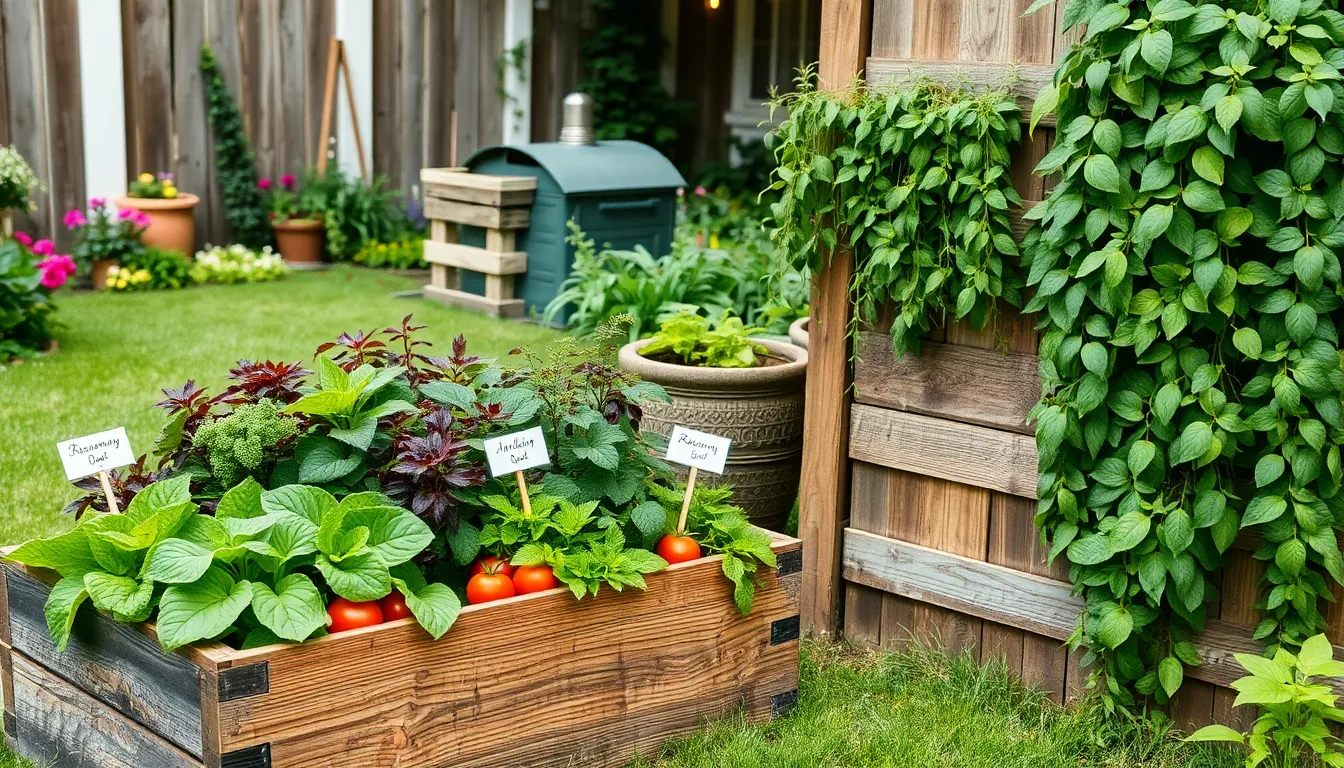
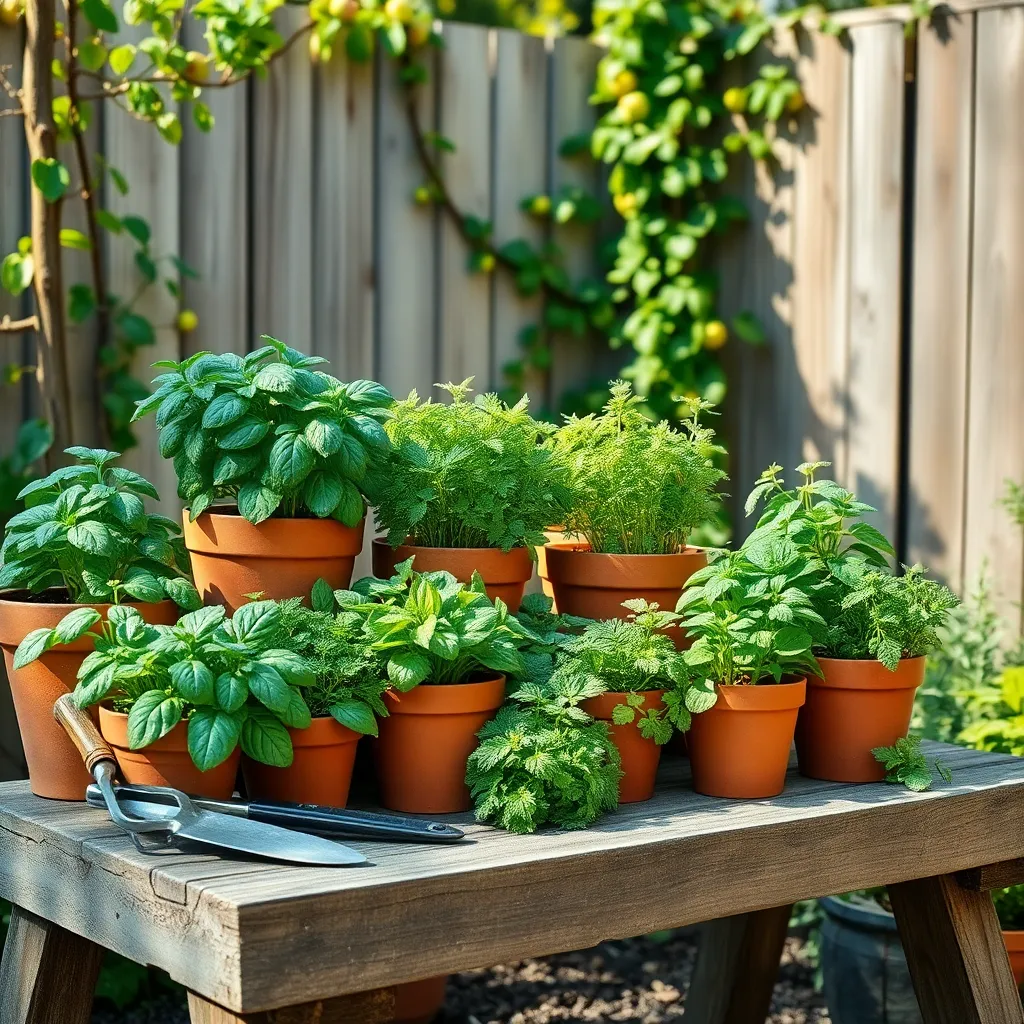
When selecting plants, consider their growth habits and space requirements to ensure they thrive. Group plants with similar needs together to simplify care and maximize their potential to attract pollinators.
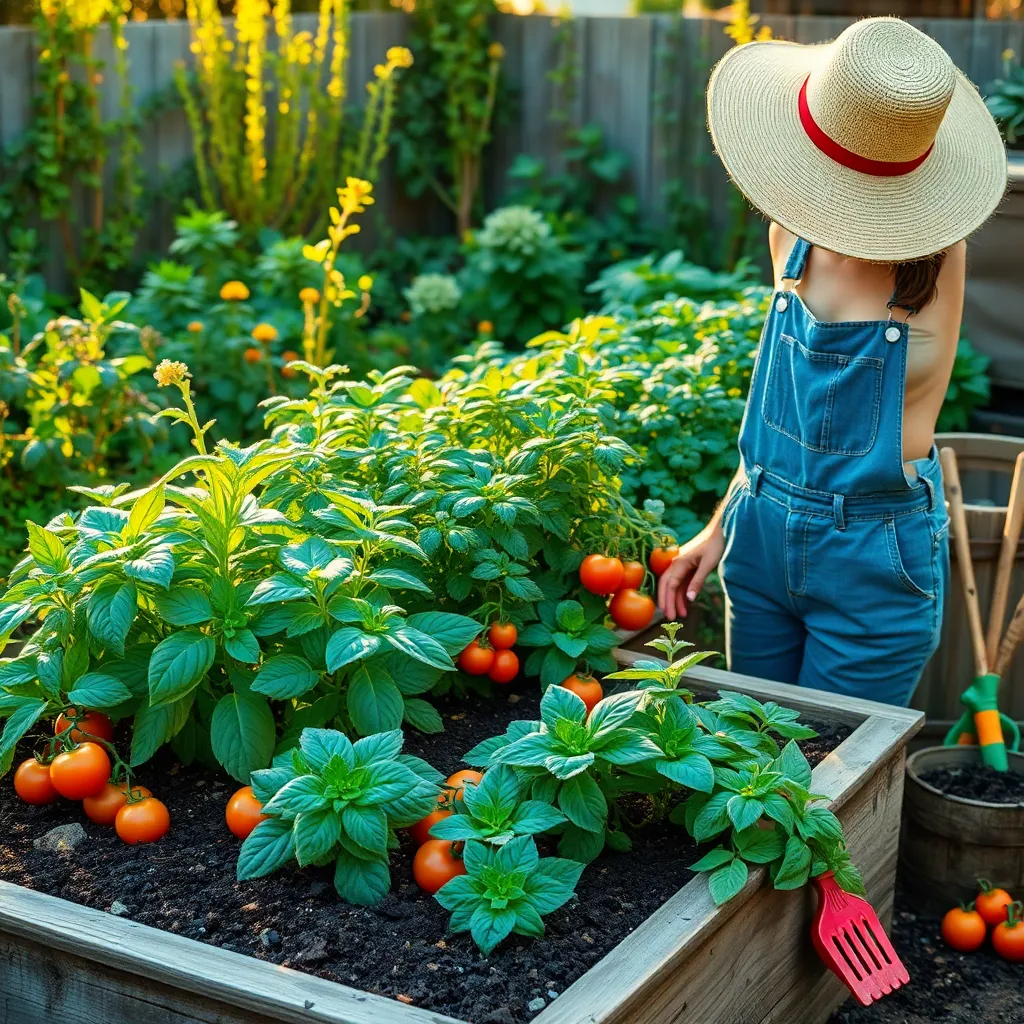
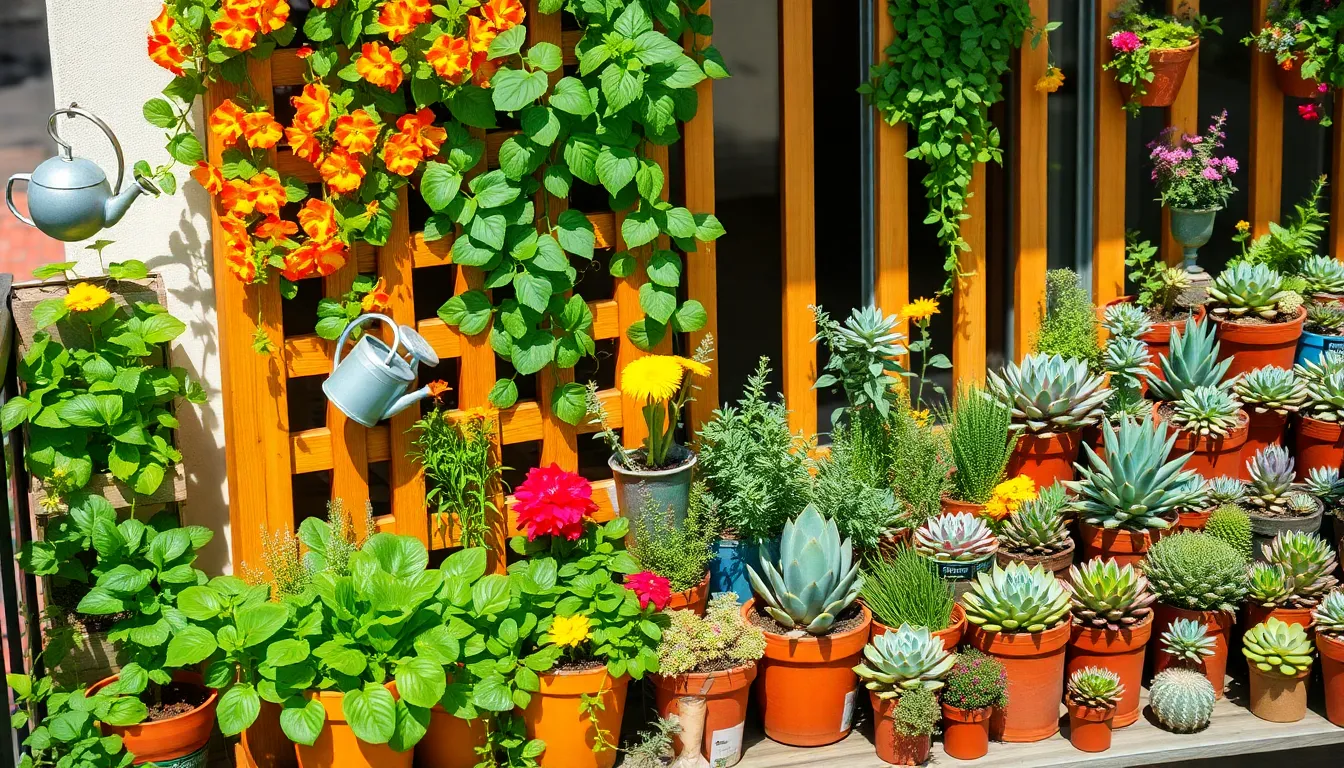
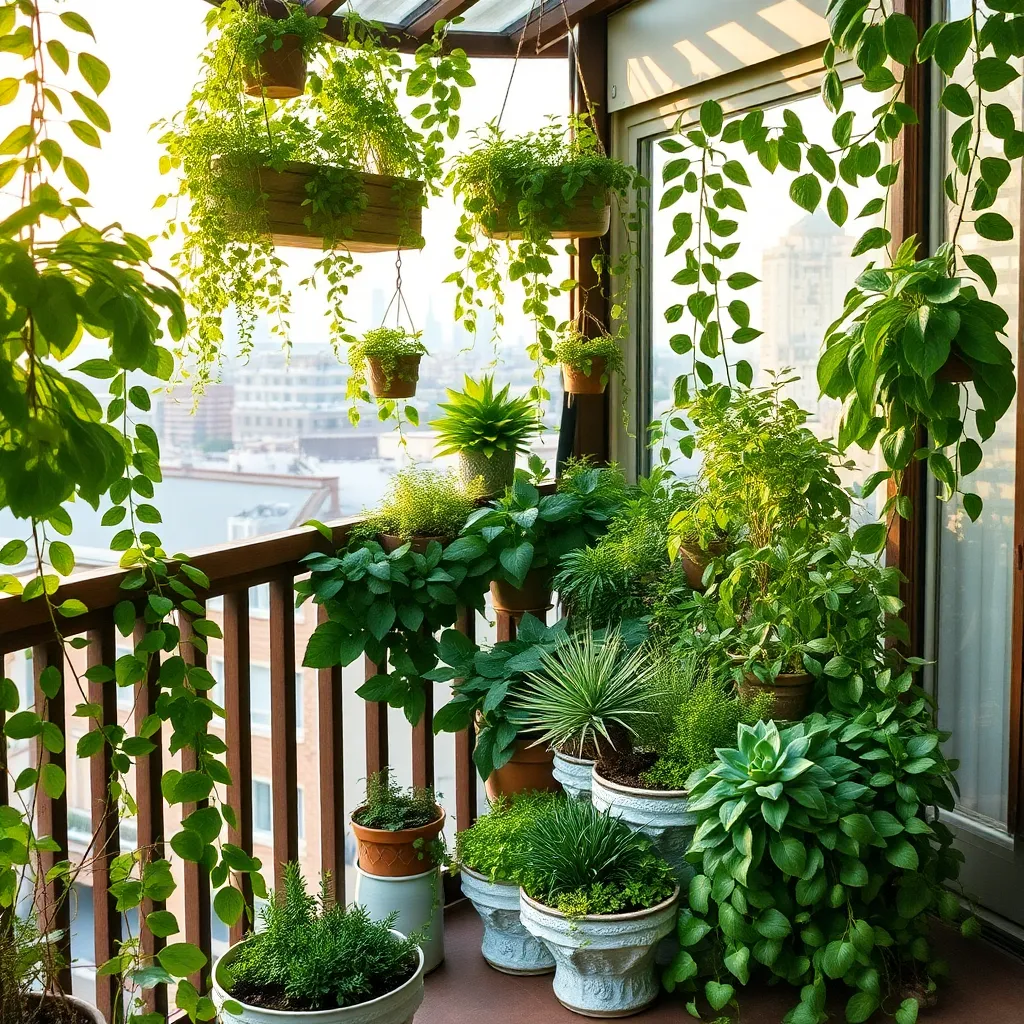
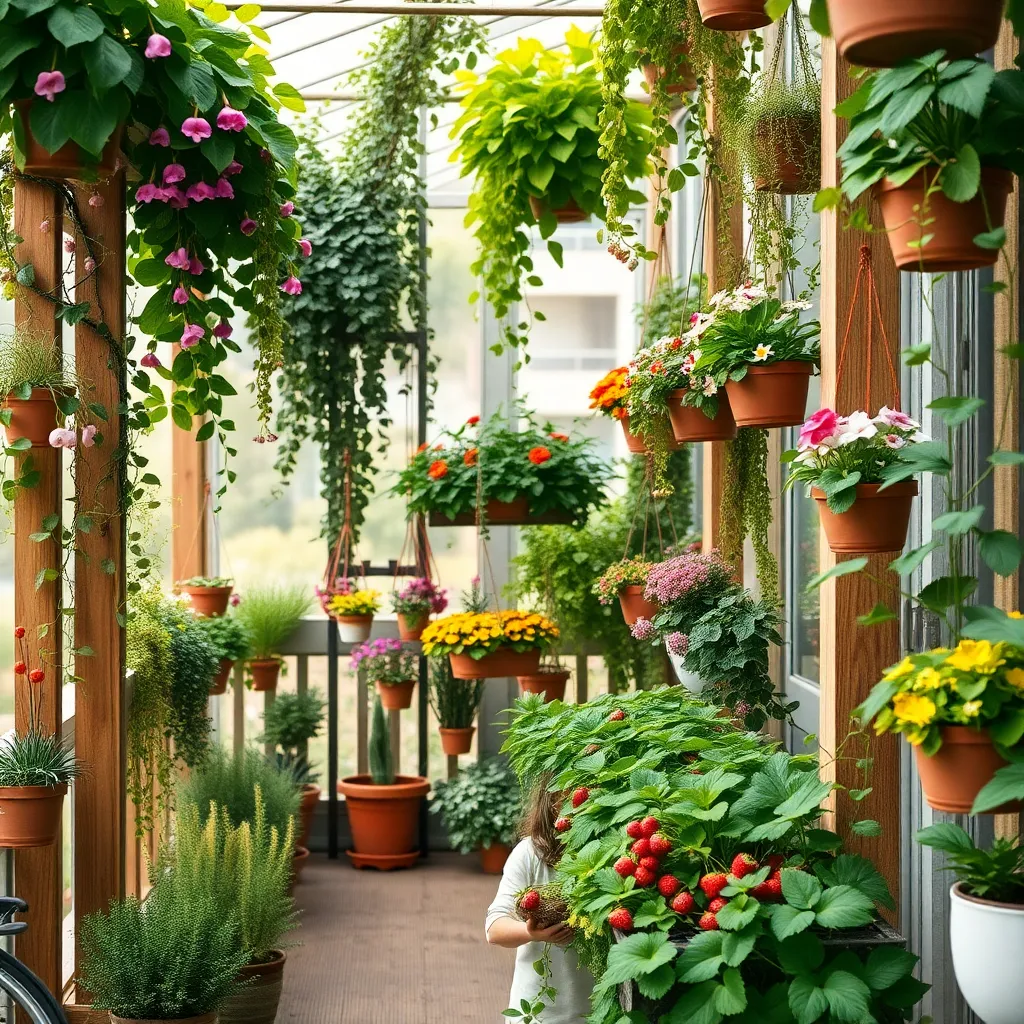
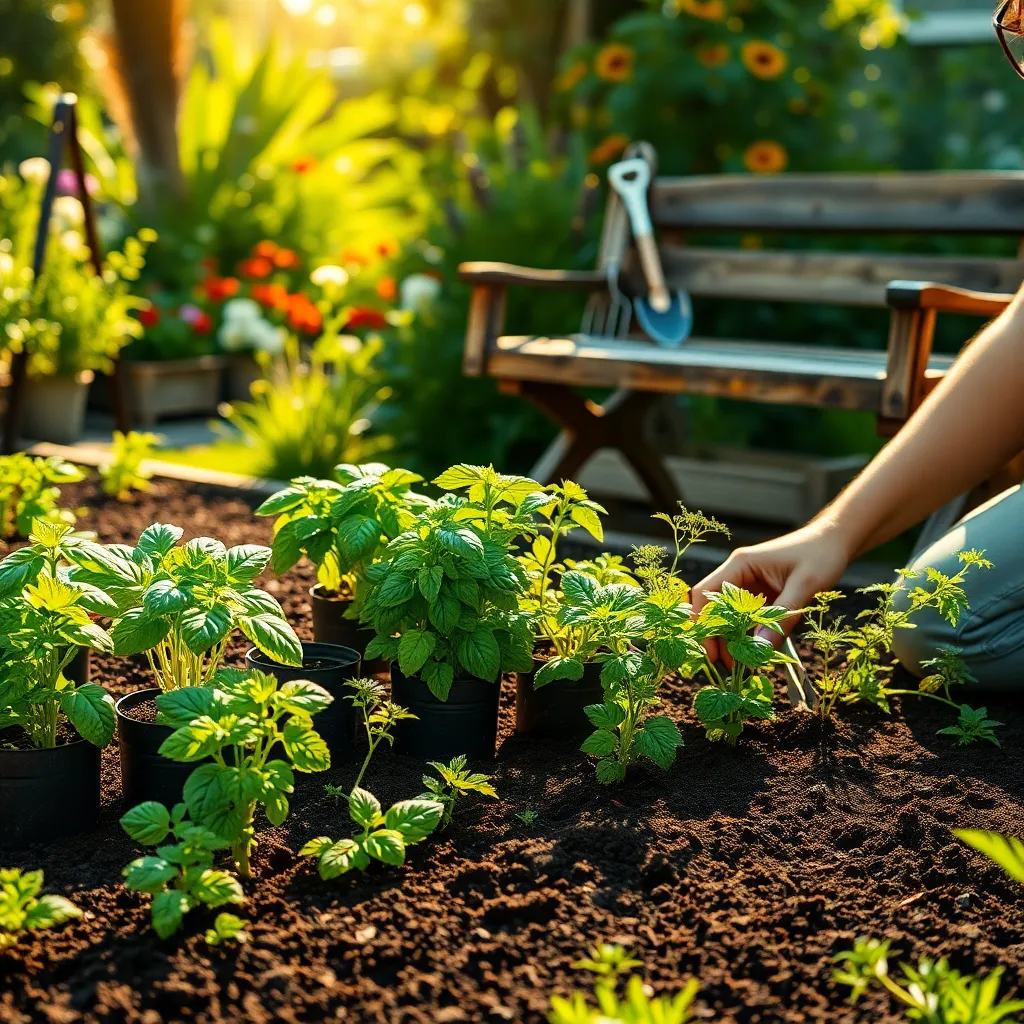
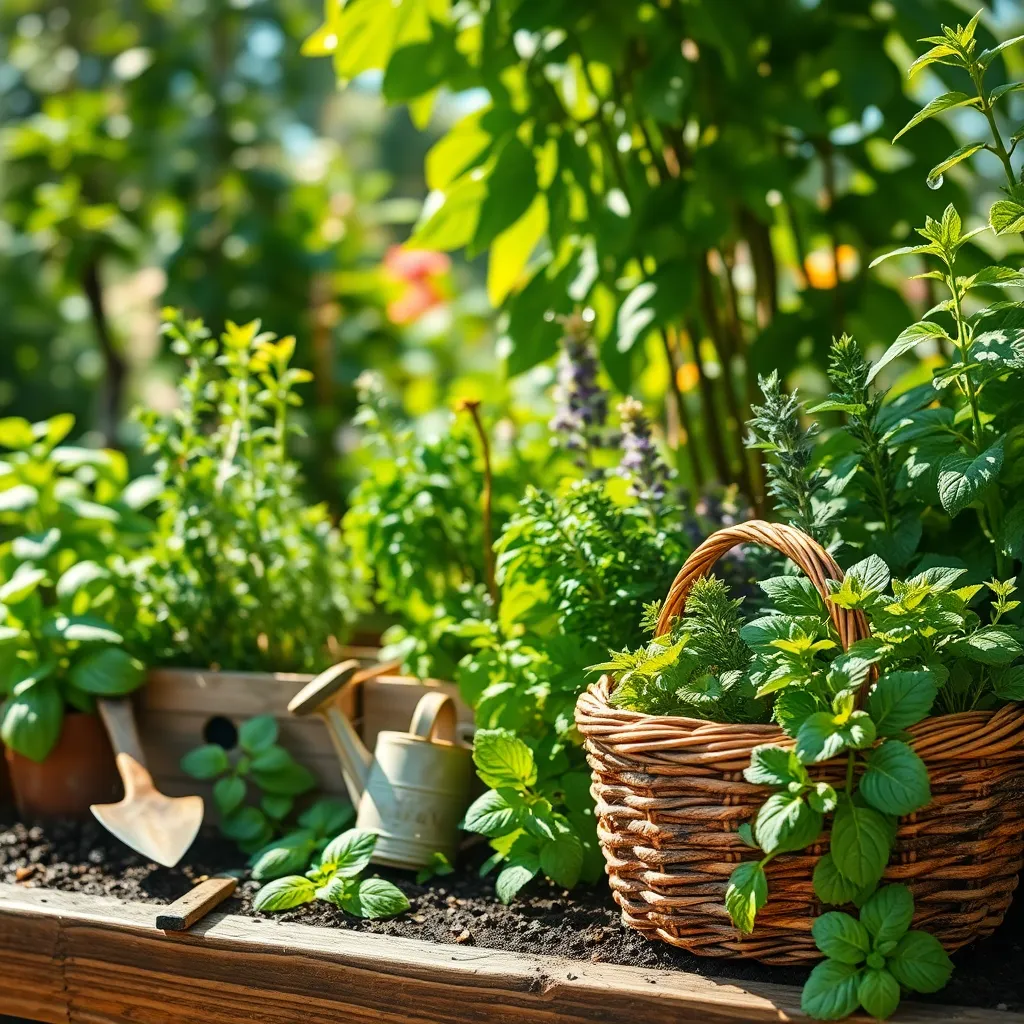
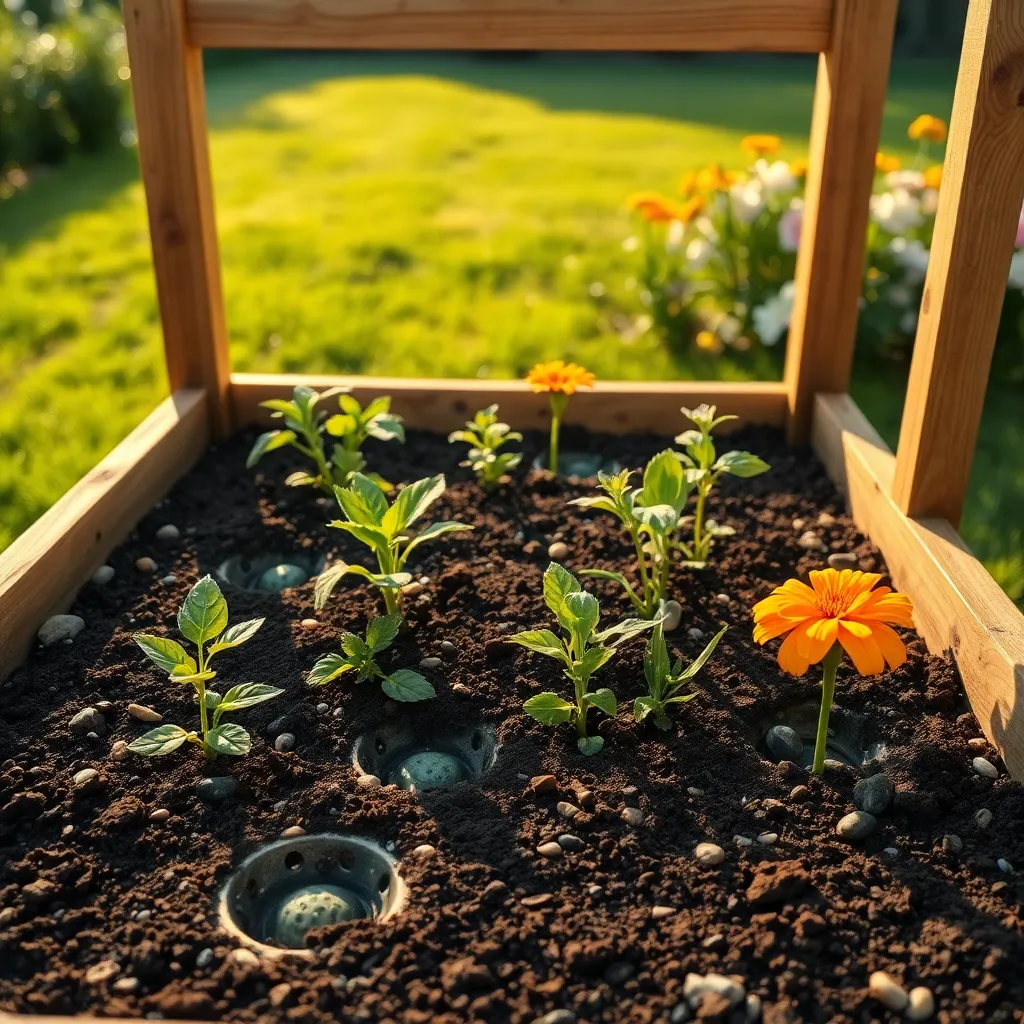
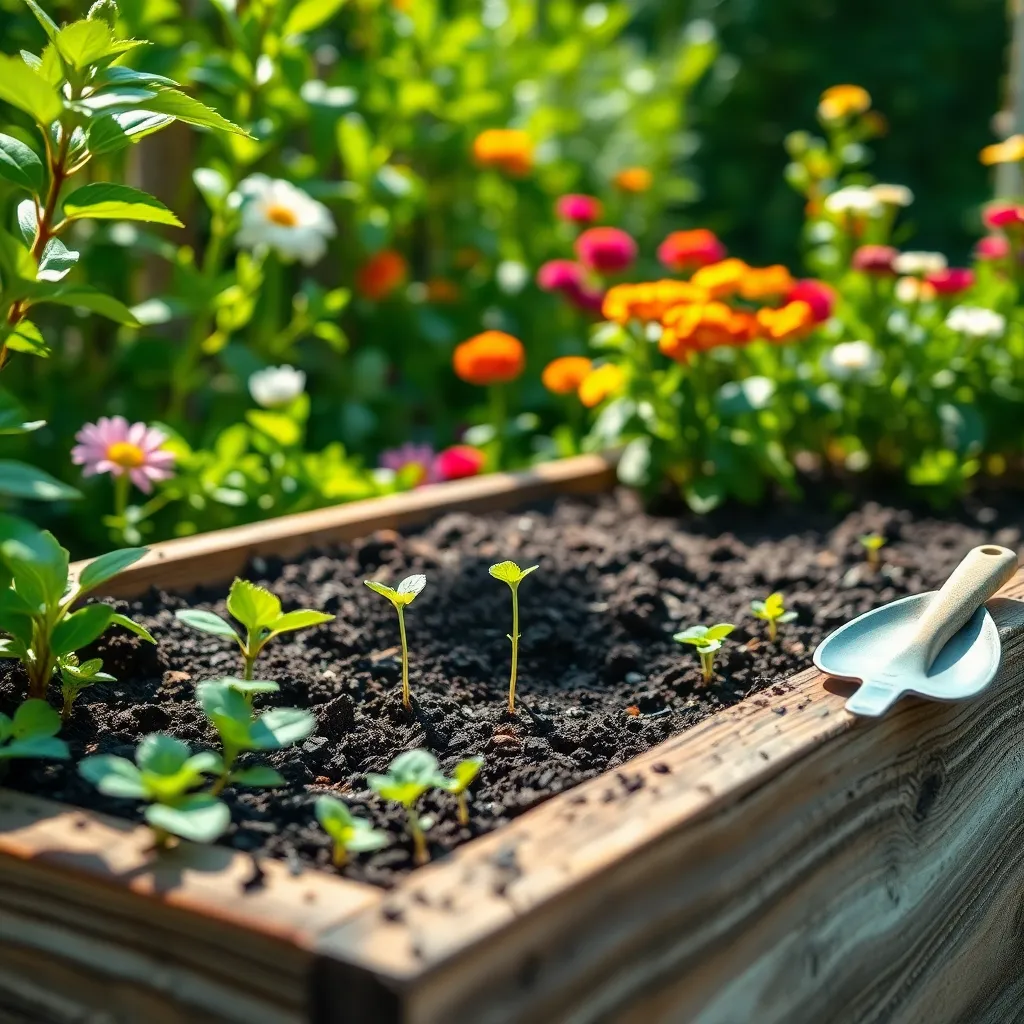
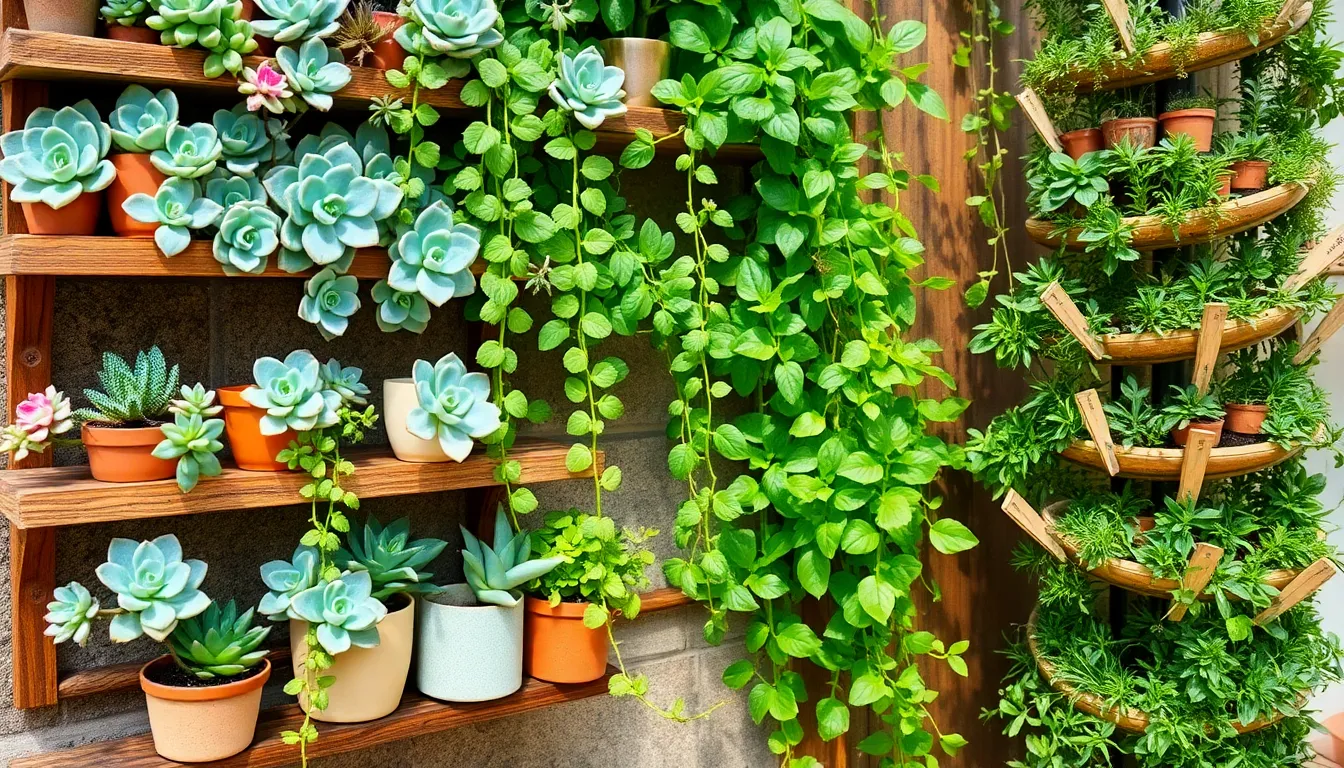
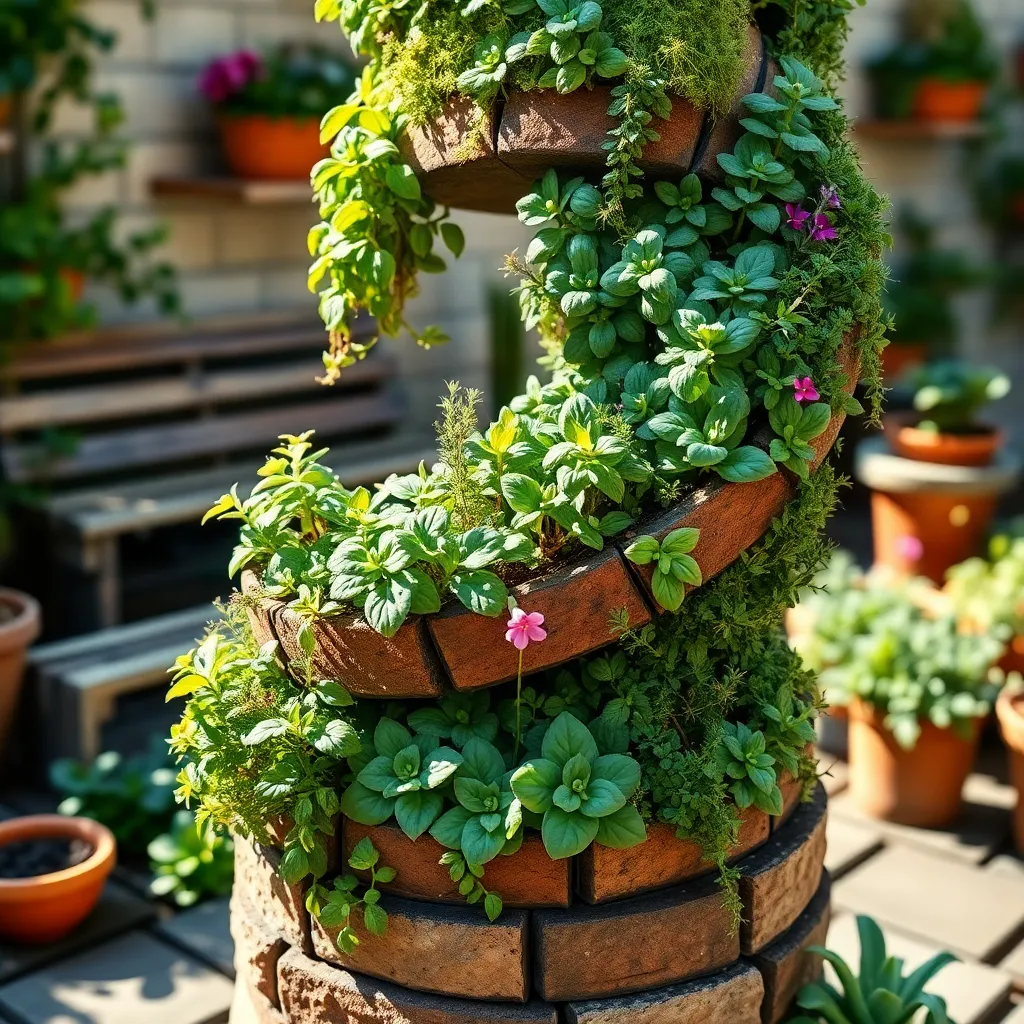
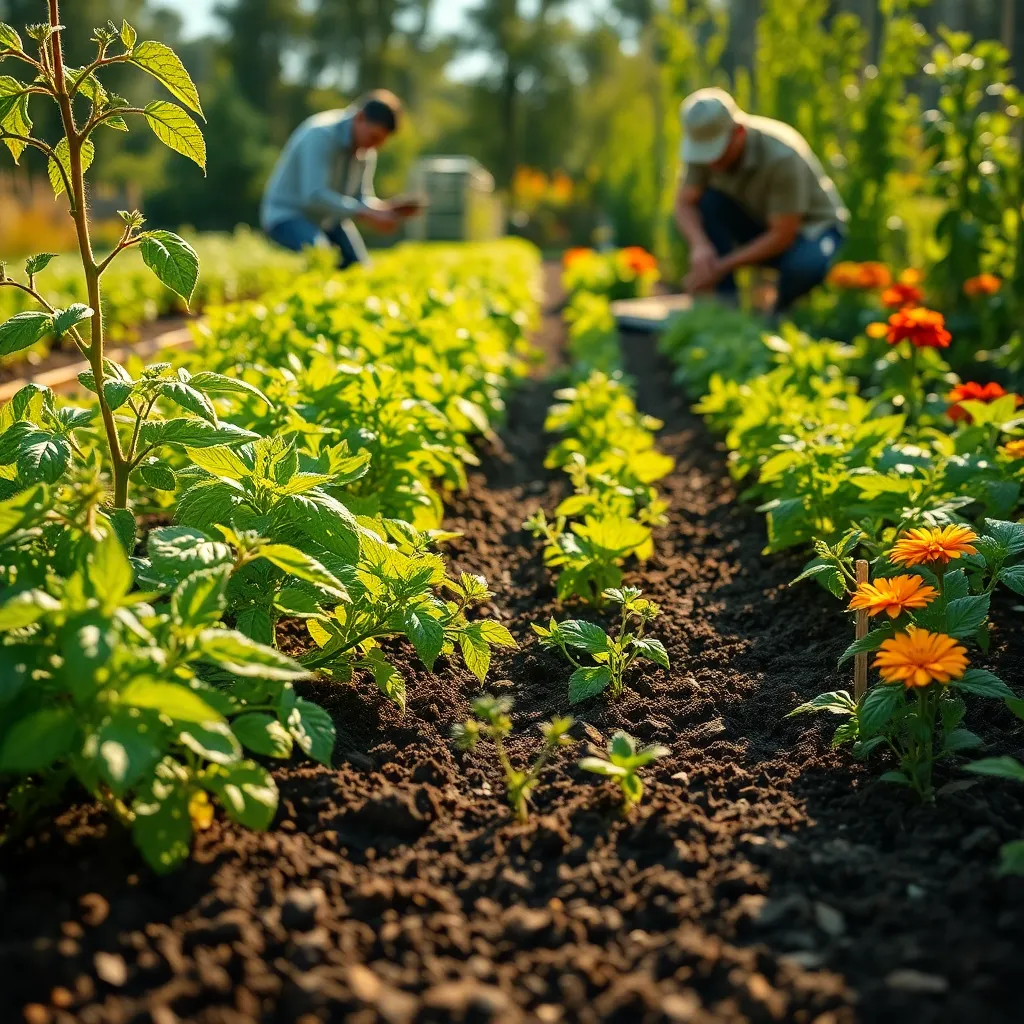
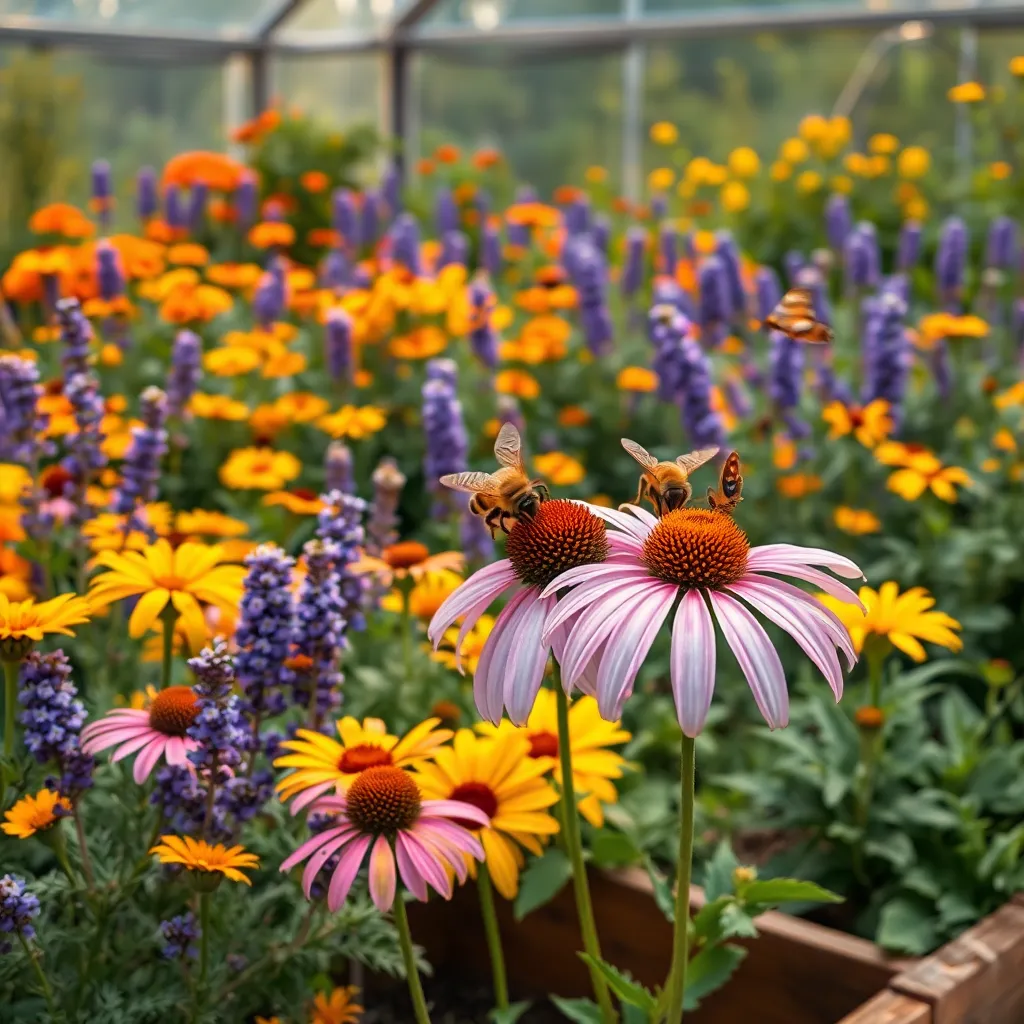
Create Diverse Plant Layers
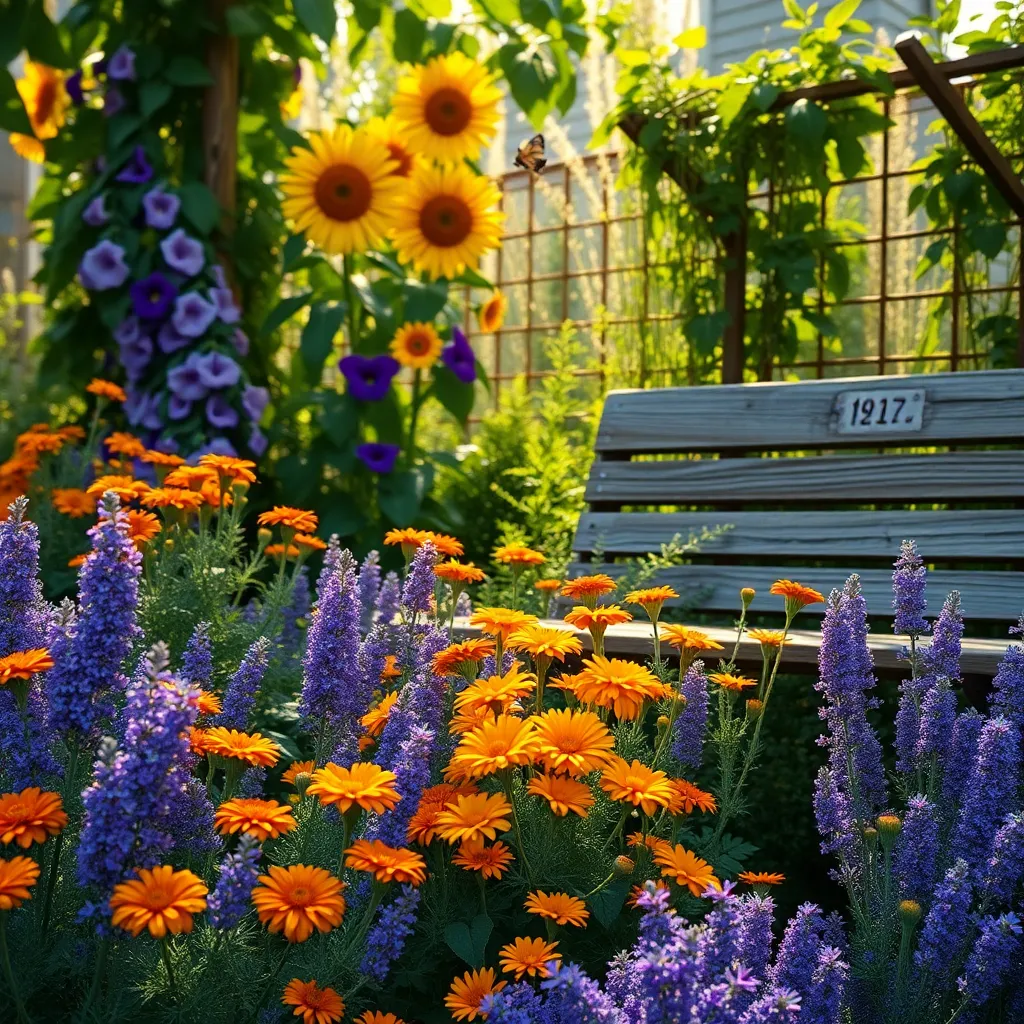
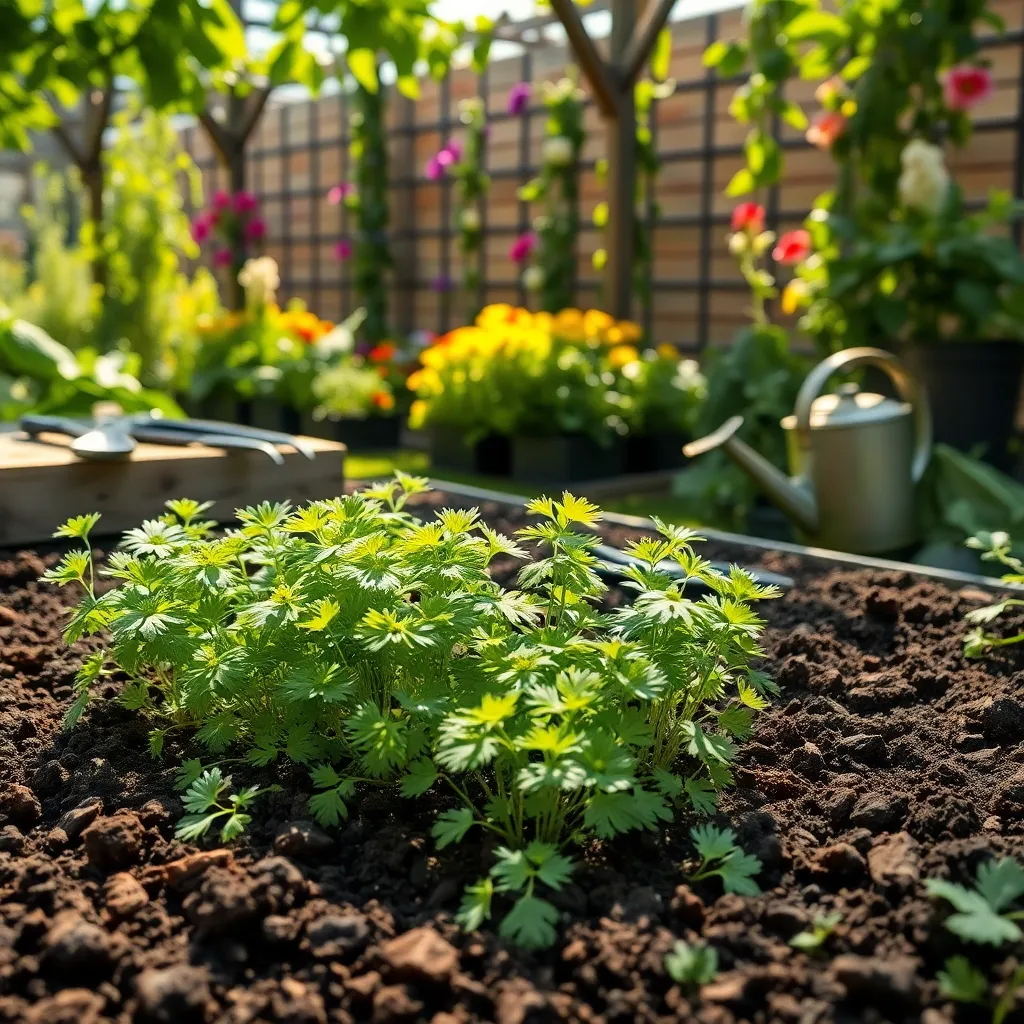
Creating diverse plant layers is essential for attracting a variety of pollinators to your garden. By incorporating plants of different heights and structures, you can provide habitats and resources for various pollinator species.
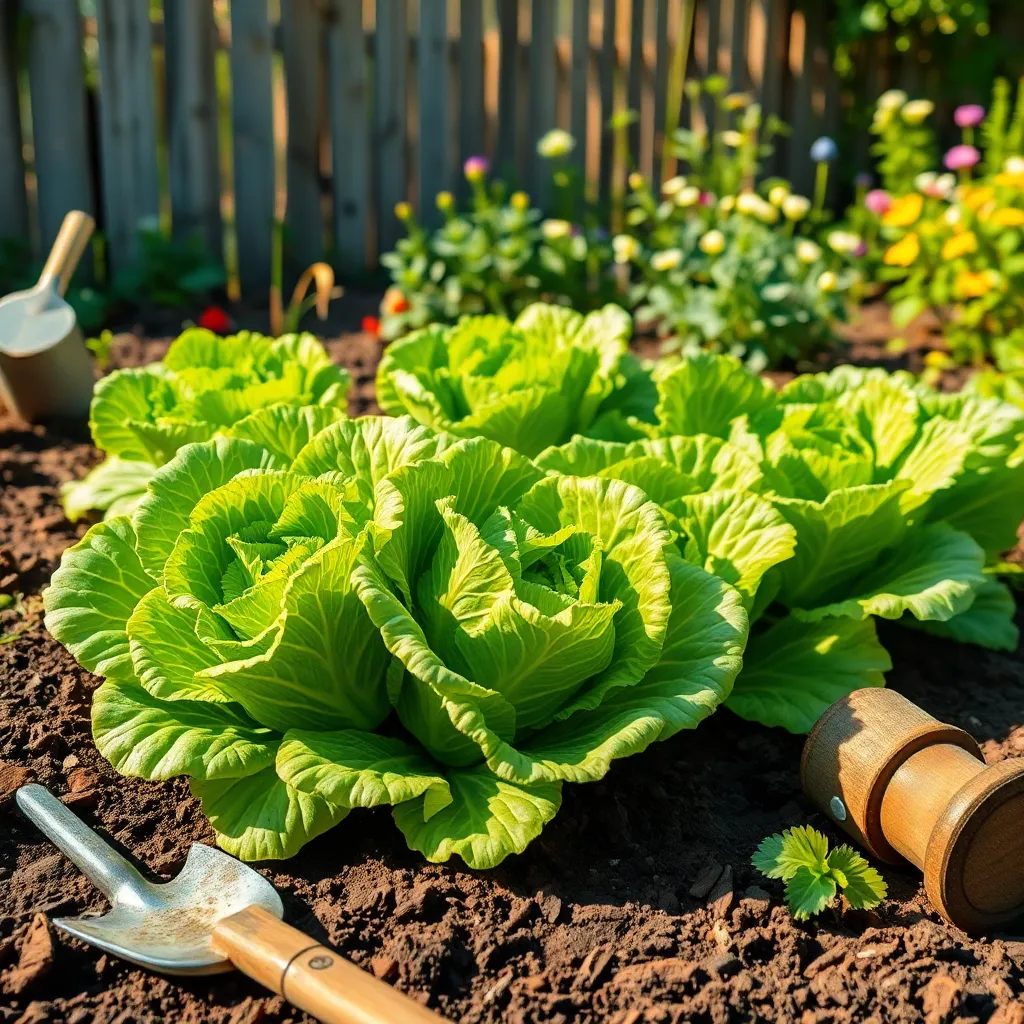
Start by planting ground covers such as creeping thyme or clover, which offer a carpet of blooms close to the soil. These low-growers not only attract bees but also help to suppress weeds and retain soil moisture, making them a practical addition to any garden.
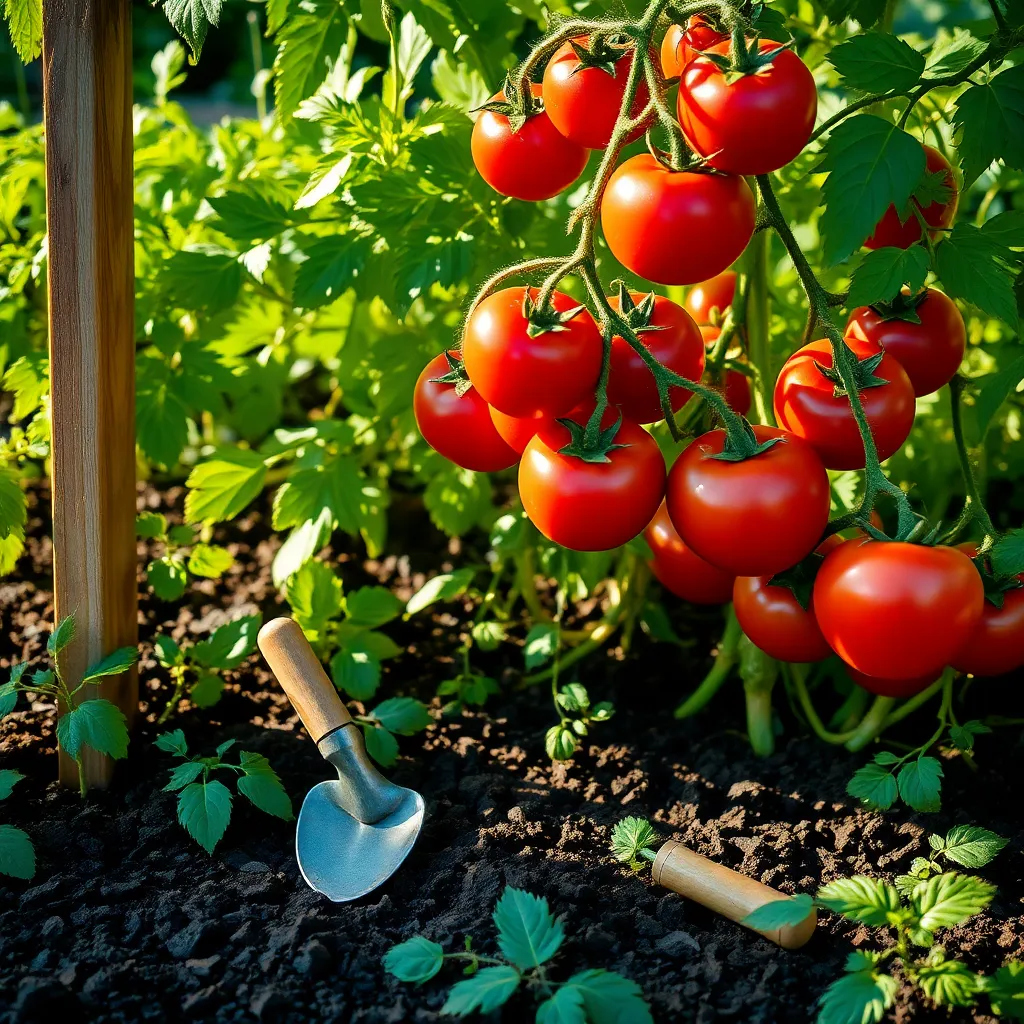
In addition to ground covers, integrate mid-height plants like lavender or coneflowers. These plants thrive in well-drained soil and full sun, offering abundant nectar and pollen to butterflies and bees throughout the growing season.
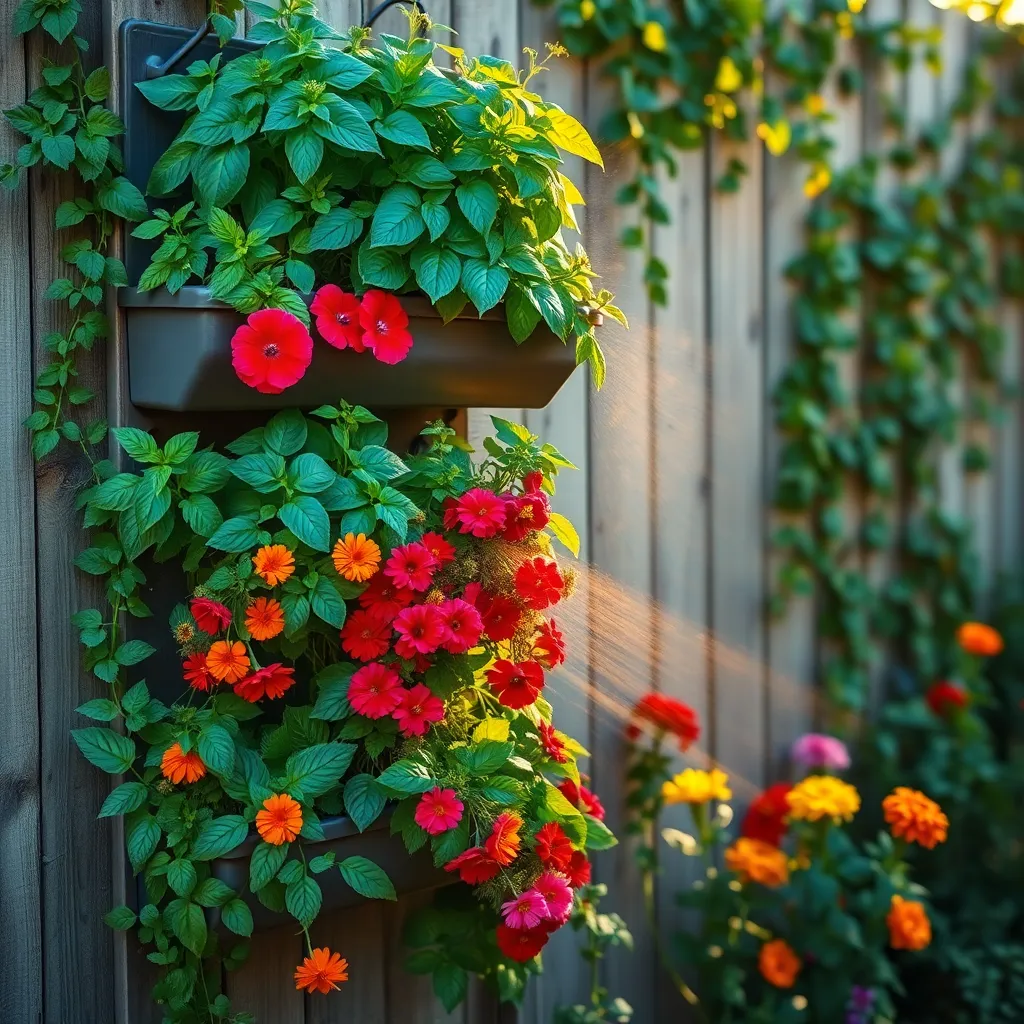
Finally, include tall plants such as sunflowers or hollyhocks to complete the vertical layering. These towering blooms can act as windbreaks and provide perching spots for birds, adding another layer of biodiversity to your garden environment.
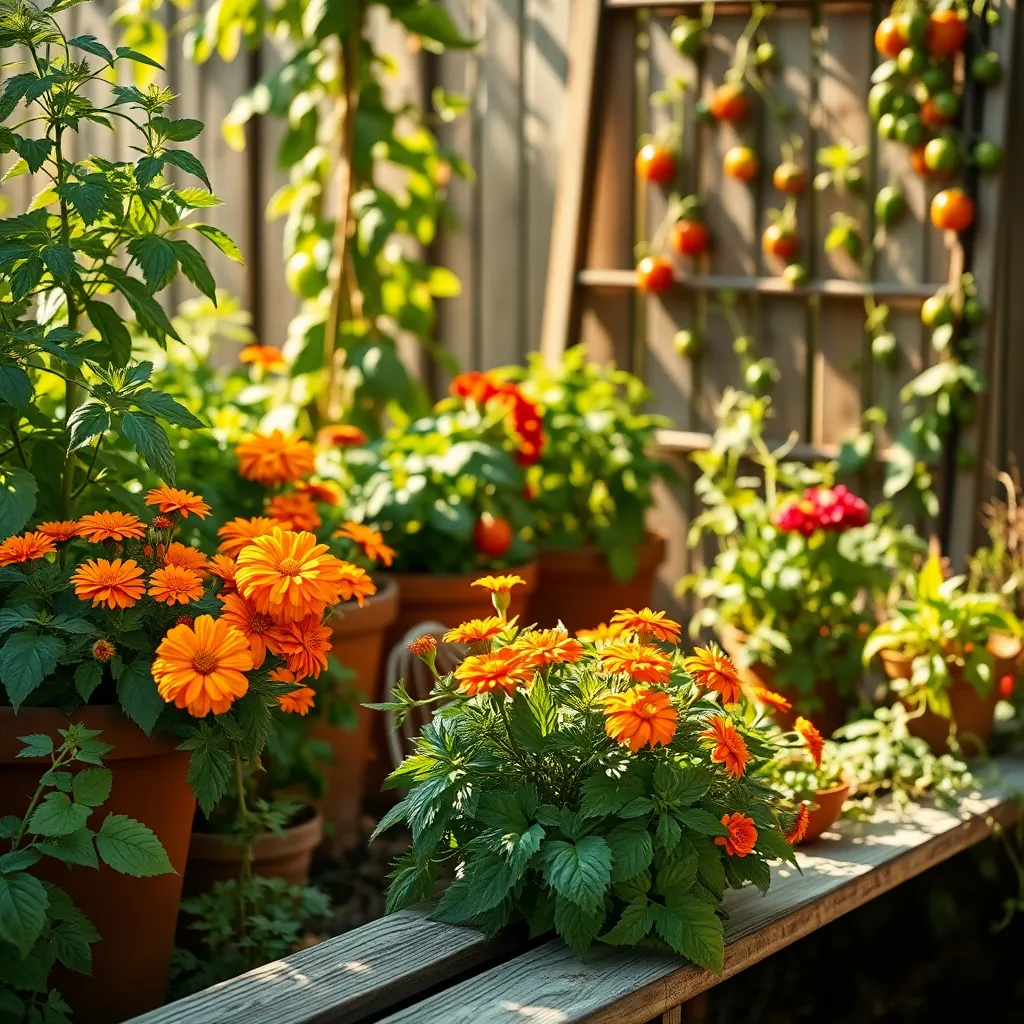
For an advanced touch, consider the bloom times of your selected plants to ensure a continuous food source. By choosing species that flower at different times, you can support pollinators from early spring through late fall.
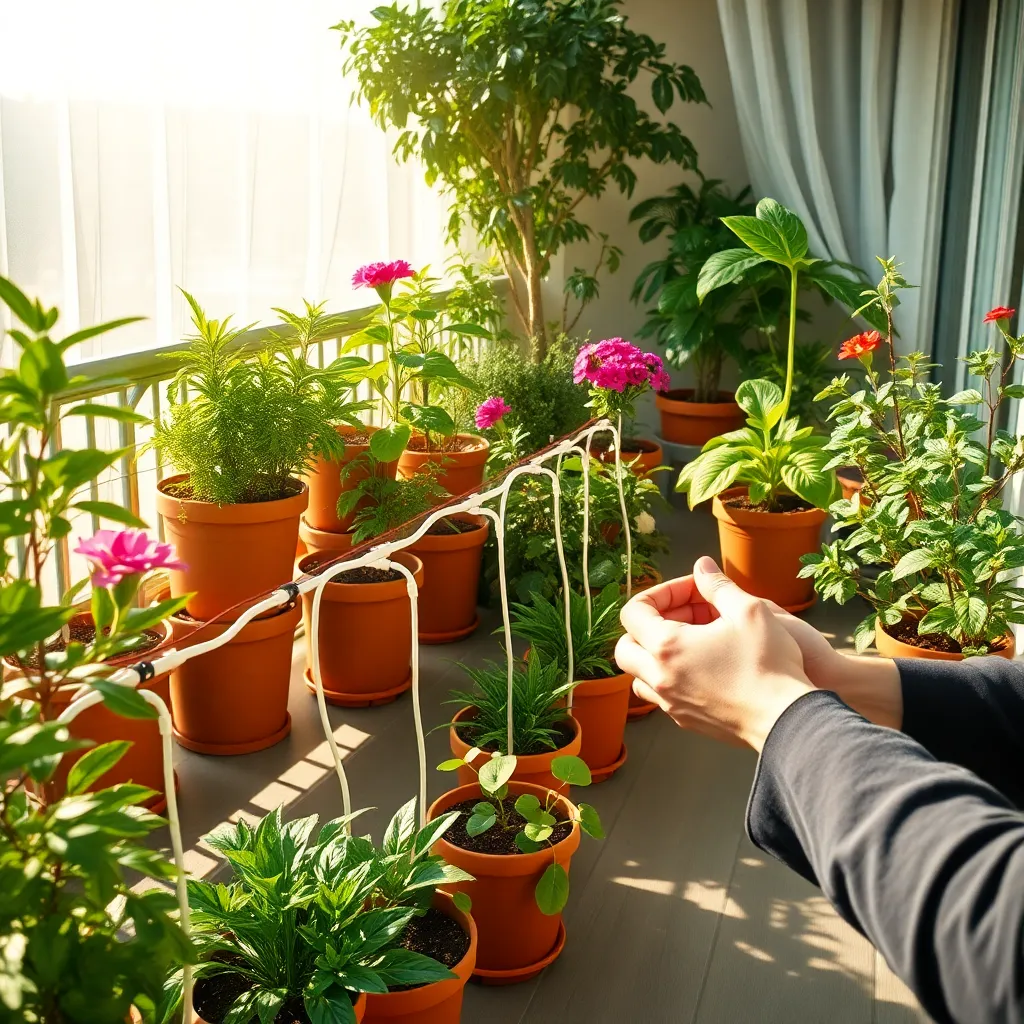
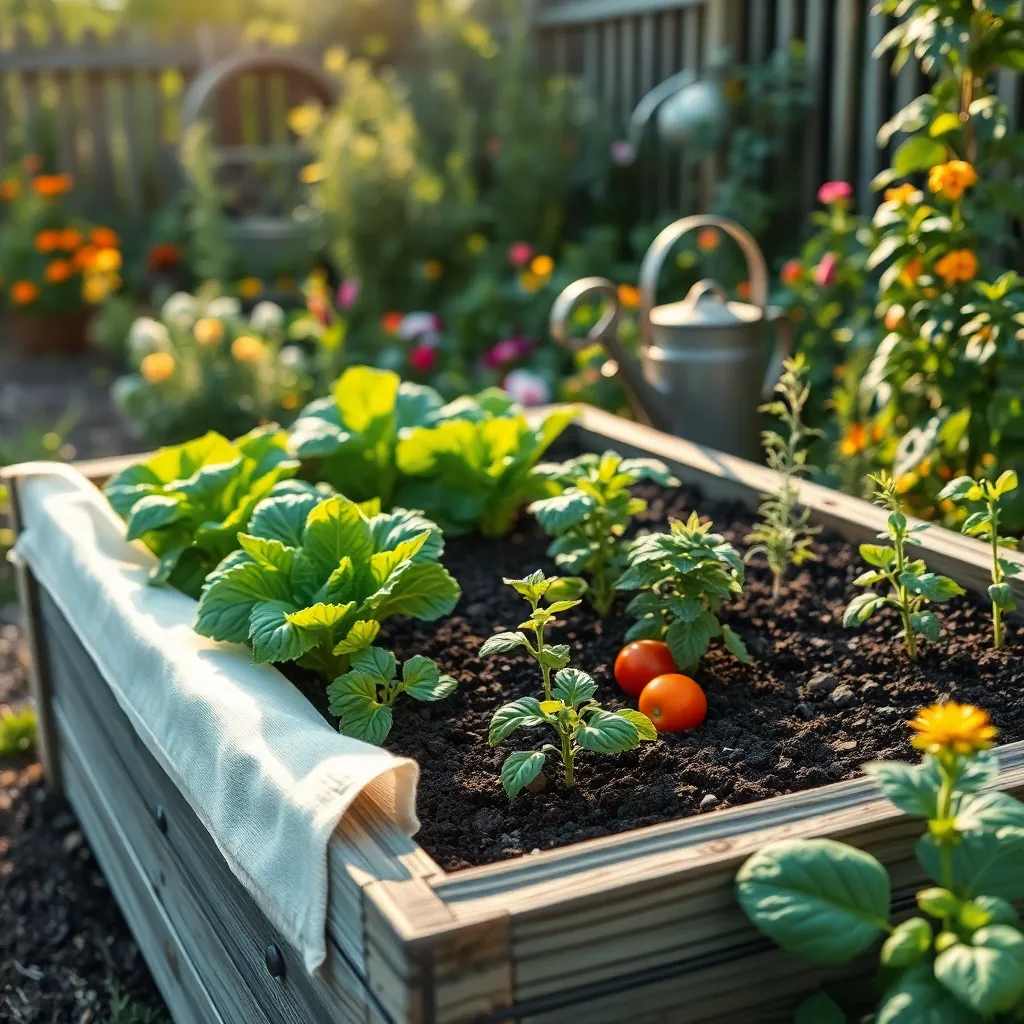
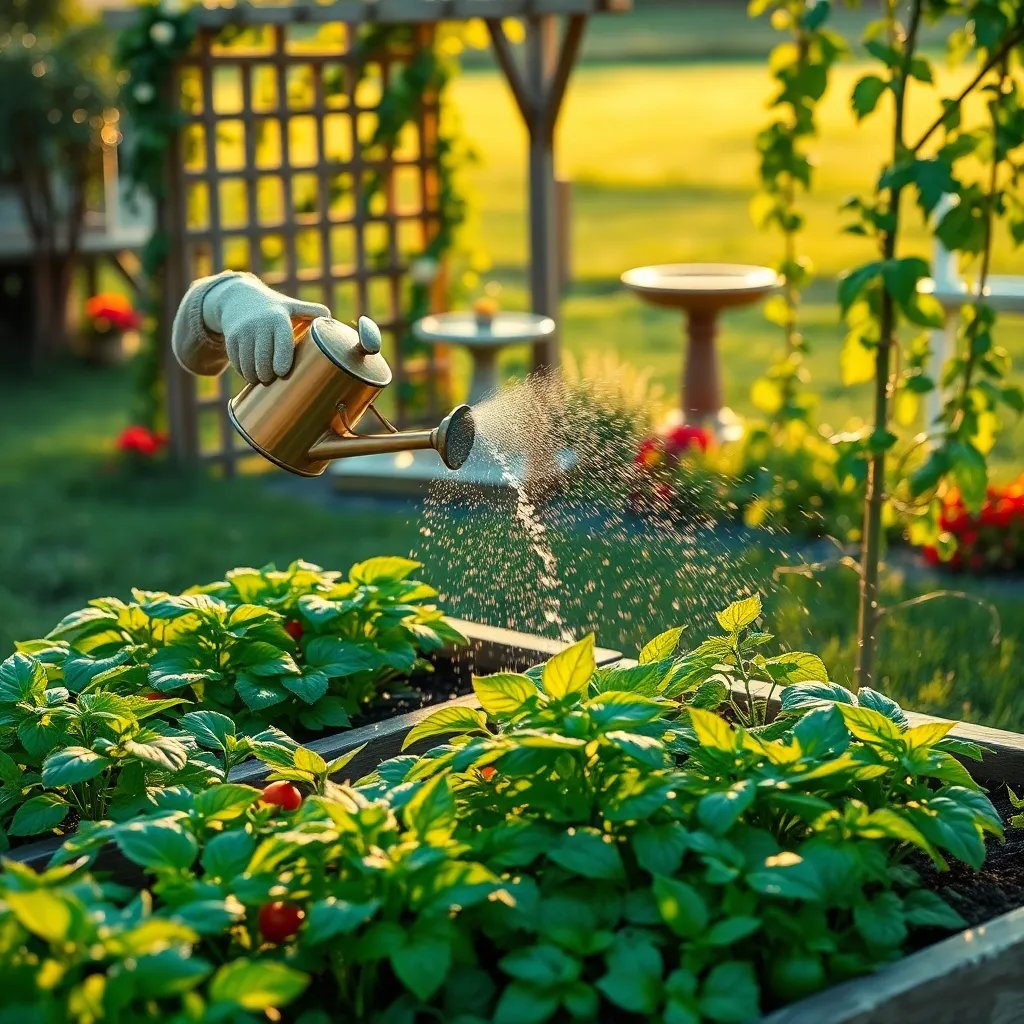
Provide Fresh Water Sources
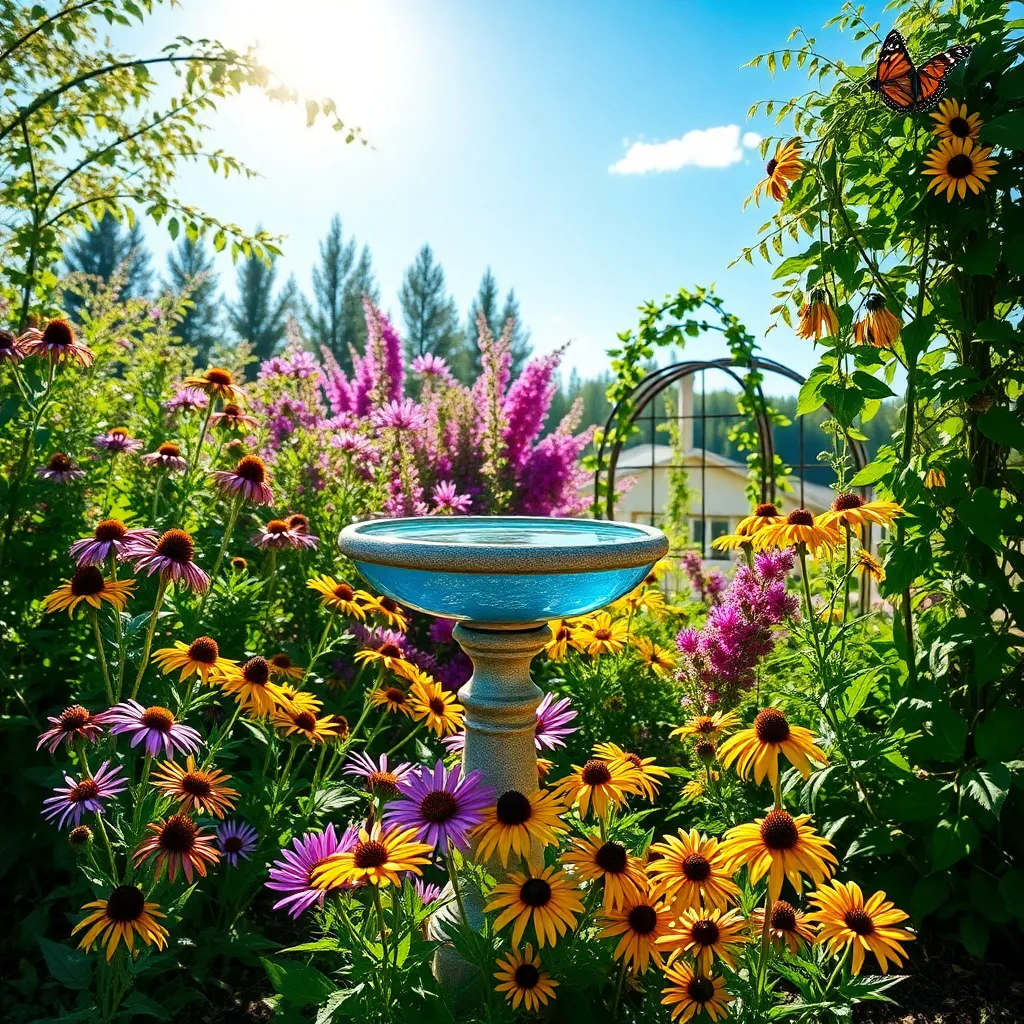
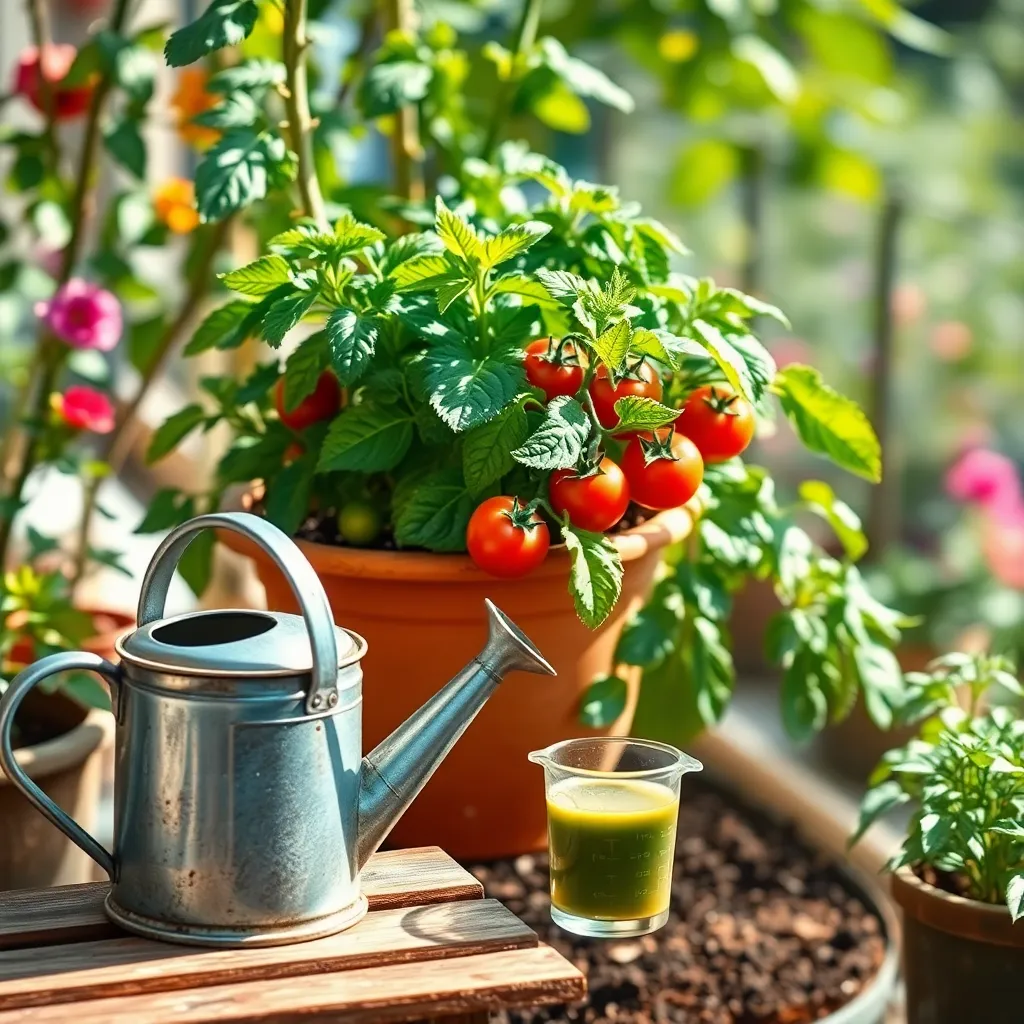
Providing fresh water sources in your garden is essential for attracting pollinators such as bees, butterflies, and birds. A simple way to do this is by placing a shallow dish or birdbath filled with clean water, ensuring it’s accessible and safe for small creatures.
Position the water source in a shaded area to prevent the water from evaporating too quickly. Adding a few flat stones or a floating piece of wood can create landing spots for pollinators to rest and drink without risk of drowning, enhancing the practicality of the setup.
To maintain the water quality, refresh it every two to three days, especially during warmer months when algae can form more quickly. You can also use rainwater instead of tap water if possible, as it is generally free from chlorine and other chemicals that might deter pollinators.
For an advanced tip, consider installing a small fountain or drip system to keep the water moving, which can attract more pollinators as they are drawn to the sound and movement. A solar-powered pump can be an eco-friendly option, requiring minimal maintenance and adding aesthetic value to your garden.
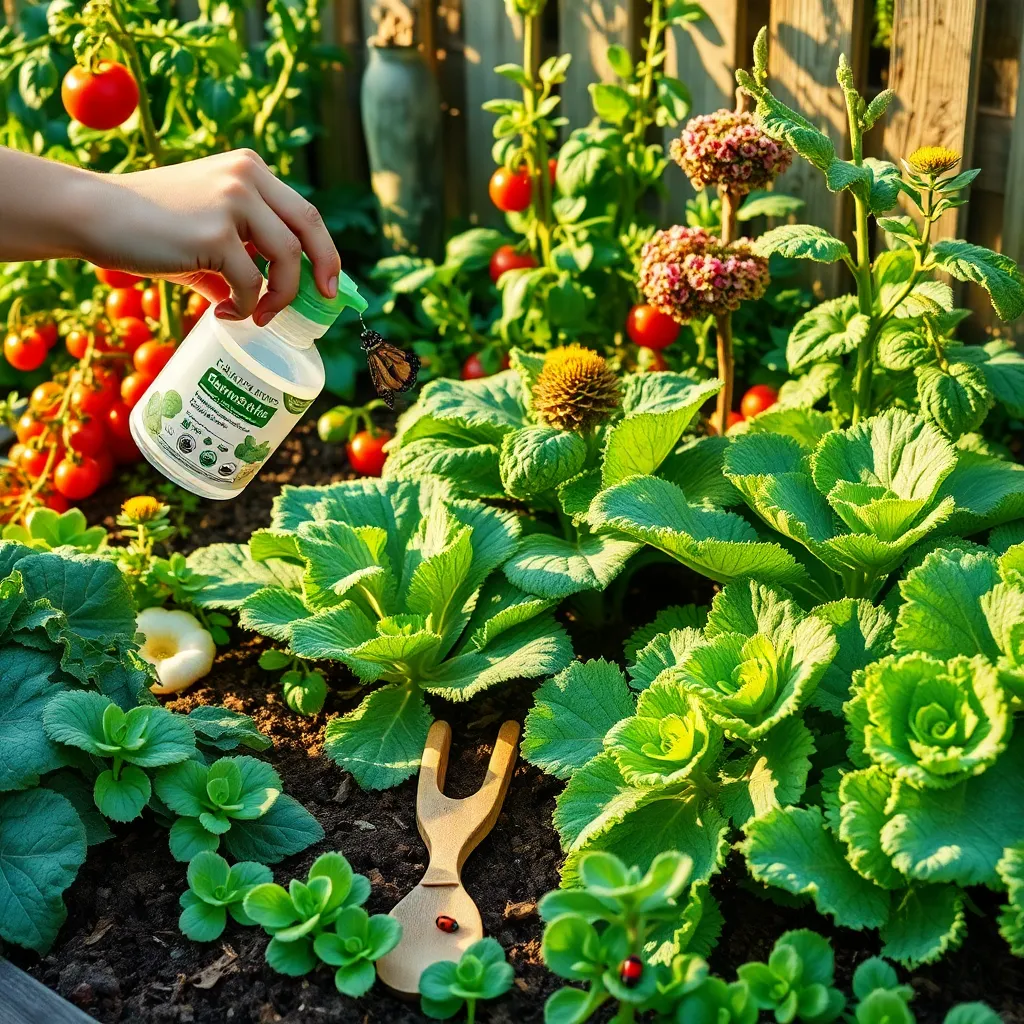
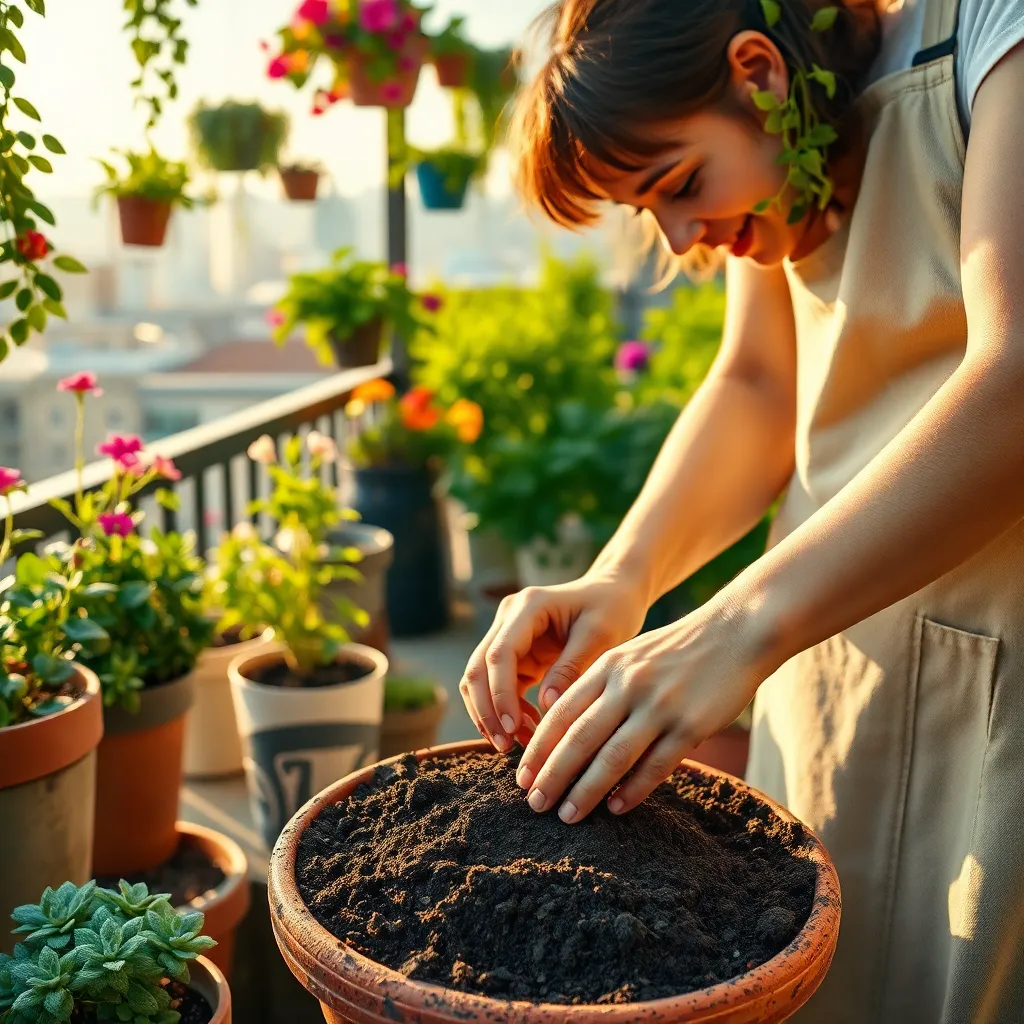
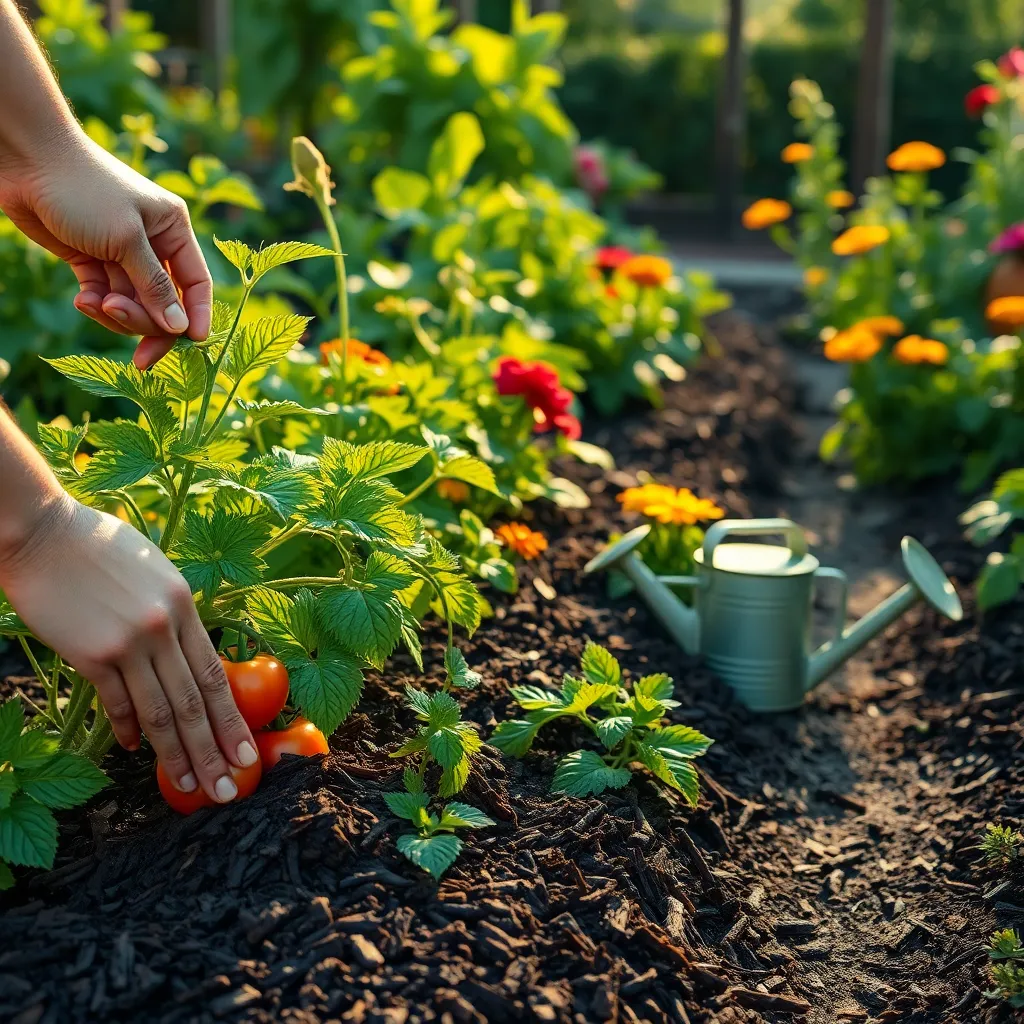
Avoid Pesticides and Chemicals
Embracing a pesticide-free garden can significantly enhance your efforts to attract pollinators. By avoiding harsh chemicals, you create a safer and more welcoming environment for bees, butterflies, and other beneficial insects.
Consider using natural pest control methods, such as introducing ladybugs or lacewings, which can keep harmful insect populations in check. Additionally, companion planting is a powerful technique; for instance, marigolds can deter pests when planted alongside vegetables.
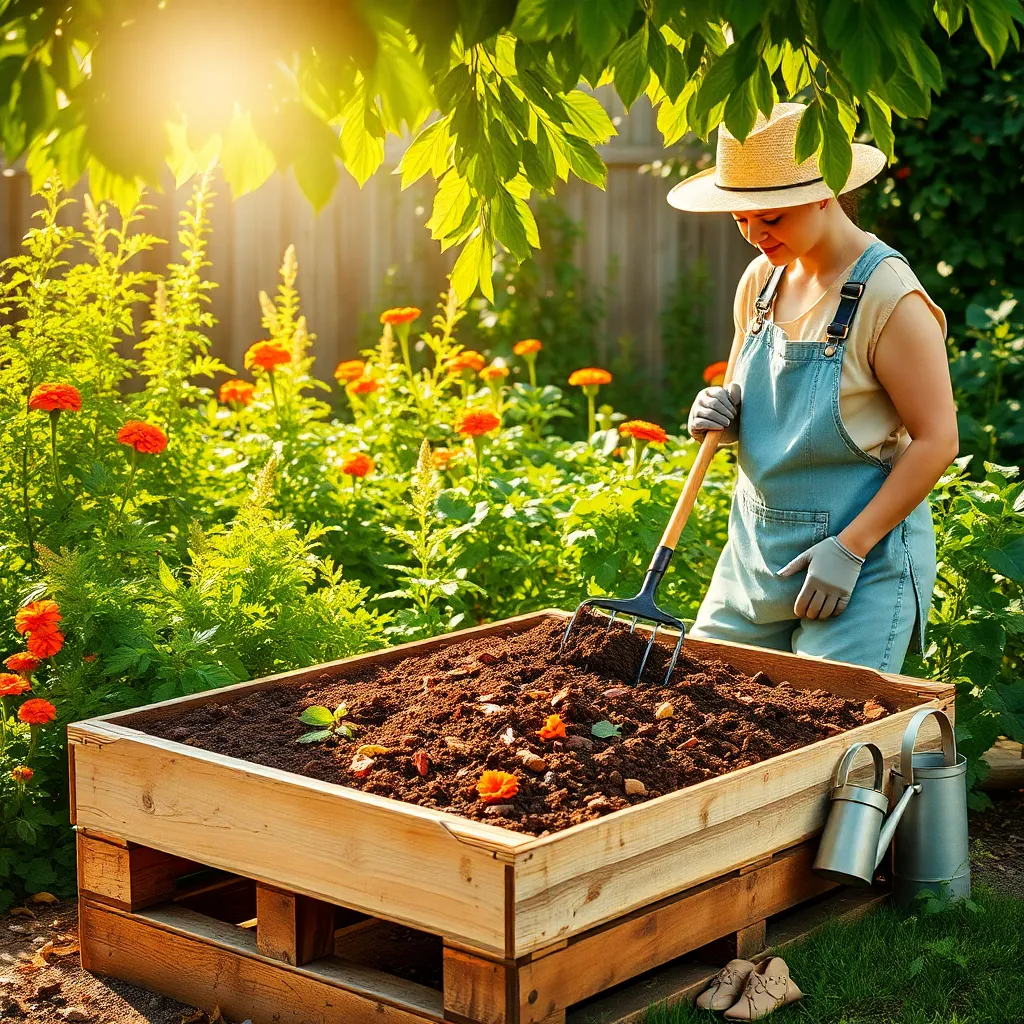
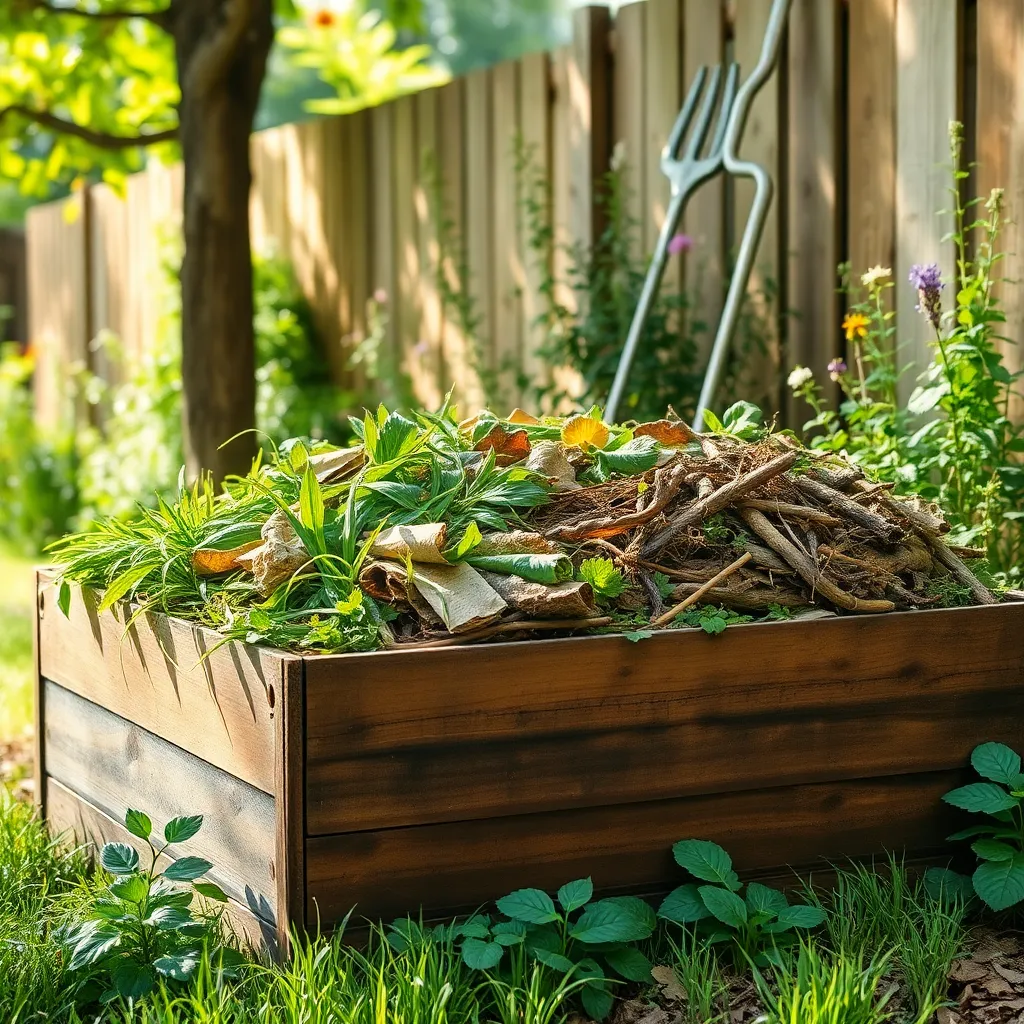
Maintaining healthy soil is crucial to reducing pest problems naturally. Regularly add organic matter like compost to improve soil structure and fertility, which in turn supports robust plant growth.
Choose native plants that are adapted to your local conditions, as they often require fewer interventions to thrive. Native plants typically have natural defenses against local pests and diseases, making them an essential component of a low-maintenance garden.
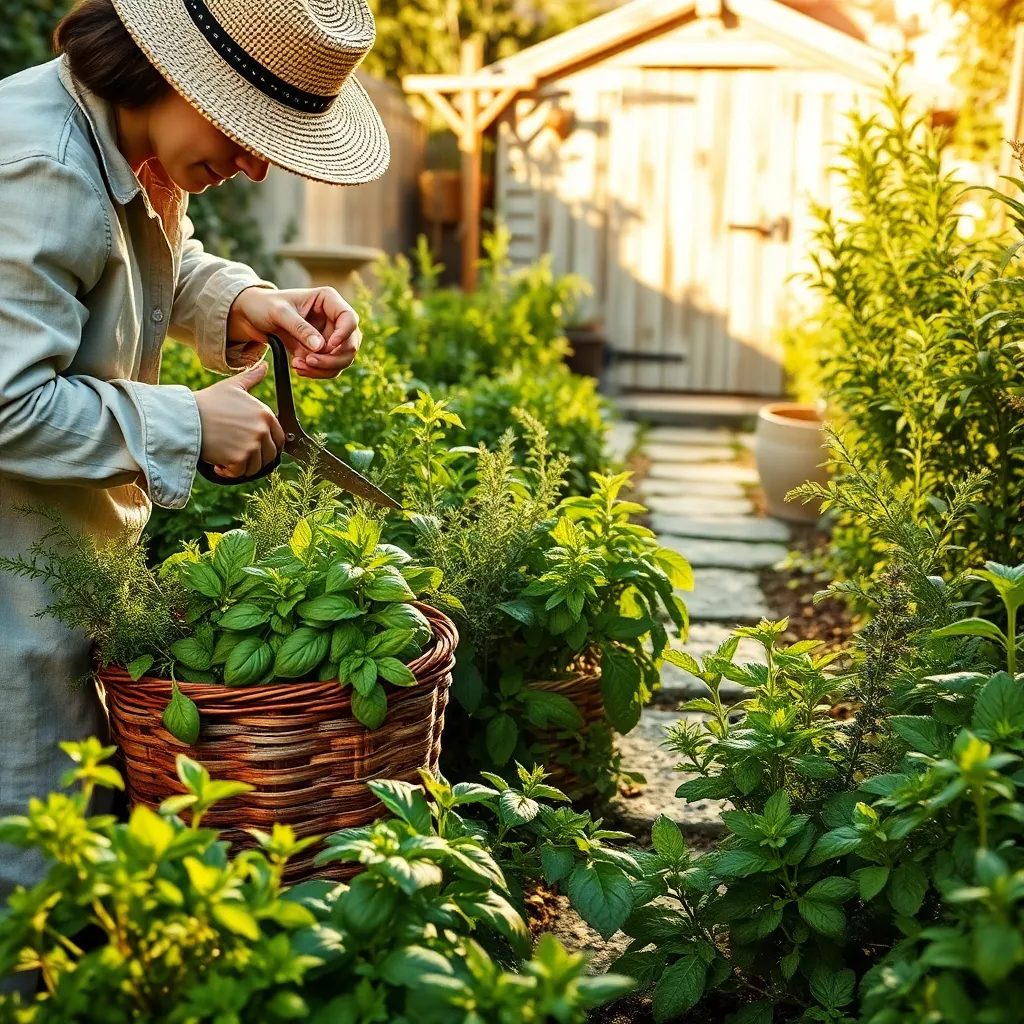
Install Nesting Habitats
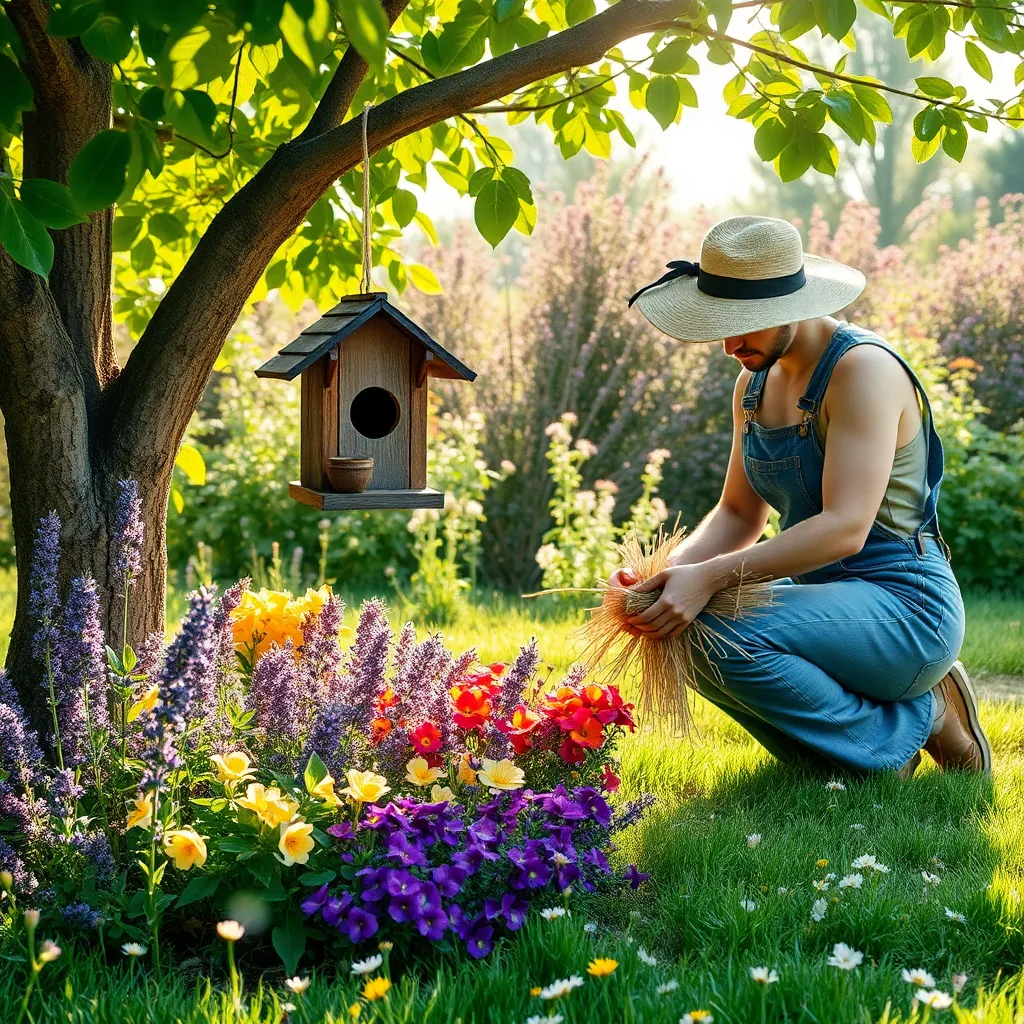
Creating nesting habitats is an excellent way to attract pollinators like bees and butterflies to your garden. By providing a safe space for these essential creatures, you’re supporting biodiversity and fostering a thriving garden ecosystem.
To start, consider incorporating bee hotels into your landscape. These structures can be crafted from simple materials like hollow bamboo stems or wooden blocks with drilled holes, offering solitary bees a cozy place to nest.
For butterfly enthusiasts, planting specific host plants can make a significant difference. Species like milkweed for monarchs or parsley for swallowtails provide the necessary environment for butterflies to lay their eggs and for caterpillars to thrive.
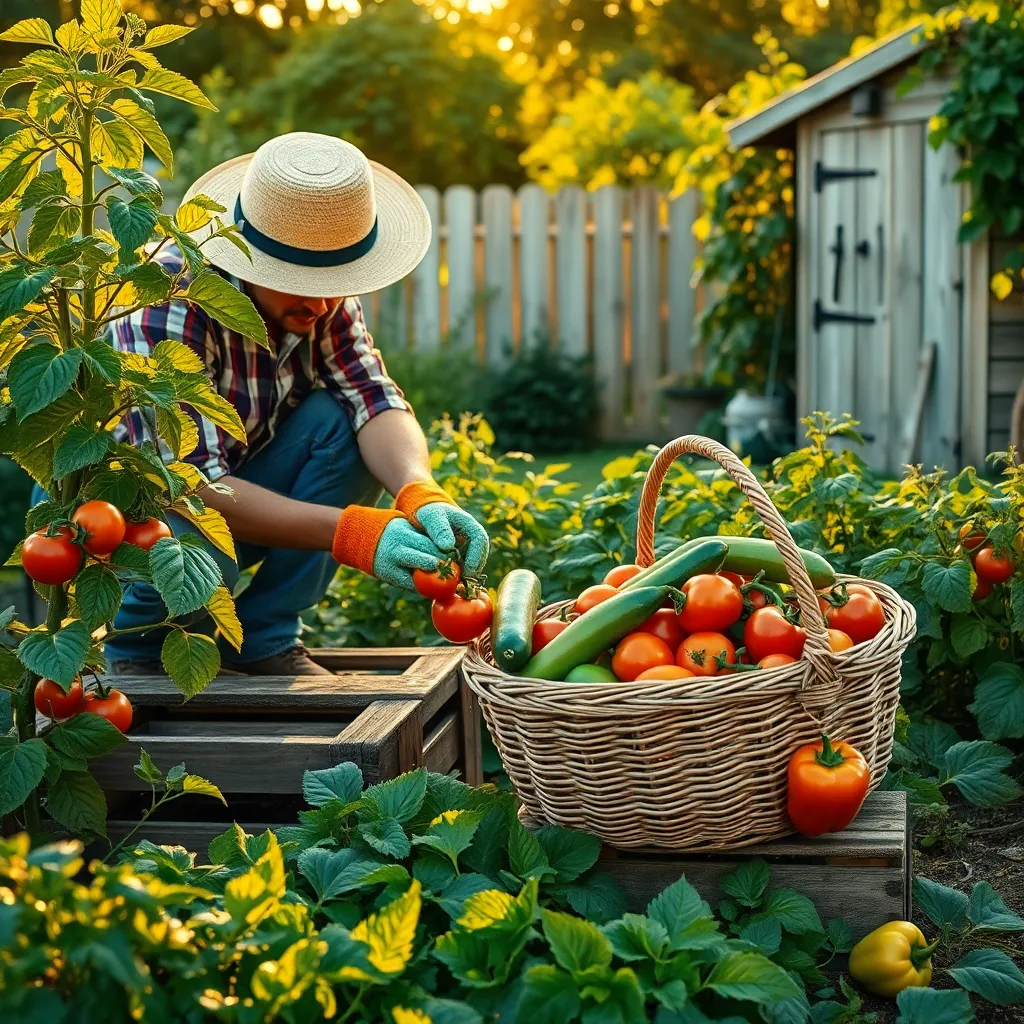
Additionally, ground-nesting bees need bare soil or sandy patches, so avoid covering every inch of your garden with mulch or dense vegetation. Providing these nesting habitats not only supports pollinator populations but also enhances the productivity of your garden through increased pollination.
Conclusion: Growing Success with These Plants
As we’ve explored in “How to Attract Pollinators,” nurturing relationships and fostering connections are vital for growth and mutual support. First, understanding the importance of clear communication lays the foundation for trust and openness. Second, recognizing and appreciating differences enhances empathy and strengthens bonds. Third, consistency in actions builds reliability and respect. Fourth, creating shared experiences fosters joy and deeper connections. Lastly, setting healthy boundaries ensures each relationship remains balanced and respectful.
To put these concepts into action, start by choosing one relationship you’d like to enhance and focus on improving communication within it. Initiate a heartfelt conversation that encourages openness and understanding.
Remember, relationships are an evolving journey that thrive with attention and care. Bookmark this article now to revisit these essential concepts and continue building fulfilling connections. By actively applying these principles, you’re investing in a future of robust, meaningful relationships that enrich your life and the lives of those around you. Embrace this opportunity for growth, and watch as your relationships blossom into lasting partnerships filled with joy and resilience.