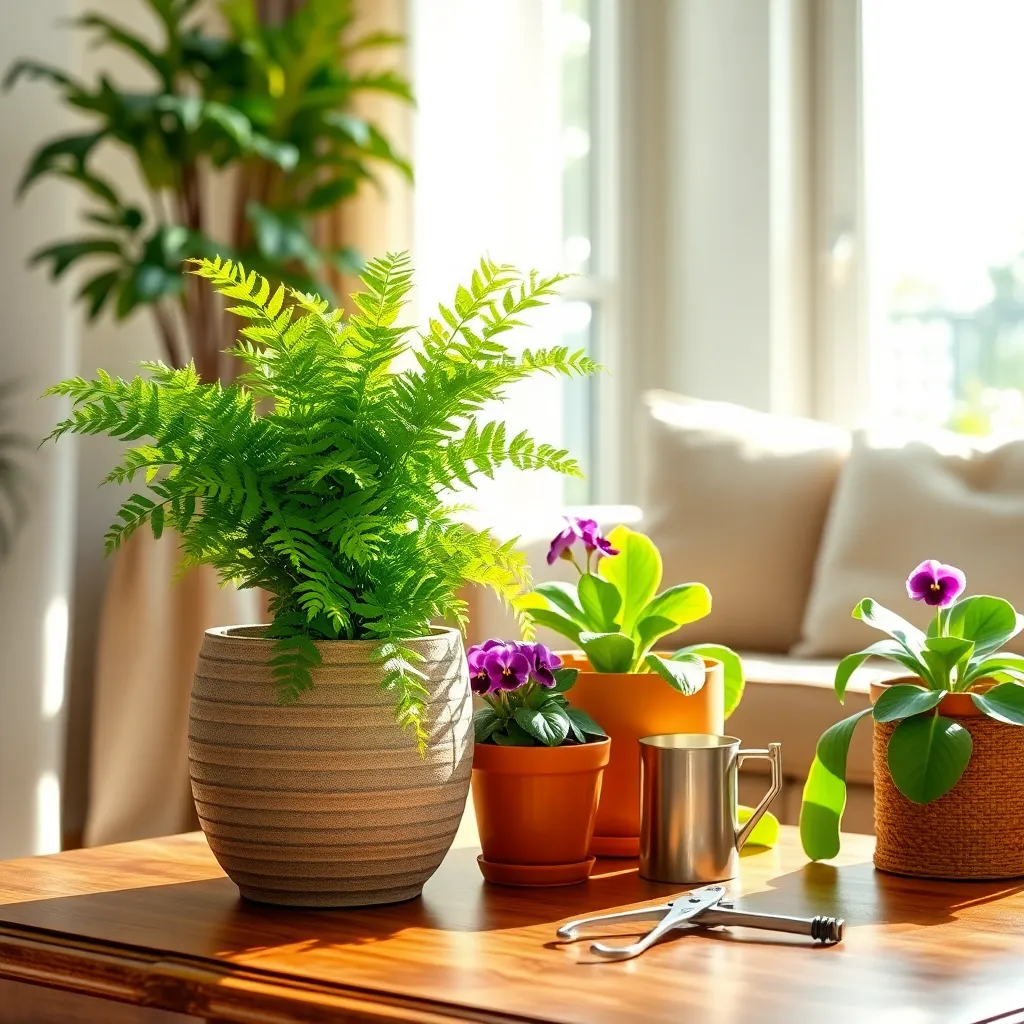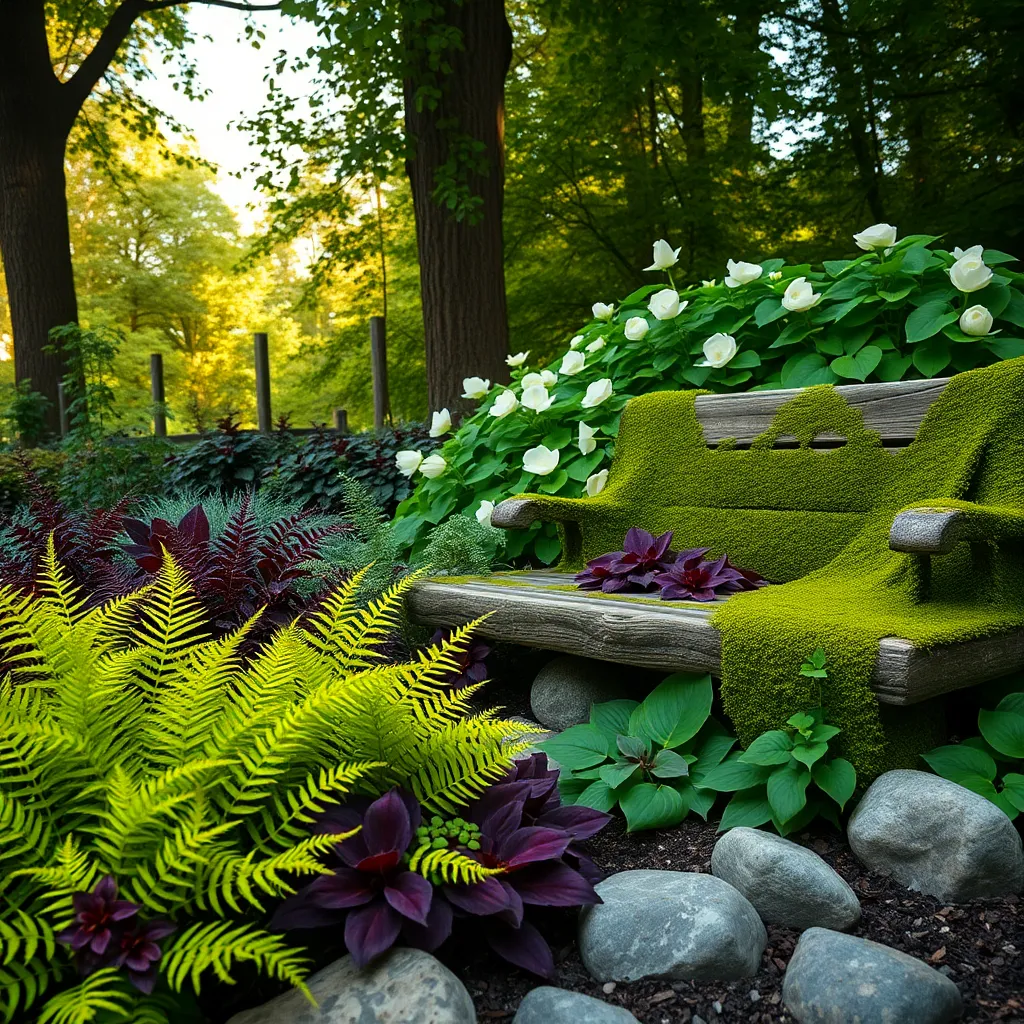
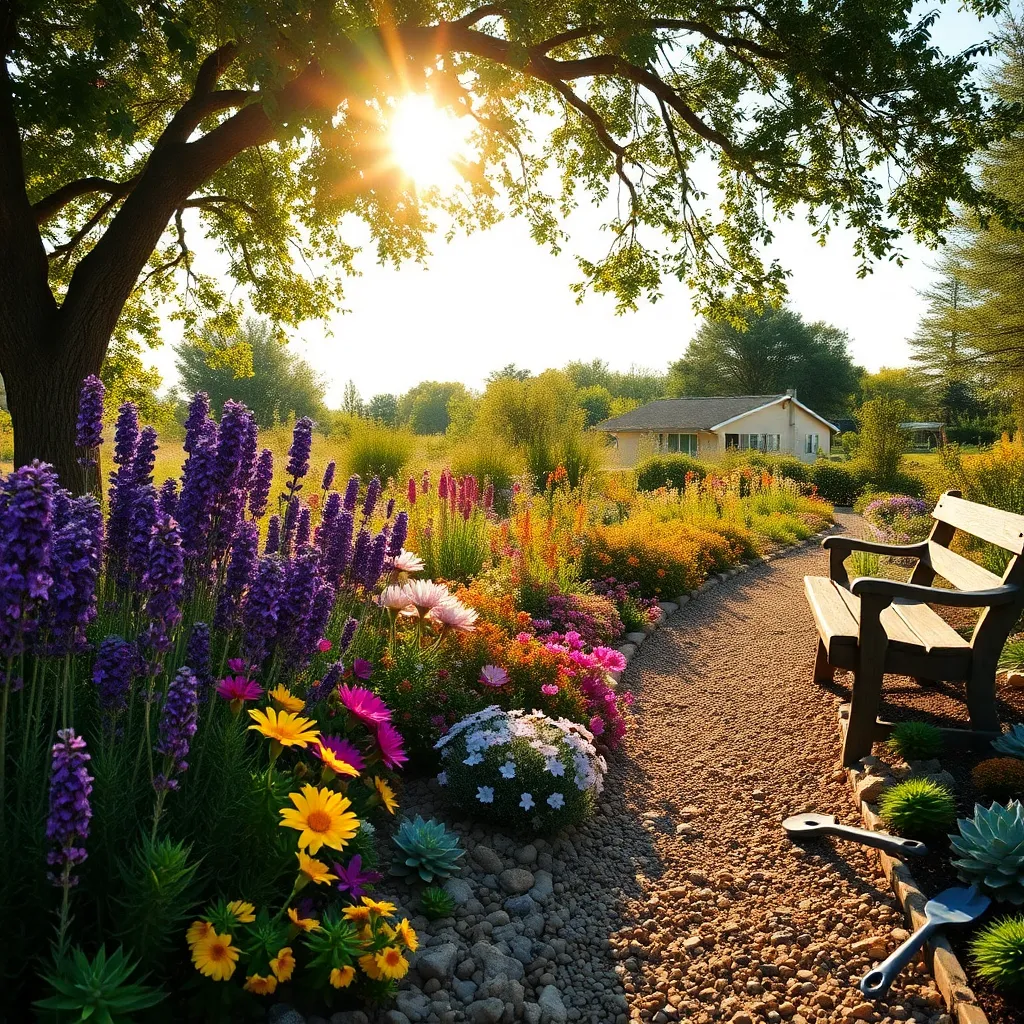
Welcome to a world where flower gardening becomes a delightful dance of color and life, without the demanding choreography! Whether you’re embarking on your first gardening adventure or are a seasoned plant whisperer, “10 Low-Maintenance Flower Gardening Tips” is your ticket to a vibrant garden that practically takes care of itself. Our guide is designed to transform your gardening experience, offering you a treasure trove of techniques that require minimal effort but deliver maximum beauty.
Imagine spending less time watering, weeding, and worrying, and more time basking in the glory of your blooming paradise. With these tips in hand, you’ll discover the joy of a thriving garden that rewards you with splashes of color and bursts of happiness throughout the seasons. Dive in and feel empowered, knowing that with the right approach, anyone can cultivate a stunning, low-maintenance flower garden that will be the envy of the neighborhood.
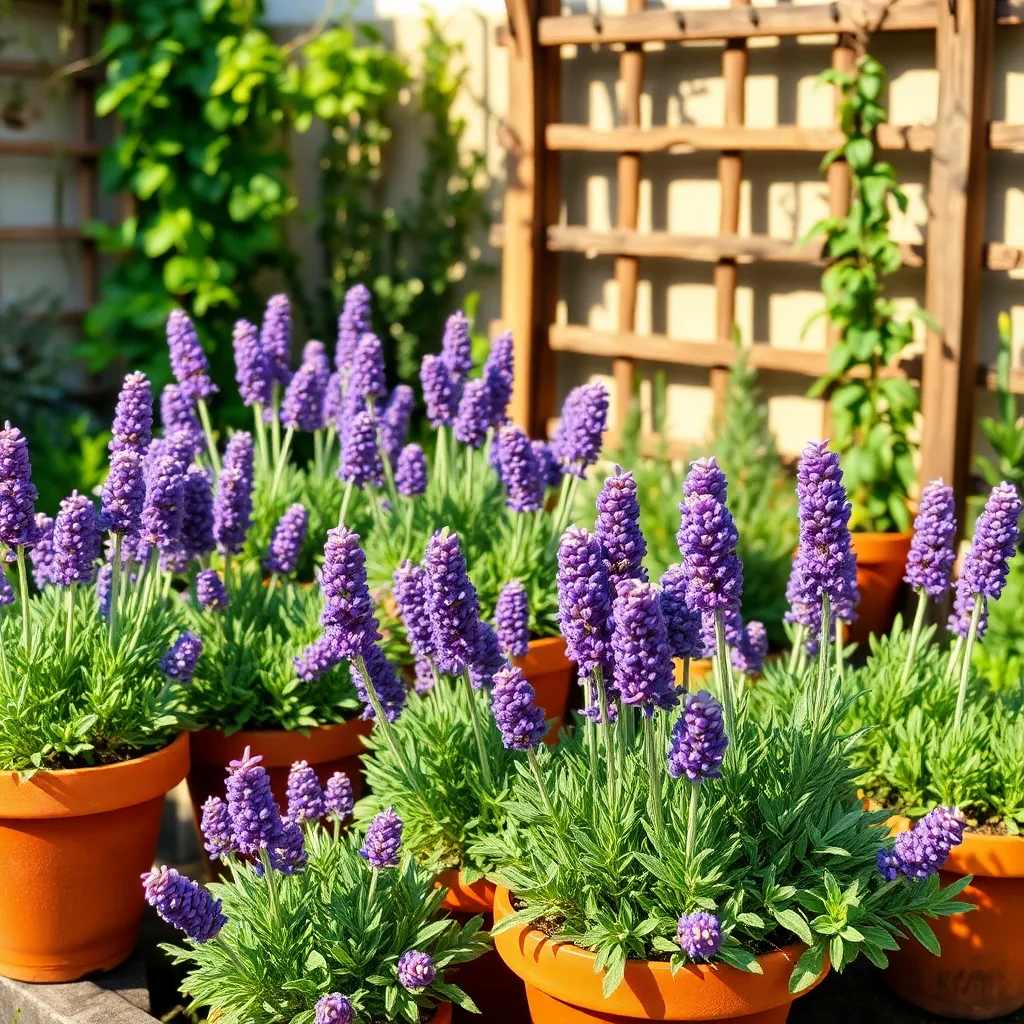
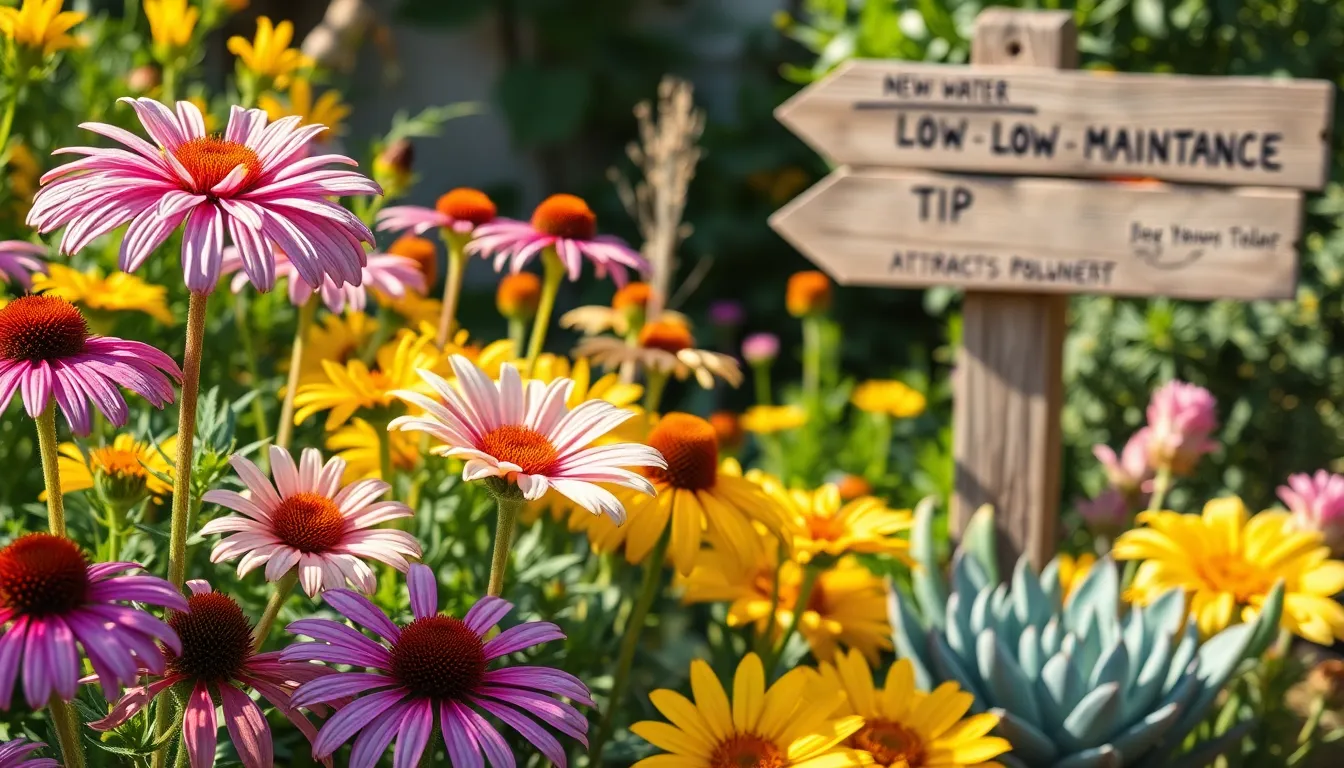
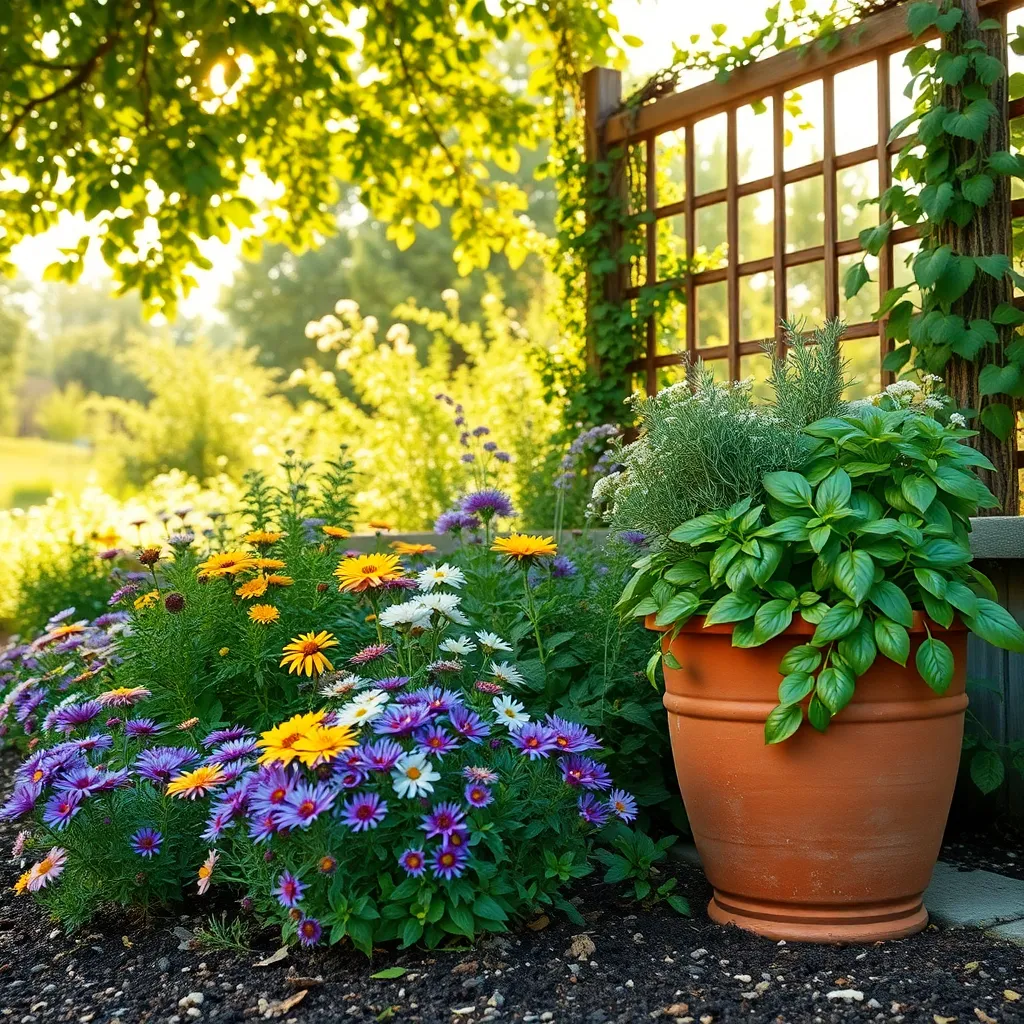
Choose Drought-Tolerant Flower Varieties
When selecting flower varieties for a low-maintenance garden, opting for drought-tolerant species can significantly reduce your workload. These plants are designed to thrive with minimal water, making them perfect for regions with dry spells or gardeners looking to conserve water.
Lavender is a popular choice, not only for its fragrant blooms but also for its hardiness. Plant lavender in well-drained soil and ensure it receives full sun for best results; overwatering can lead to root rot.
Consider adding sedum to your garden; these succulents are highly adaptable and require very little care. They prefer sandy or rocky soils and thrive in full sunlight, making them ideal for rock gardens or borders.
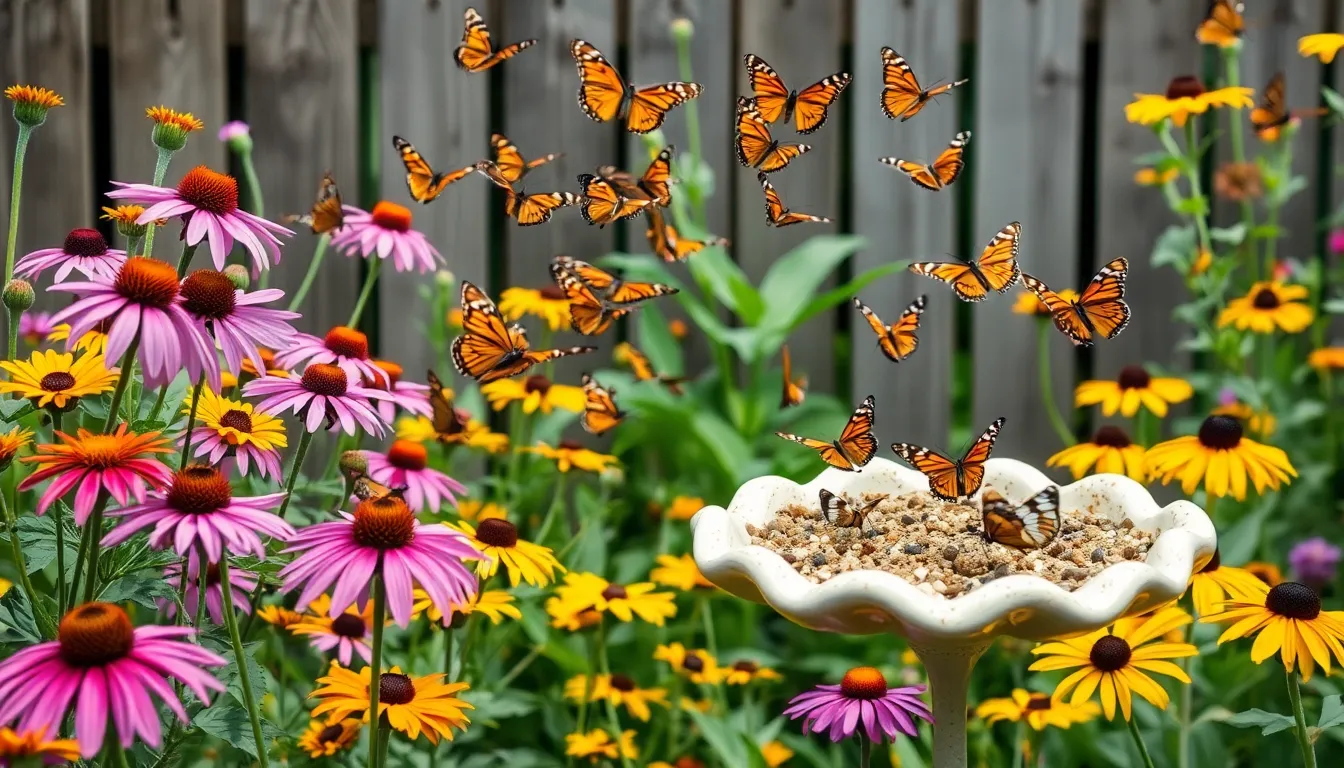
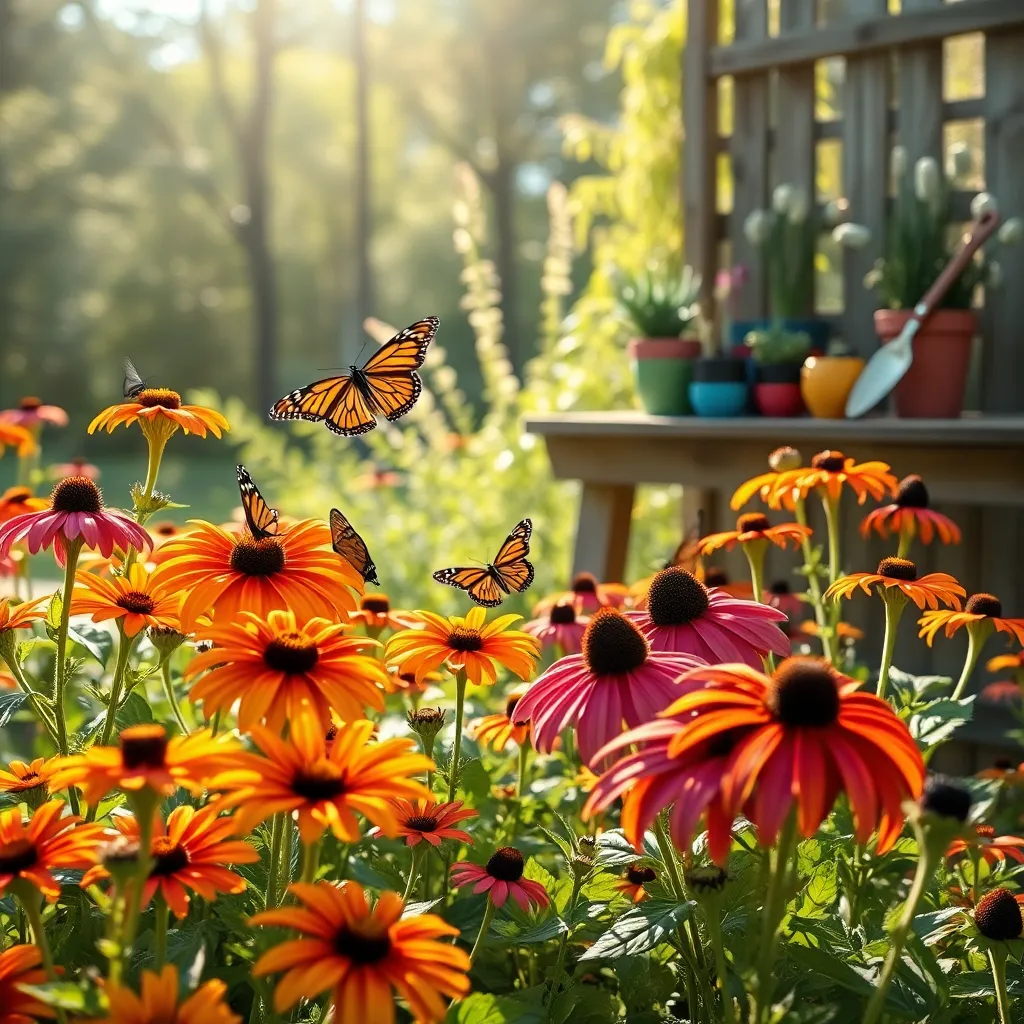
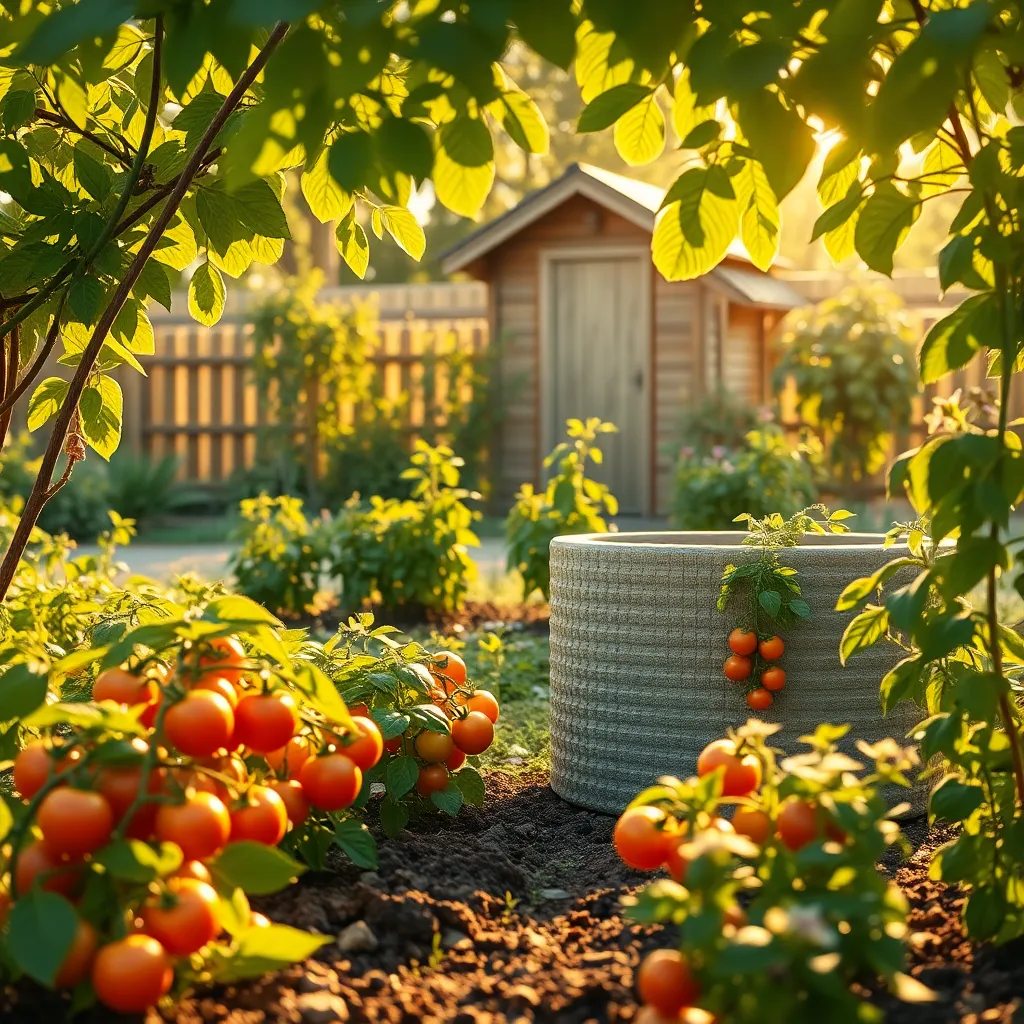
For a splash of color, the blanket flower (Gaillardia) is an excellent option. It blooms profusely in poor soils and requires only occasional watering, making it a vibrant and low-effort addition to any garden.
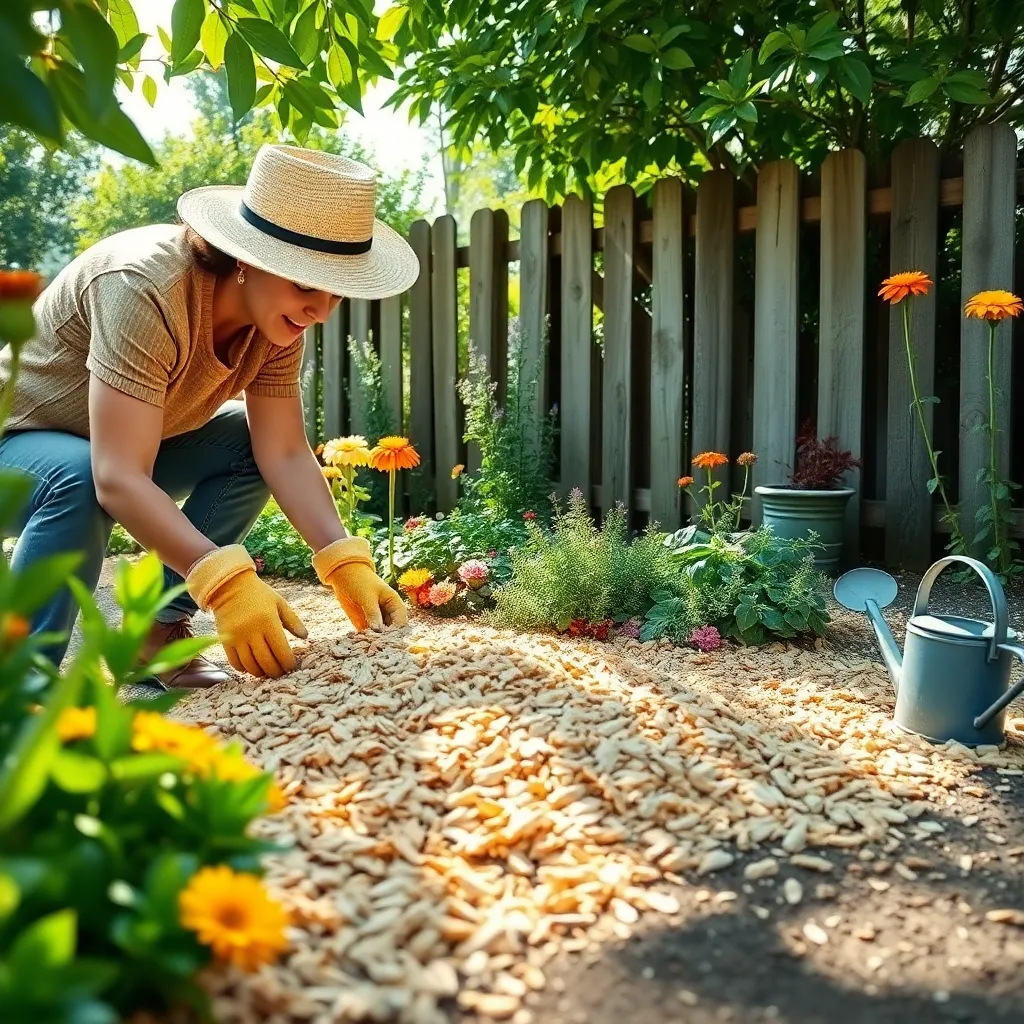
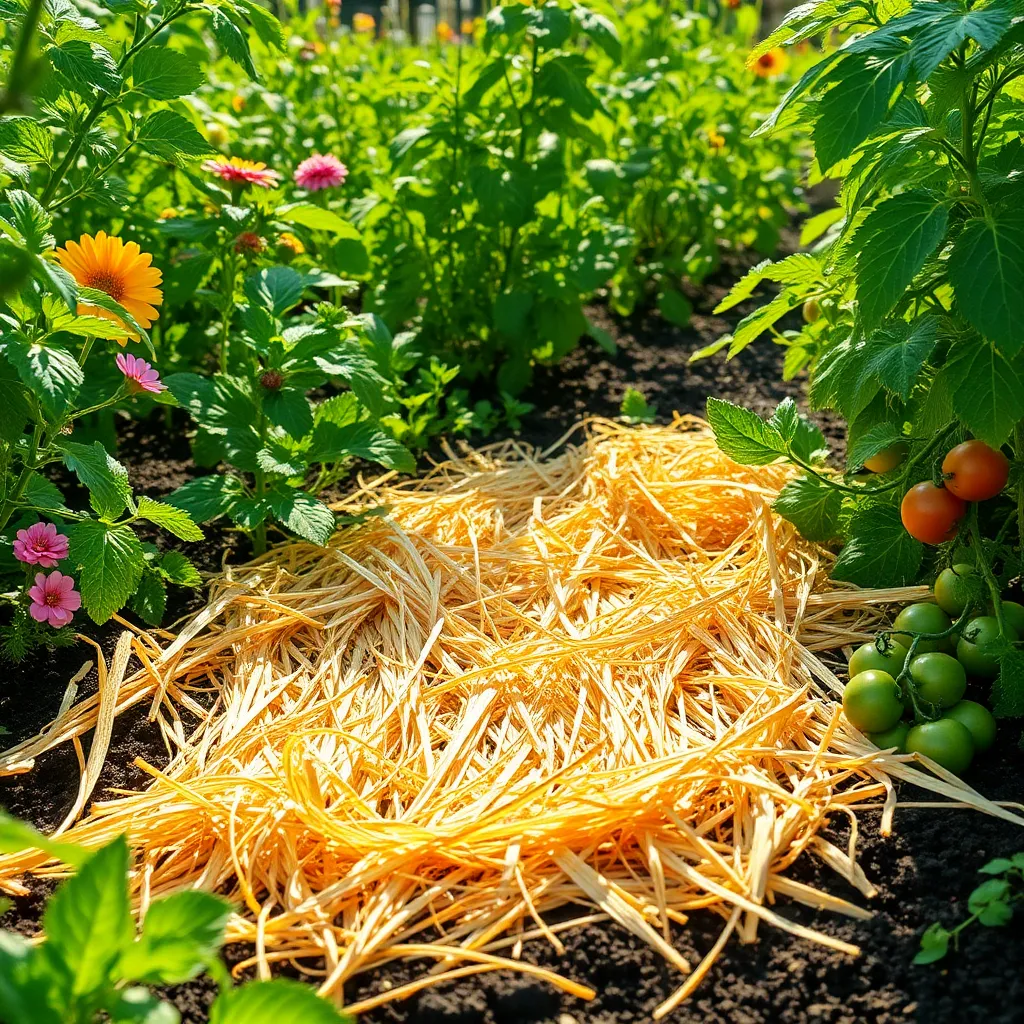
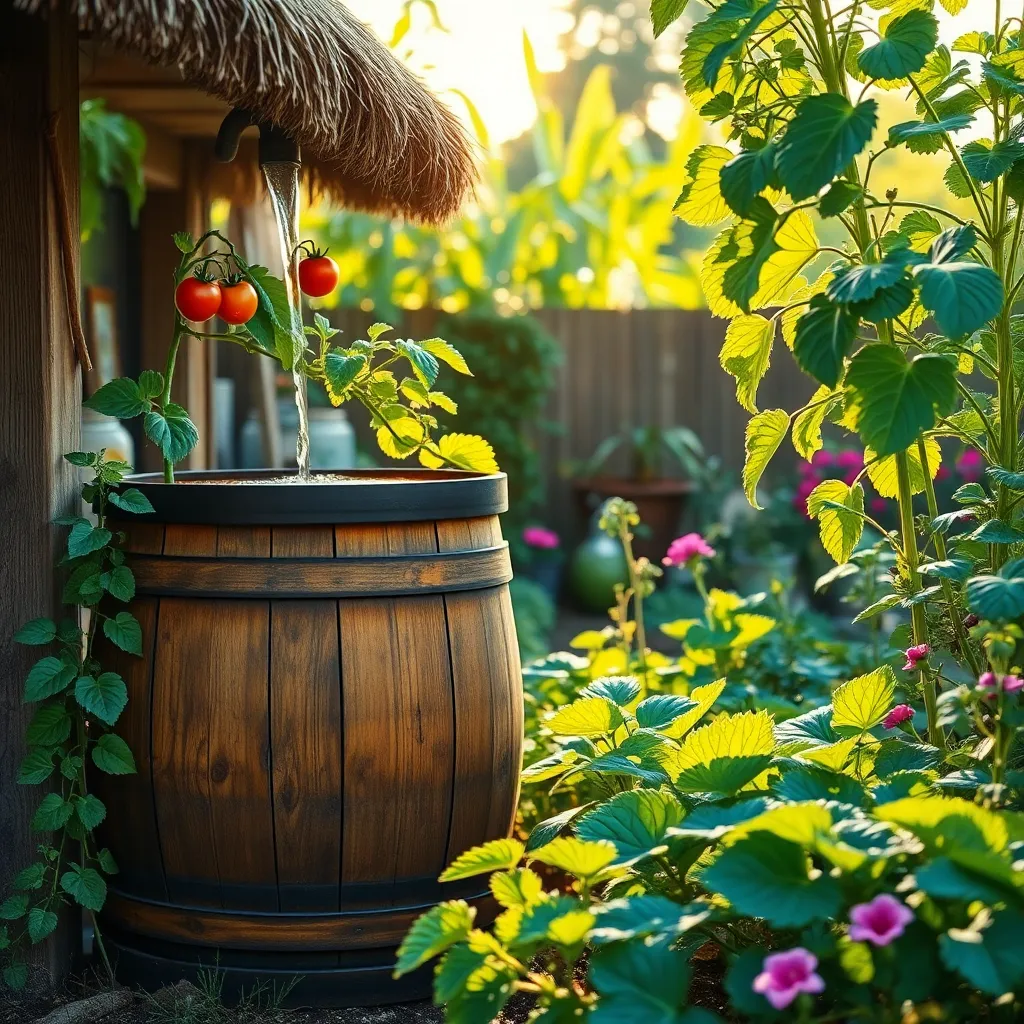
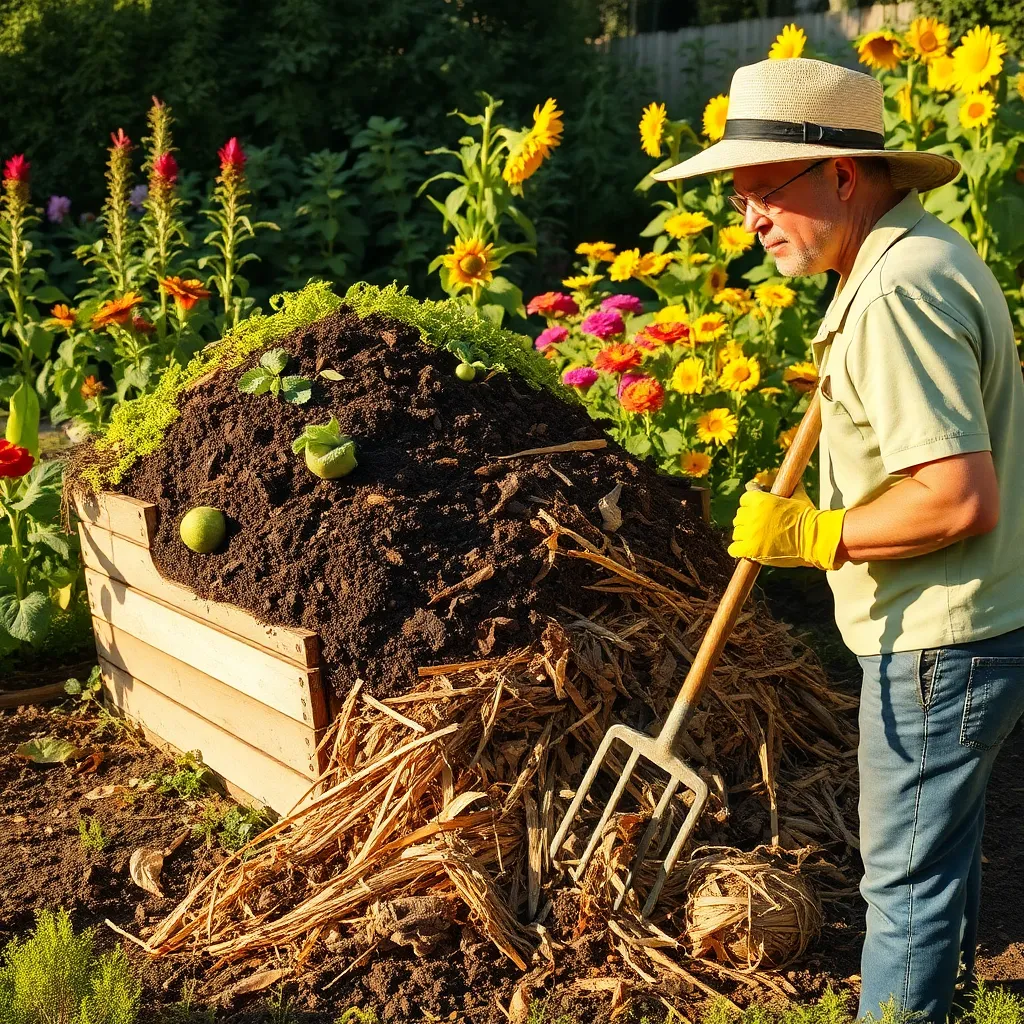
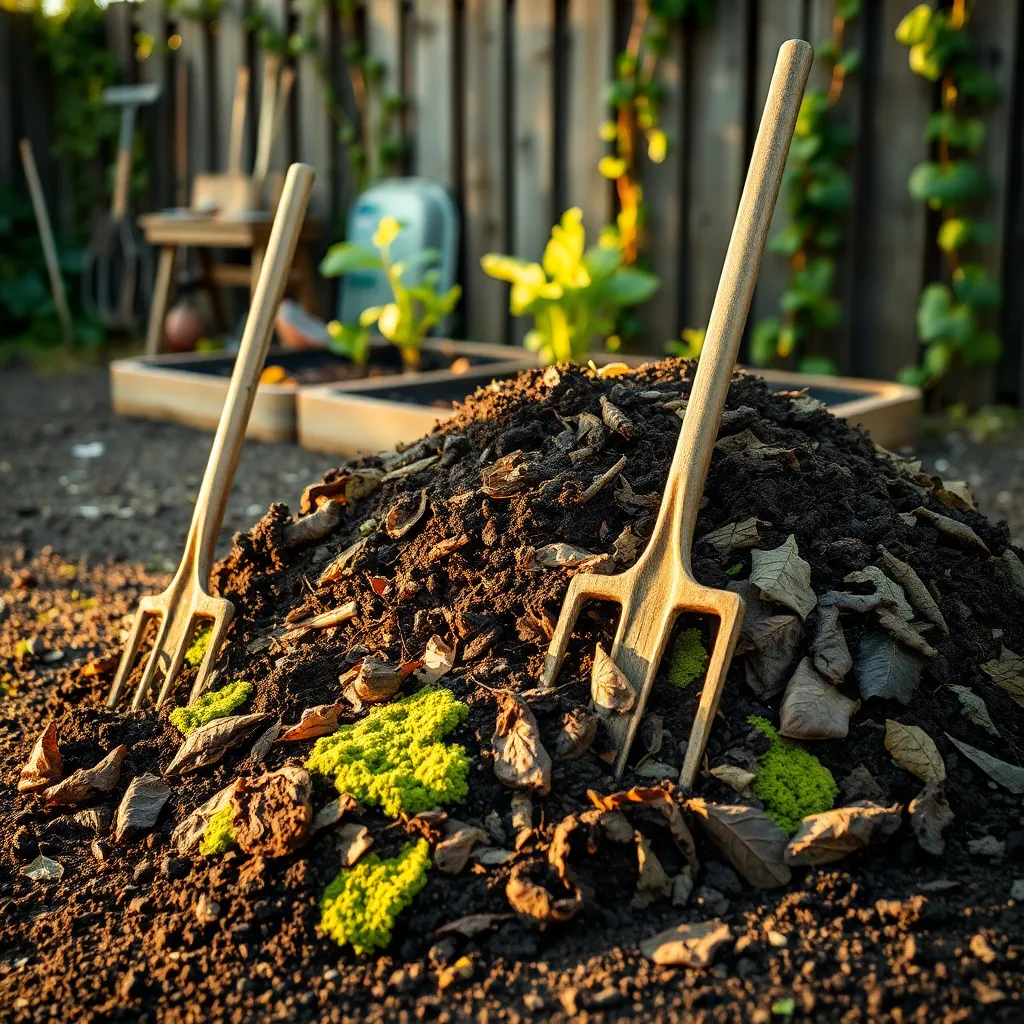
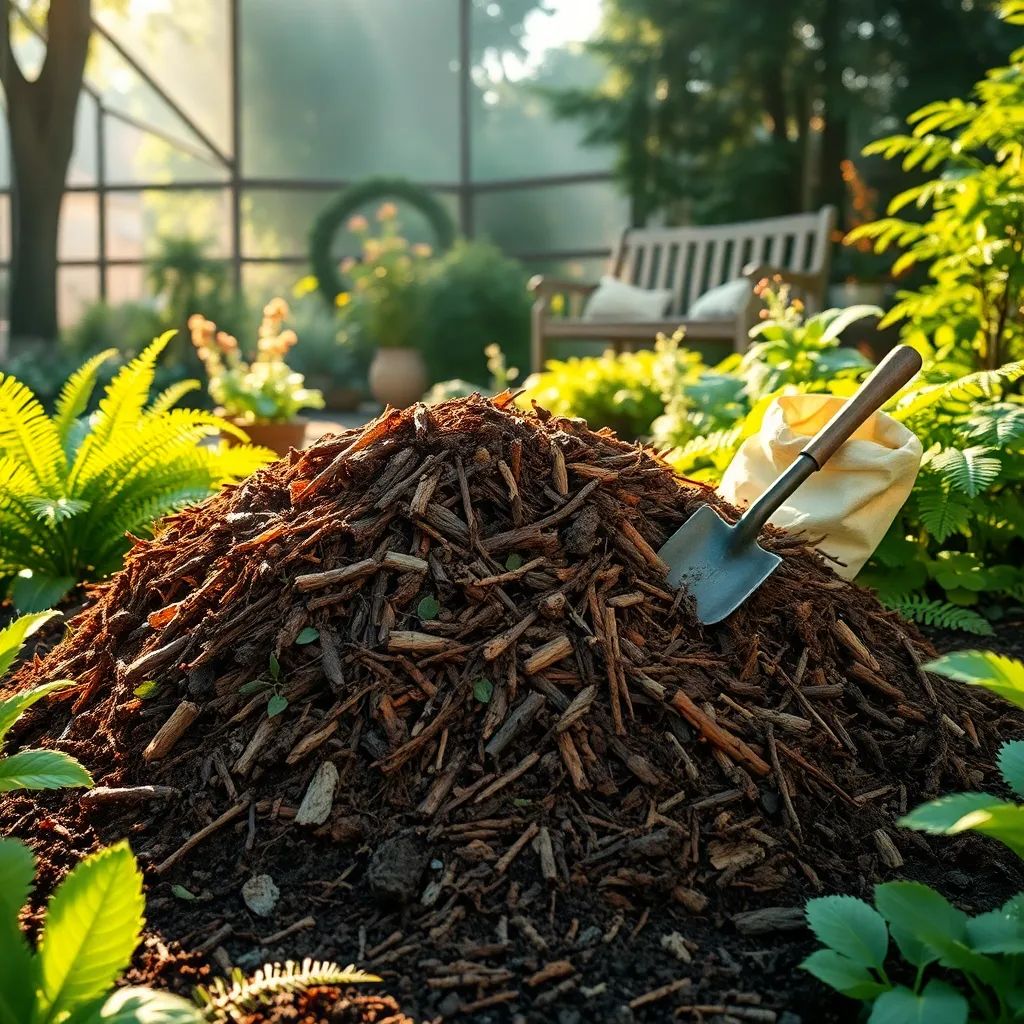
Mulch to Retain Soil Moisture
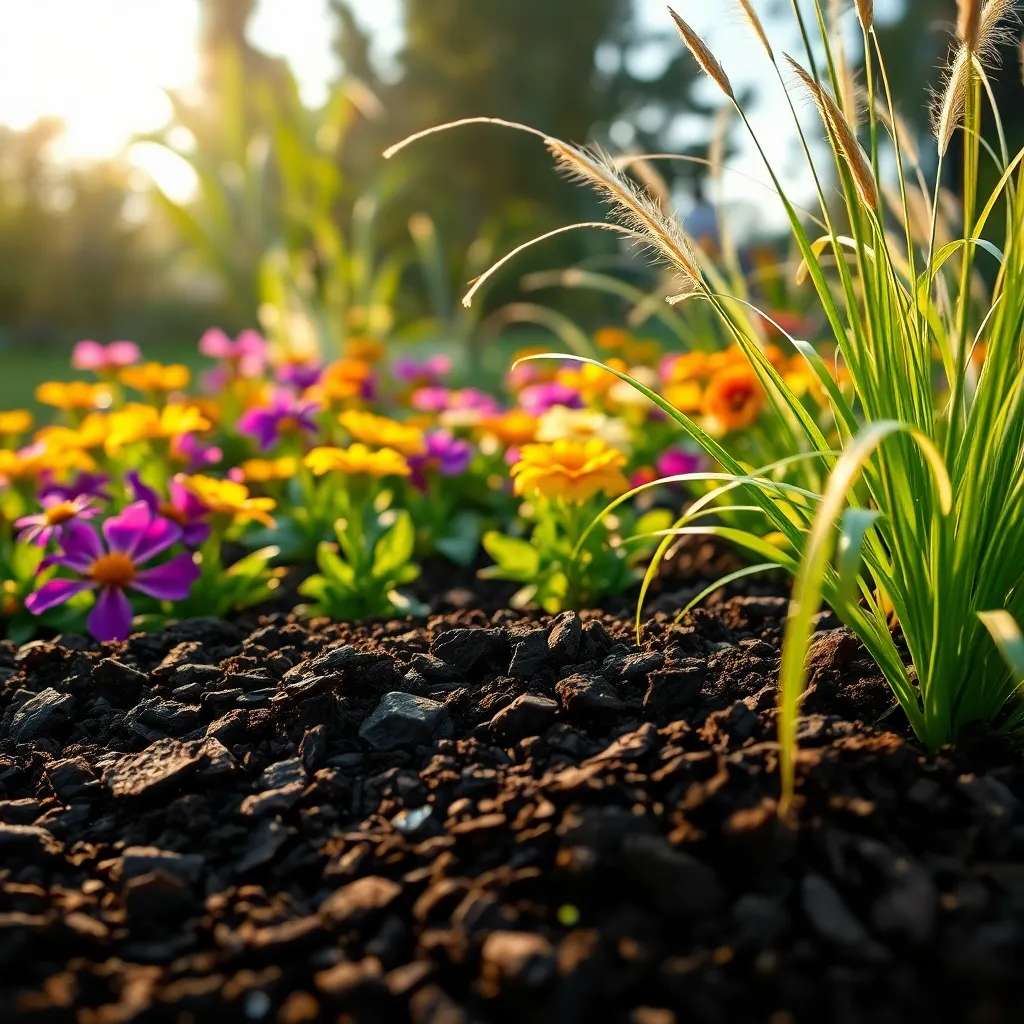
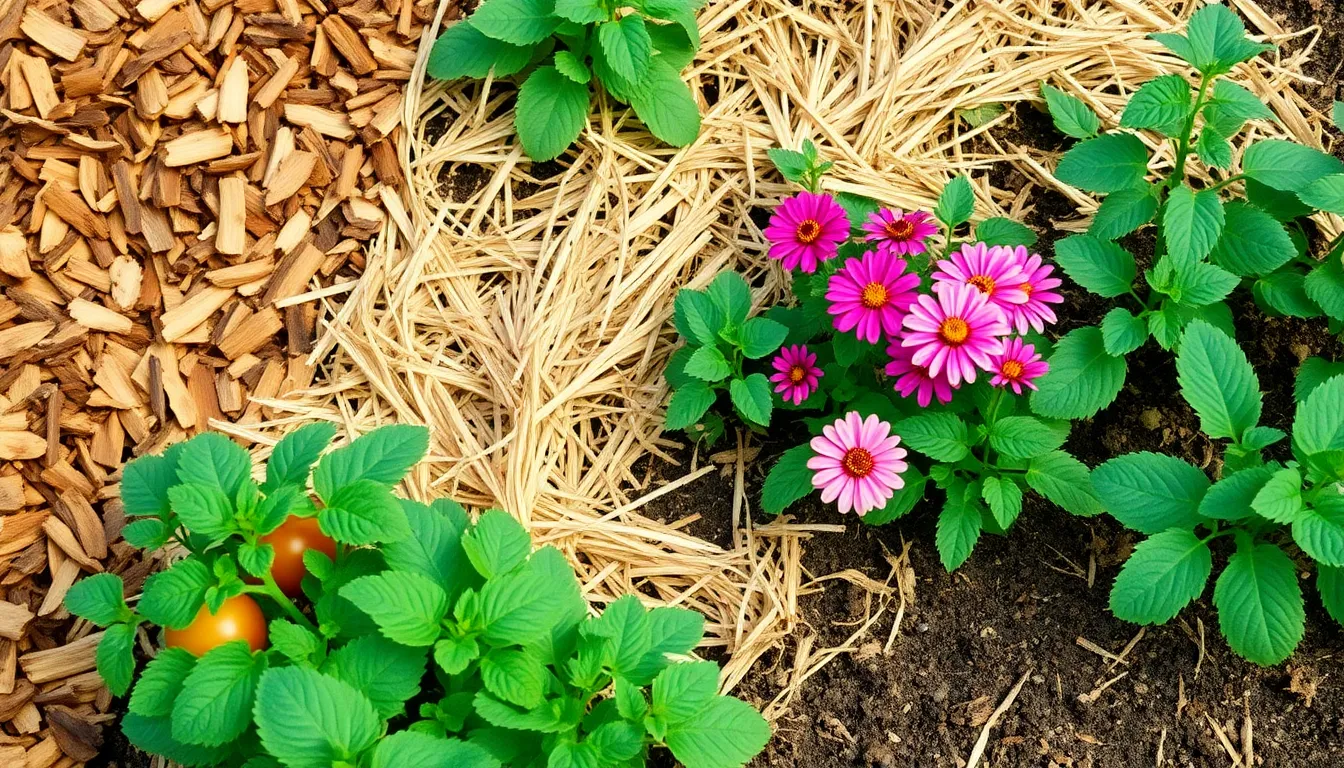
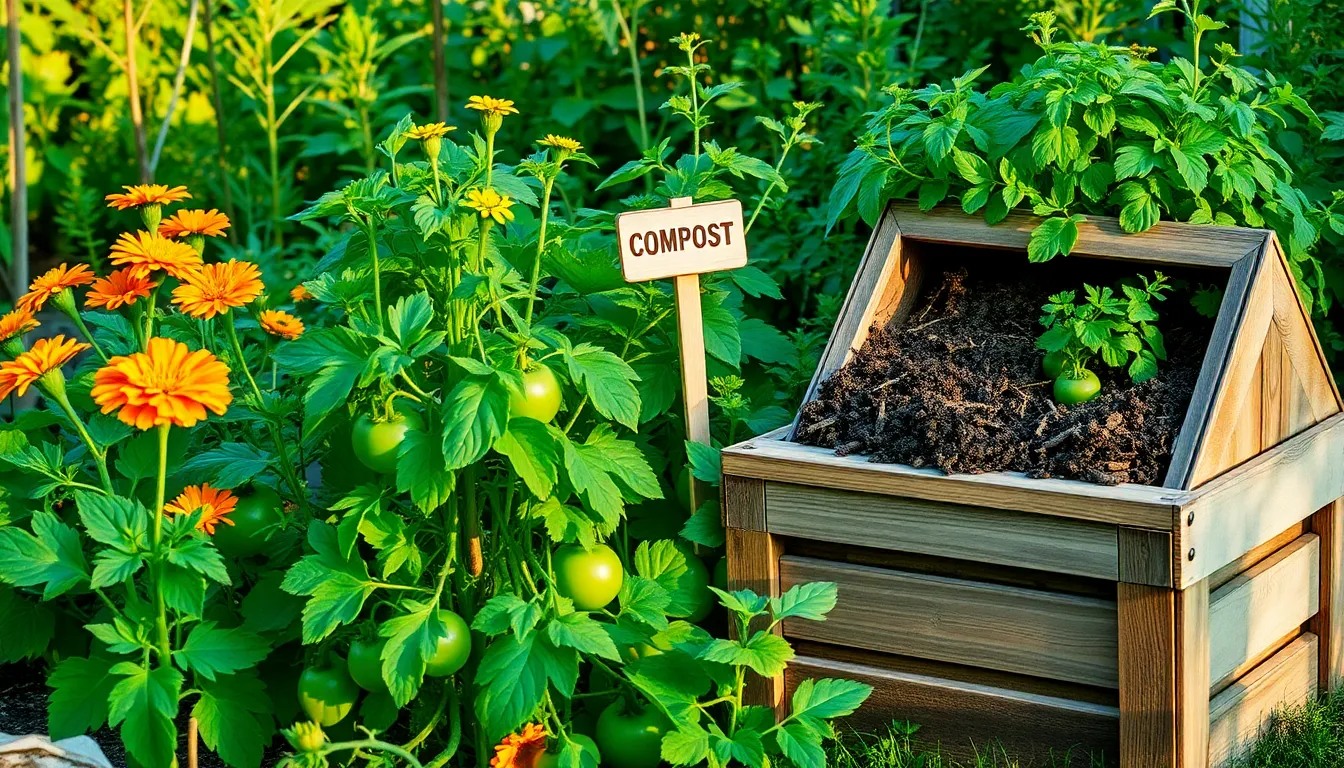
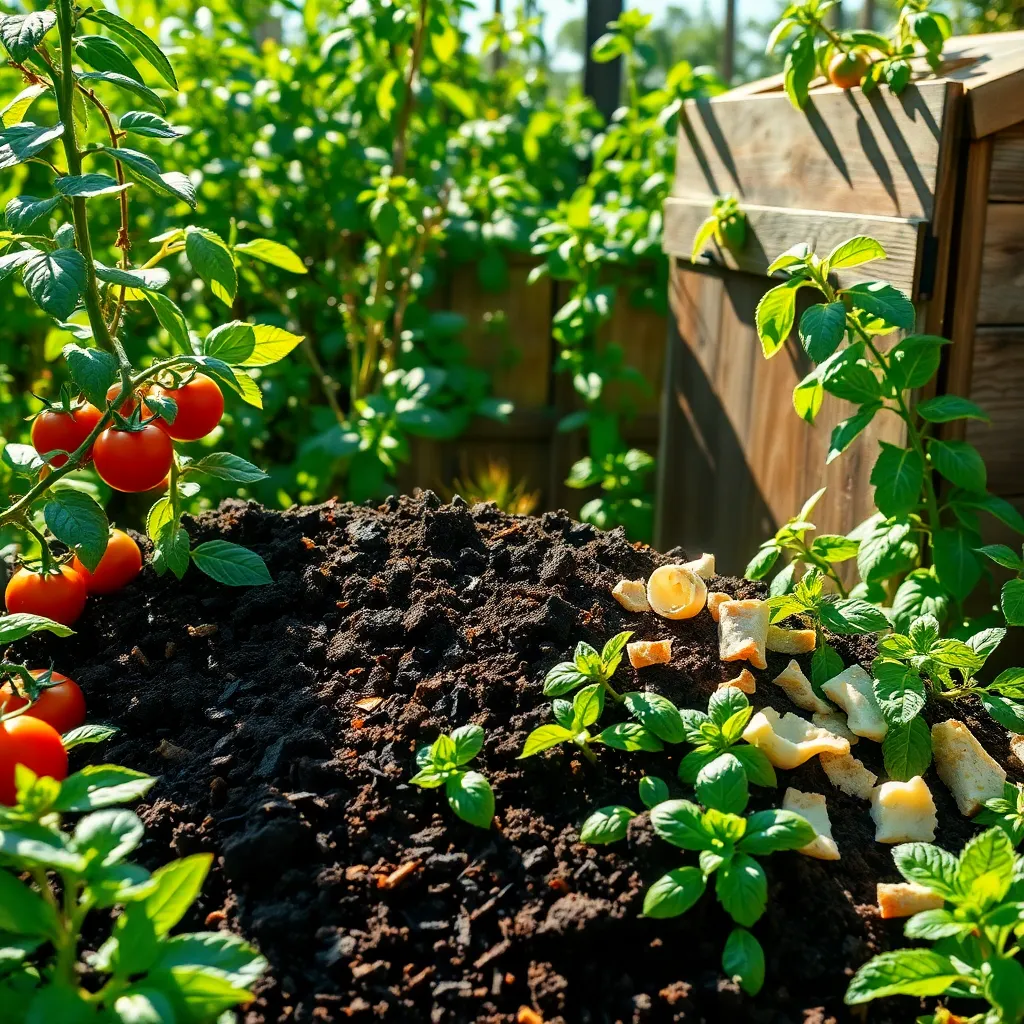
Mulching is an essential practice for retaining soil moisture and reducing the need for frequent watering. By covering the soil with organic materials like shredded bark, straw, or compost, you create a protective layer that minimizes evaporation.
Beyond moisture retention, mulch also helps in suppressing weeds, which compete with your flowers for water and nutrients. Consider using 2 to 3 inches of mulch around your flower beds to maximize these benefits while maintaining soil health.
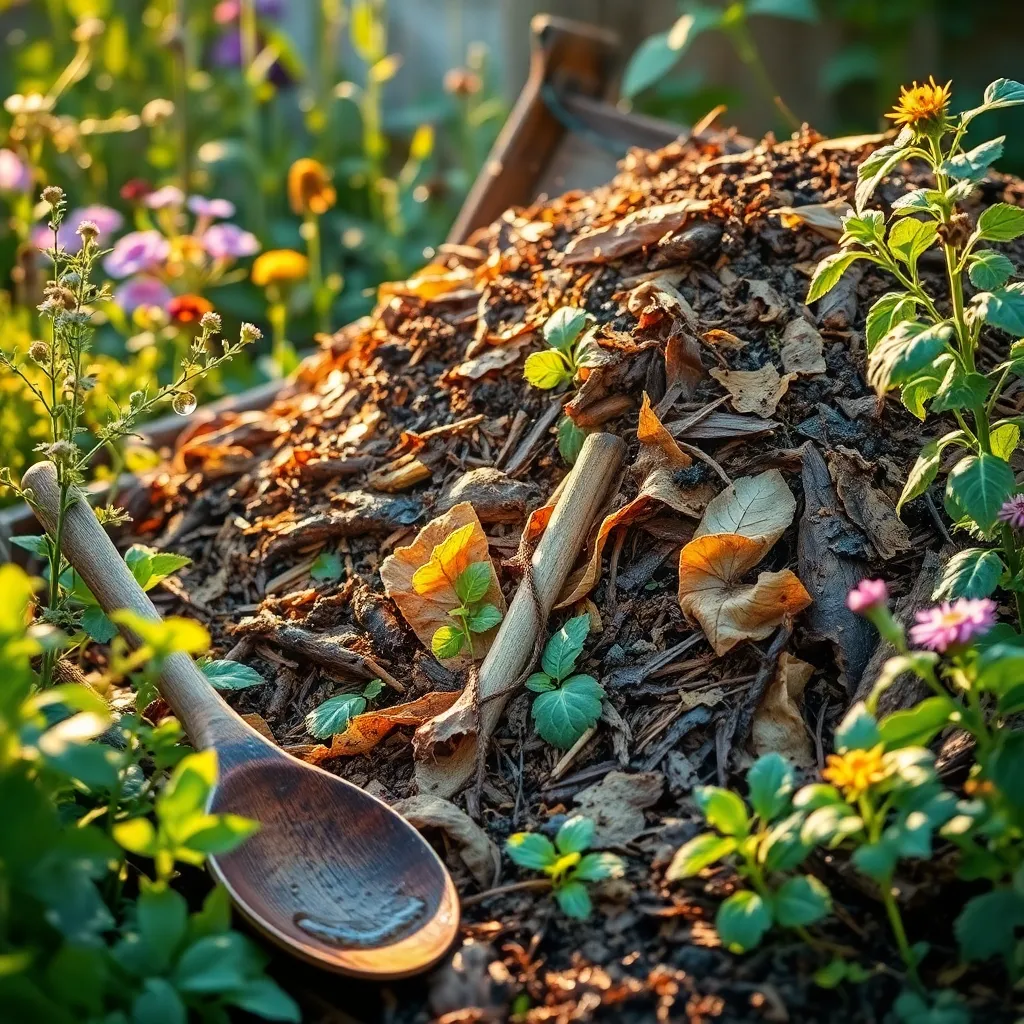
When applying mulch, ensure it doesn’t touch the stems of your plants, as this can lead to rot and disease. Leave a small gap around the base of each plant to allow for adequate air circulation, which is crucial for healthy growth.
For those looking to add nutrients while mulching, opt for compost or well-rotted manure as these materials enrich the soil. This approach not only conserves moisture but also enhances soil fertility, making it a double win for your garden.
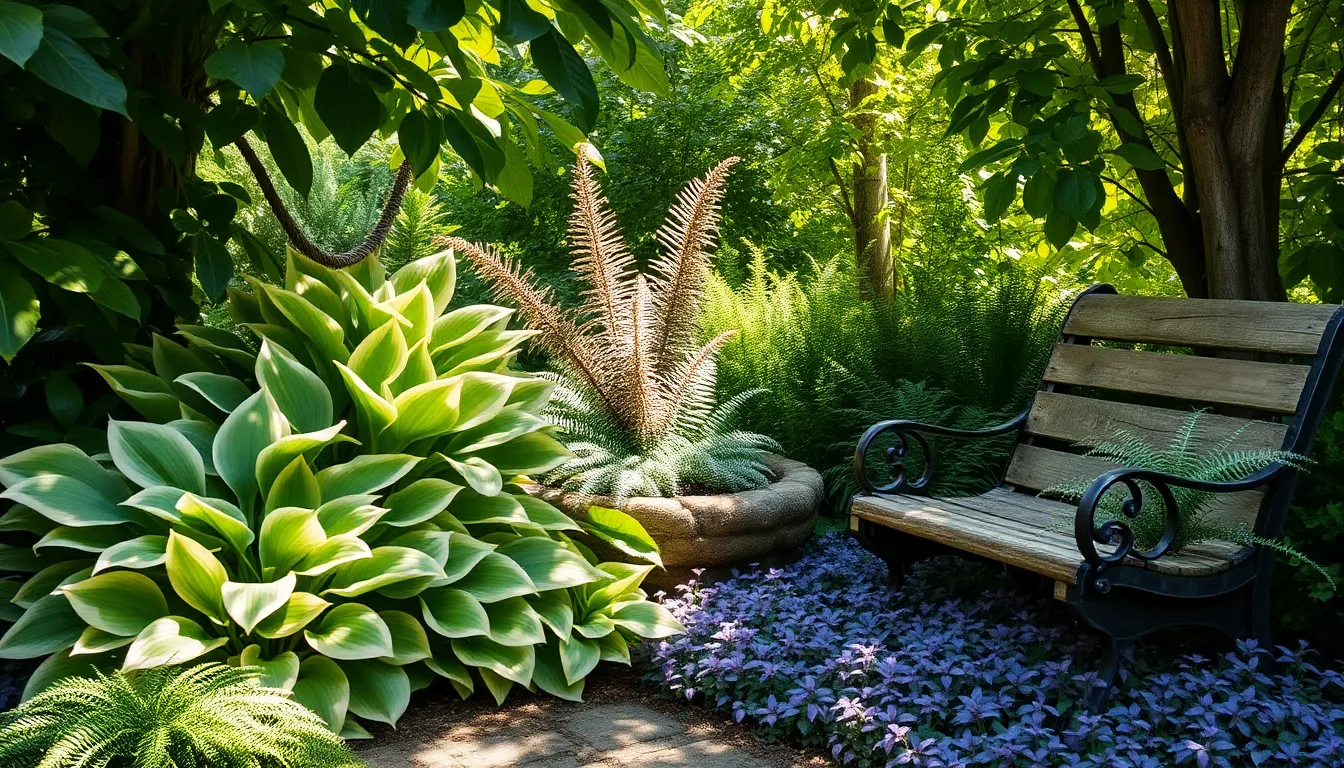
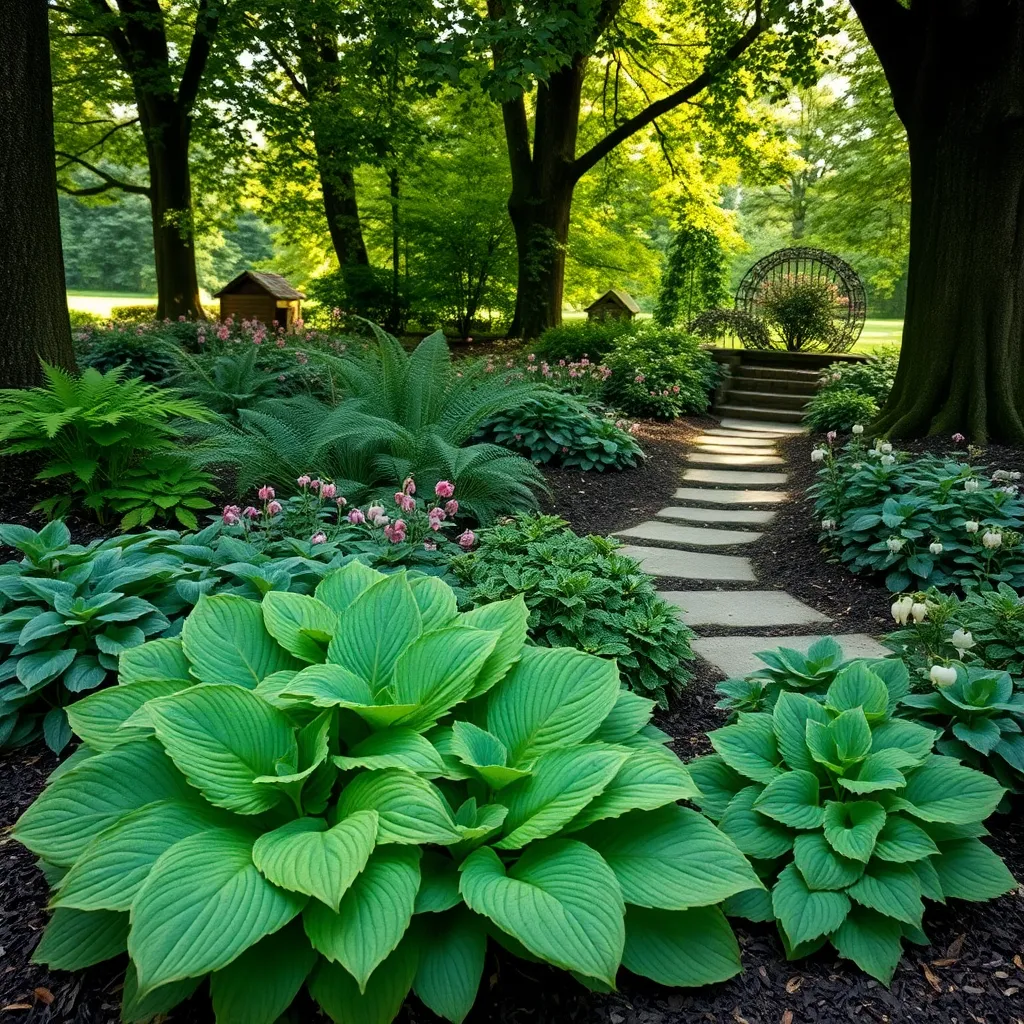
Plant Perennials for Longevity
Perennials are a smart choice for gardeners looking to create a low-maintenance landscape that returns year after year. They not only save you time by coming back each spring but also offer a diverse range of colors and textures to enhance your garden.
When selecting perennials, consider your climate and soil type to ensure long-term success. For example, daylilies and hostas are excellent choices for a variety of regions and thrive in well-drained soil with moderate watering.
To get the most from your perennials, plant them in the fall or early spring. This timing allows their roots to establish before the stress of summer heat, ensuring robust growth and blooms in the upcoming seasons.
For a thriving perennial garden, group plants with similar needs together to simplify care. This method minimizes the risk of overwatering or underwatering, as all plants in the group will require the same care regimen.
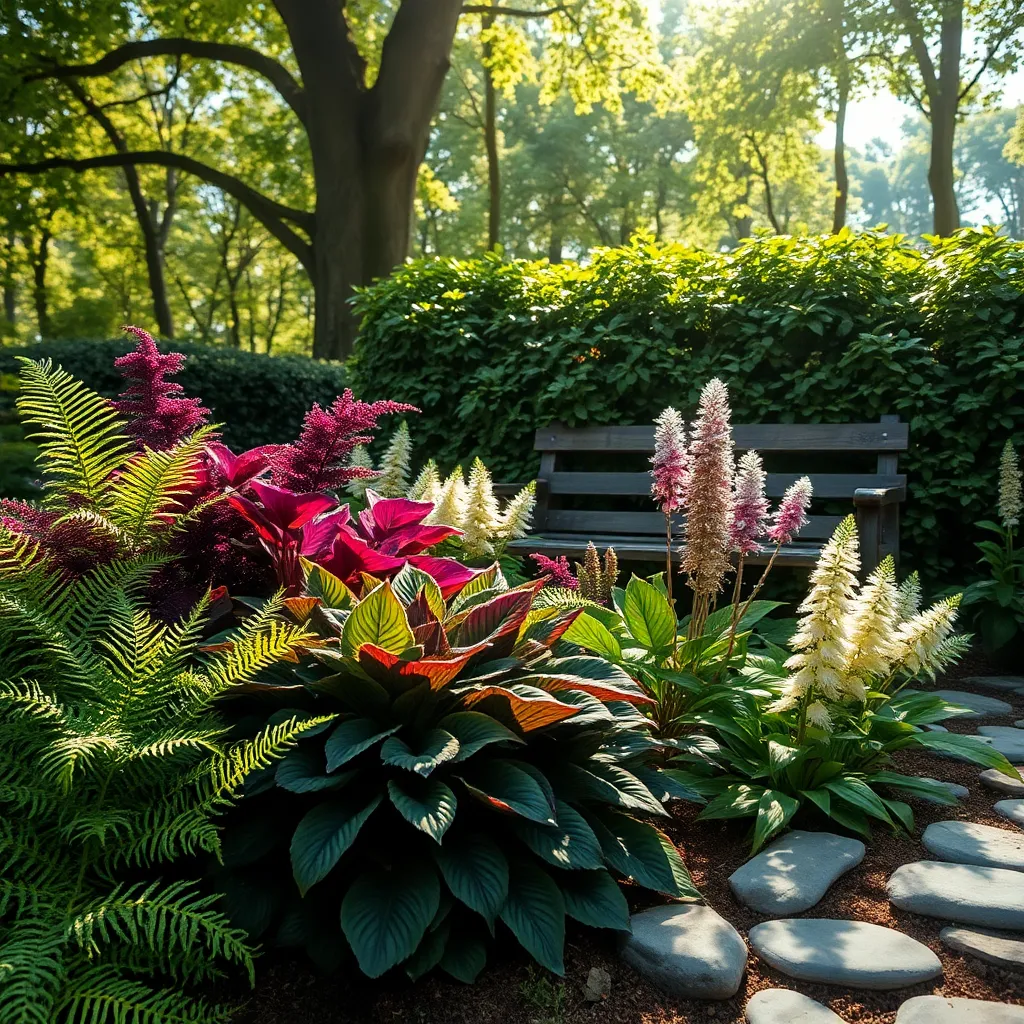
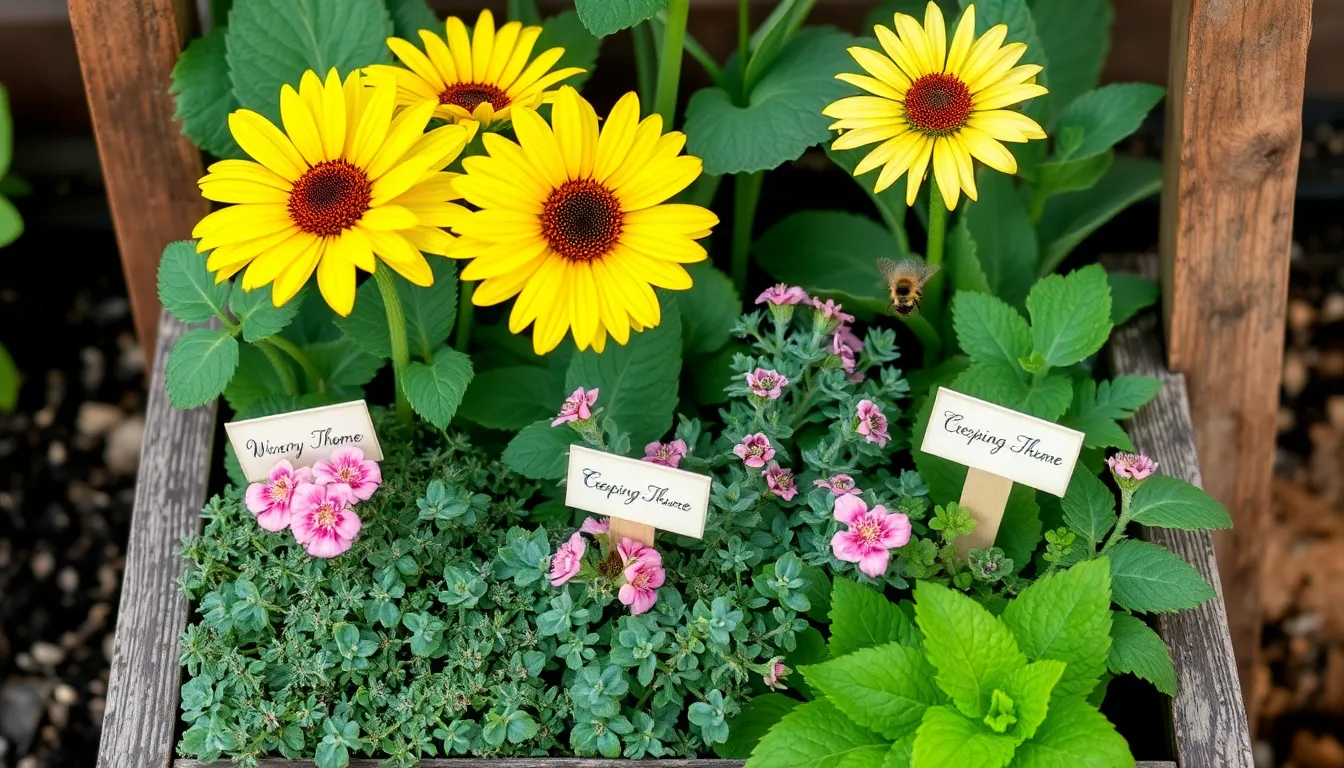
Group Plants by Water Needs
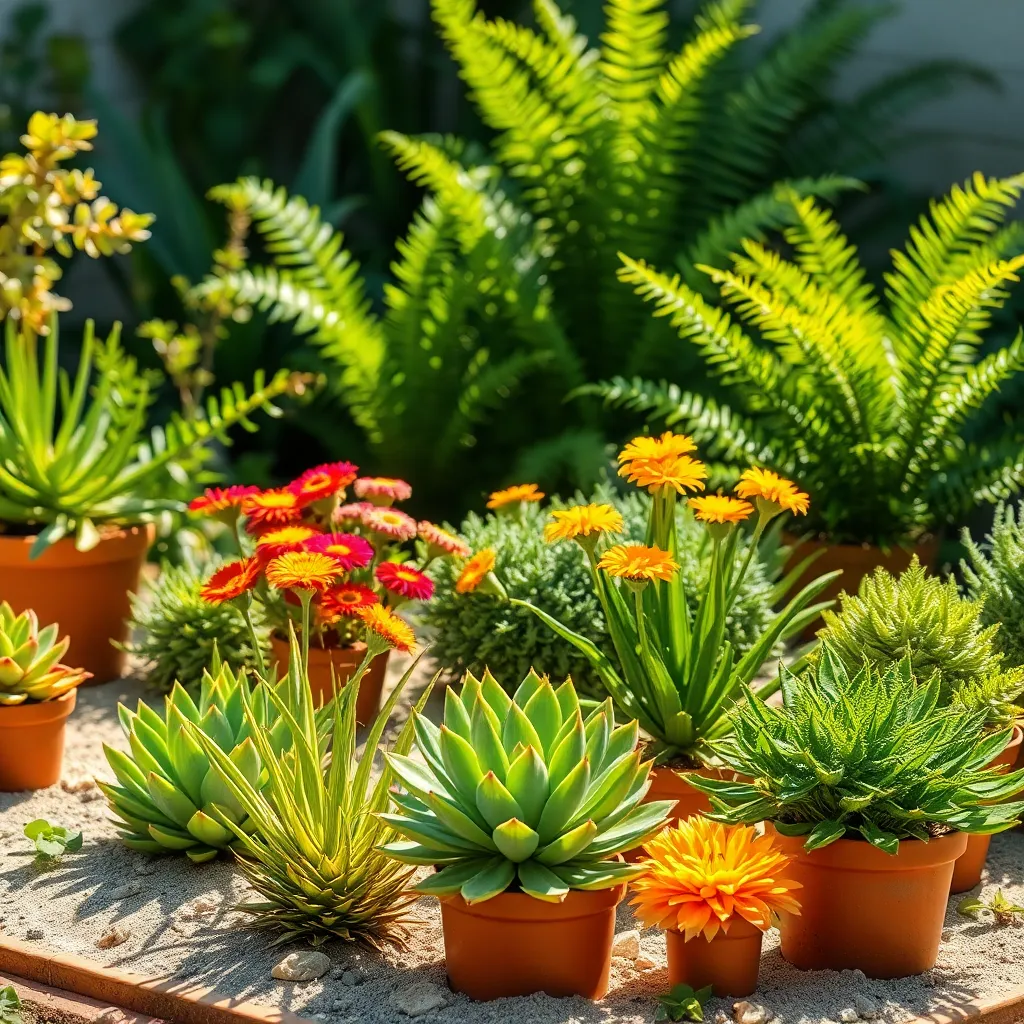
Grouping plants by their water needs is an essential strategy for creating a low-maintenance flower garden. This approach not only conserves water but also ensures each plant thrives in its optimal environment.
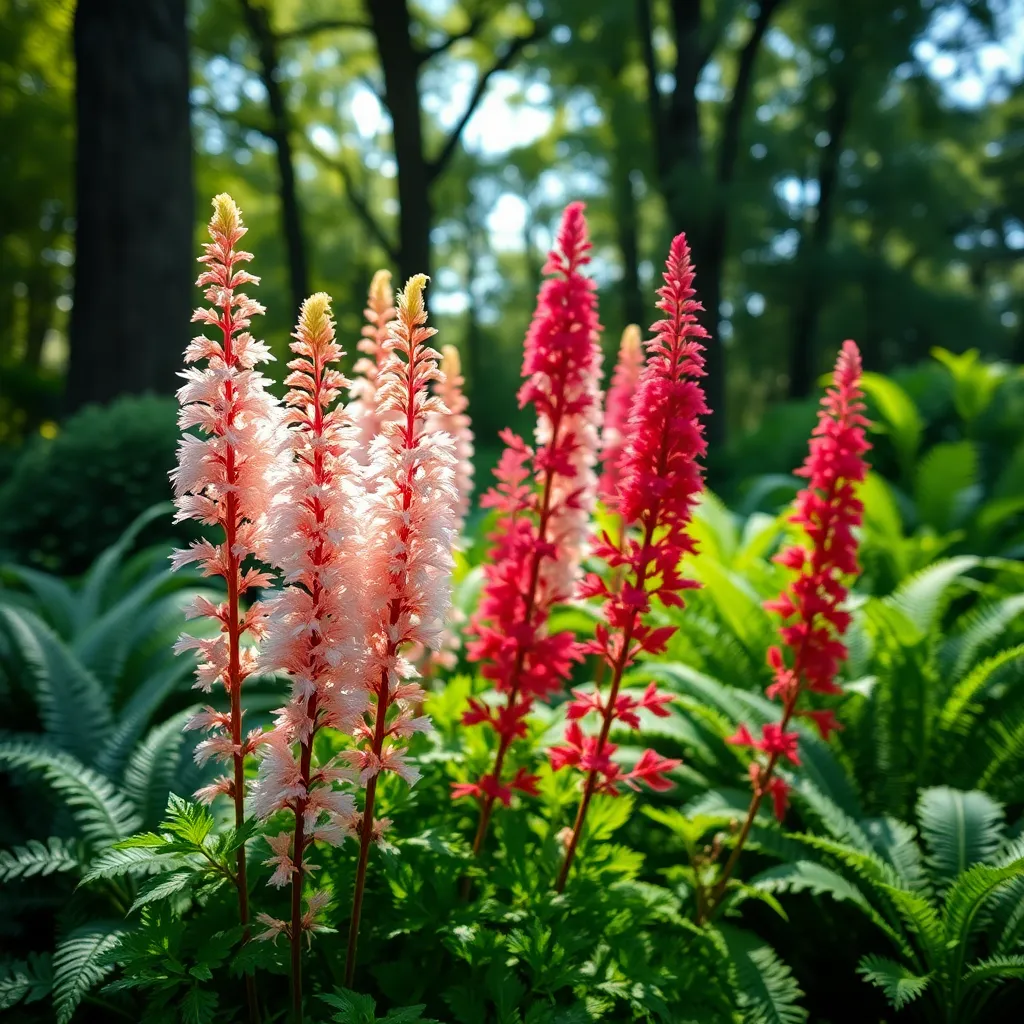
Start by identifying plants that have similar water requirements, such as drought-tolerant and moisture-loving varieties. For example, succulents and lavender thrive with minimal watering, while ferns and astilbes prefer consistently moist soil.
Placing plants with similar water needs together allows for more efficient irrigation. You can employ irrigation techniques like drip systems or soaker hoses to deliver water directly to the root zones of plants in need.
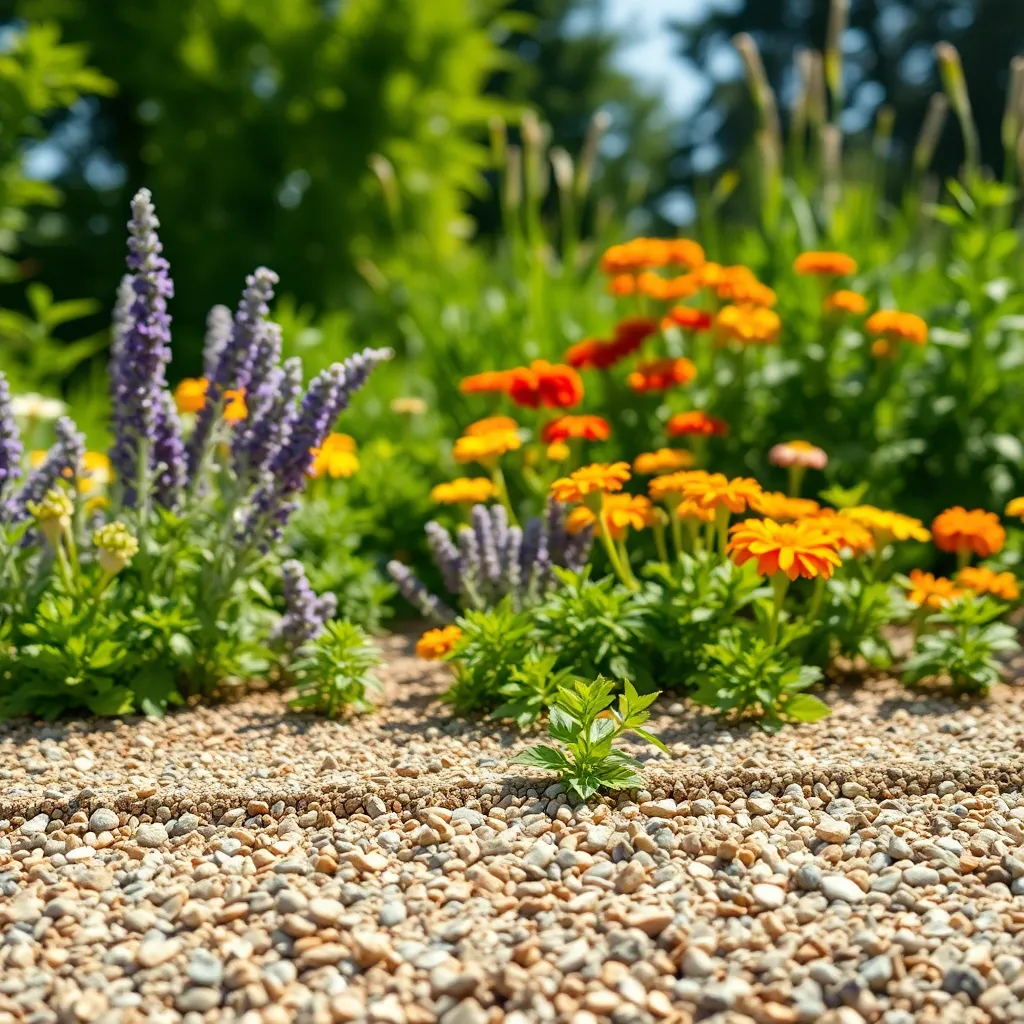
For beginners, consider using a moisture meter to better understand the water needs of different plant groups. Advanced gardeners might experiment with different mulch types, such as bark or gravel, to retain moisture or promote drainage, respectively, depending on the plant’s needs.
To further optimize water usage, amend the soil in each group to match the plant’s preferences. Incorporate organic matter like compost for moisture-loving plants, and add sand or grit to improve drainage for drought-tolerant species.
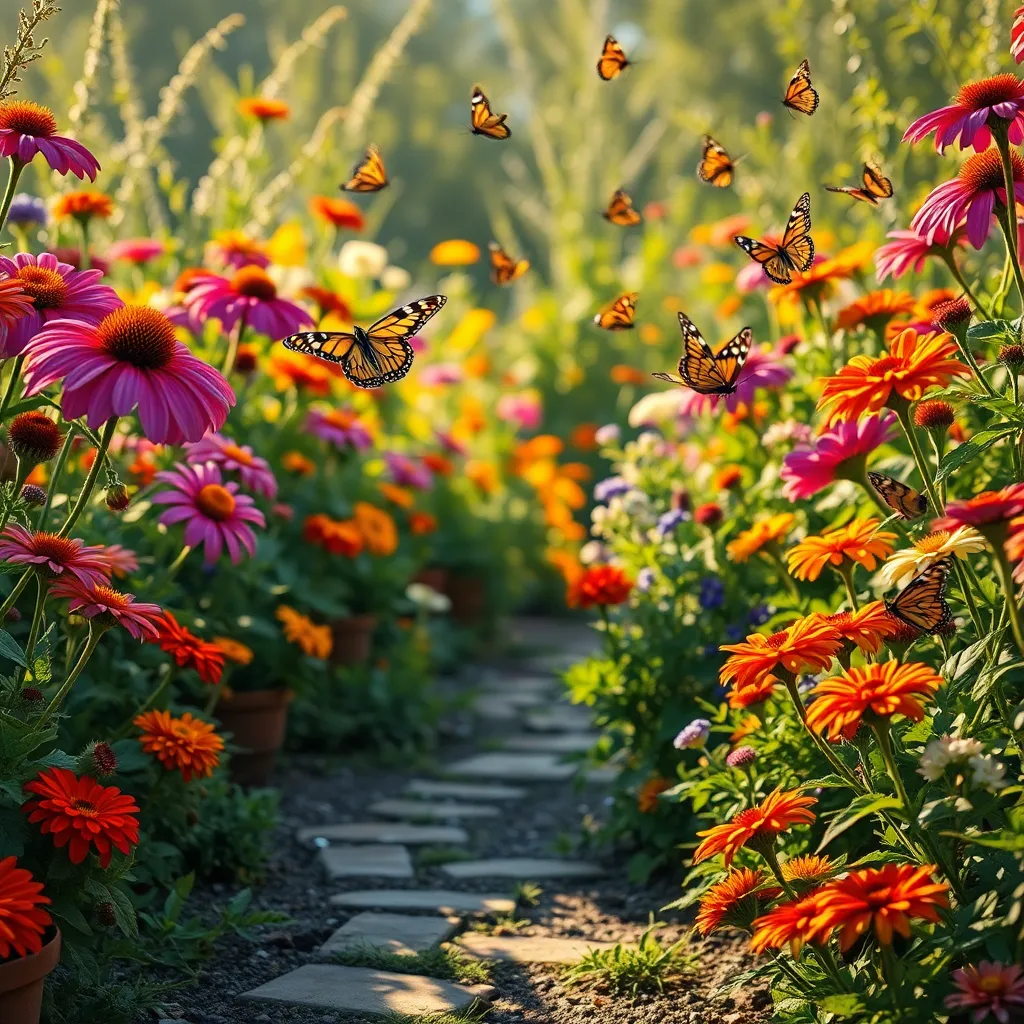
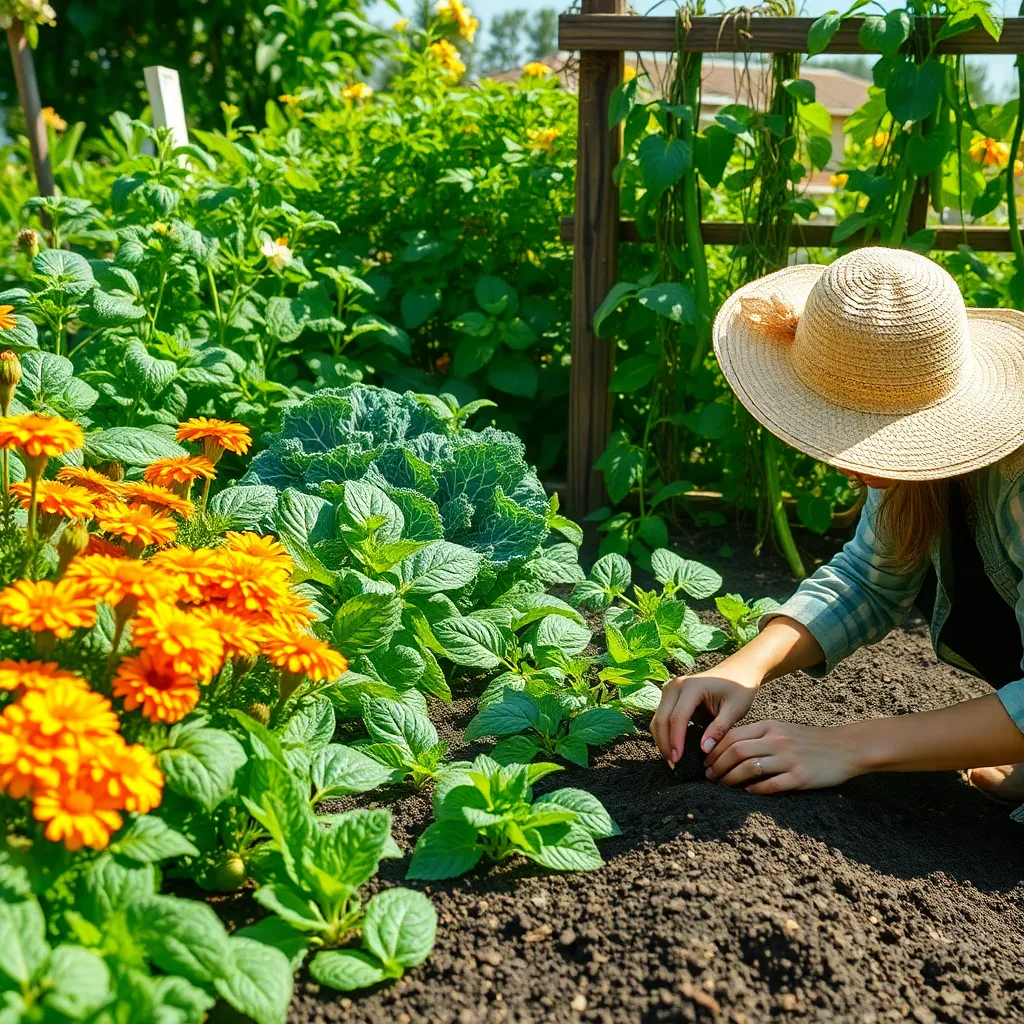
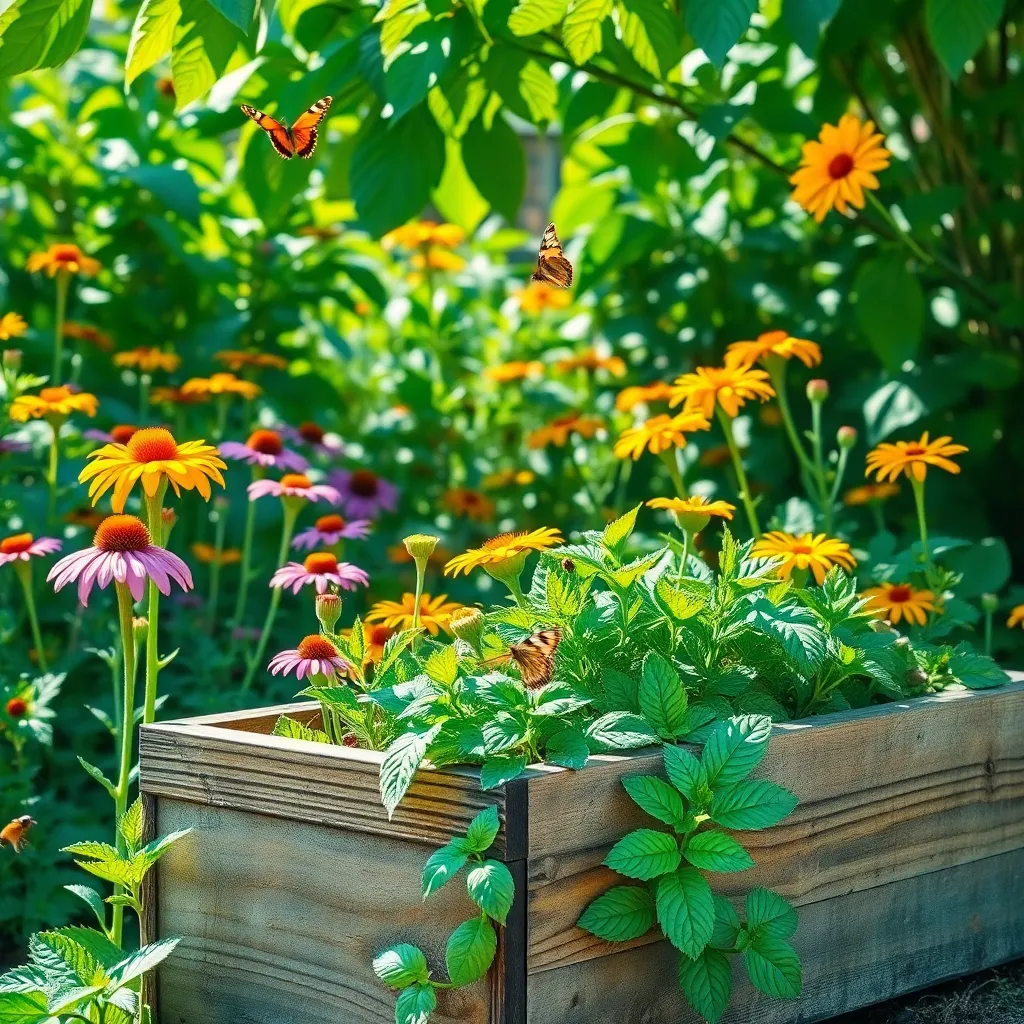
Incorporate Native Flower Species
Incorporating native flower species into your garden is a fantastic way to achieve a low-maintenance landscape. These plants are already adapted to your local environment, meaning they generally require less water and fewer fertilizers.
Native flowers can thrive in the specific soil types found in your region, which reduces the need for soil amendments. Choosing plants that are accustomed to local pests and diseases also minimizes the need for chemical pesticides and herbicides.
For beginners, start by researching which native flowers are most popular in your area. Check local garden centers or botanical gardens for advice, as they often have valuable insights into which species perform best under local conditions.
Experienced gardeners might explore creating a diverse ecosystem by mixing different native species that bloom at various times of the year. This not only provides continuous color but also supports local wildlife, such as pollinators and beneficial insects, enhancing the overall health of your garden.
Consider using a combination of perennials and annuals to create a dynamic and vibrant flower bed. Perennials will come back year after year, offering a reliable backbone to your garden, while annuals can be rotated to introduce new colors and patterns each season.
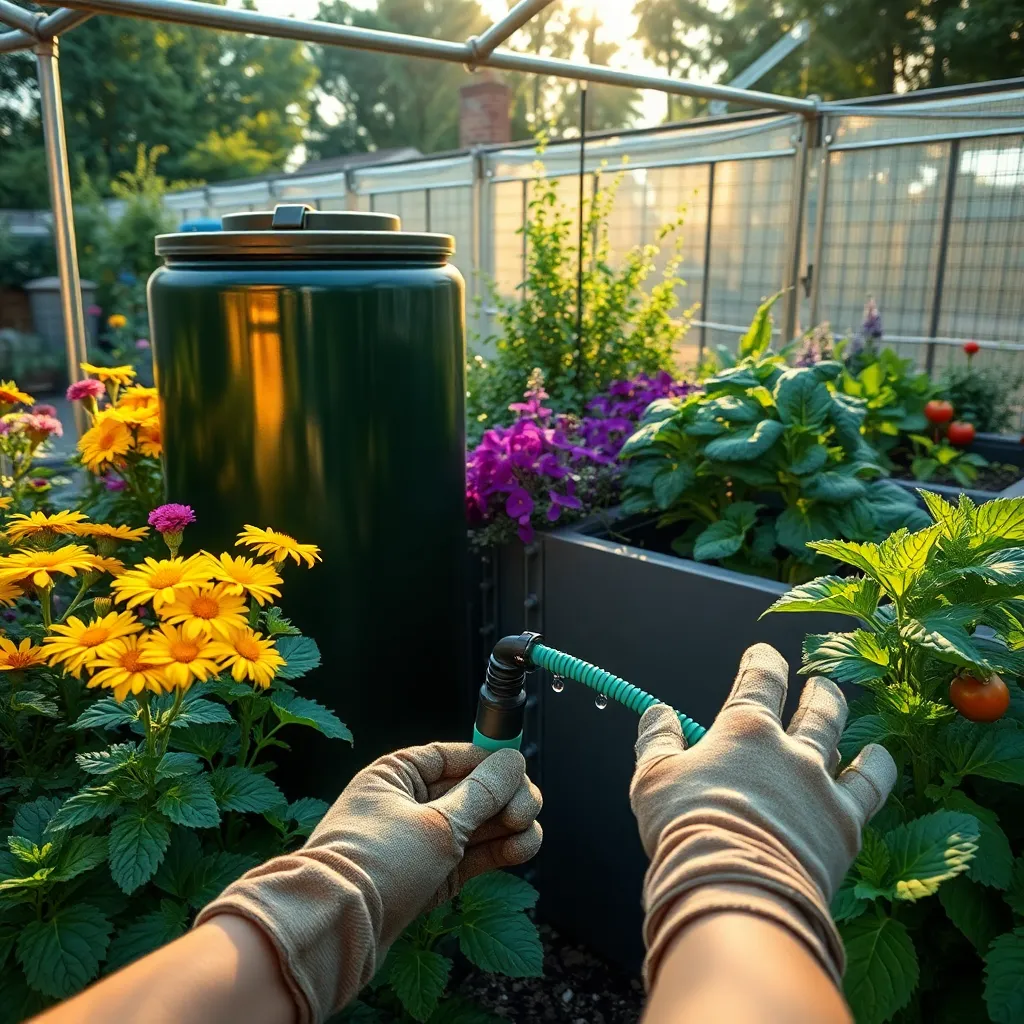
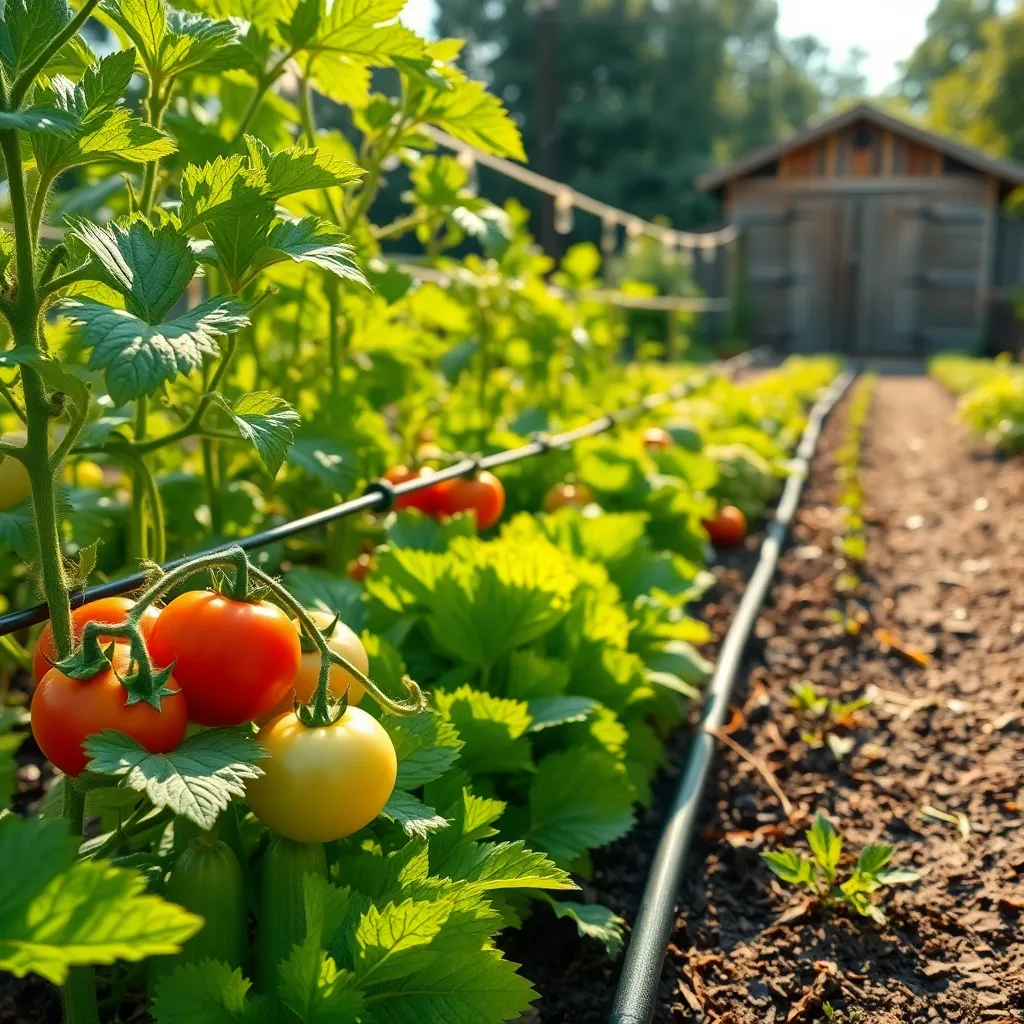
Utilize Automatic Drip Irrigation
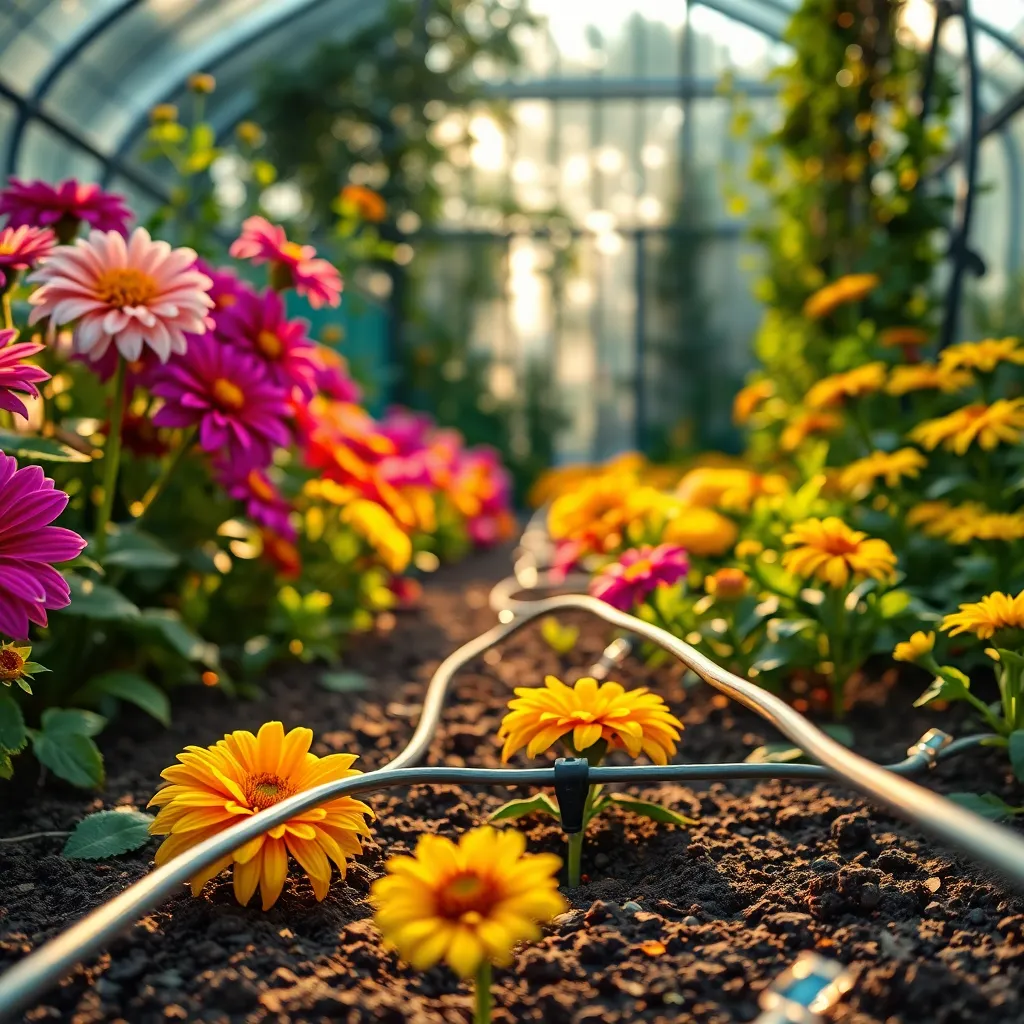
Automatic drip irrigation systems can significantly reduce the time and effort needed to keep your flower garden hydrated. By delivering water directly to the plant roots, these systems ensure that flowers receive the optimal amount of moisture without the risk of over-watering.
For beginners, installing a basic drip irrigation system can be a straightforward process. Begin by laying out the main tubing through your garden, and use emitters to direct water to individual plants or rows, ensuring each flower gets the attention it needs.
Advanced gardeners can further customize their systems with timers and moisture sensors. These additions can automate the watering schedule, allowing you to set precise times and durations to suit the specific needs of your flower varieties.
When setting up a drip irrigation system, consider the soil type in your garden. Sandy soil may require more frequent but shorter watering cycles, while clay soil may benefit from less frequent, deeper watering to avoid waterlogging.
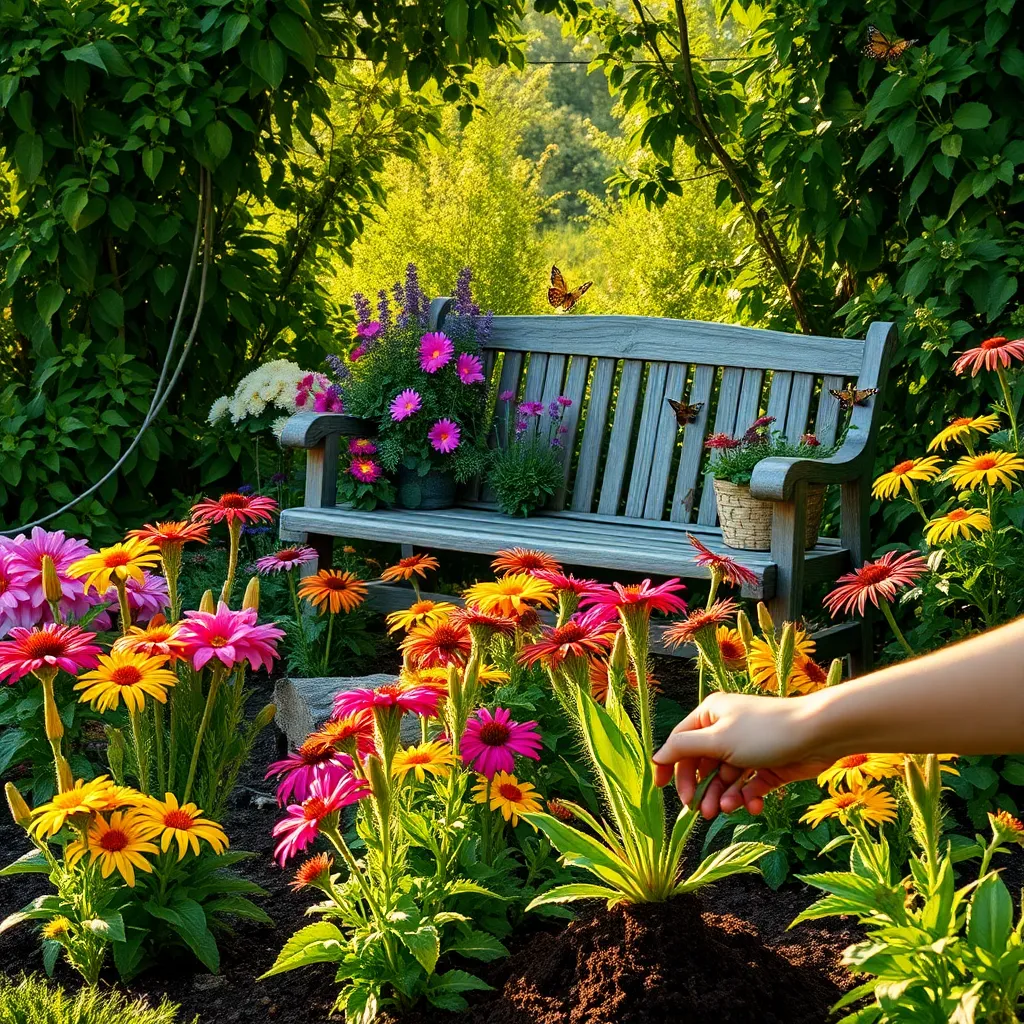
Prune Regularly to Promote Growth
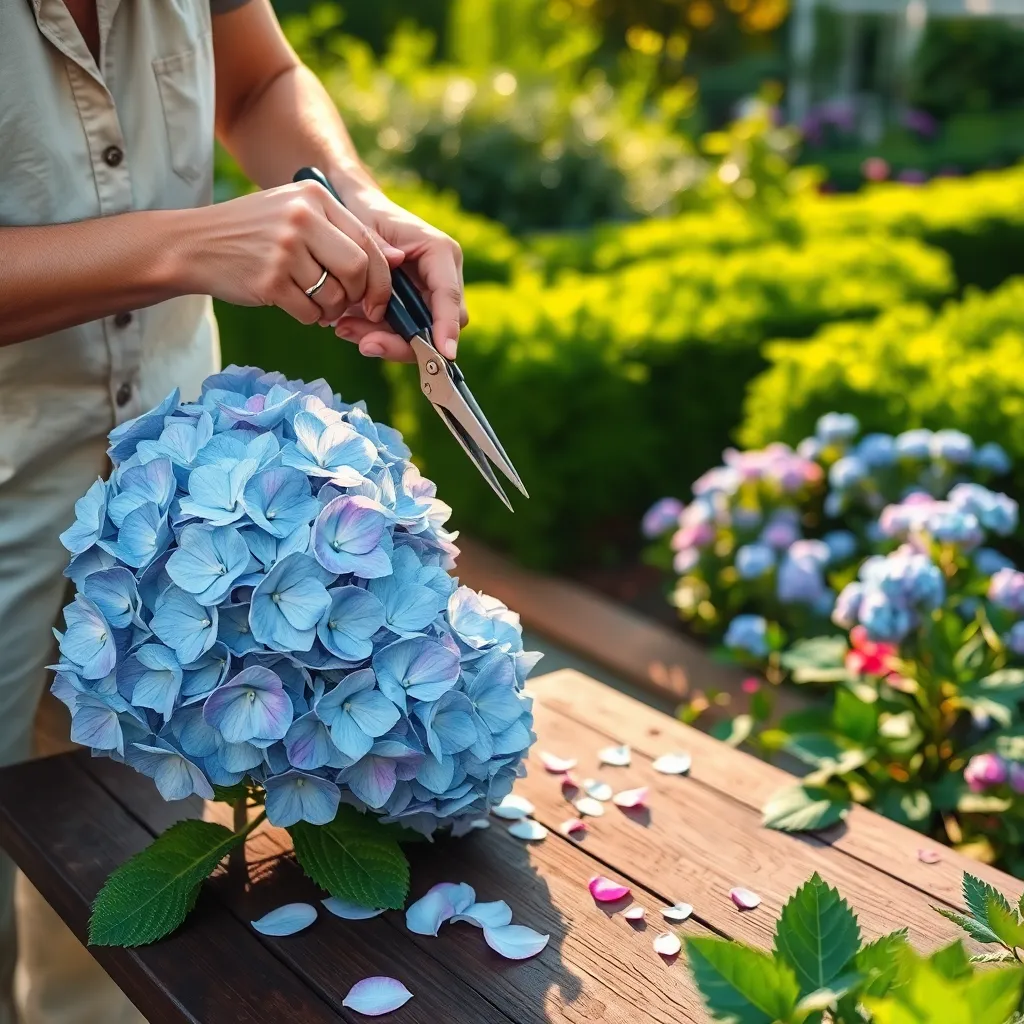
Regular pruning is essential for keeping your flower garden vibrant and healthy. By removing dead or dying blooms, you encourage your plants to direct their energy towards producing new growth and flowers, resulting in a more lush display.
Focus on cutting back to a healthy set of leaves or a node, which is where new growth can occur. Always use sharp, clean tools to prevent the spread of disease and ensure a clean cut that heals quickly.
For beginners, it’s helpful to start with plants like roses, which benefit greatly from seasonal pruning. Trim them in early spring, removing any weak or crossing branches to improve air circulation and sunlight exposure.
Experienced gardeners can experiment with advanced techniques such as deadheading, where you remove spent flowers to prolong blooming periods. Regularly inspect your plants to identify and prune any damaged or diseased parts to maintain overall plant health.
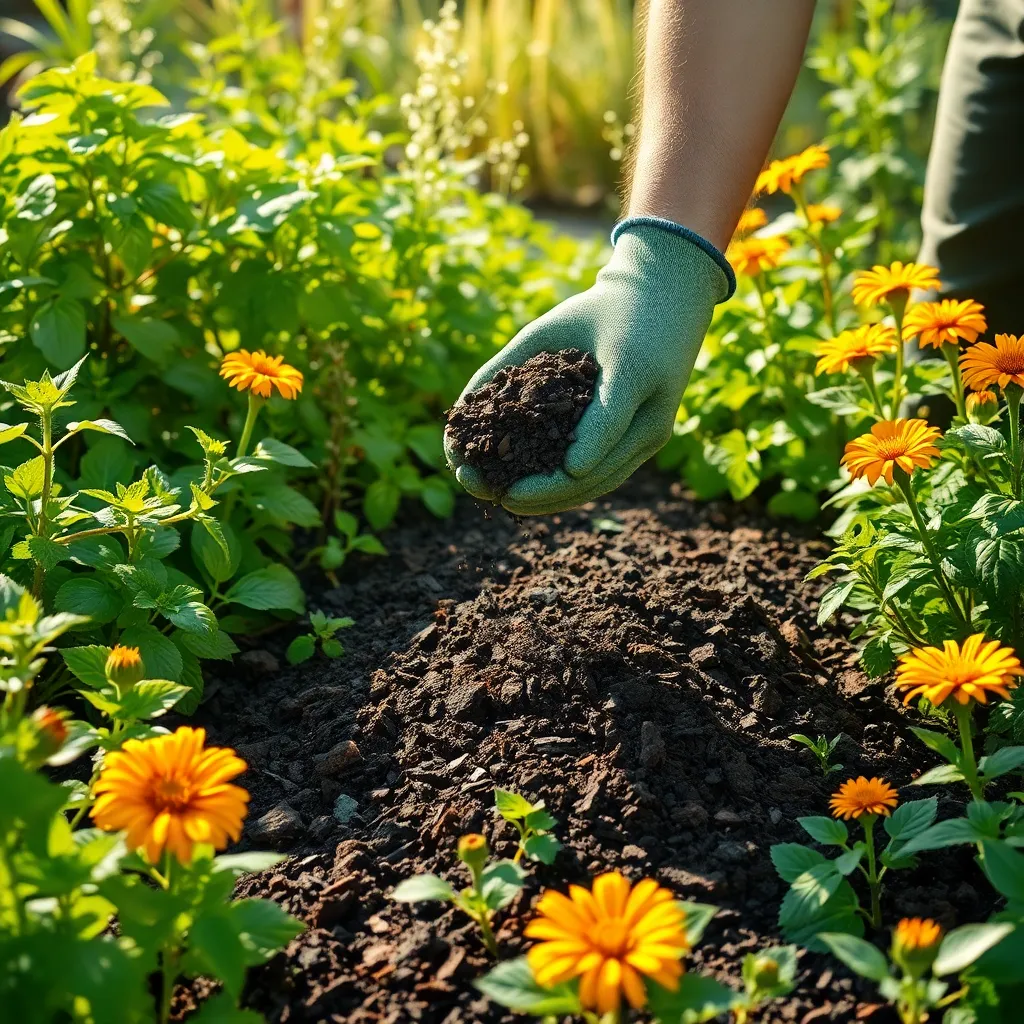
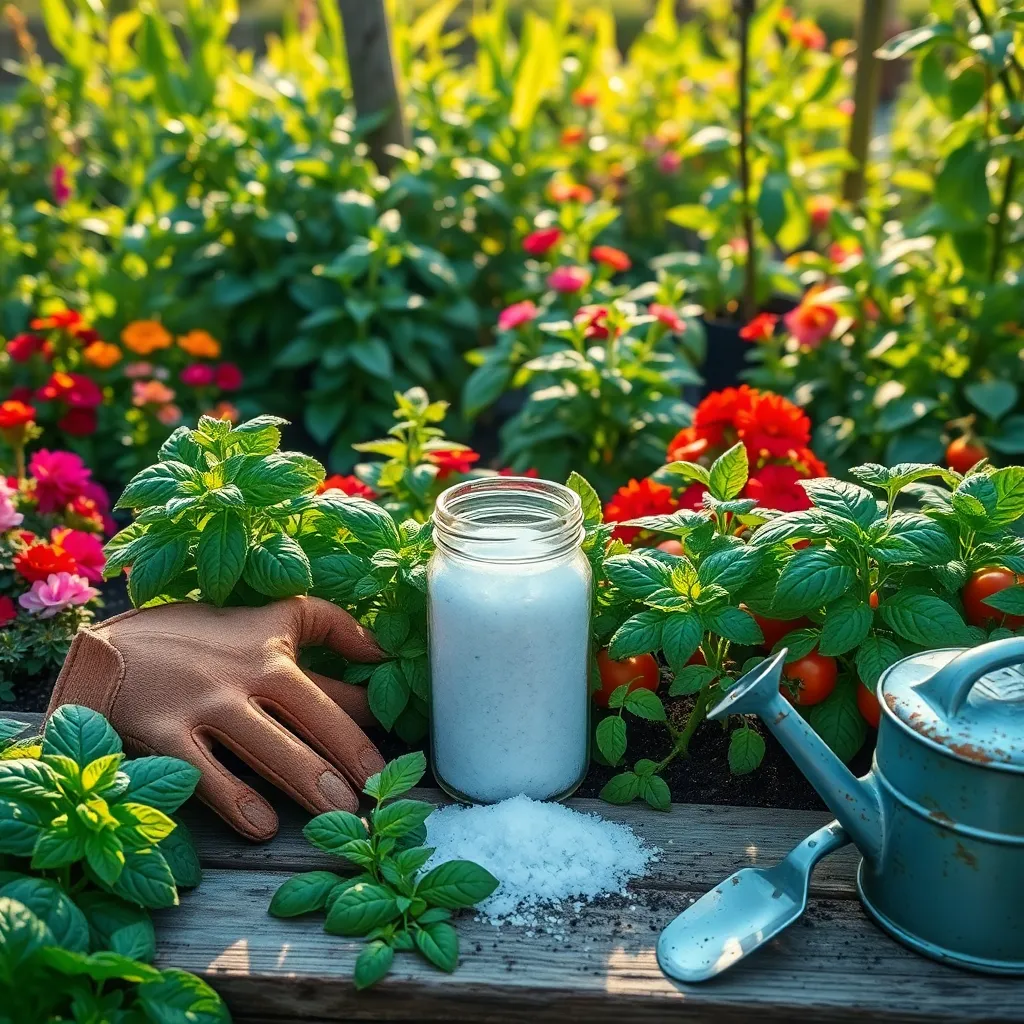
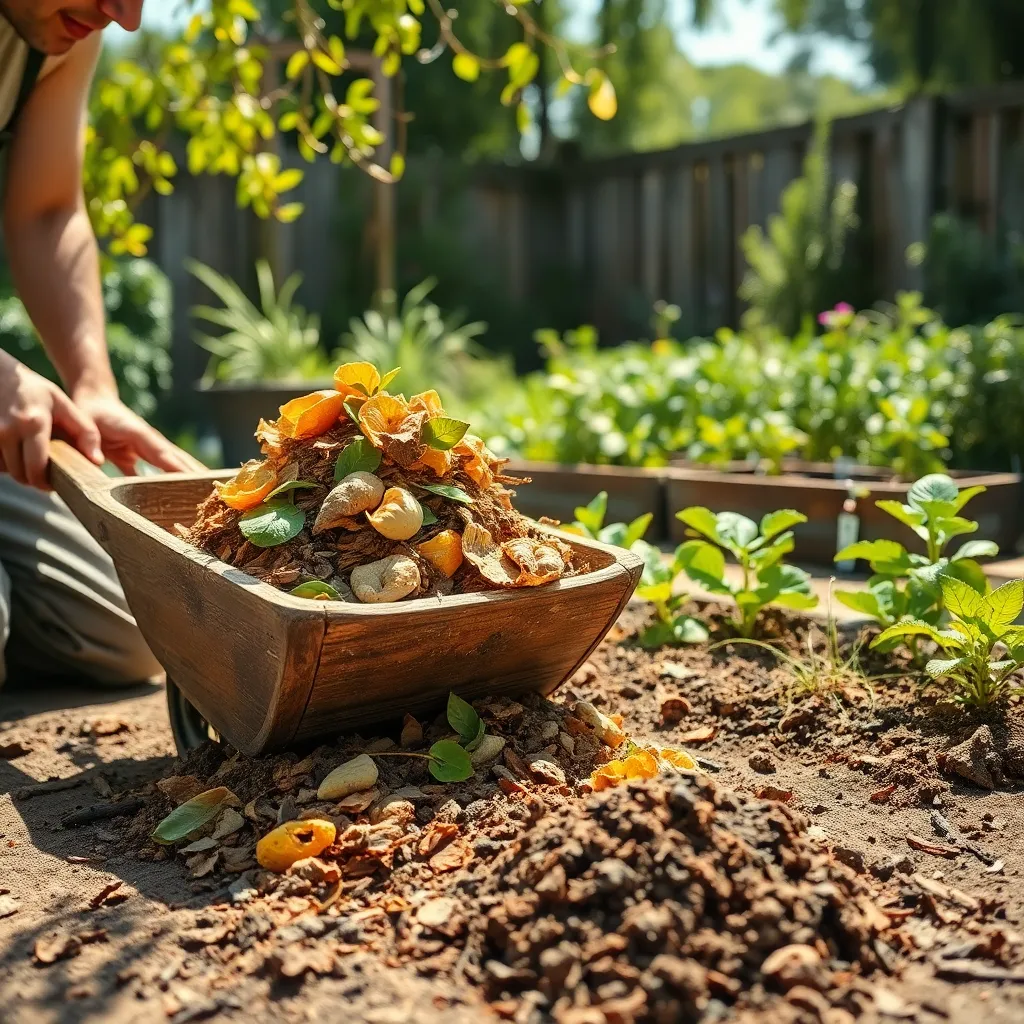
Apply Slow-Release Fertilizer
Using a slow-release fertilizer can significantly reduce the time and effort needed to nourish your flower garden. These fertilizers gradually release nutrients over several months, ensuring your plants receive a steady supply without the need for frequent applications.
Choose a balanced slow-release fertilizer for most flowering plants to maintain healthy growth throughout the season. Generally, a 10-10-10 or 14-14-14 NPK ratio works well for a variety of flowers, providing essential nitrogen, phosphorus, and potassium.
Before applying, make sure the soil is moist to help the fertilizer integrate effectively. A good rule of thumb is to apply it at the start of the growing season, when plants begin to show new growth, to give them a strong head start.
For advanced gardeners, consider using a soil test kit to determine specific nutrient needs and optimize your fertilizer choice. This can help prevent over-fertilization, which might harm flower health and lead to lush foliage with fewer blooms.
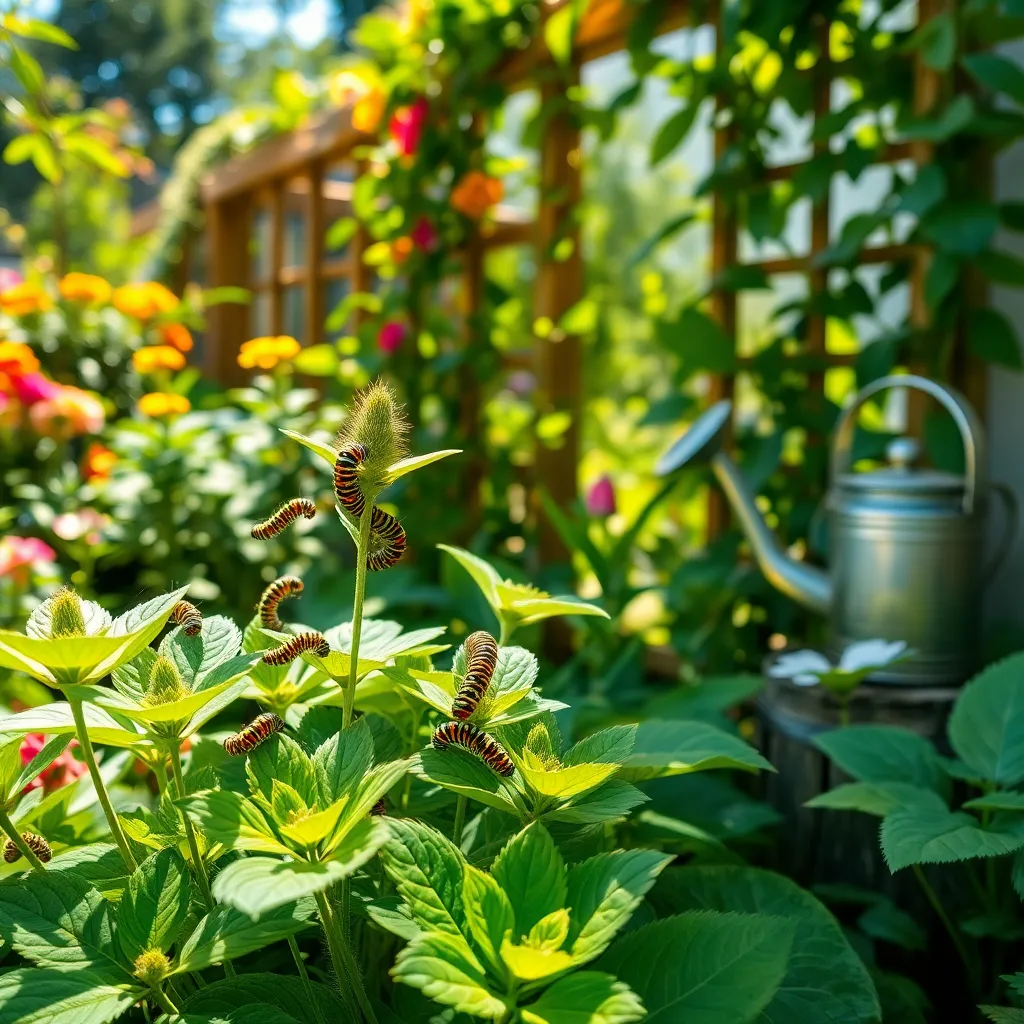
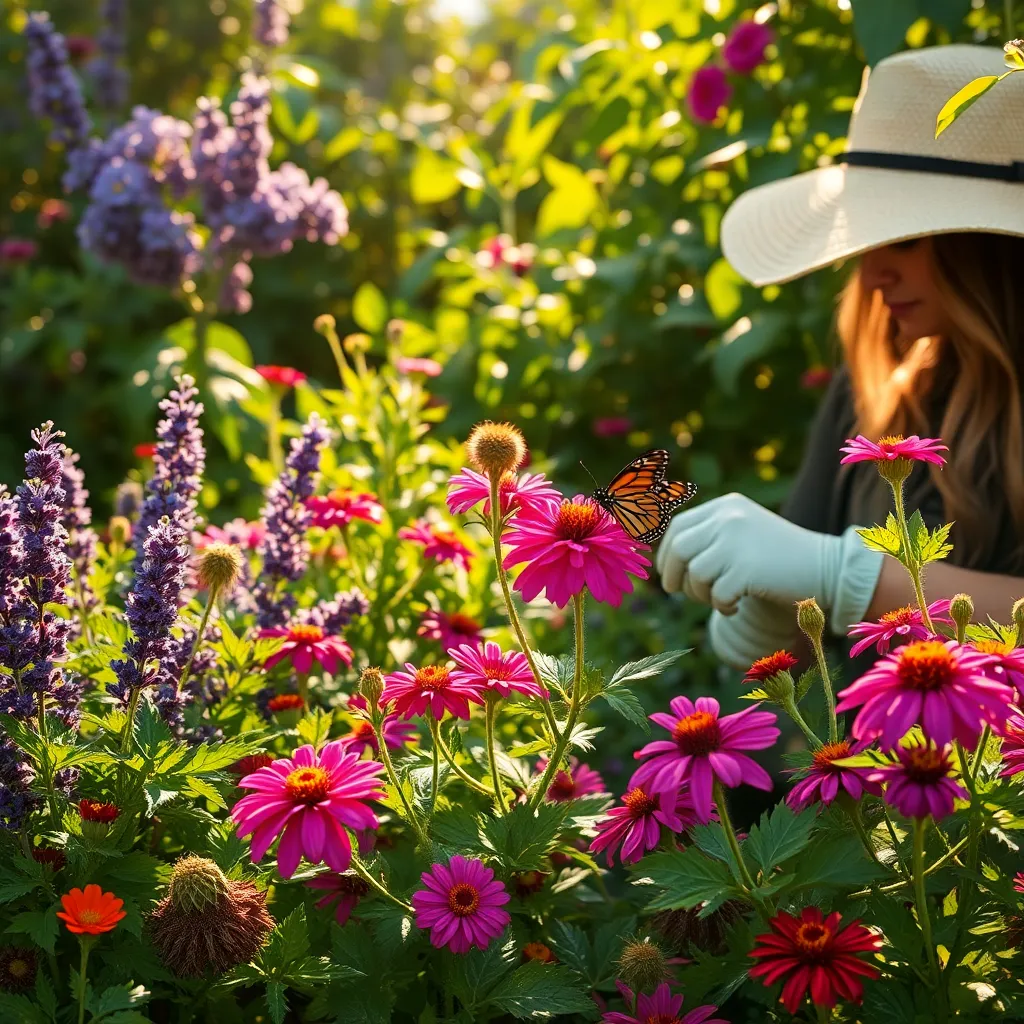
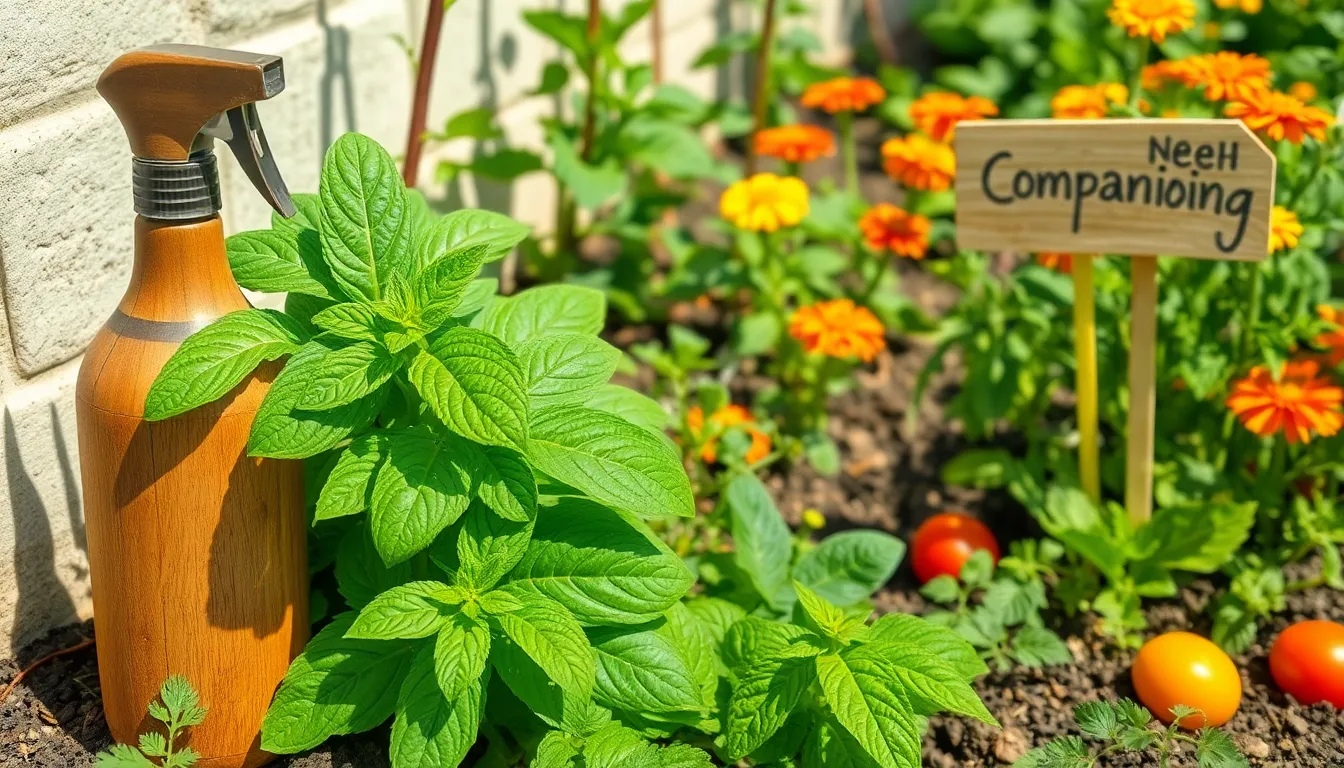
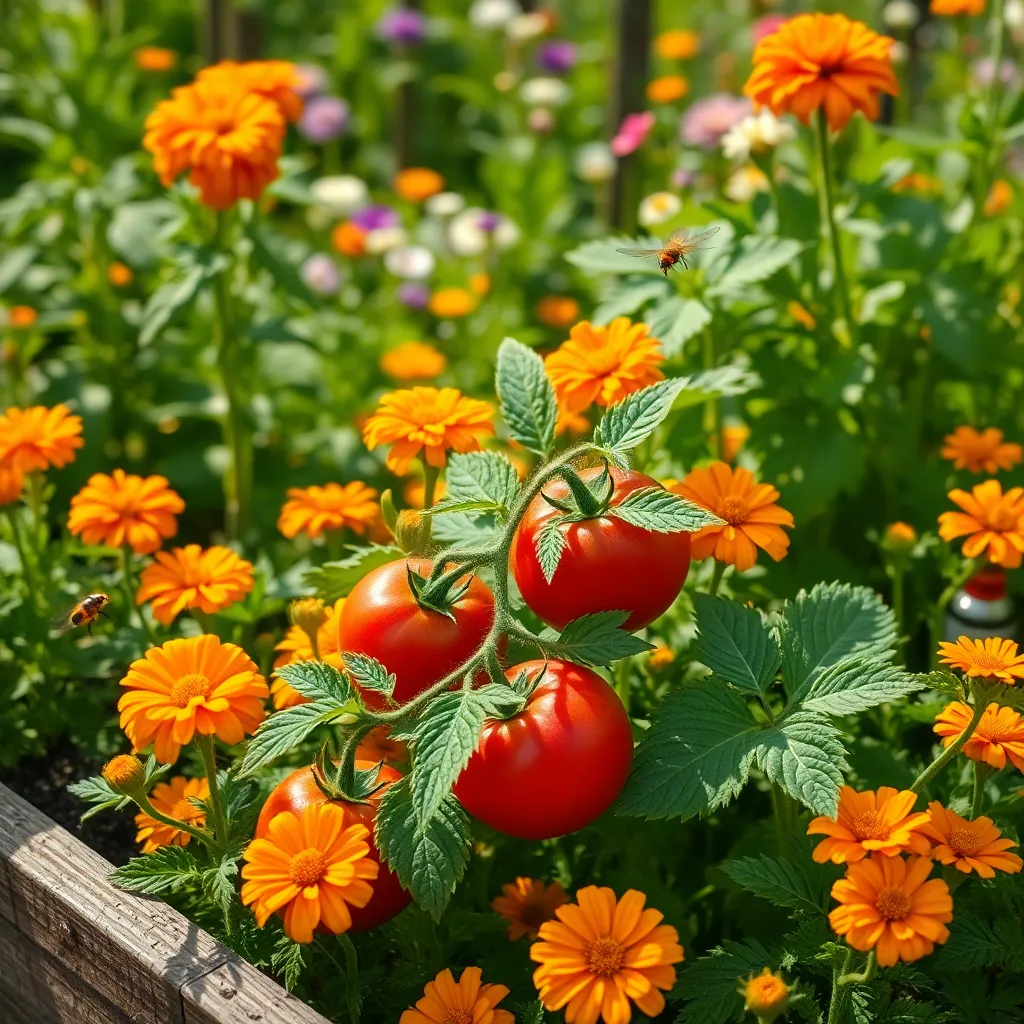
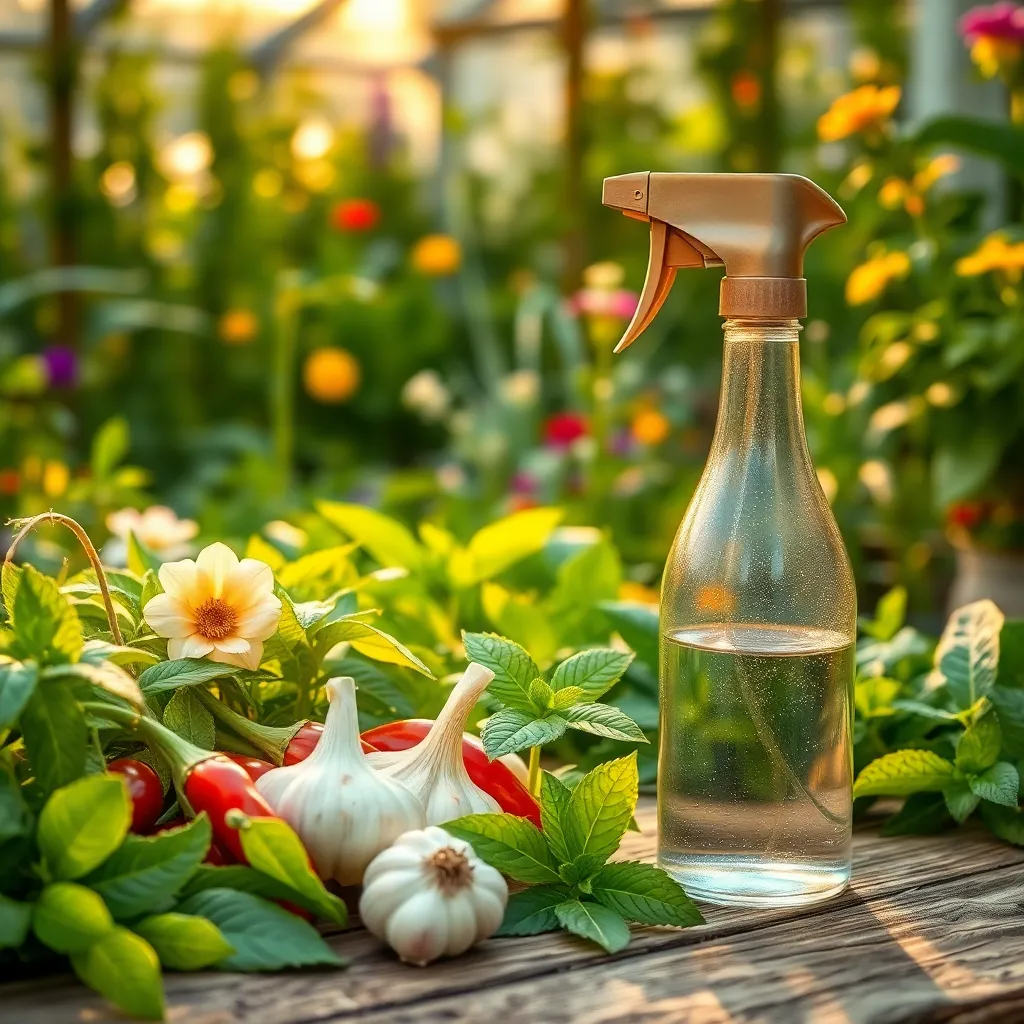
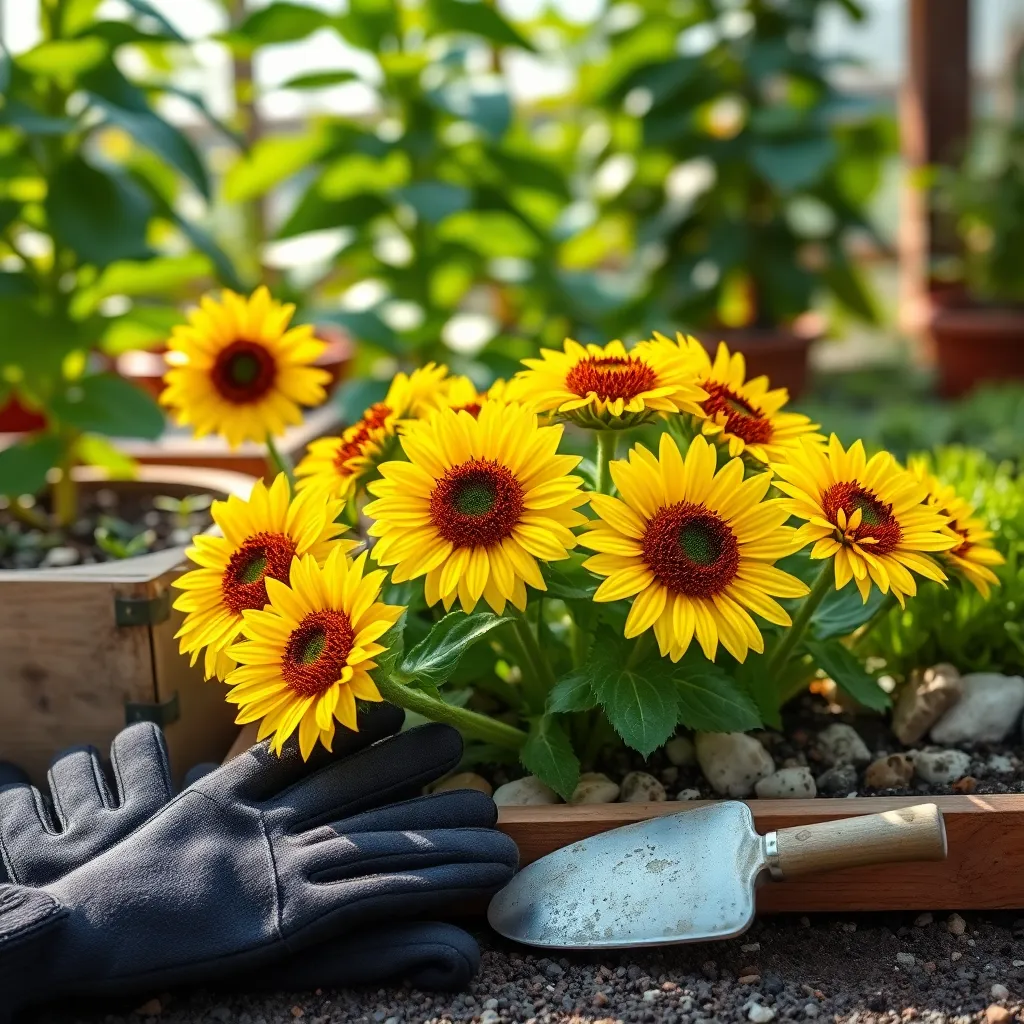
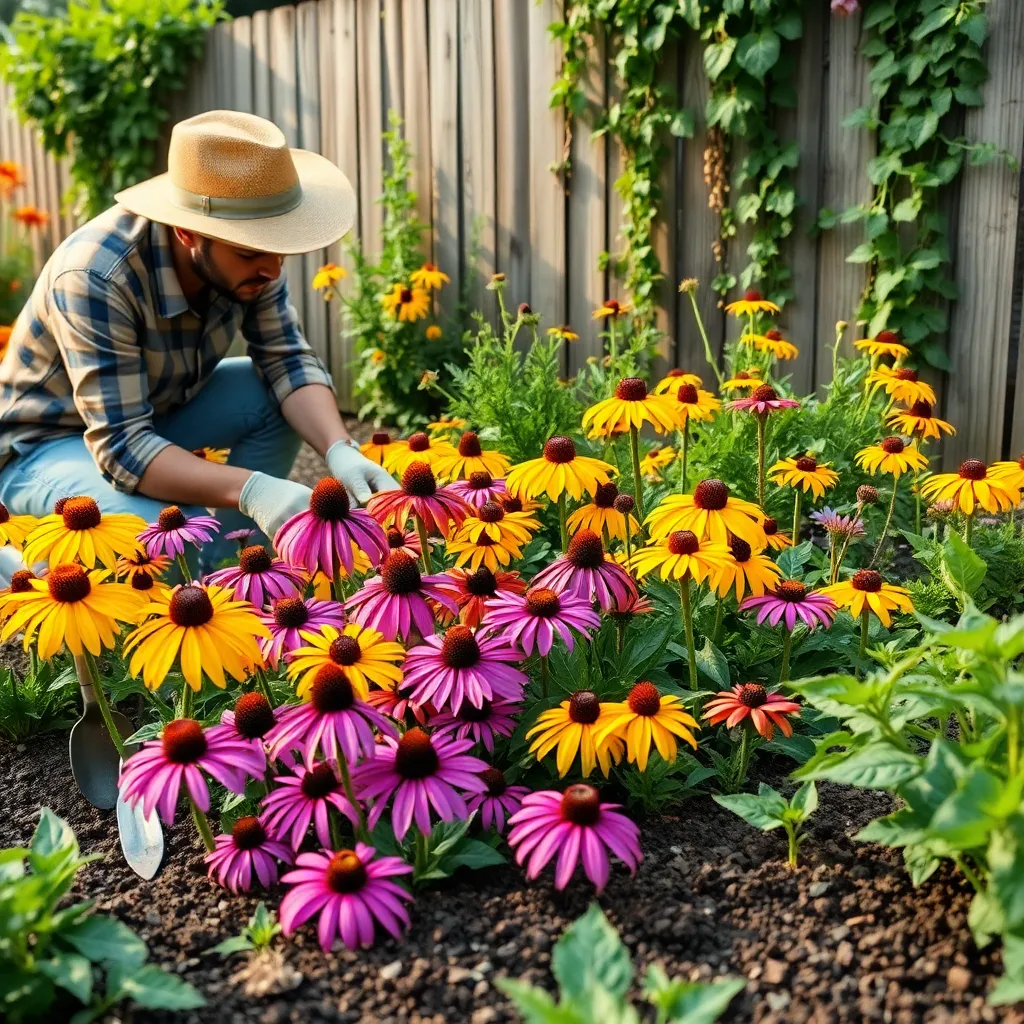
Select Pest-Resistant Flower Types
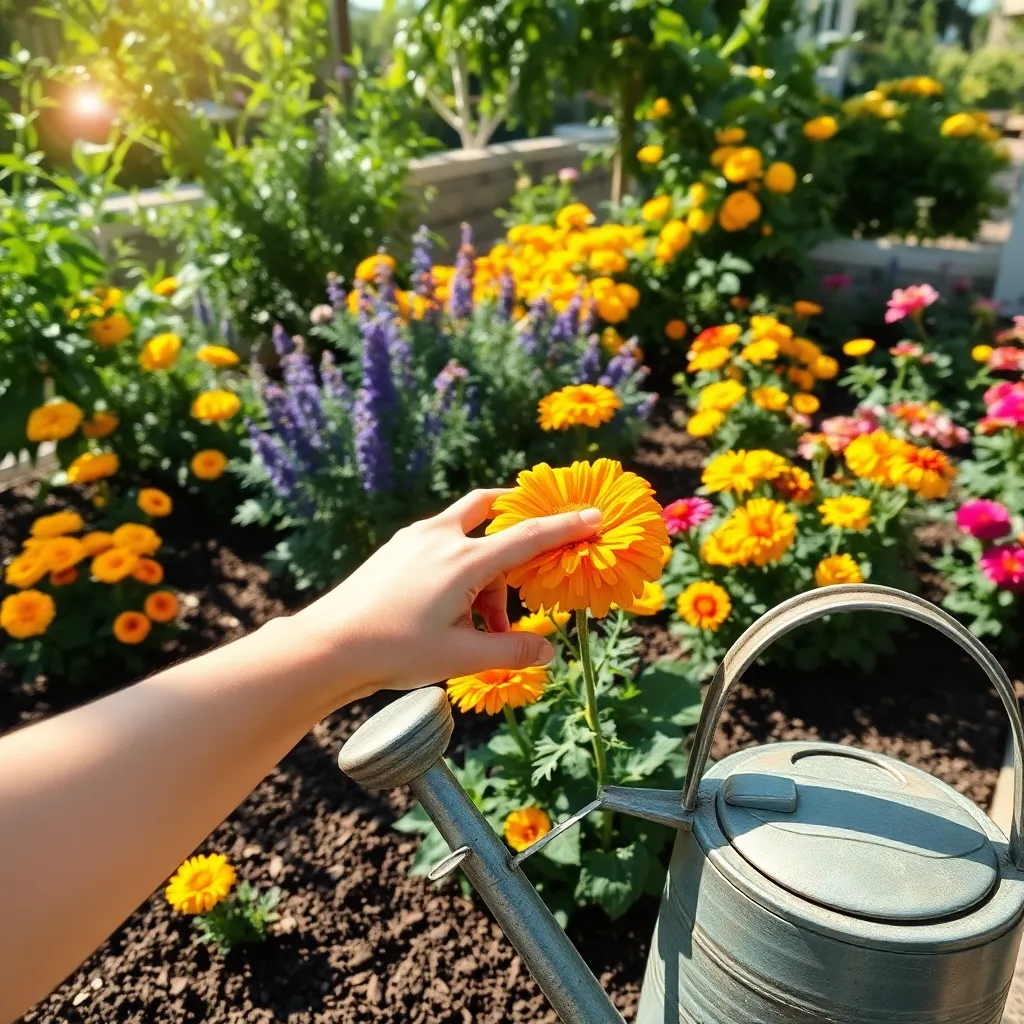
Choosing pest-resistant flower types can significantly reduce the time and effort spent on garden maintenance. Marigolds are a great option as they not only resist pests but also repel certain insects with their scent.
Another excellent choice is the Lavender plant, which is known for its ability to deter moths, fleas, and flies. Lavender thrives in well-drained soil and requires full sun, making it ideal for sunny spots in your garden.
Consider planting Calendula, also known as pot marigold, which is not only pest-resistant but also attracts beneficial insects like ladybugs. This flower grows best in cool climates with moderately fertile soil, and it requires regular watering but good drainage.
For those looking to add a bit of height and color, Yarrow is a robust choice that can withstand pest attacks and attracts pollinators. Yarrow thrives in poor soil and requires minimal watering, making it perfect for low-maintenance gardeners.
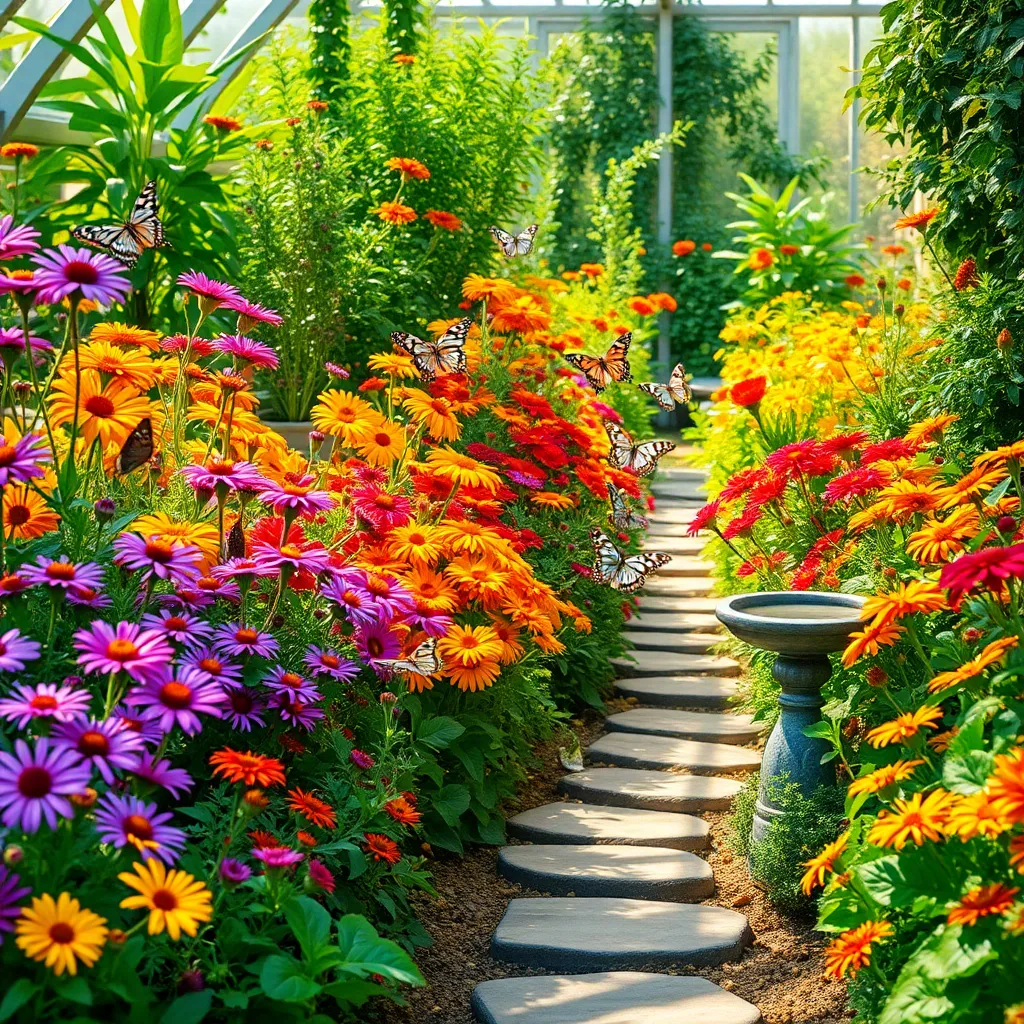
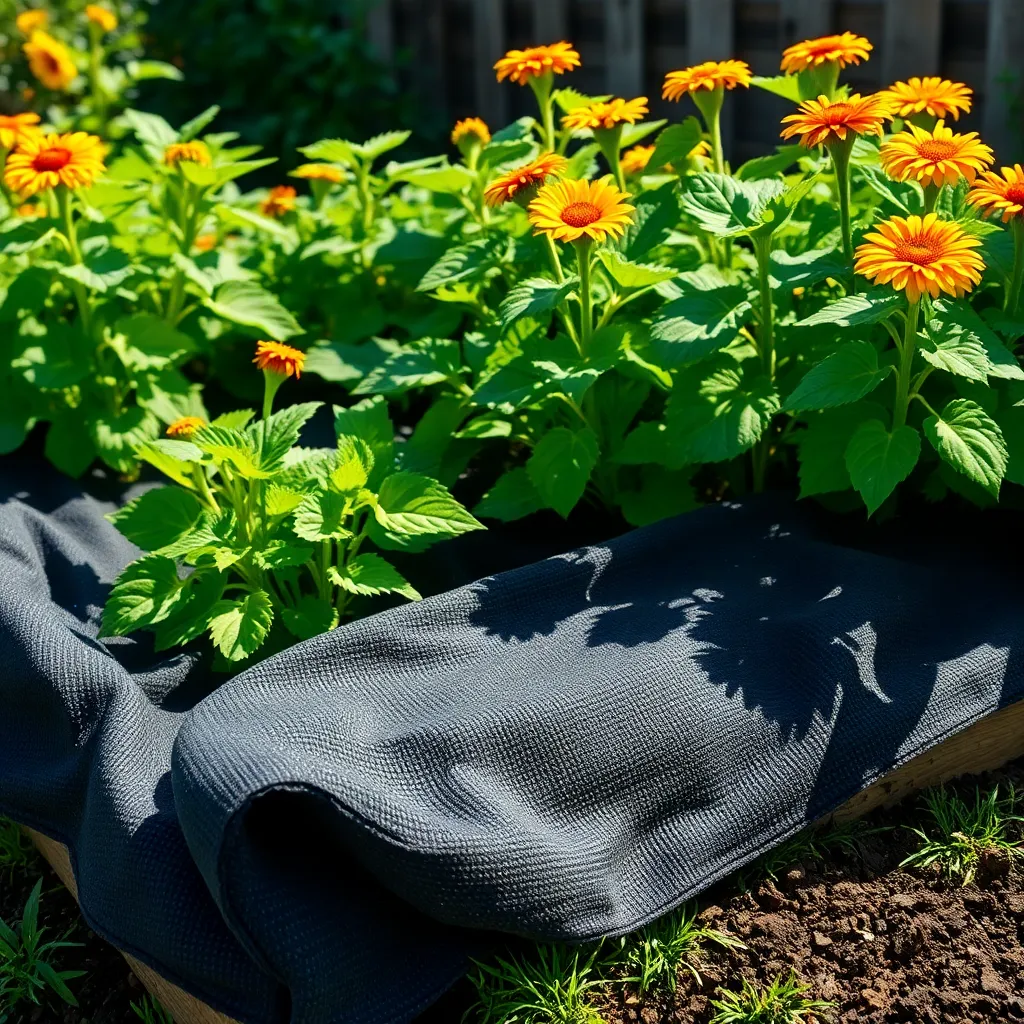
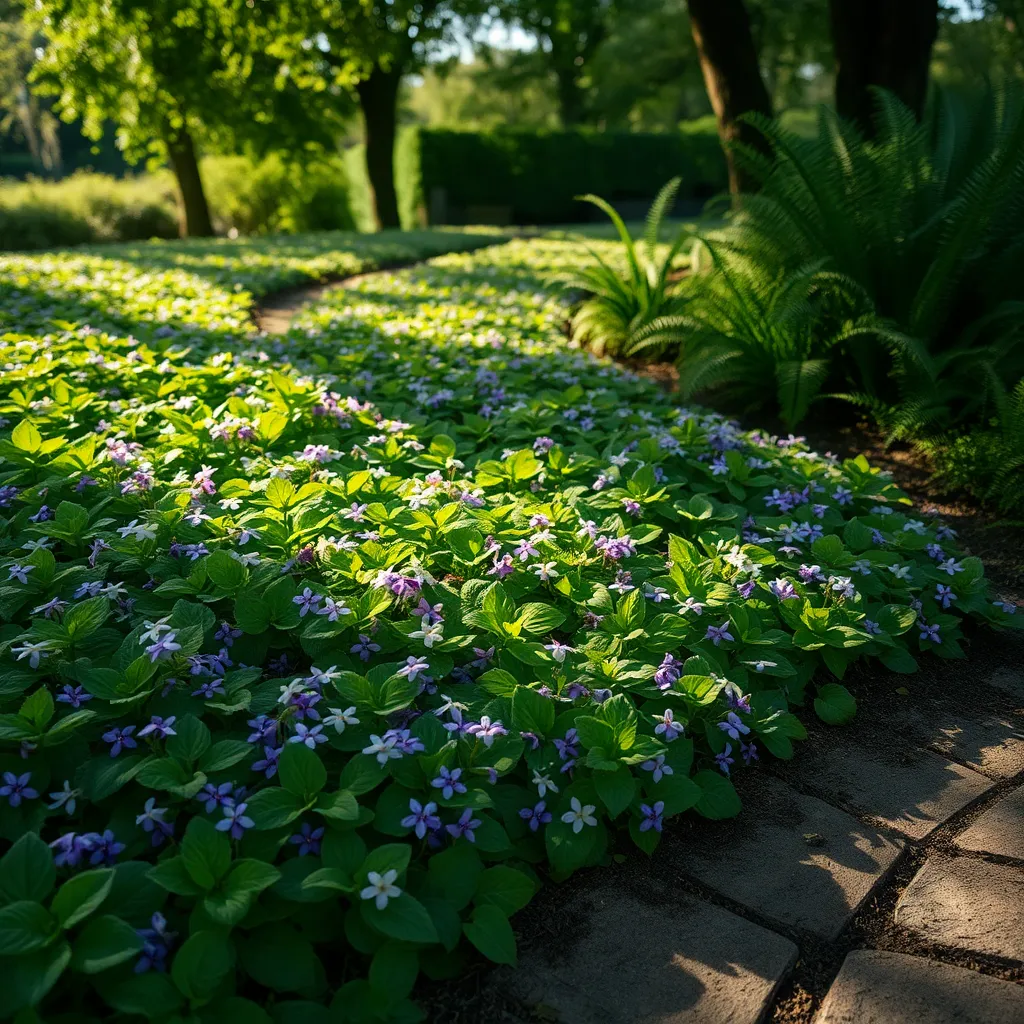
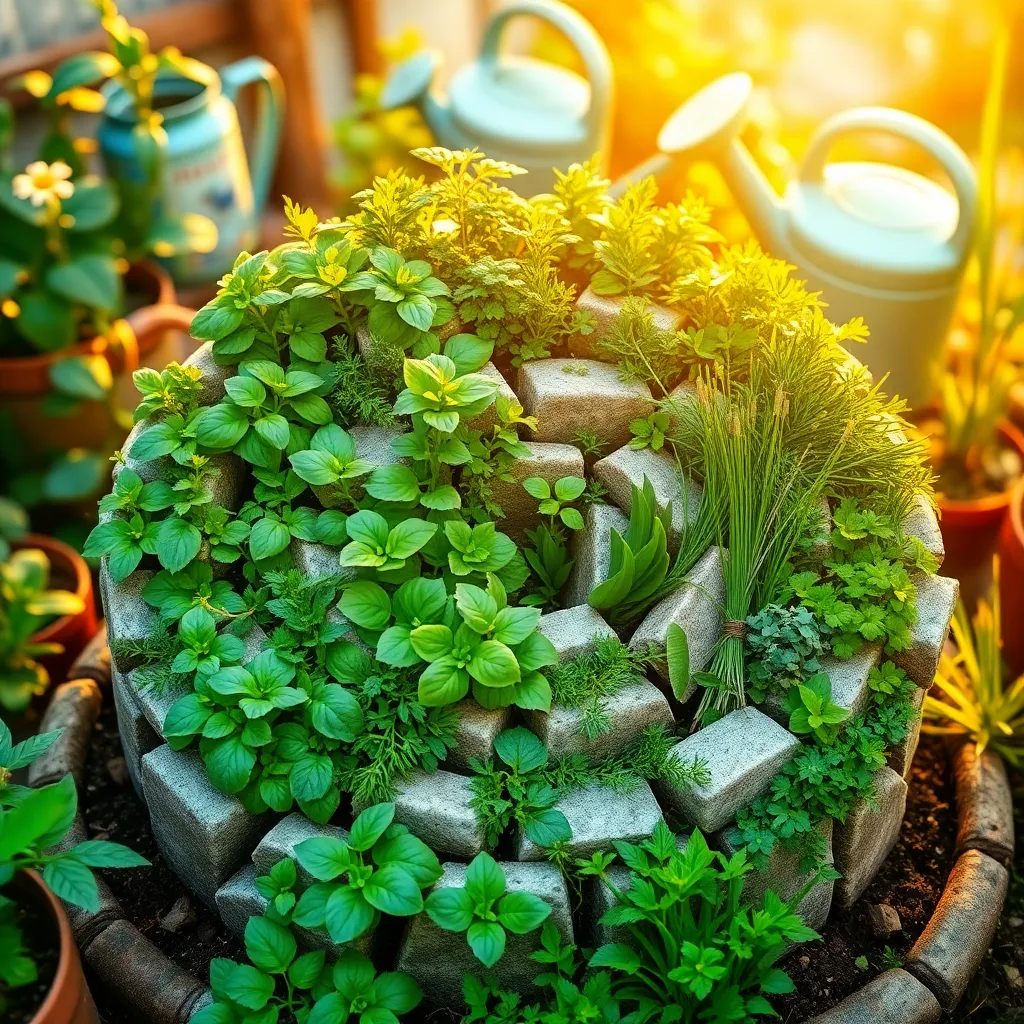
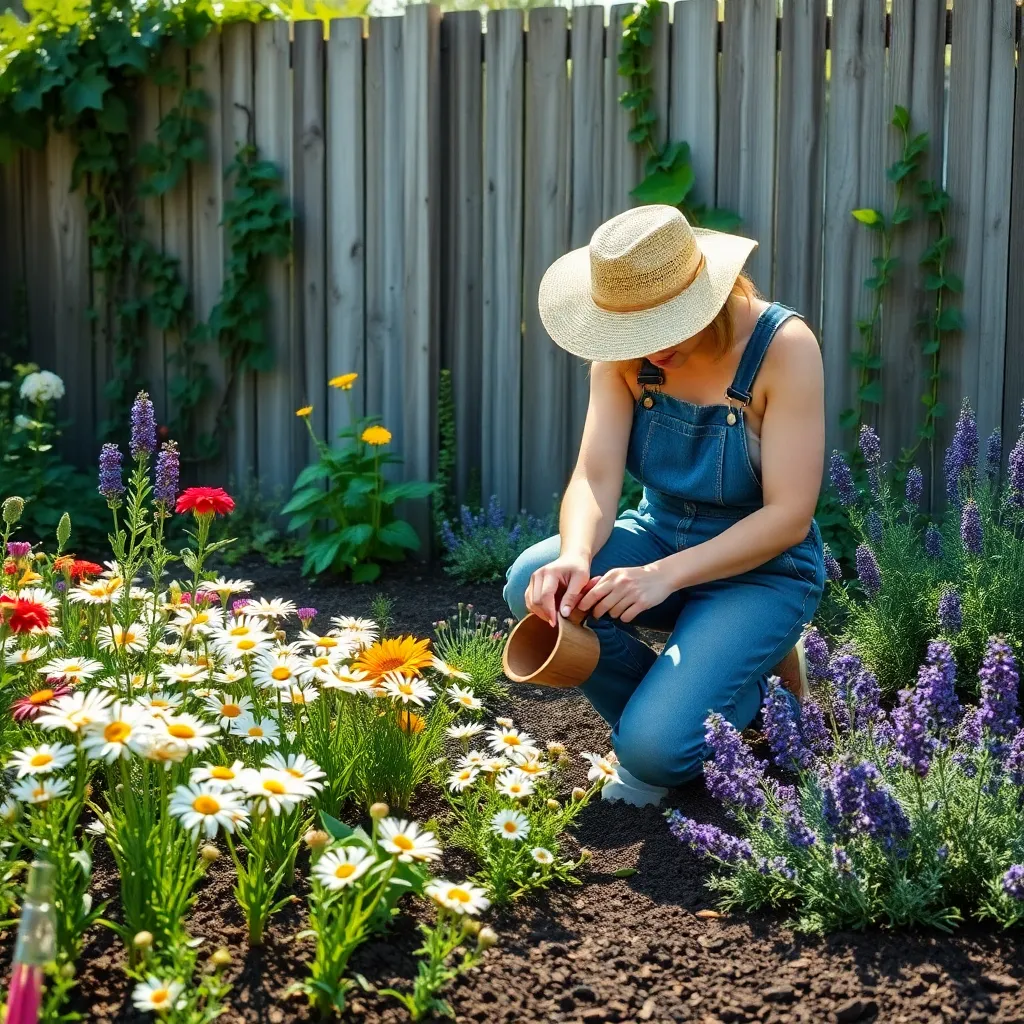
Space Plants for Optimal Airflow
Proper plant spacing is crucial for ensuring optimal airflow within your garden, which helps prevent diseases such as powdery mildew and root rot. Begin by researching the mature size of the plants you intend to grow and allocate enough space for them to expand without overcrowding.
Spacing requirements vary depending on the plant species and their growth habits. For instance, compact flowers like marigolds can be planted closer together, while larger plants like sunflowers need more room to thrive.
Use a measuring tape or garden ruler to mark the appropriate distance between plantings when setting them in the ground. This simple step helps maintain the recommended spacing and ensures your garden has a neat, organized appearance.
For advanced gardeners, consider the direction of prevailing winds in your area to further enhance airflow. Aligning rows of plants with the wind direction can promote better ventilation and reduce humidity levels around the foliage.
Conclusion: Growing Success with These Plants
In nurturing both gardens and relationships, simplicity and attention can create lasting beauty. This article has shown you how to cultivate low-maintenance flower gardens with tips that parallel relationship growth: choosing the right plants (partners), understanding soil conditions (emotional environments), embracing perennials (long-term commitment), and ensuring proper spacing (personal space). We also covered the importance of mulching (protecting your bond), watering wisely (nurturing communication), utilizing companion planting (teamwork), pruning regularly (addressing issues), embracing native plants (authenticity), and inviting pollinators (welcoming positive influences).
As an actionable step, pick one tip to implement today, whether it’s planning a surprise date night or initiating a heartfelt conversation. This small act can blossom into a renewed connection. Remember, just as a garden thrives with care and attention, so too will your relationships.
Bookmark this article now to keep these insights at your fingertips and revisit them whenever you need guidance. By investing in these foundational principles, you’re paving the way for a flourishing future where your relationships blossom beautifully, resilient in any season. Let this journey be a testament to your commitment to nurturing love and understanding.