Imagine stepping into your garden and being greeted by a vibrant, delicious landscape that delights both the eyes and the taste buds. “8 Fun Edible Landscaping Ideas” is your roadmap to transforming ordinary outdoor spaces into a feast for the senses, perfect for both beginners taking their first steps into gardening and seasoned green thumbs looking for fresh inspiration. This guide is packed with exciting plant choices and creative techniques that seamlessly blend beauty and utility, making it a must-read for anyone eager to cultivate a garden that’s as productive as it is picturesque.
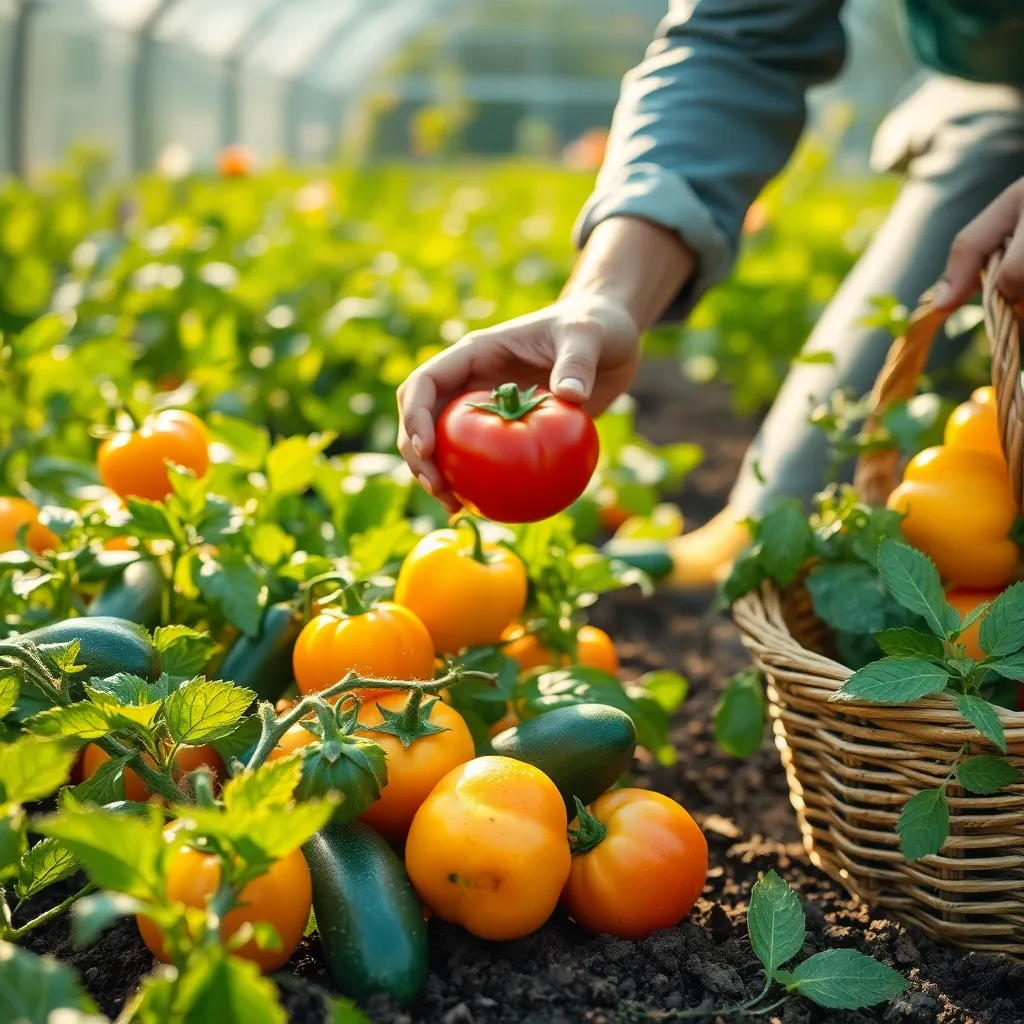
Incorporating edible plants into your landscape is not only a rewarding endeavor but also a practical one, offering a bounty of fresh produce right from your backyard. Whether you’re dreaming of a lush berry border or a cascading herb wall, these ideas promise to boost your garden’s aesthetic appeal while filling your kitchen with homegrown flavors. You’ll find that the joy of harvesting your own ingredients is matched only by the satisfaction of knowing you created a garden that thrives with purpose and beauty. With “8 Fun Edible Landscaping Ideas,” you’re empowered to embark on this delightful gardening adventure, confident that success is just a planting season away.
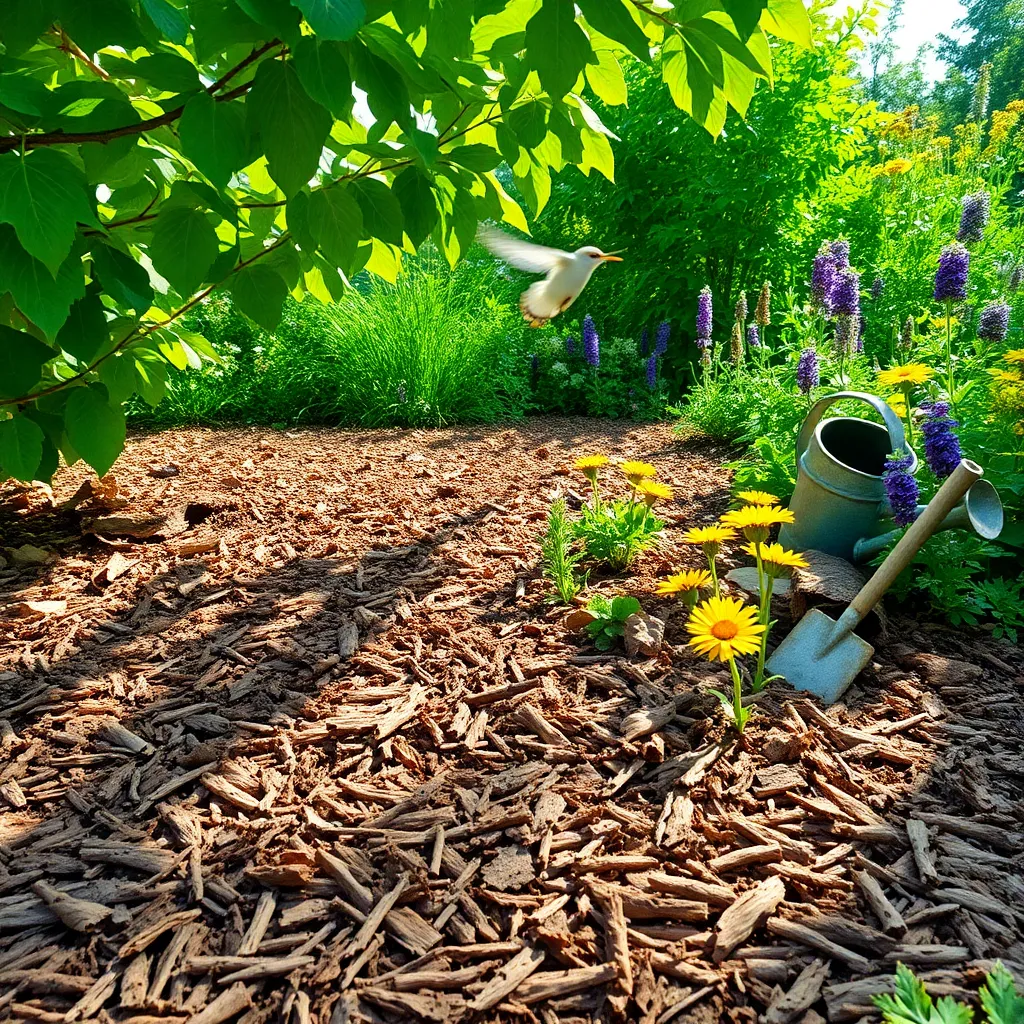
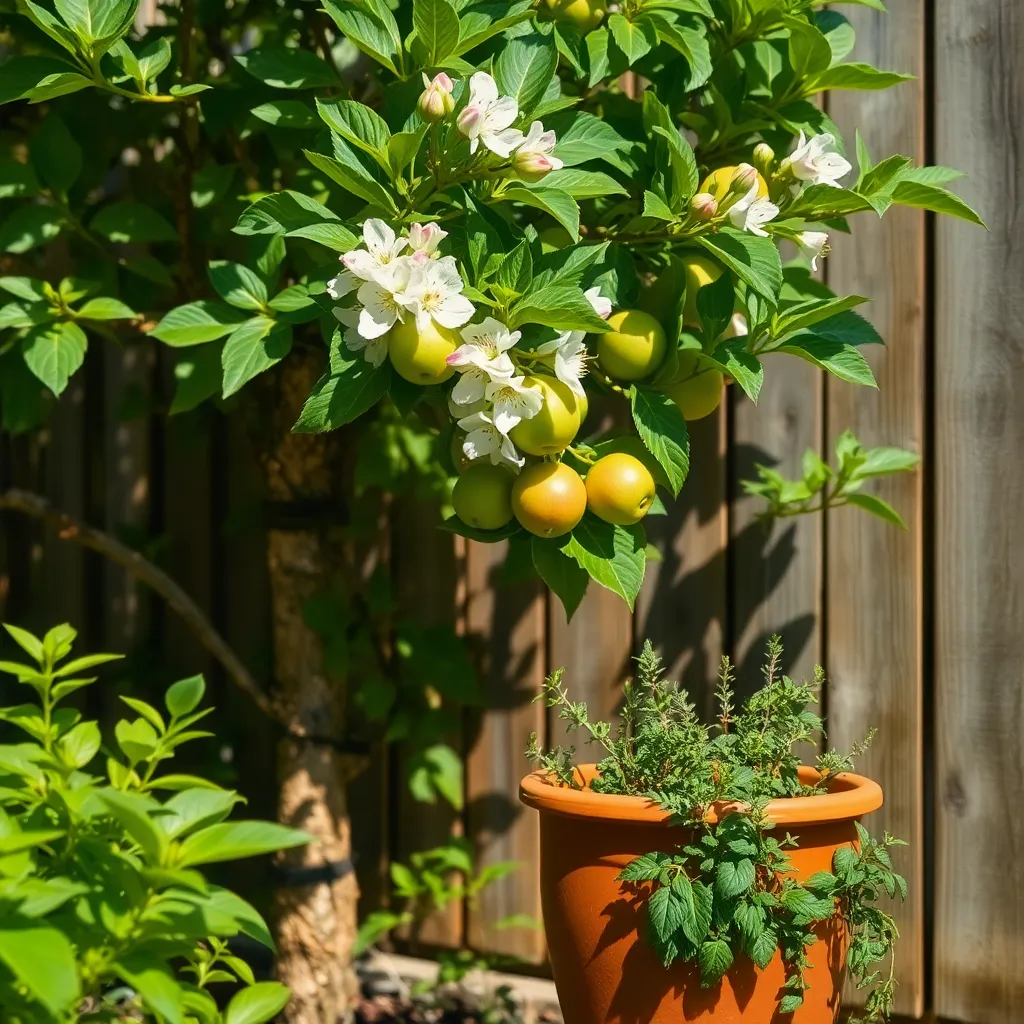
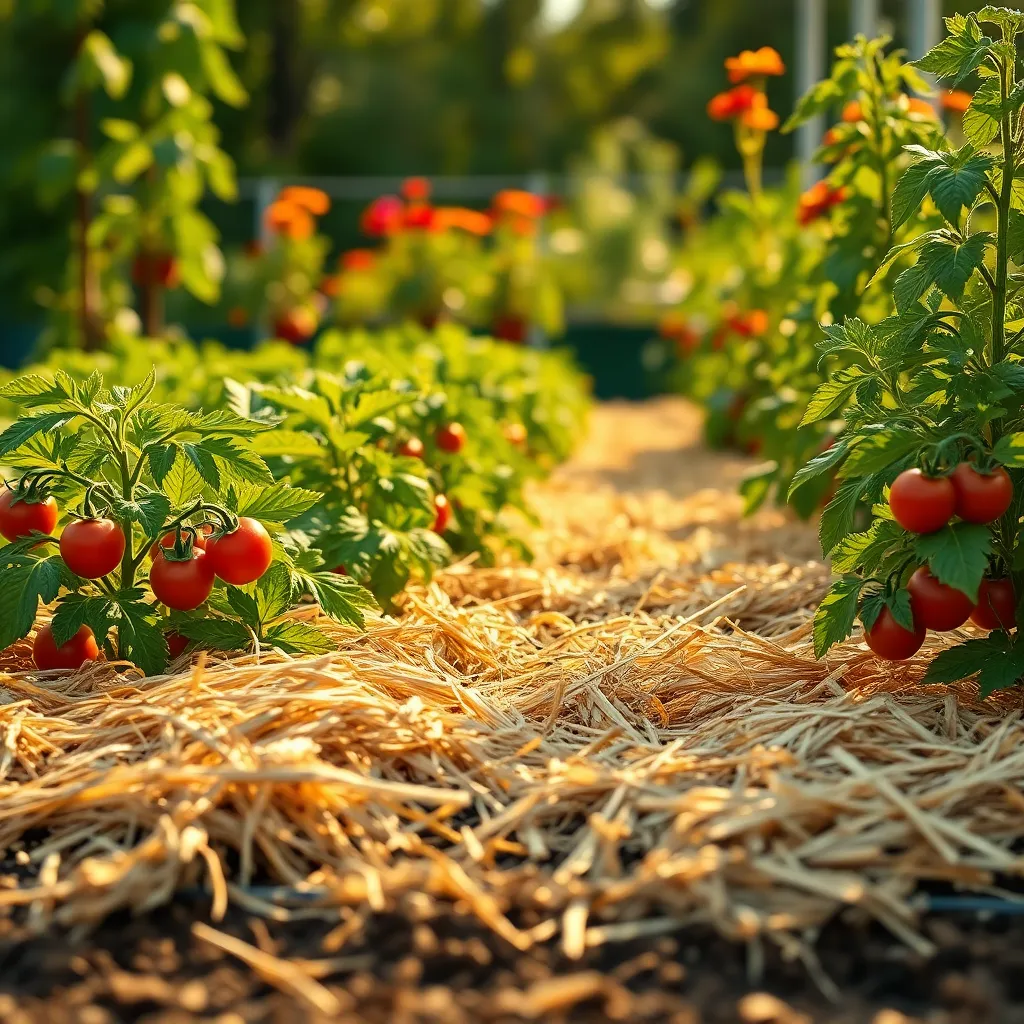
Plant Fruit Trees for Shade

Planting fruit trees not only provides delicious produce but also offers much-needed shade in your garden. Consider varieties such as apple, pear, or peach trees, which are both fruitful and can create a cooling canopy.
When selecting a location for your fruit trees, ensure they receive at least six to eight hours of sunlight daily. It’s crucial to choose a spot with well-draining soil and maintain a pH level between 6.0 and 7.0 for optimal growth.
Water newly planted trees thoroughly once a week, especially during their first growing season, to encourage deep root development. Mulching around the base can help retain moisture and control weeds, making care easier as the tree matures.
For more experienced gardeners, consider implementing a pruning schedule to enhance fruit production and overall tree health. Regularly check for pests and diseases, and apply organic or chemical treatments as needed to protect your investment.
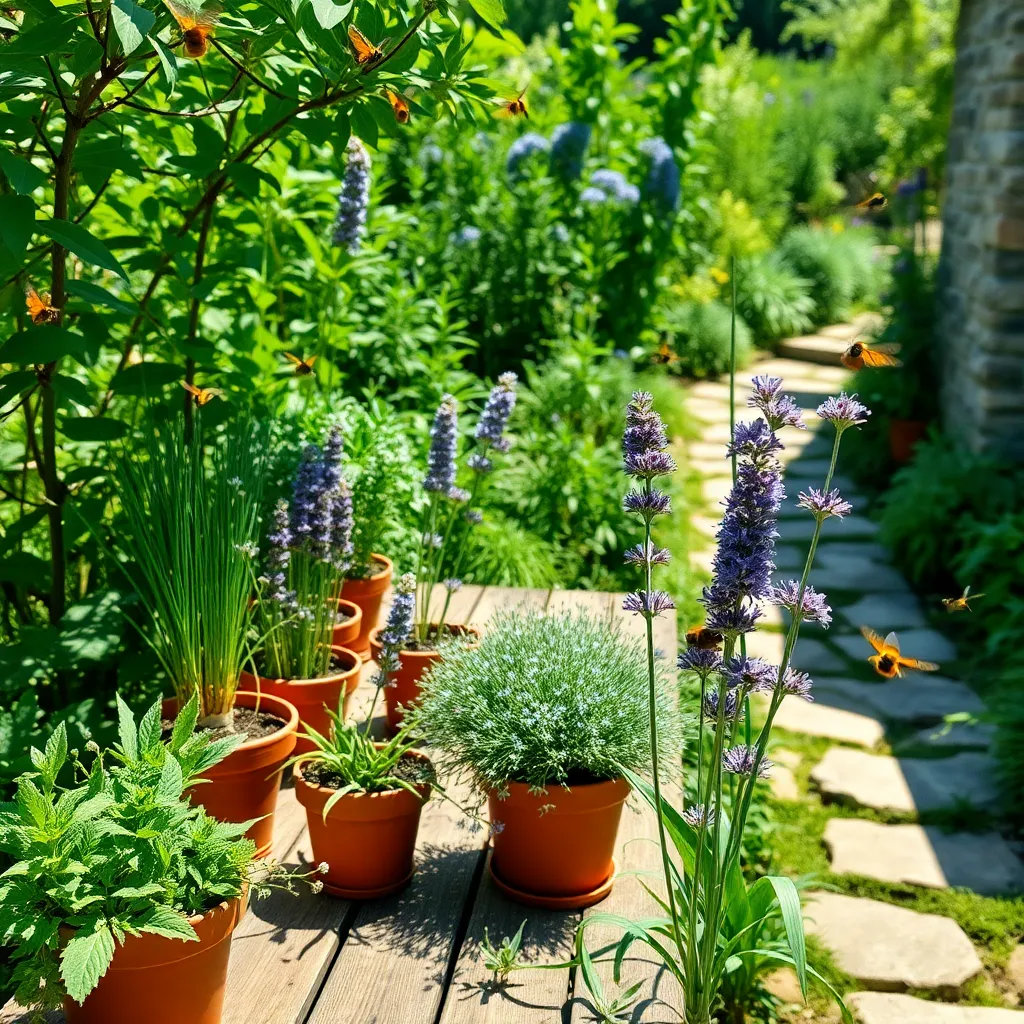
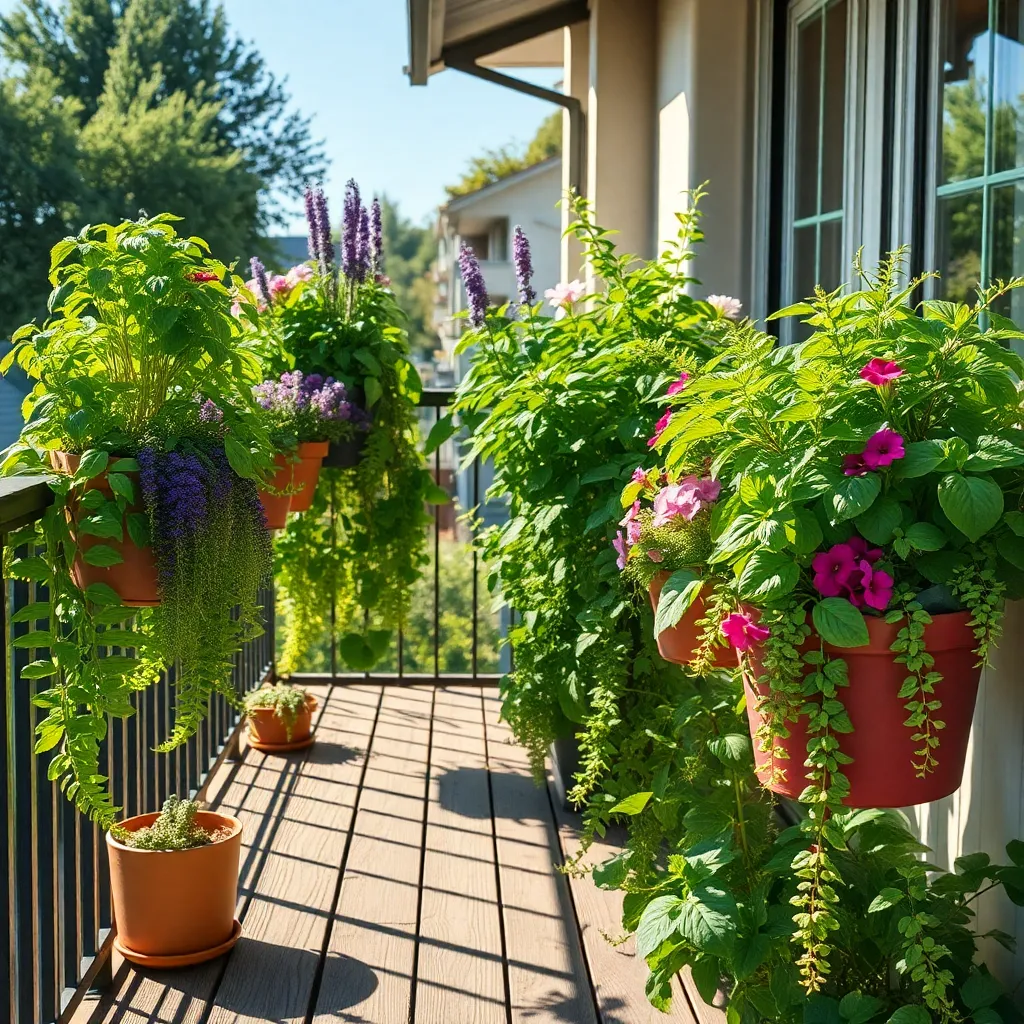
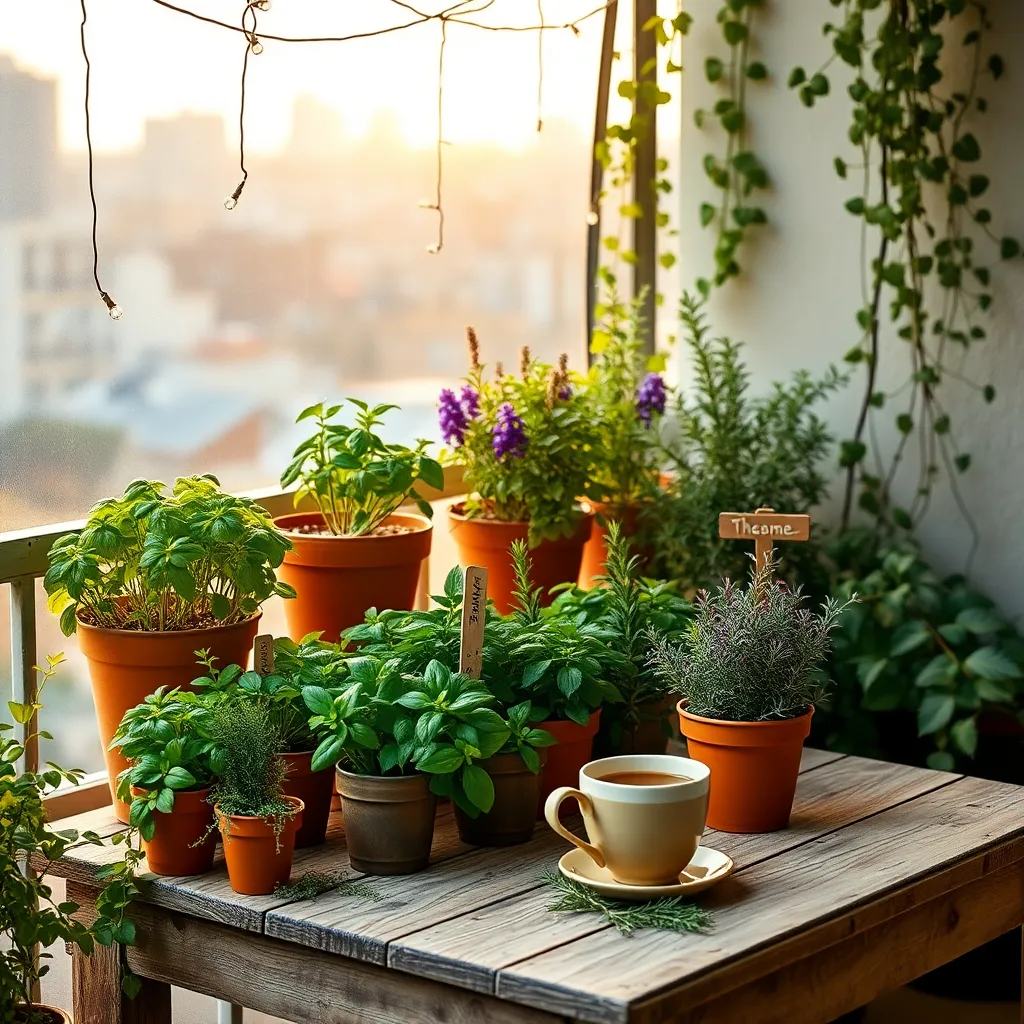
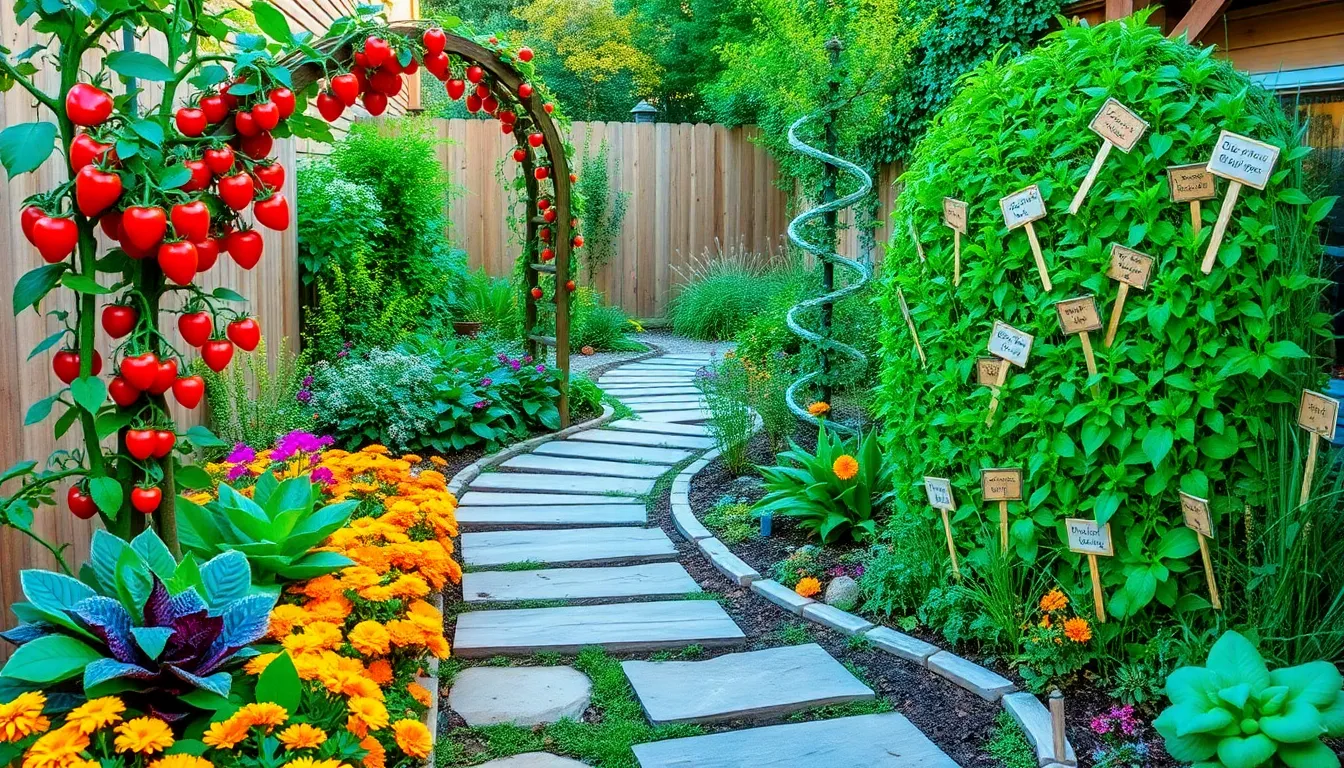
Design Herb Borders for Pathways
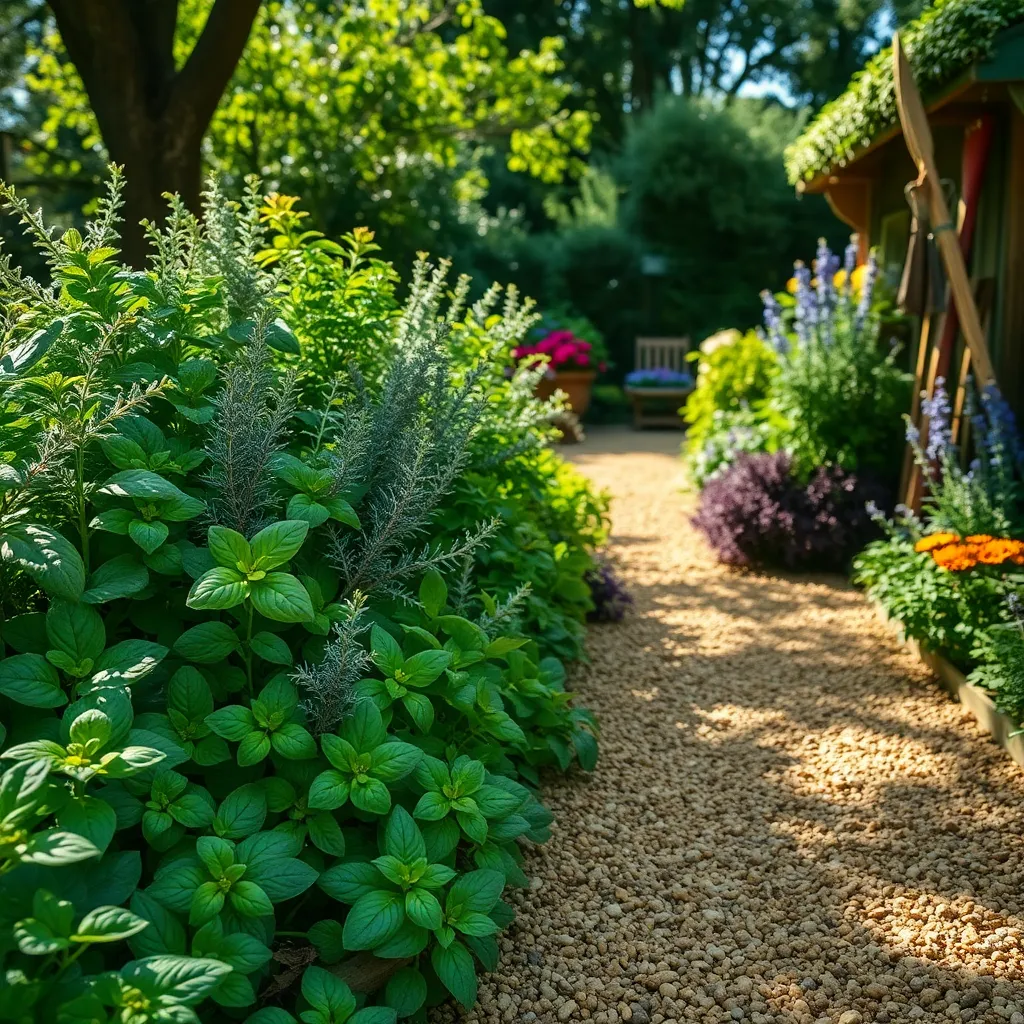
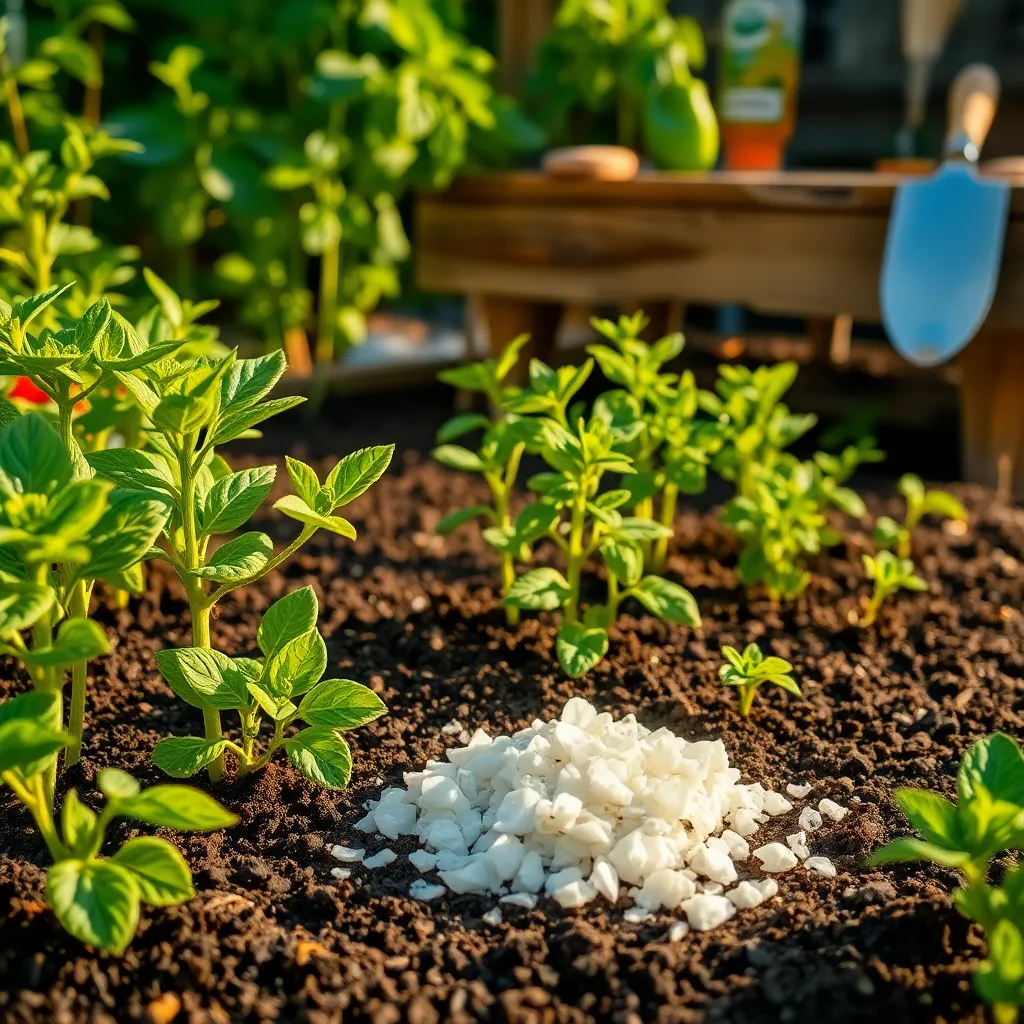
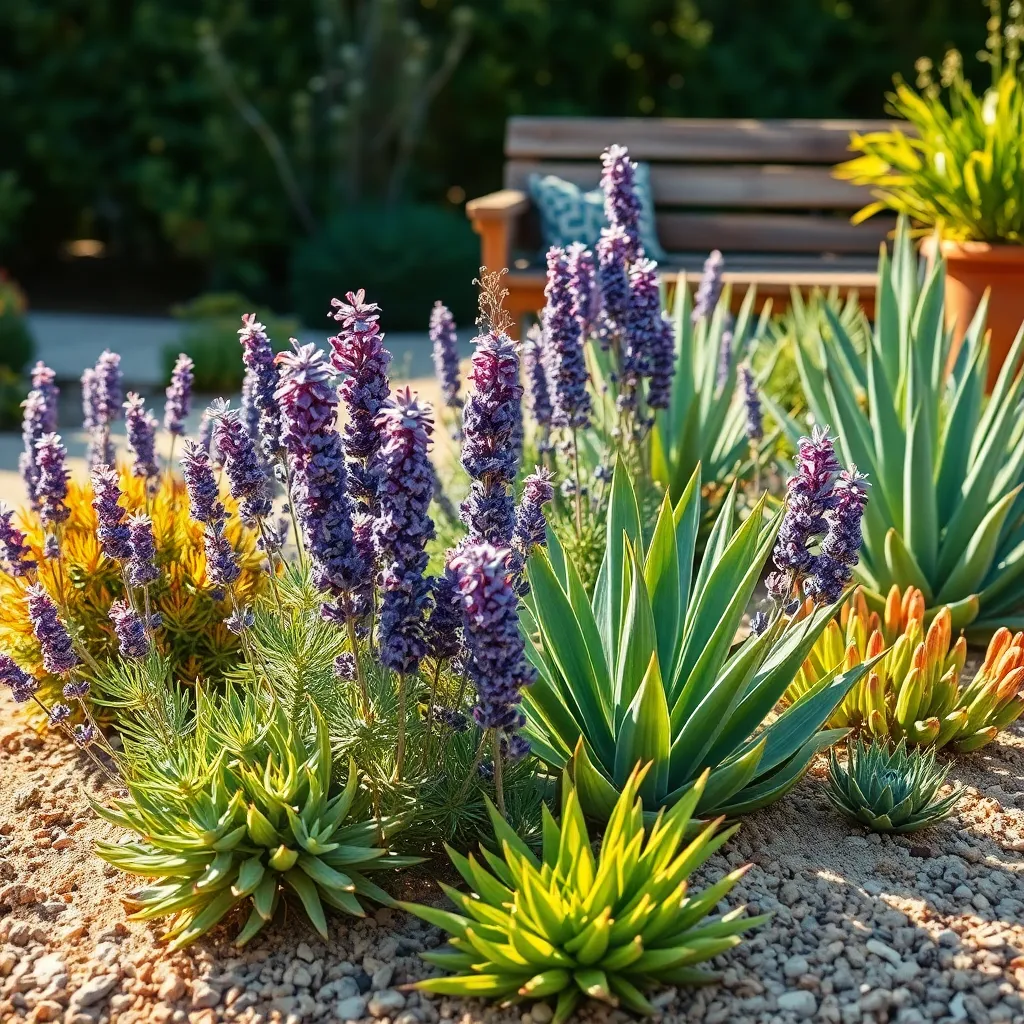
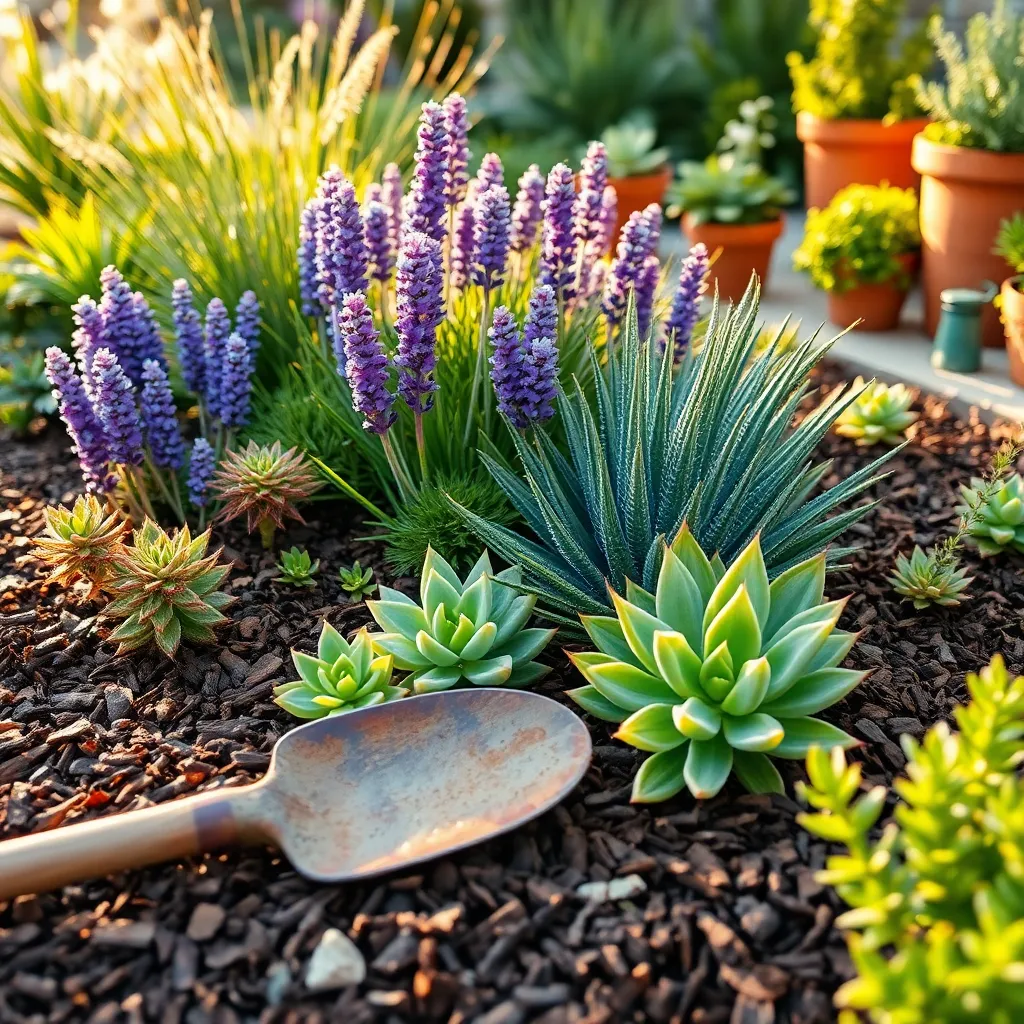
Enhancing pathways with herb borders not only adds visual appeal but also provides a fragrant and edible delight. Begin by choosing herbs that suit your climate and soil type, such as thyme, rosemary, or lavender, which thrive in well-drained soil and full sun.
It’s essential to prepare the soil before planting, incorporating organic matter like compost to improve fertility and drainage. Space the herbs approximately 12 to 18 inches apart to allow for proper air circulation and growth, which helps prevent diseases.
Watering is crucial for young plants, so ensure they receive consistent moisture during their establishment phase. Once established, many herbs are drought-tolerant, requiring less frequent watering, making them ideal for low-maintenance borders.
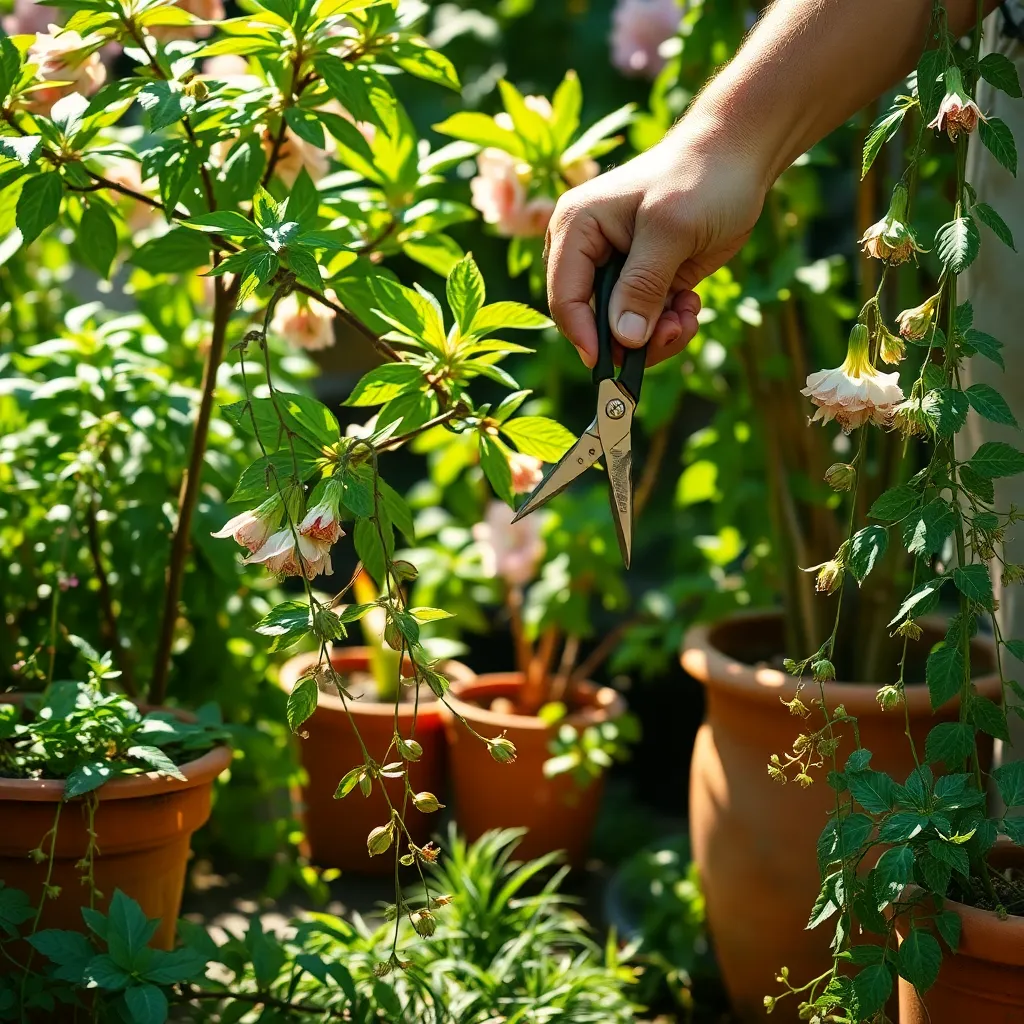
For a more advanced touch, consider alternating heights and textures by mixing low-growing herbs like oregano with taller options such as sage. Regularly prune your herbs to encourage bushy growth and continuous harvest, ensuring your pathway borders remain lush and productive throughout the growing season.
Integrate Berry Bushes in Hedges

Incorporating berry bushes into your hedges is a creative way to enhance both the beauty and functionality of your landscape. By choosing varieties like blueberries, raspberries, or currants, you can enjoy a lush, green backdrop that also provides fresh, edible treats.
Blueberries thrive best in acidic, well-drained soil, making them an excellent choice for sunny or partially shaded locations. To ensure healthy growth, water them consistently, keeping the soil moist but not waterlogged.
For those in cooler climates, currants are a hardy option that can withstand frost and require minimal maintenance. Plant them in rich, moist soil with good drainage, and be sure to prune them annually to encourage new growth and fruit production.
If you prefer a more traditional hedge appearance, raspberries can be trained to grow upright with support from trellises or stakes. They require full sun and regular watering during the growing season to produce juicy fruit, making them a rewarding addition to any garden.
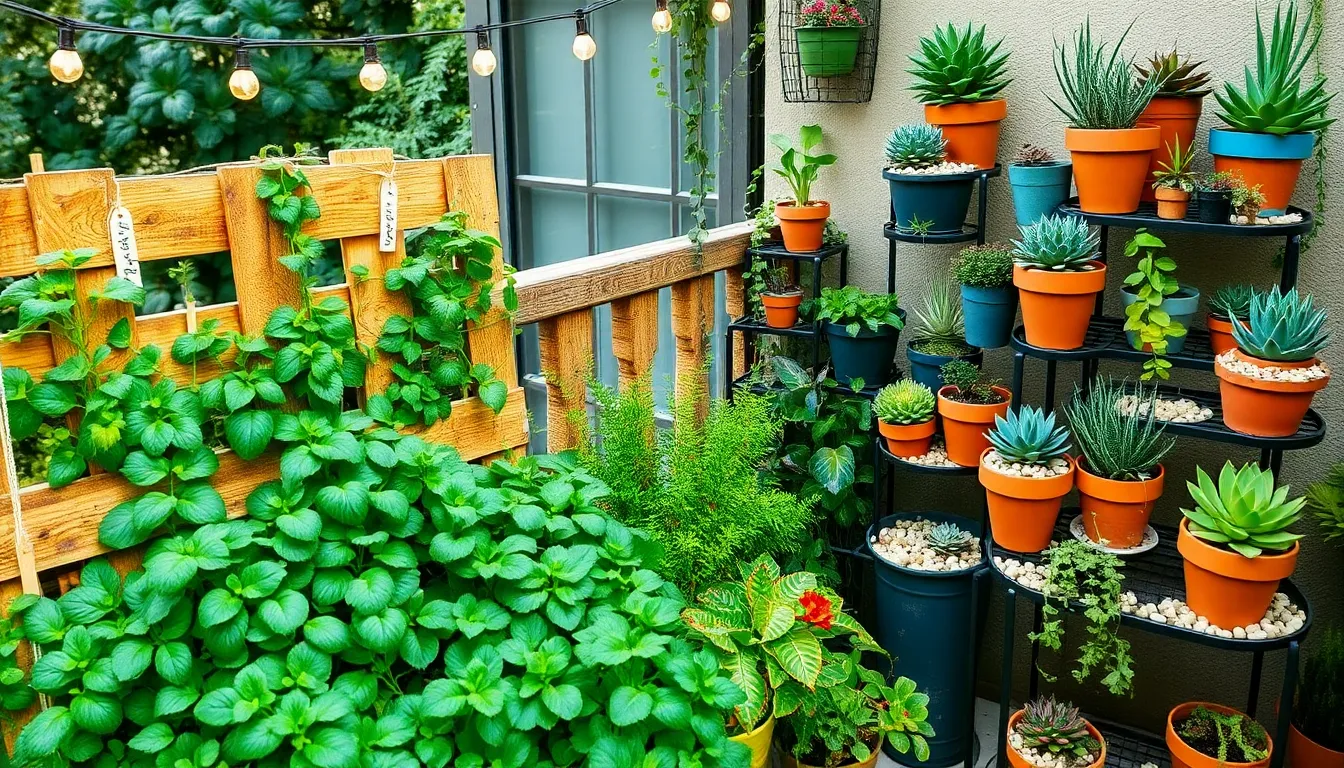
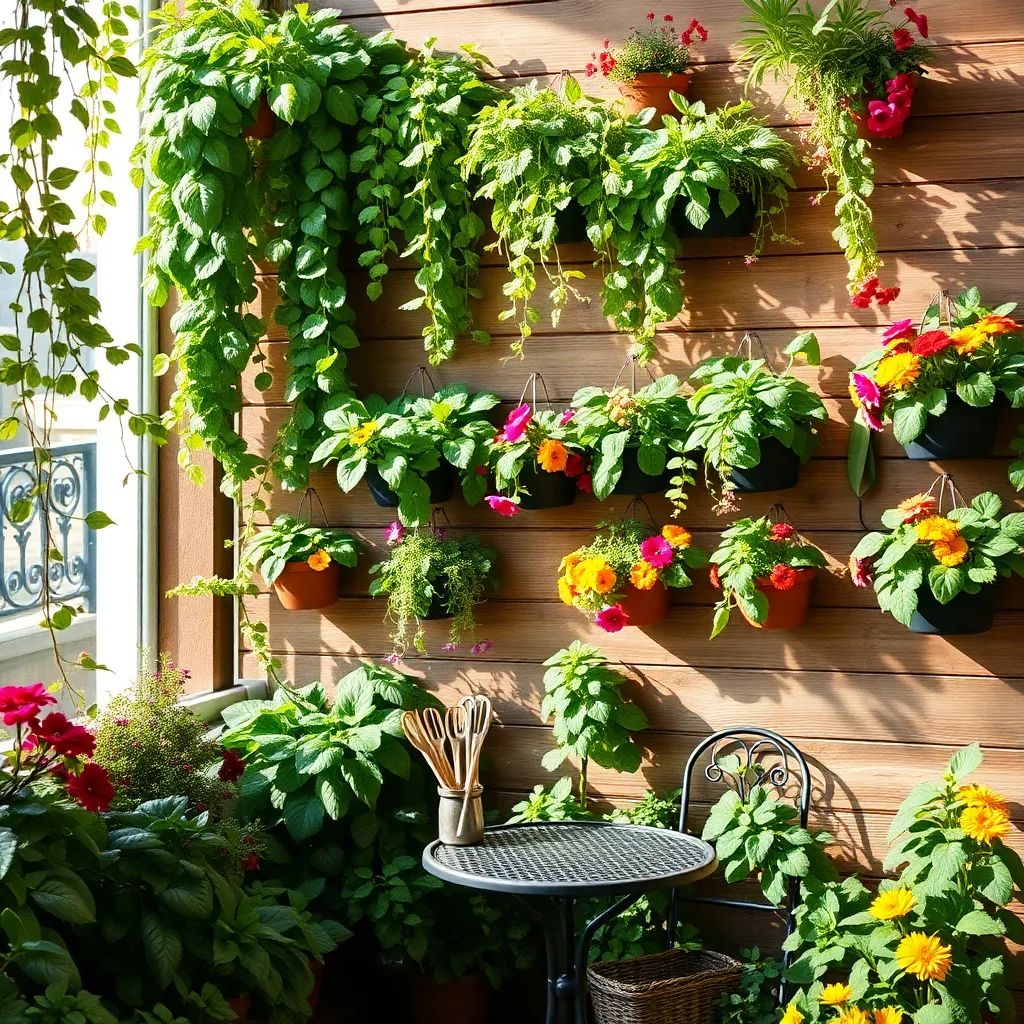
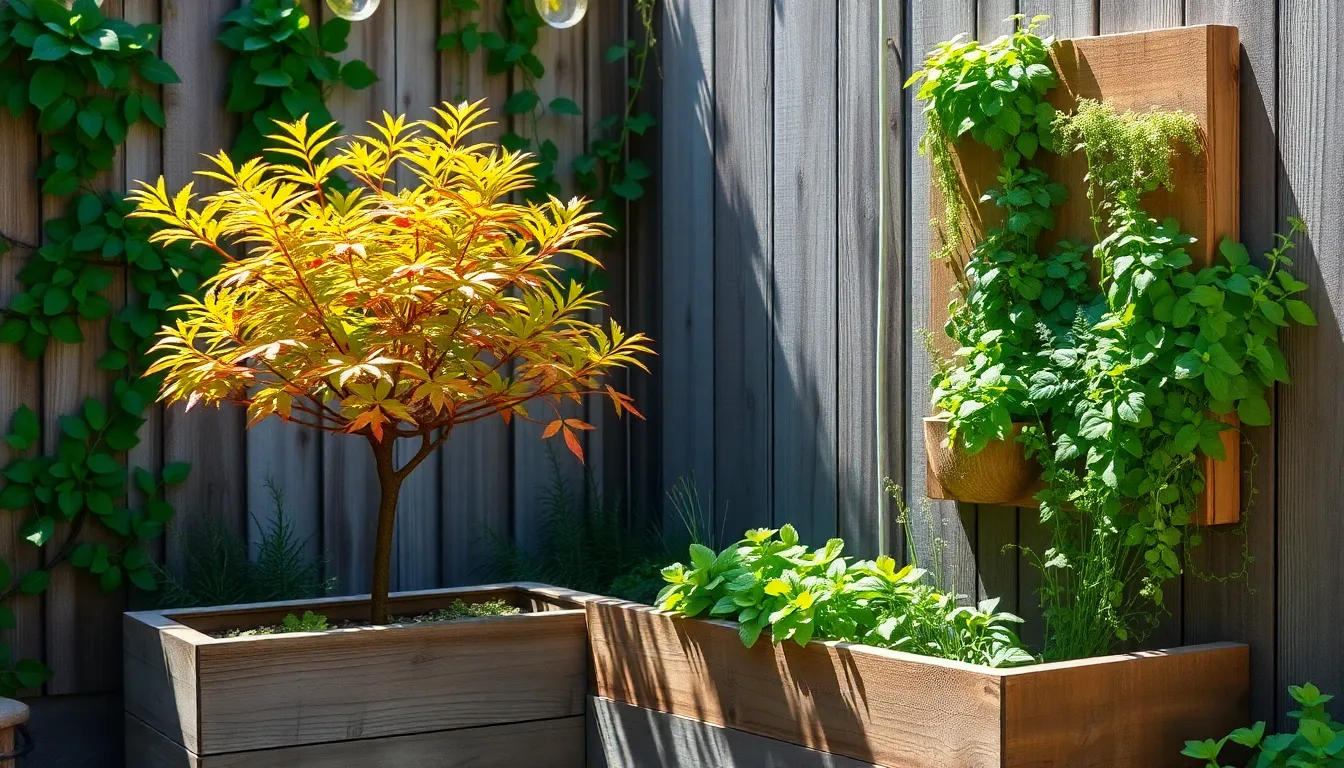
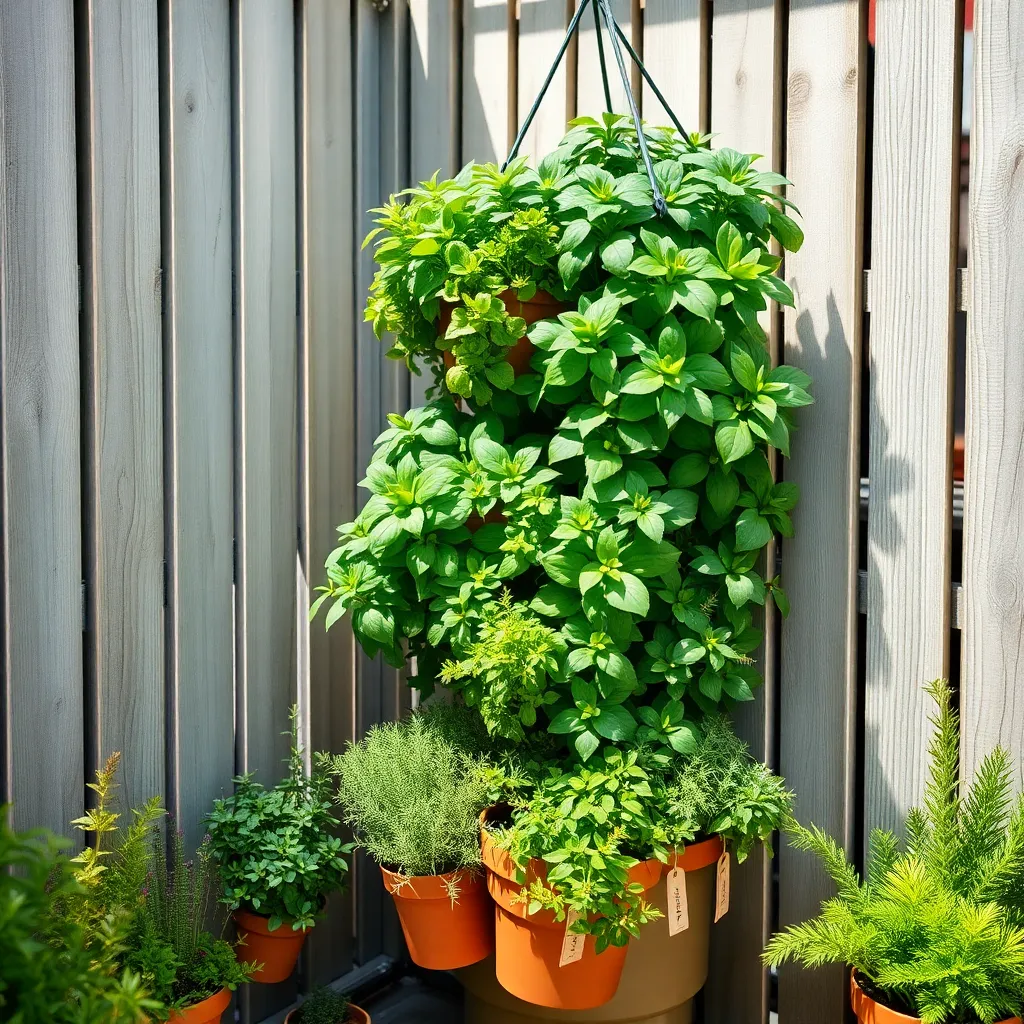
Install Vertical Gardens with Greens

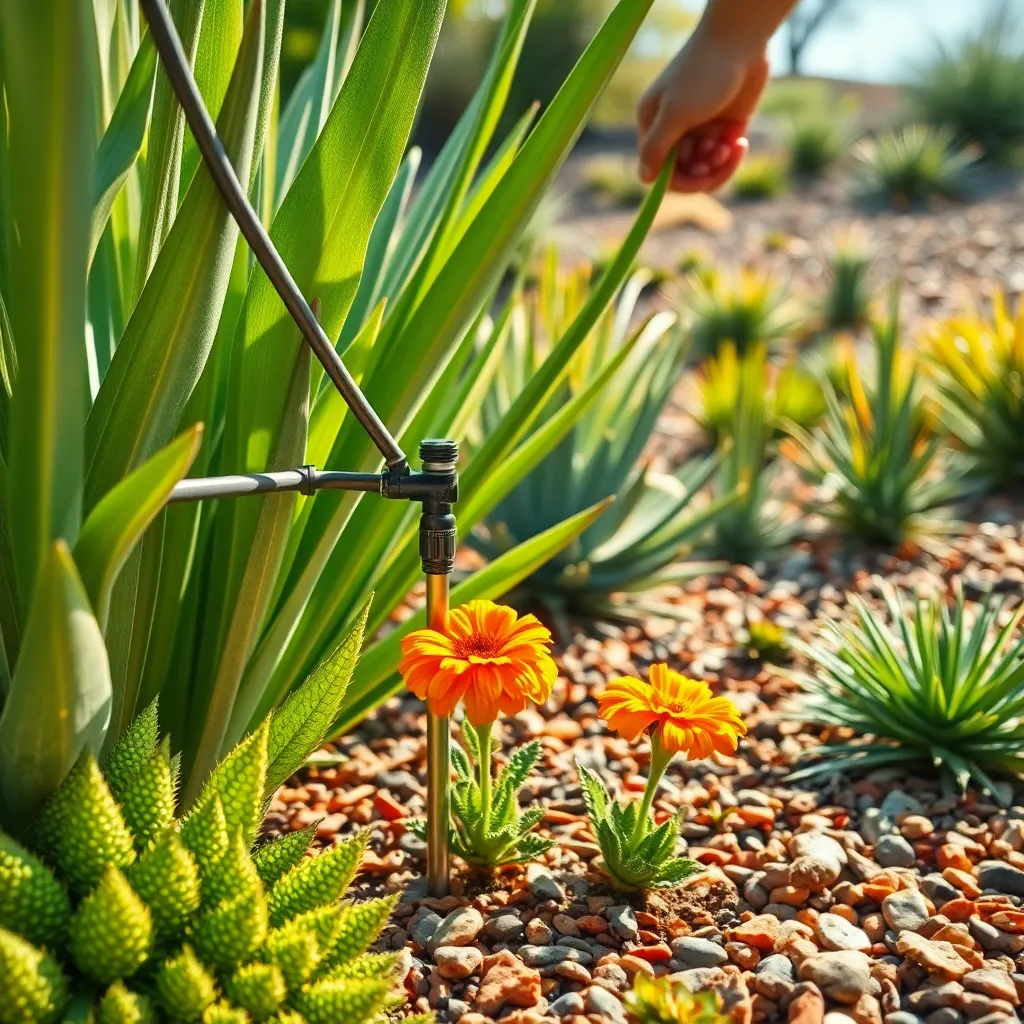
Vertical gardens provide a unique and space-saving way to incorporate edible plants into your landscape. Start by selecting a suitable wall or fence that receives ample sunlight, as most edible greens thrive with at least six hours of direct light daily.
To begin, choose sturdy containers or pockets that can securely hold soil and plants vertically. Ensure your containers have adequate drainage to prevent waterlogging, which can lead to root rot.
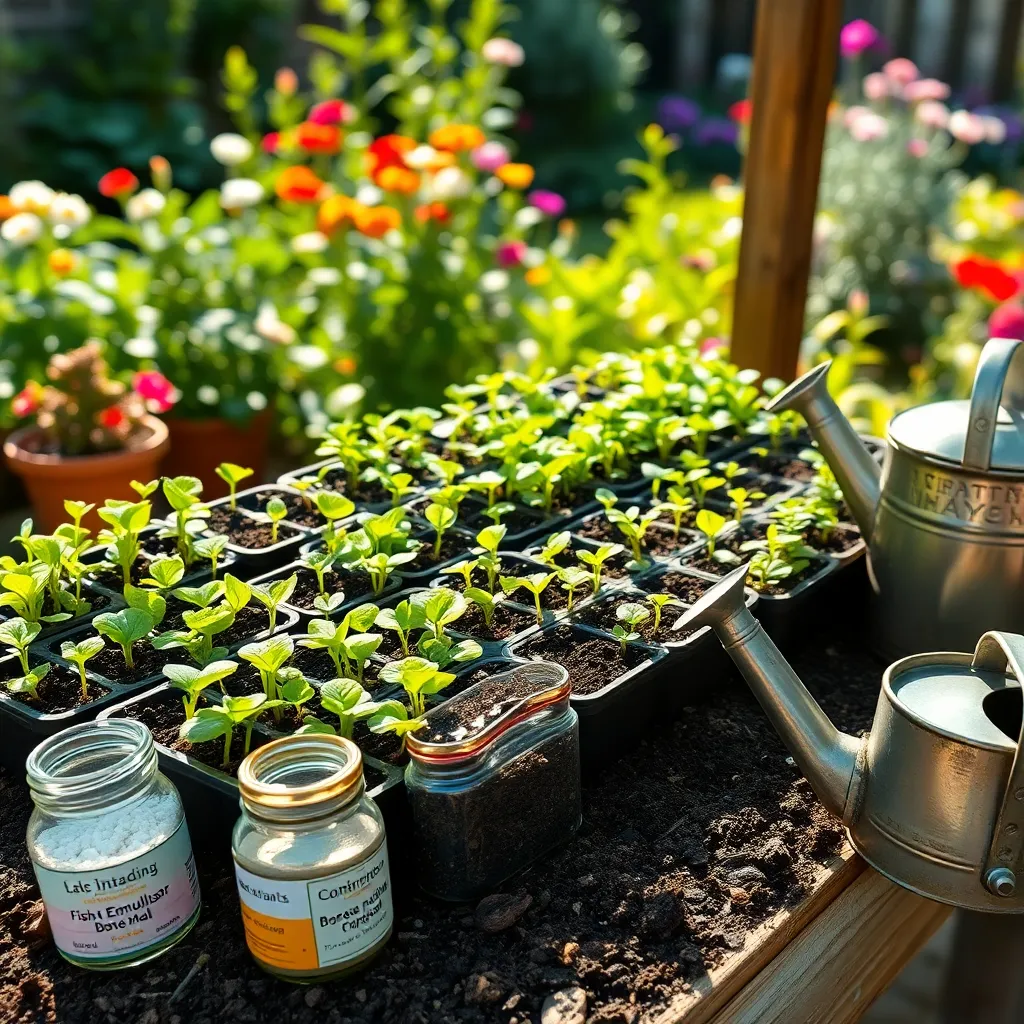
When filling your vertical garden, use a high-quality potting mix that retains moisture but drains well. Consider incorporating slow-release fertilizers into the soil to provide consistent nutrients over time.
Watering needs can vary, but generally, vertical gardens require more frequent watering due to increased exposure to air. Invest in a drip irrigation system or self-watering planters to maintain consistent moisture levels, especially during hot, dry periods.
For beginners, start with easy-to-grow greens like lettuce, spinach, and arugula. These plants are not only nutritious but also quick to harvest, allowing you to enjoy your efforts in as little as a few weeks.
Advanced gardeners might experiment with adding herbs such as basil, cilantro, and parsley, which thrive in vertical setups. Prune regularly to encourage bushier growth and prevent your herbs from becoming leggy.
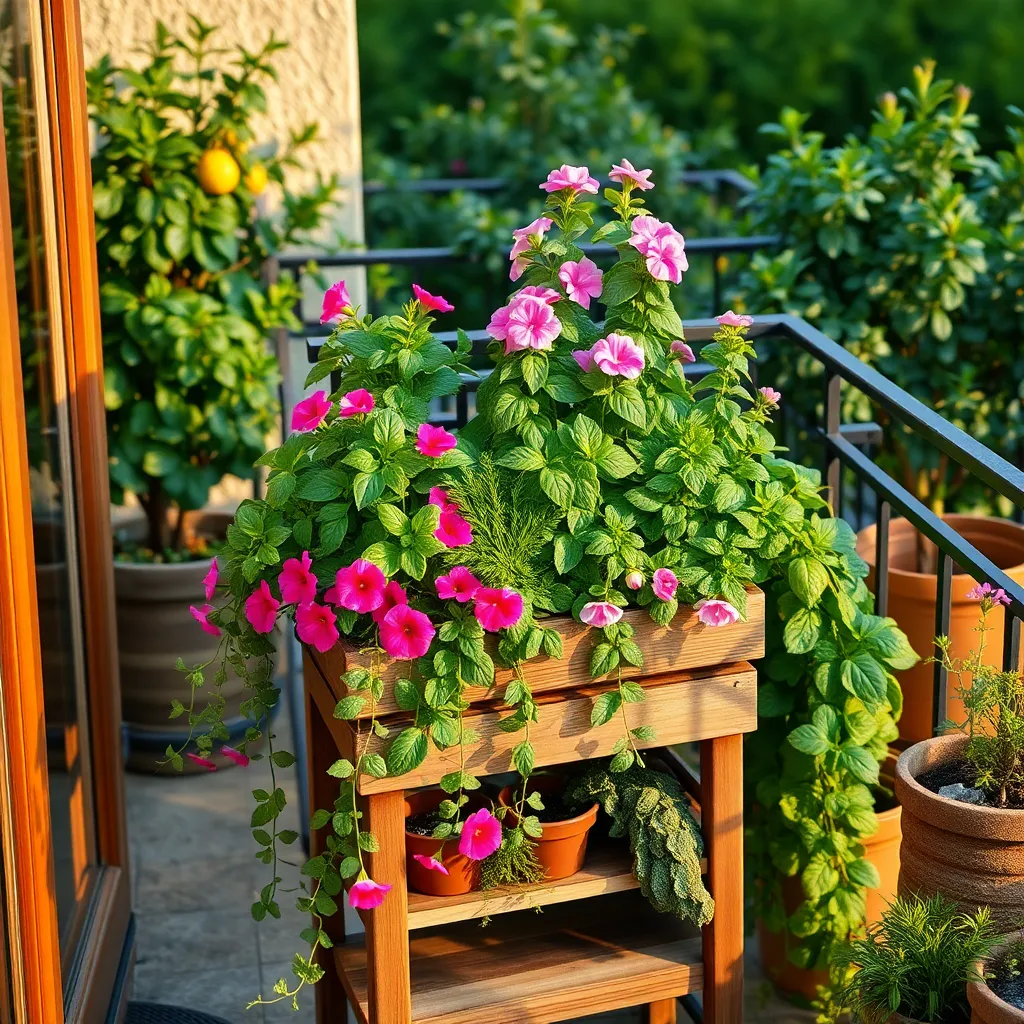
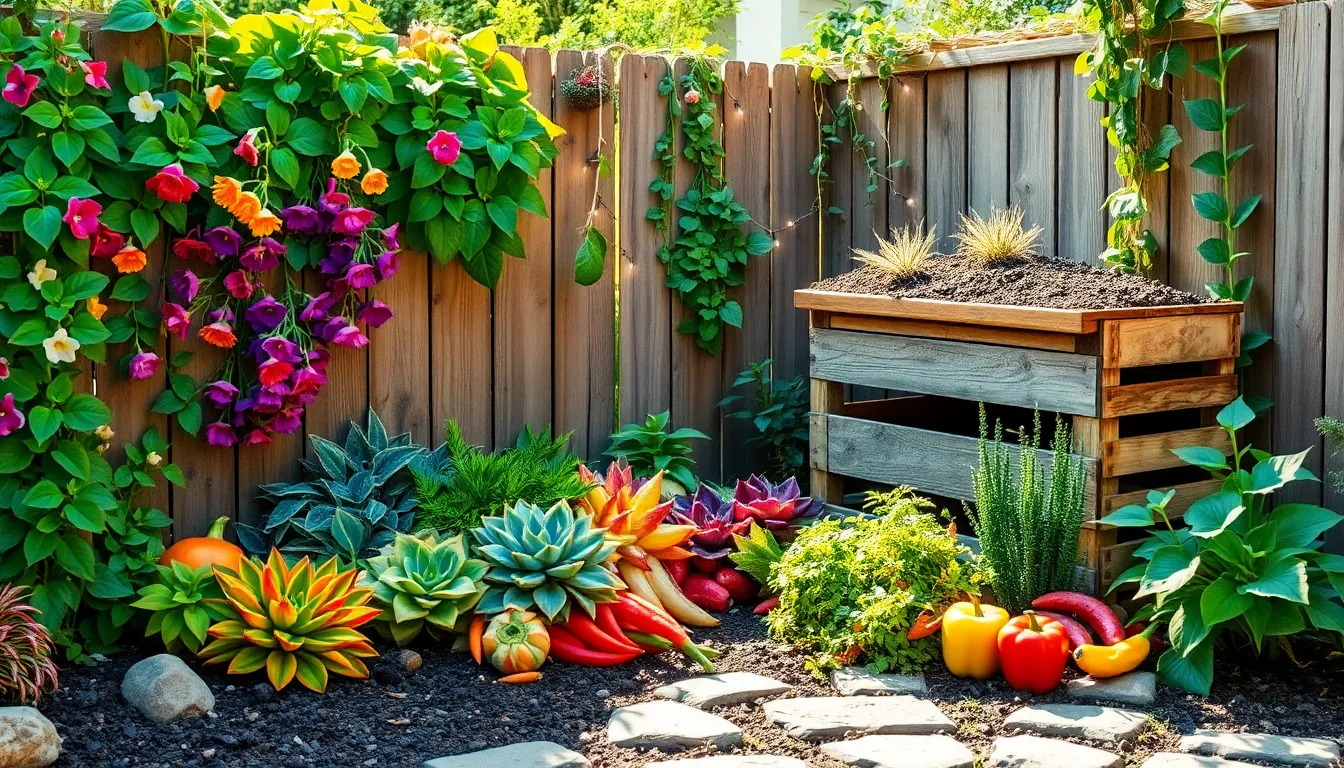
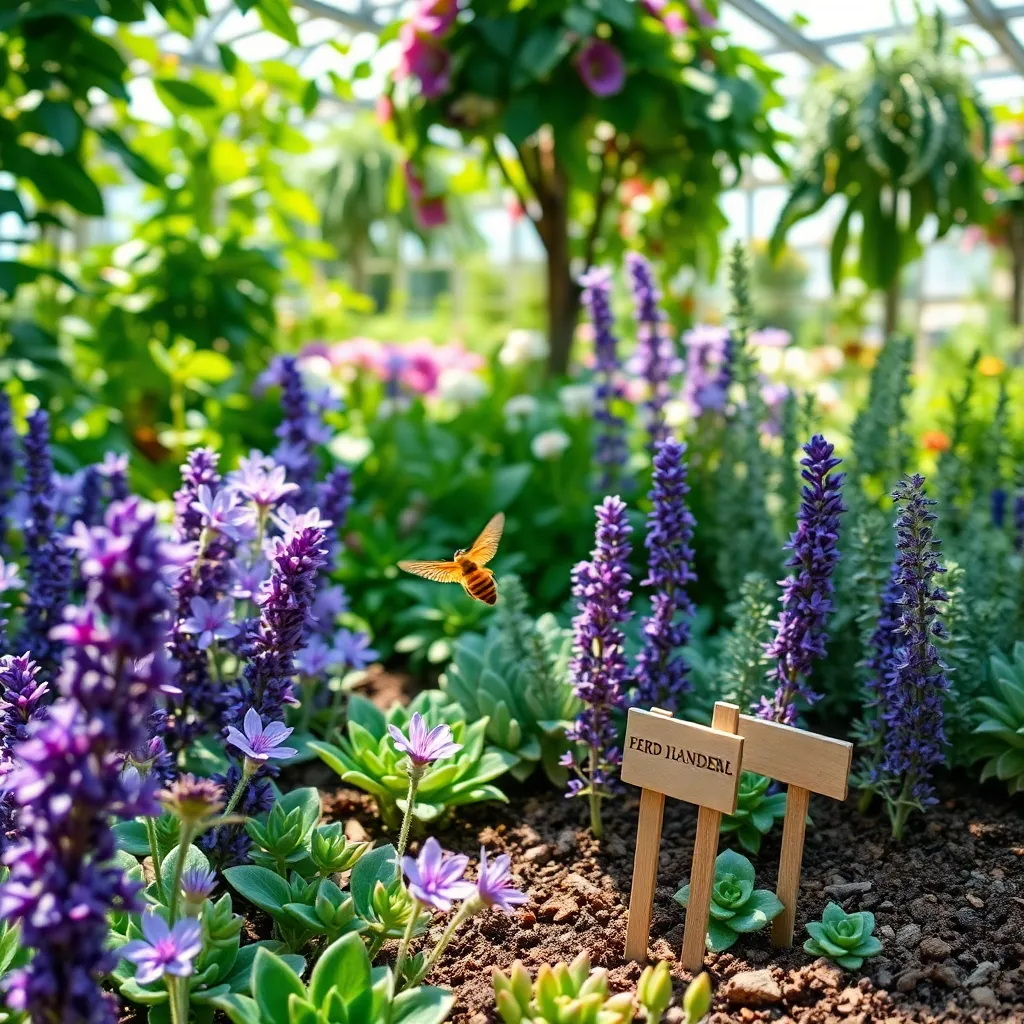
Use Edible Flowers for Color

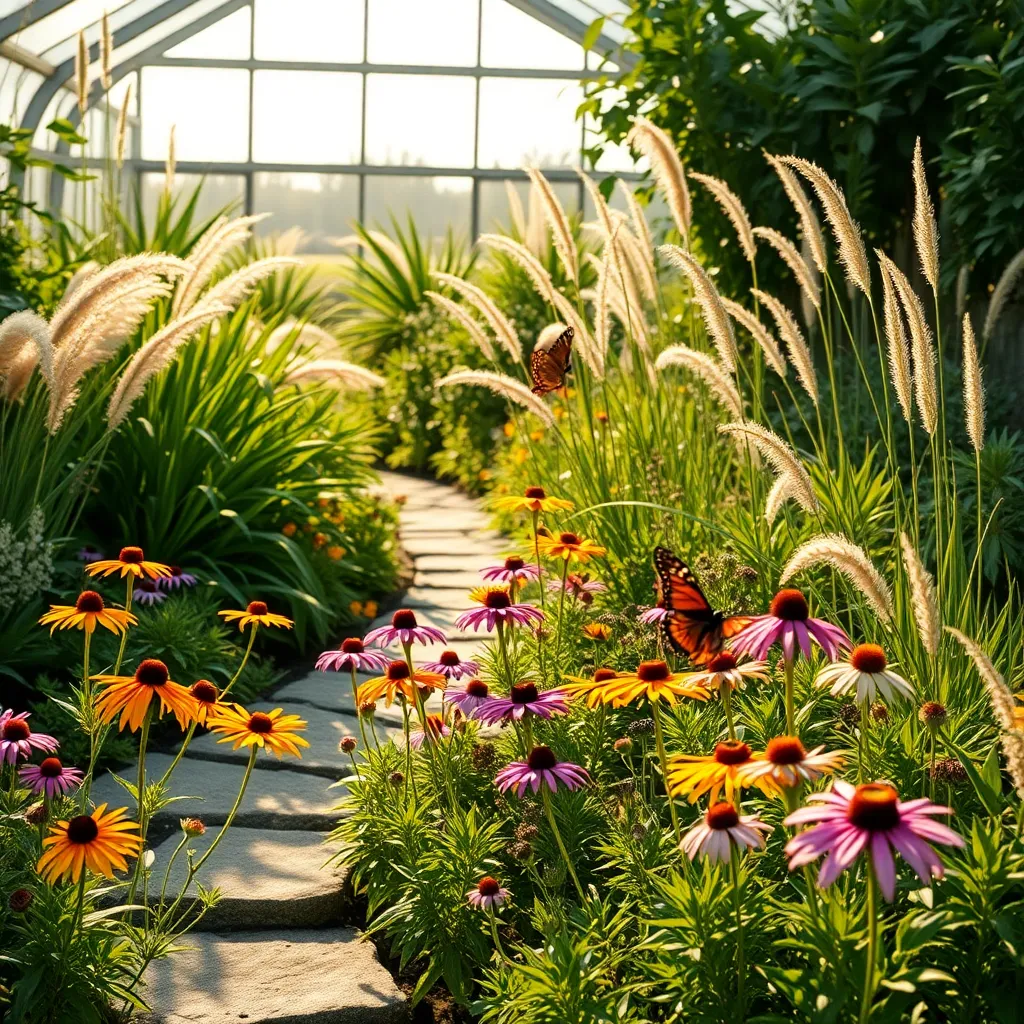
Enhancing your garden with edible flowers not only adds vibrant color but also introduces new flavors to your culinary creations. Flowers such as nasturtiums, violas, and calendulas are excellent choices for their brilliant hues and edible petals.
Nasturtiums thrive best in well-drained soil with a neutral to slightly acidic pH. Plant them in full sun for the most vivid colors, and water them moderately, allowing the soil to dry slightly between waterings.
For beginners, violas are a great option as they are easy to grow and maintain. They prefer cooler temperatures and partial shade, making them perfect for spring and fall gardens.
Advanced gardeners might enjoy experimenting with calendulas, which not only add color but also possess medicinal properties. These flowers prefer rich, well-drained soil and require regular deadheading to promote continuous blooming throughout the season.
Consider incorporating a variety of edible flowers in your garden beds or containers for a dynamic display. By doing so, you’ll create a feast for the eyes and a delightful addition to salads, desserts, and beverages.
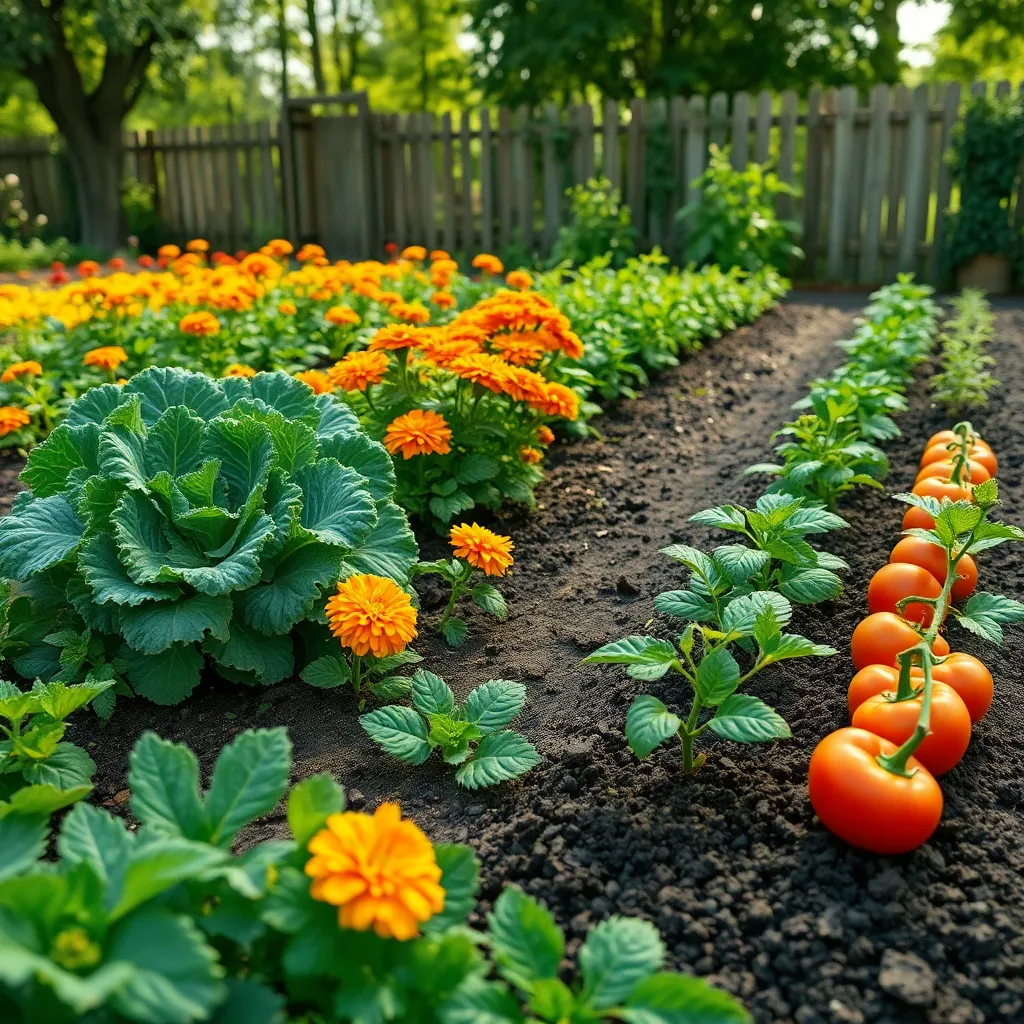
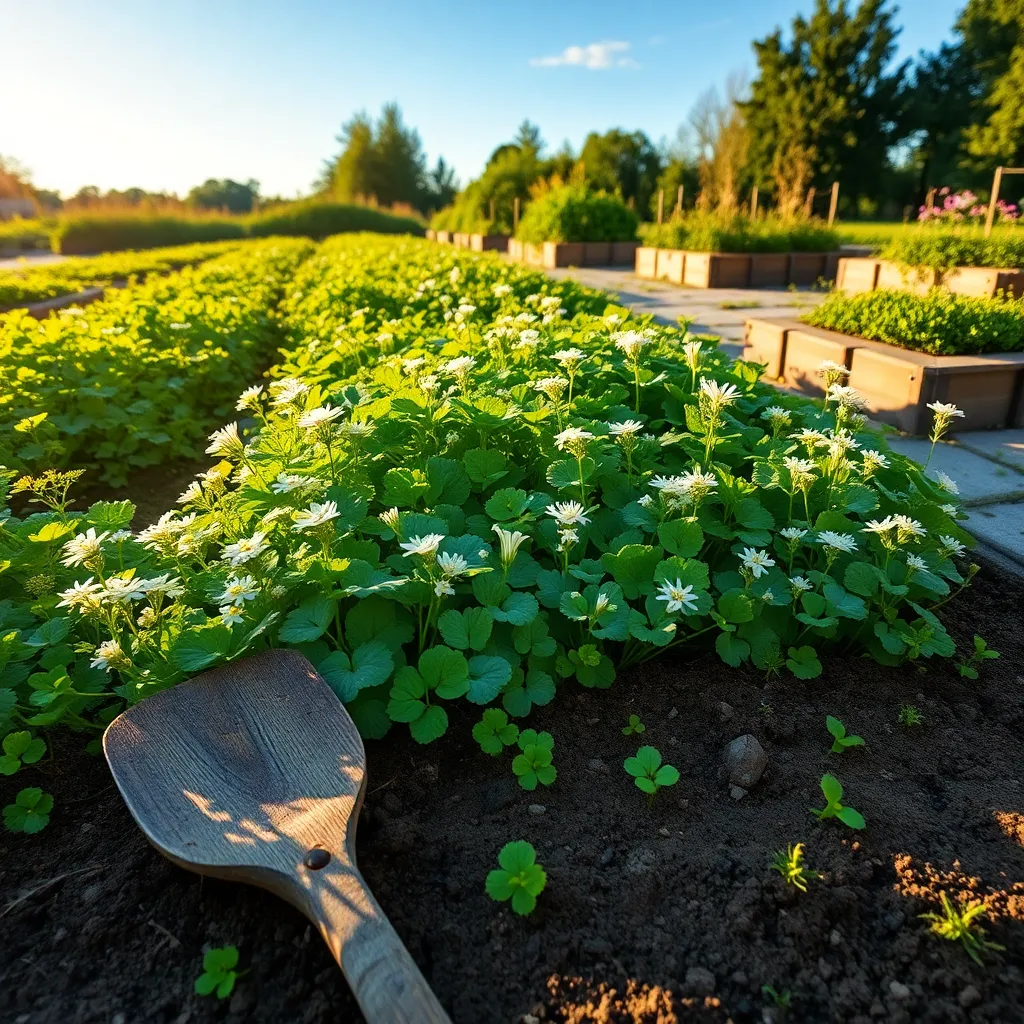
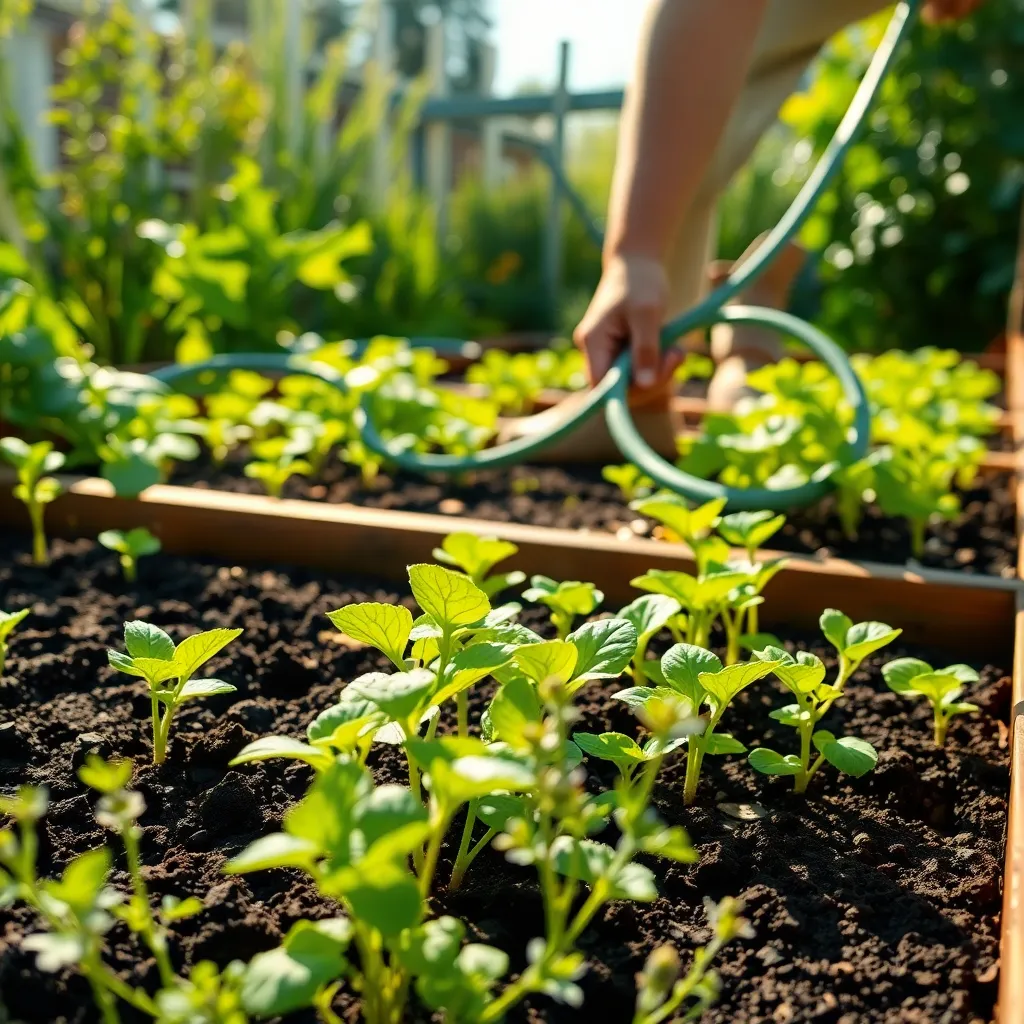
Create Vegetable Patches in Patterns
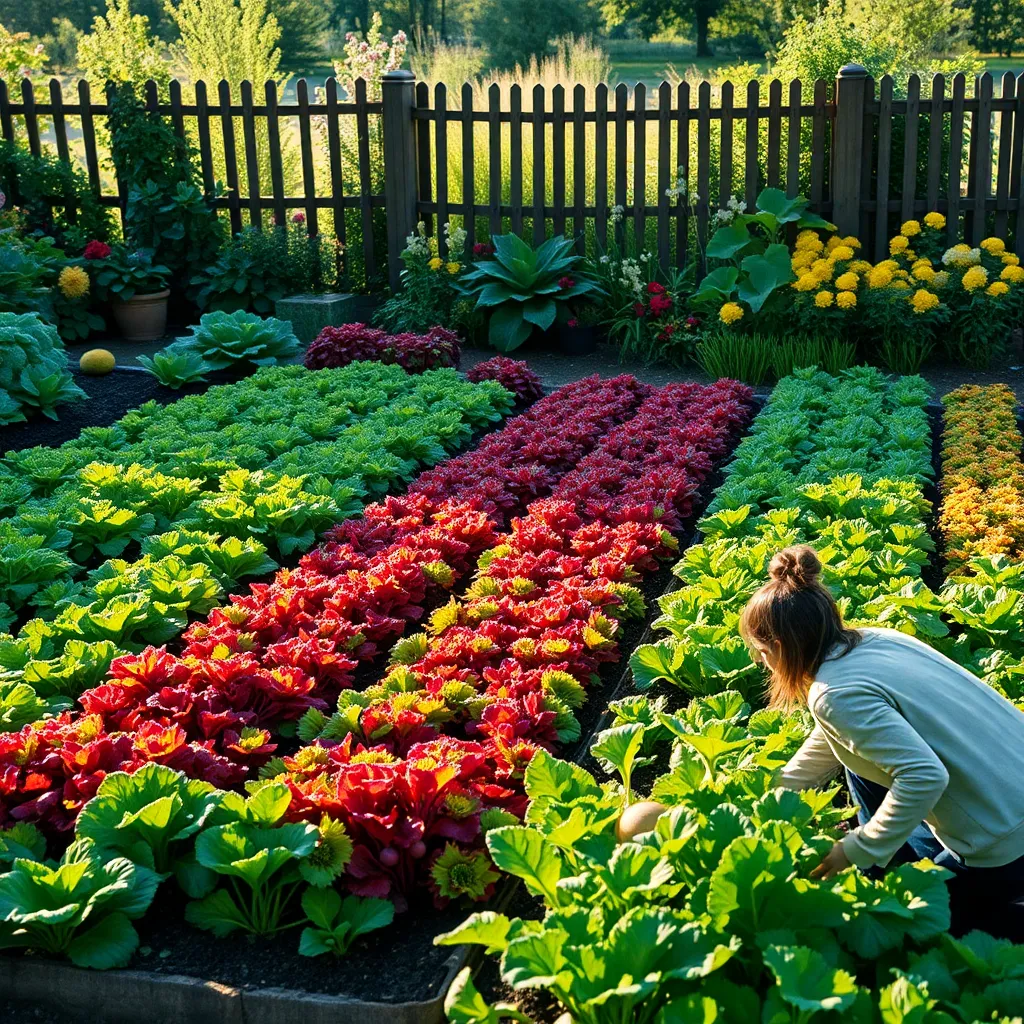
Transforming your garden into a visually appealing space can be as simple as organizing your vegetable patches into patterns. This not only creates an aesthetically pleasing landscape but also helps in efficient garden management. Consider creating geometric shapes such as circles, triangles, or even spirals, which can guide your planting strategy and add a unique flair to your garden.
When planning your patterned vegetable patch, think about the specific needs of each plant. Group plants with similar water and sunlight requirements to ensure that every section of your pattern thrives. For beginners, pairing leafy greens with other shallow-rooted plants like radishes can be a practical starting point.
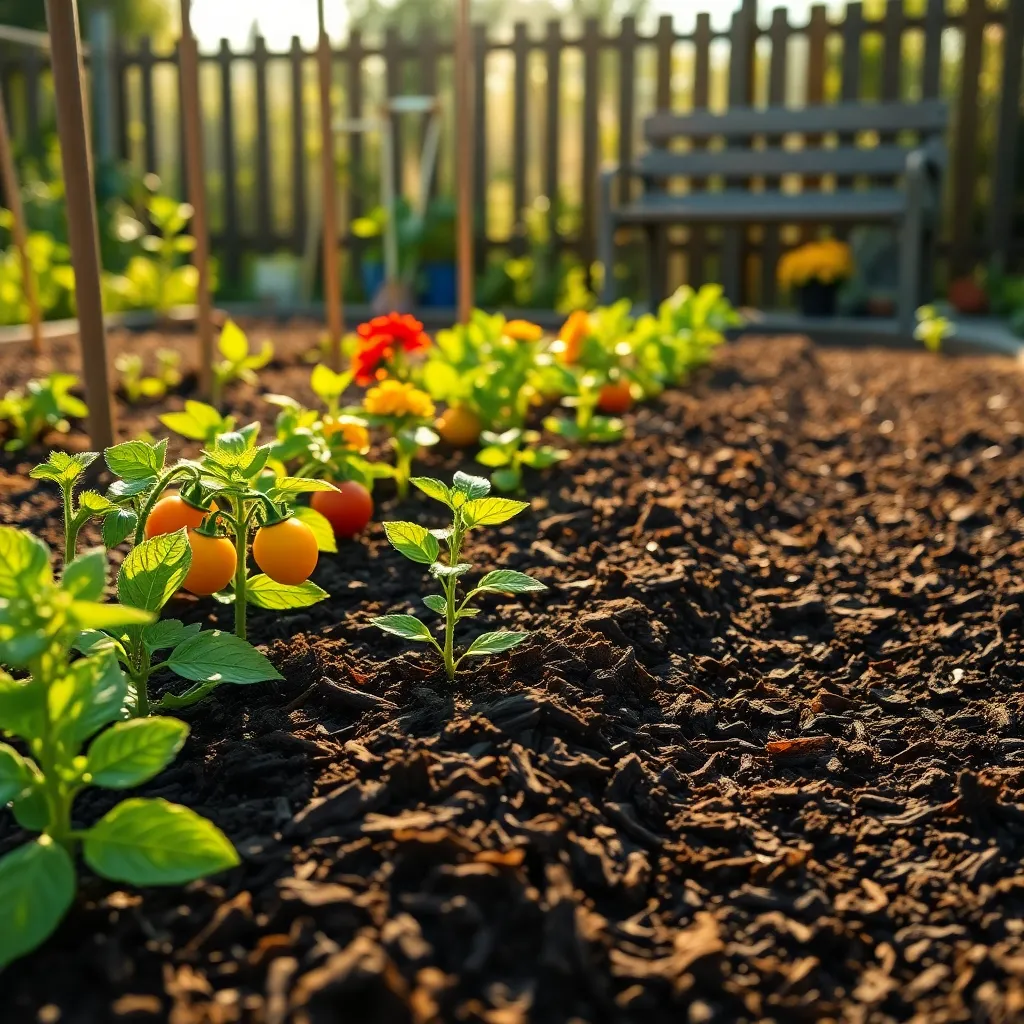
Advanced gardeners might explore incorporating companion planting within these patterns. For instance, planting marigolds alongside tomatoes can naturally deter pests while enhancing the visual appeal of your garden. Experiment with color contrasts by alternating rows of green kale with purple cabbage for a striking look.
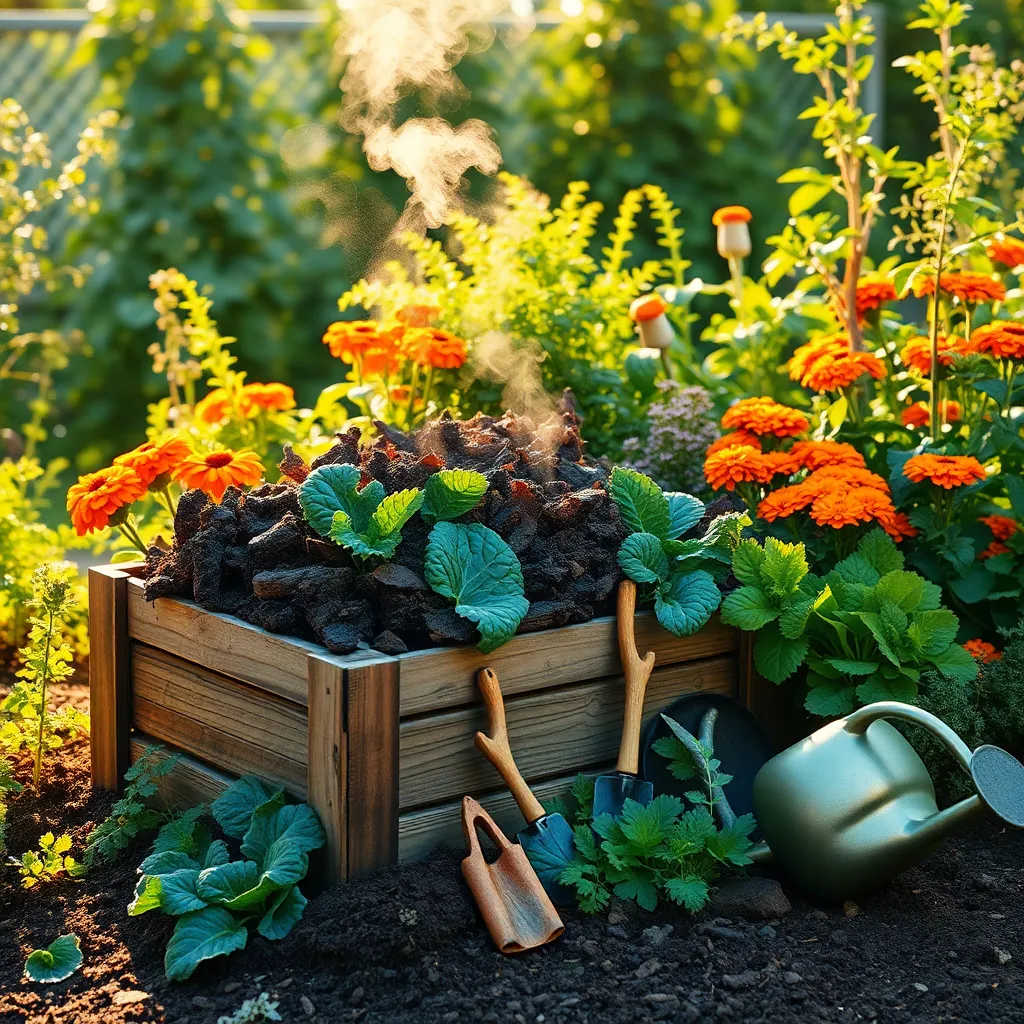
Soil preparation is crucial when creating these patterned vegetable patches. Use a rich, well-draining soil mix and consider adding compost to improve fertility and drainage. Ensure consistent watering practices by using drip irrigation systems, which can be easily laid out to follow the contours of your patterns, providing targeted hydration and minimizing water wastage.
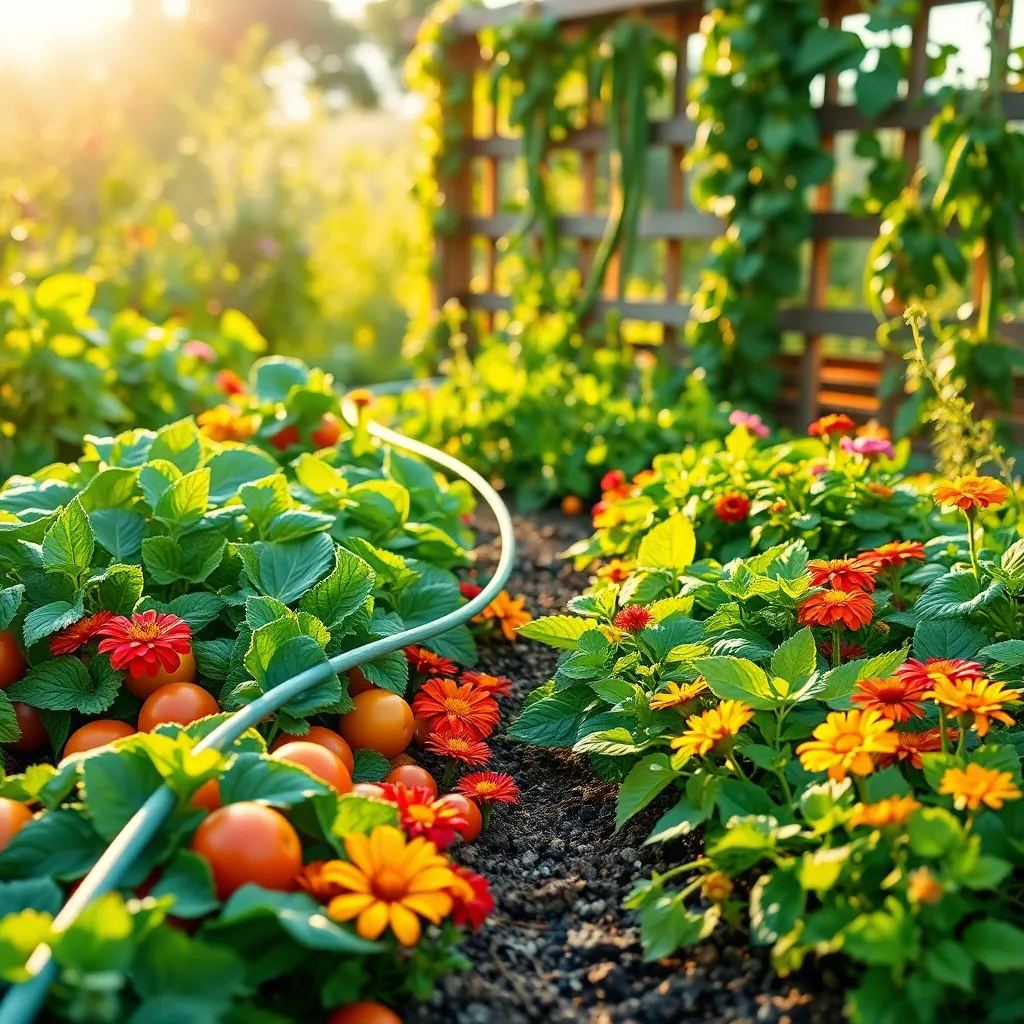
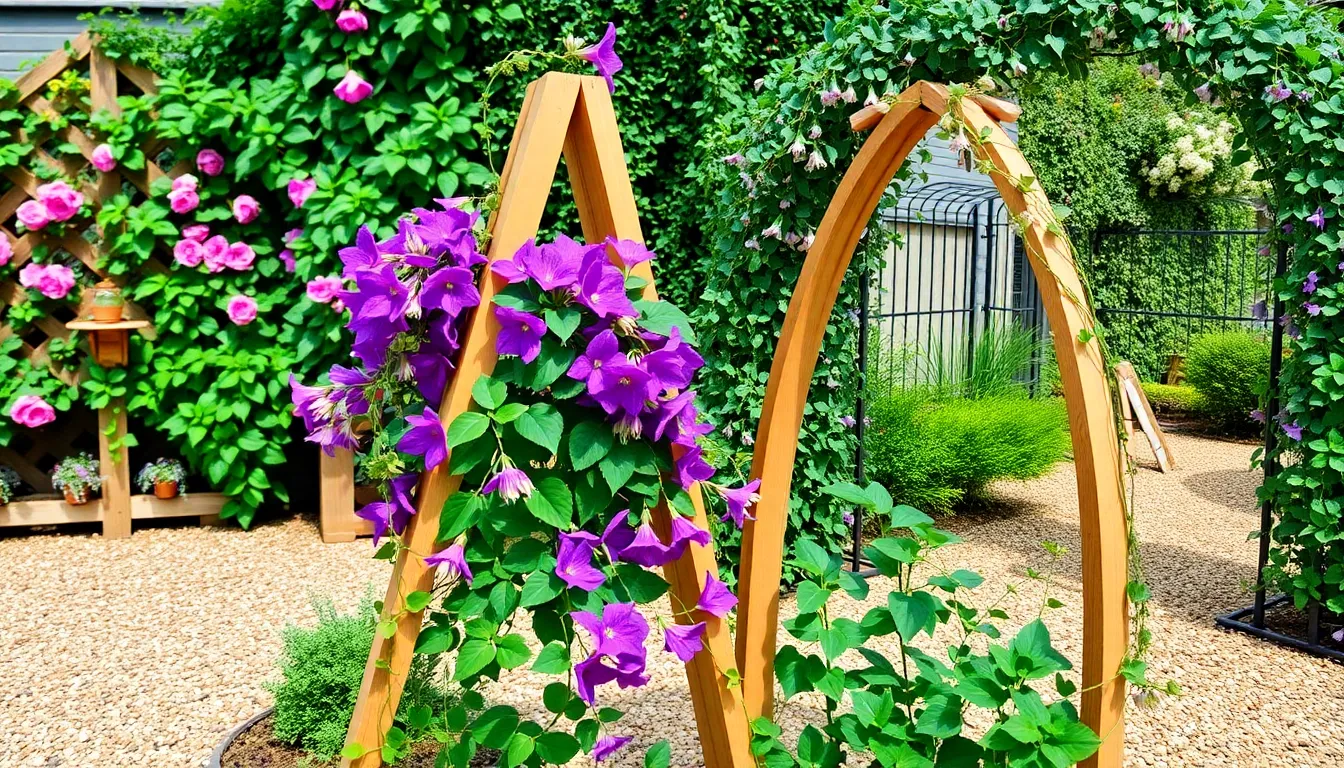
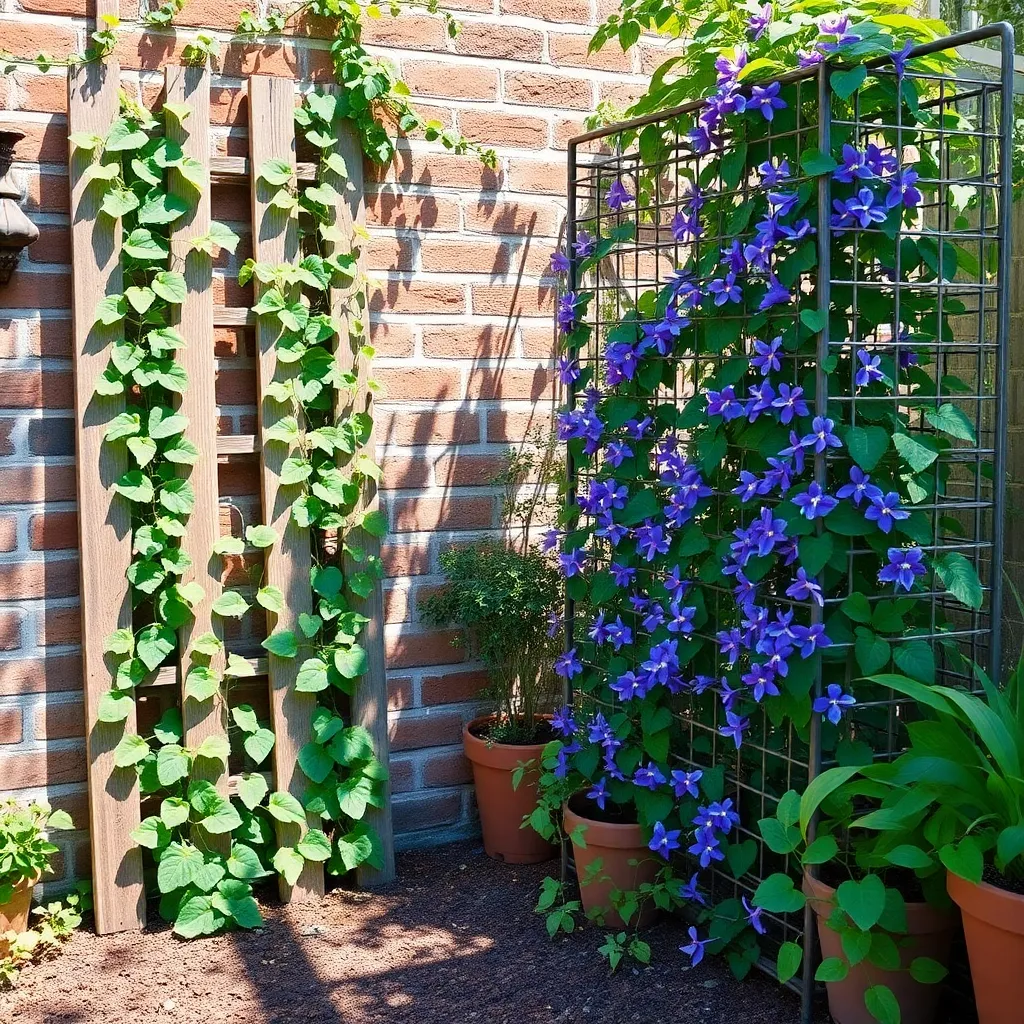
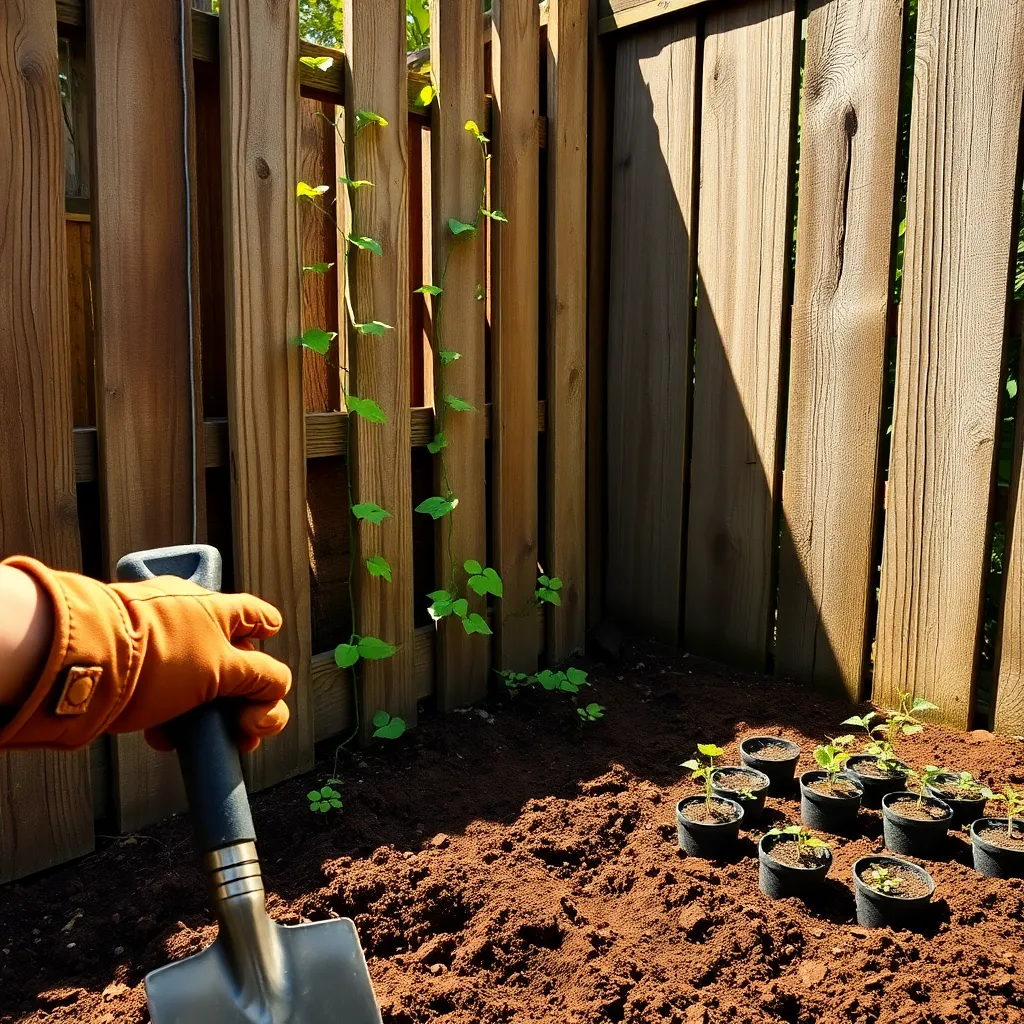
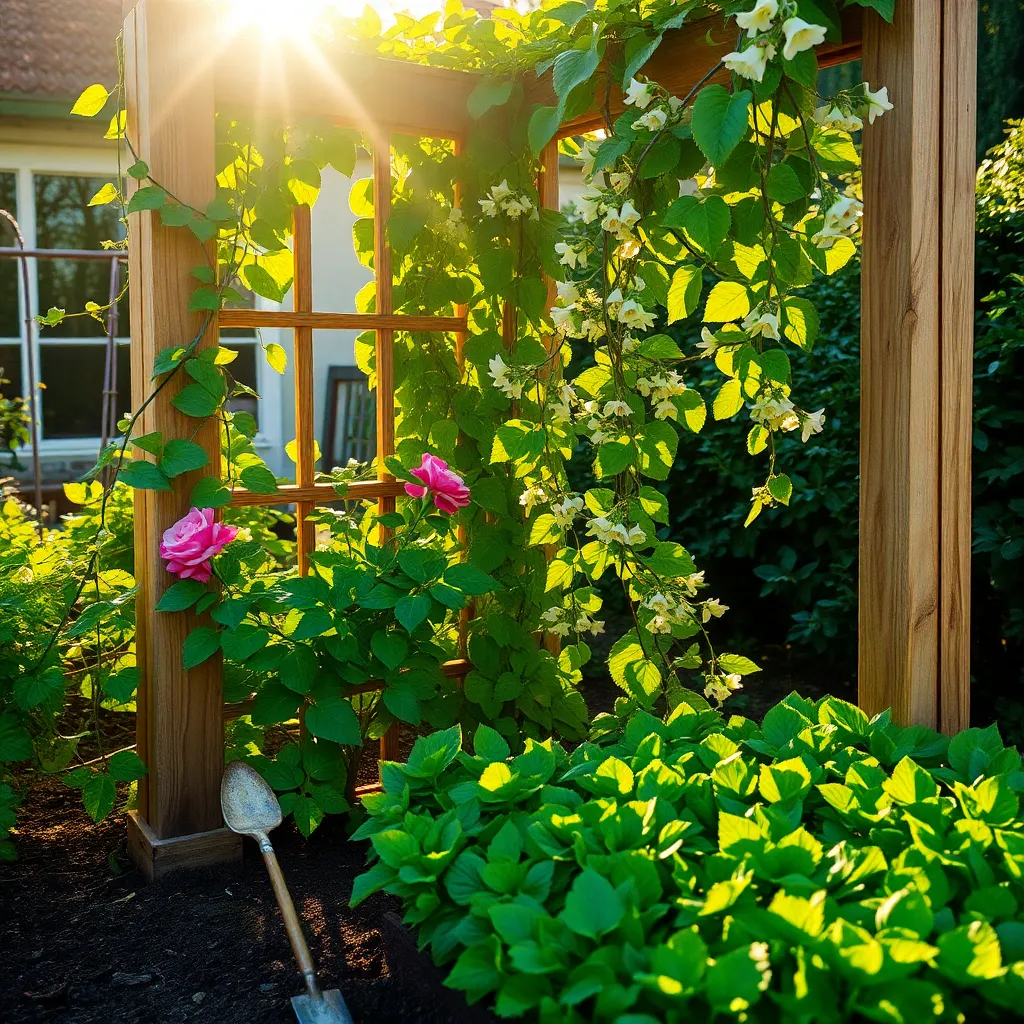
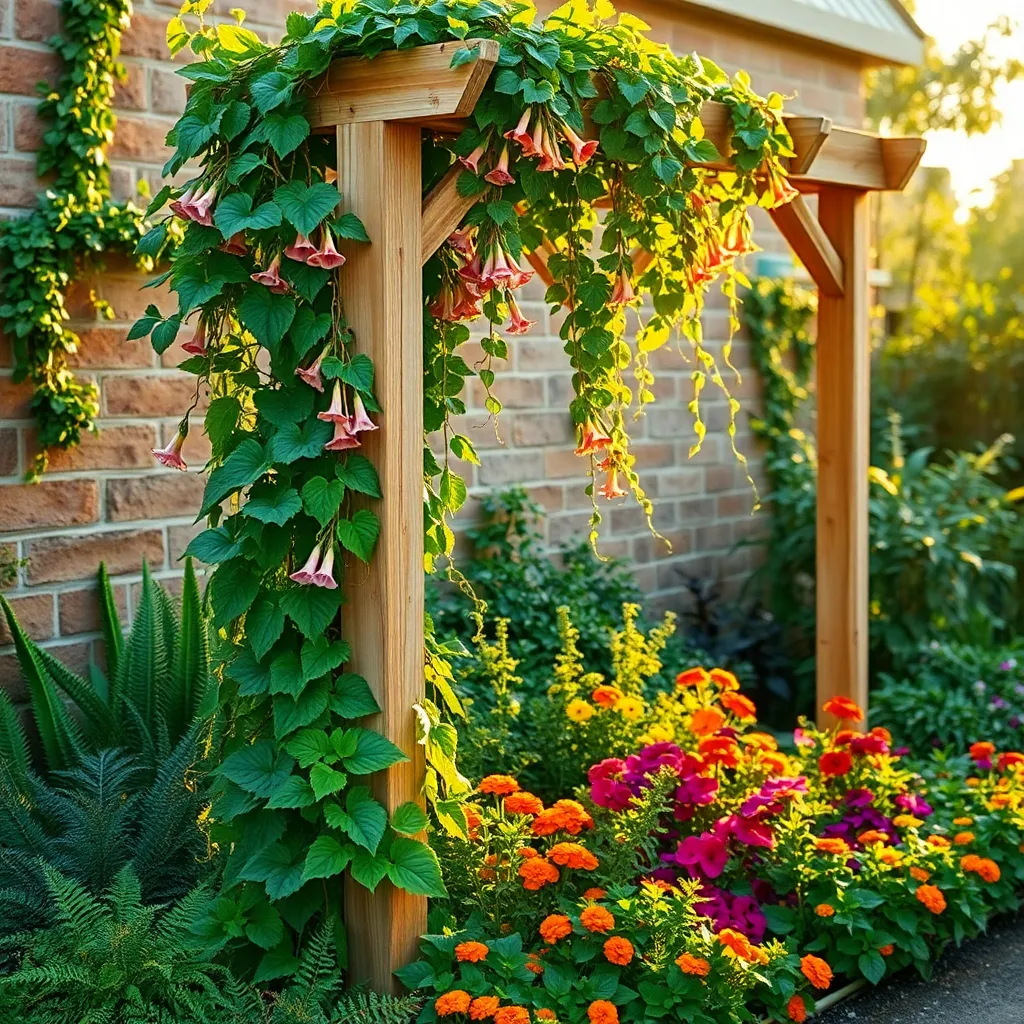
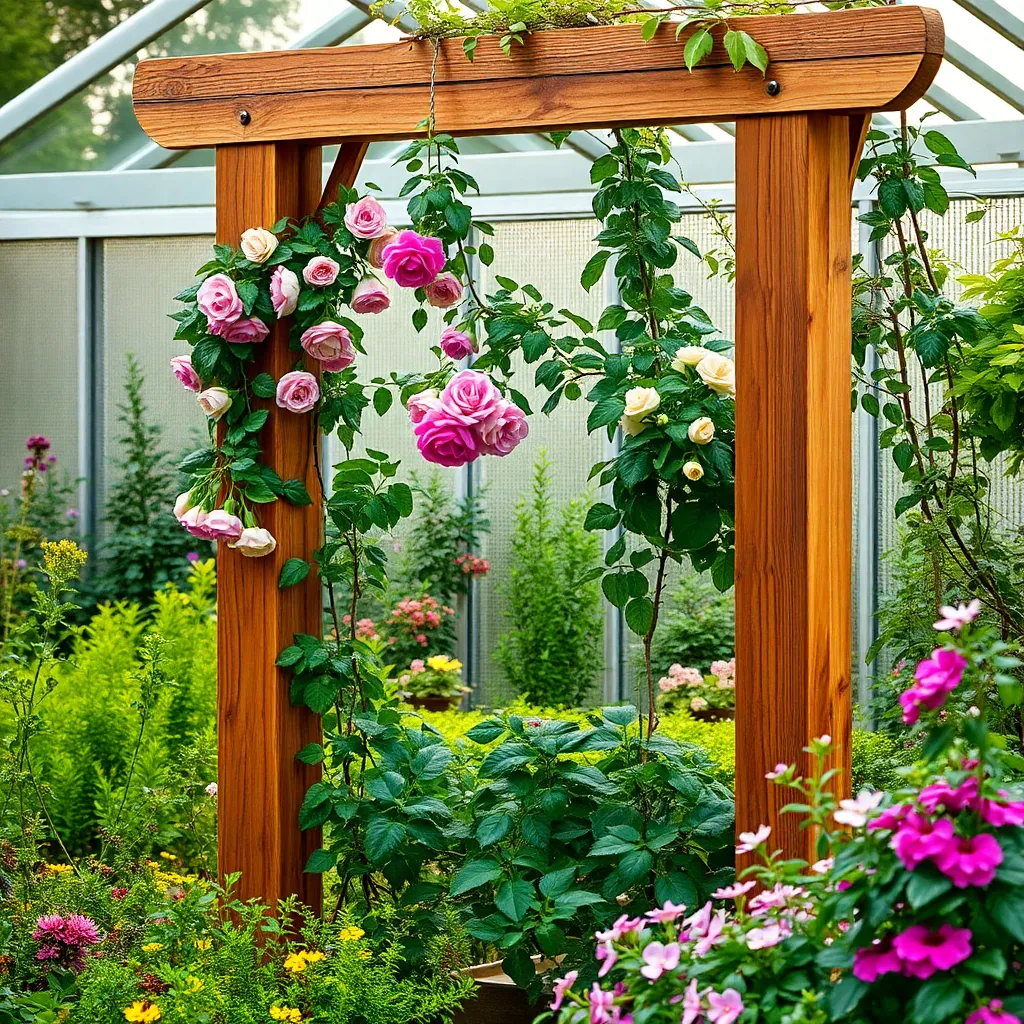
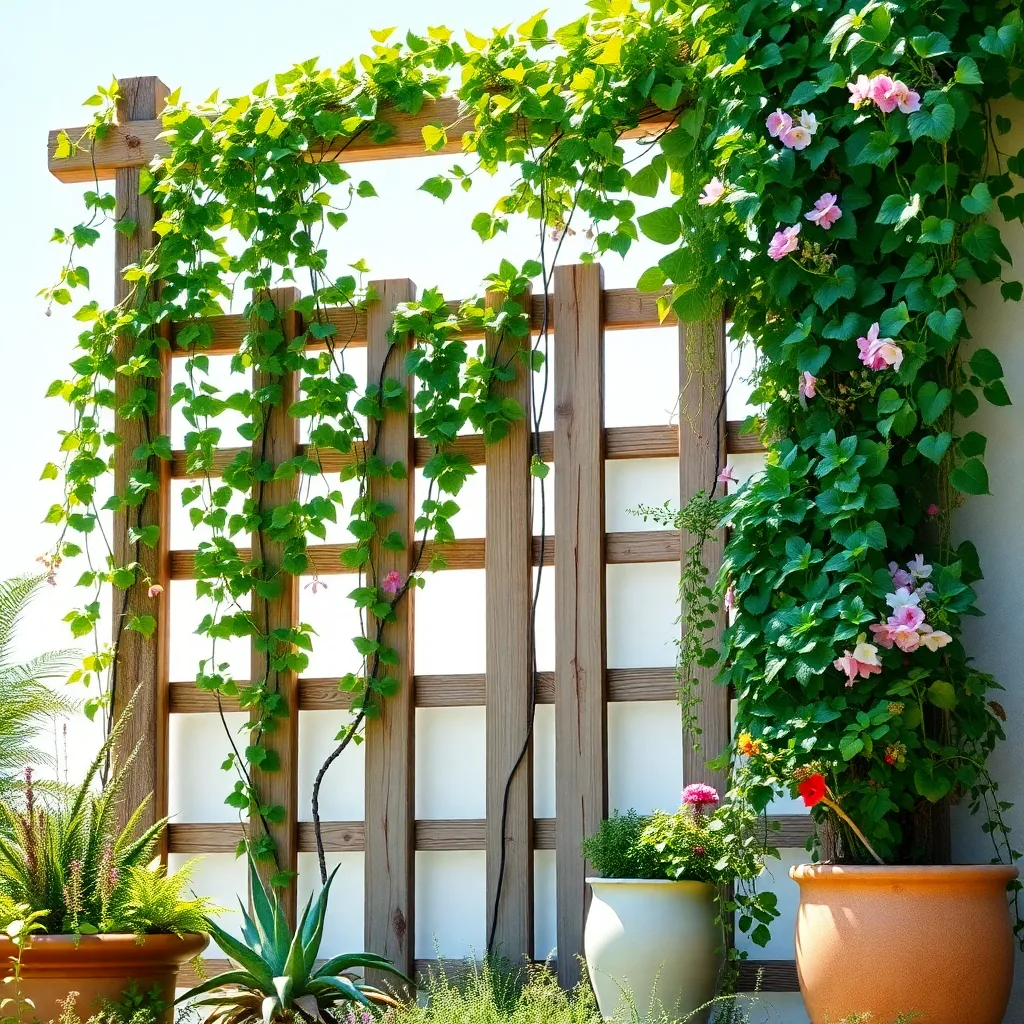
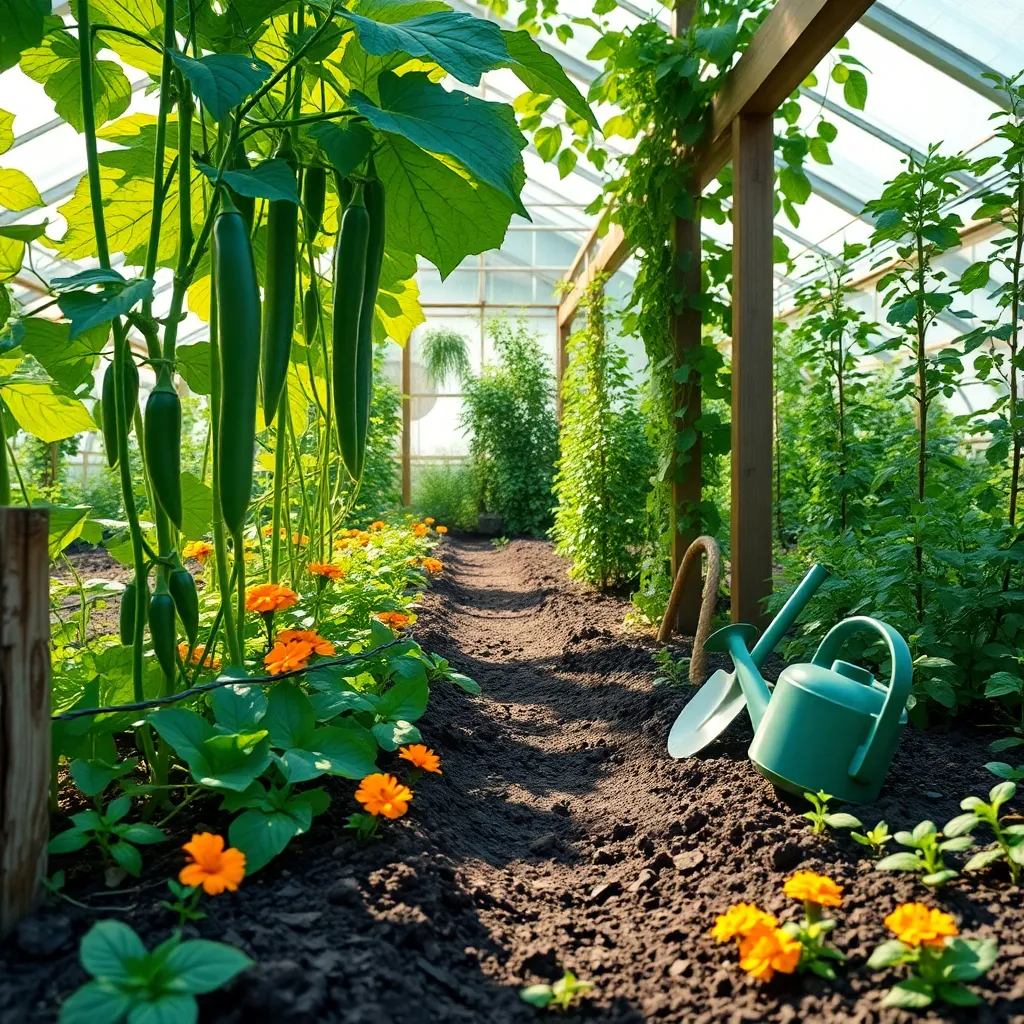
Grow Vines on Trellises and Fences
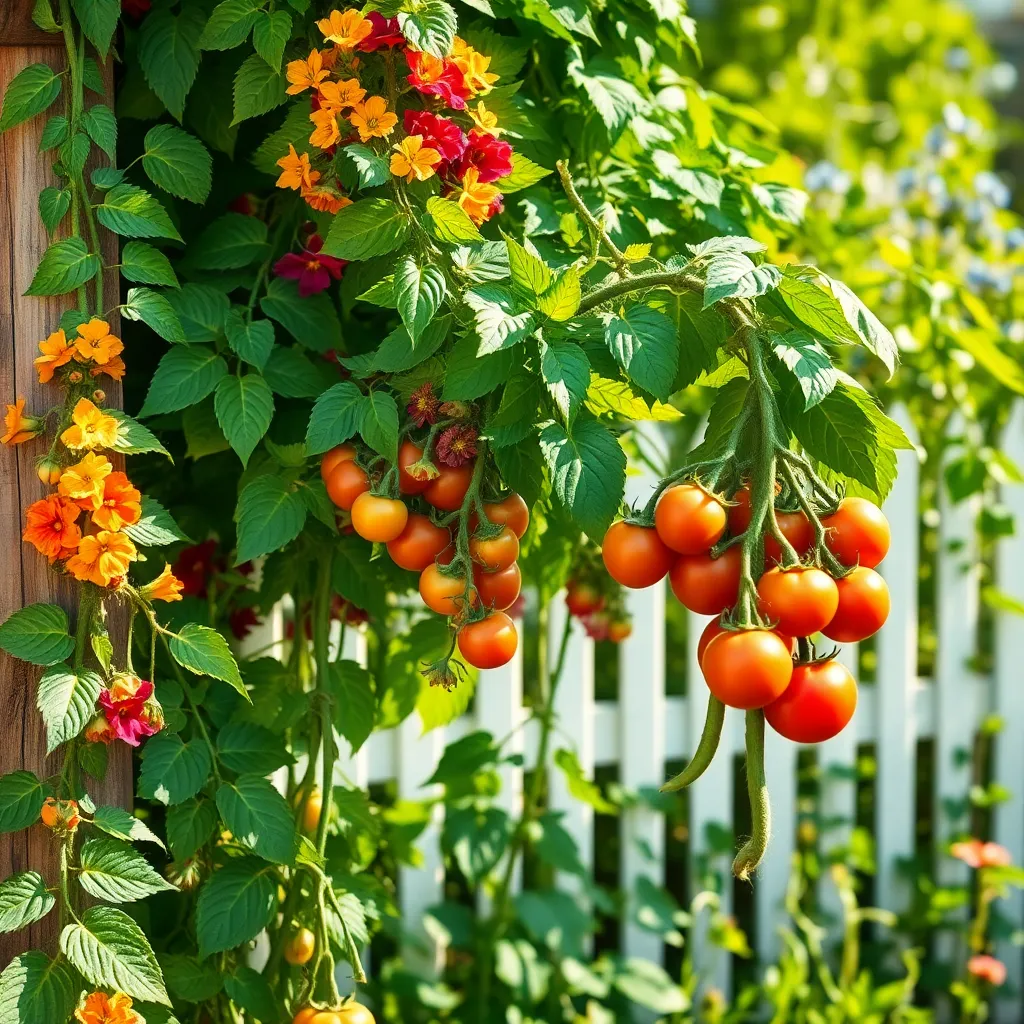
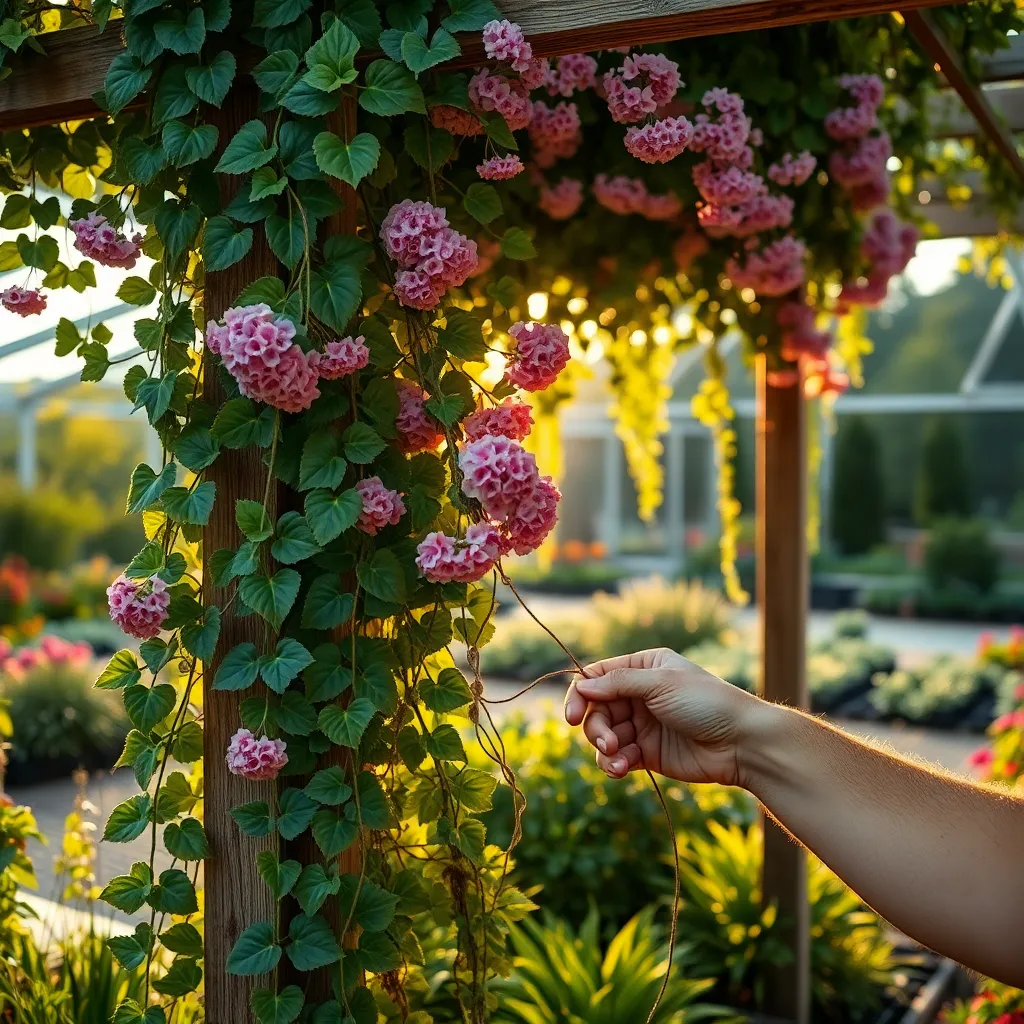
Growing vines on trellises and fences is a fantastic way to add vertical interest to your garden, while also maximizing space. It’s an ideal solution for small gardens or urban settings where ground space is limited, and it can transform a plain fence into a lush, green feature.
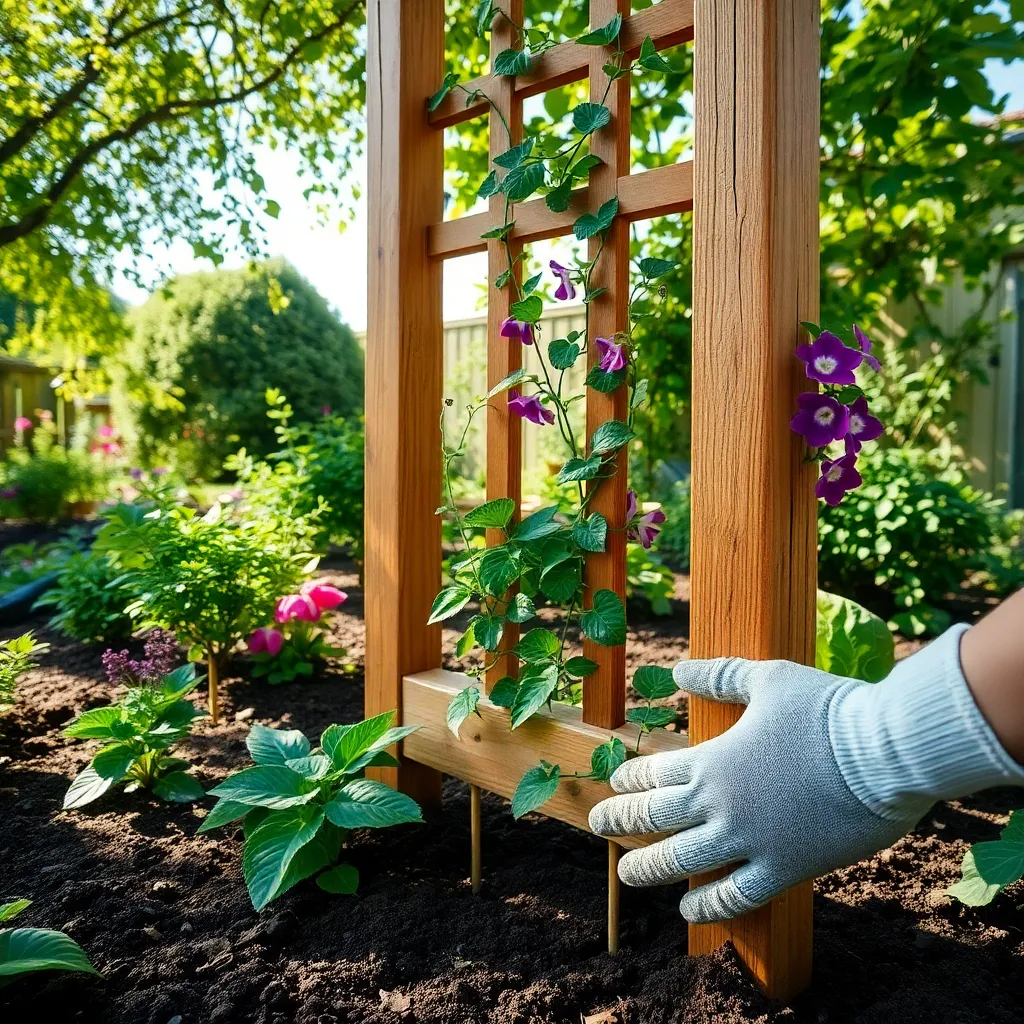
Choose vines that are well-suited to your climate and that produce edible fruits or leaves, such as peas, beans, or passionfruit. Ensure your trellis or fence is sturdy enough to support the mature weight of the plants, as some vines can become quite heavy.
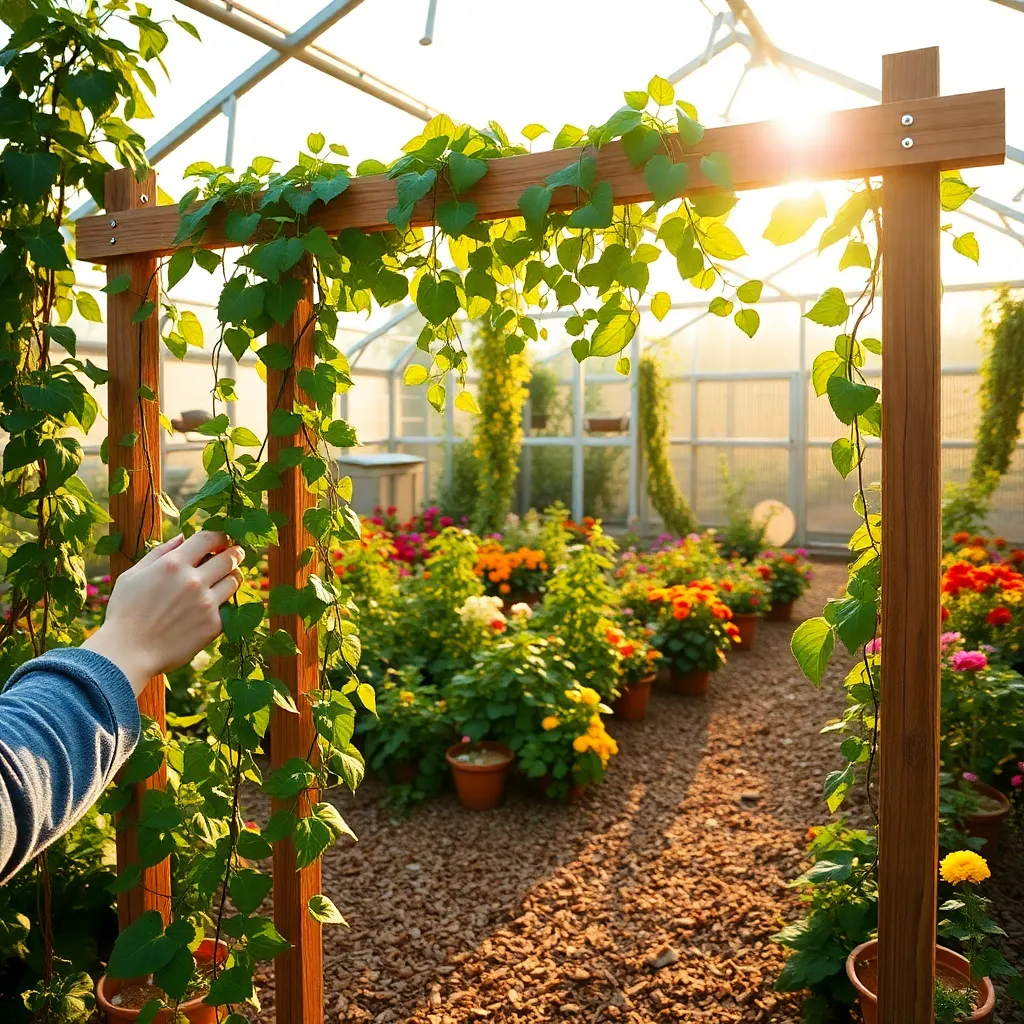
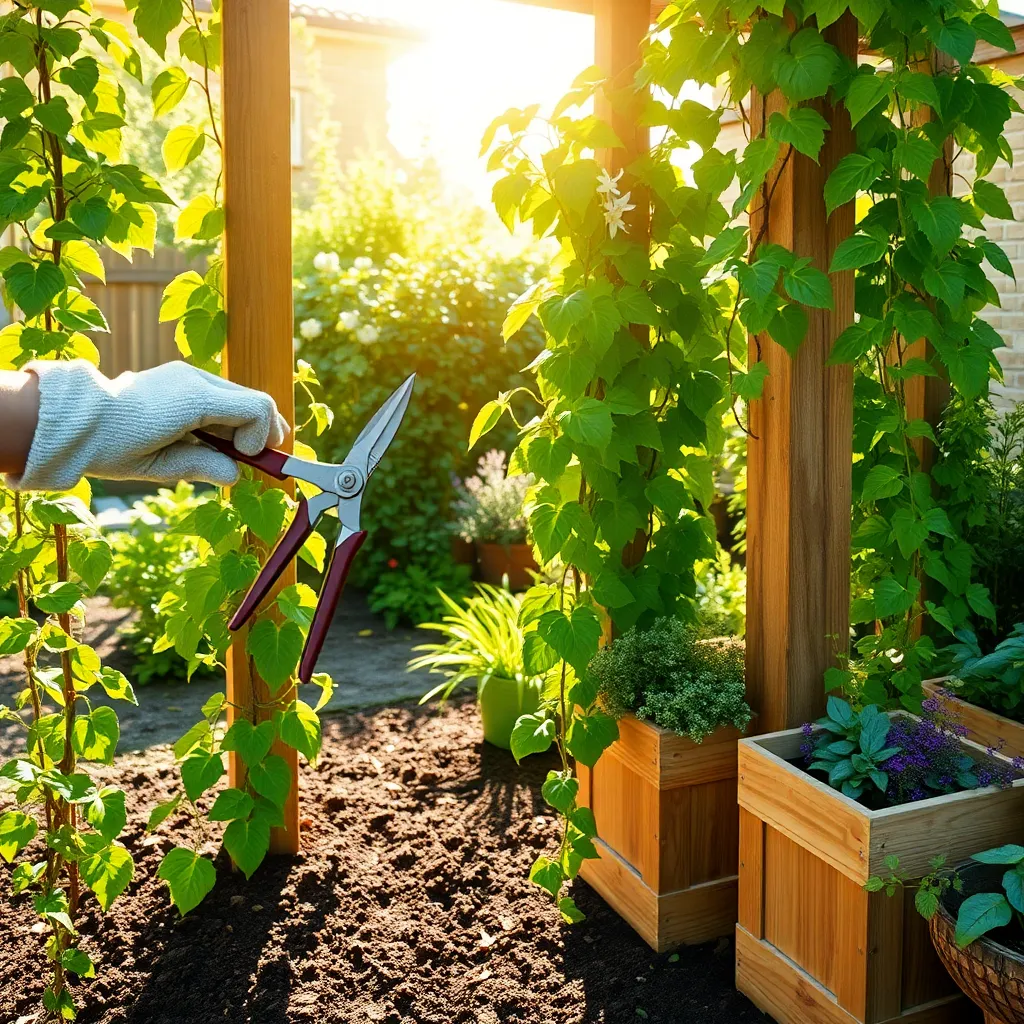
When planting, ensure the soil is well-drained and rich in organic matter to support vigorous growth. Water regularly, especially during dry spells, to keep your vines healthy and productive.
For those with more experience, consider experimenting with companion planting by interspersing your vines with flowering plants. This not only enhances the aesthetic appeal but also attracts beneficial insects that can help with pollination and pest control, boosting your garden’s productivity.
Incorporate Nut Trees in Corners

Incorporating nut trees into the corners of your garden can transform unused space into a productive area. These trees not only provide delicious, homegrown nuts but also add vertical interest to your landscape, making them a versatile choice for edible landscaping.
Start by selecting the right type of nut tree that suits your climate and soil conditions. Popular choices include walnut, almond, and hazelnut trees, each having specific requirements for optimal growth.
When planting, ensure the site receives full sun for most of the day, as nut trees thrive in bright conditions. Well-drained soil enriched with compost will provide the necessary nutrients and drainage these trees need, particularly if you’re dealing with a heavy clay soil base.
Remember to water the trees deeply and regularly during their first few years to establish strong roots. Once established, these trees are relatively drought-tolerant, but an occasional deep soak during dry spells will keep them healthy and productive.
For advanced gardeners, pruning is essential to maintain tree shape and maximize nut production. Prune in late winter to remove any dead or diseased branches and to encourage an open canopy that allows sunlight to reach all parts of the tree.
Conclusion: Growing Success with These Plants
As we wrap up our exploration of ‘8 Fun Edible Landscaping Ideas,’ it’s clear that cultivating a thriving garden can mirror nurturing flourishing relationships. We delved into concepts like planning your garden as a shared vision, embracing variety to keep things exciting, and understanding the importance of nurturing growth with patience and care. We also explored the benefits of integrating creativity, maintaining balance, and ensuring mutual support to foster resilience. Finally, we discovered how celebrating achievements, big or small, can strengthen bonds and how regular reflection ensures continuous growth.
To put these ideas into action, why not start by planning a simple edible garden project with your partner, using it as a metaphor to discuss and enhance your relationship dynamics? As you embark on this journey, remember to save or bookmark this article. It will be a valuable resource to revisit these concepts and track your progress.
Looking ahead, let these principles guide you toward a successful, fulfilling relationship, much like a well-tended garden that bears fruit over time. Your relationship is a living, evolving entity—nurture it with the same dedication and creativity, and watch it thrive.