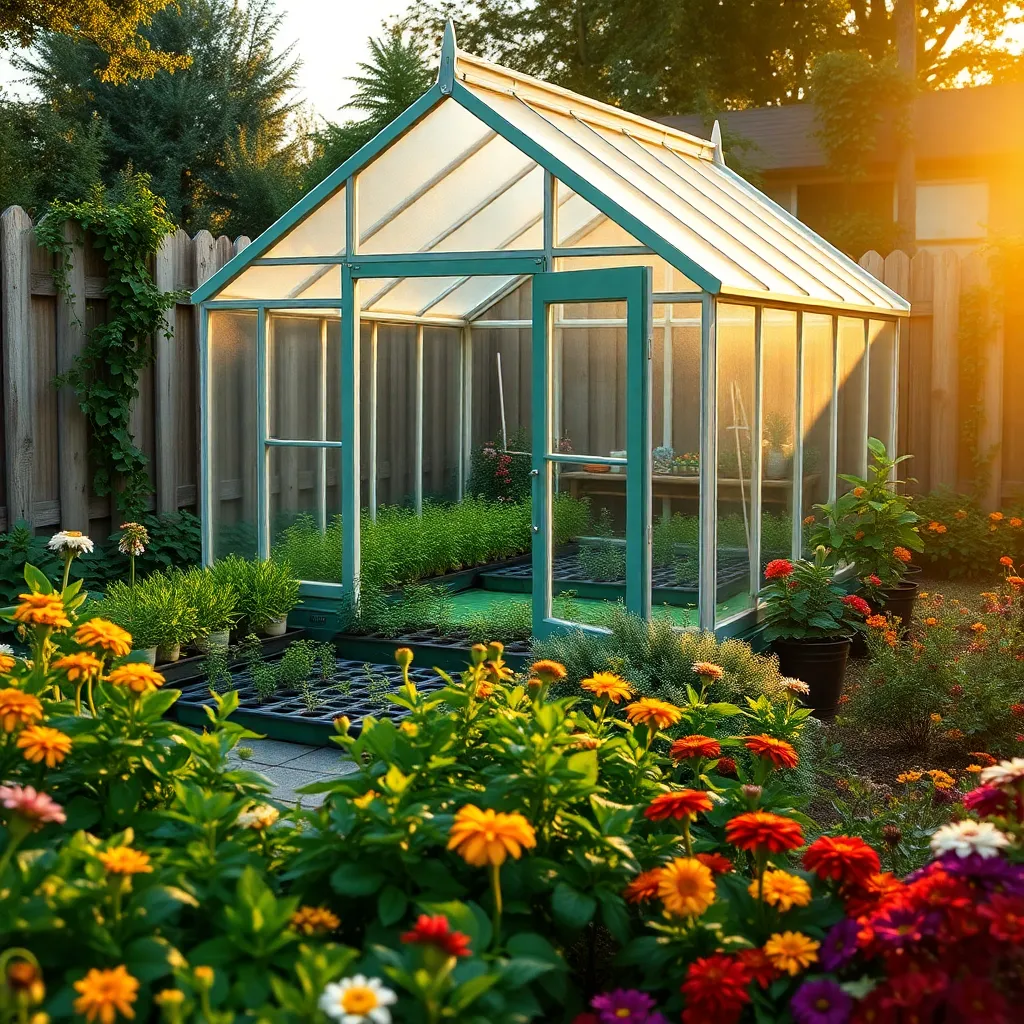
Welcome to “15 Best Backyard Greenhouse Projects,” where the magic of gardening comes alive right in your own backyard! Whether you’re a budding enthusiast just dipping your toes into the world of gardening or a seasoned green thumb looking to expand your botanical repertoire, this guide offers a vibrant tapestry of projects tailored for every skill level. These handpicked greenhouse projects are your ticket to unlocking a year-round gardening adventure, filled with lush growth and bountiful harvests.
Imagine the joy of nurturing seedlings into thriving plants, knowing that each project brings you closer to a self-sustaining garden oasis. From extending your growing season to cultivating exotic plants, the benefits you’ll reap are as practical as they are rewarding. With our carefully curated list, you’ll gain the confidence to tackle new challenges and elevate your gardening prowess. Dive in and discover how these greenhouse projects can transform your backyard into a haven of beauty and productivity, ensuring that your gardening journey is both successful and fulfilling.
Compact Hydroponic System (Space-Saving Innovation)
Embracing a compact hydroponic system is an excellent way to maximize limited space for gardening enthusiasts. These systems allow you to grow a variety of plants without soil, using nutrient-rich water solutions that can be easily managed even in small spaces.
To set up a basic hydroponic system, you’ll need a reservoir, a water pump, and containers to hold your plants. Choose plants that thrive in hydroponic systems, such as lettuce, basil, or strawberries, as they are well-suited to the constant access to nutrients and water.
Maintaining optimal conditions is crucial for success in hydroponics. Ensure your system receives ample light, ideally from LED grow lights if natural sunlight is insufficient, and regularly monitor the pH levels to keep them between 5.5 and 6.5.
Advanced gardeners might consider implementing automated systems to manage nutrient delivery and water cycles. This can greatly enhance growth rates and reduce the manual effort required, allowing you more time to enjoy your thriving plants.
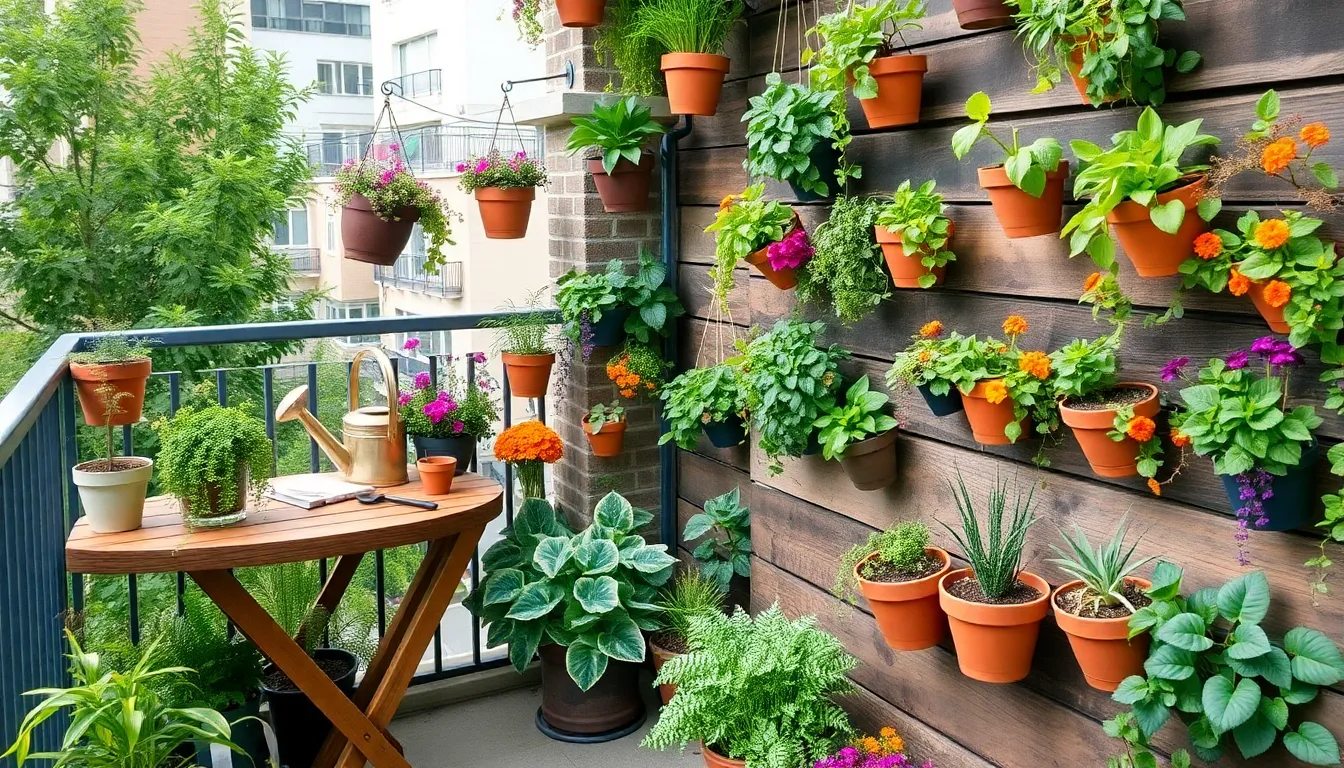
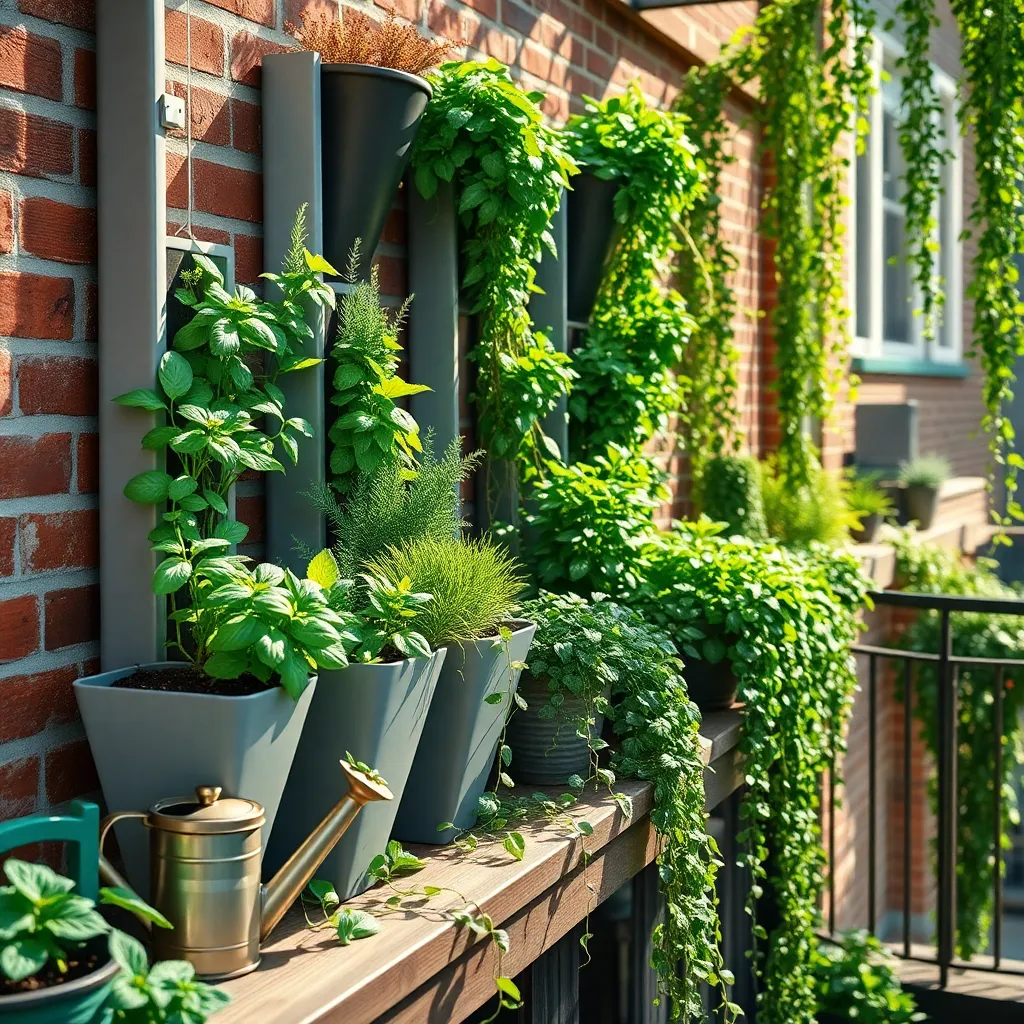
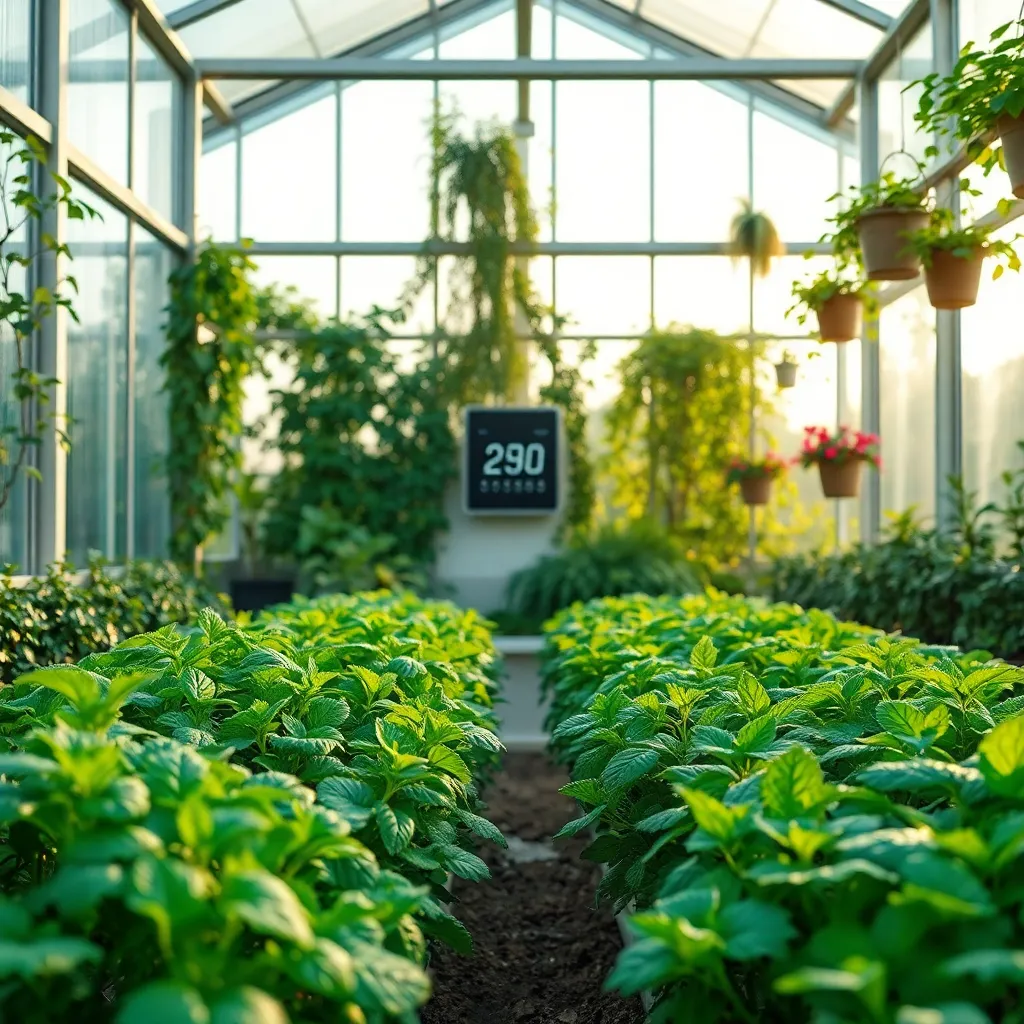
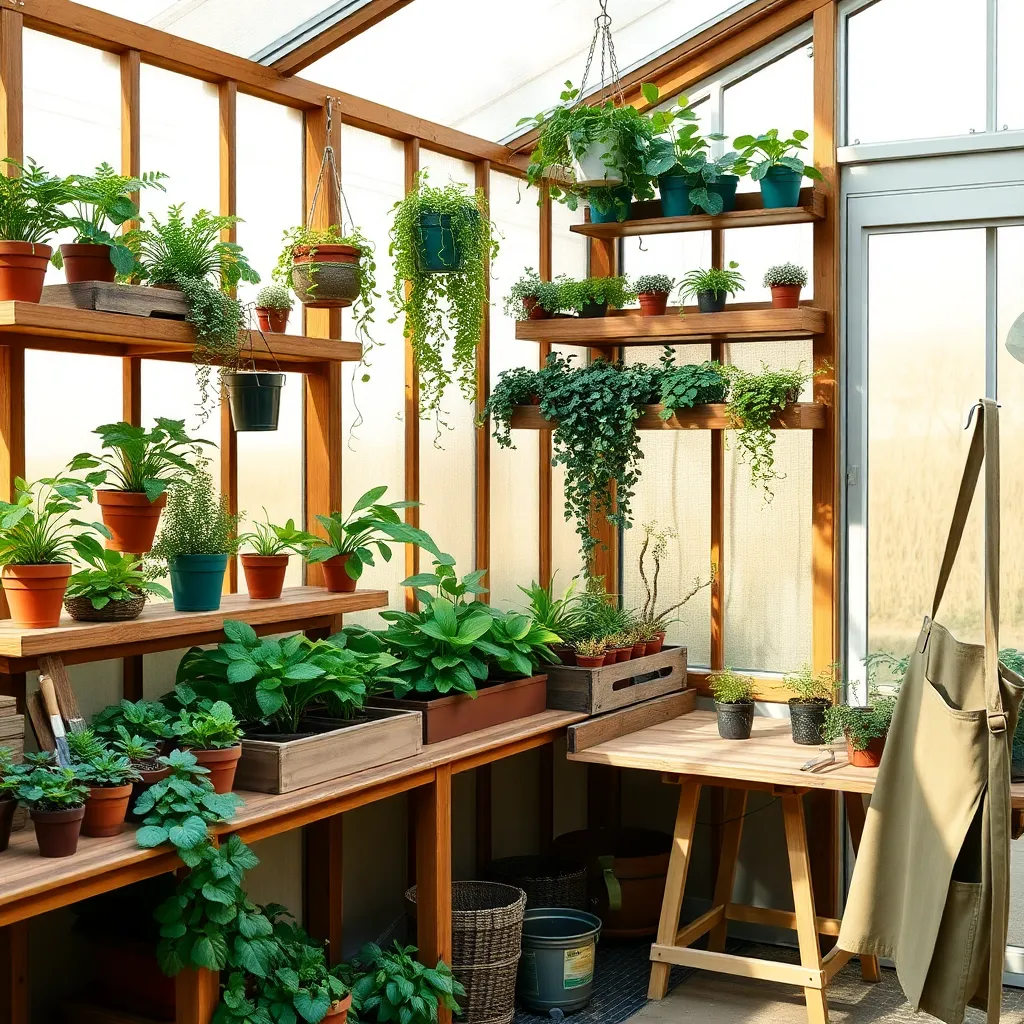
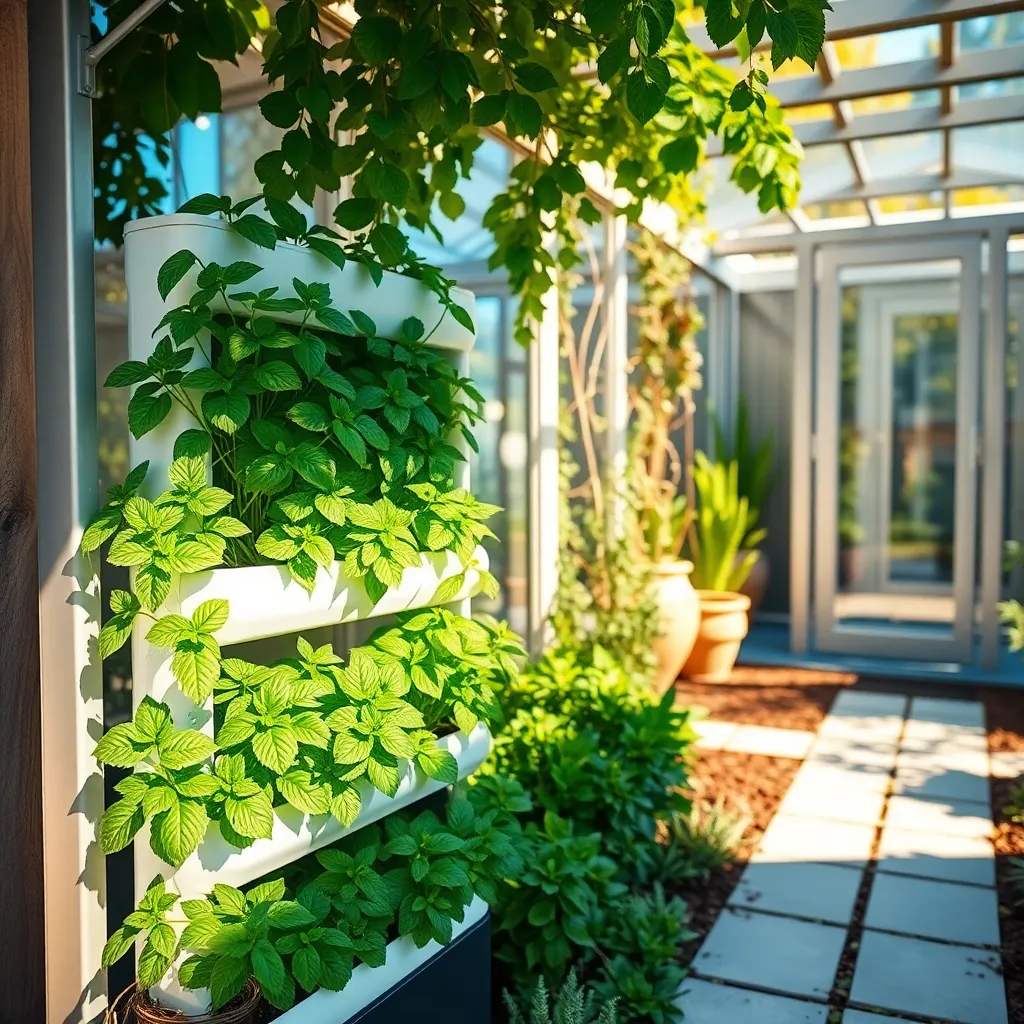
Vertical Planting Racks (Maximize Growing Area)
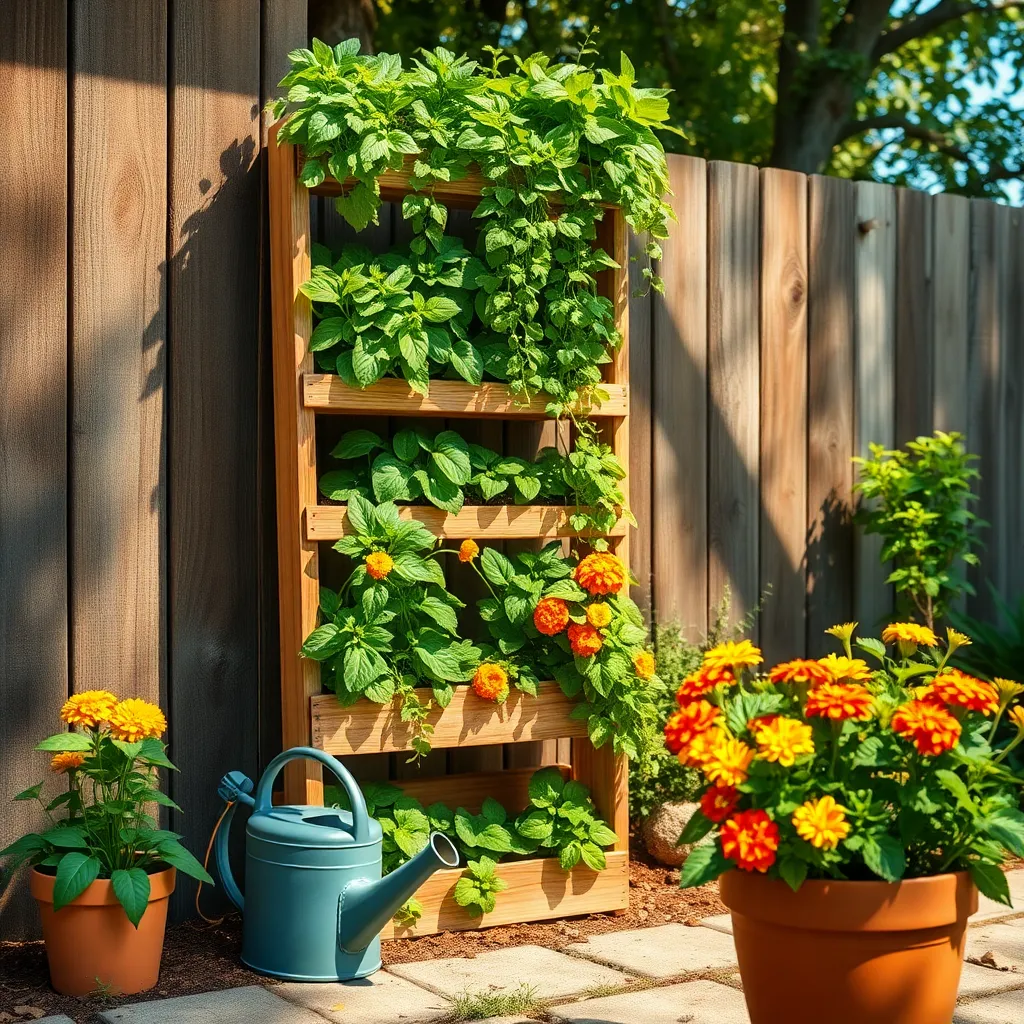
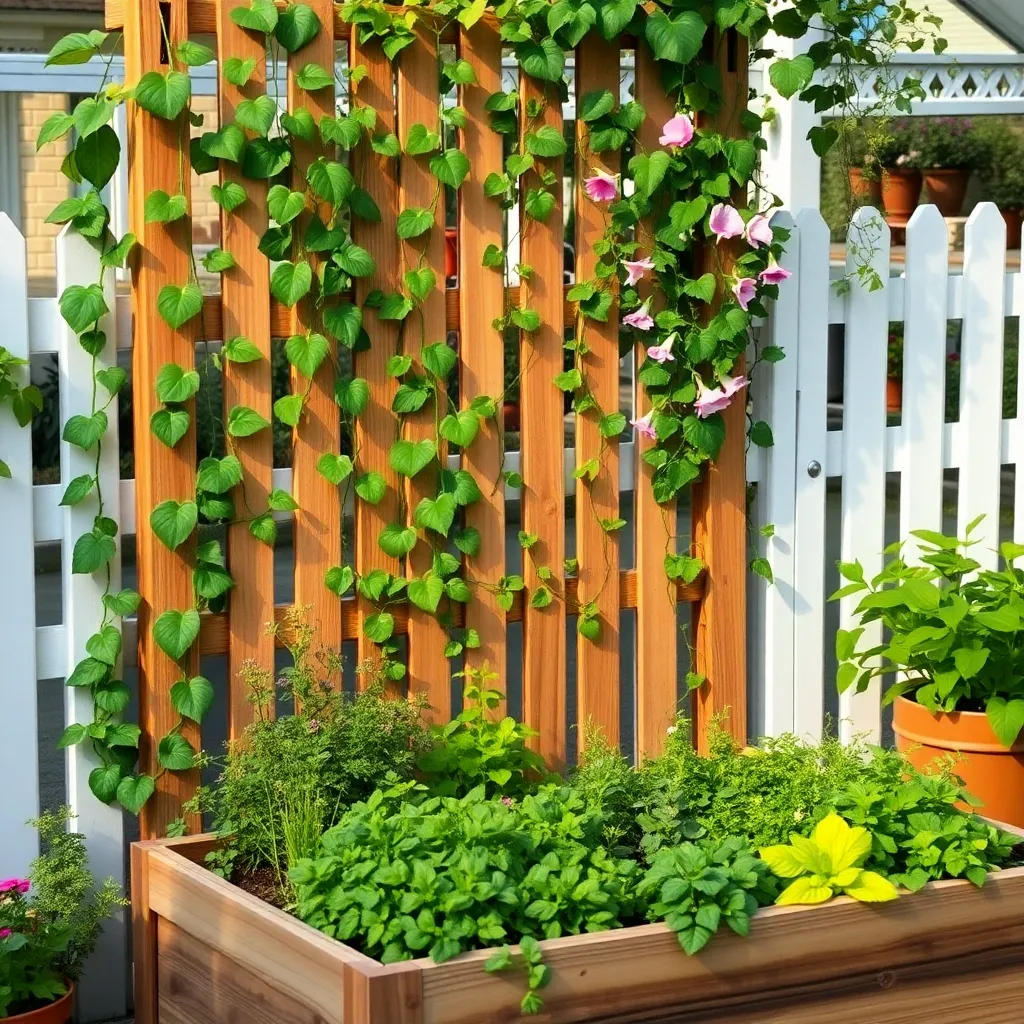
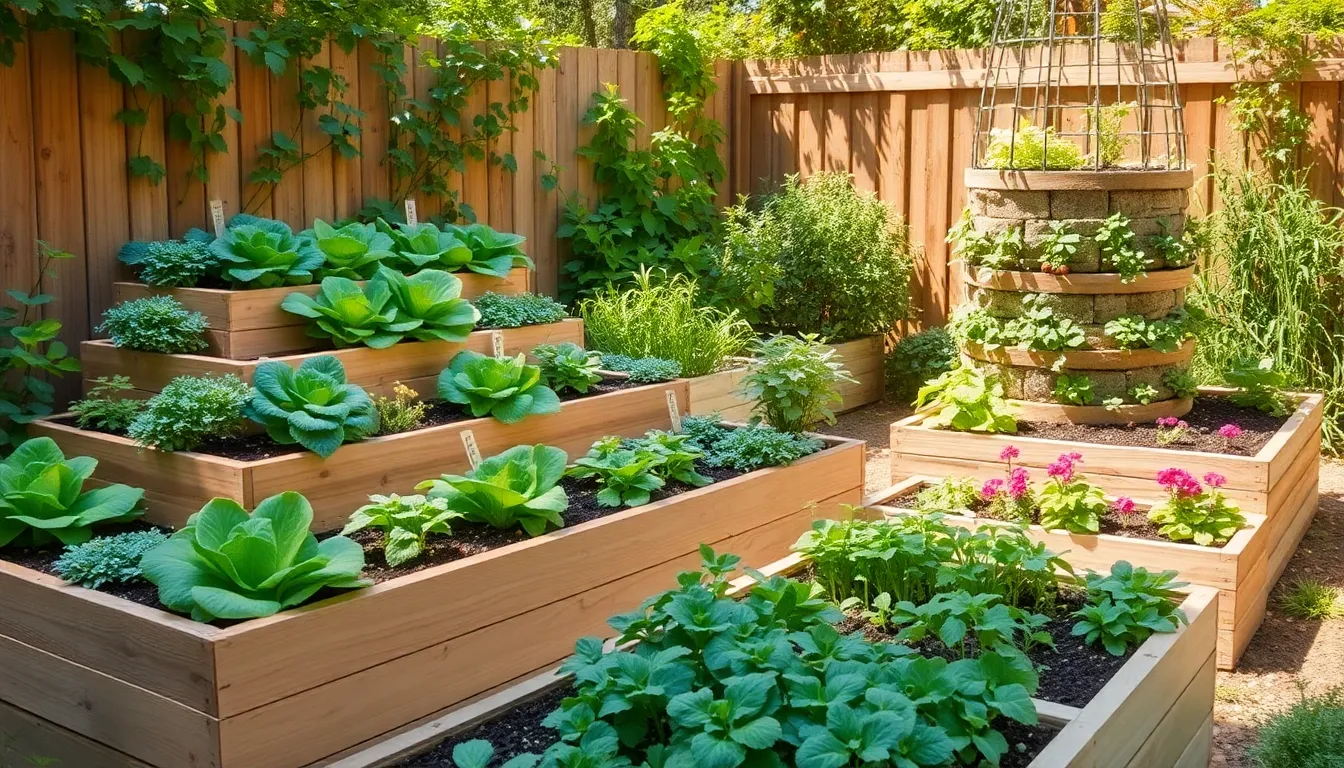
Vertical planting racks are an excellent way to maximize your growing area, especially in smaller greenhouses. By utilizing vertical space, you can cultivate a larger variety of plants without the need for extensive floor space.
Start your vertical garden with sturdy racks that can support the weight of soil and plants. Opt for materials like metal or treated wood to ensure durability and longevity, especially in humid greenhouse conditions.
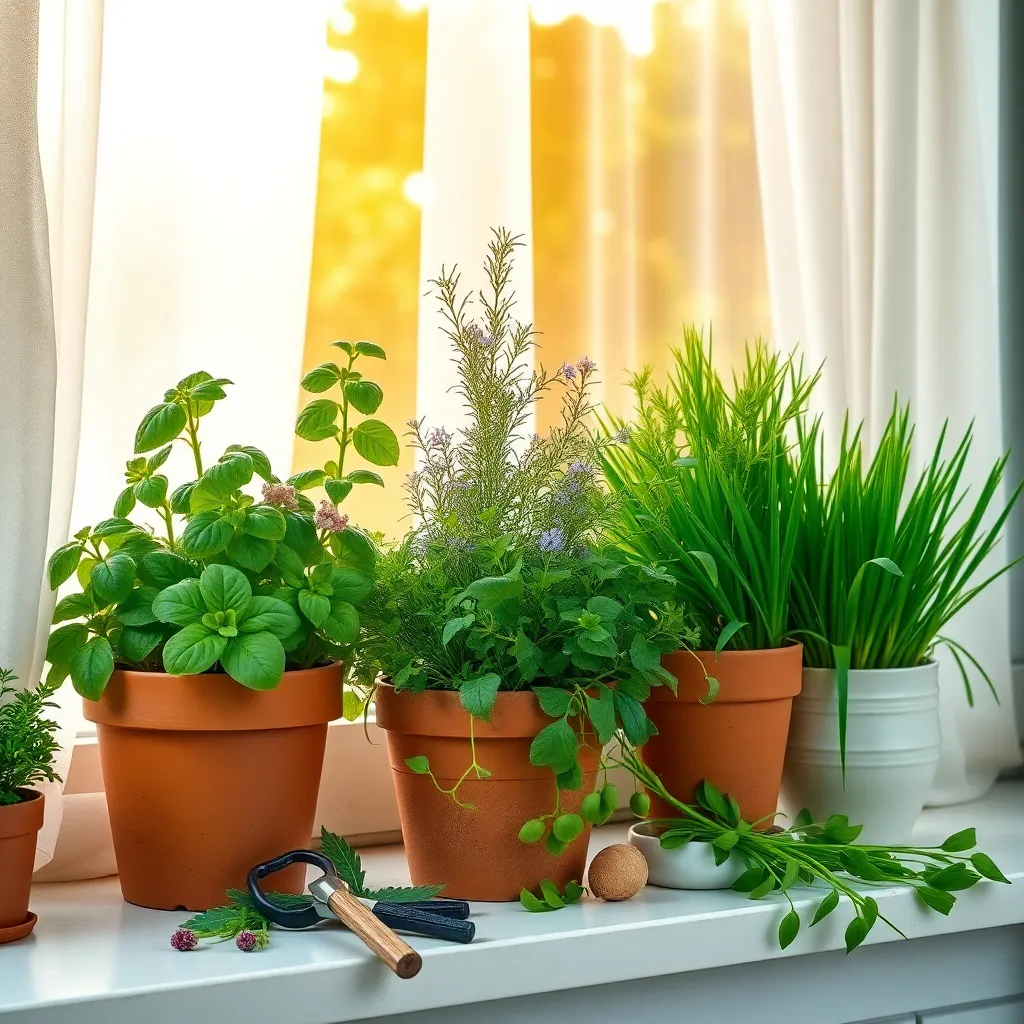
It’s essential to choose the right plants for vertical growing. Herbs such as basil, mint, and oregano thrive in vertical gardens due to their compact root systems and adaptability to various light conditions.
For successful vertical gardening, ensure your plants receive adequate light by positioning racks where they can absorb maximum sunlight. If natural light is limited, consider installing LED grow lights to supplement the needs of your plants.
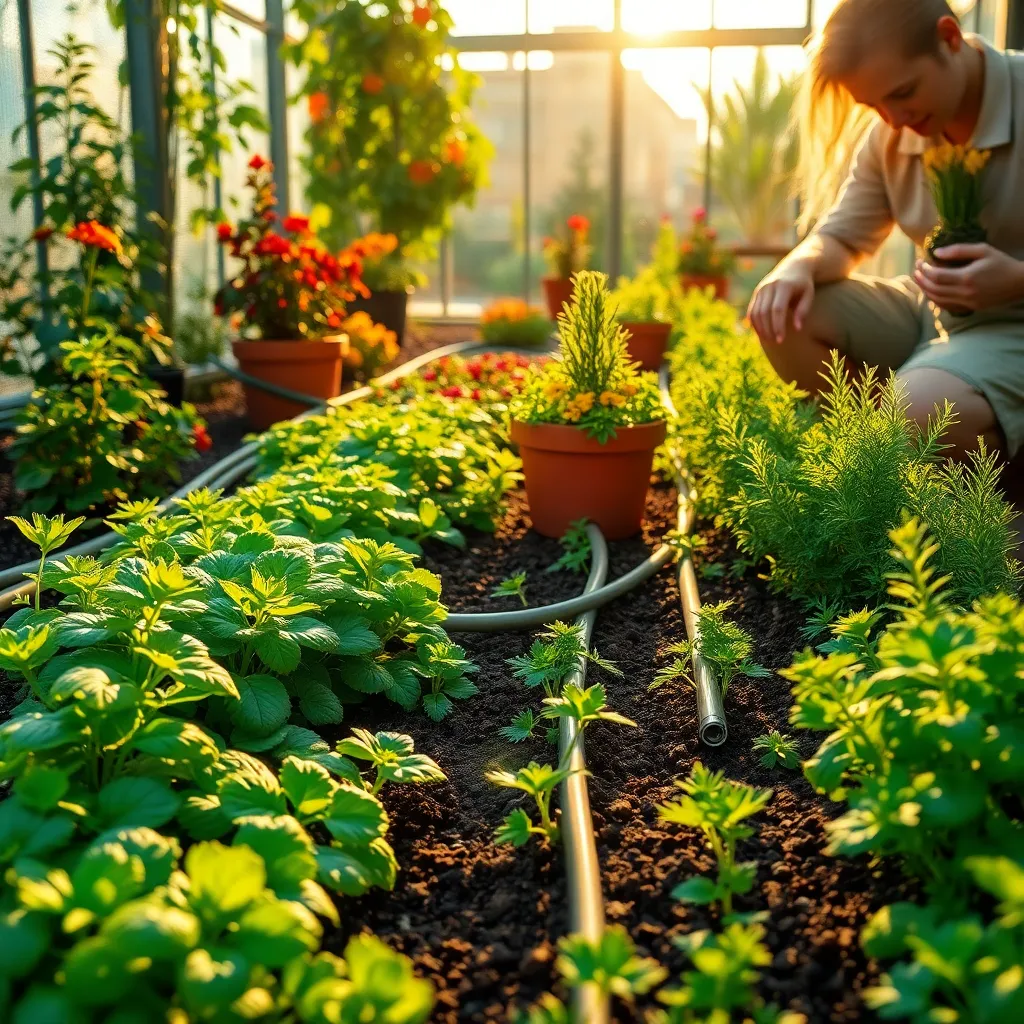
Watering can be a challenge in vertical setups, so consider installing a drip irrigation system to make watering more efficient and consistent. This system will help maintain the right moisture levels in your soil, preventing both overwatering and underwatering.
Advanced gardeners might experiment with vertical hydroponic systems to further increase yield and efficiency. These setups can be customized to fit your greenhouse space and are perfect for fast-growing, nutrient-hungry plants like lettuce and spinach.
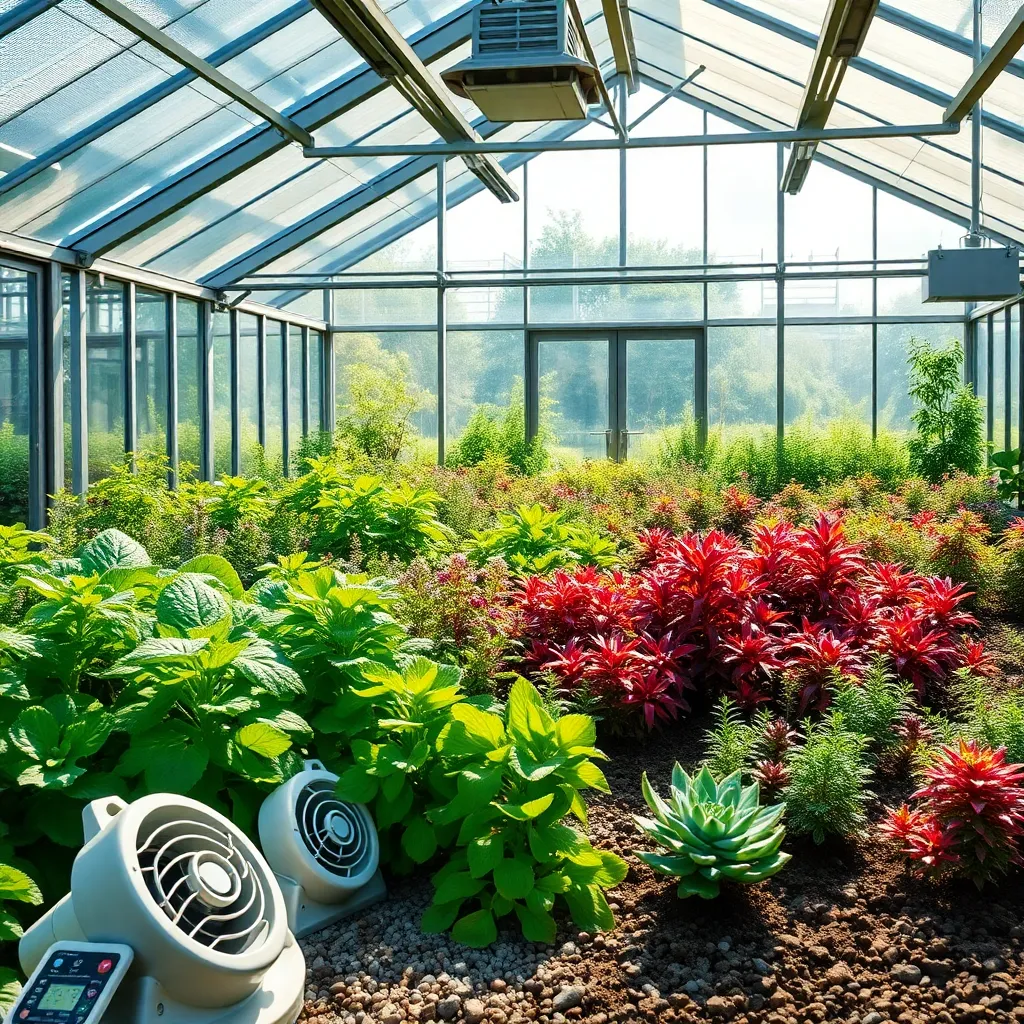
Automatic Ventilation (Temperature Regulation)
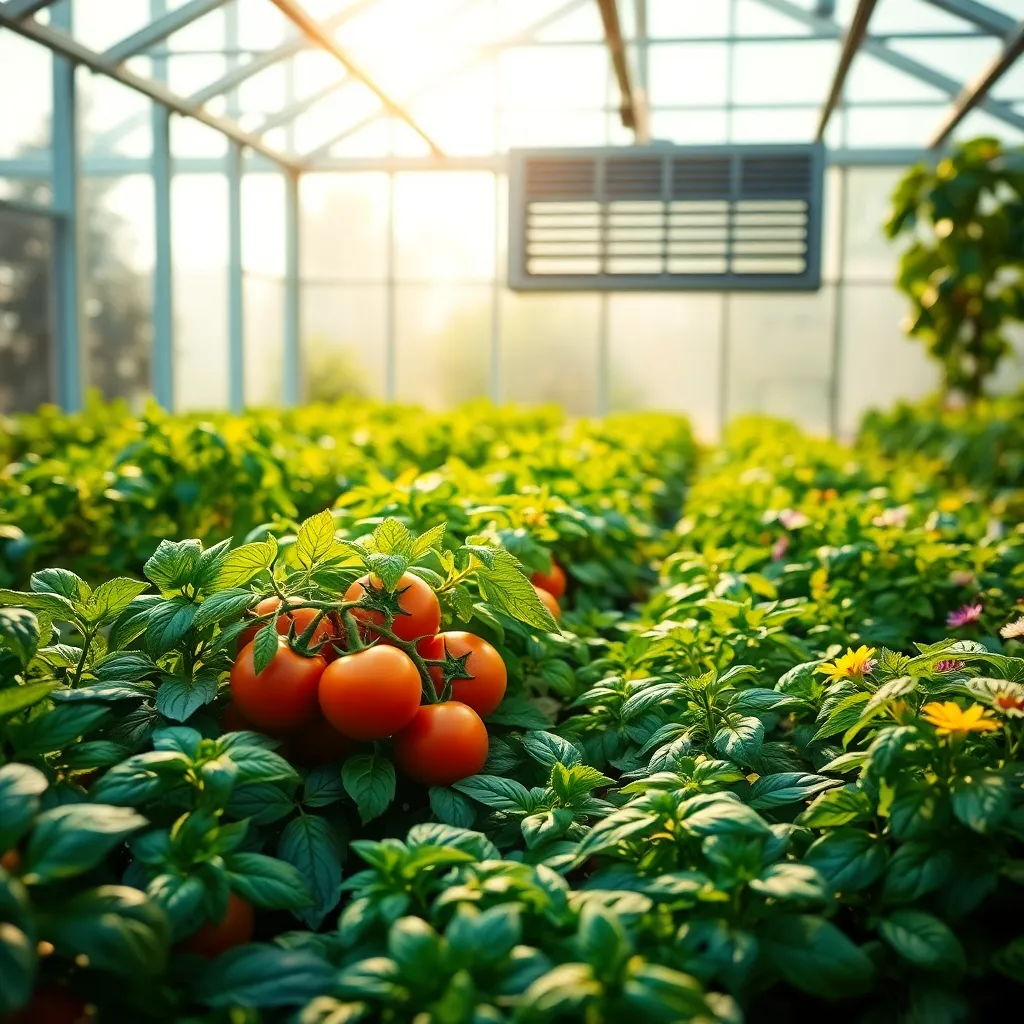
Automatic ventilation is a game-changer for maintaining optimal temperatures in your backyard greenhouse. By installing automatic vent openers, you can ensure that temperature fluctuations do not harm your plants, as these devices open vents when the temperature rises and close them when it drops.
To set up an automatic ventilation system, choose a model that suits your greenhouse size and design. Options include solar-powered and heat-sensitive vent openers, both of which are easy to install and require minimal maintenance.
Position vents strategically at the highest points of the greenhouse to allow hot air to escape efficiently. This placement helps create a natural airflow, pulling cooler air in from lower openings and maintaining a balanced environment for your plants.
For more advanced gardeners, integrating a thermostat-controlled fan system can further enhance temperature regulation. This system activates fans to boost air circulation when temperatures exceed your set limits, offering an extra layer of climate control.
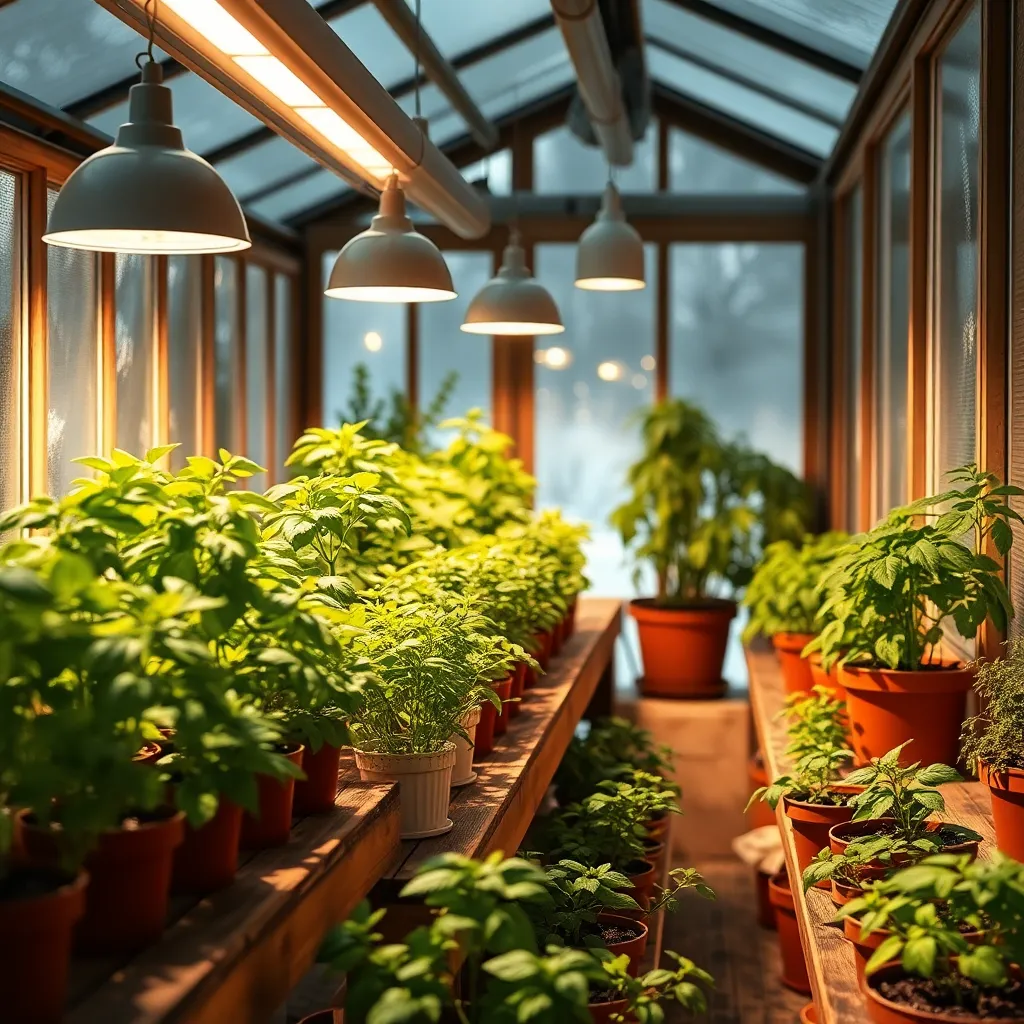
LED Grow Lights (Energy-Efficient Illumination)
LED grow lights offer a highly energy-efficient solution for illuminating your backyard greenhouse. These lights provide the necessary wavelengths for photosynthesis, ensuring your plants thrive even during shorter daylight periods.
For beginners, it’s essential to position LED grow lights about 12 to 18 inches above plant canopies. This distance ensures optimal light penetration, promoting robust growth without risking plant burn.
Experienced gardeners might consider using adjustable LED lights, which allow you to modify the light spectrum according to plant growth stages. During the vegetative phase, a blue spectrum encourages leaf development, while a red spectrum supports flowering and fruiting.
To maximize the effectiveness of LED grow lights, consider using reflective materials on greenhouse walls. Reflective surfaces can increase light distribution, ensuring that every plant receives adequate illumination and reducing the need for additional lights.
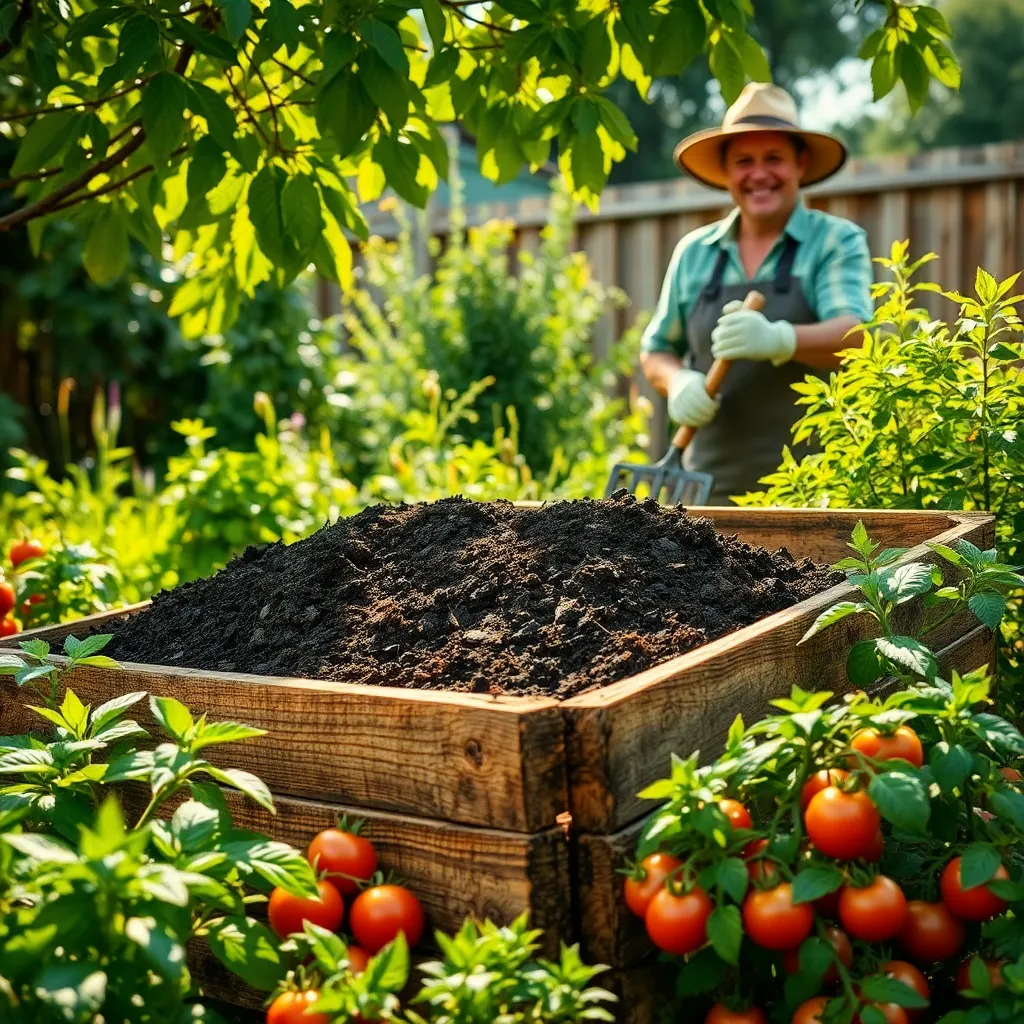
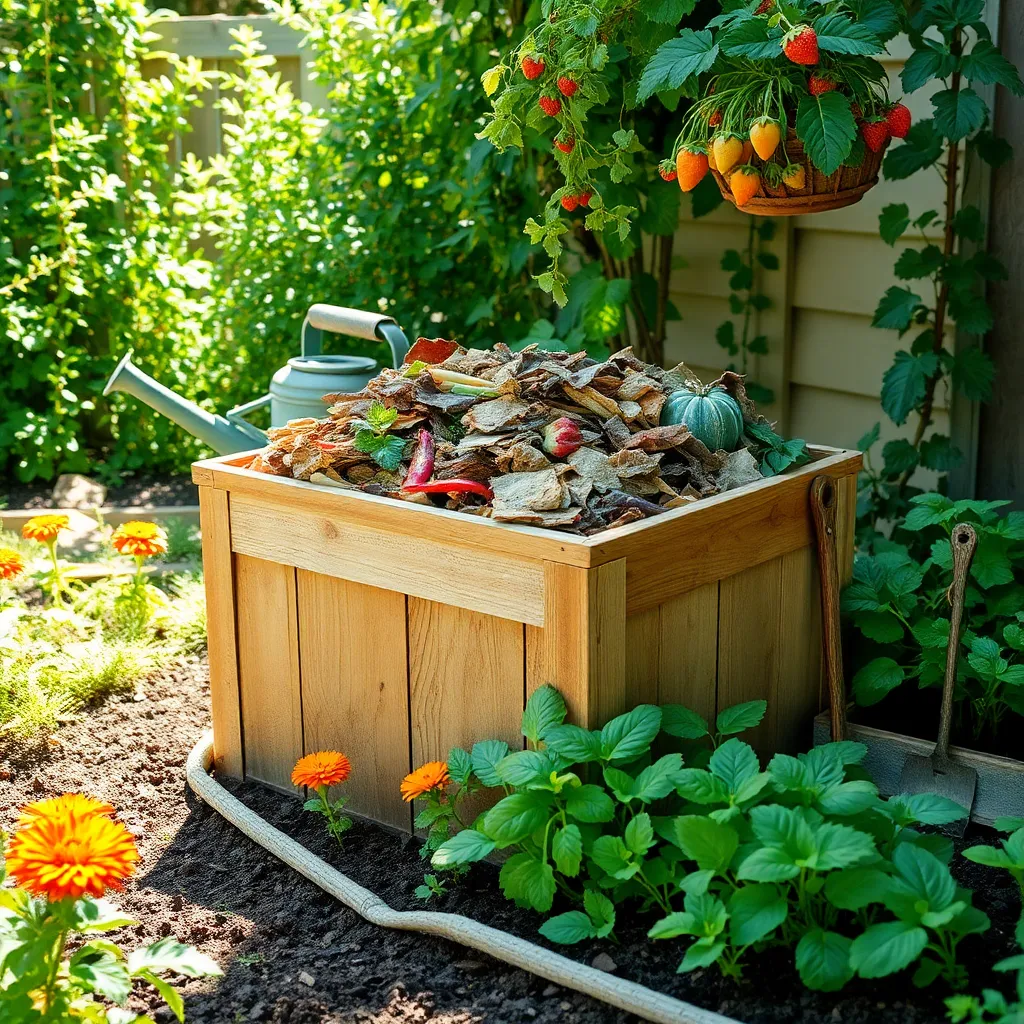
Compost Tea Brewer (Nutrient-Rich Fertilizer)
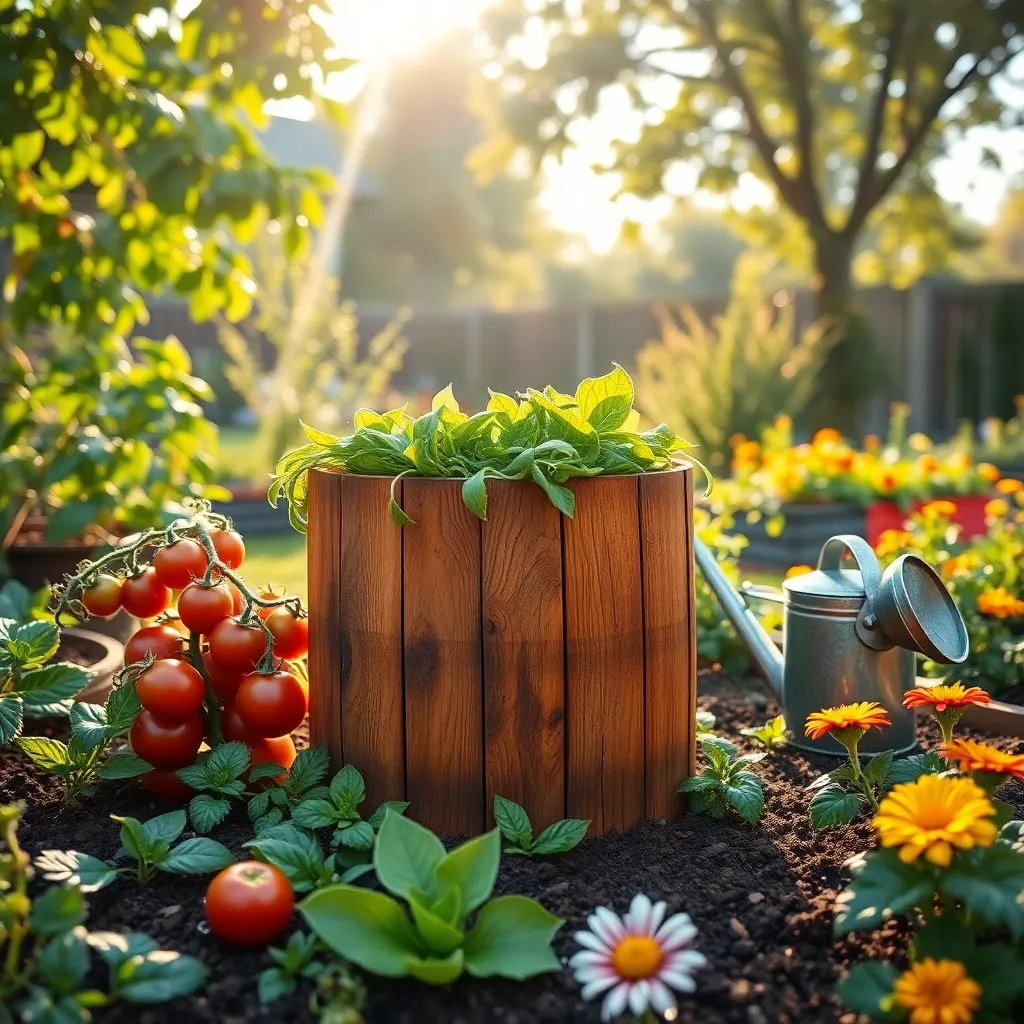
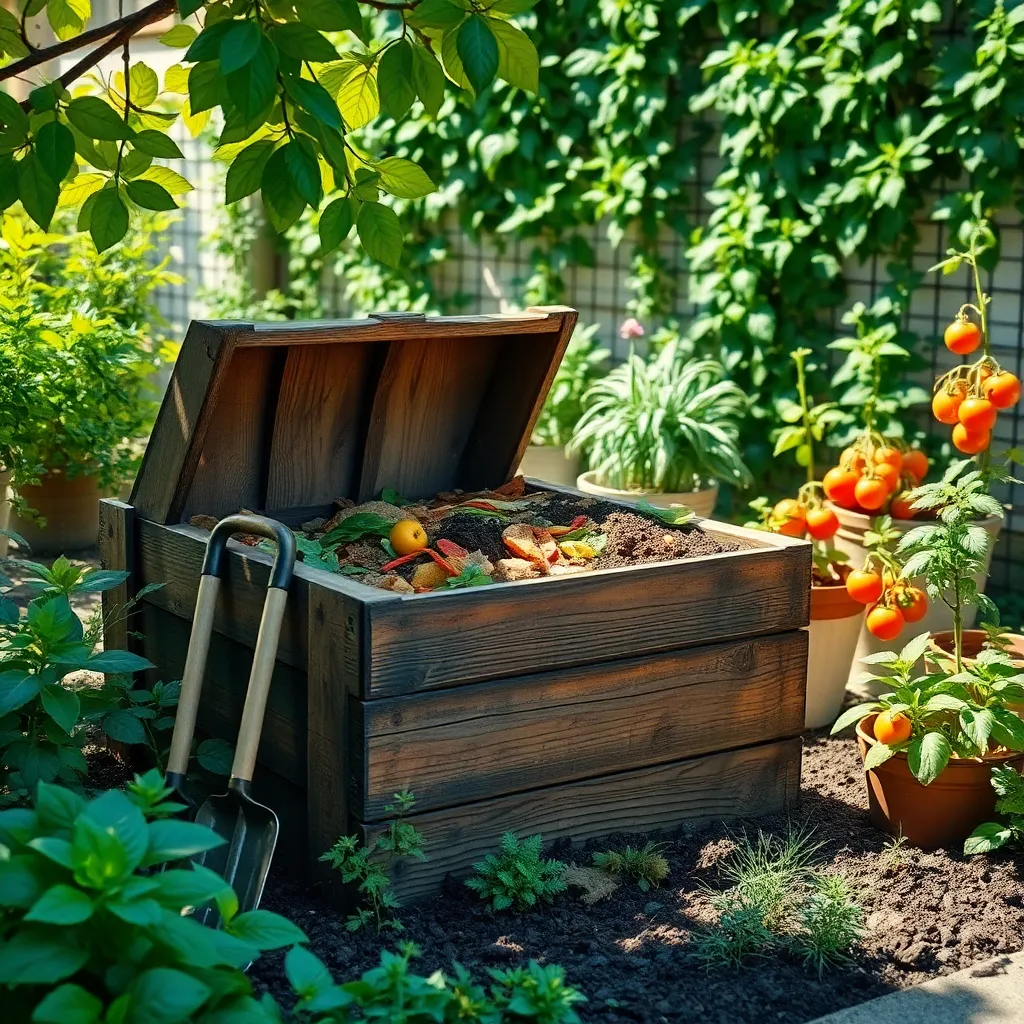
Compost tea is a fantastic way to provide your plants with a nutrient boost, and brewing it is simpler than you might think. Start by filling a five-gallon bucket with water, ideally rainwater or dechlorinated tap water, to ensure the microorganisms thrive.
Next, add a generous amount of compost into a mesh bag or old pillowcase, then immerse it in the water. Let it steep for 24 to 48 hours, stirring occasionally to ensure all the beneficial organisms are released into the tea.
Once brewed, you can use the compost tea to water your plants directly, delivering nutrients right to the roots. Alternatively, apply it as a foliar spray, which can help enhance leaf health and disease resistance.
For those looking to refine their compost tea, consider adding supplements like blackstrap molasses or kelp, which can increase microbial activity and nutrient content. Remember, the key to successful compost tea is ensuring aerobic conditions, so using an aquarium pump to aerate the tea can be beneficial.
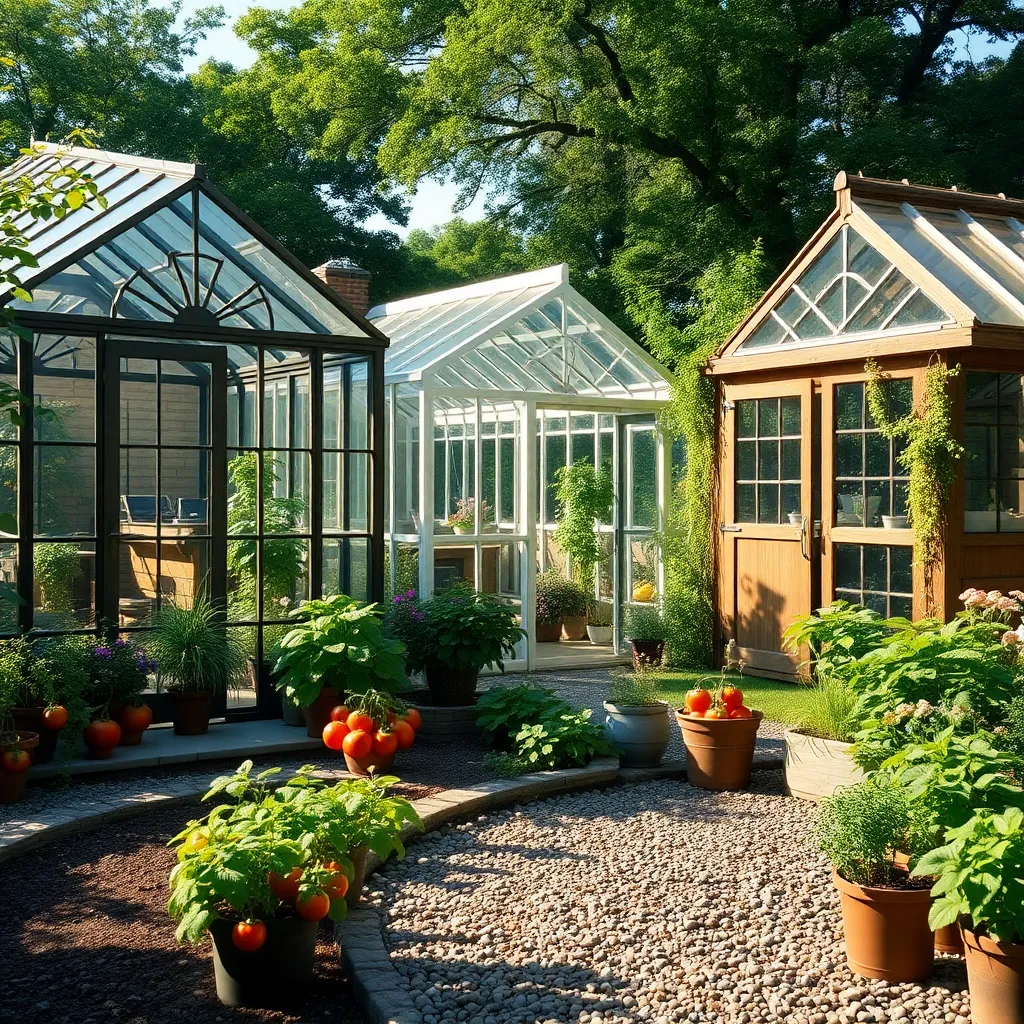
Cold Frame Kits (Season Extension Solution)
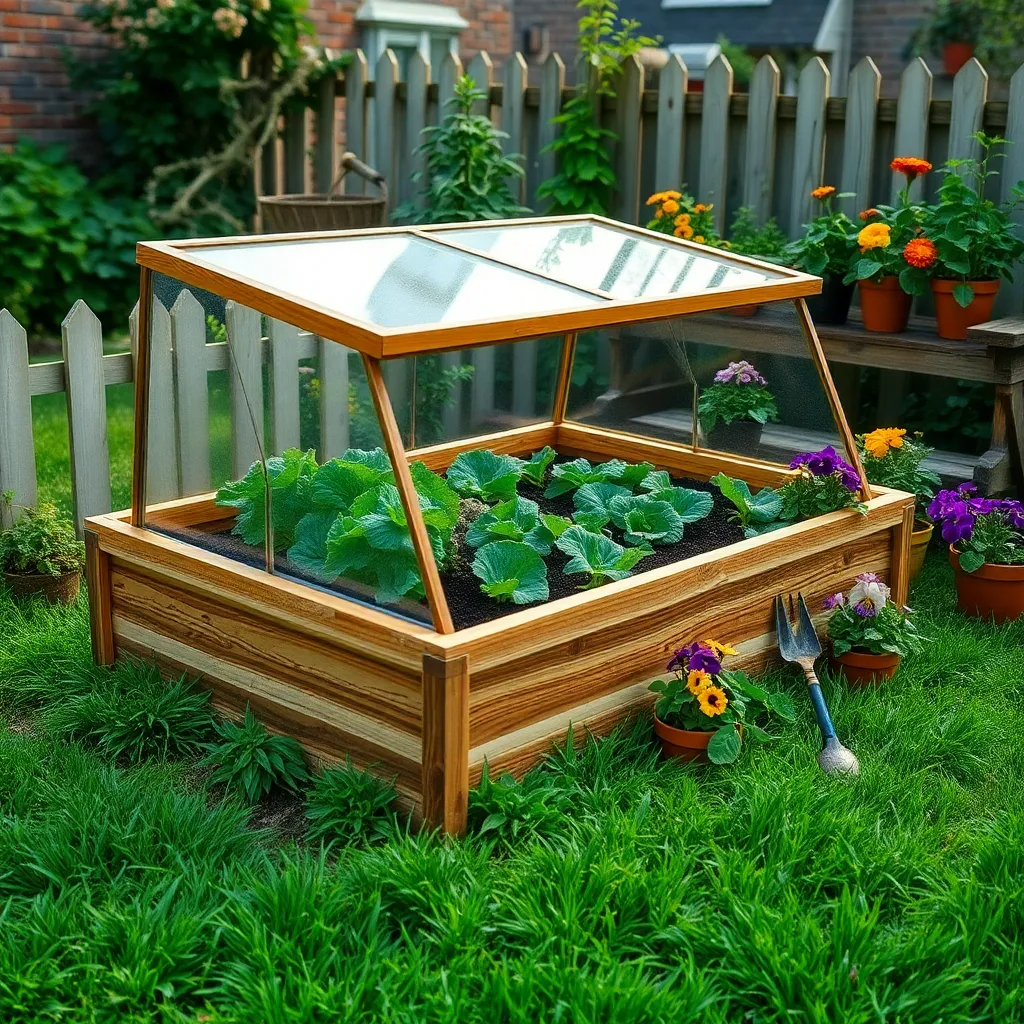
Cold frames are an excellent choice for gardeners looking to extend their growing season into the colder months. These simple structures trap heat from the sun, creating a microclimate that allows you to start plants earlier in the spring and keep them growing longer in the fall.
When setting up a cold frame, position it in a location that receives optimal sunlight throughout the day. Ideally, place it against a south-facing wall or fence to maximize heat absorption and protection from the wind.
For beginners, choosing a cold frame kit with easy assembly instructions can be a practical start. Kits often include panels made from materials like glass or polycarbonate, which are excellent for retaining heat while allowing light to penetrate.
Advanced gardeners might experiment with adding heat-absorbing materials like bricks or black-painted water bottles inside the frame. These materials help to store heat during the day and release it at night, further stabilizing temperatures inside the cold frame.
Regularly monitor the temperature inside the cold frame to prevent overheating during warm, sunny days. Opening the frame slightly during the day can help regulate temperature and provide necessary air circulation.
Consider planting cool-season crops such as lettuce, spinach, and radishes, which thrive in the conditions a cold frame provides. With careful management, these plants can provide fresh produce well beyond the typical growing season.
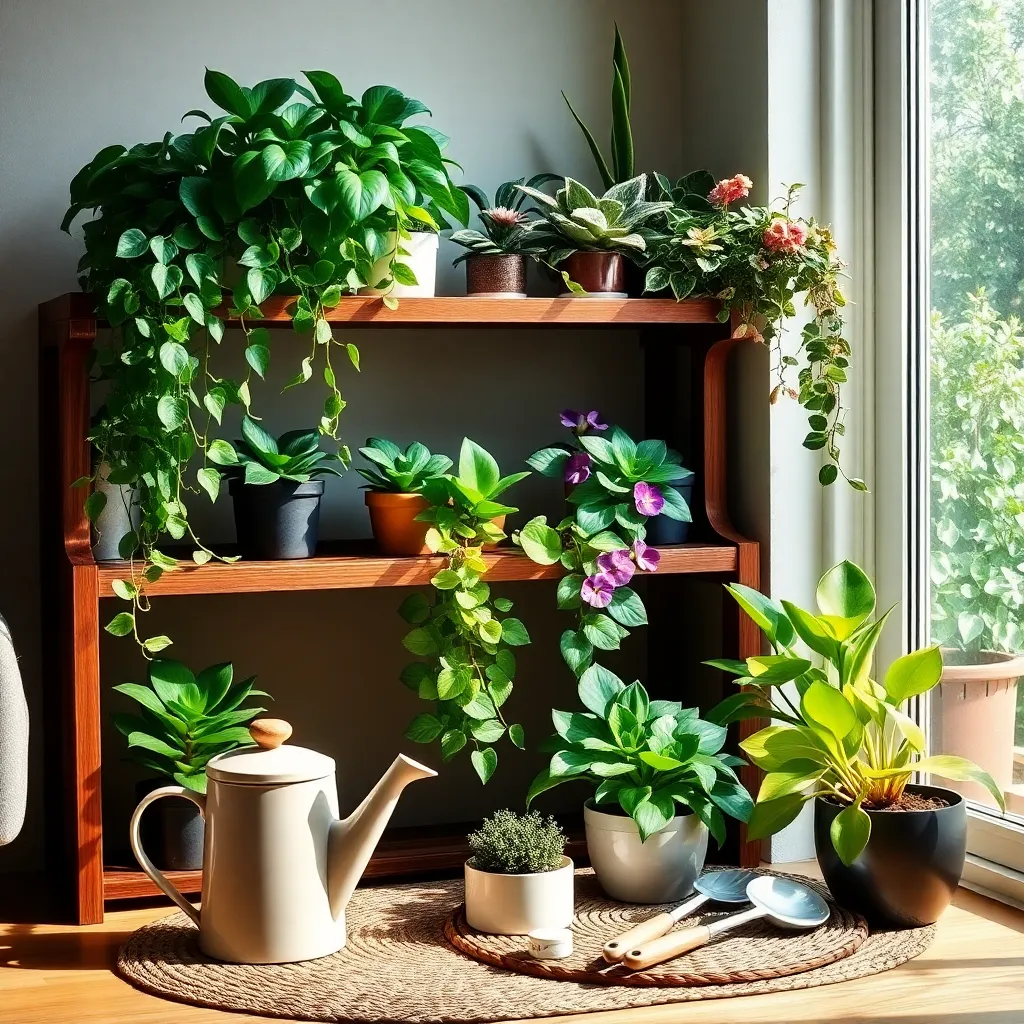
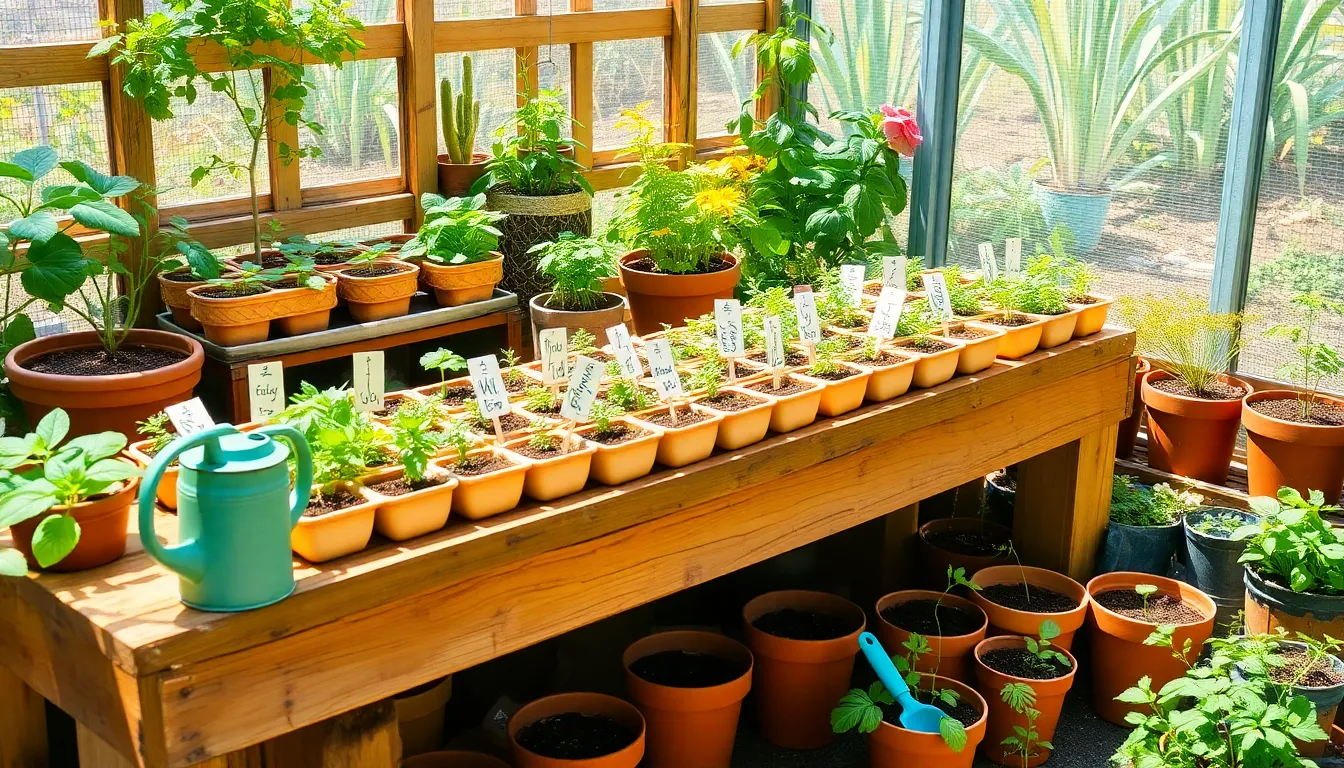
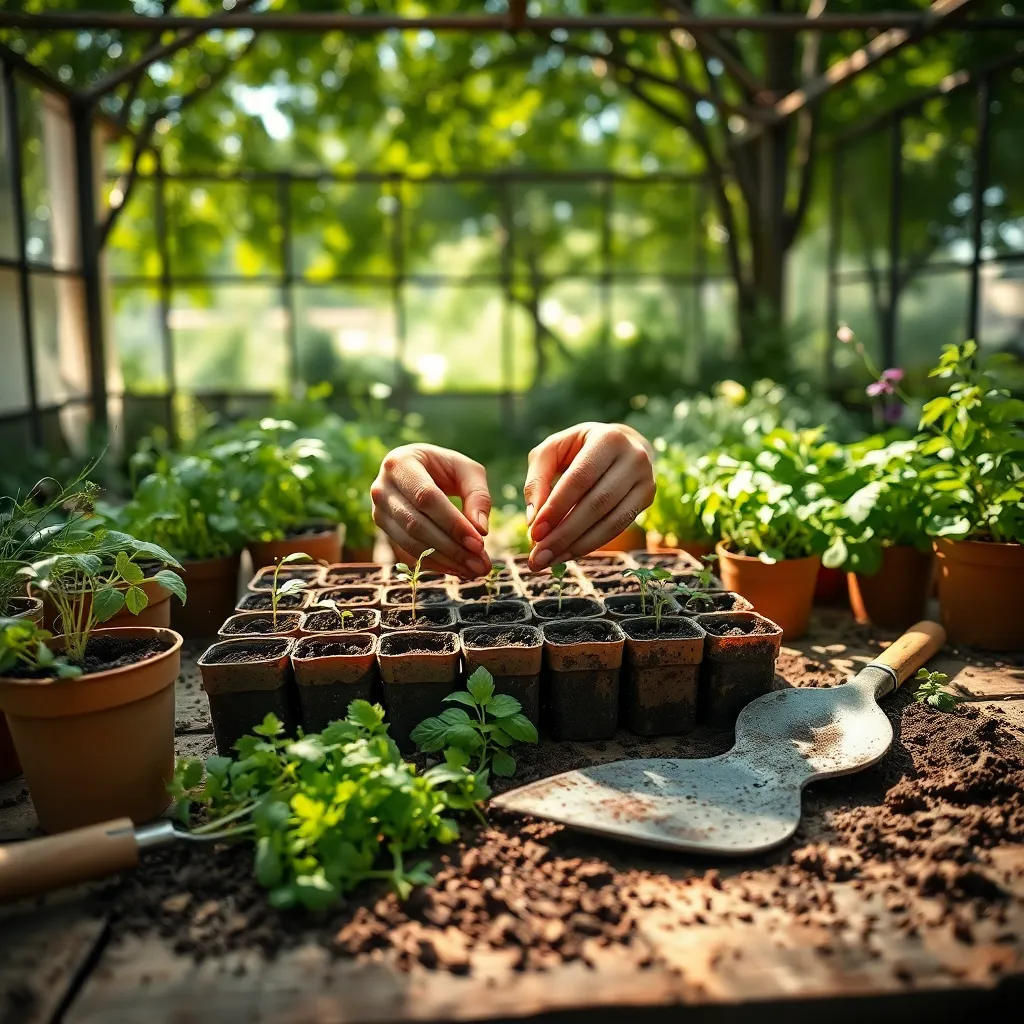
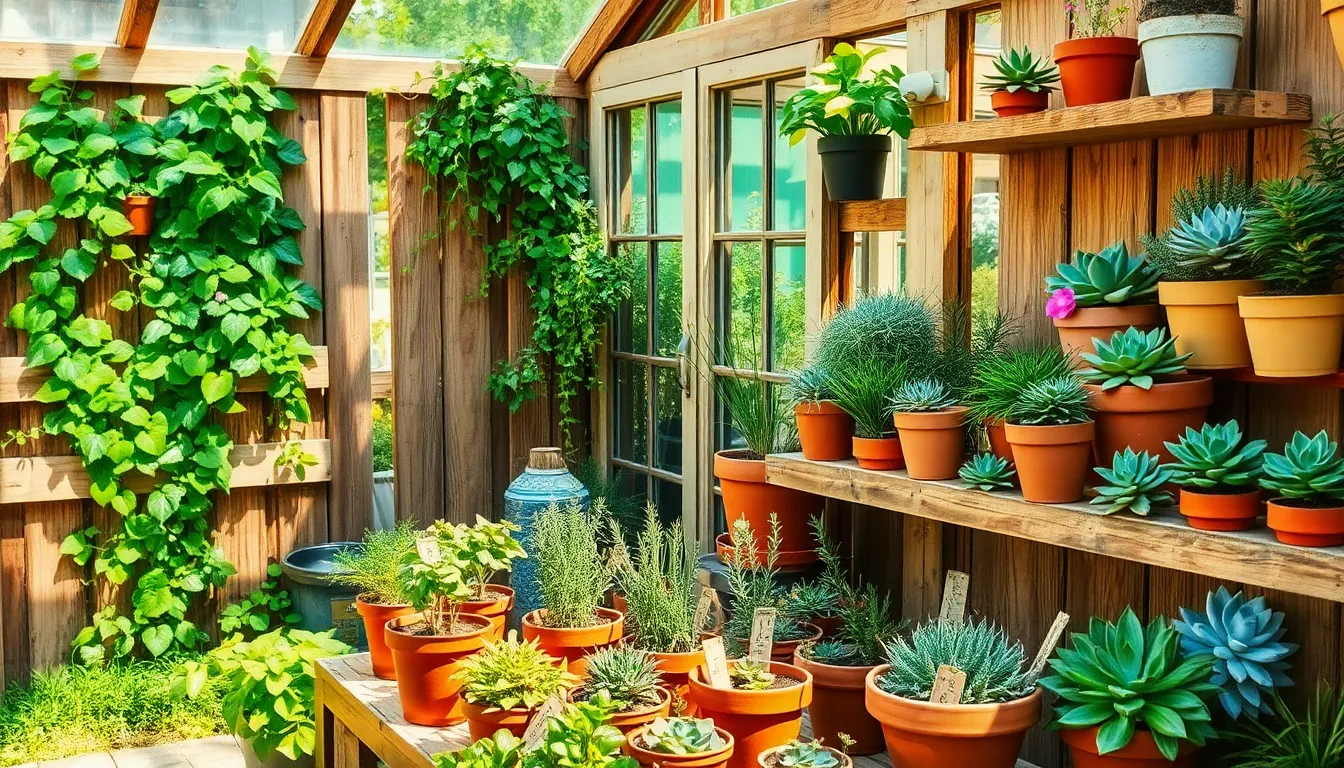
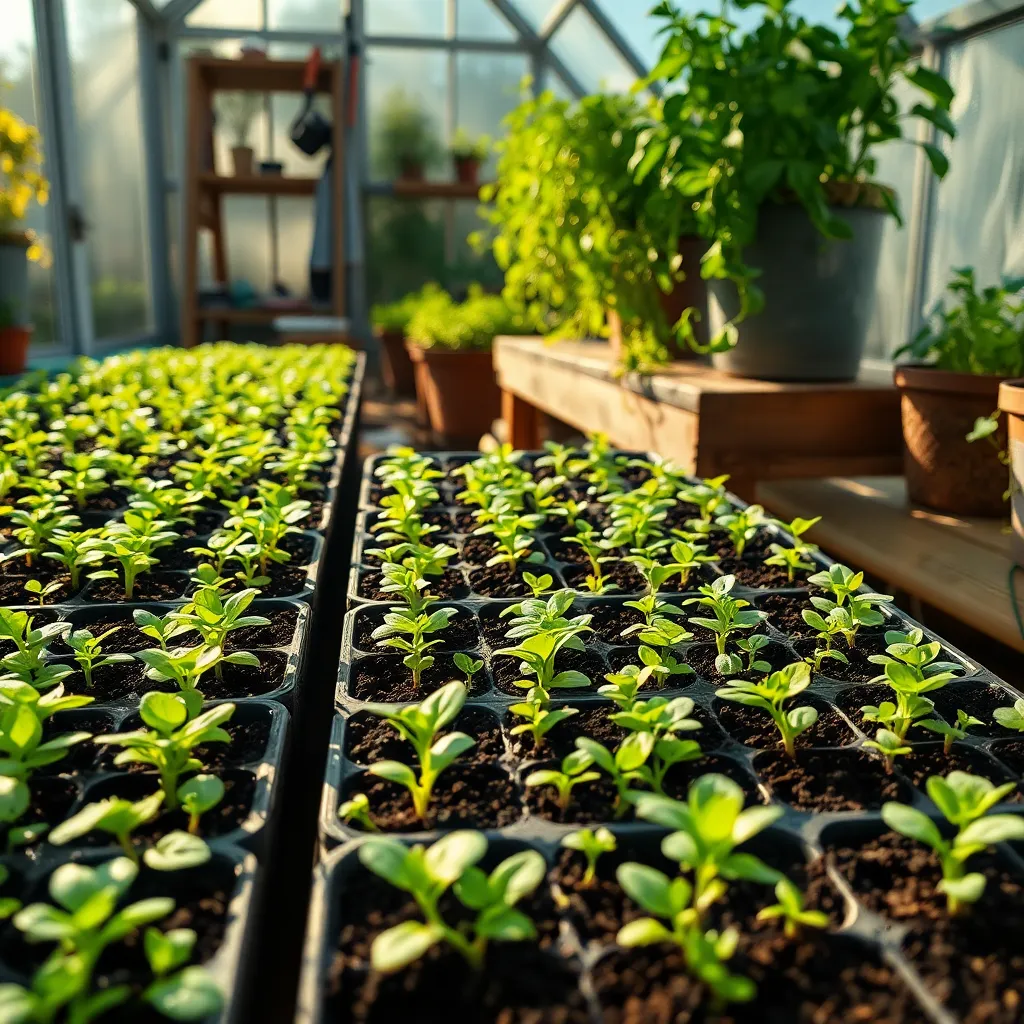
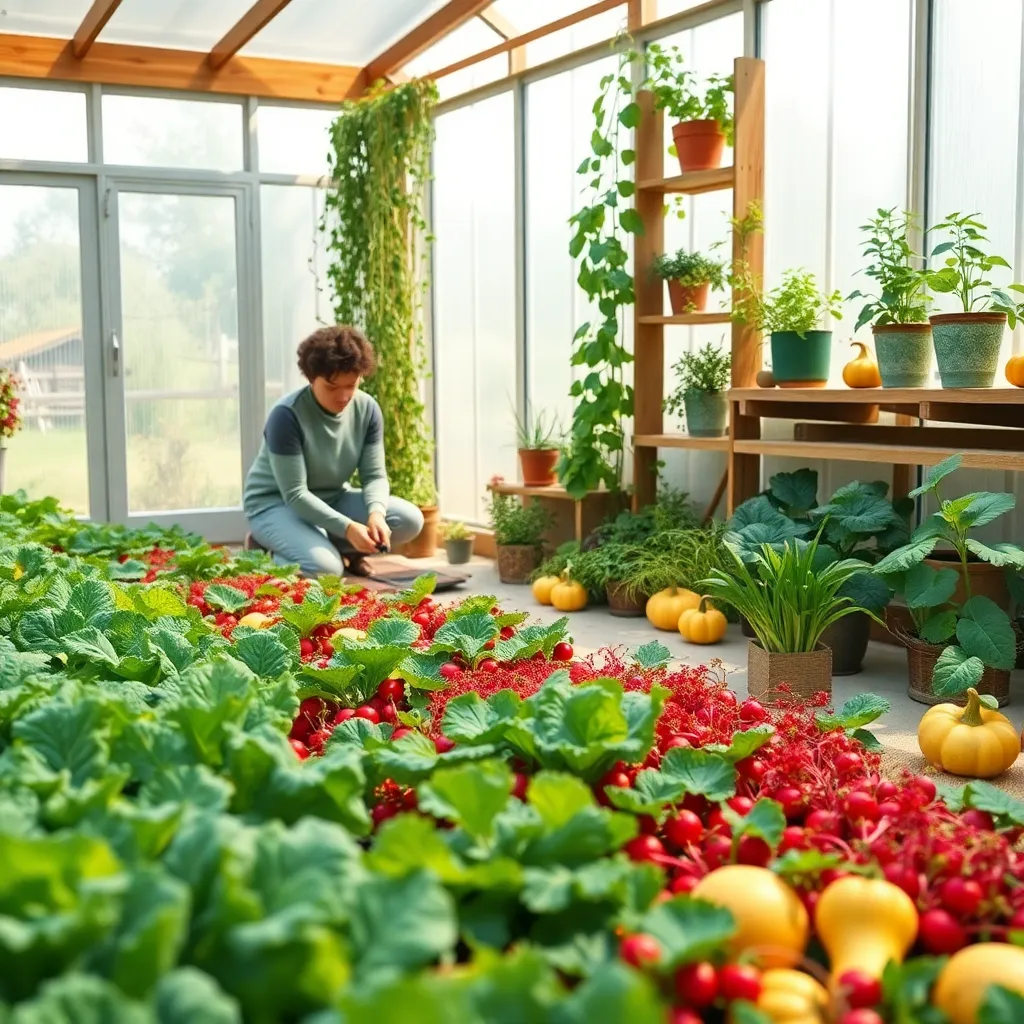
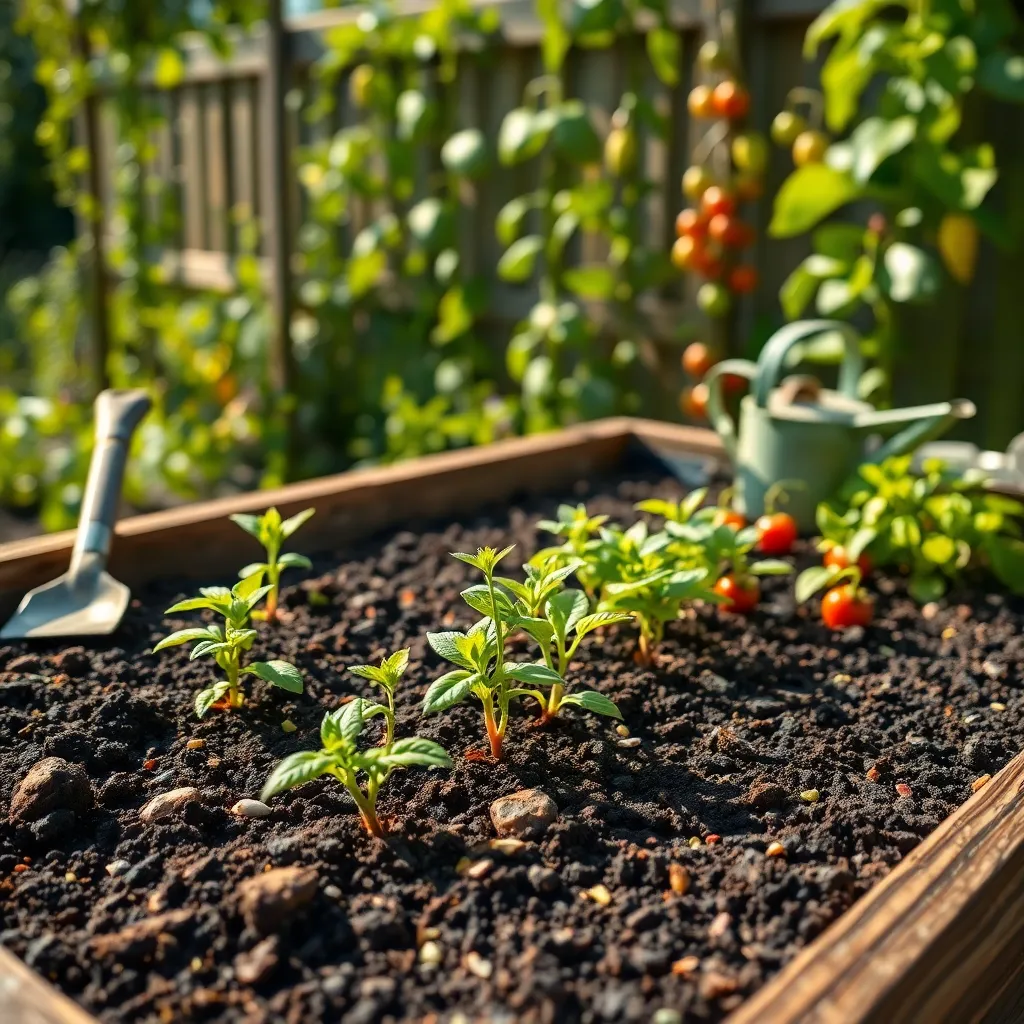
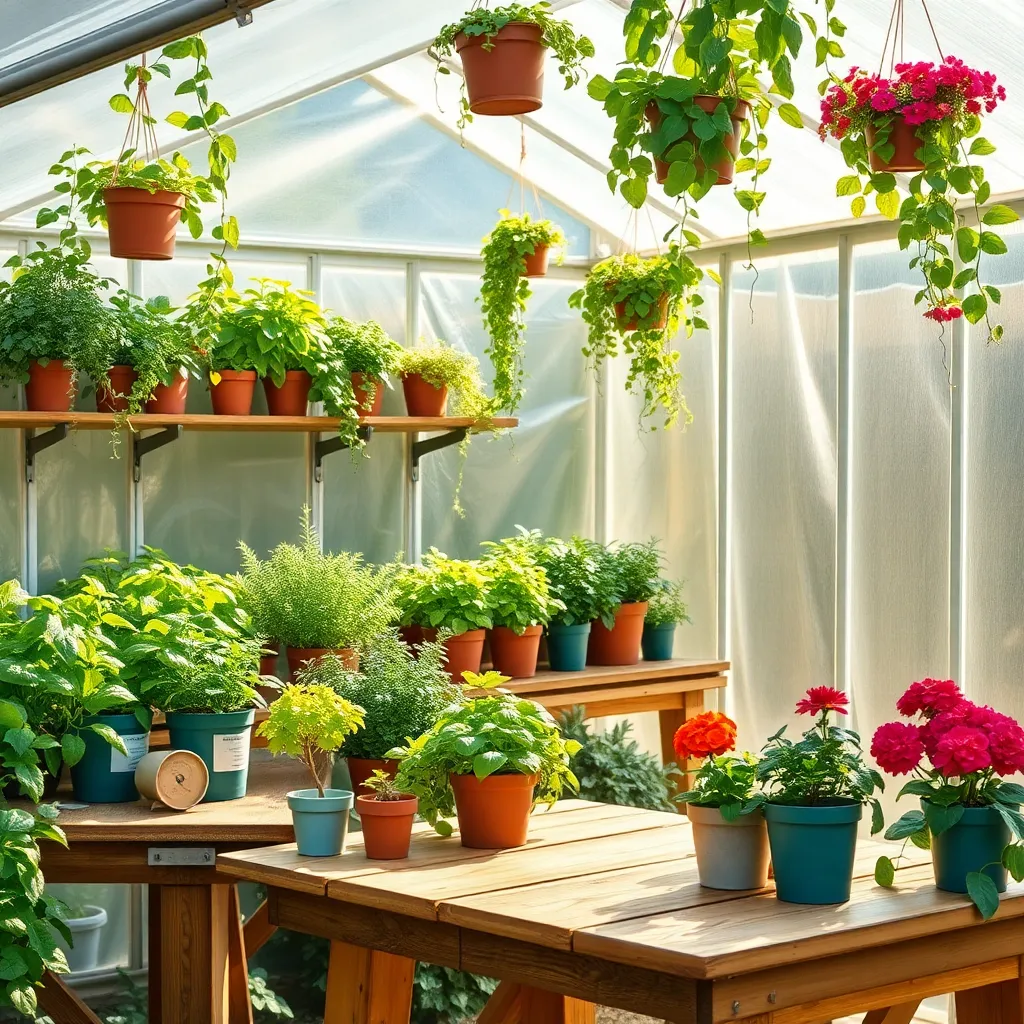
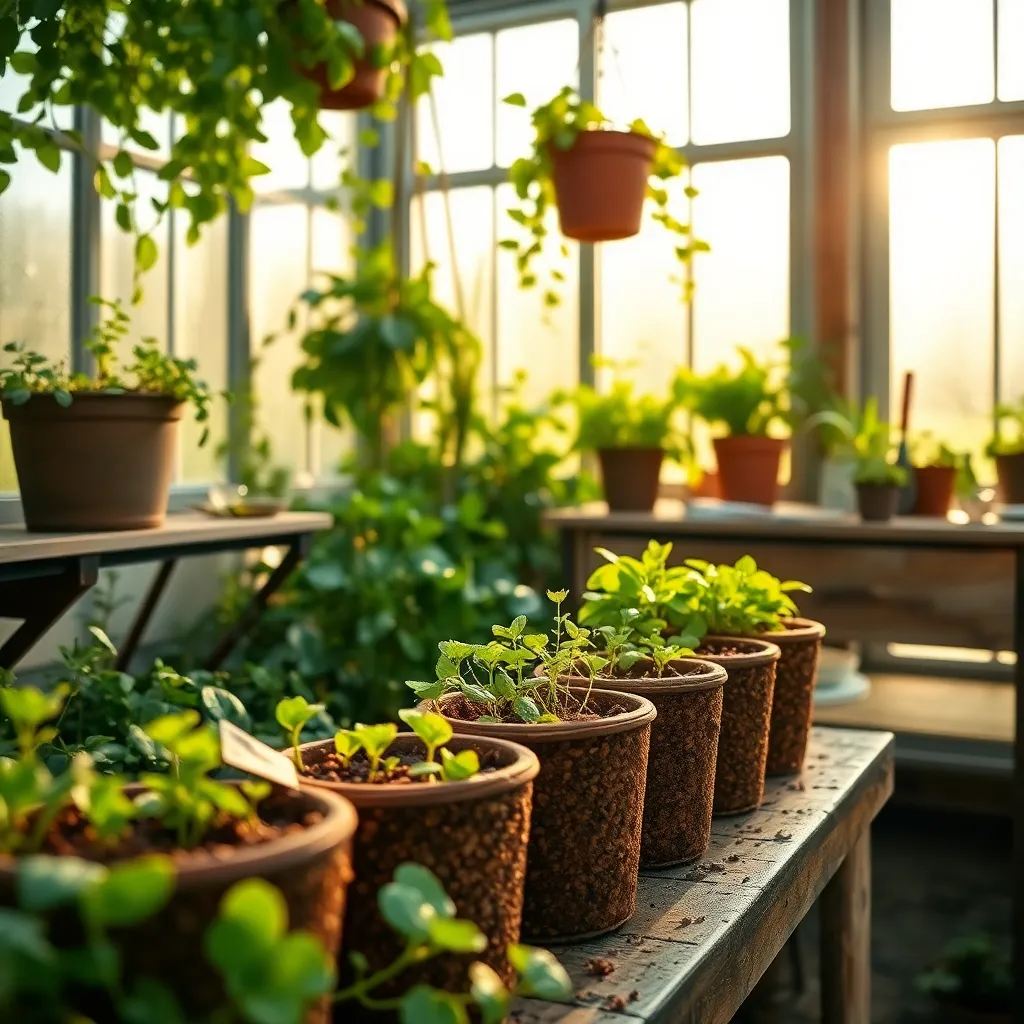
DIY Seed Starter Shelves (Efficient Germination)
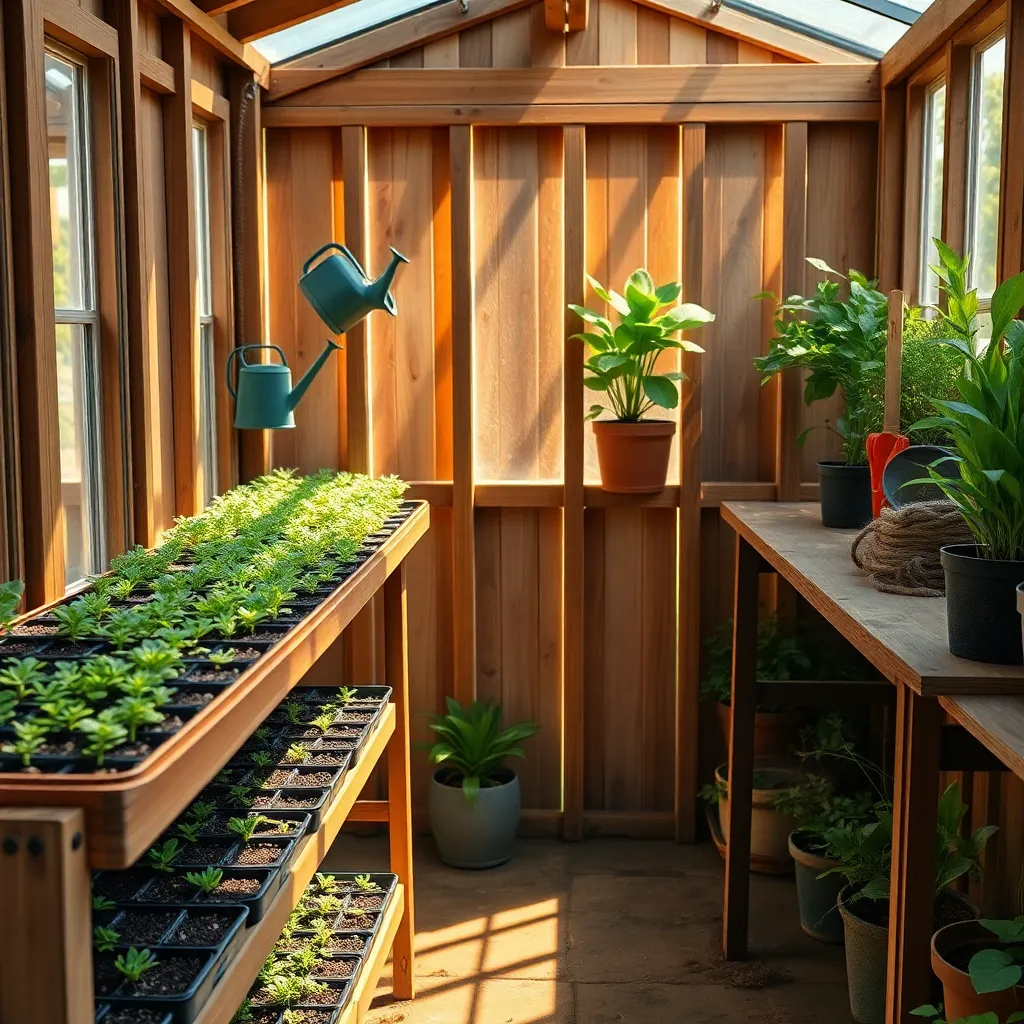
Creating DIY seed starter shelves is a fantastic way to ensure efficient germination of your plants. These shelves can be customized to fit your space and allow you to manage your seedlings effectively.
Start by selecting a location with ample sunlight, as this is crucial for the healthy growth of seedlings. If natural sunlight isn’t available, consider using grow lights, which can provide the necessary light spectrum for optimal growth.
For the shelves, use sturdy materials that can withstand moisture, such as treated wood or metal. Ensure that each shelf is spaced adequately to accommodate the height of your seedlings as they grow.
Proper airflow is essential to prevent mold and other issues, so place a small fan nearby to circulate air gently. Additionally, maintain a consistent watering schedule; seedlings thrive with soil that is kept moist but not waterlogged.
For beginners, using a seed starting mix is recommended as it provides the light texture and nutrients needed for seedling development. More experienced gardeners may experiment with homemade compost blends, adjusting based on the plant species’ needs.
Finally, label your seedlings clearly to avoid confusion and ensure proper care as they grow. By setting up DIY seed starter shelves, gardeners can enjoy the satisfaction of nurturing their plants from seed to sprout with ease and efficiency.
Solar-Powered Fans (Eco-Friendly Airflow)
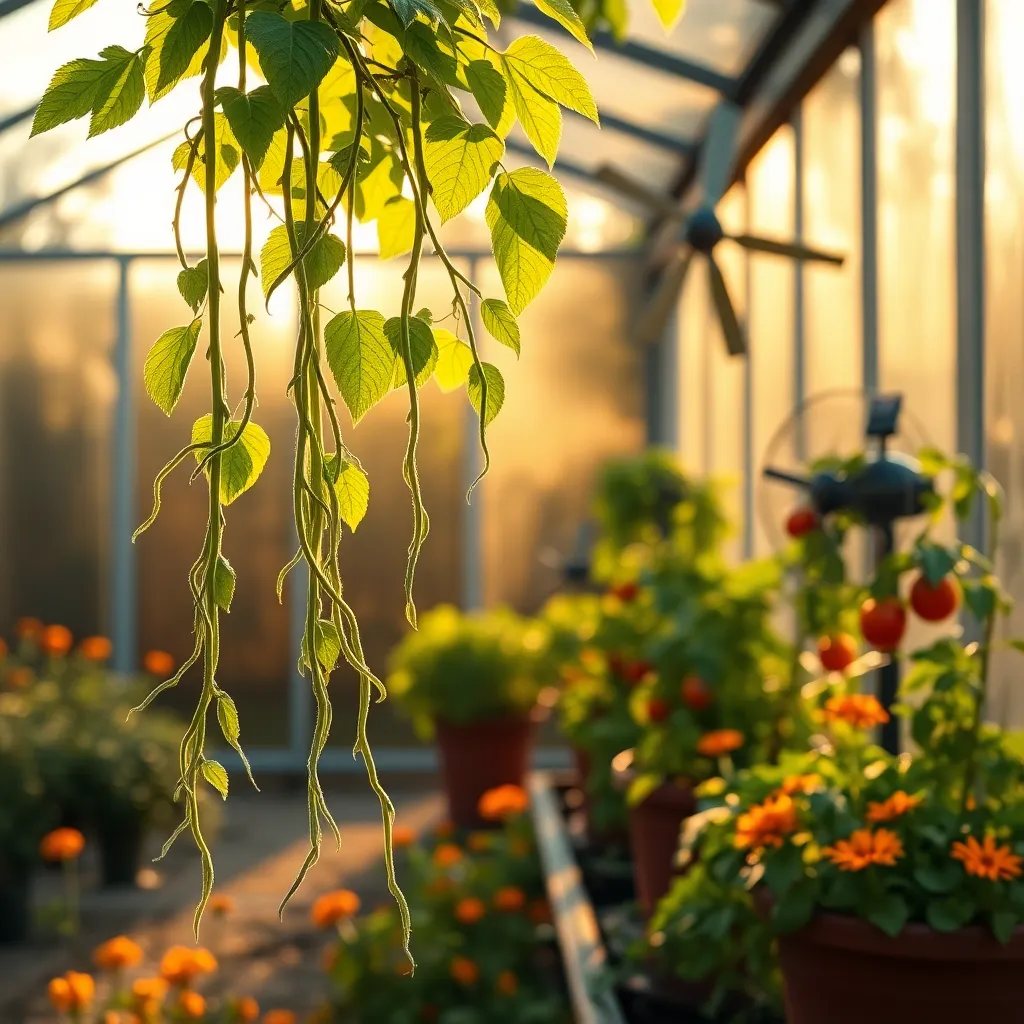
Harnessing the power of the sun, solar-powered fans are an excellent addition to your backyard greenhouse. They provide an eco-friendly solution for maintaining optimal airflow without increasing your electricity bill.
Proper air circulation is crucial in a greenhouse, as it helps regulate temperature and humidity levels. By installing solar-powered fans, you ensure that your plants receive a consistent supply of fresh air, which is essential for healthy growth.
Installation is relatively simple; place the solar panel in a location with maximum sunlight exposure and connect it to the fan unit inside the greenhouse. This setup ensures that your fans operate effectively throughout the day, even in varying weather conditions.
For beginners, start by using a basic solar fan kit that includes both the fan and solar panel. More experienced gardeners can explore advanced setups by incorporating thermostatic controls to automate the system, ensuring optimal temperatures are maintained without constant monitoring.
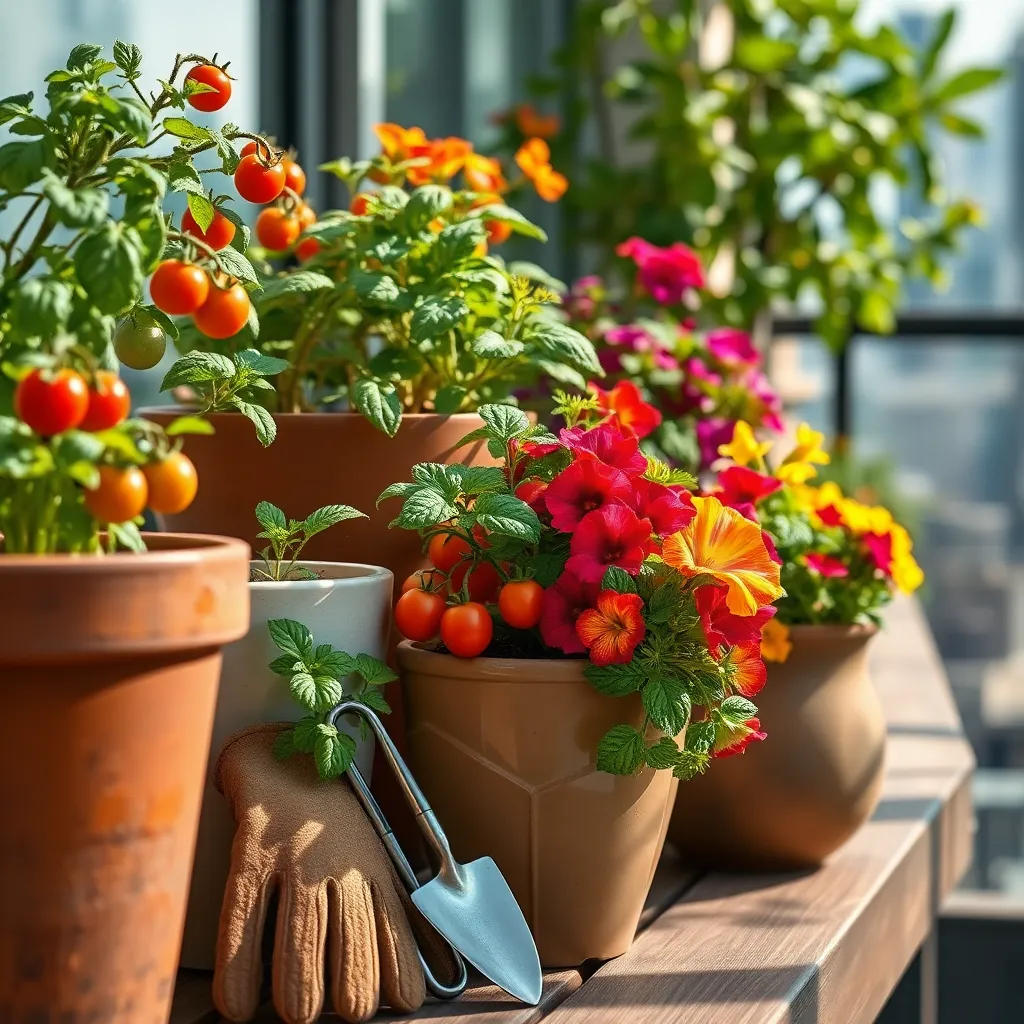
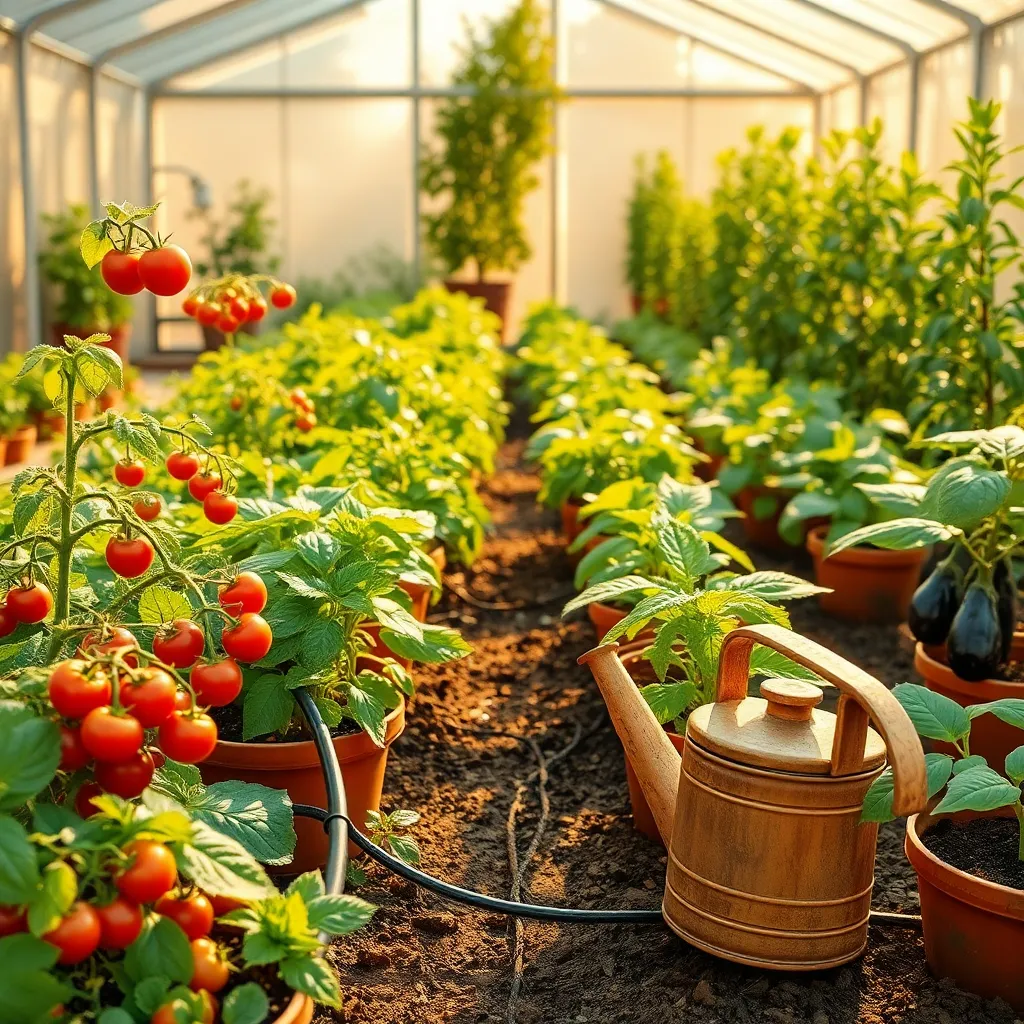
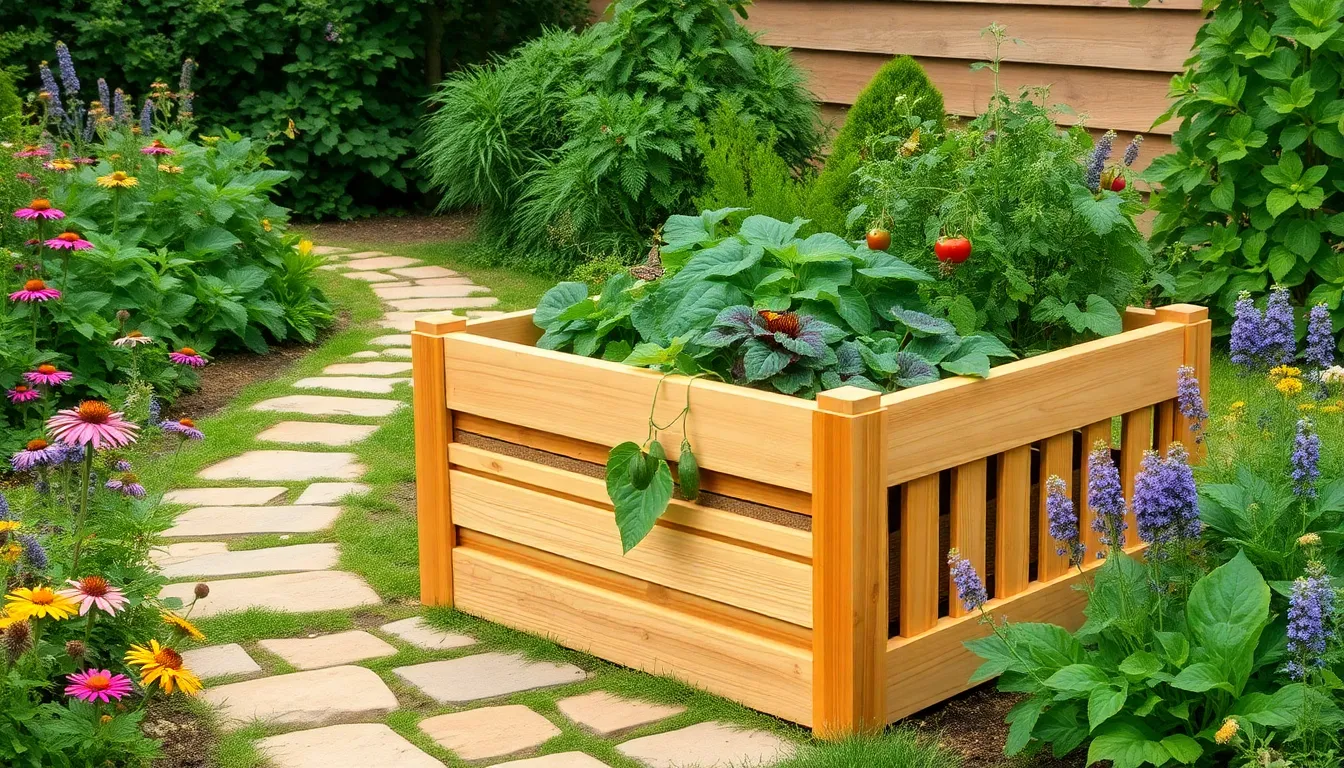
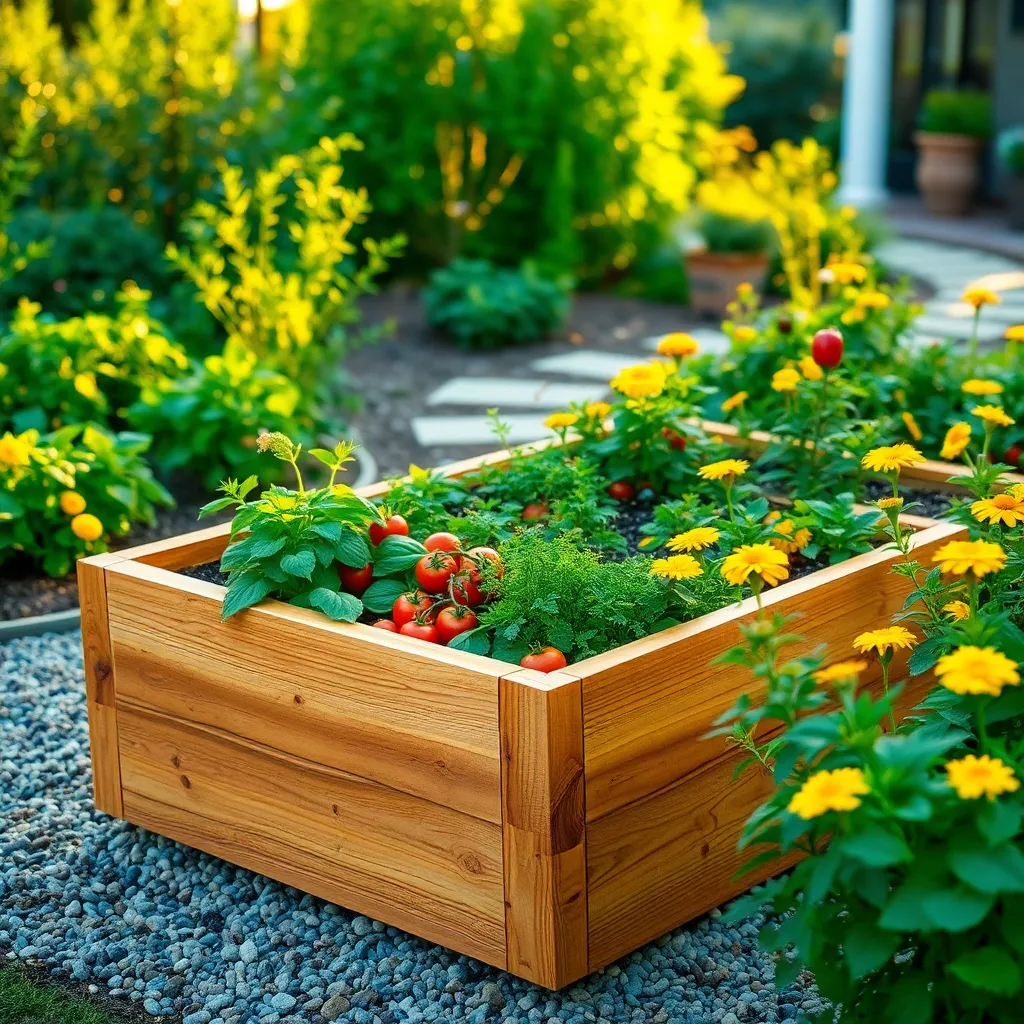
Self-Watering Planters (Low-Maintenance Hydration)
Self-watering planters offer a convenient solution for maintaining consistent moisture levels for your plants, reducing the need for daily attention. These planters work by using a reservoir system that supplies water to the soil as needed, ensuring plants receive the right amount of hydration while minimizing over-watering risks.
To set up a self-watering planter effectively, start by choosing a quality potting mix that’s well-aerated and retains moisture well. Mixing in some perlite or vermiculite can enhance the soil’s ability to hold water, making it ideal for self-watering systems.
Position your planter in a suitable location where the plants can receive adequate sunlight, as light levels influence water uptake. For outdoor greenhouses, placing them near a sunny window can maximize growth while the self-watering system ensures hydration without constant monitoring.
Regularly check the water reservoir to ensure it doesn’t dry out, especially during hotter months when evaporation rates are higher. Advanced gardeners can experiment with adding liquid fertilizers to the water reservoir to provide a steady supply of nutrients, promoting vigorous plant growth over time.
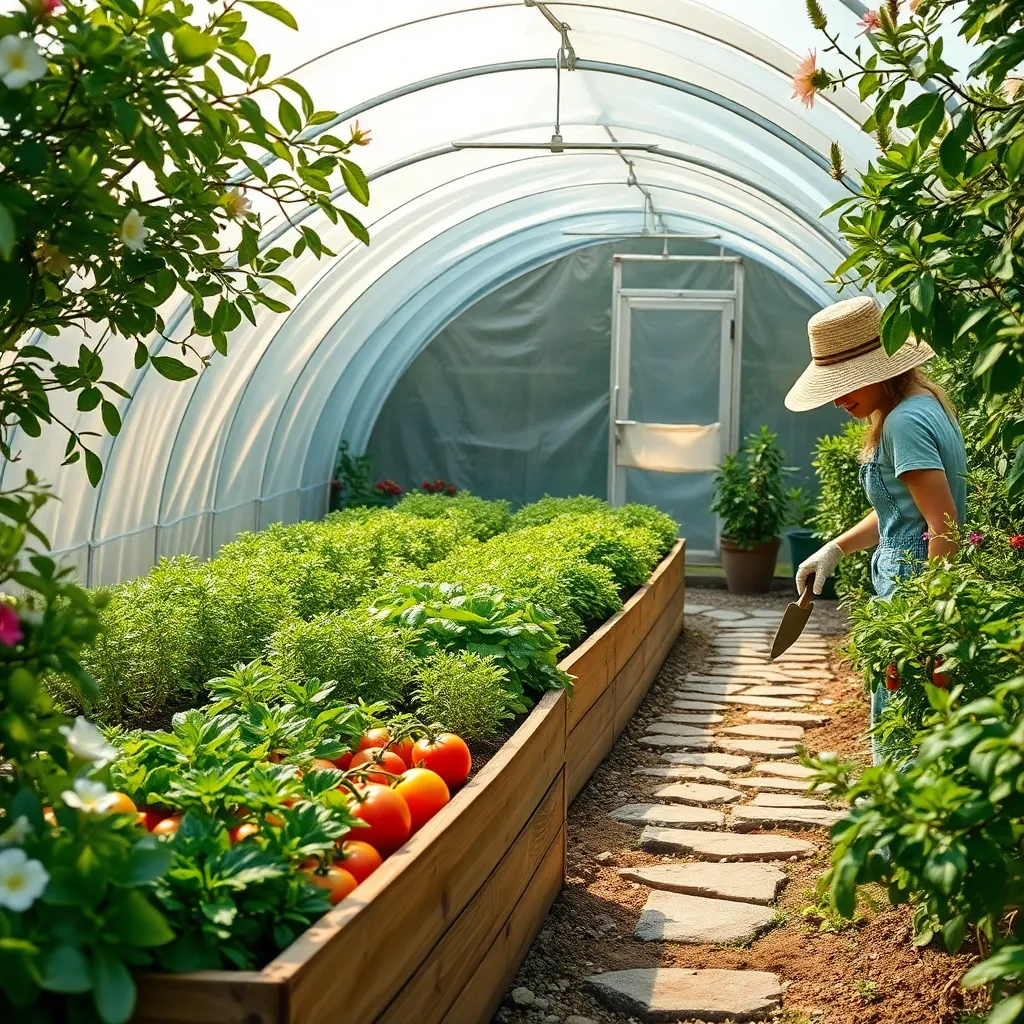
Roll-Up Sidewalls (Flexible Climate Control)
Roll-up sidewalls in a greenhouse offer flexible climate control, which can be especially beneficial during transitional seasons. By adjusting the sidewalls, gardeners can regulate temperature and humidity, making it easier to create the ideal growing environment for a variety of plants.
For those new to using roll-up sidewalls, start by rolling them up during the warmest parts of the day to allow for increased airflow. This helps to prevent overheating and reduces the risk of mold by lowering humidity levels inside the greenhouse.
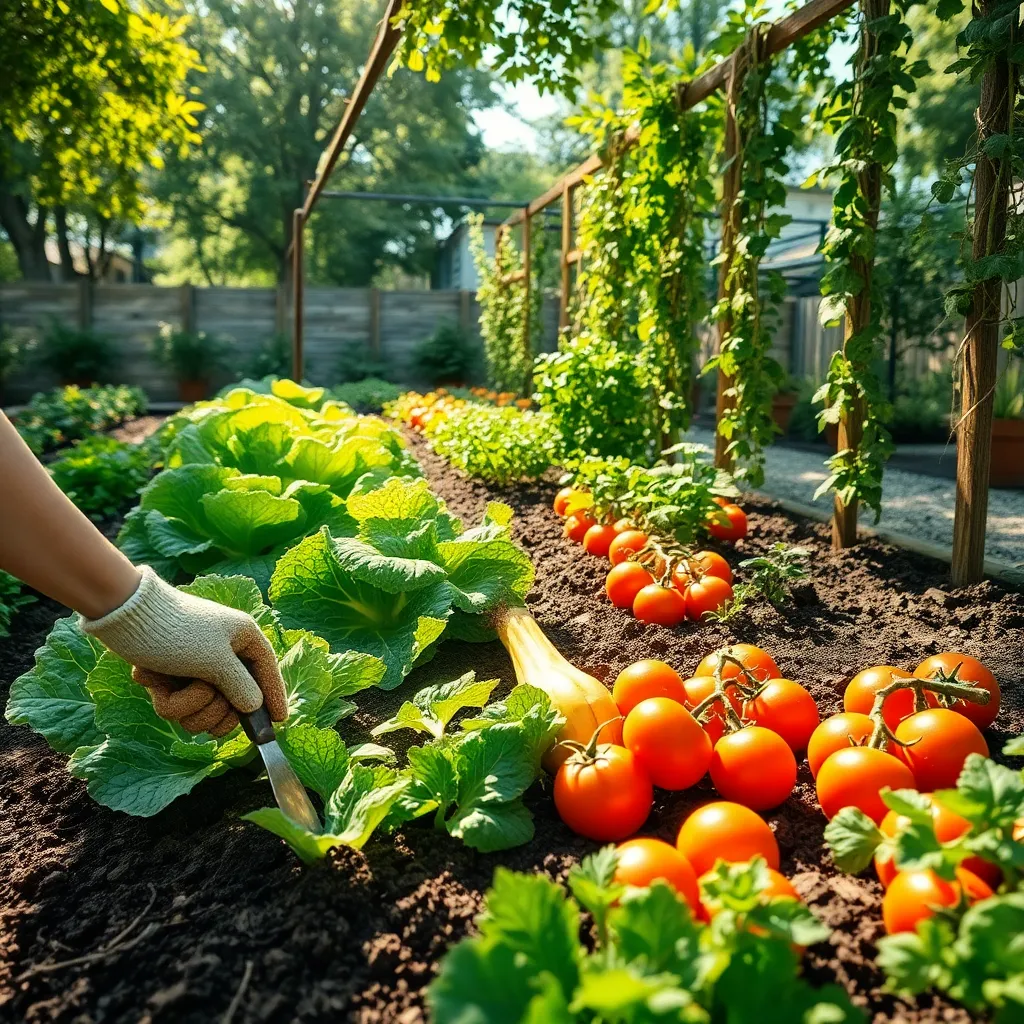
Advanced gardeners can use roll-up sidewalls to experiment with different microclimates within the same greenhouse. For instance, keeping one side partially open can create a cooler area for plants like lettuce, while the opposite side stays warmer for heat-loving plants such as tomatoes.
It’s important to monitor weather patterns and adjust your roll-up sidewalls accordingly. In areas prone to sudden temperature changes, setting up a quick-release system can make it easier to secure the sidewalls in a hurry, protecting your plants from unexpected cold snaps.
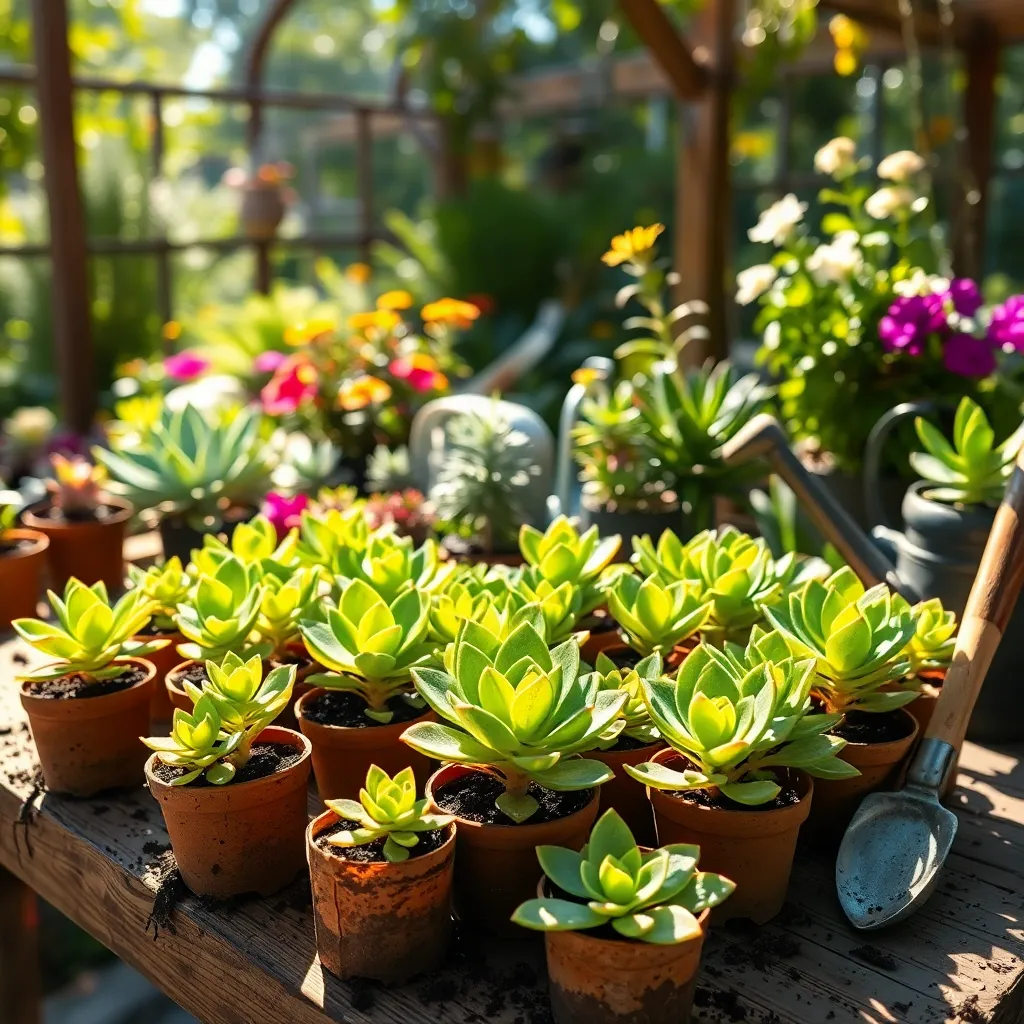
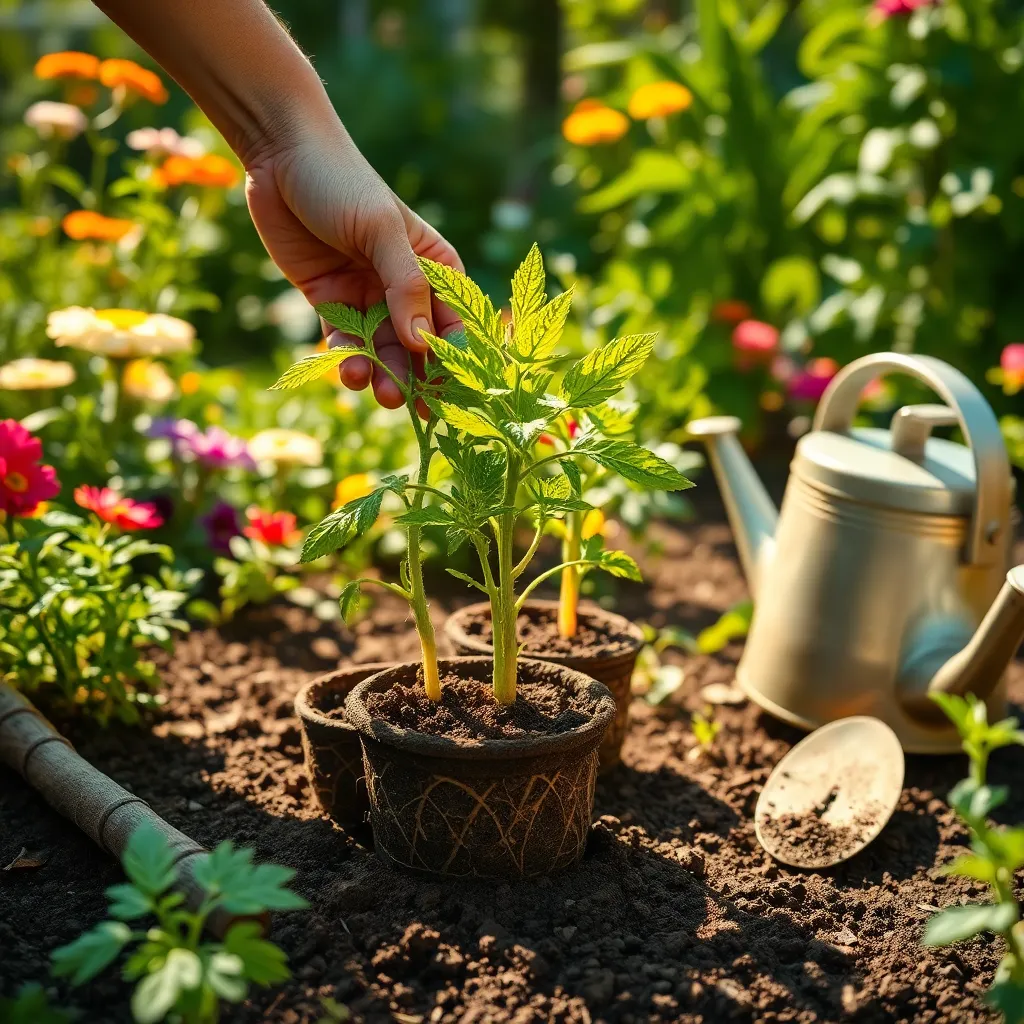
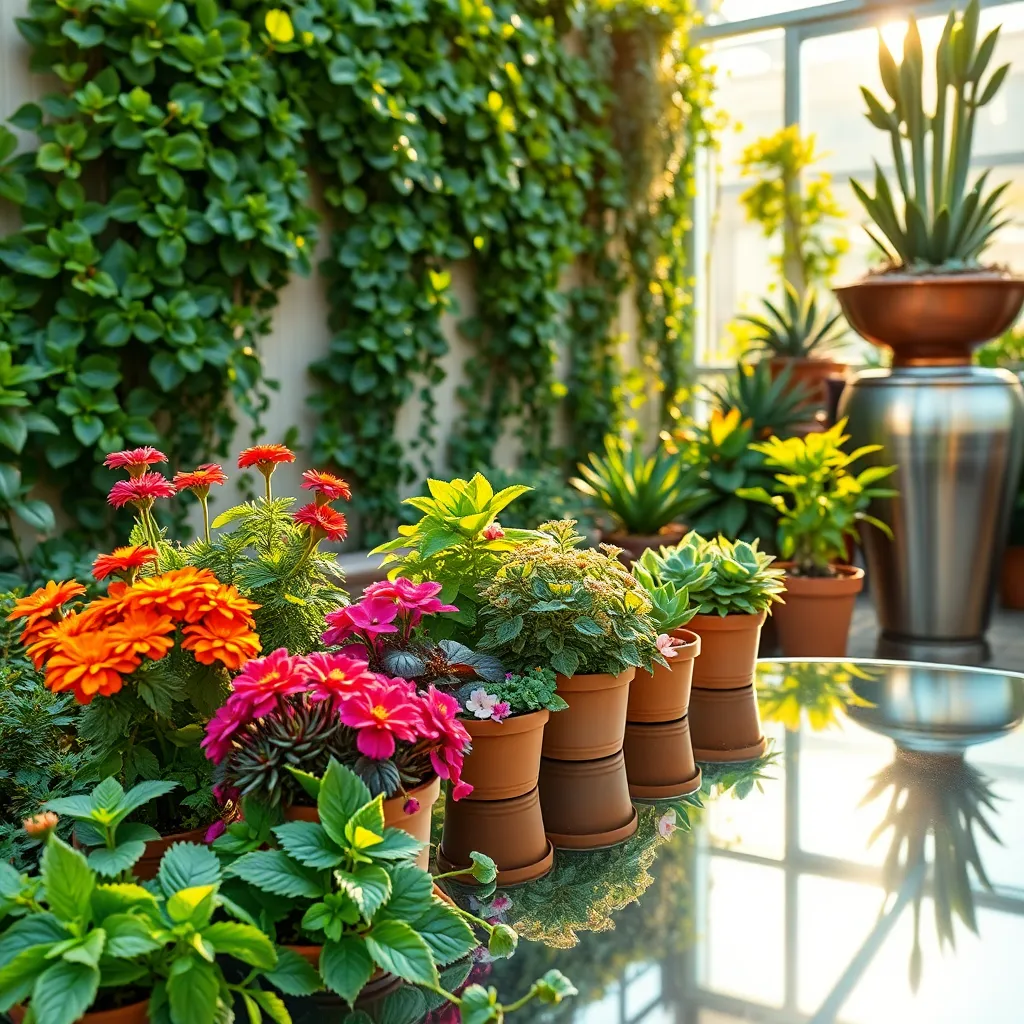
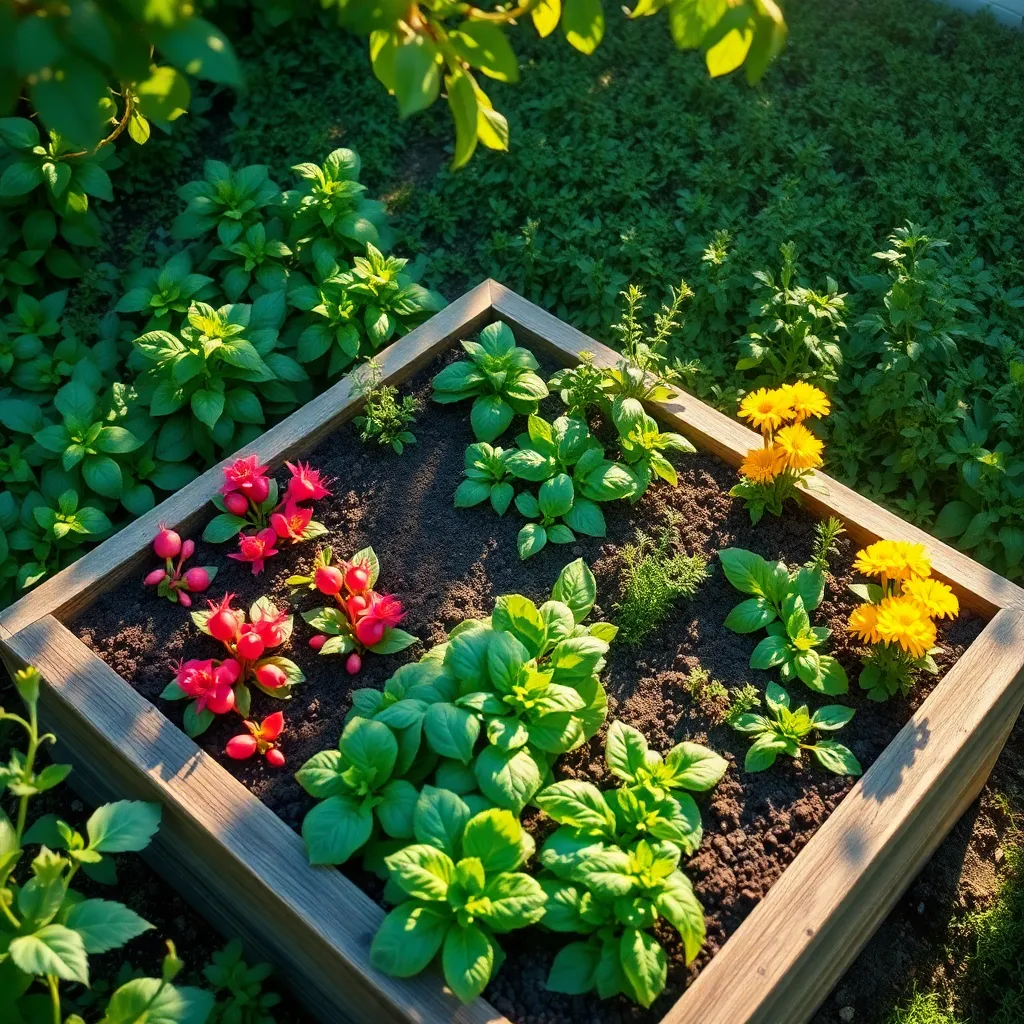
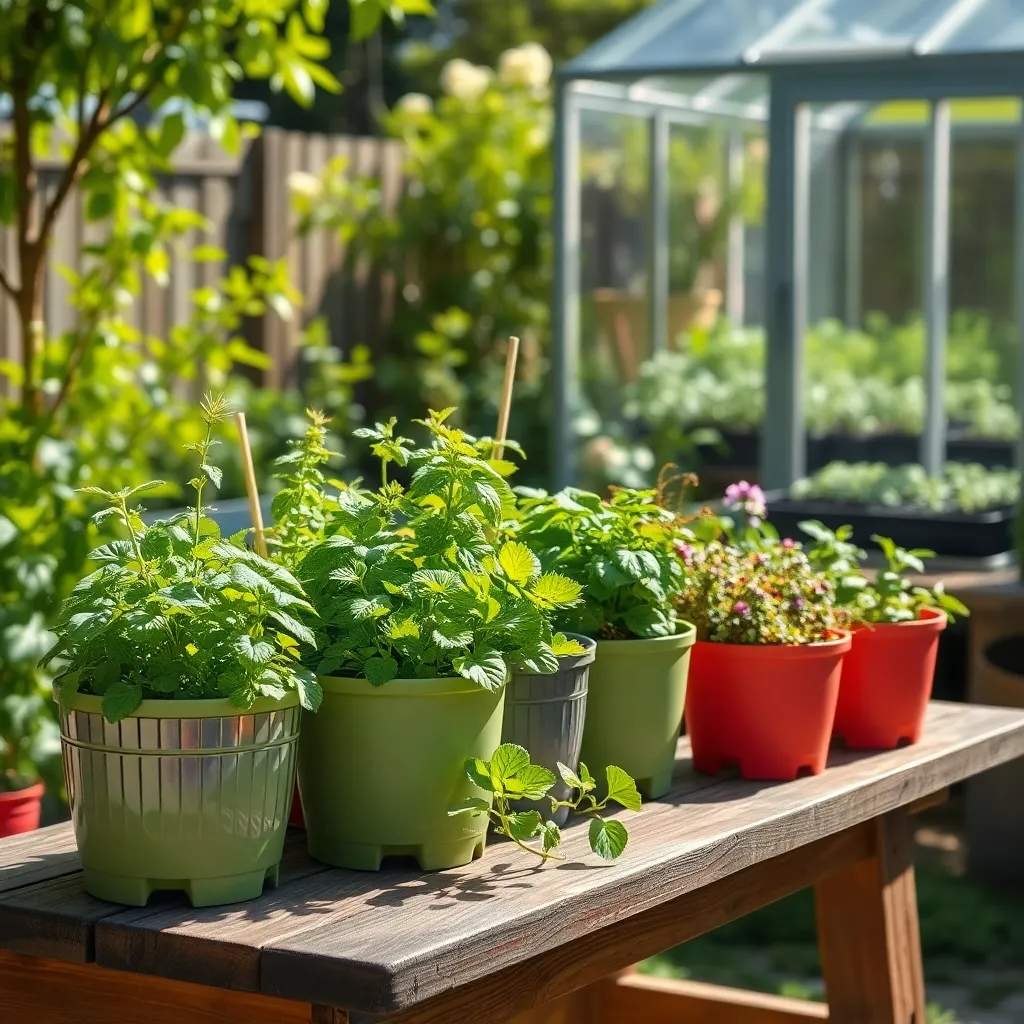
Biodegradable Plant Pots (Eco-Conscious Growing)
Biodegradable plant pots are a fantastic choice for gardeners looking to minimize their environmental impact. These pots, made from materials like peat, coir, and rice hulls, naturally break down in the soil, enriching it as they decompose.
When selecting biodegradable pots, consider the specific needs of the plants you intend to grow. For instance, plants that prefer acidic soil, such as blueberries, thrive in peat-based pots, which gradually lower soil pH.
To maximize the benefits of biodegradable pots, ensure proper watering techniques are employed. Biodegradable pots can dry out faster than plastic ones, so frequent, light watering is recommended to maintain consistent moisture levels.
For advanced gardeners, experimenting with different pot materials can optimize plant health. Coir pots, for example, are excellent for plants that need well-drained soil, such as succulents and herbs, as they allow for better aeration.
Rainwater Harvesting System (Sustainable Water Source)
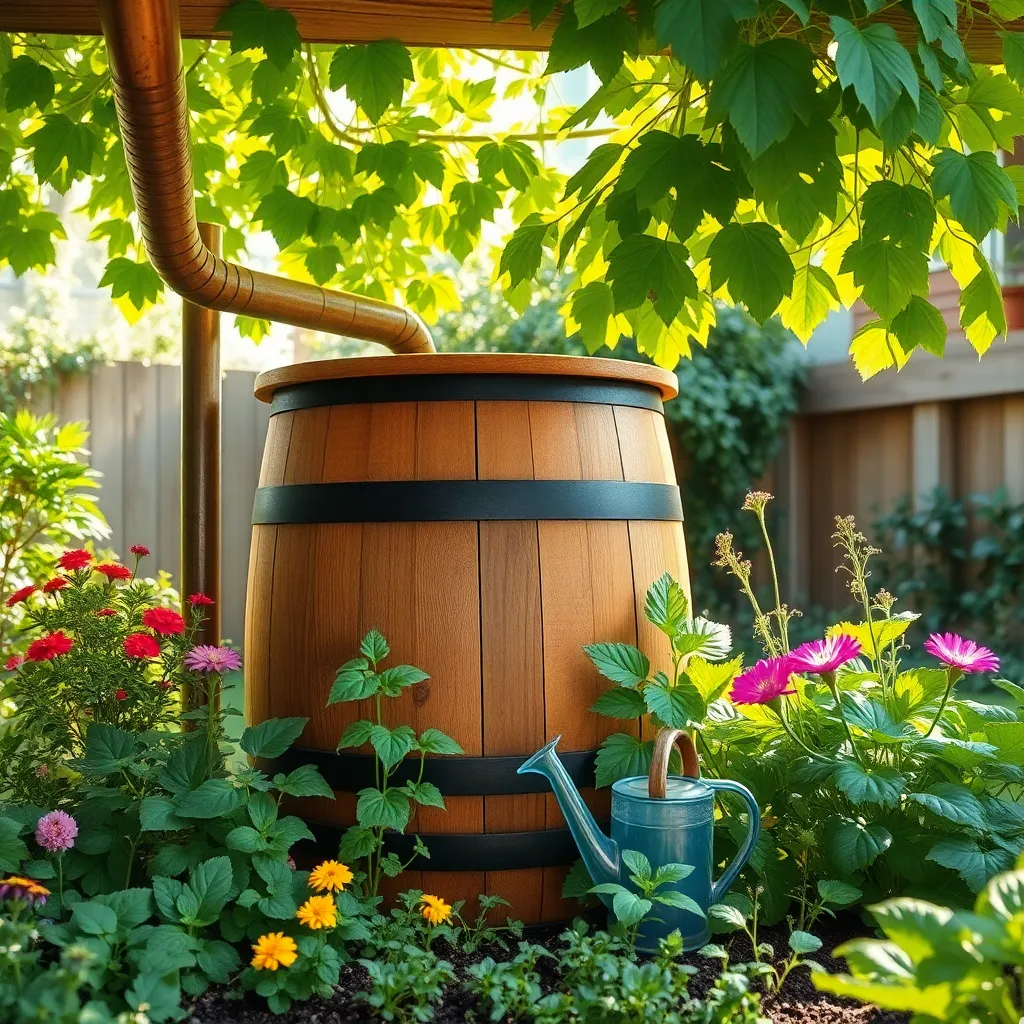
Harvesting rainwater is an excellent way to create a sustainable water source for your backyard greenhouse. By setting up a rainwater collection system, you can reduce dependency on municipal water supplies and lower your water bills.
Start by installing gutters and downspouts that direct rainwater from your greenhouse roof into storage barrels. Ensure the barrels are food-grade and have secure lids to prevent debris and insects from contaminating the water.
Using rainwater is particularly beneficial for plants because it is naturally soft and free from chlorine and other chemicals commonly found in tap water. For best results, allow the water to settle in the barrels so sediment can sink to the bottom, and use a spigot to draw clear water from the top.
It’s important to regularly clean your collection system to maintain water quality. Once a month, inspect and clear debris from gutters and downspouts, and ensure that the barrels are free from algae and other growths.
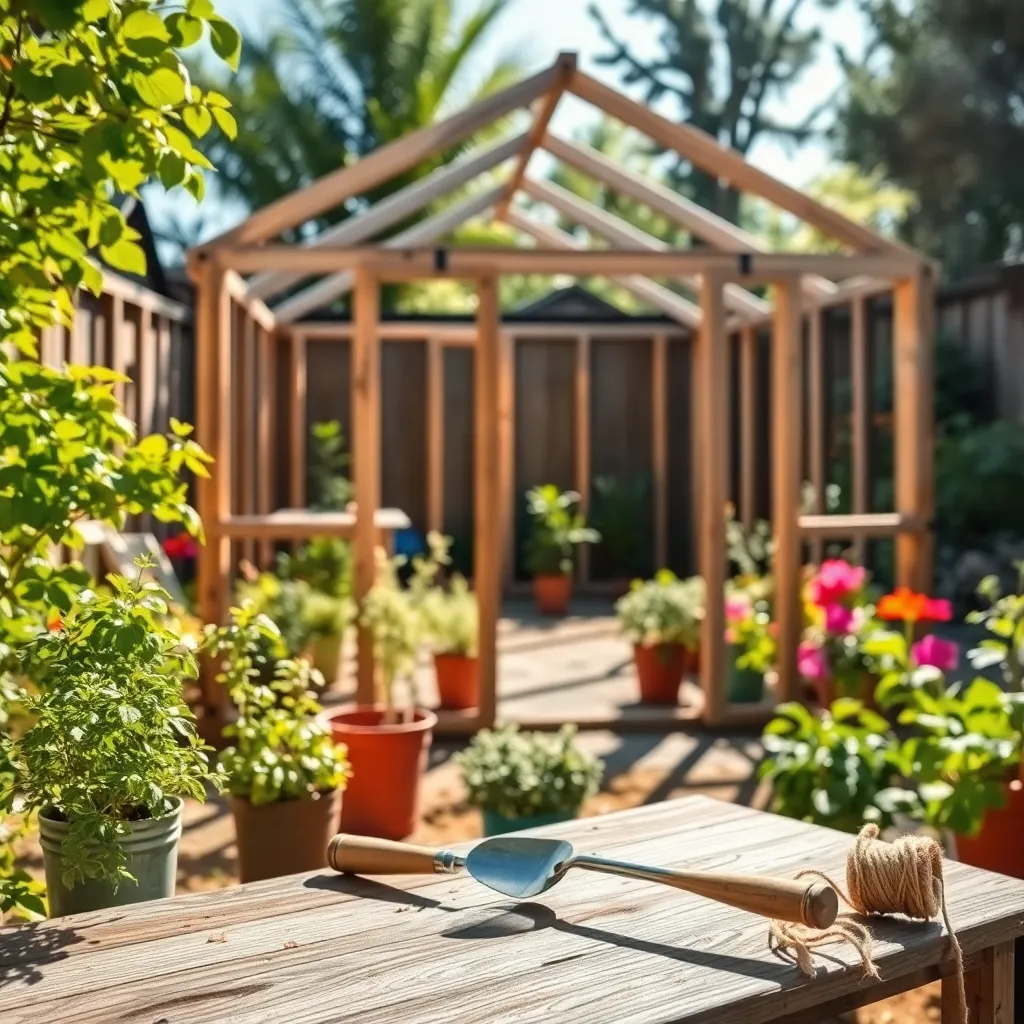
Thermal Mass Flooring (Natural Heat Retention)
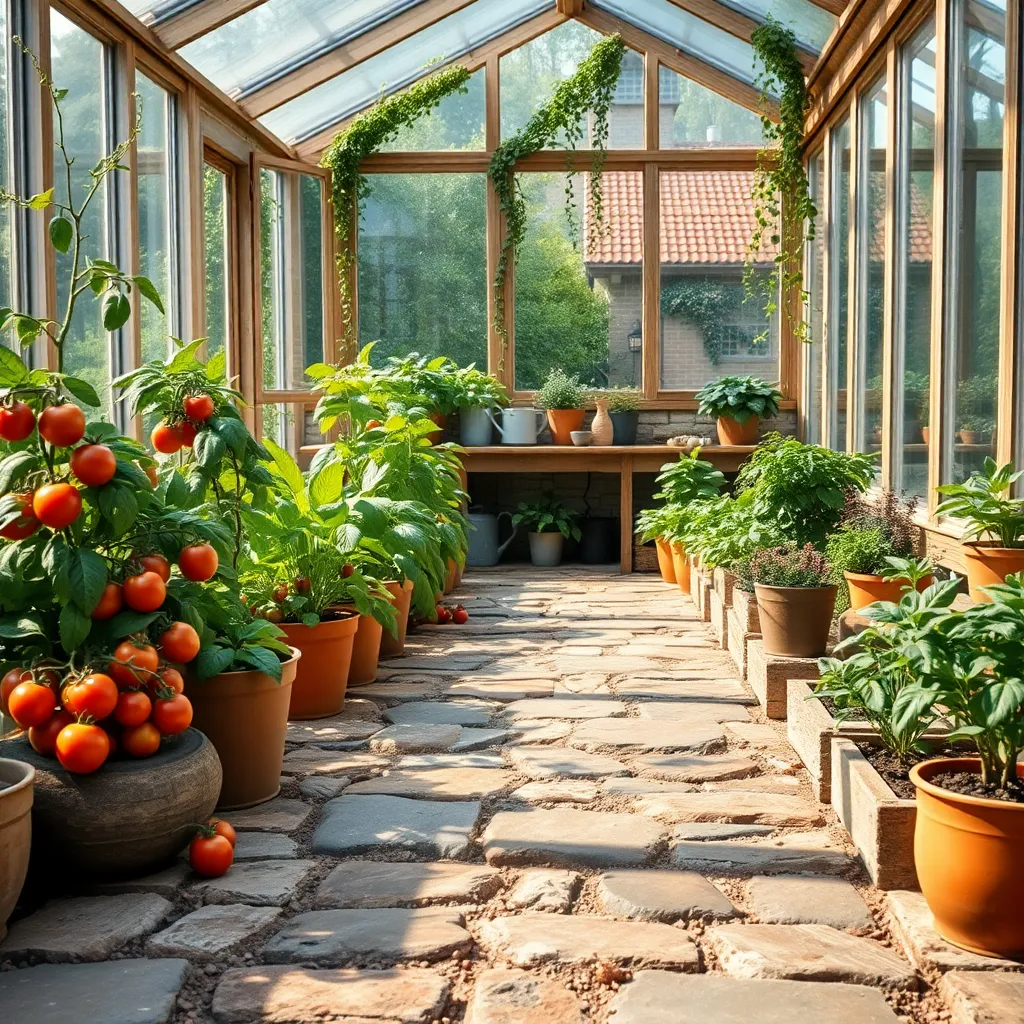
Incorporating thermal mass flooring in your greenhouse project is an excellent way to naturally retain heat. This technique involves using materials like stone, brick, or concrete, which absorb heat during the day and release it at night, ensuring a stable environment for plant growth.
One of the simplest ways to implement this is by laying a concrete or brick floor. These materials not only contribute to heat retention but also provide a durable surface that can withstand the wear and tear of gardening activities.
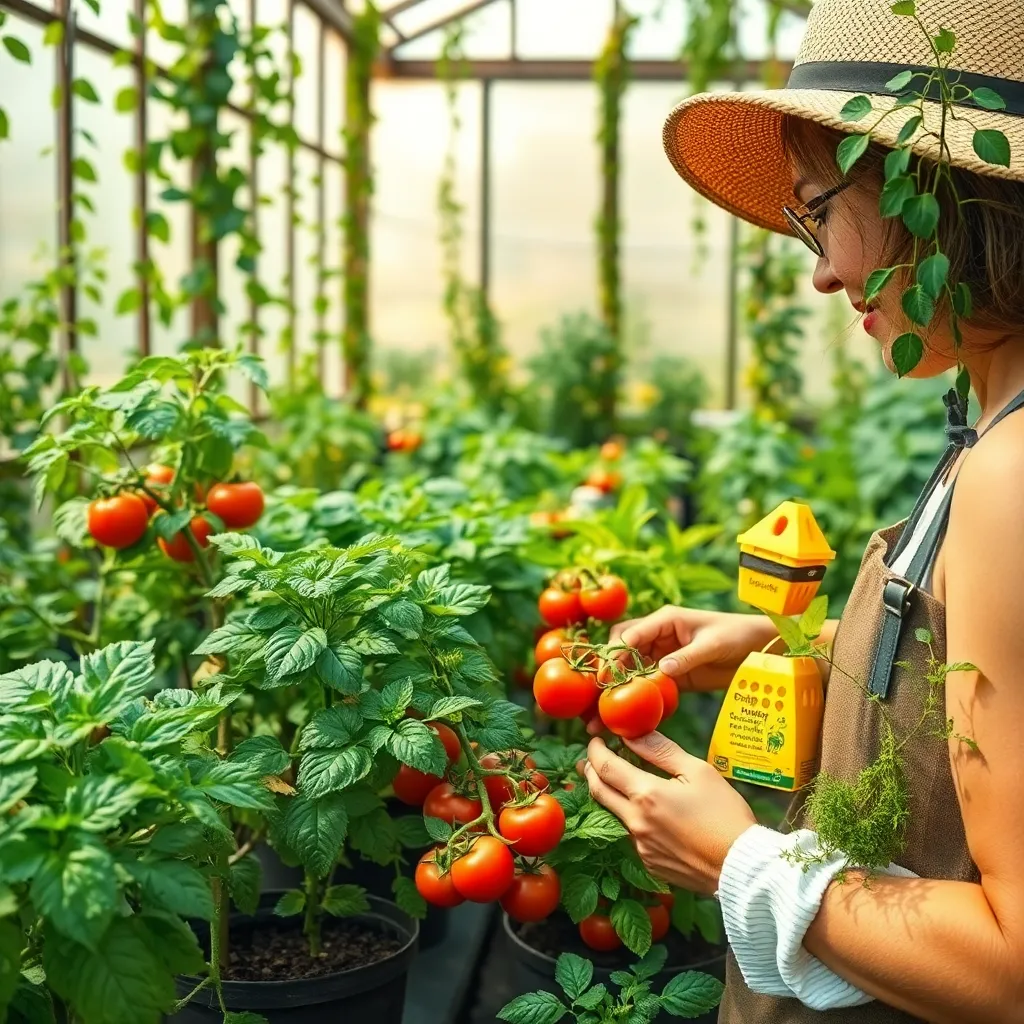
For gardeners aiming to optimize plant growth, maintaining consistent temperatures is crucial. Thermal mass flooring helps in minimizing temperature fluctuations, which can be particularly beneficial for sensitive plants like tomatoes and peppers that thrive in stable conditions.
To enhance the effectiveness of your thermal mass flooring, consider the placement of your greenhouse. Positioning it to maximize sun exposure will ensure that your chosen materials absorb as much heat as possible during daylight hours.
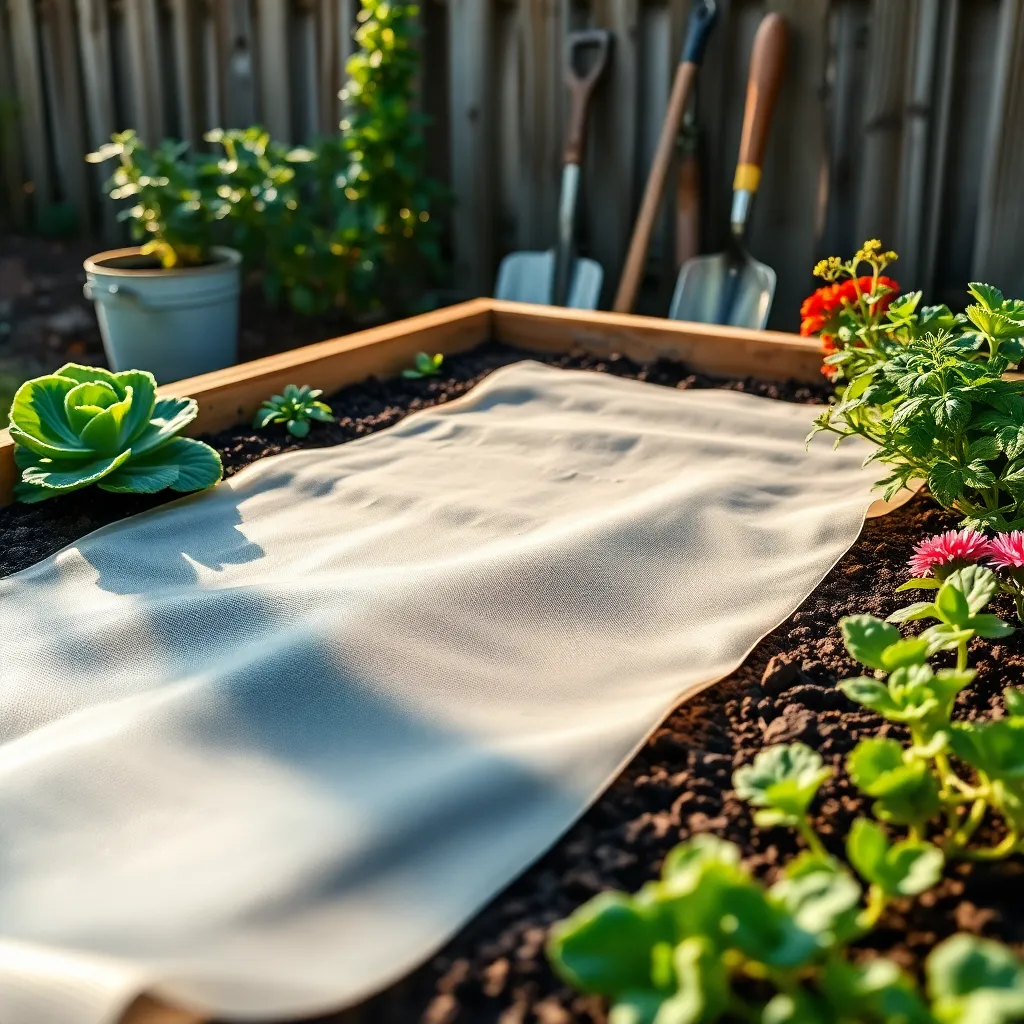
Shade Cloth Installation (Protective Sun Shield)
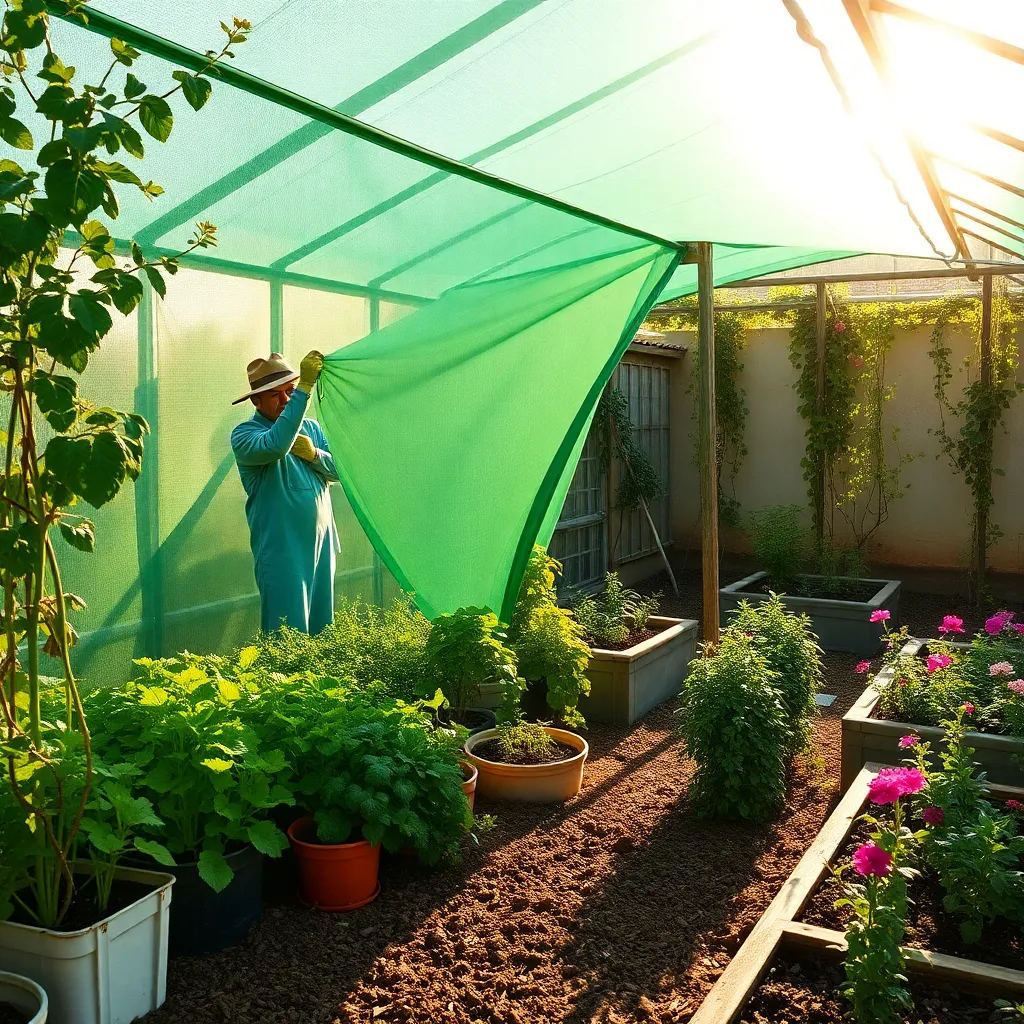
Shade cloth installation is an invaluable project for any backyard greenhouse, helping to protect plants from excessive sun exposure. By using a shade cloth, you can effectively regulate the amount of sunlight your plants receive, ensuring they thrive even during the hottest months.
One of the key benefits of shade cloth is its ability to reduce water evaporation, thus conserving moisture in the soil. This is particularly beneficial for plants that prefer cooler growing conditions, such as lettuces and spinach.
When selecting a shade cloth, consider the specific needs of your plants and the climate in your area. A 30-50% shade cloth is generally suitable for most vegetables, while more delicate plants like orchids may require up to 75% shading.
Installing the shade cloth involves securing it above your greenhouse using poles or hooks, ensuring it is taut to avoid flapping in the wind. Regularly check the tension and condition of the cloth, as wear and tear can reduce its effectiveness over time.
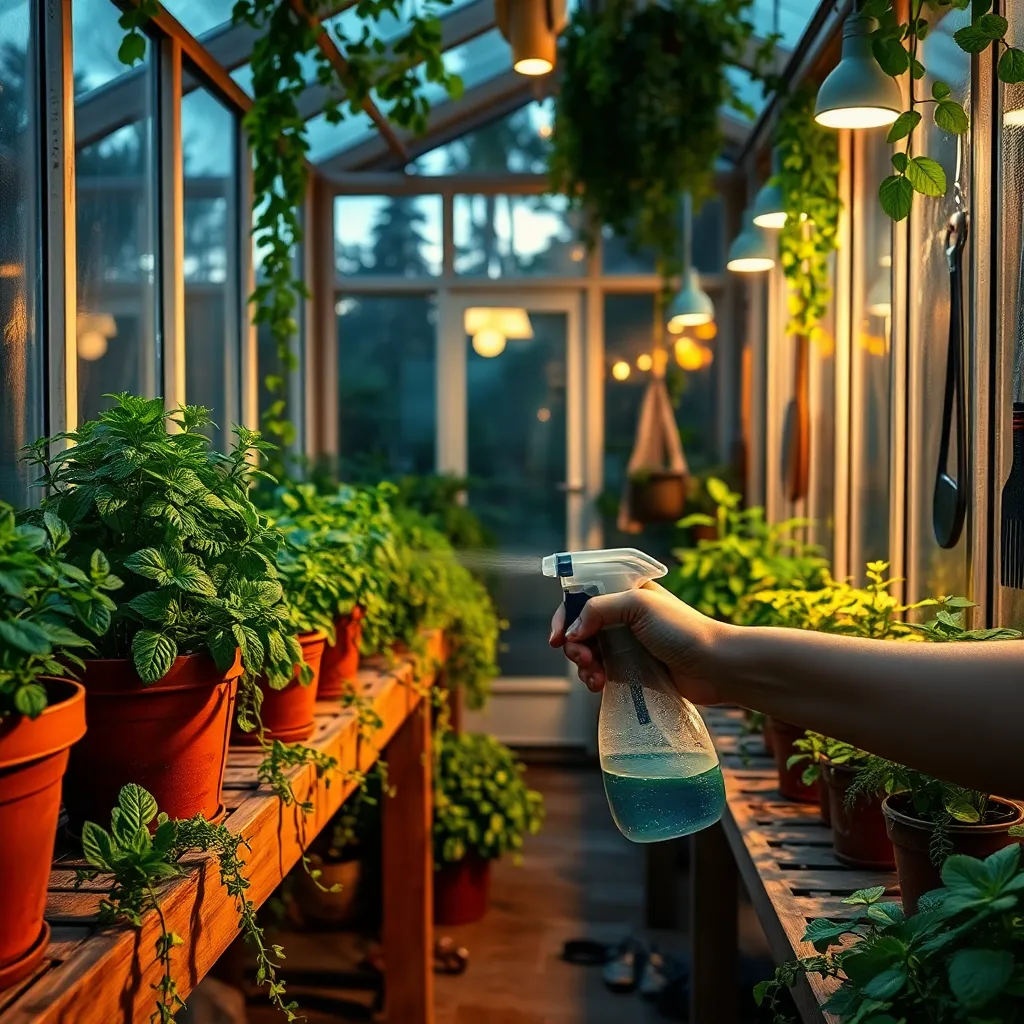
Misting System Setup (Humidity Management)

Incorporating a misting system into your backyard greenhouse can significantly improve humidity levels, which is crucial for plant health. This setup is especially beneficial for tropical plants that thrive in high humidity, such as ferns and orchids.
Begin by selecting a misting system that suits your greenhouse size and plant needs. Opt for a system with adjustable nozzles to control the mist intensity, ensuring it can cater to both delicate seedlings and larger foliage.
Placement of the misting nozzles is key to maximizing coverage while minimizing water waste. Position them at varying heights to ensure even distribution, focusing on areas where plants are densely packed.
For optimal results, integrate a timer with your misting system to maintain consistent humidity levels throughout the day. Set the timer to mist during the hottest parts of the day, typically mid-morning and early afternoon, to prevent leaf scorch and promote healthy growth.
Conclusion: Growing Success with These Plants
As we wrap up our exploration of the ’15 Best Backyard Greenhouse Projects’ in the context of nurturing your relationship, we’ve unearthed key concepts like collaboration, patience, growth, and resilience. Each project serves as a metaphor for cultivating a thriving partnership, from the foundational work of building trust to the nurturing care needed to maintain connection and intimacy. Whether it’s the importance of shared goals or the joy of celebrating small wins together, these projects illuminate the path to a stronger bond.
Now, it’s time to take action. Choose one project that resonates with your relationship goals and start today. Perhaps it’s as simple as planning an afternoon to brainstorm your shared vision or setting aside time to nurture your emotional garden.
To ensure these insights are always within reach, bookmark this article as your go-to guide for relationship growth. A simple click can keep this valuable resource at your fingertips, ready to inspire whenever needed. Remember, every strong relationship is a work in progress, much like a garden, with the promise of beautiful blooms when tended with care and love. Embrace this journey with enthusiasm, knowing that the seeds you plant today will blossom into lasting success tomorrow.