Welcome to the world of organic gardening, where the magic of nature meets the joy of cultivation. Whether you’re nurturing your first seedlings or have a flourishing garden, the path to greener practices can always be more rewarding. In today’s fast-paced world, embracing organic methods not only benefits our environment but also enriches the connection we share with our own backyards. As we delve into these 13 effective hacks, you’ll discover innovative ways to create a thriving, chemical-free oasis right at your fingertips.
For beginners, the journey may feel daunting, but fear not; every seasoned gardener was once in your shoes. By integrating simple, organic techniques, you’ll find that nature itself provides the tools and tricks to ensure your garden flourishes. For those with more experience, these hacks offer fresh perspectives and solutions that can elevate your gardening game. From enriching your soil to naturally warding off pests, these strategies will enhance your skills and deepen your appreciation for a sustainable approach.
As you explore these pages, you’ll uncover practical tips that transform everyday waste into rich compost, leverage the power of companion planting, and harness the benefits of homemade remedies. Each hack is designed to be accessible and actionable, ensuring you can implement them regardless of your garden’s size or your level of expertise. So, gather your gardening gloves and let’s embark on this exciting journey towards a more vibrant, eco-friendly garden. Your green thumb is about to get a delightful organic upgrade!
Enrich Soil with Compost Tea
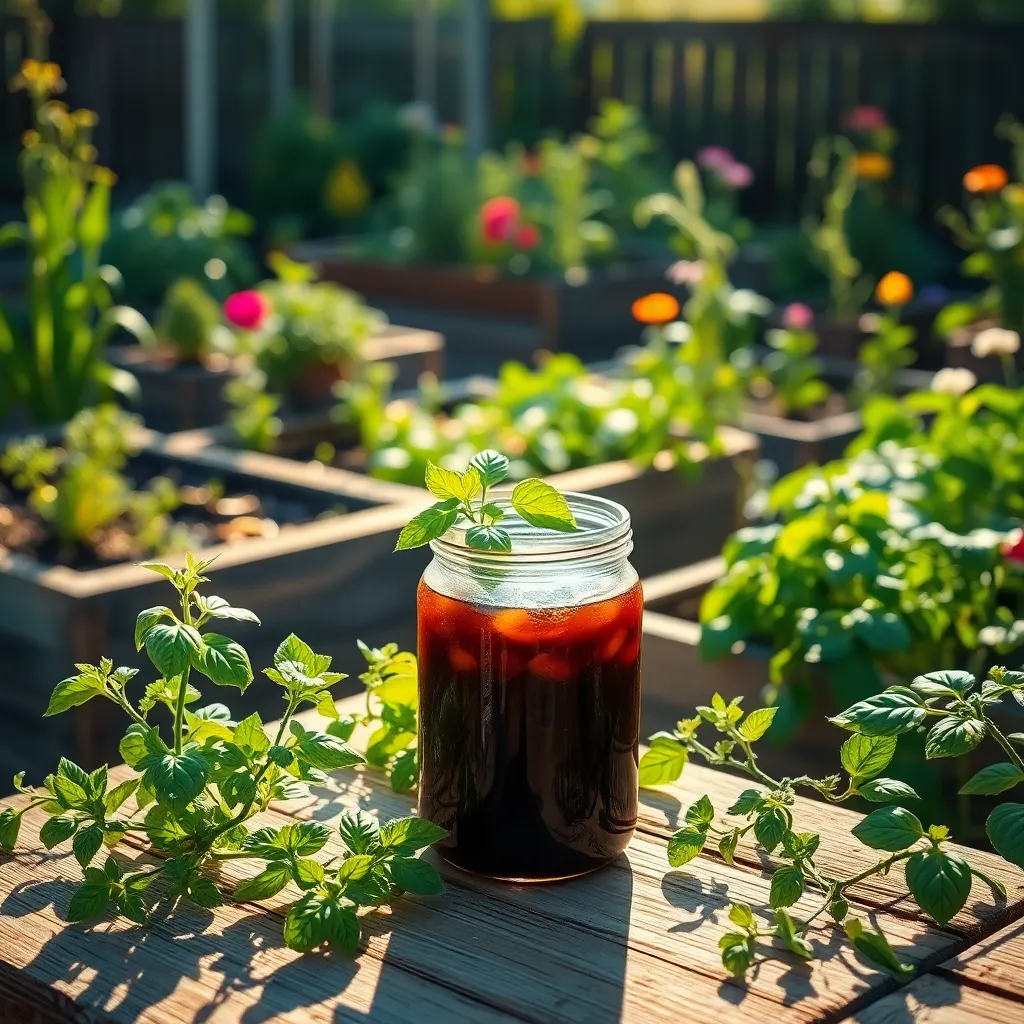
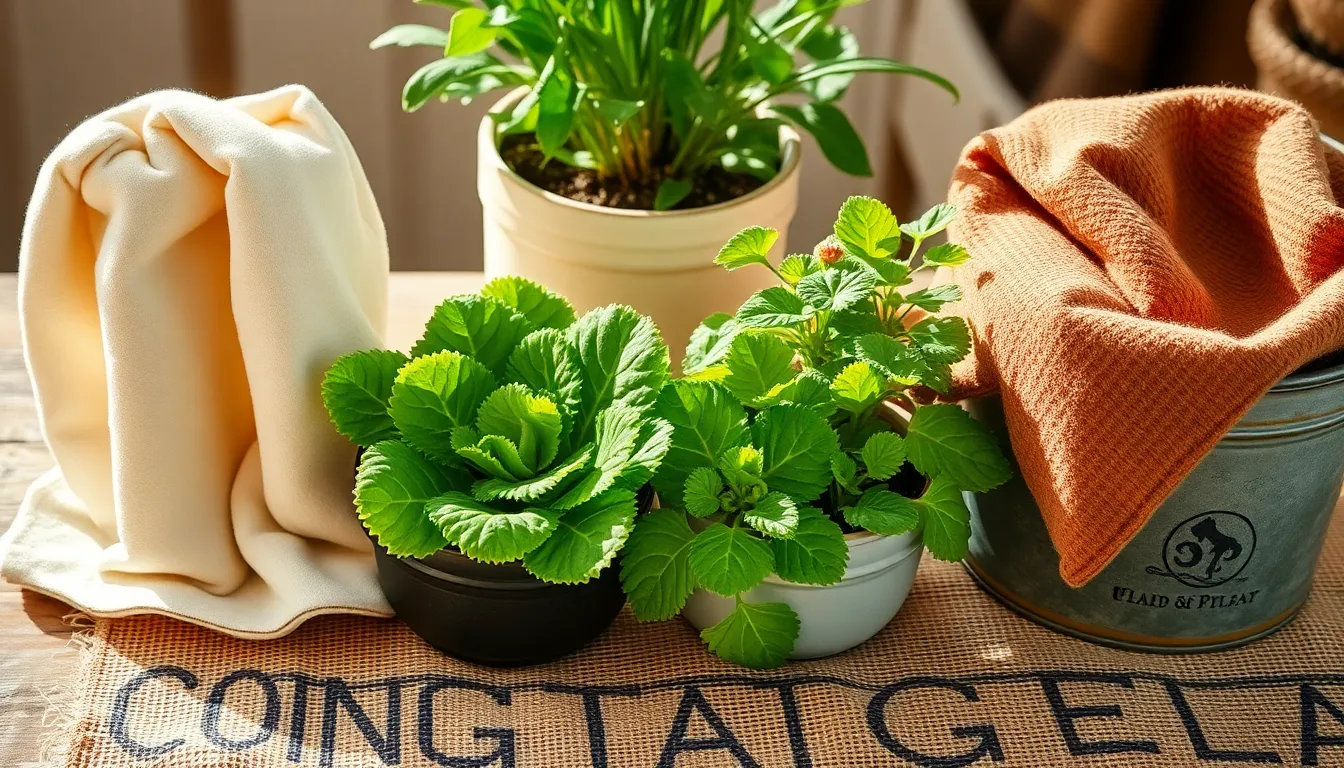
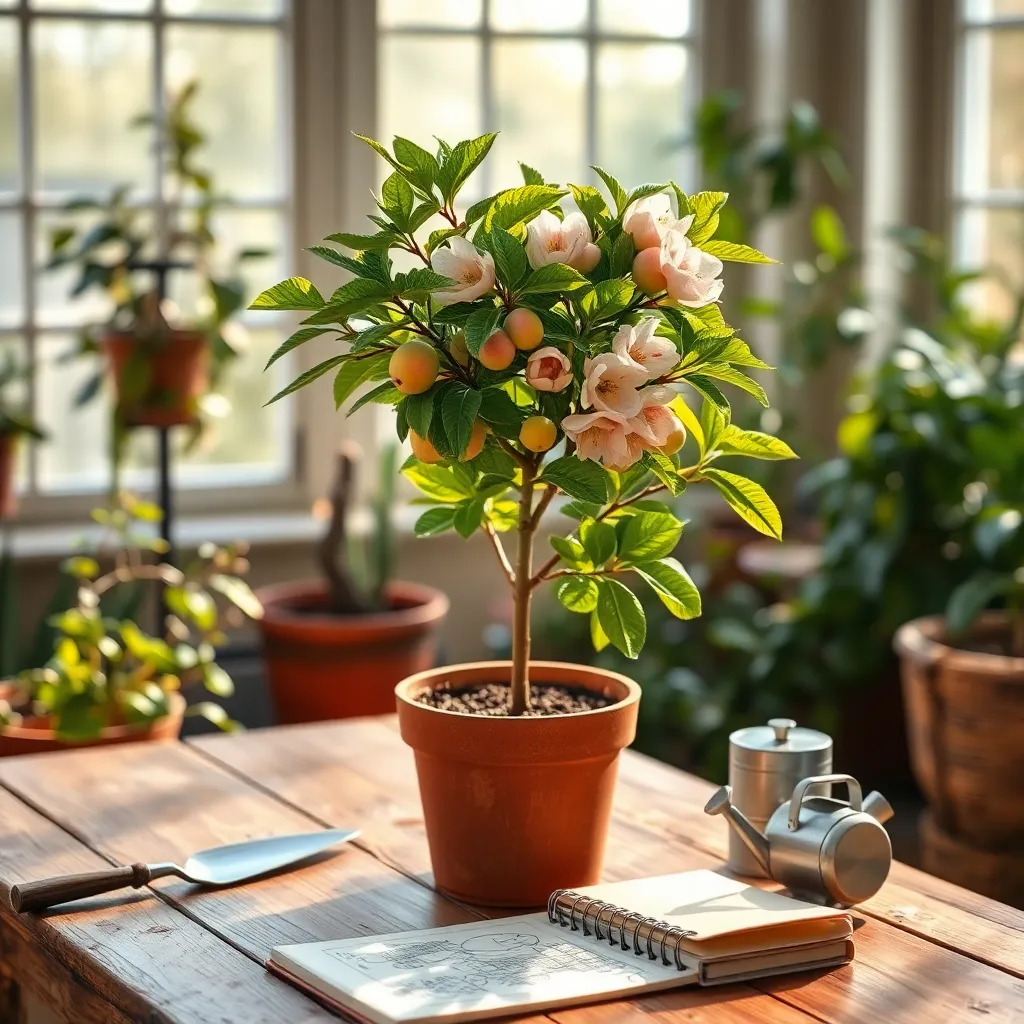
Compost tea is a nutrient-rich liquid that can significantly enhance the health of your soil. Made by steeping compost in water, it helps introduce beneficial microbes and nutrients directly to your plants and soil.
To create compost tea, you’ll need a breathable bag filled with high-quality compost, suspended in a bucket of water for about 24 to 48 hours. Stir the mixture occasionally to ensure that the microbial activity is evenly distributed throughout the liquid.
Once brewed, apply the compost tea to your garden by pouring it at the base of plants or using a sprayer for foliar feeding. This method not only enriches the soil but also strengthens plants’ resistance to pests and diseases.
For best results, use compost tea every two to four weeks during the growing season. This frequency helps maintain soil vitality and keeps nutrient levels balanced for continuous plant growth.
Repel Pests Using Neem Oil

Neem oil is a powerful organic solution for repelling pests in your garden. It is derived from the seeds of the neem tree and is effective against a wide range of insects, including aphids, spider mites, and whiteflies.
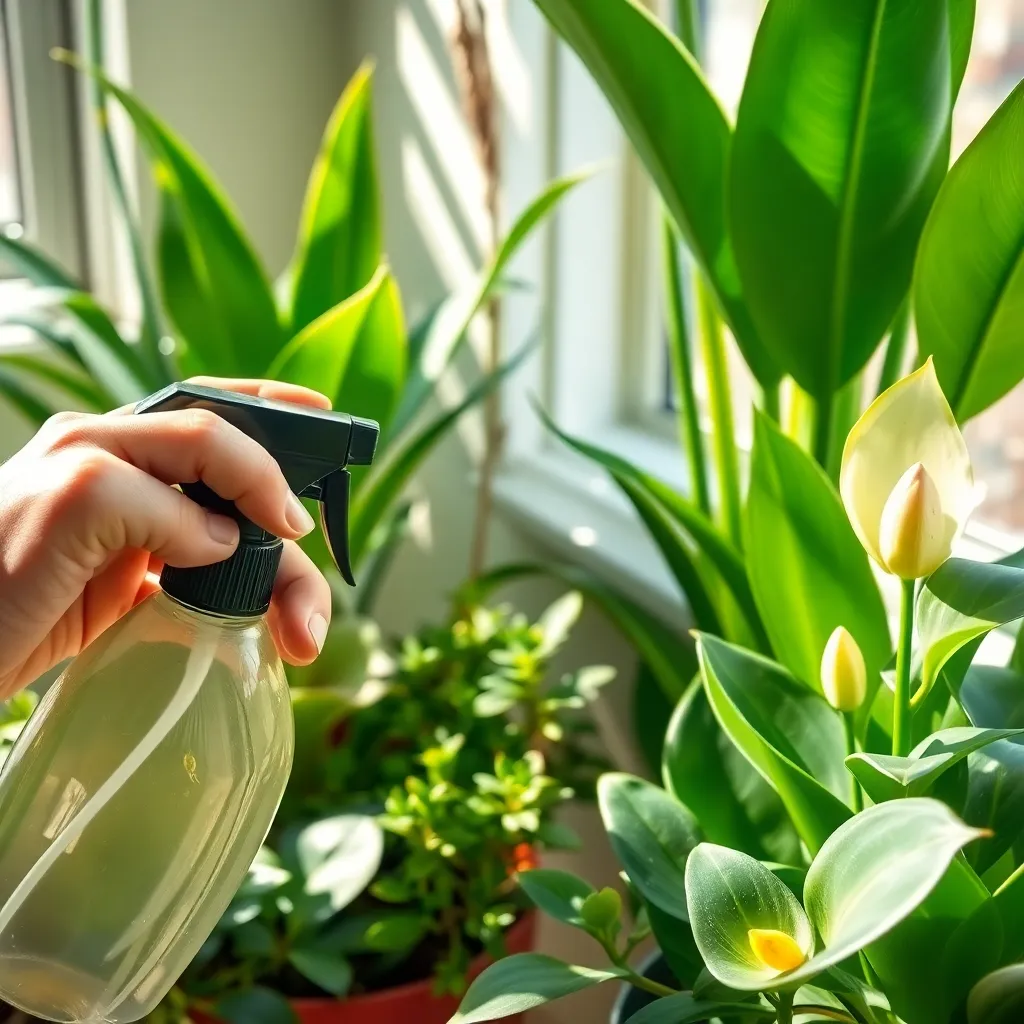
To use neem oil, mix it with water and a few drops of mild dish soap to help it adhere to plant leaves. Apply this mixture using a spray bottle, ensuring that you cover both the tops and undersides of the leaves for maximum effectiveness.
For beginners, it’s important to start by applying neem oil in the early morning or late evening to avoid leaf burn from the sun. More experienced gardeners can experiment with adjusting the concentration to target specific pest problems without harming beneficial insects.
Regular application, about once a week, can prevent pest infestations and promote healthier plant growth. However, avoid overuse, as neem oil can build up on leaves and potentially inhibit photosynthesis if applied too frequently.
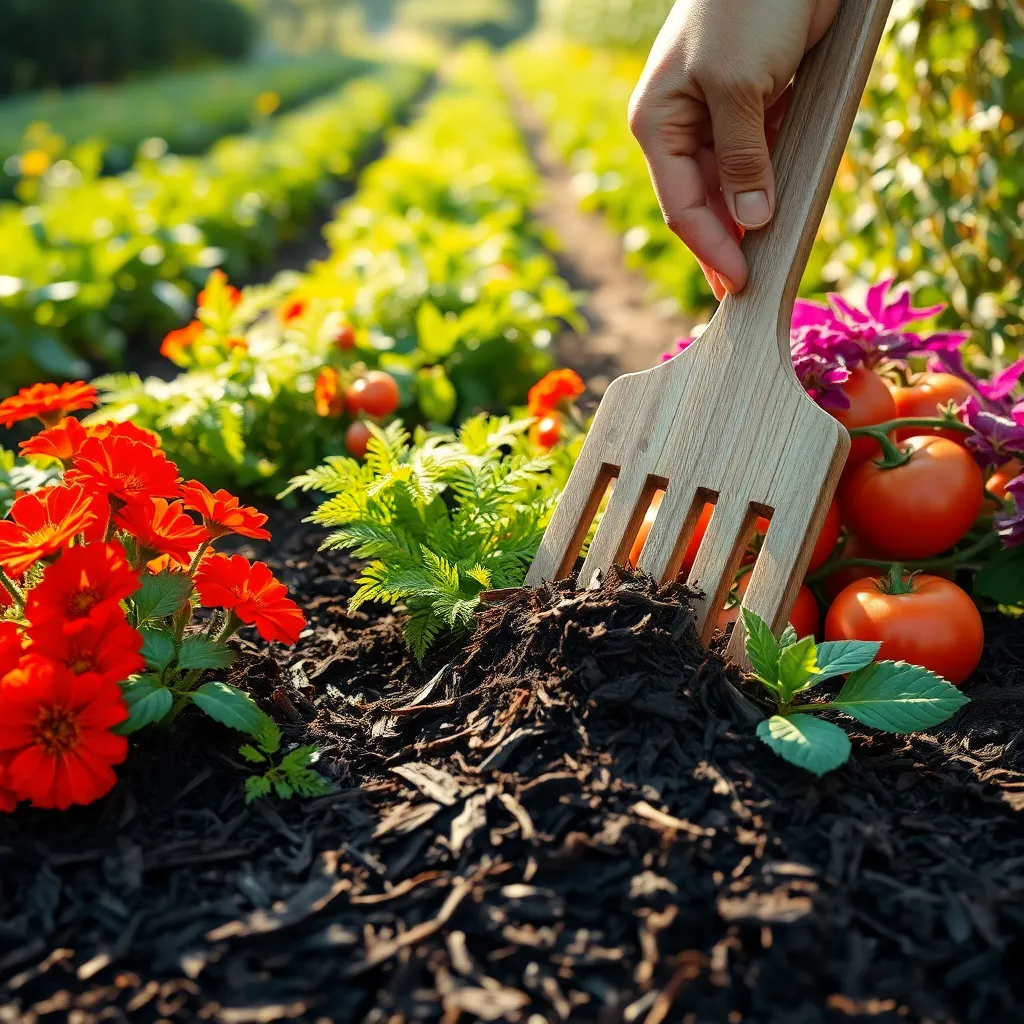
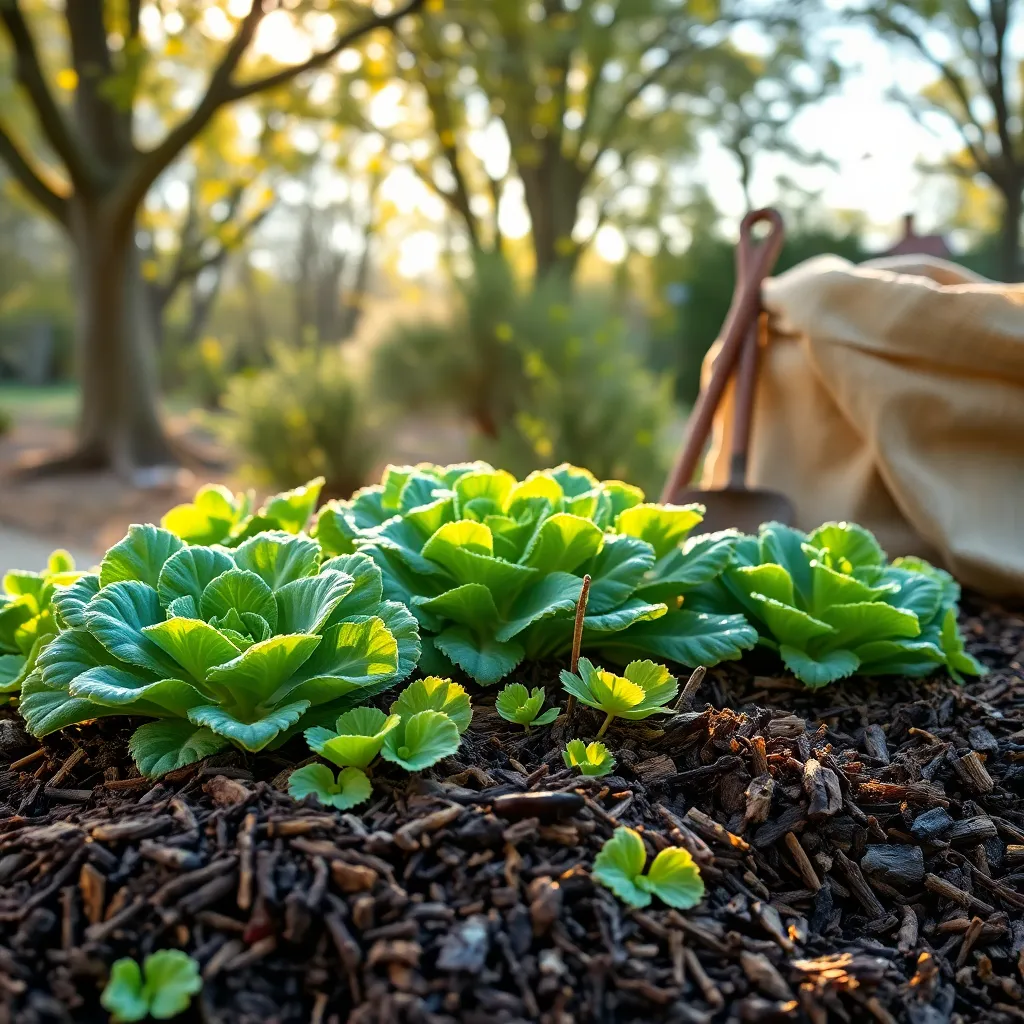
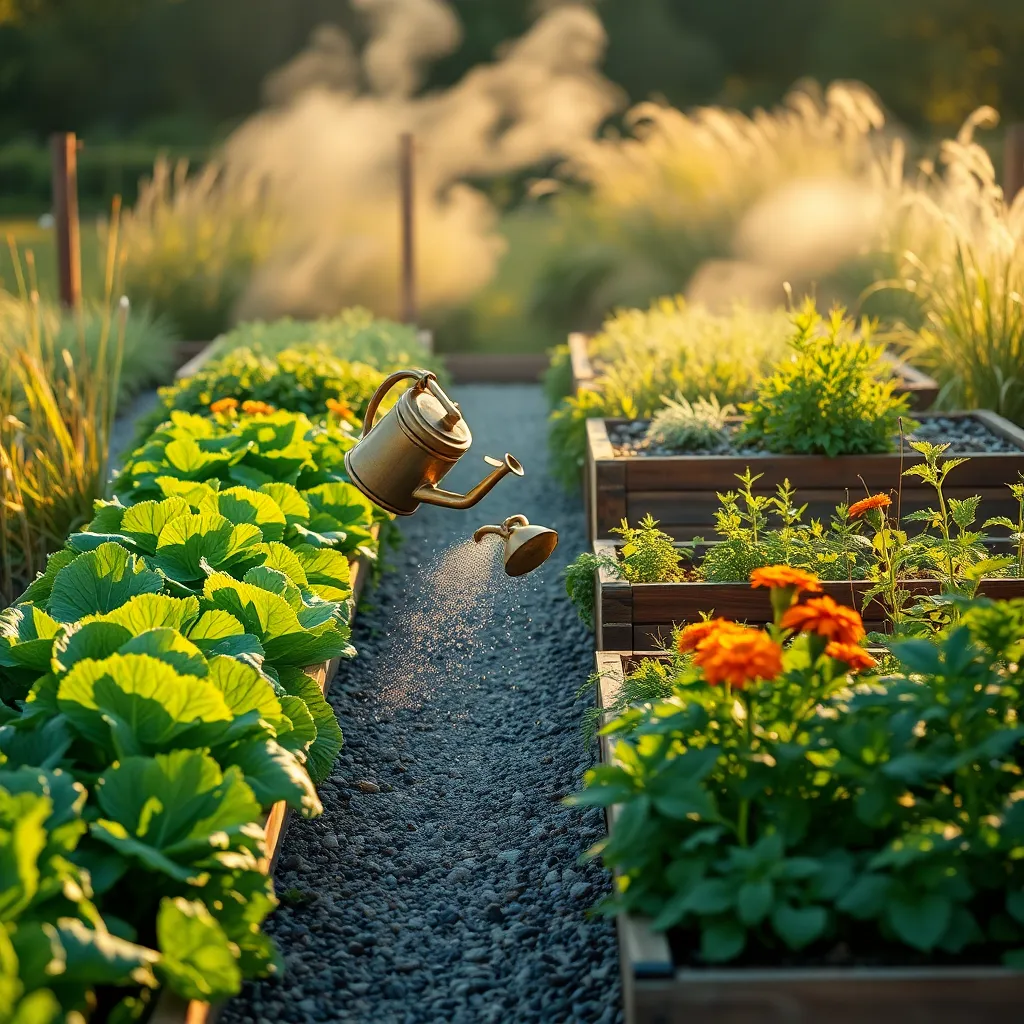
Mulch Plants for Moisture Retention
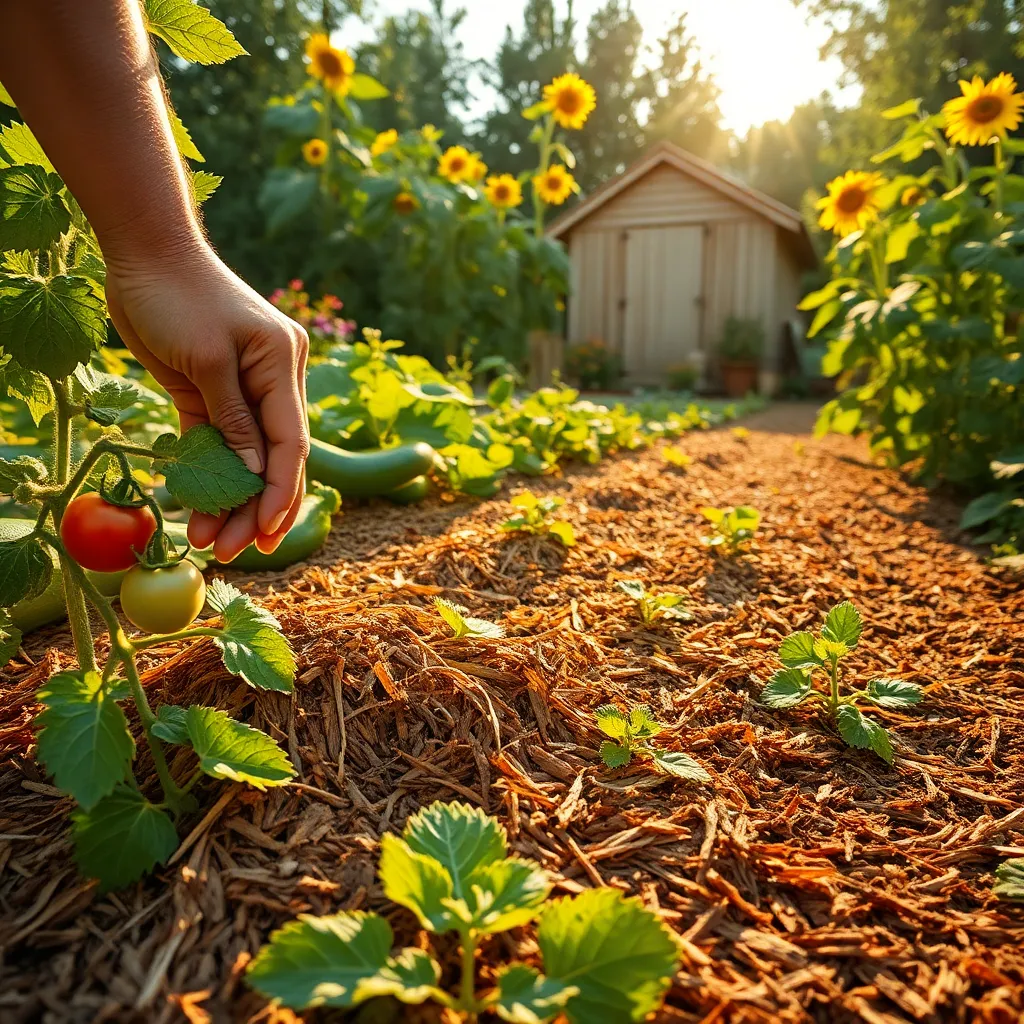
Mulching your plants is a simple yet effective technique for conserving moisture in the soil. This practice is especially beneficial during hot summer months when evaporation rates are high.
Start by applying a layer of organic mulch, such as straw, wood chips, or shredded leaves, around the base of your plants. Ensure the mulch layer is about 2 to 4 inches thick to effectively insulate the soil and reduce water loss.
While mulching, it’s crucial to leave a small gap around the plant stems to prevent rot and pest issues. Over time, organic mulch will break down, enriching your soil with nutrients, which is a bonus for your plants.
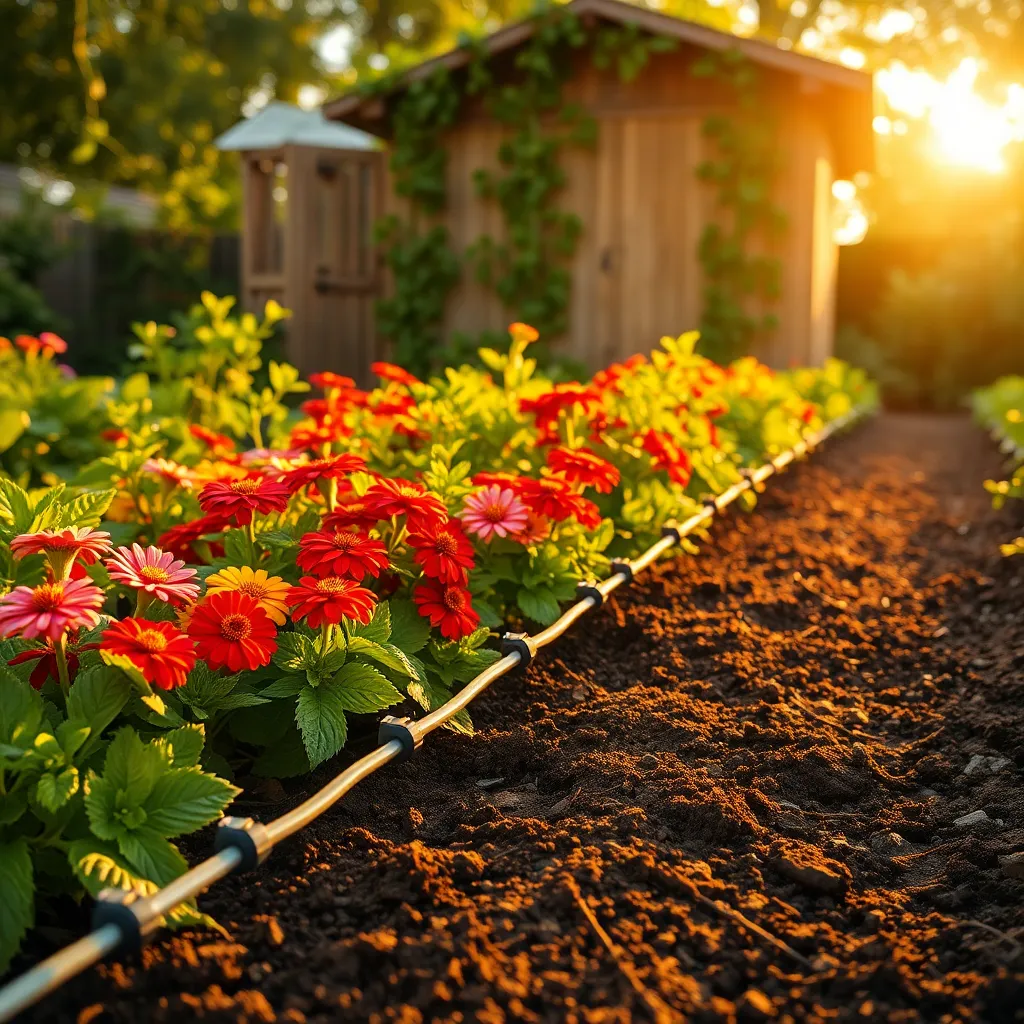
For gardeners in particularly dry climates, using mulch can also help reduce watering frequency. Consider using a drip irrigation system beneath the mulch for even more efficient water use.
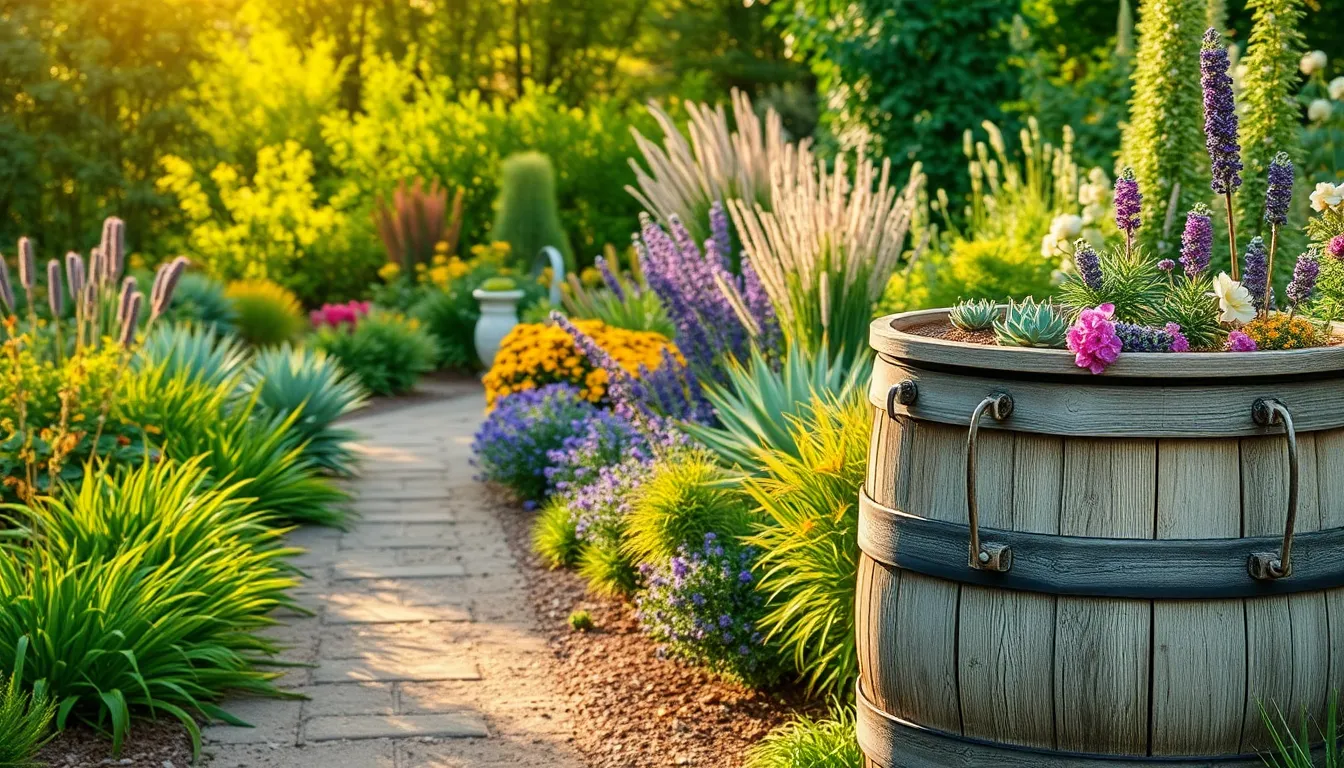
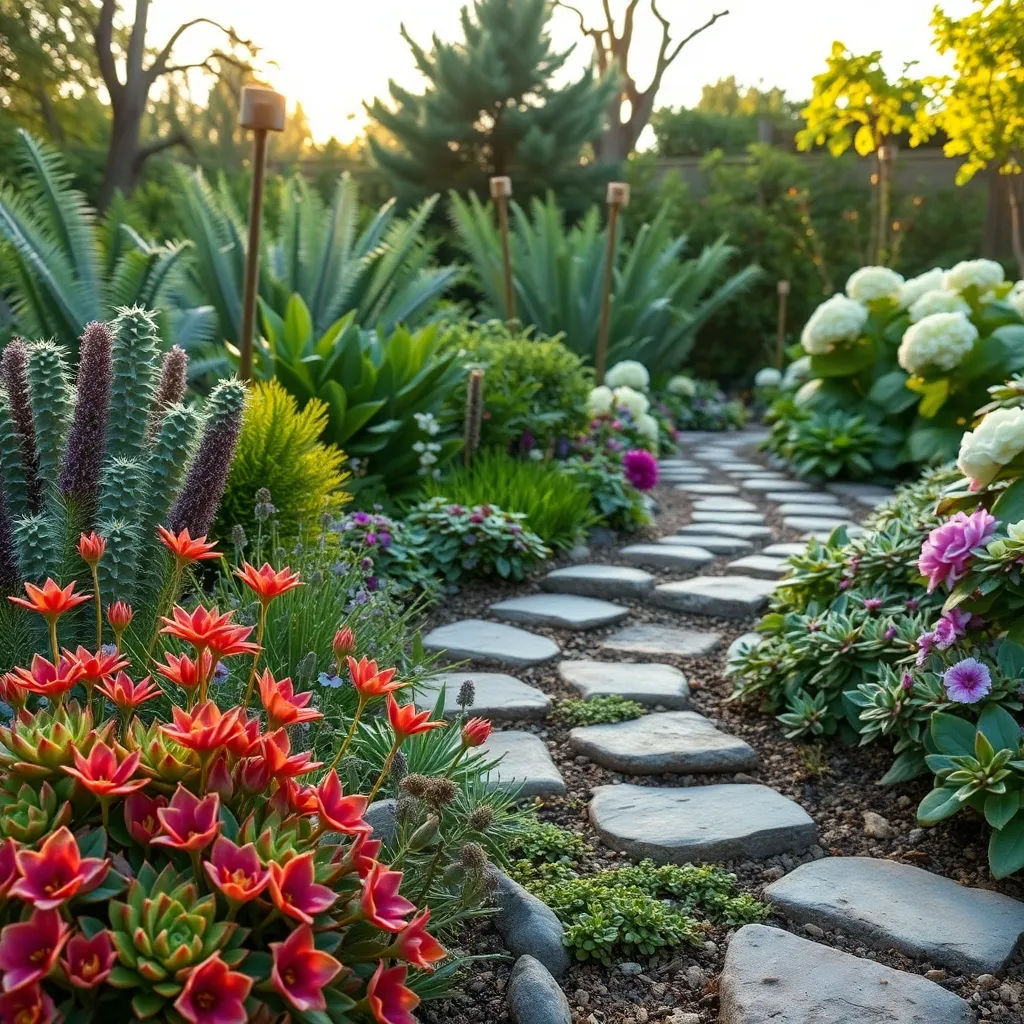
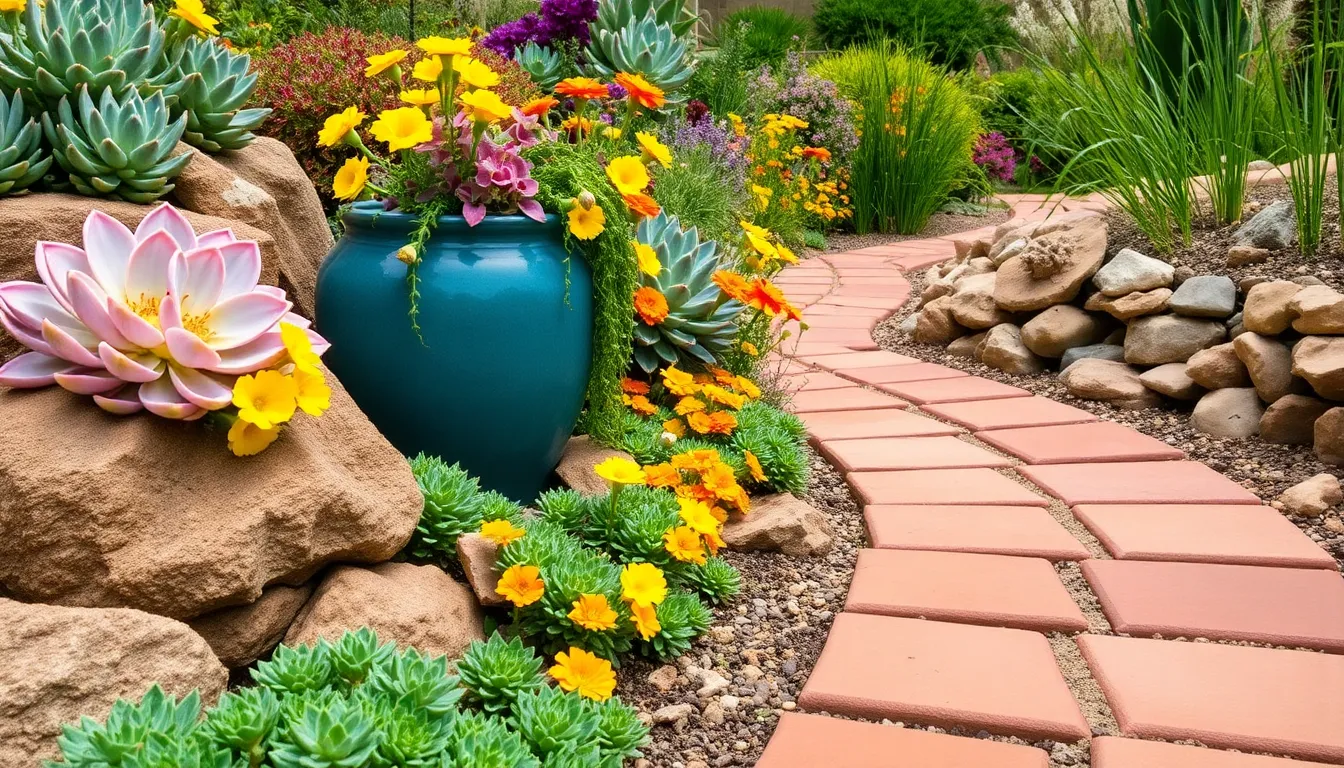
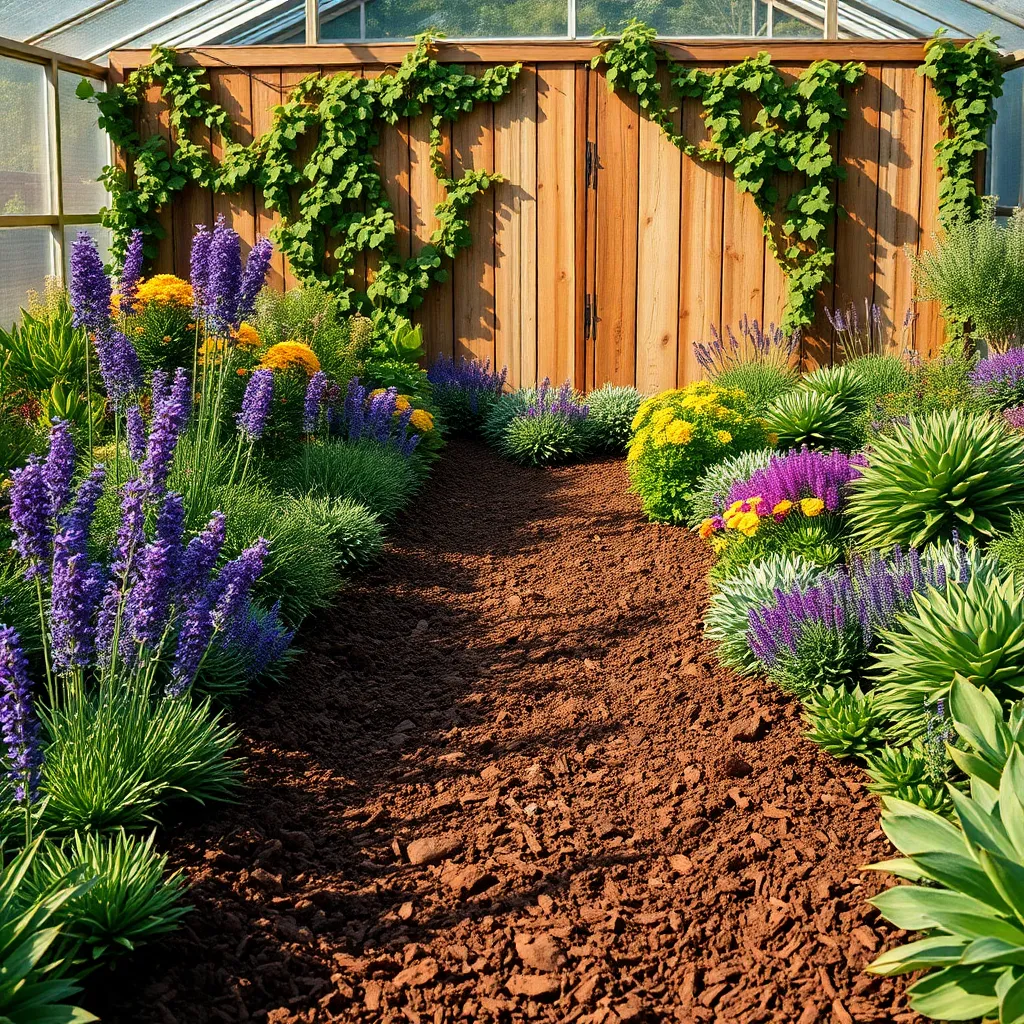
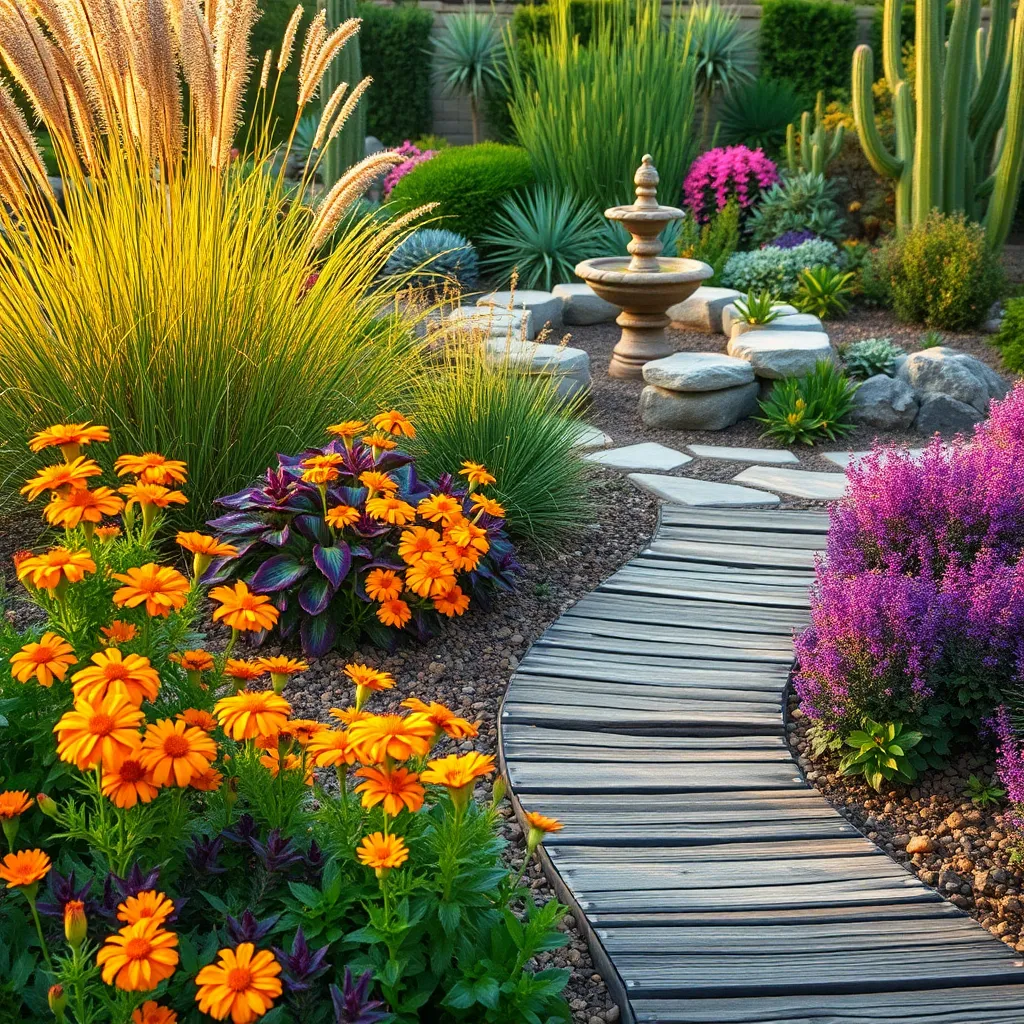
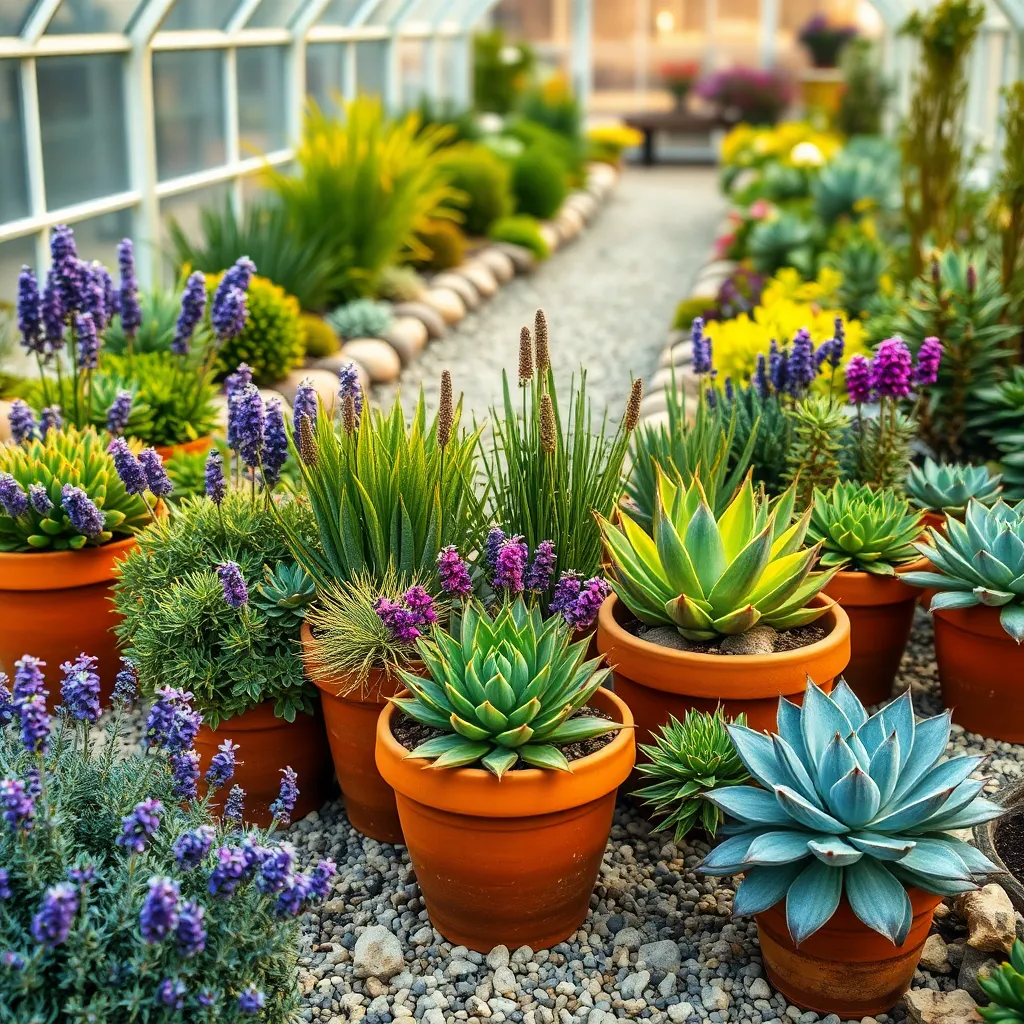
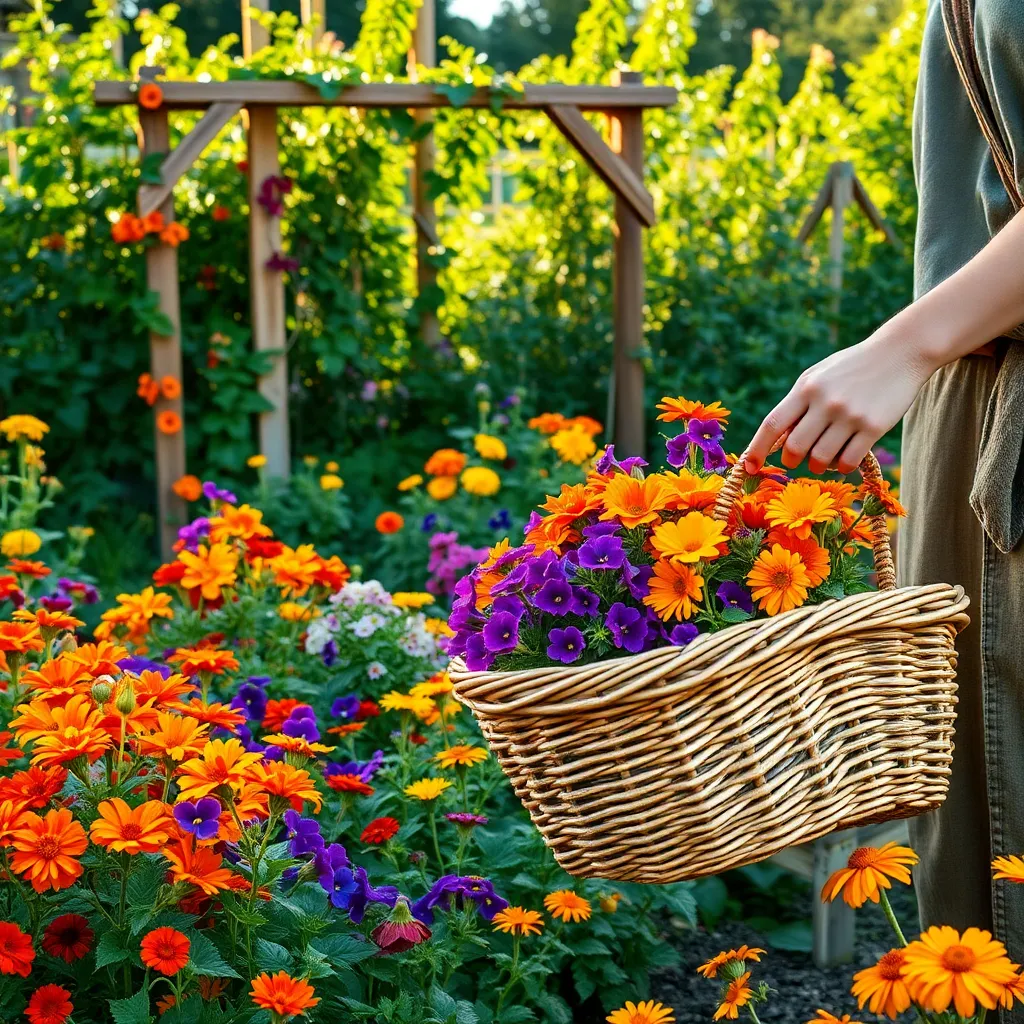
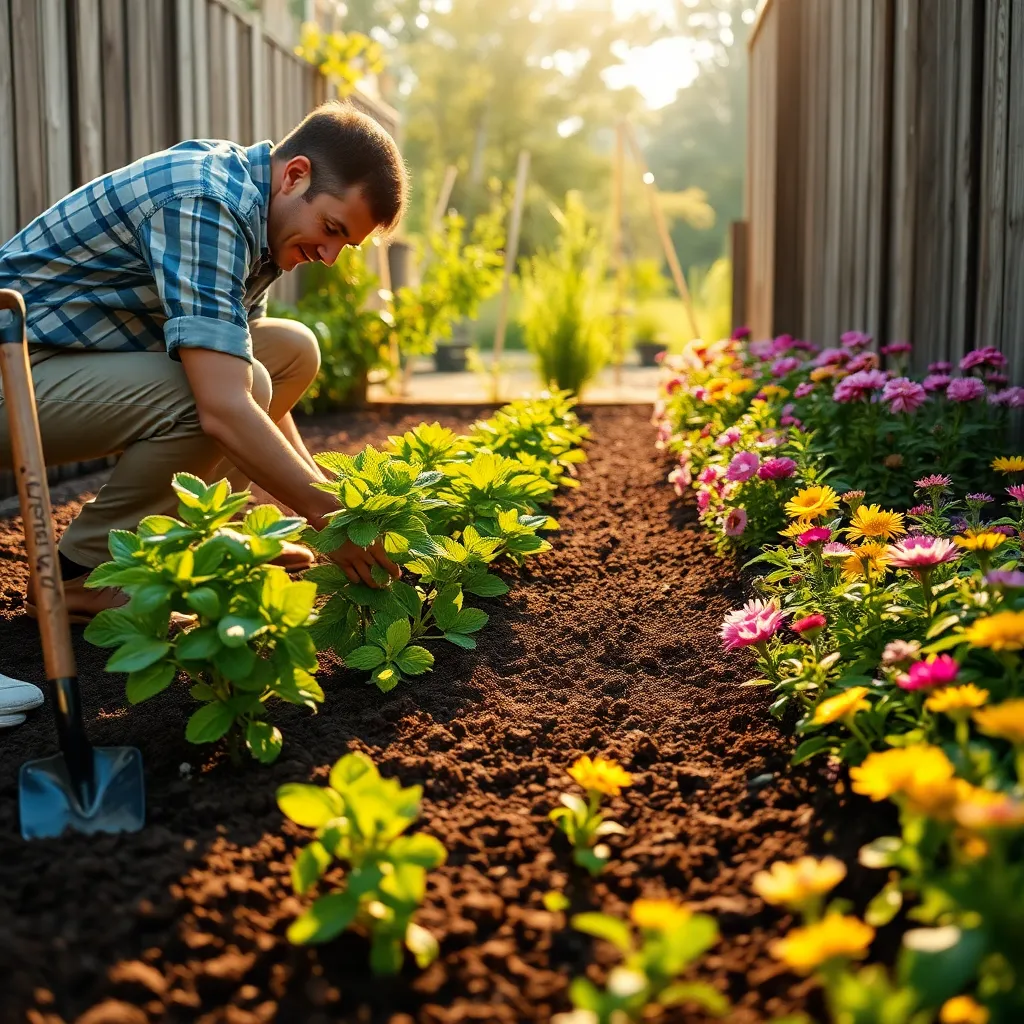
Attract Pollinators with Flower Borders

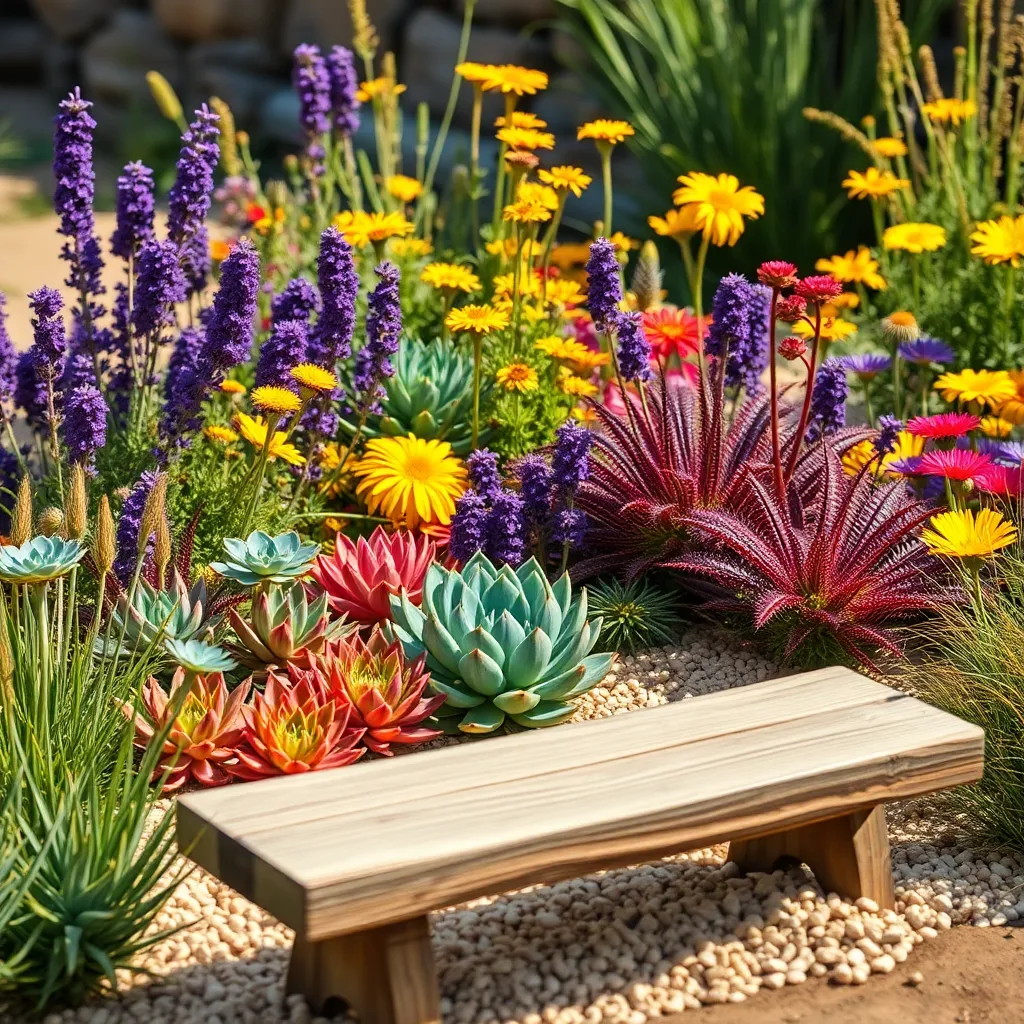
Creating flower borders is an excellent way to attract pollinators such as bees, butterflies, and hummingbirds to your garden. Planting a mix of native flowers and perennials ensures a continuous supply of nectar and pollen throughout the growing season.
Choose a variety of plants that bloom at different times to provide a steady food source for pollinators. For example, consider planting early bloomers like crocus and hellebore, mid-season flowers like lavender, and late bloomers like asters.
Position your flower borders in a sunny area with well-draining soil to create an ideal environment for flowering plants. Use organic matter such as compost to enrich the soil, which promotes healthy plant growth and attracts more pollinators.
Water your flower borders deeply but infrequently to encourage deep root systems, and mulch around plants to retain moisture. This practice not only conserves water but also creates a habitat for beneficial insects, further enhancing your garden’s ecosystem.
Utilize Crop Rotation Techniques
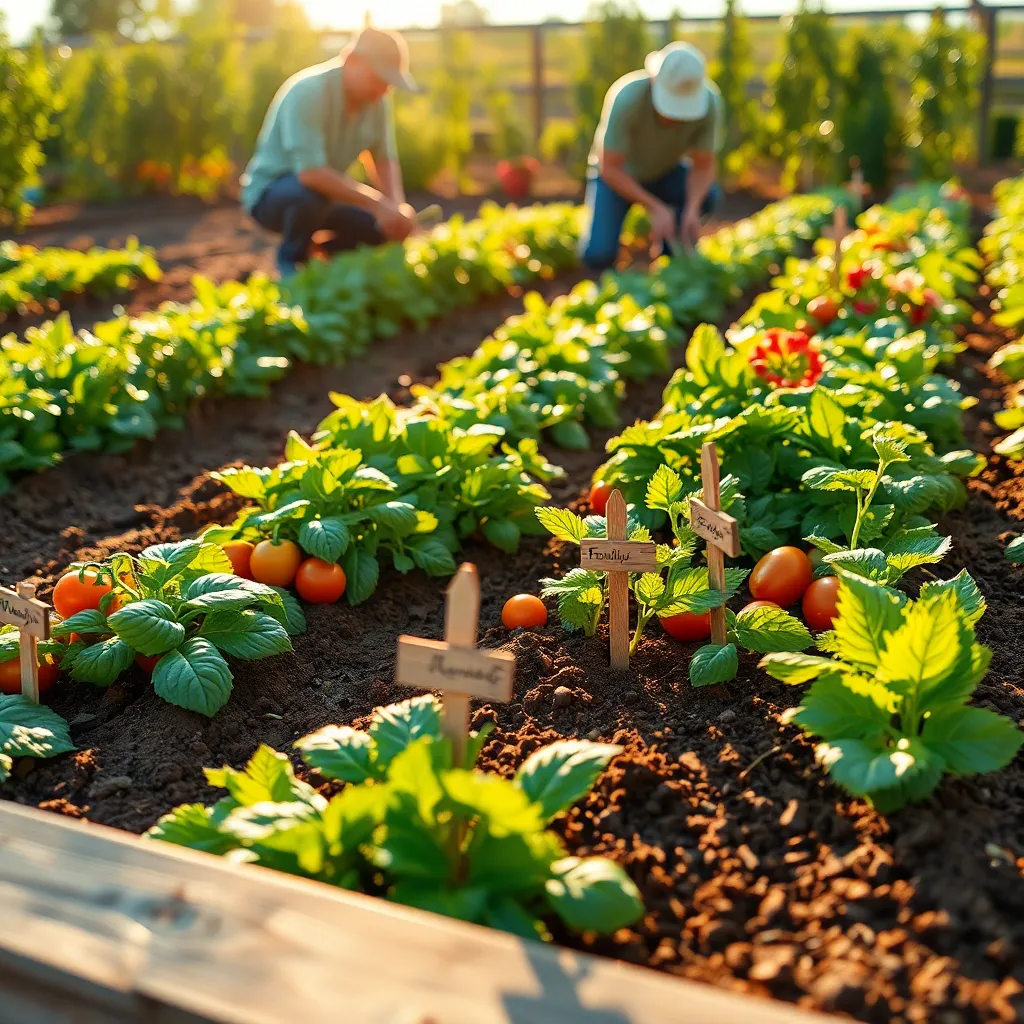
Crop rotation is a powerful technique that helps maintain healthy soil and reduce pest problems in your garden. By rotating crops, you prevent soil nutrient depletion and minimize the buildup of plant-specific pests and diseases.
To start implementing crop rotation, divide your garden into sections and group plants by family. Rotate these groups annually, ensuring that a specific plant family does not return to the same section for at least three years.
Legumes, such as beans and peas, are excellent for following nitrogen-hungry plants like tomatoes or corn, as they naturally fix nitrogen in the soil. This replenishes nutrients and enhances soil fertility, benefiting the subsequent crops planted in that section.
Advanced gardeners can enhance crop rotation by incorporating cover crops such as clover or vetch, which improve soil structure and suppress weeds. This practice not only enriches the soil but also provides a habitat for beneficial insects, further boosting garden health.
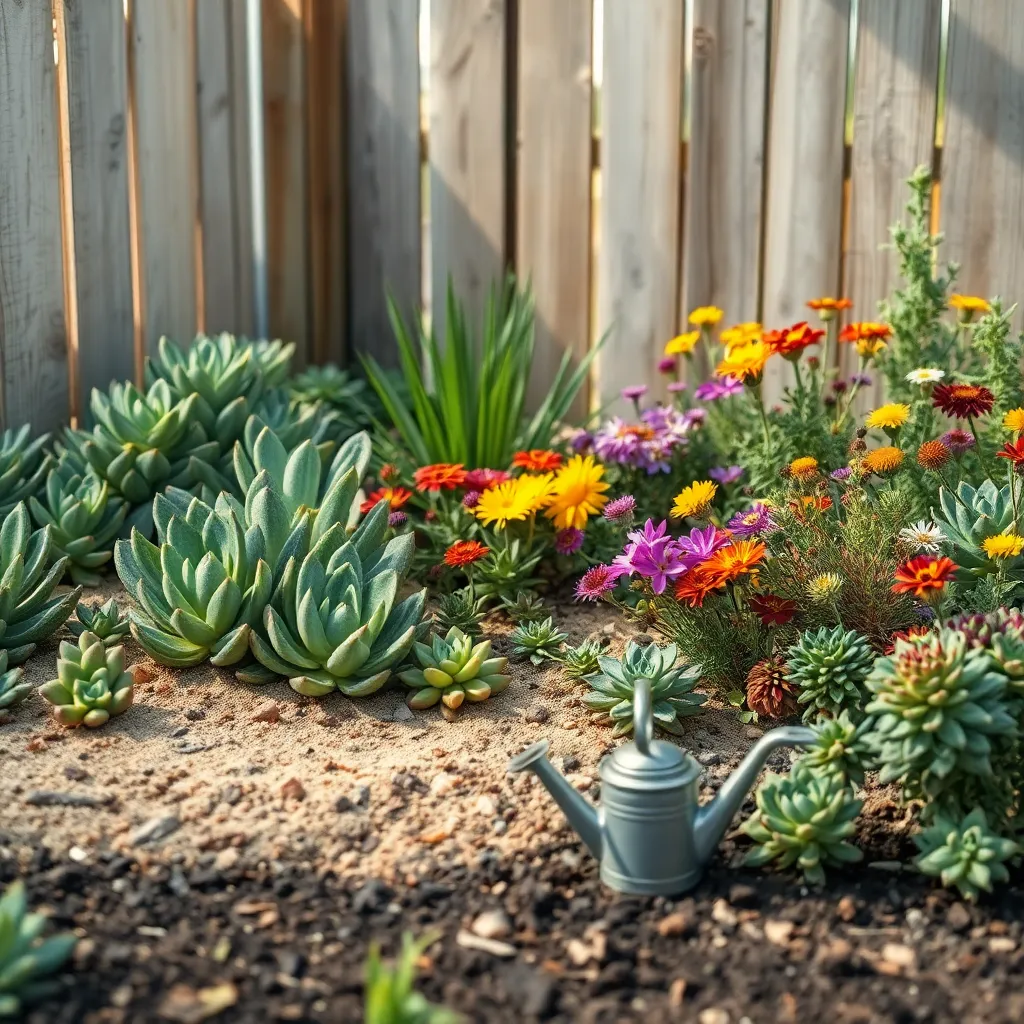
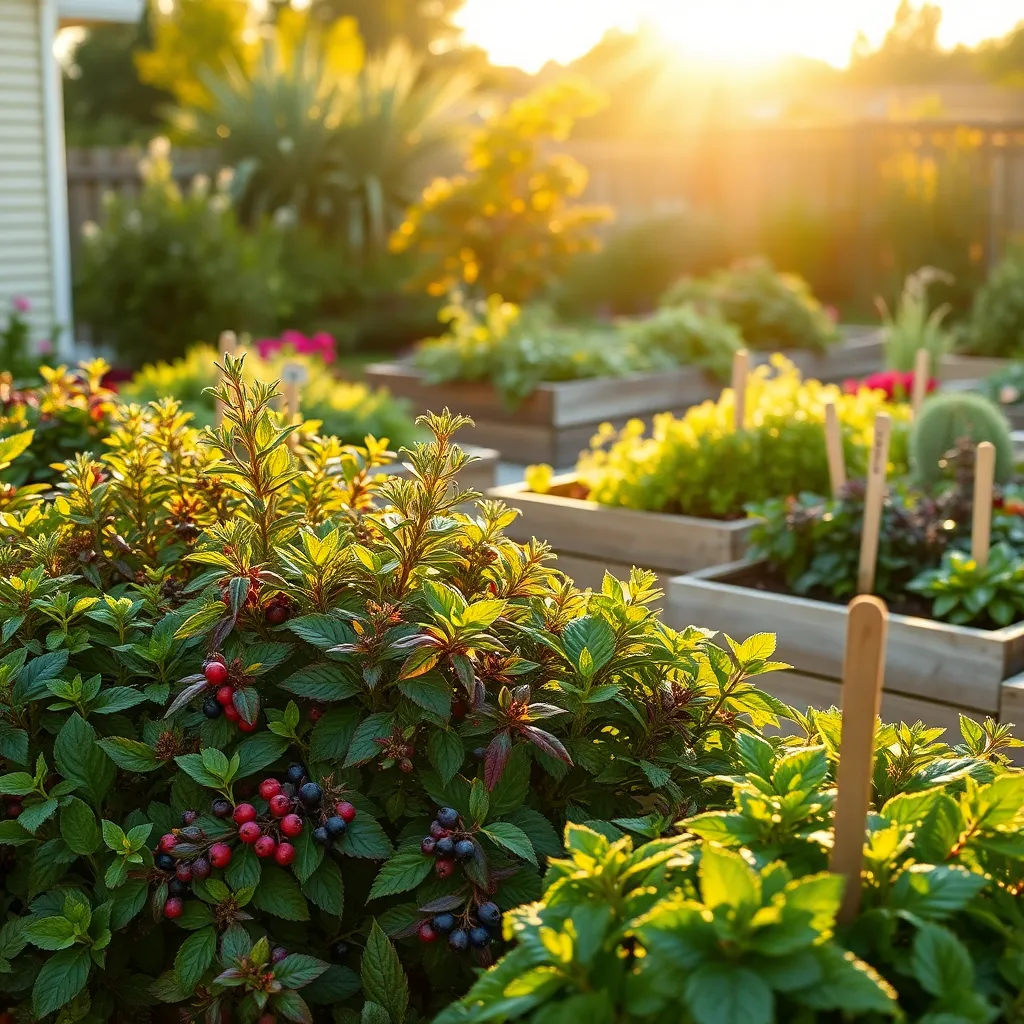
Encourage Beneficial Insect Populations

Encouraging beneficial insect populations in your garden is a sustainable way to manage pests naturally. Ladybugs, lacewings, and hoverflies are among the many helpful insects that can reduce the need for chemical pesticides.
To attract these beneficial insects, plant a variety of flowering plants that provide nectar and pollen. Marigolds, dill, and fennel are excellent choices that not only attract insects but also add beauty to your garden.
Creating a diverse habitat is also crucial for supporting these allies in your garden. Include a mix of plants with different heights and structures to provide shelter and breeding grounds for beneficial insects.
For advanced gardeners, consider introducing insect hotels to offer additional shelter. These can be easily made using natural materials like bamboo, twigs, and pine cones, providing a perfect home for solitary bees and other helpful insects.
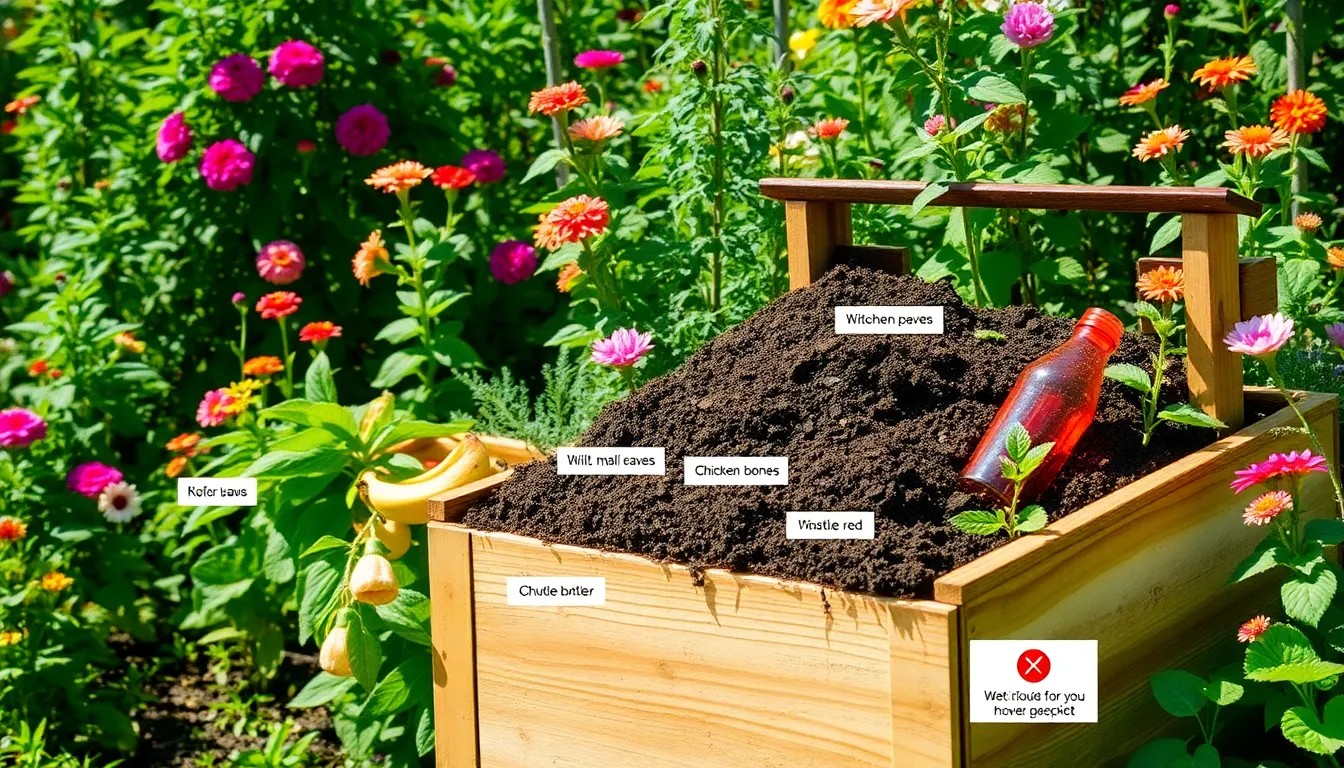
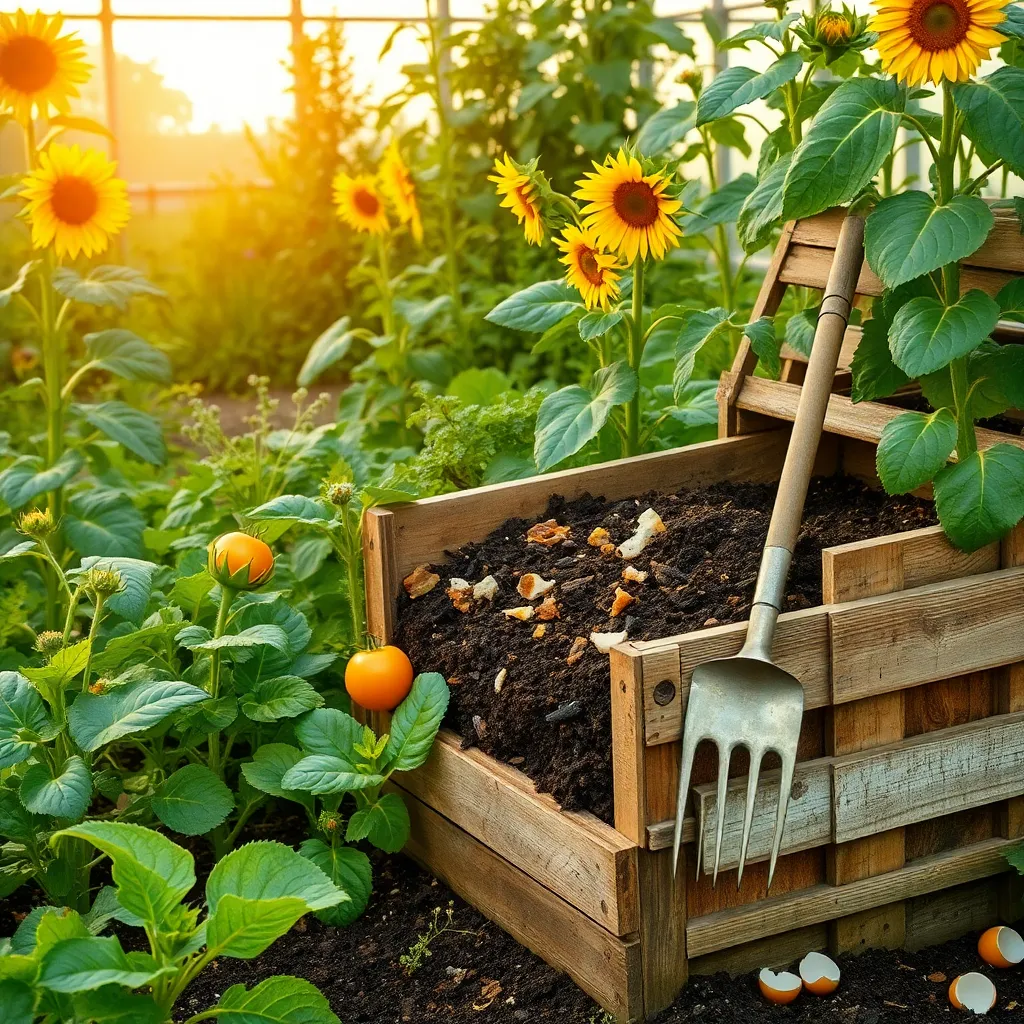
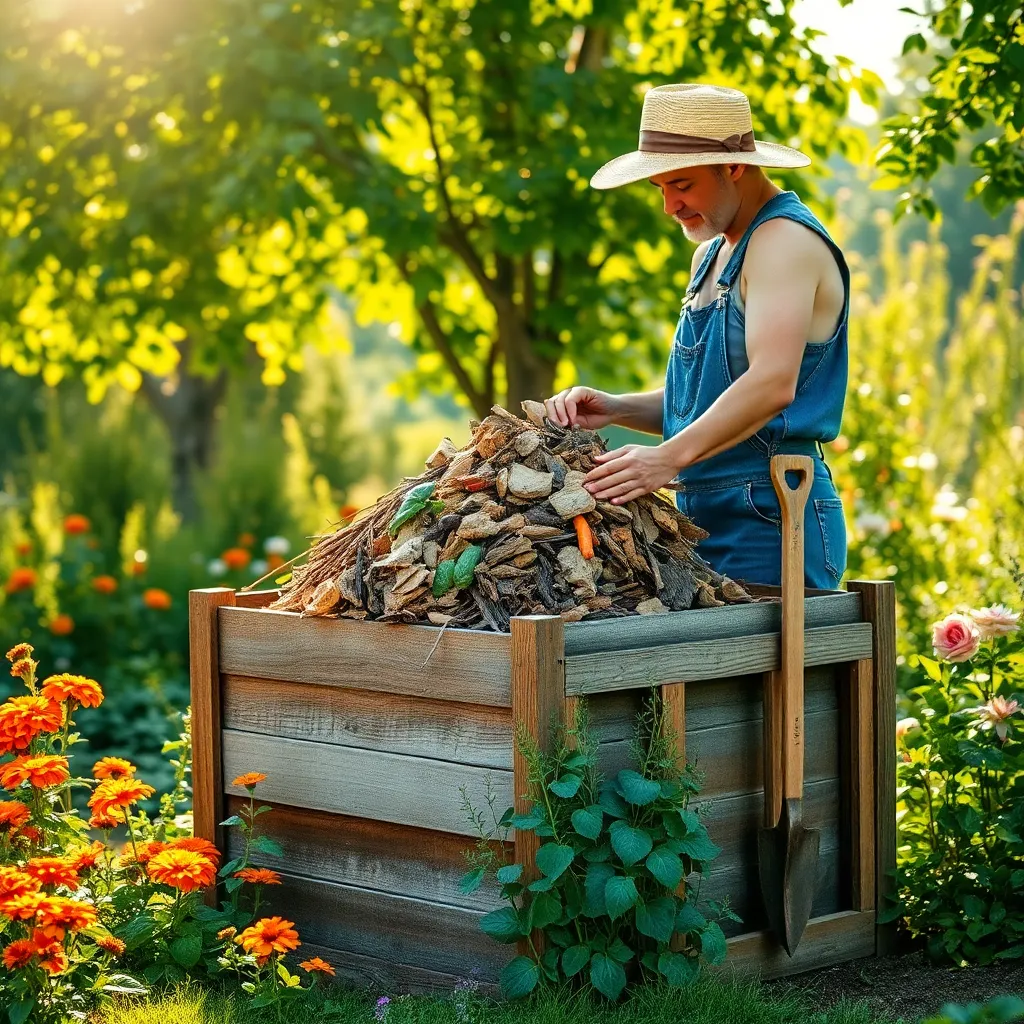
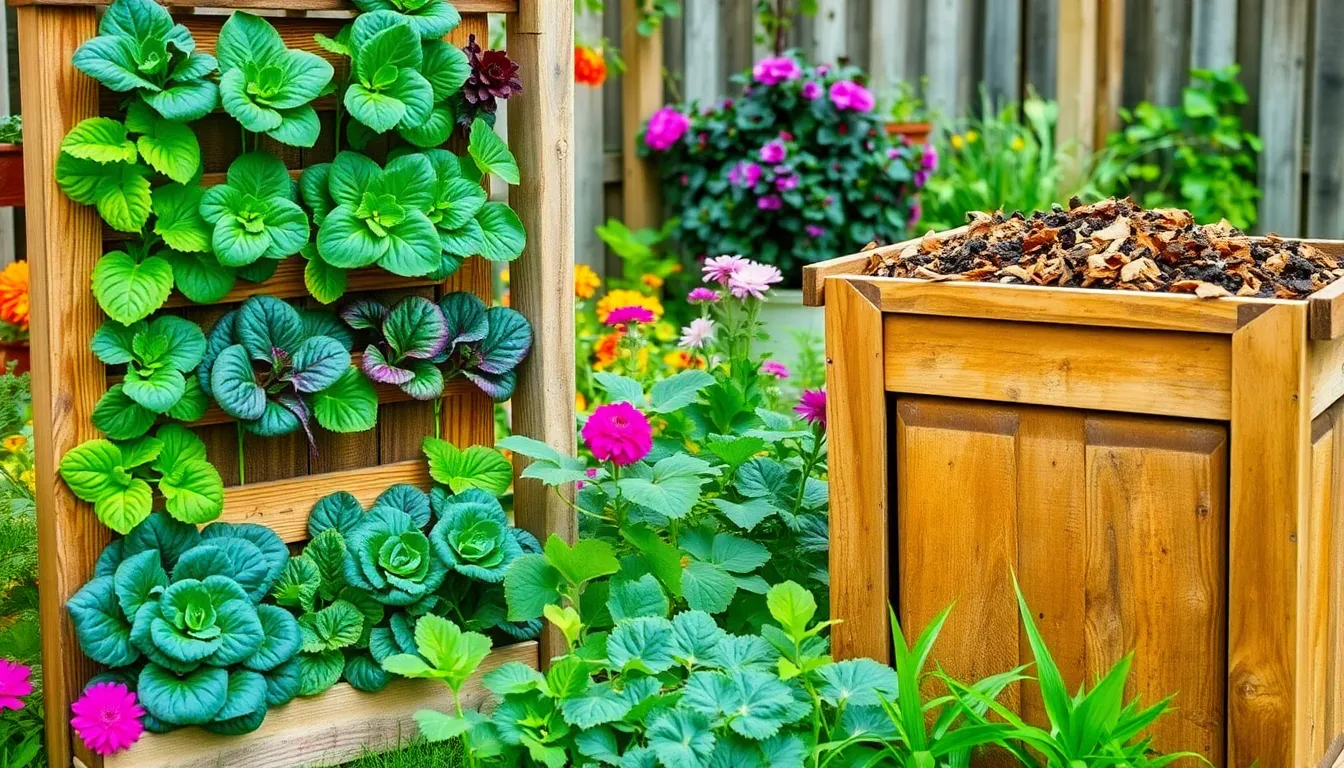
Create Natural Fertilizers from Kitchen Scraps
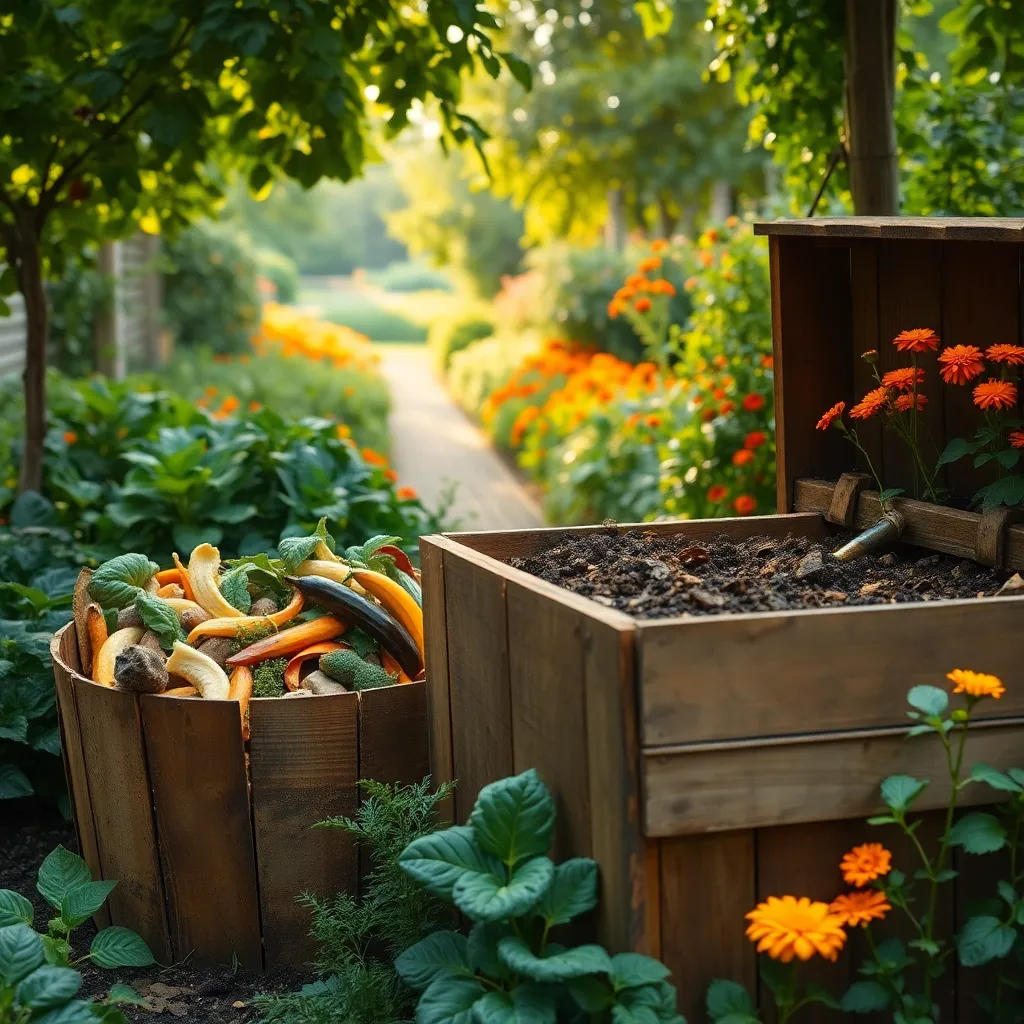
Transforming kitchen scraps into natural fertilizers is a simple way to enrich your garden soil. This sustainable practice not only reduces waste but also provides essential nutrients for your plants.
To begin, collect fruit and vegetable peels, coffee grounds, and eggshells. These scraps are rich in nitrogen, calcium, and other minerals vital for plant growth.
Composting is the most straightforward method to convert kitchen scraps into fertilizer. Layer your collected scraps with brown materials like dried leaves or newspaper, ensuring a balanced carbon-to-nitrogen ratio.
For those eager to see quicker results, consider making a liquid fertilizer by soaking banana peels in water for a few days. This potassium-rich solution can be diluted and used to water plants, promoting strong stems and vibrant blooms.
Advanced gardeners might experiment with vermicomposting, which uses worms to break down scraps into nutrient-dense worm castings. This method not only enriches soil but also improves its structure and water retention.
Remember to avoid using meat, dairy, or oily foods in your compost to prevent unwanted pests. With these simple steps, your garden will thrive naturally while reducing your environmental footprint.
Control Weeds with Vinegar Spray
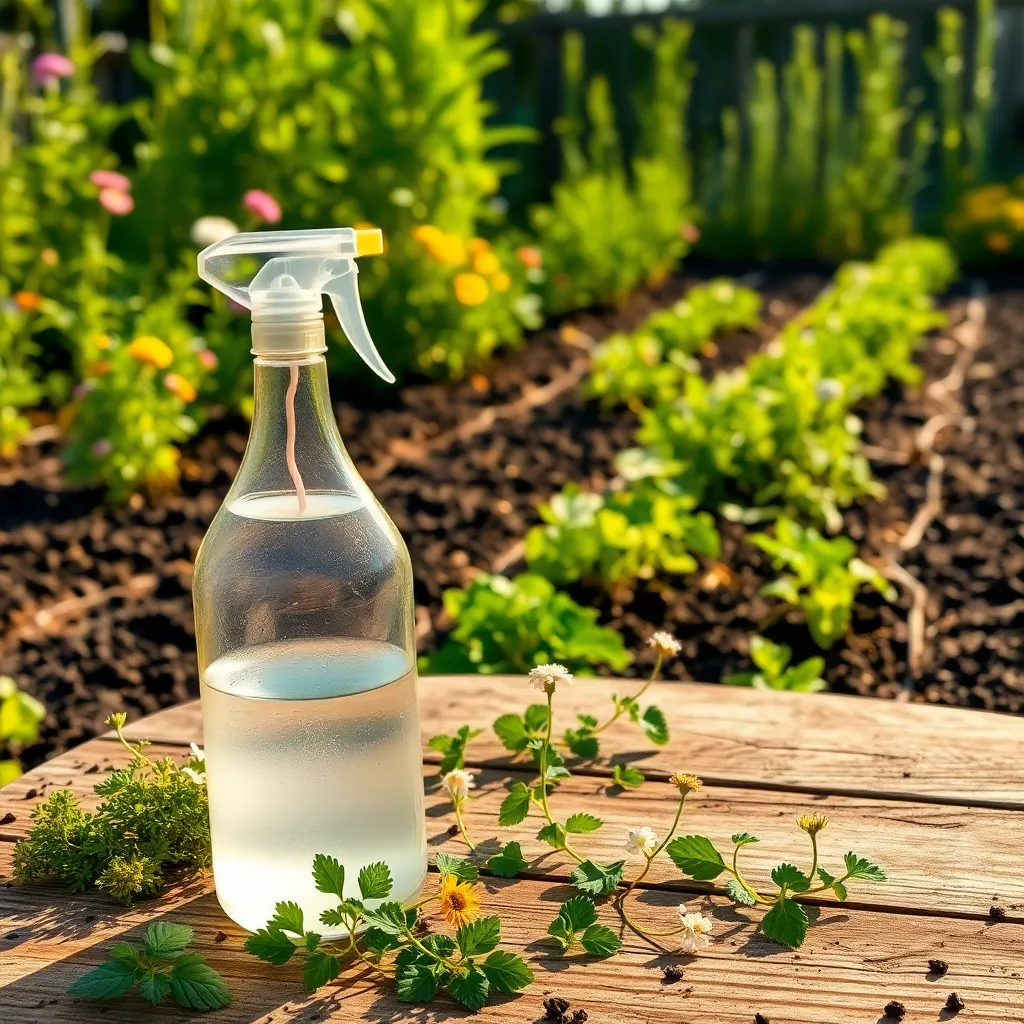
Vinegar spray is a simple yet effective organic method to control weeds in your garden. White vinegar contains acetic acid, which draws out moisture from weeds, causing them to wither and die.
To create your vinegar spray, mix one part vinegar with one part water and pour the mixture into a spray bottle. For improved effectiveness, consider using a vinegar with a higher acetic acid concentration, such as 10% or 20%, which can be found in gardening or agricultural supply stores.
Apply the vinegar spray directly onto the weeds, ensuring thorough coverage, especially on sunny days for best results. Be cautious, however, as vinegar is non-selective and can harm your desirable plants if sprayed directly on them.
For larger, more established weeds, a repeat application may be necessary to achieve satisfactory results. Advanced gardeners might add a few drops of liquid dish soap to the mixture to help the vinegar adhere better to the leaves.
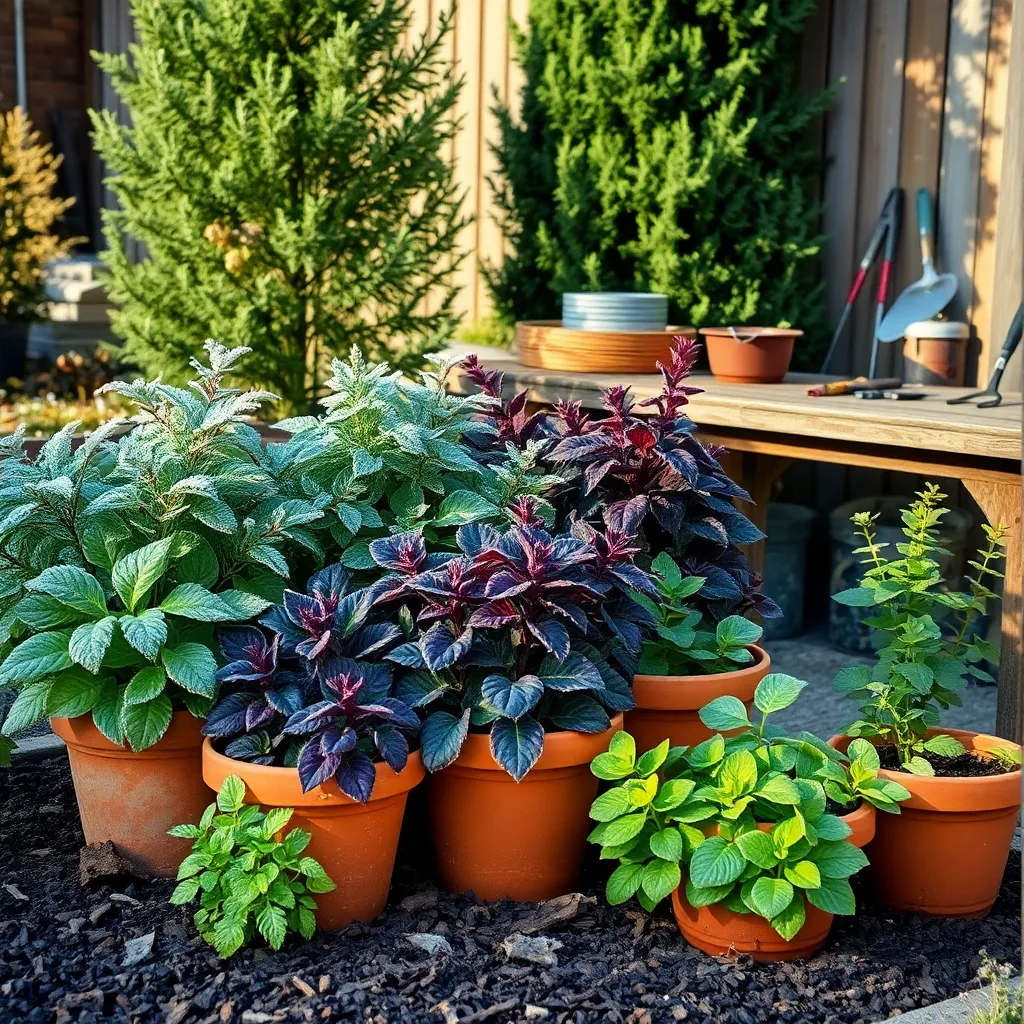
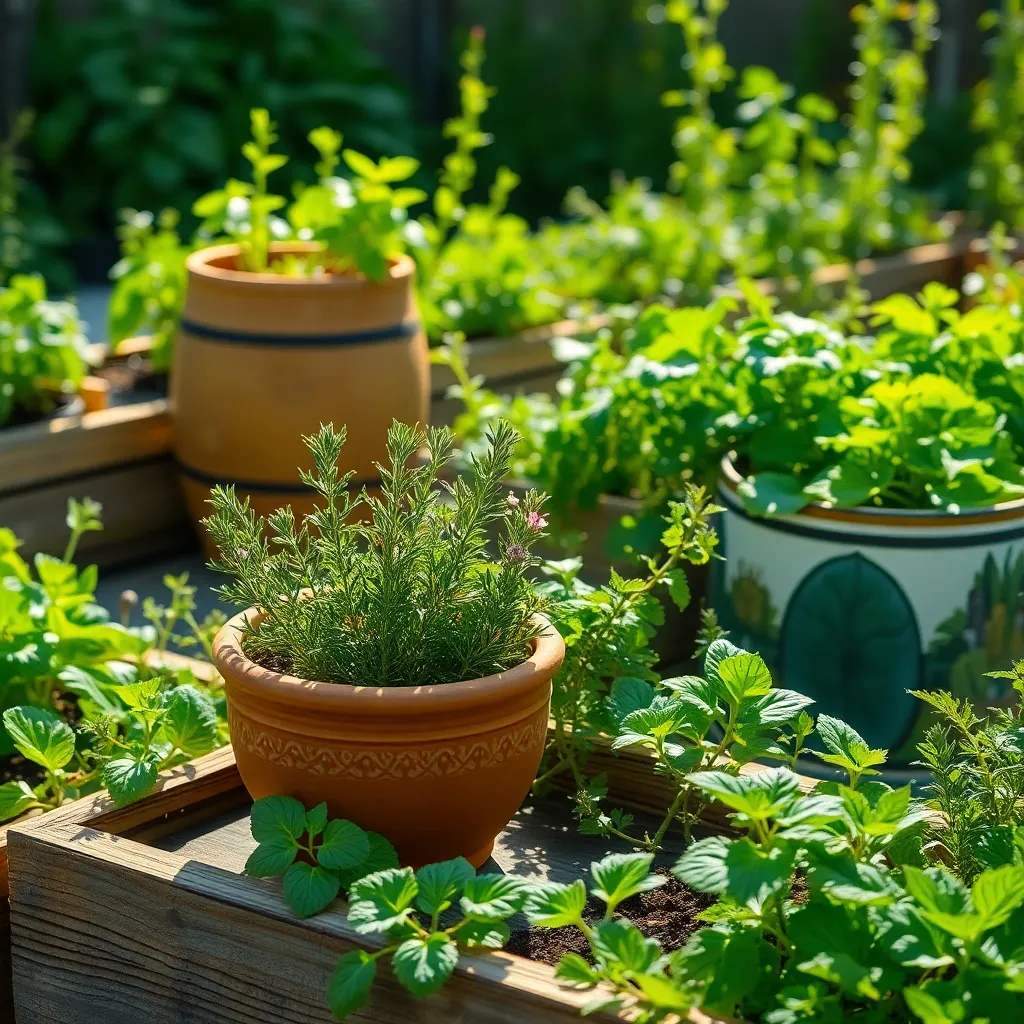
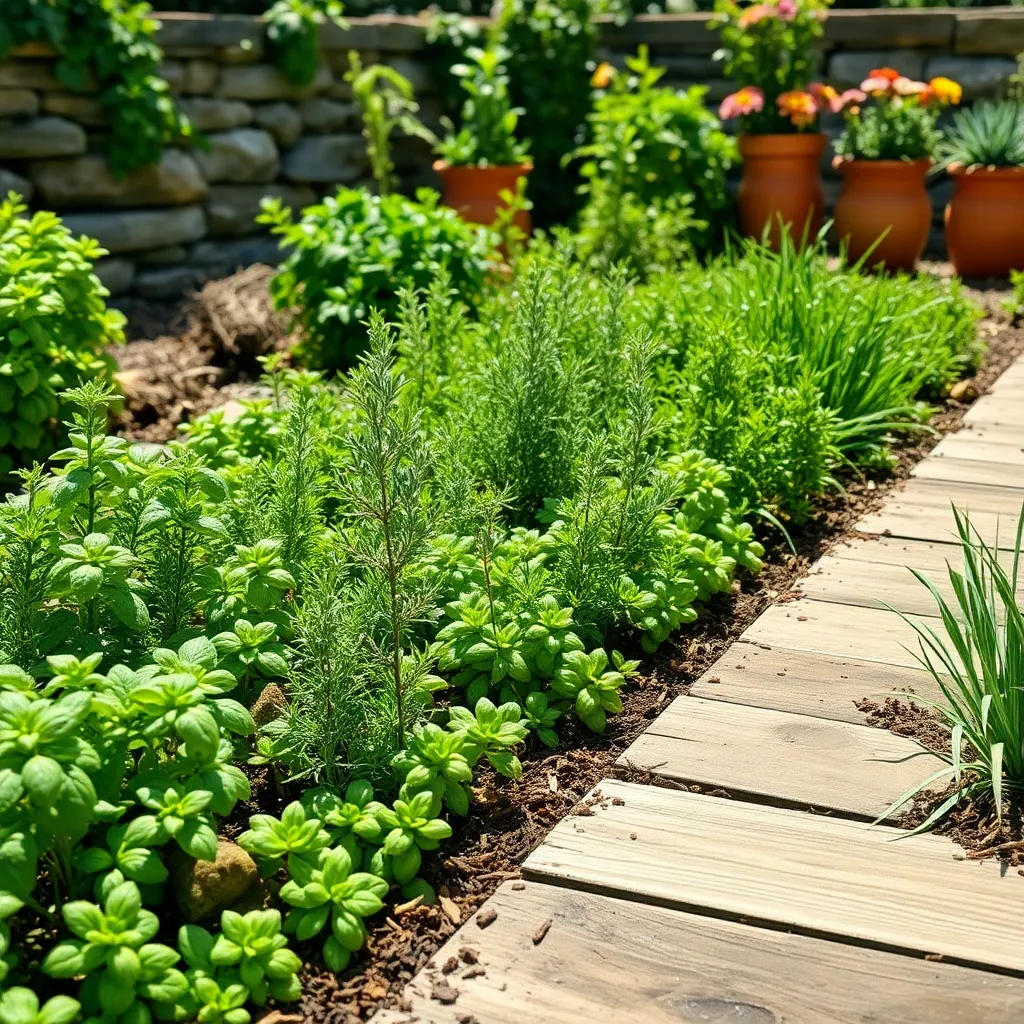
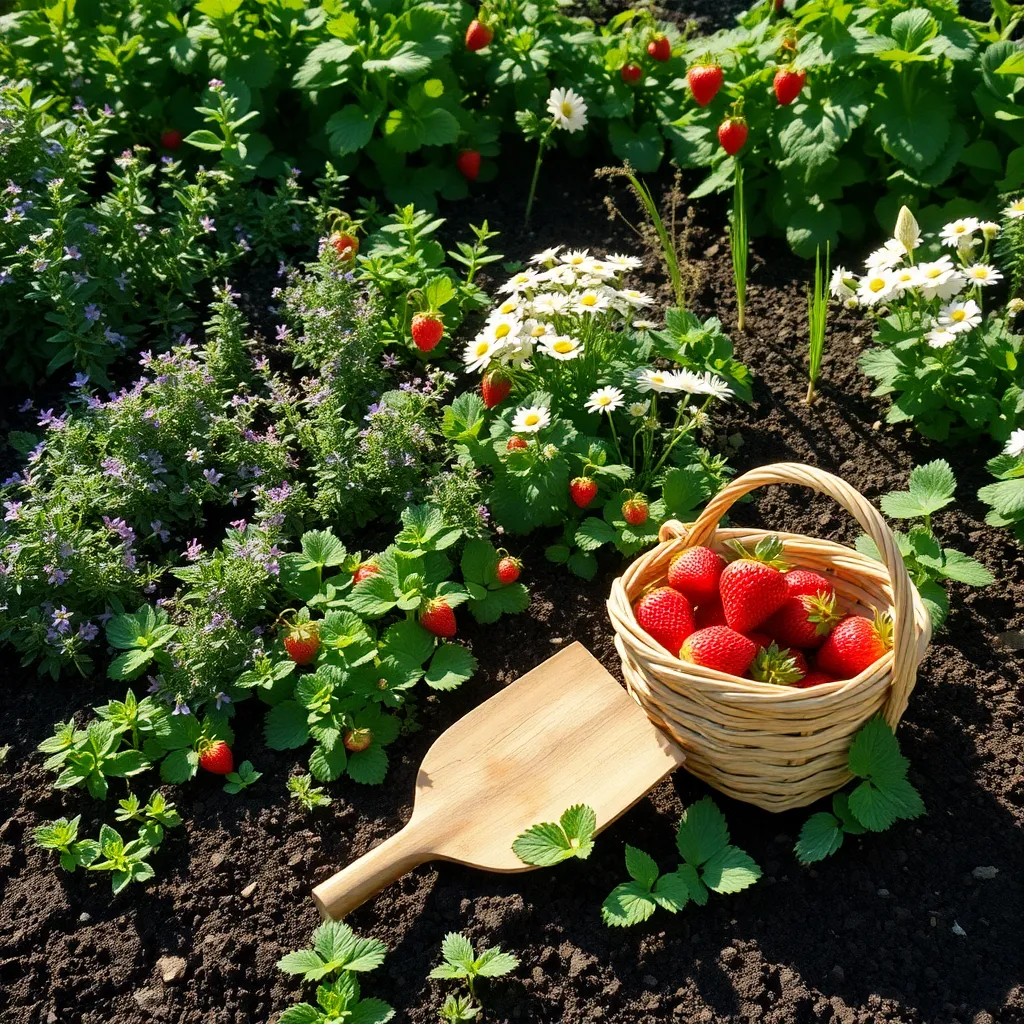
Plant Companion Herbs for Pest Control
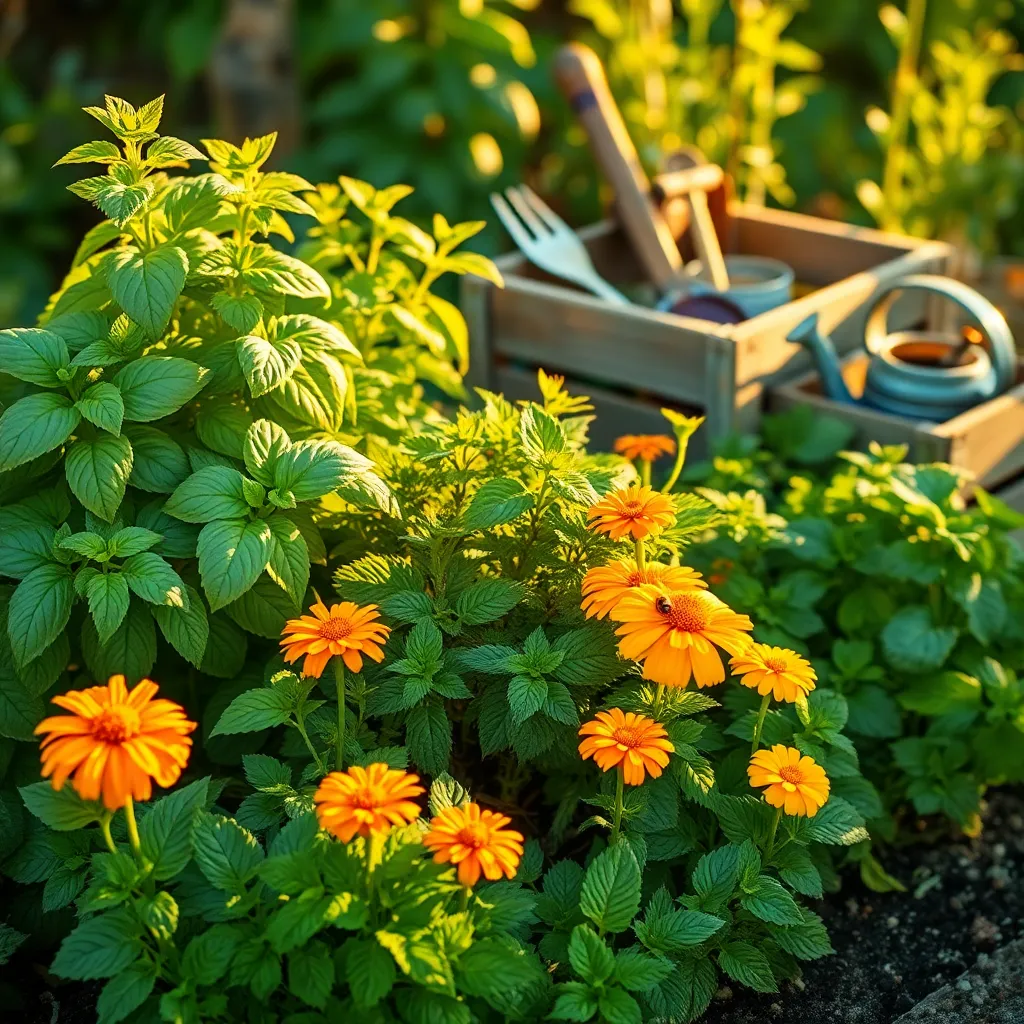
Companion planting herbs is an effective and organic way to control pests in your garden. By strategically placing certain herbs next to your vegetables, you can naturally deter harmful insects while attracting beneficial ones.
For example, planting basil near tomatoes can help repel aphids and tomato hornworms. Basil thrives in full sun and well-drained soil, making it a perfect match for sunny tomato patches.
Mint is another great herb for pest control, especially around cabbage and broccoli as it deters cabbage moths. Be mindful that mint can be invasive, so it’s best planted in containers to prevent it from overtaking your garden.
Additionally, consider growing rosemary by your beans and carrots as it repels bean beetles and carrot flies. Rosemary requires minimal watering once established, making it a low-maintenance choice for busy gardeners.
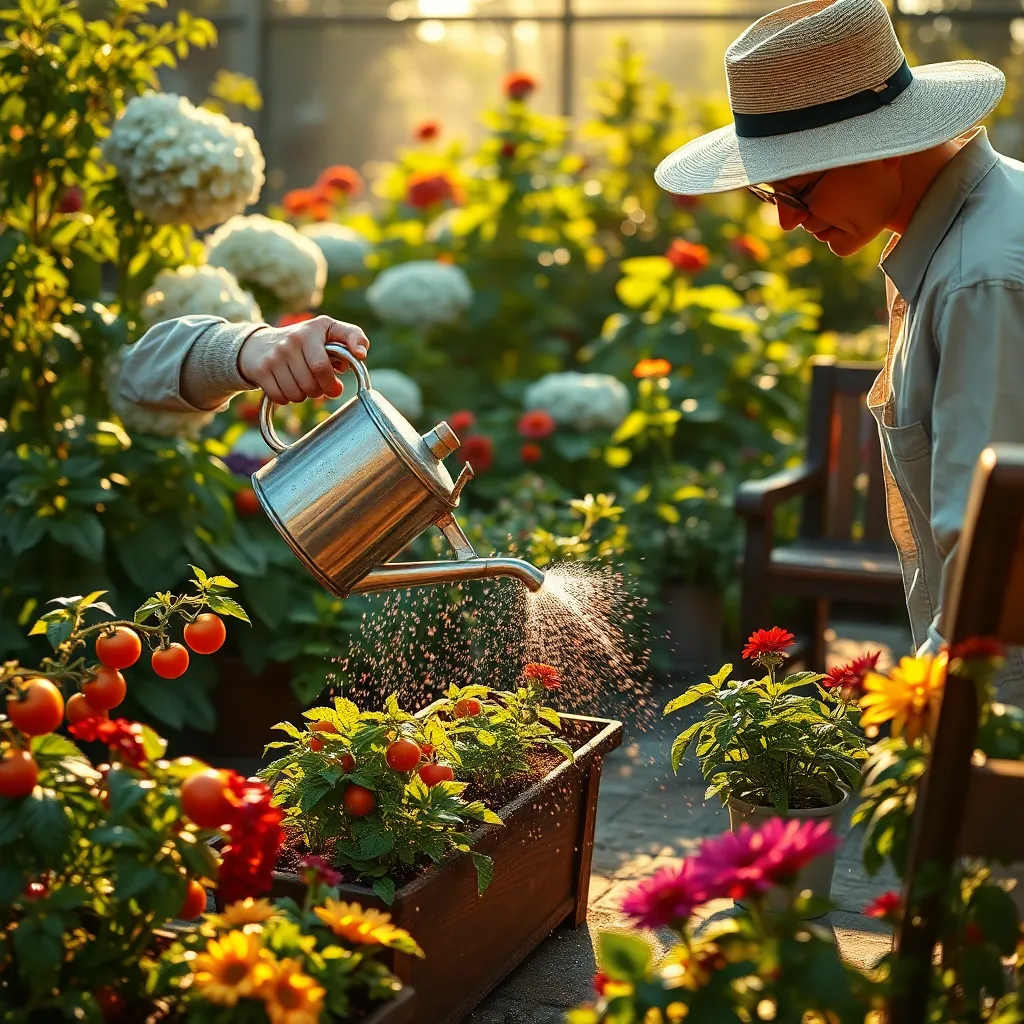
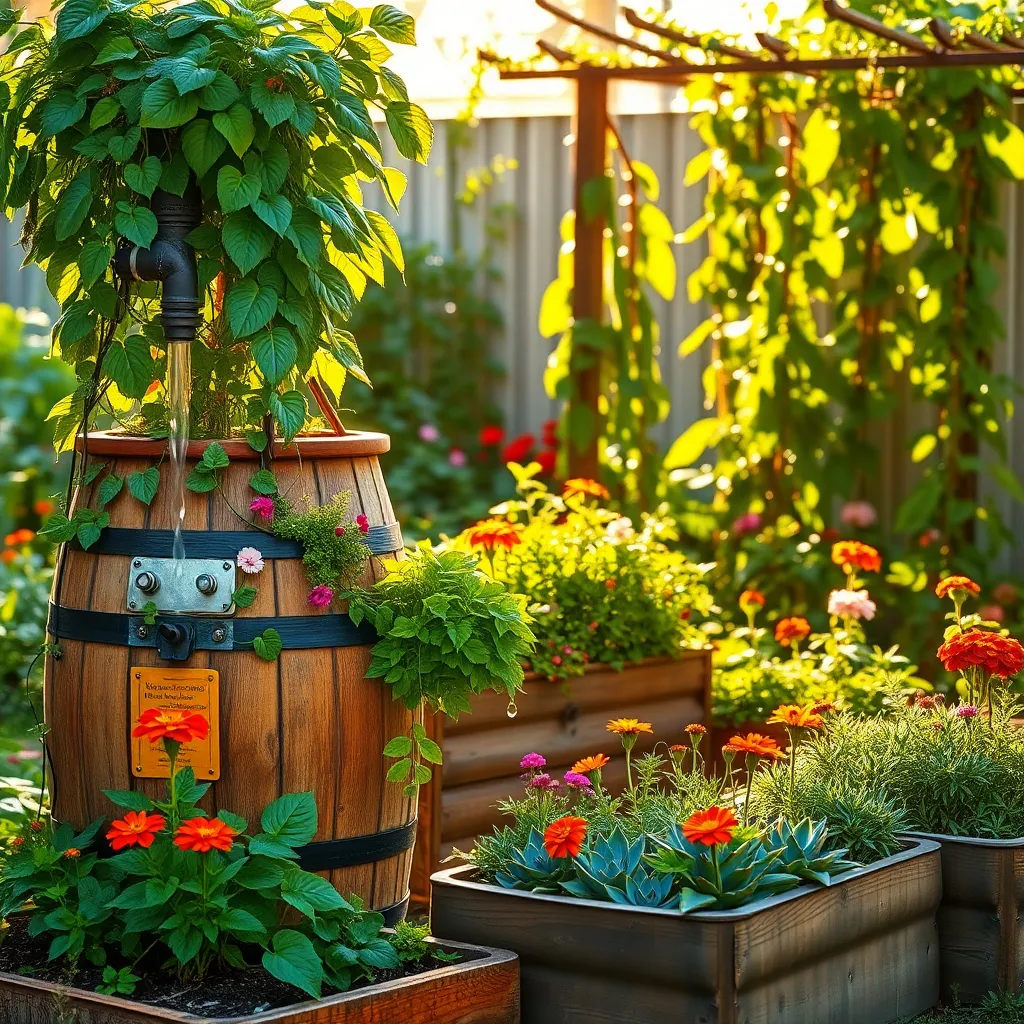
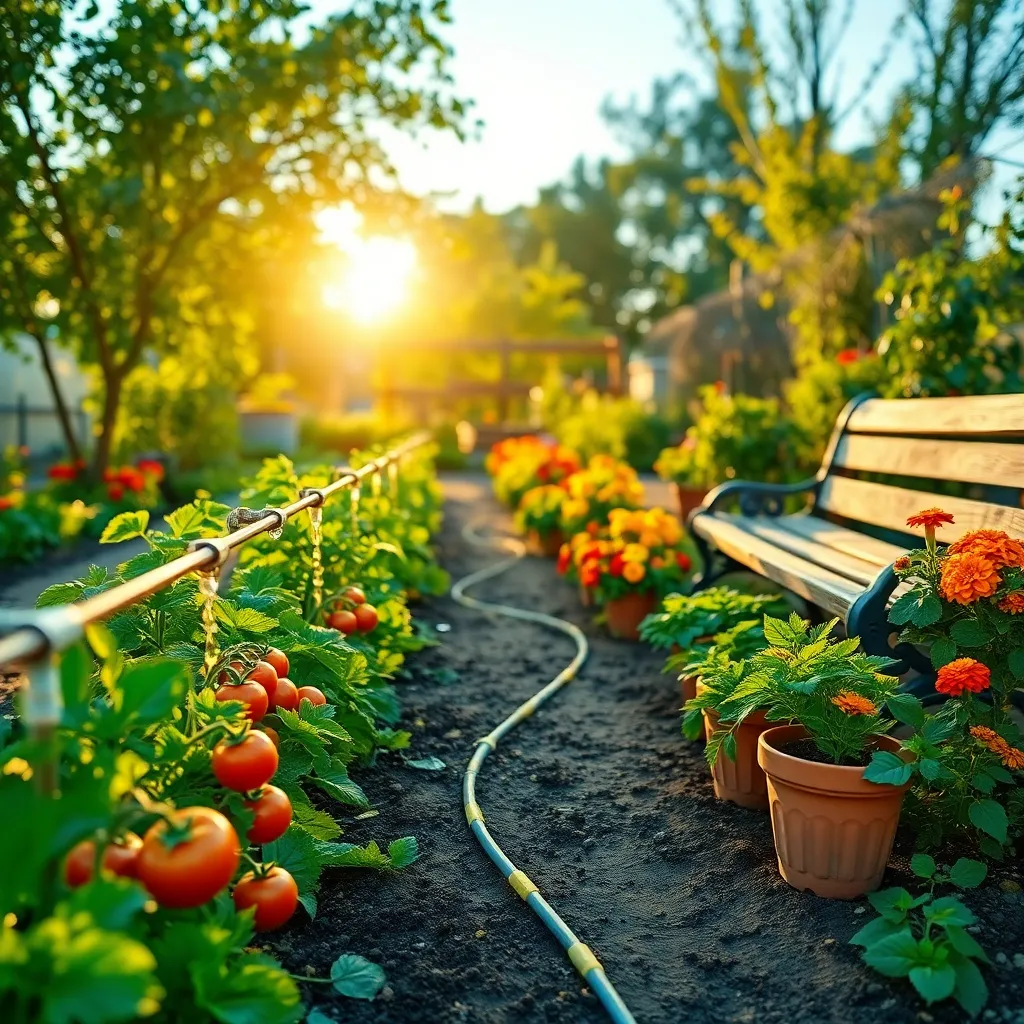
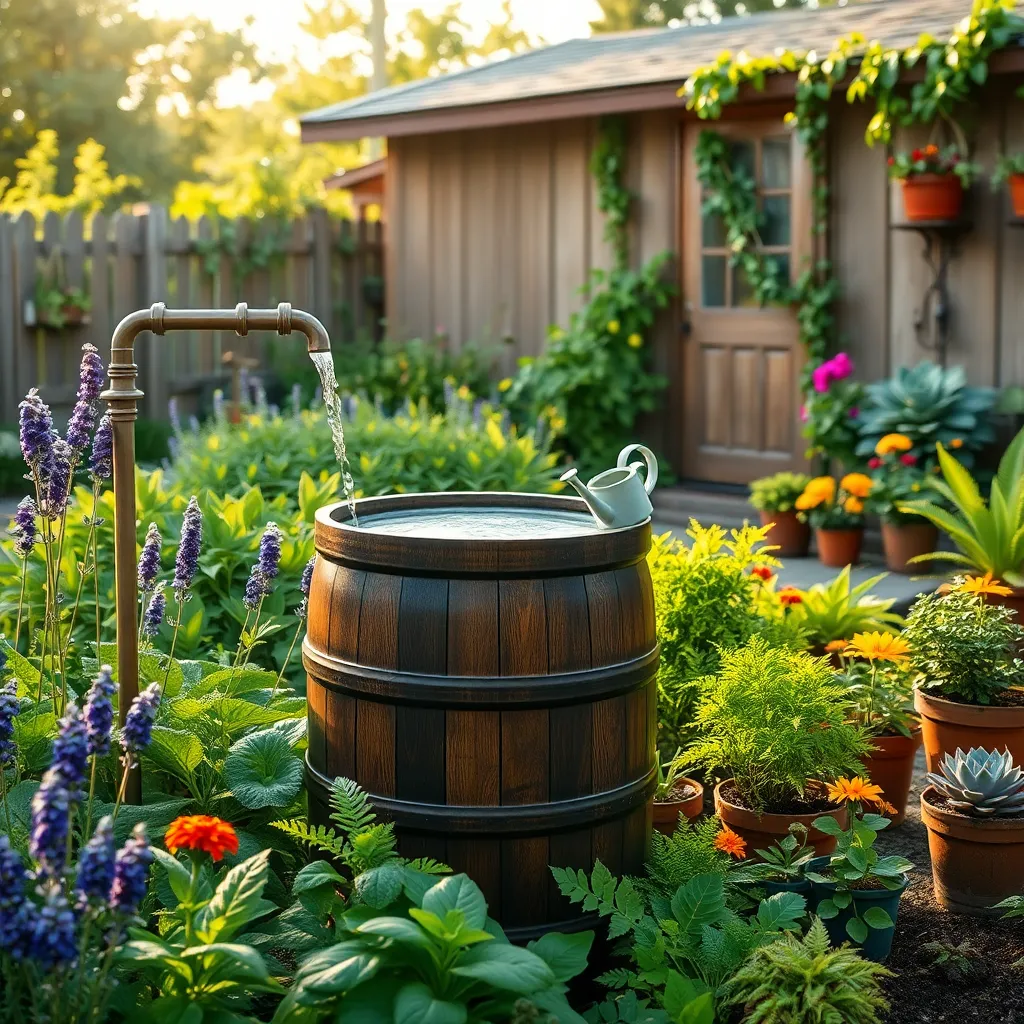
Harvest Rainwater for Irrigation

Harvesting rainwater is a sustainable and cost-effective way to irrigate your garden. By collecting rainwater, you not only conserve water but also provide your plants with untreated, nutrient-rich hydration.
To start, install a rain barrel under a downspout to collect runoff from your roof. Make sure to use a mesh screen on top to keep debris and mosquitoes out, ensuring the water remains clean and safe for your garden.
Connect a hose to the spigot at the bottom of your rain barrel for easy access to the collected water. For efficient watering, use a soaker hose to deliver the rainwater directly to your plants’ roots, minimizing evaporation and maximizing absorption.
Advanced gardeners can consider setting up a drip irrigation system connected to multiple rain barrels. This method allows for precise watering schedules, ensuring each plant receives the right amount of water, which is especially useful during drought conditions.
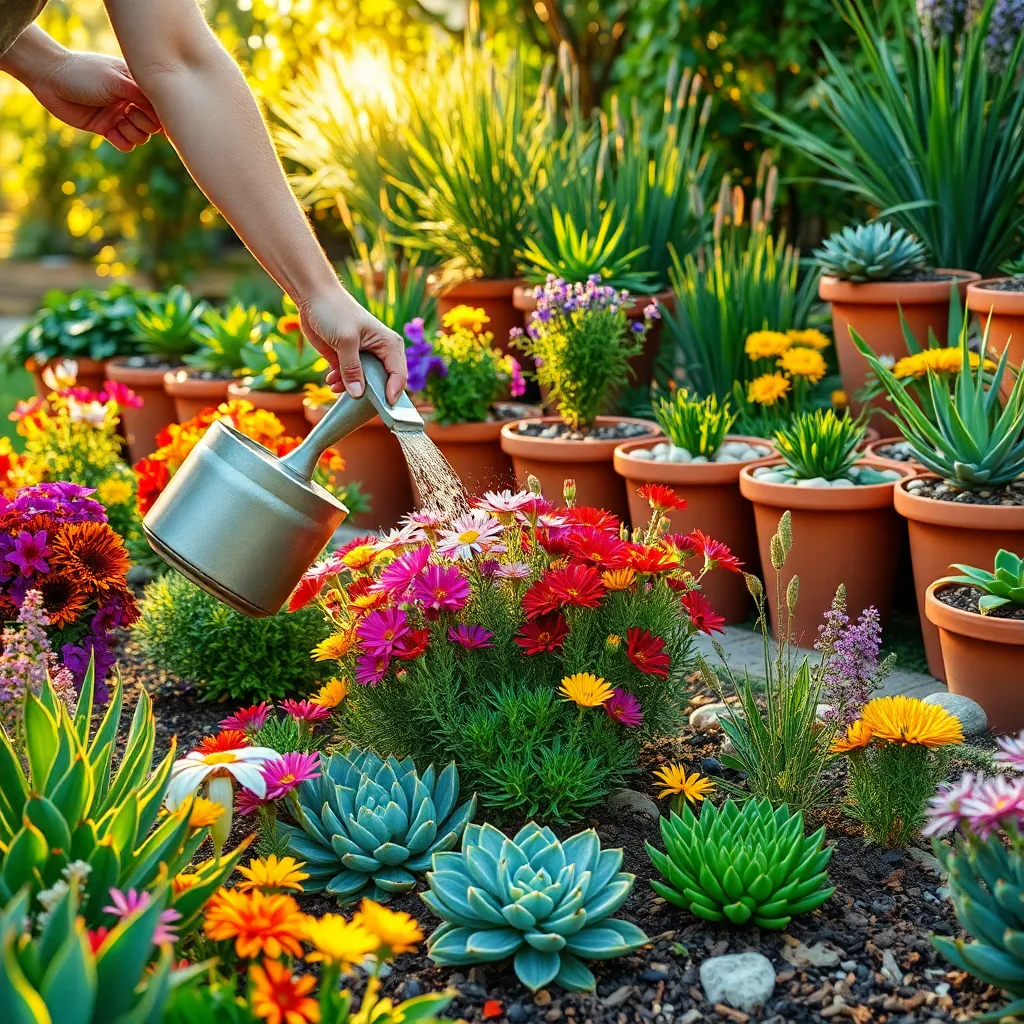
Boost Growth with Fish Emulsion
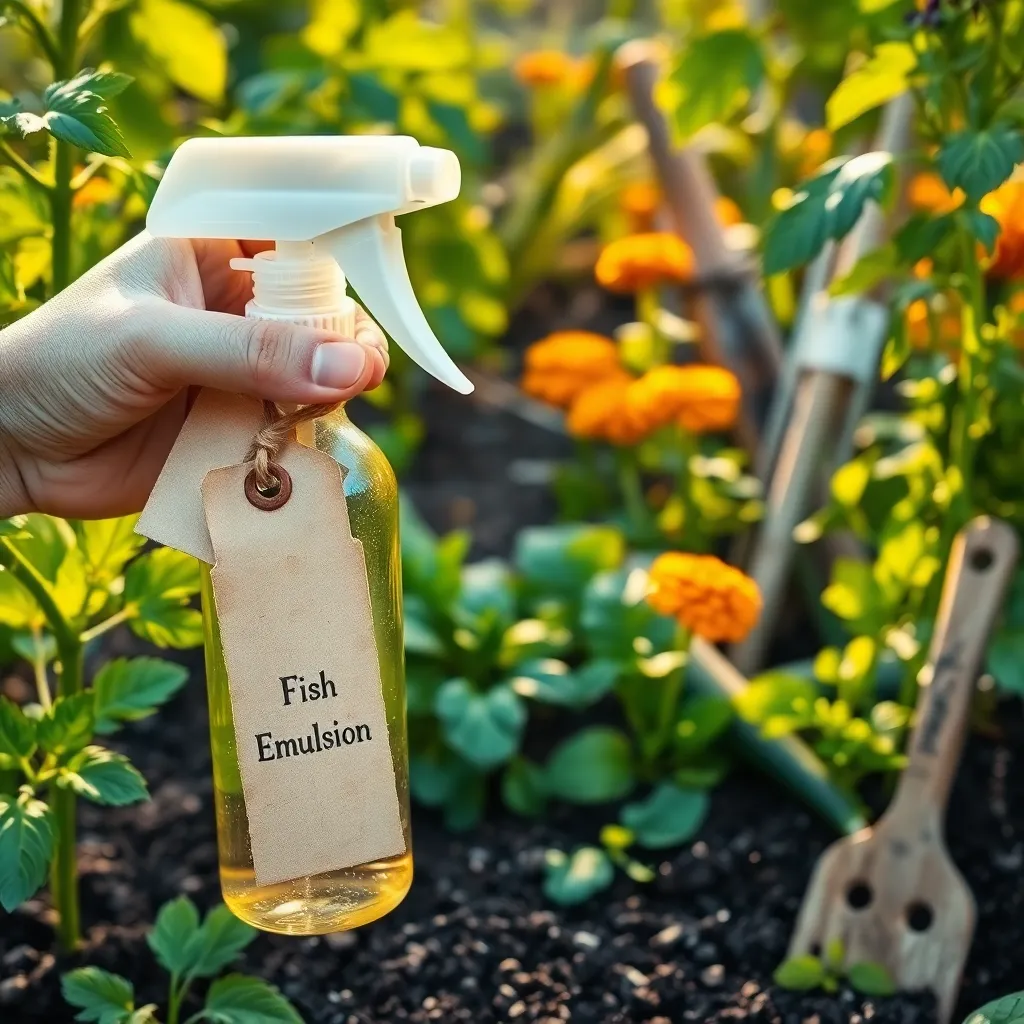
Using fish emulsion is a fantastic way to boost growth in your garden organically. This natural fertilizer is rich in essential nutrients like nitrogen, phosphorus, and potassium, which are crucial for healthy plant development.
To apply fish emulsion, dilute it according to the package instructions—usually one tablespoon per gallon of water. Use this solution to water your plants every two to three weeks for optimal growth.
For beginners, a key tip is to apply the emulsion in the early morning or late afternoon. This timing helps prevent leaf burn and ensures that the nutrients are absorbed efficiently.
Advanced gardeners can experiment by combining fish emulsion with other organic fertilizers. This can enhance the nutrient profile, providing a well-rounded diet for your plants.
Remember, fish emulsion can have a strong odor, so consider applying it when you’re not expecting guests. Over time, you’ll notice stronger stems, lush foliage, and increased yields from your plants.
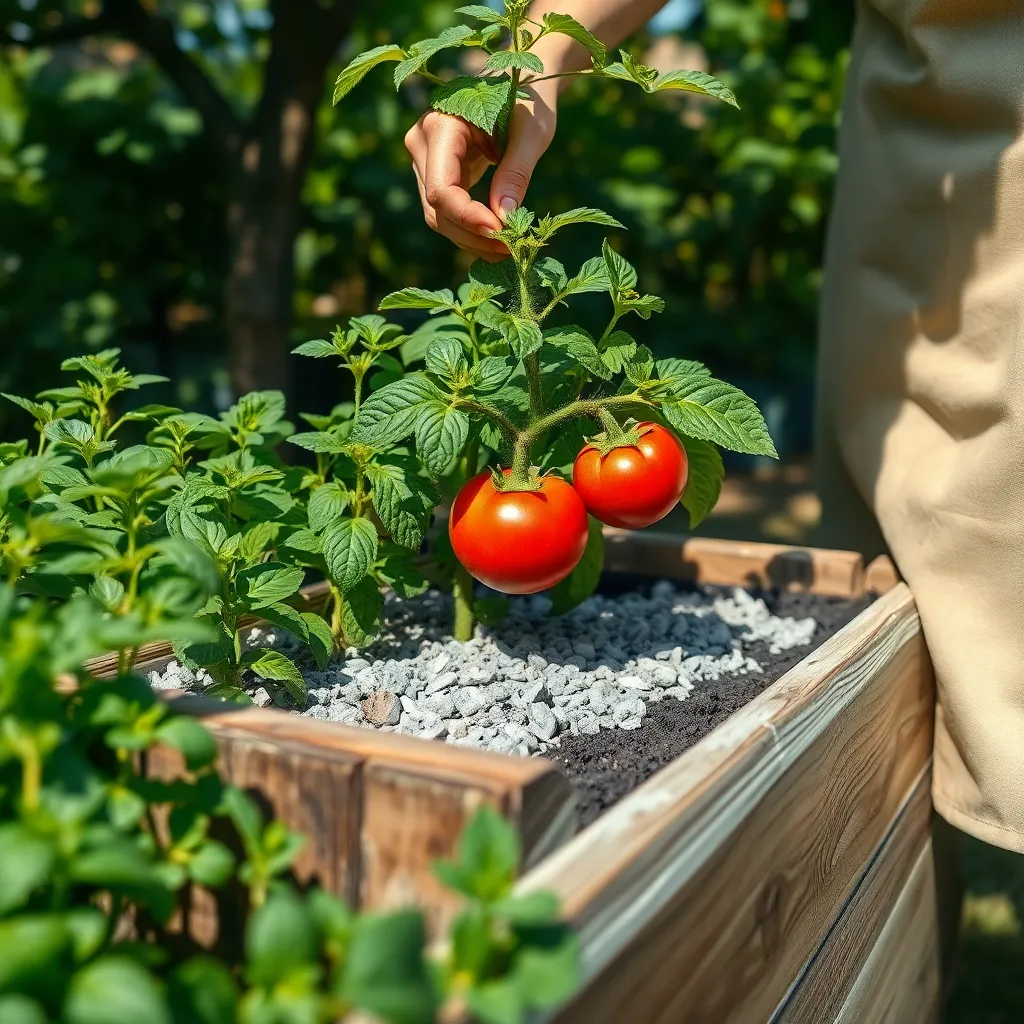
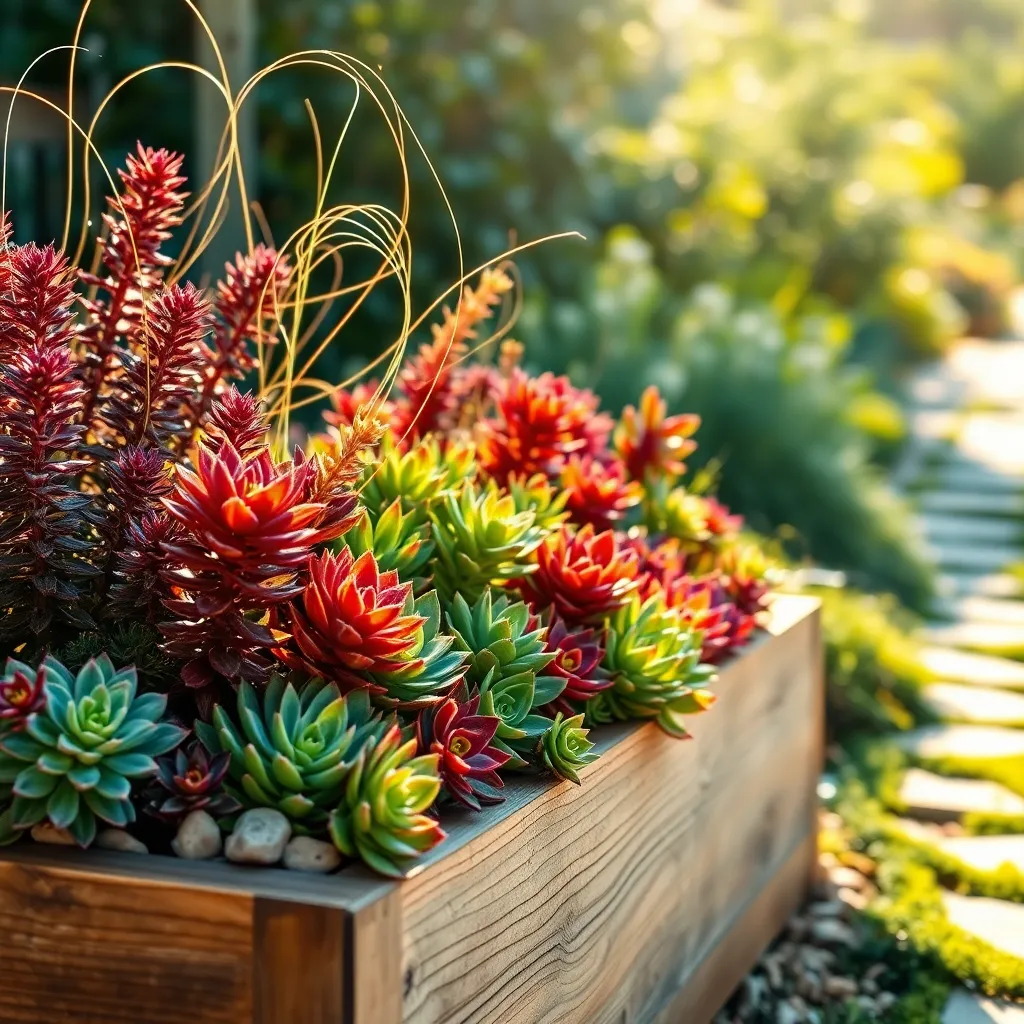
Use Eggshells to Add Calcium
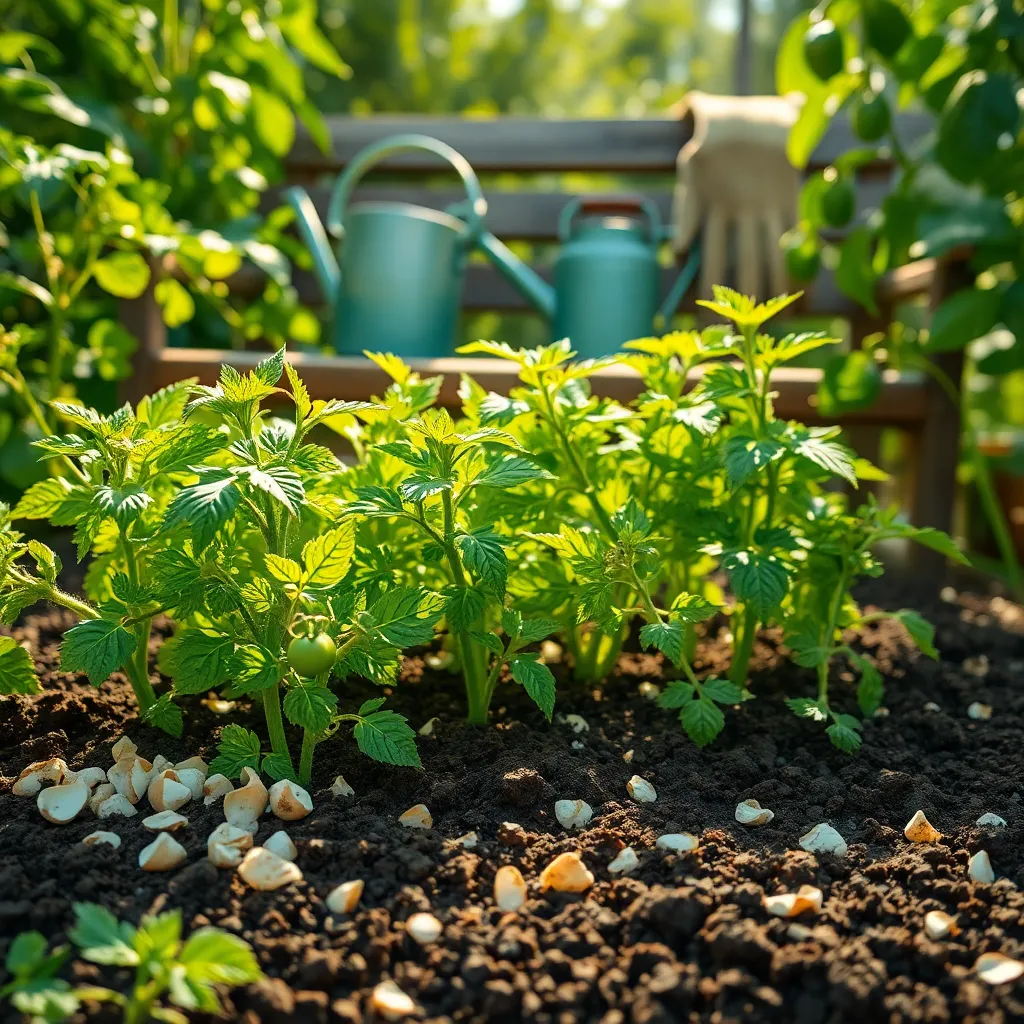
Eggshells are an excellent, natural way to add calcium to your garden soil. They decompose quickly, releasing calcium carbonate, which helps strengthen plant cell walls and prevent issues like blossom end rot in tomatoes.
To make the most of eggshells, start by rinsing them thoroughly to remove any residual egg material. Once clean, allow the shells to dry completely before crushing them into a fine powder using a mortar and pestle or a blender.
Sprinkle the crushed eggshells evenly around the base of your plants and gently work them into the top layer of soil. This technique is particularly beneficial for plants like tomatoes, peppers, and eggplants, which thrive with the additional calcium boost.
For an even more potent effect, consider brewing eggshell tea by boiling crushed shells in water and letting them steep overnight. Strain the liquid and use it to water your plants, providing an immediate calcium boost that can be absorbed quickly.
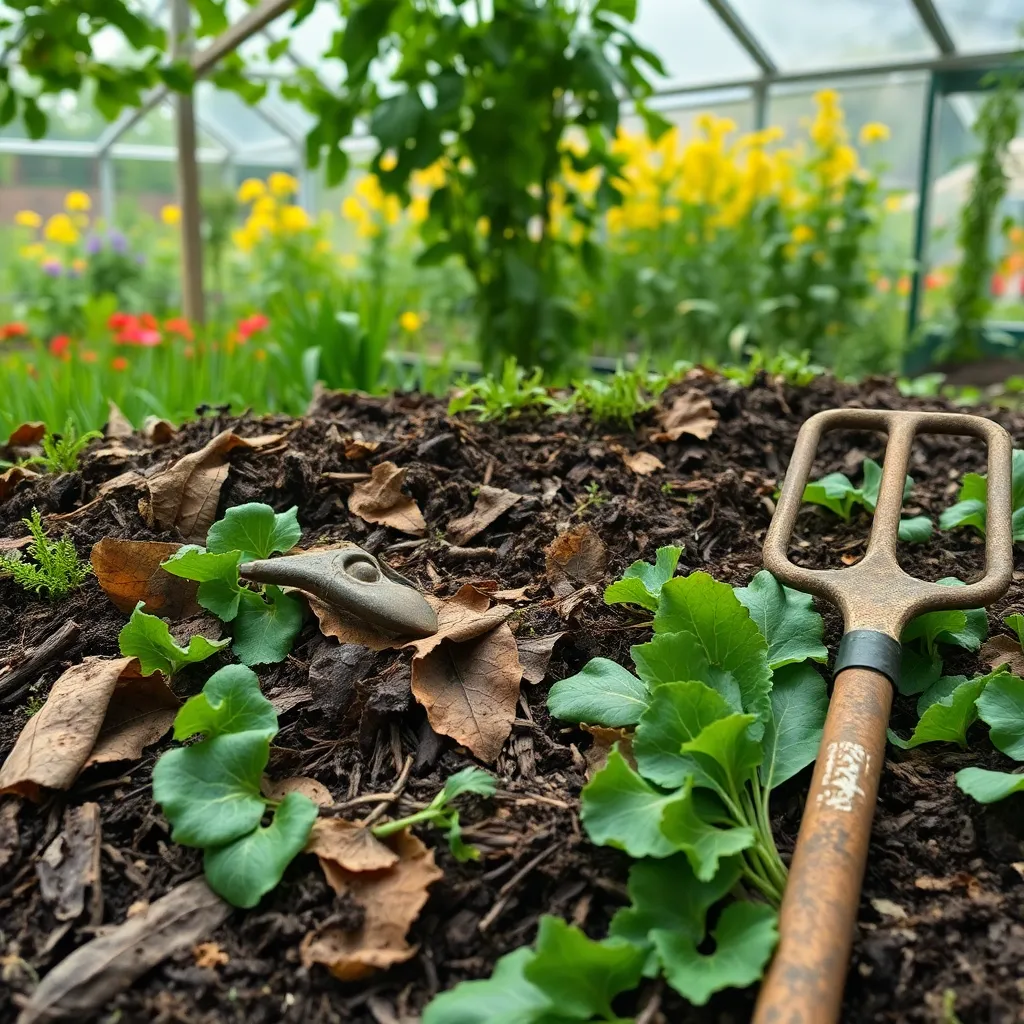
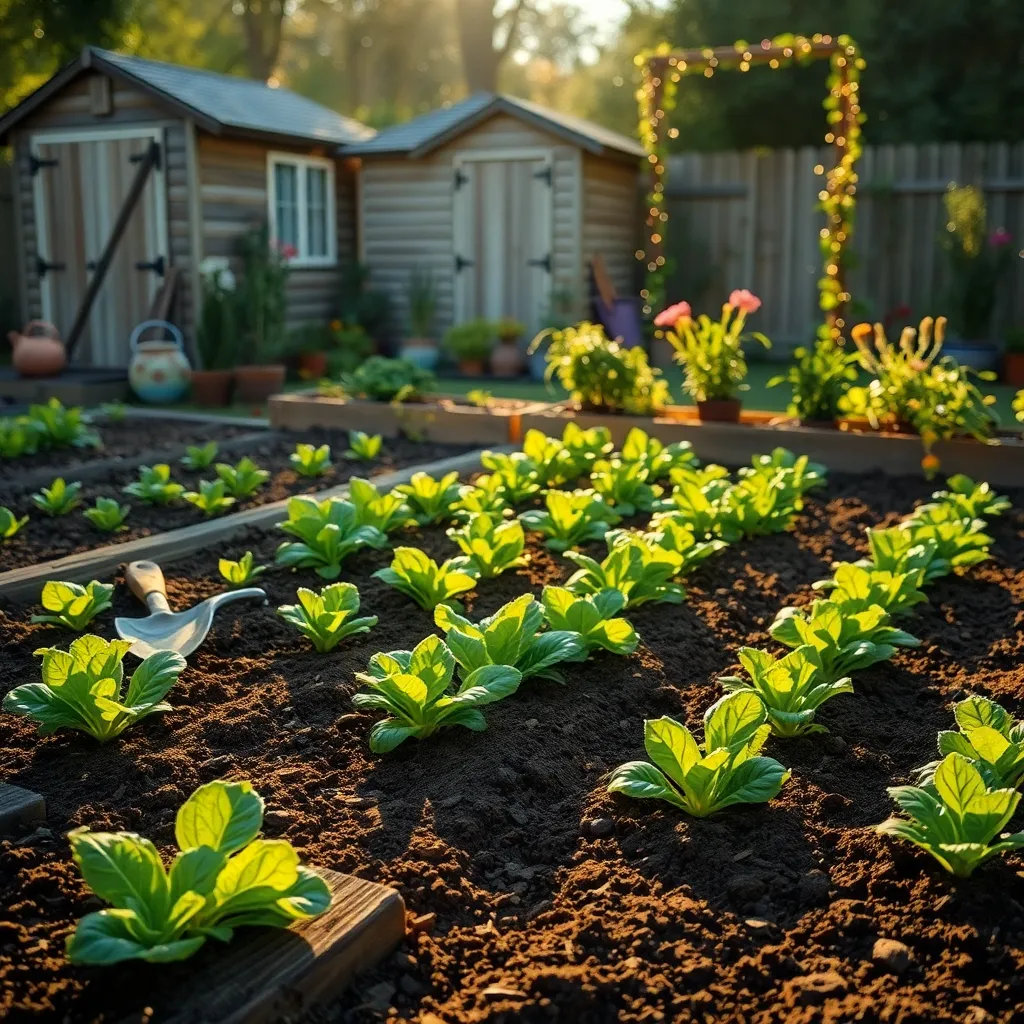
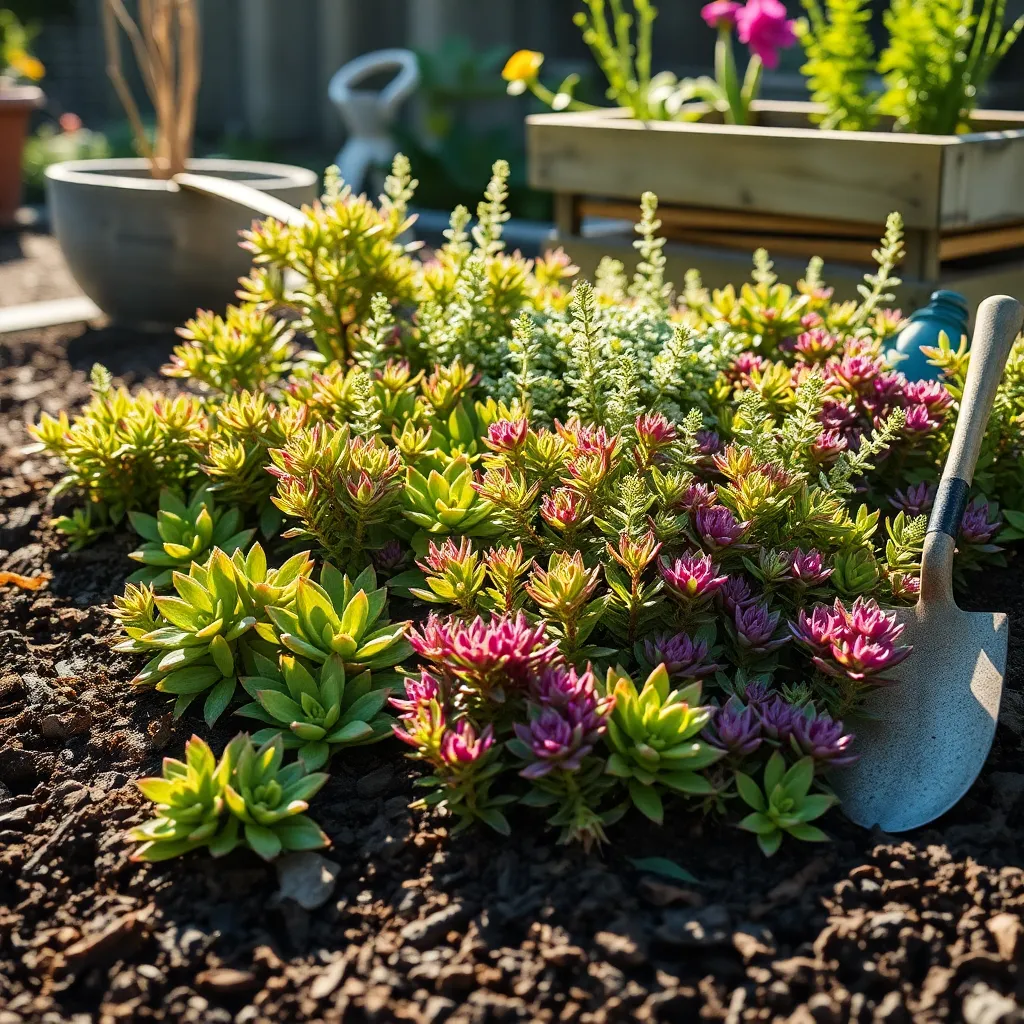
Implement No-Till Gardening Practices
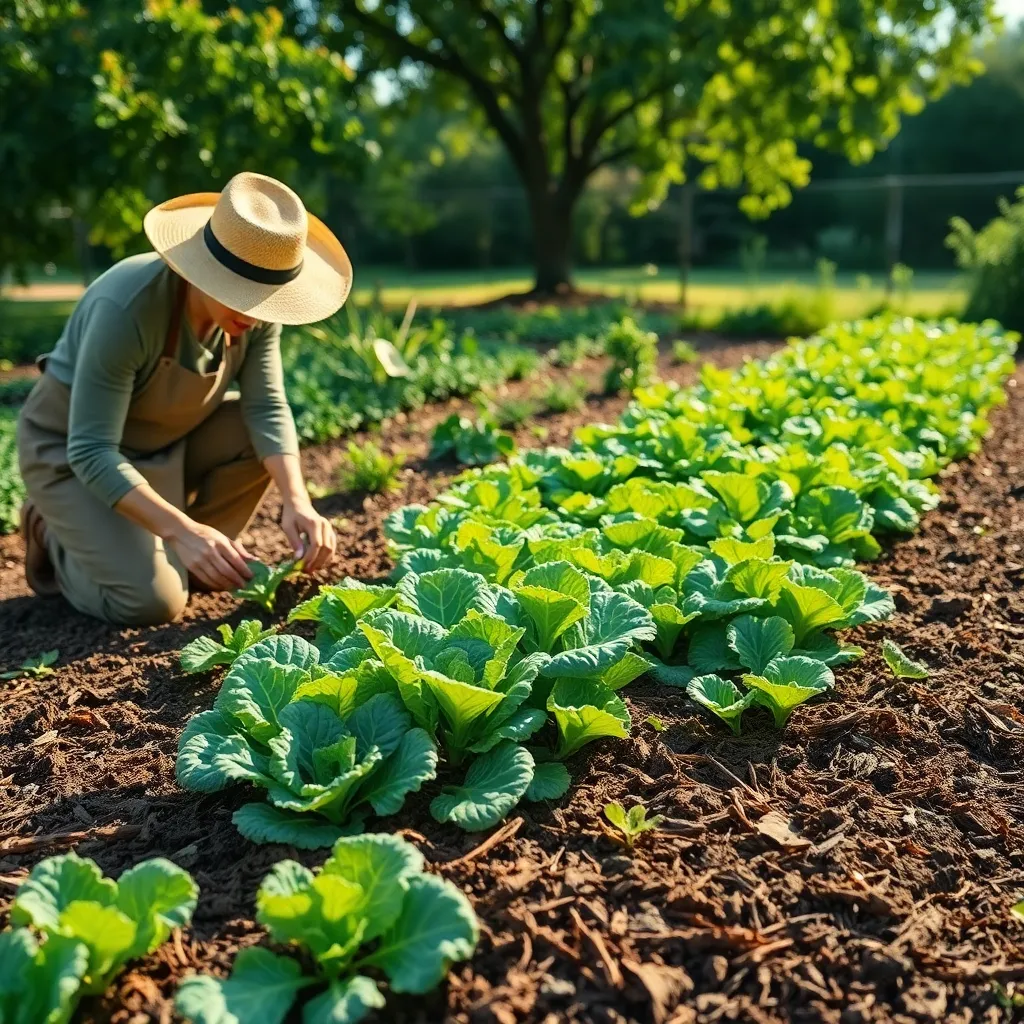
No-till gardening is an excellent way to maintain soil health while reducing labor. By avoiding tilling, you help preserve the soil structure and beneficial organisms, such as earthworms, that are crucial for plant health.
To start a no-till garden, simply layer organic materials like straw, leaves, and compost directly on the soil. This method, known as sheet mulching, enriches the soil and suppresses weeds naturally.
Ensure that the materials you use are free from chemicals to keep your garden organic. Over time, this approach will improve soil fertility, helping your plants thrive with minimal intervention.
For beginners, focus on adding a 2-3 inch layer of mulch to retain moisture and protect the soil. More experienced gardeners can experiment with cover crops, like clover or vetch, to add nitrogen and organic matter back into the soil.
Conclusion: Growing Success with These Plants
As we conclude our exploration of the ’13 Effective Organic Gardening Hacks,’ it’s clear that nurturing relationships shares much in common with cultivating a thriving garden. From the importance of consistent communication and active listening to the need for patience and understanding, each hack offers a vital tool for growing strong, resilient connections. We discussed the power of small gestures, the impact of shared goals, and the art of resolving conflicts with empathy. These concepts remind us that relationships, like gardens, flourish with care, attention, and a little bit of creativity.
Now, take a moment to reflect on these insights and choose one hack to implement today. Perhaps it’s planning a regular date night or practicing gratitude with your partner. Start small, but start today.
Remember, the journey to a healthier relationship is a continuous process, and this article can serve as your guide. Bookmark this page now so you can revisit these tips whenever you need a reminder or a boost.
Looking ahead, know that with dedication and love, your relationship can blossom into something truly beautiful and enduring. Empower yourself with knowledge and watch your relationship thrive.